I still remember the first time I watched a sprinkle of salt transform a simple glue line into a glittering, textured masterpiece — the look of wonder on my niece’s face was everything. The process is simple: you draw with glue, shake on salt, and then touch watercolors to the crystals to watch the color race along the raised lines. It is part science, part art, and completely mesmerizing.
In this collection, I am sharing ten of my favorite salt painting ideas, from rainbow hearts and ocean jellyfish to starry nights and butterfly wings. Each one is a doorway to sensory play and creative exploration. Let’s gather some cardstock, a bottle of glue, and a box of salt, and see what we can make together.
Surface Selection for Weight and Absorbency
The fastest way to ruin a salt painting is picking thin printer paper, which buckles and sheds salt under the moisture. When you practice salt painting techniques for kids, you want to start with a heavyweight smooth cardstock that resists warping while still absorbing the liquid pigment effectively.
The capillary action needs a stable base to work its magic, and flimsy paper simply cannot support the weight of the wet salt. Trust me on this, we have all seen the disappointment when a beautiful design ends up a crinkled, soggy mess.
This absorbency is key for the vibrant lines and organic color transitions that make salt painting so special. A heavy watercolor paper can work too, but its textured surface might interrupt the smooth travel of your glue line.
Glue Application Precision for Continuous Pigment Flow
Beginners often make the mistake of drawing glue lines too thin, which breaks the pigment’s path and leaves gaps in the final color. The good news is you can avoid this by squeezing your white glue bottle to create a continuous, raised bead about the width of a shoelace.
That consistent, three-dimensional line acts as the porous transport system the salt needs to pull the liquid across your entire design. You will notice that if your glue dries too flat or merges with another line, the color simply cannot flow.
Keep your motifs bold with organic shapes like letters or starbursts, as intricate details cause glue to pool. The precision you get from salt painting techniques for kids gives you those stunning, granular lines with bleeding transitions.
1. Rainbow Heart Abstract Swirl Salt Painting
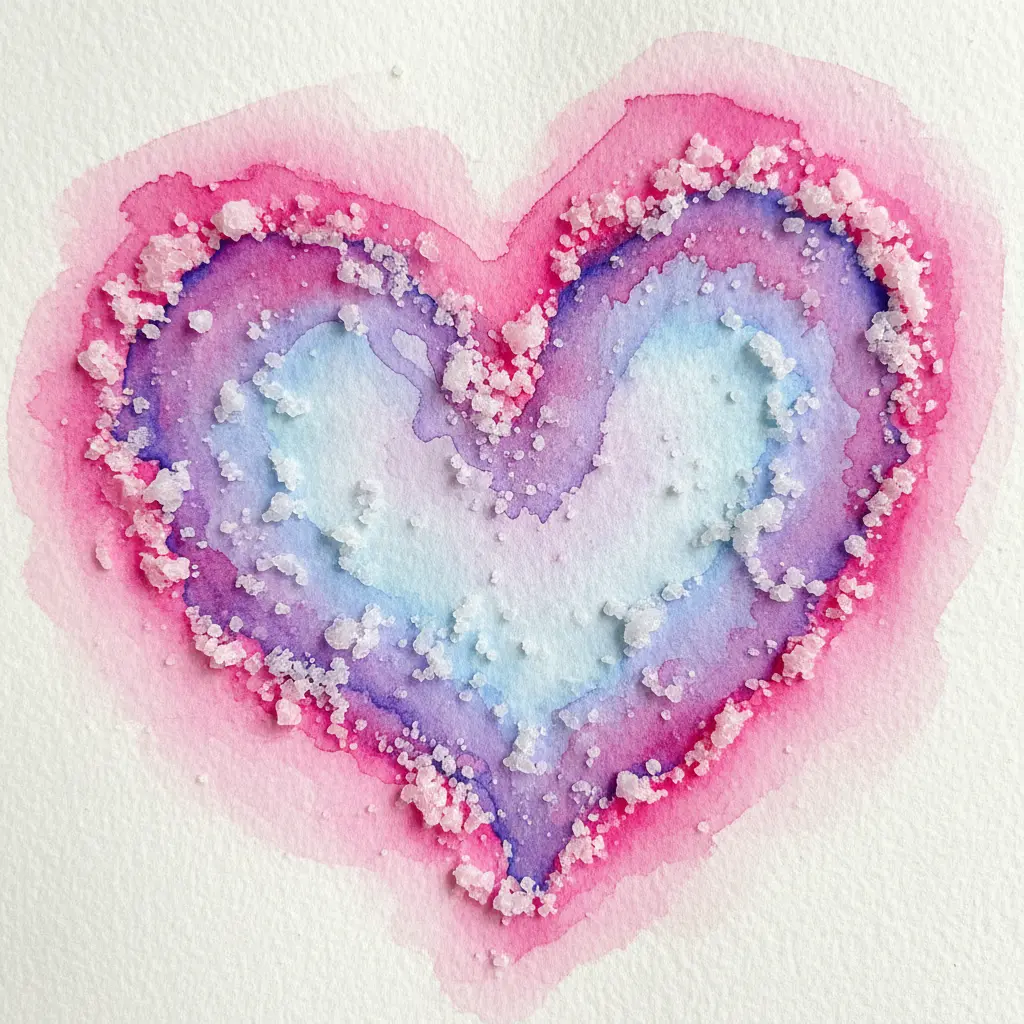
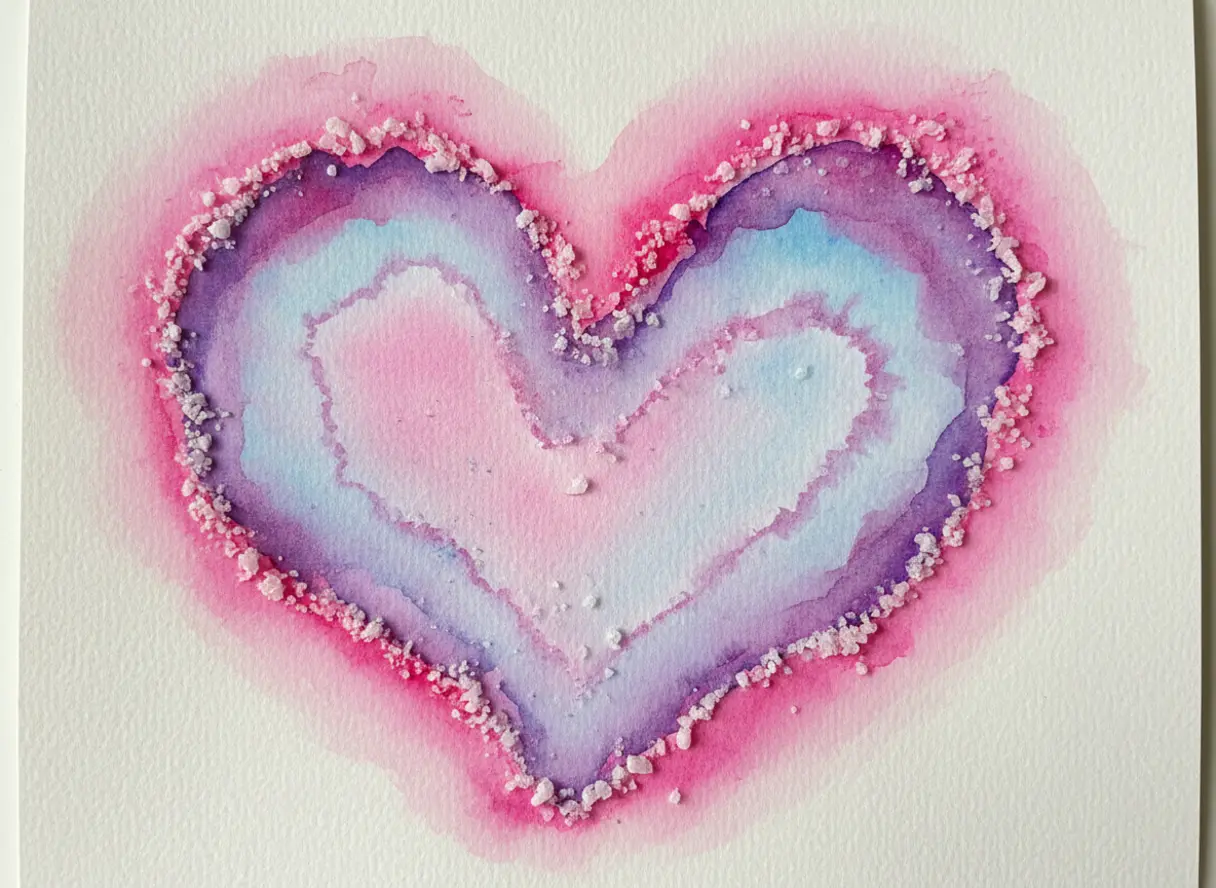
This one is a total crowd-pleaser. It looks complex, but the process is wonderfully simple. You start by drawing a big heart on heavy cardstock with pencil, then trace the outline with a generous line of white glue.
Add some wild, abstract swirls around it, cover everything with salt, and watch the magic happen when you touch liquid watercolor to the salt lines. I love how the colors race along the glue trails, blending into beautiful rainbow gradients you cannot plan.
When practicing salt painting techniques for kids with this design, the result is a vibrant, textured piece of art that feels as good as it looks. Before you get started, it is a great idea to explore splatter painting techniques for another fun way to play with color application. Trust me, seeing that first color bloom is pure joy.
2. Deep Blue Ocean Jellyfish Design: A Mesmerizing Underwater Scene
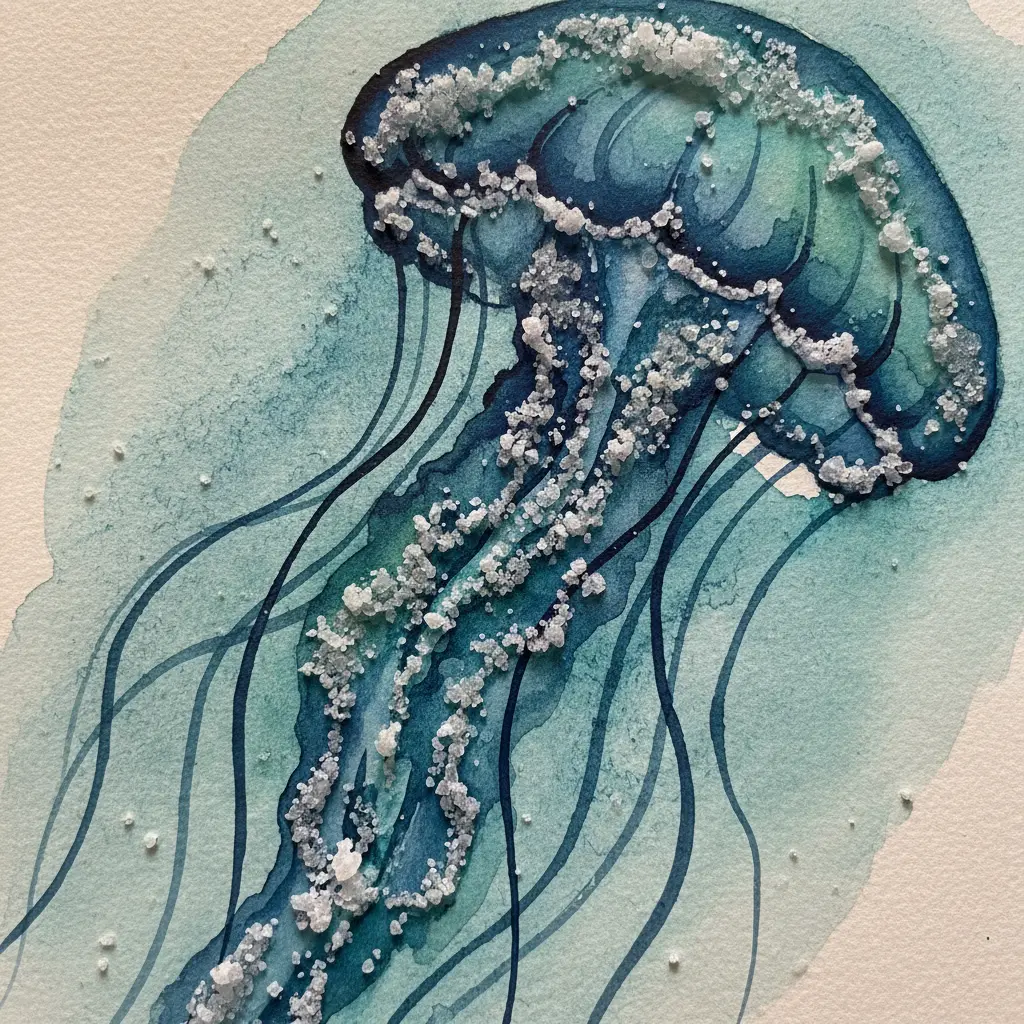
Ever wondered how to create a glowing creature from the deep? This one is a favorite of mine because the magic happens with a simple sprinkle of coarse sea salt.
You start by painting a gradient of deep blues and indigo for that endless ocean look. While it is still wet and shiny, you scatter the salt over it. As it dries, the salt absorbs the paint, leaving behind amazing textures that look like swirling water currents.
Once the background is completely dry, you brush off the salt and paint your luminous jellyfish on top. I love adding a touch of metallic white paint to their bells to make them truly glow. Mastering these salt painting techniques for kids creates such a stunning payoff.
3. Shimmering Gold Starry Night Landscape — A Glittering Celestial Motif
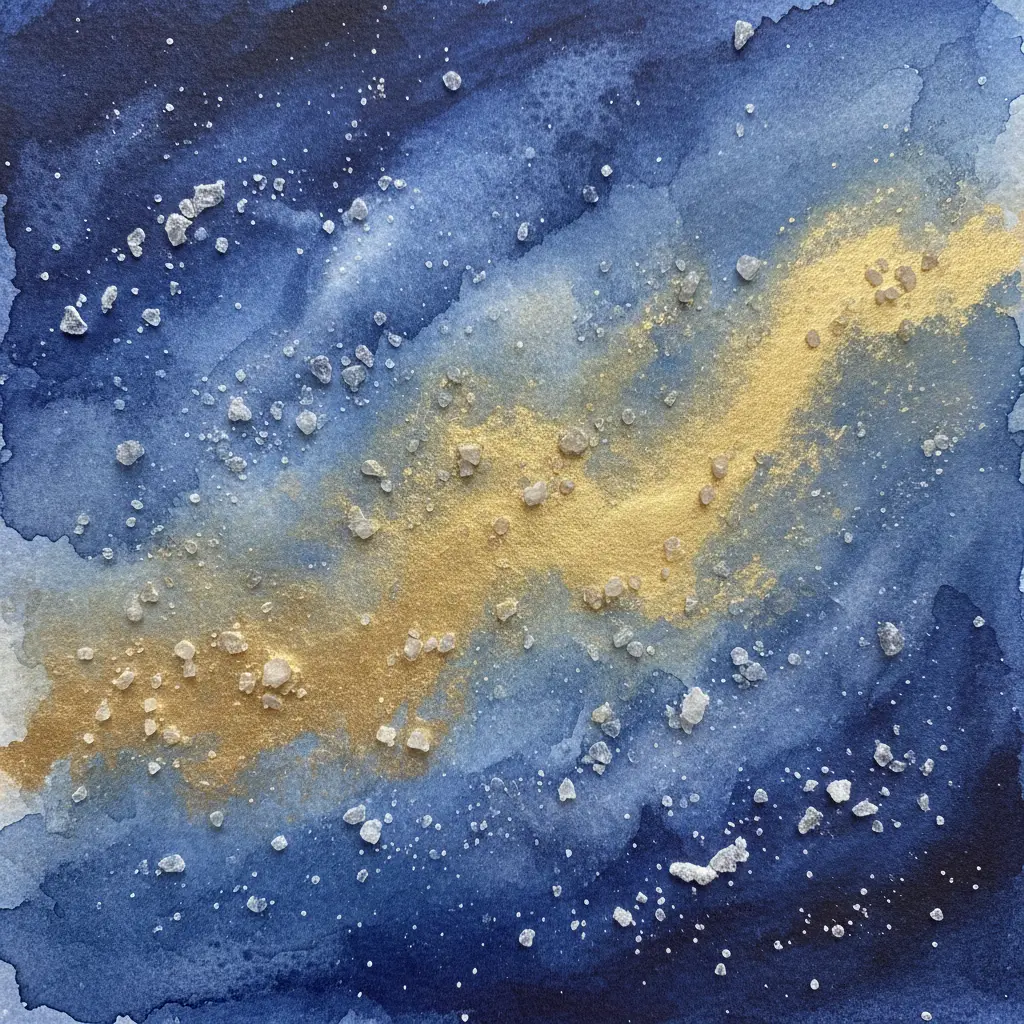
Ever wondered how to make a night sky look truly magical? This project transforms simple salt and glue into a shimmering, textured masterpiece. You start by painting a deep watercolor background in blues and purples.
Once that is dry, draw your stars and moon with liquid glue, then cover those wet areas completely with table salt. The real magic happens when you brush gold liquid watercolor over the dried salt crystals — they soak it up and sparkle like real starlight.
I love this one because the salt creates a perfect, bumpy surface that naturally catches the light. Exploring salt painting techniques for kids makes the contrast between the dark sky and the glittering gold truly stunning. For an extra dose of fun, you can always visit discover marble painting activities to create other cool, swirly backgrounds. Try this and watch your little artist face light up when their golden sky shines.
4. Pastel Flower Garden Pattern Piece
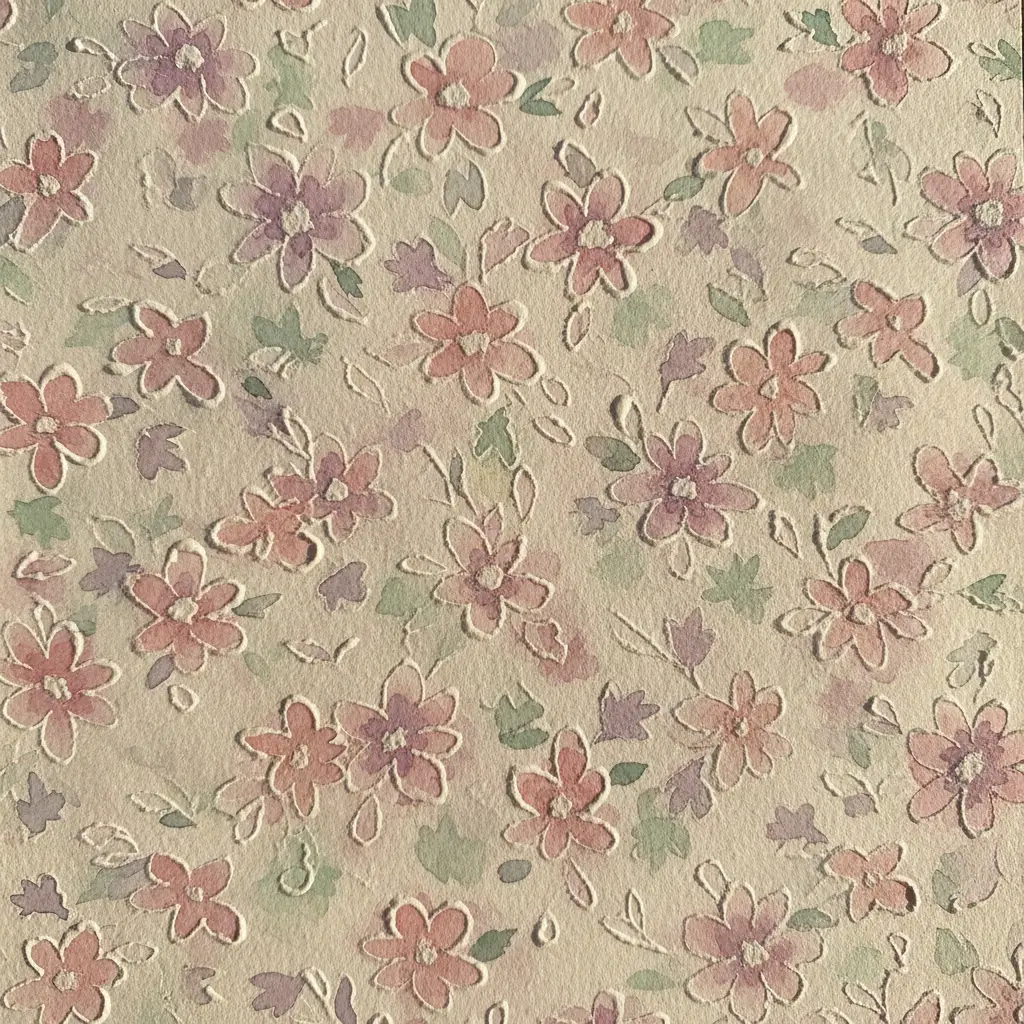
Ever wondered how to make a flower garden sparkle? This salt painting trick gives petals a magical, frosty texture you will love. You start by painting soft, watery pastel watercolors onto thick paper to form your flowers and leaves.
While the paint is still wet, sprinkle on fine salt and let it dry completely. The crystals absorb the pigment and create those unique, organic patterns. I find these salt painting techniques for kids so forgiving and fun because it is a surprise every time.
Gently brush off the salt to reveal your sparkling garden. Does that not look stunning?
5. Geometric Maze Maze Pattern Art: Intricate Lines and Crystalline Texture
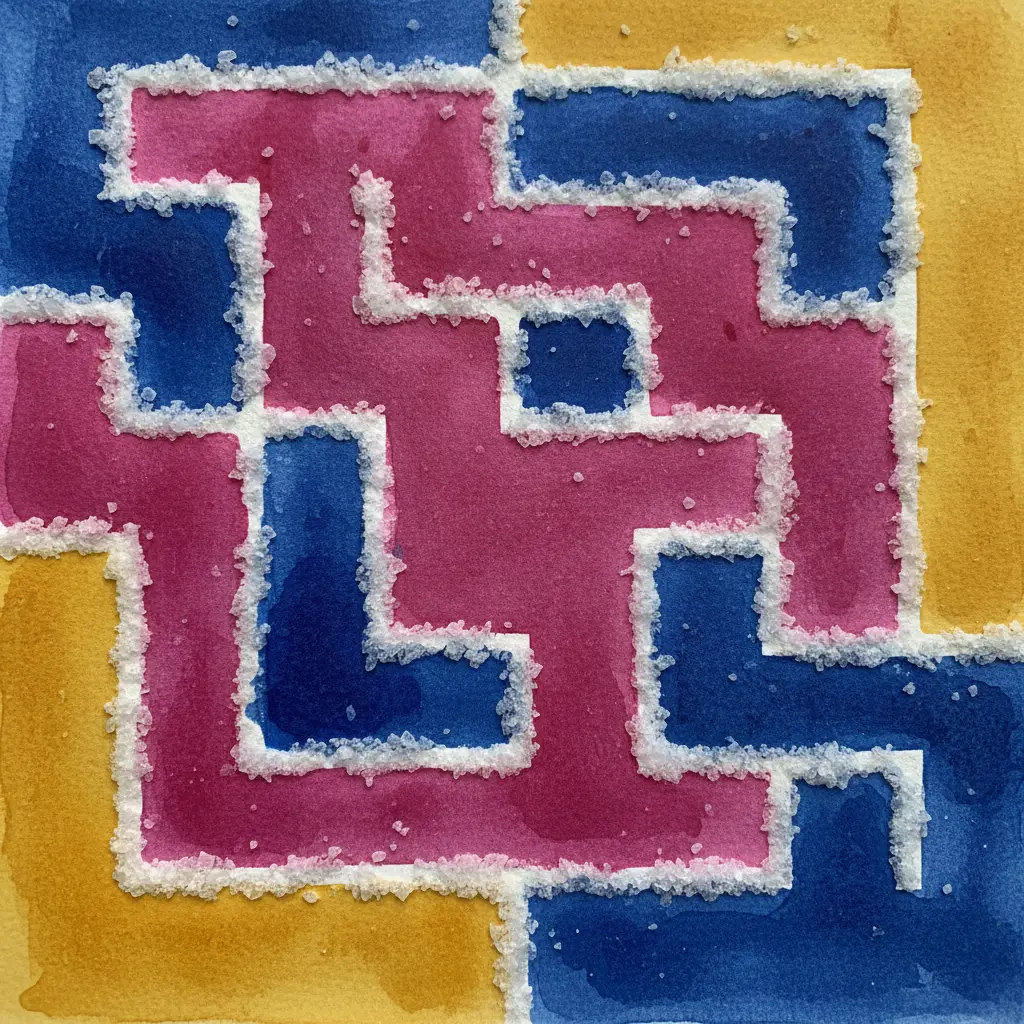
This one looks complex, but trust me, the process is wonderfully meditative. You start by drawing a precise grid with a ruler and fine-tipped pen. Then, you build your maze with sharp, intersecting lines, focusing on clean angles and straight paths.
To create that shimmering crystal effect, you apply color in smooth gradients within the shapes. I love using a monochromatic palette, adding lighter shades on some facets and darker ones on others.
This shading along the sharp lines makes the whole design pop with a three-dimensional sparkle. When refining salt painting techniques for kids, you can try geometric painting projects like the ones shown here for clean line work. Does that not look stunning when it all comes together?
6. Bright Sun Tropical Horizon Scene — Warm Colors and Salt Glow
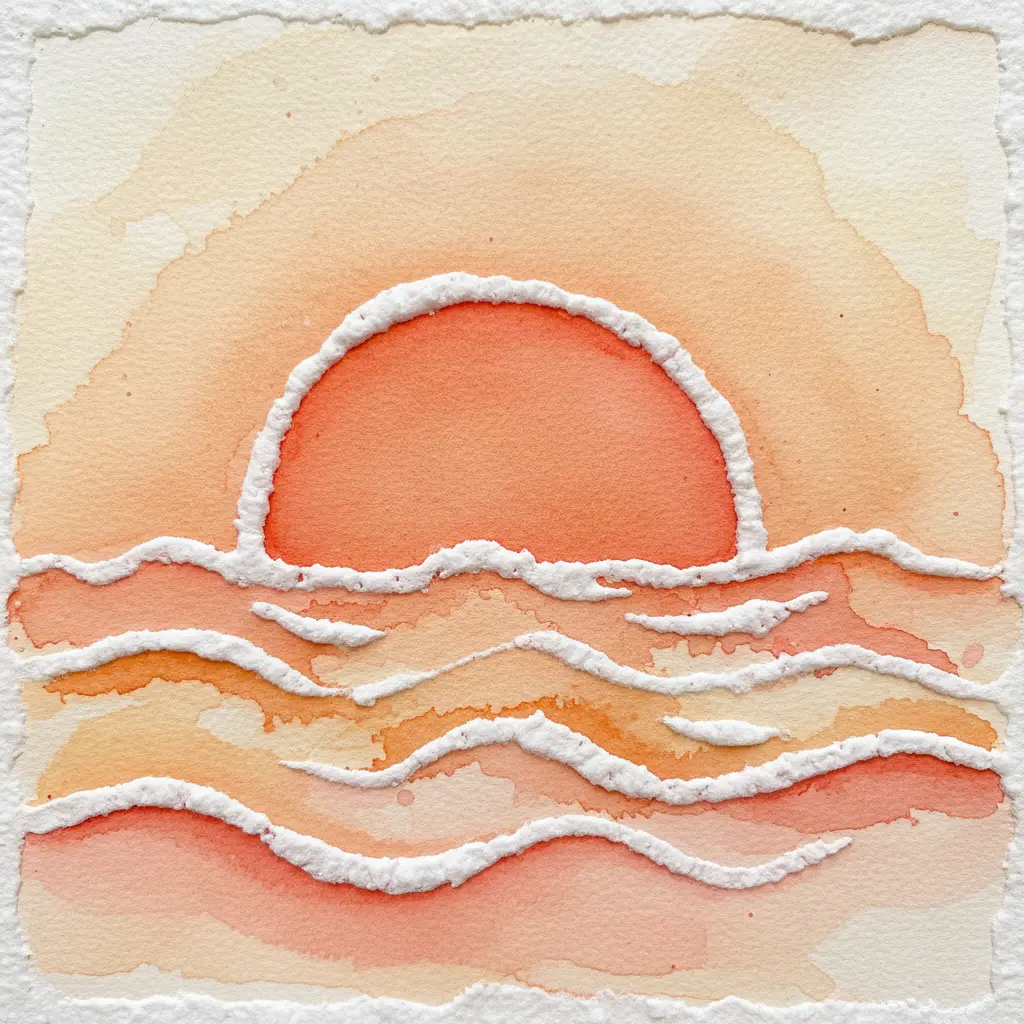
Who would have thought you could capture that hazy, sun-drenched glow with something from your kitchen? This scene is all about creating a soft, diffused light where the sky meets the ocean. You will paint a wash of warm yellows and oranges for the sky, then transition into warm blues and greens for the sea.
The magic happens while the paint is still damp. That is the perfect moment to sprinkle on fine table salt along the horizon line.
The salt crystals absorb the water and pigment, pushing the color away to create a beautiful, textured shimmer. When you apply salt painting techniques for kids to this wet-on-wet wash, the atmosphere instantly feels more humid and sparkling. I love watching this effect reveal itself as the painting dries.
It naturally mimics the humid, sparkling atmosphere of a tropical beach, giving your scene a dreamy, luminous quality. Gently brush off the salt once everything is completely dry to see your glowing masterpiece.
7. Whimsical Butterfly Wing Salt Texture
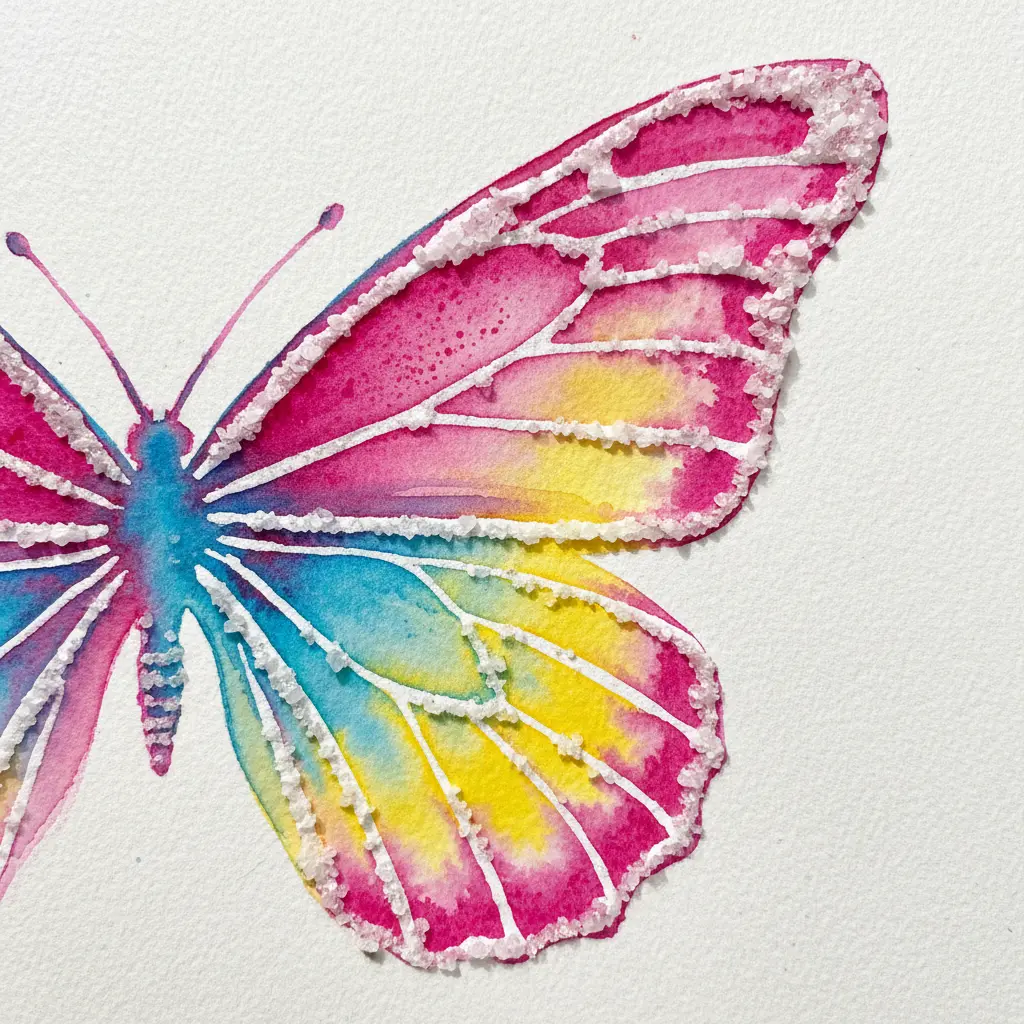
This texture feels like capturing a bit of magic. You start with fine finishing salt and mix in a whisper of iridescent powder to give it that subtle shimmer. Gently sift the mixture onto your paper to create delicate drifts that catch the light like real butterfly wings.
Why does it work so well? Implementing these salt painting techniques for kids turns a simple craft into a sparkling, sensory experience. The key is to use a tiny amount of salt and color to keep that airy, ethereal look.
This technique is a wonderful way to learn about mixed media painting, as you combine texture with color. You will be amazed at the magical, delicate art you can create together.
8. Crispy Winter Snowflake Silhouette Motif: A Frosty, Textured Design
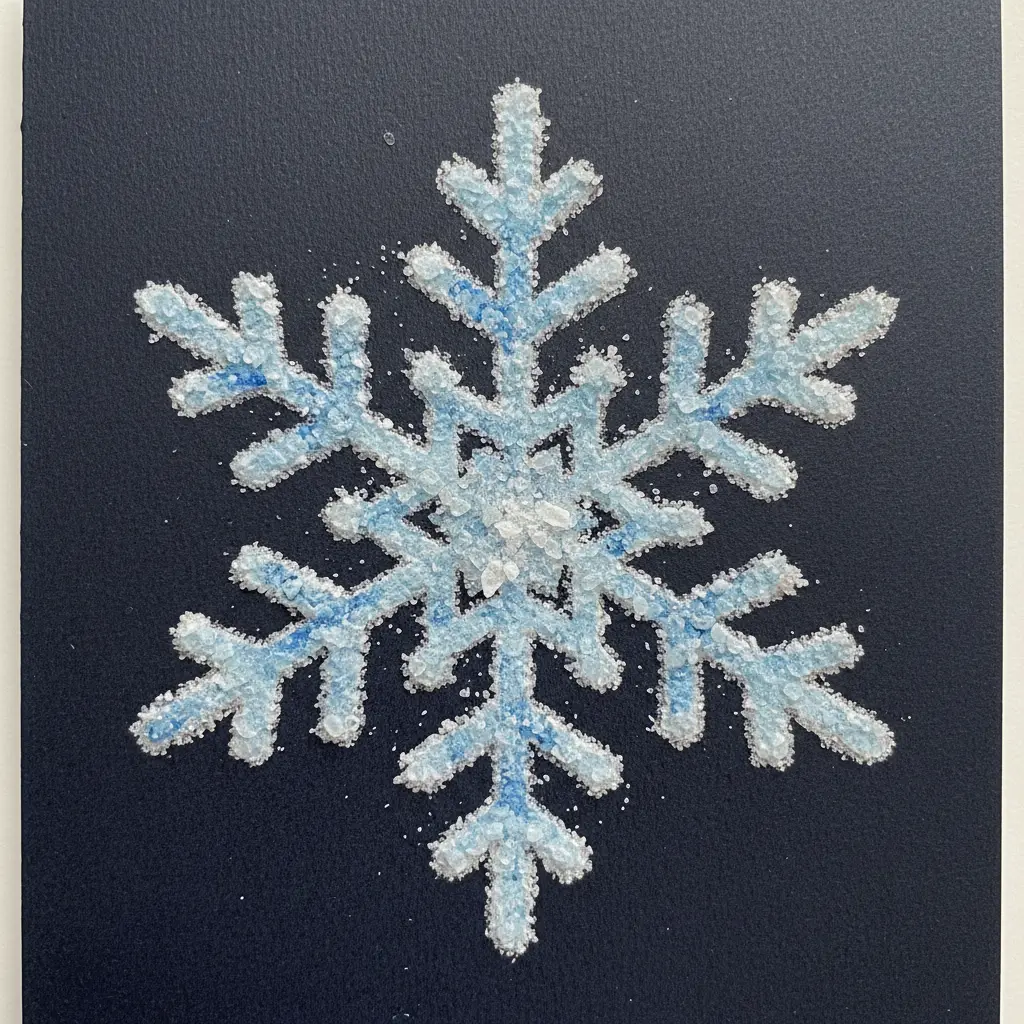
Ever wondered how to make a snowflake look like it is covered in real frost? This design is all about texture. You start by sketching a simple snowflake shape, then trace it with a thick line of liquid glue.
Sprinkle fine salt over the glue and let it dry completely for that crispy feel. Once the salt is set, use a damp brush to dab on icy blues and purples. The color spreads through the salt crystals like magic, creating a beautiful, frosty shimmer.
I love how this transforms a flat drawing into a multi-sensory piece of art. Applying salt painting techniques for kids here ensures that crystalline shimmer stays sharp. Trust me on this one, the moment the paint touches the salt is pure joy for any young artist.
9. Fiery Abstract Phoenix Feather Design — A Burst of Color and Salt
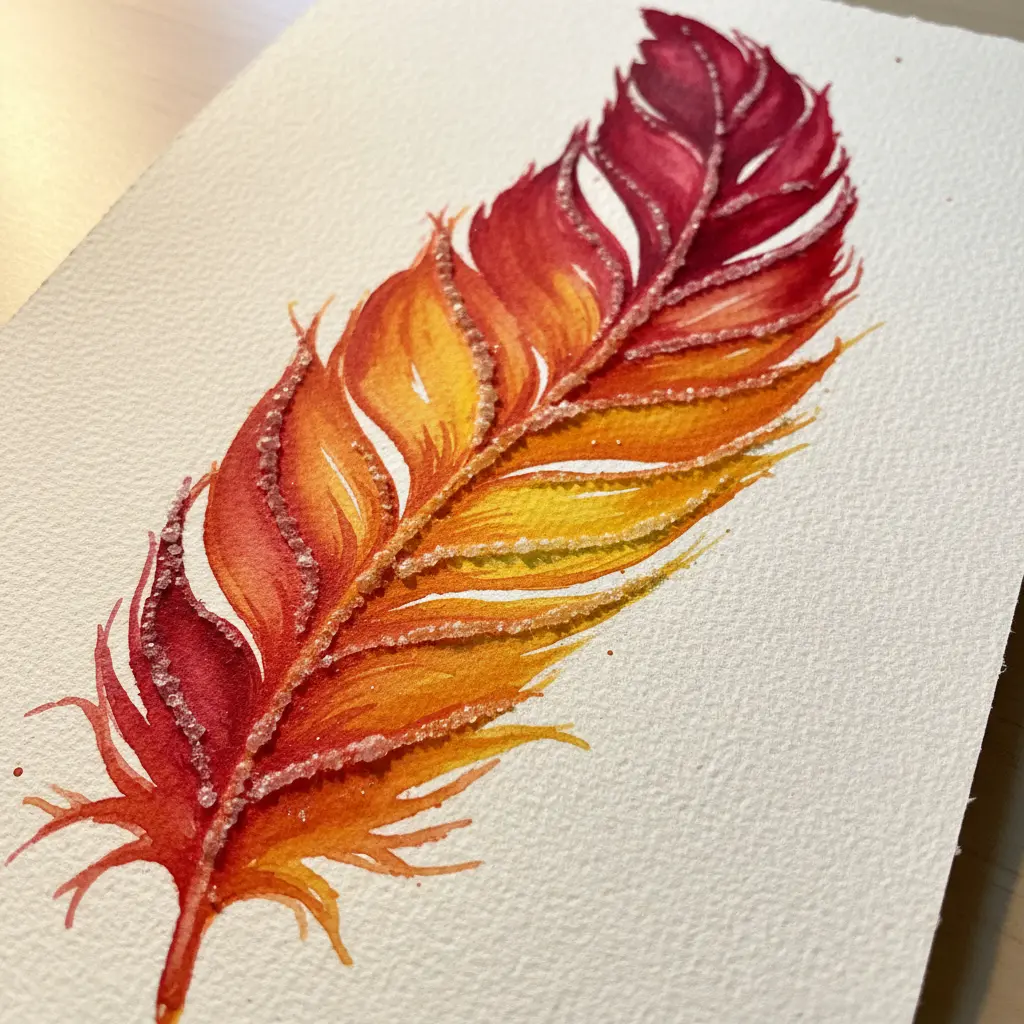
Ever wondered how to get that magical, sparkly texture in your art? This fiery feather design is your answer. You start by wetting your heavy watercolor paper and dropping in warm yellows and oranges.
While the paint is still juicy, sprinkle on some salt to create those unique crystalline patterns as it dries. I love how the salt technique mimics the delicate structure of a feather. It adds an element of surprise that makes each piece one-of-a-kind.
The vibrant colors and texture work together to create a sense of powerful energy. Before trying this, it is smart to get comfortable with basic watercolor painting techniques. This foundational skill helps you control the wetness for the best salt effects. Trust me, seeing those textures bloom with salt painting techniques for kids is so satisfying.
10. Spring Butterfly Mosaic Pattern Art
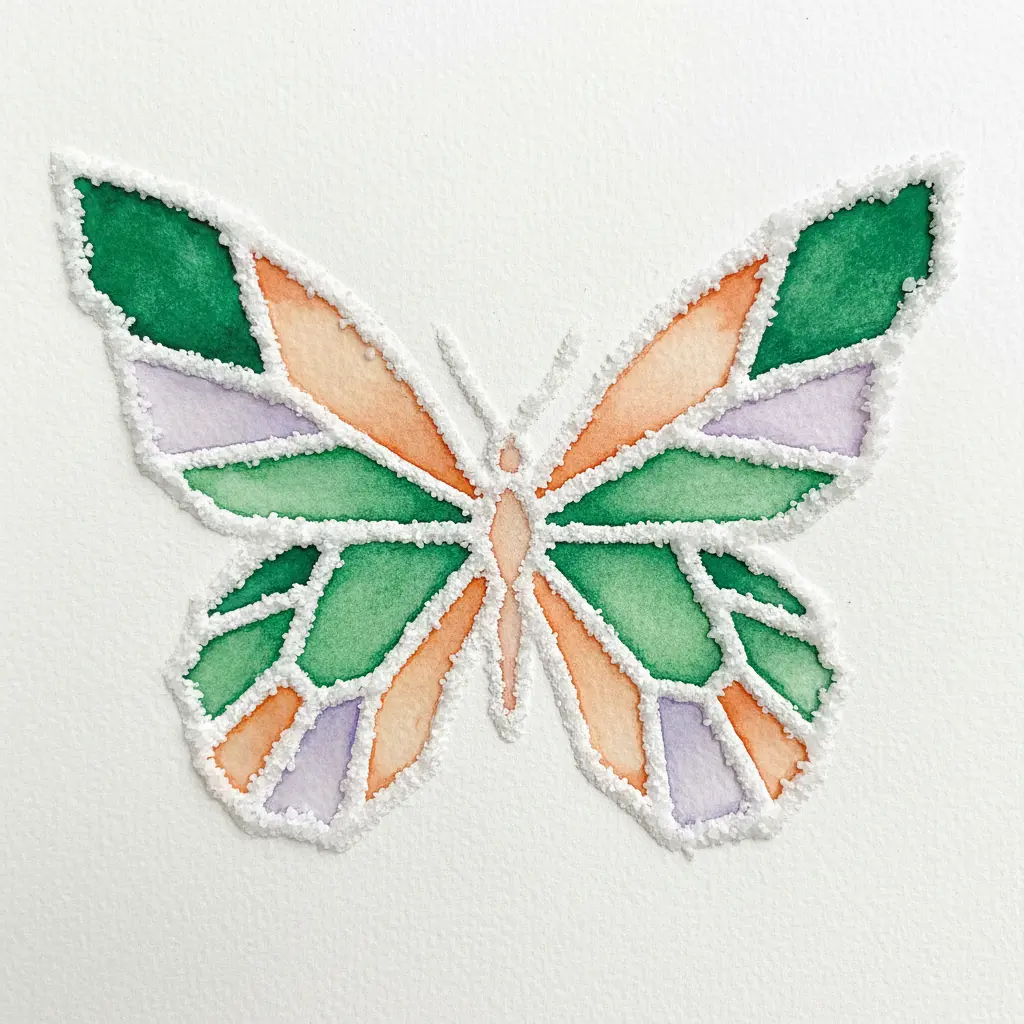
Who would have thought you could make a mosaic that feels as light and fresh as spring air? This project looks intricate, but it is so much fun to piece together. You start by sketching a butterfly on a flat surface like sealed wood or a terra cotta pot.
Then, you arrange your colorful bits of glass, tile, or even sea glass to fill in the wings and background. You will love the tactile process of placing each piece. The magic happens when you apply the grout over everything and wipe it clean.
Suddenly, all those separate pieces become one stunning, textured picture. Exploring salt painting techniques for kids alongside mosaic art shows how versatile texture work can be. The bright pastels just sing.
My go-to tip? Let that adhesive dry completely before you even think about grouting. Trust me, waiting that extra hour saves a huge headache.
Drying Duration for Structural Salt Adhesion
Rushing the final dry is the one thing that makes all your careful work crumble away, literally. You need to let your finished piece sit undisturbed for a full 24 hours on a flat surface so the salt crystals bond permanently to the paper and glue.
This extended drying duration is non-negotiable for the structural integrity of your textured art. If you move it too soon, you will watch in horror as vibrant salt cascades off the page. The matte, crystalline finish is worth the wait, but only if the salt is locked in place.
Place it somewhere safe and warm, like on top of the fridge, and resist the urge to check on it. Patience with salt painting techniques for kids guarantees that vibrant creation lasts.
Conclusion
Salt painting is one of those activities that sticks with a child long after the artwork is dry. There is something special about the way the salt crystals sparkle and the colors bleed into one another, creating a piece that feels alive.
I hope these salt painting techniques for kids have given you a starting point for many afternoons of creative fun. If you are trying this for the first time, my best advice is to keep a few sheets of thick watercolor paper on hand — it really does make a difference.
Also, let your child lead the way. The most beautiful results often come from unexpected color choices and a splash of happy experimenting. The next time you set up a salt painting session, maybe try combining a few of these ideas.
That is the beauty of this technique: it grows with your child’s imagination. I cannot wait to see what you create.
FAQs
Q: What kind of paper works best for salt painting?
A: Thick watercolor paper or high-grammage cardstock is ideal. Thin paper can buckle and tear when wet. The heavier weight absorbs the water from the paint without warping.
Q: Can I use table salt instead of fine-grain salt?
A: Table salt works but creates a finer, less pronounced texture. Fine-grain salt or kosher salt gives larger crystals and a more dramatic effect. The choice depends on the look you want.
Q: Why does the salt not stick to the paper?
A: The glue might be too thin or applied too sparingly. Use a generous line of white school glue, and shake the salt on immediately while the glue is wet. Press gently to ensure adhesion.
Q: How do I prevent the glue from spreading too much?
A: Use a glue bottle with a fine tip or a squeeze bottle for control. If the glue pools, you can blot it slightly with a paper towel before adding salt. Practice on scrap paper first.
Q: What type of paint works best for salt painting?
A: Liquid watercolors or diluted food coloring work best because they travel easily through the salt crystals. You can also use very watery acrylic or tempera paint. Apply with a dropper or pipette for precision.