Selecting Foundations for Your Design Vision
Your base frame determines the entire weight and feel of the piece, so pick it with your final location in mind when planning diy fall wreath ideas. A dense foam form is perfect for an interior wall where you need a lush, full shape, but that same structure will sag outdoors in the rain. For a front door, you want a grapevine wreath base because its natural structure holds weight well and offers tons of nooks for nesting stems. A wire frame is your best friend for modern, minimalist looks where you need clean lines and less bulk. Trust me, starting with the right foundation means you spend less time fighting the materials and more time enjoying the creative process. This initial choice also dictates which adhesives you will need for secure assembly.
Color Palette Strategies for Seasonal Curb Appeal
The fastest way to achieve professional curb appeal with diy fall wreath ideas is to limit your main color story to three tones. We tend to grab every beautiful orange and red leaf we see, but restraint creates a more intentional and elegant look. Start with a dominant autumn hue, add a secondary shade for depth, and use a third as a subtle accent. For example, a wreath with burnt orange as the star, deep burgundy for richness, and touches of cream for softness will look cohesive from the street. This approach prevents visual clutter and lets your chosen focal point, like a cluster of hyper-realistic faux pumpkins, truly shine. Balancing color distribution across the wreath ensures no single area feels too heavy or empty, giving you that polished magazine look.
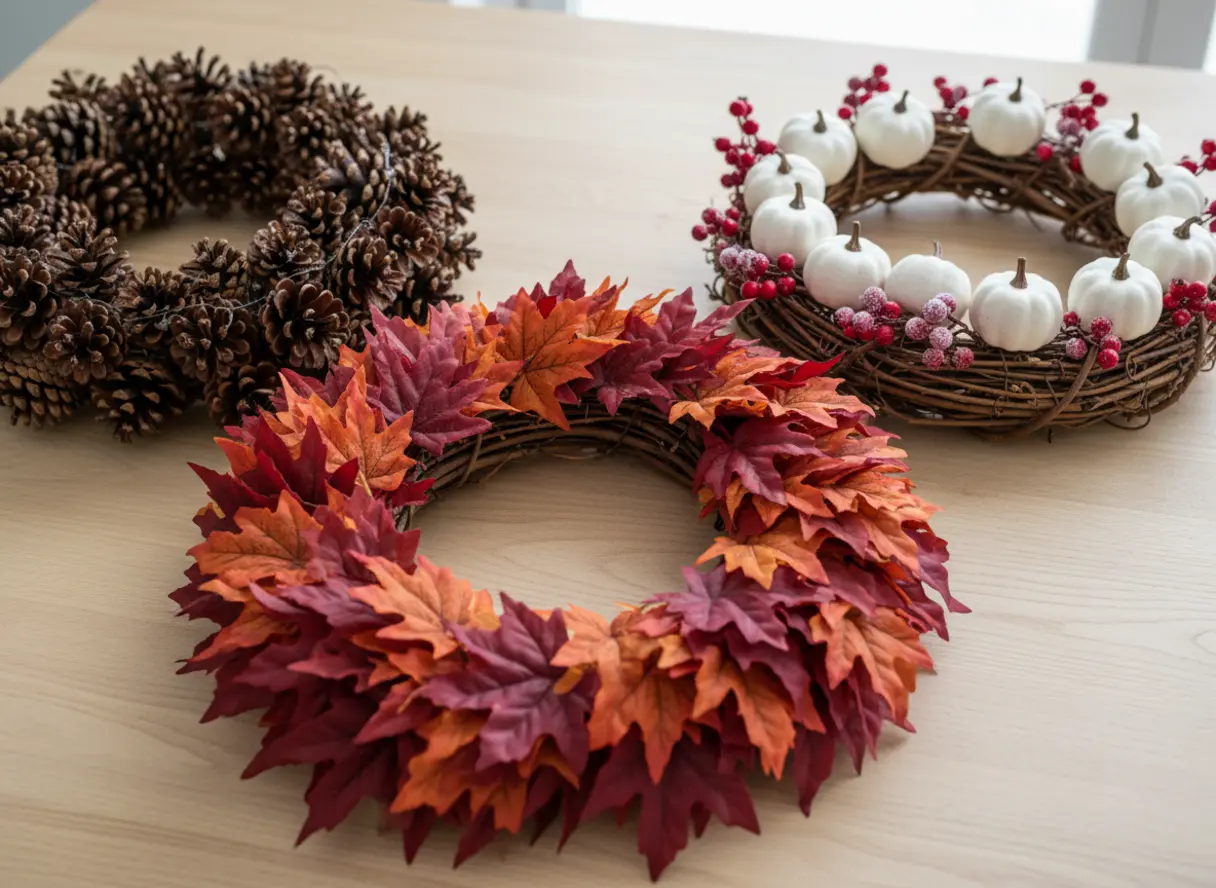
1. Rustic Grapevine Maple Leaf Foliage Wreath
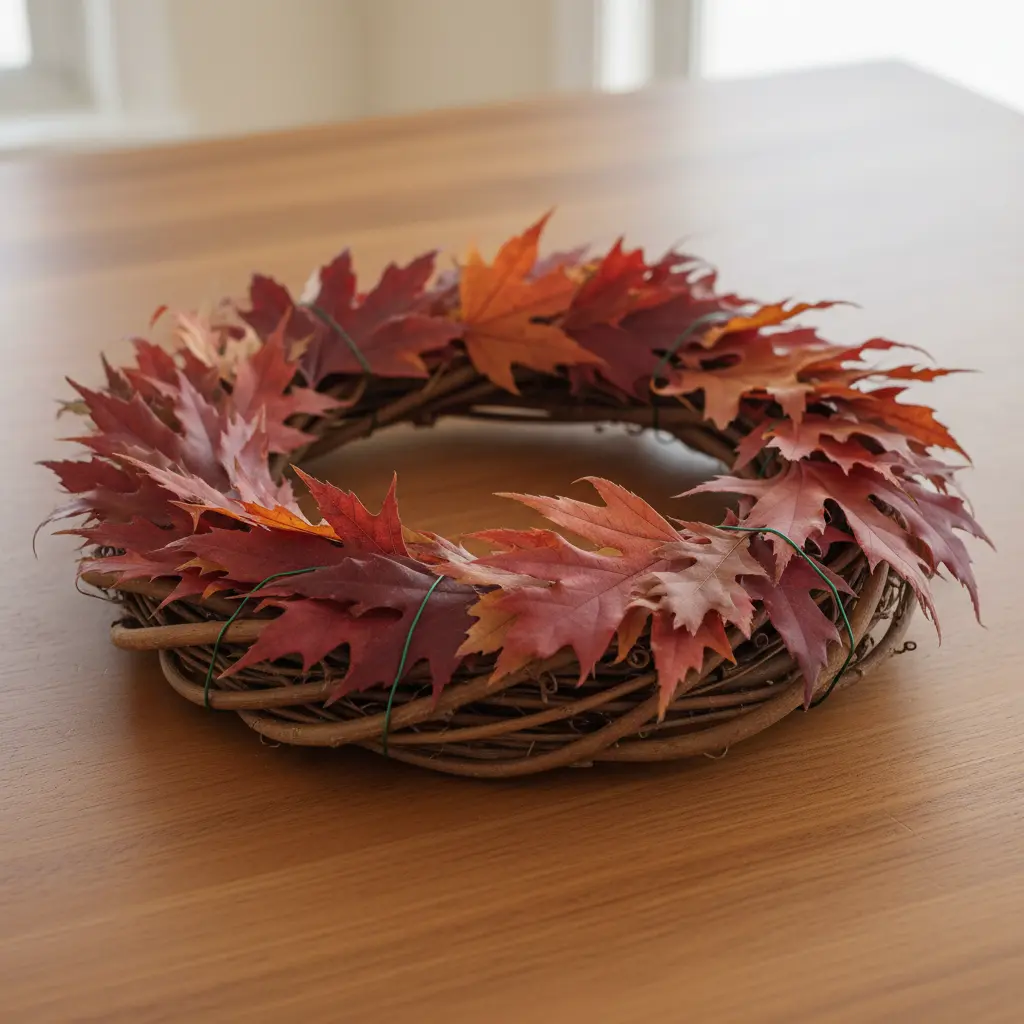
This wreath looks like a beautiful woodland walk you can hang on your door. Start by weaving artificial maple leaf stems into the natural gaps of a dried grapevine wreath, securing them with floral wire or hot glue as you test diy fall wreath ideas. Then, tuck in berries and pinecones to fill it out and complete the look. I love how the rustic base and vibrant leaves create such a warm, inviting atmosphere for your porch.
For another classic autumn door piece, a DIY fall acorn wreath project uses a similar earthy approach.
2. Textured Burlap Ribbon: A Classic Autumn Base
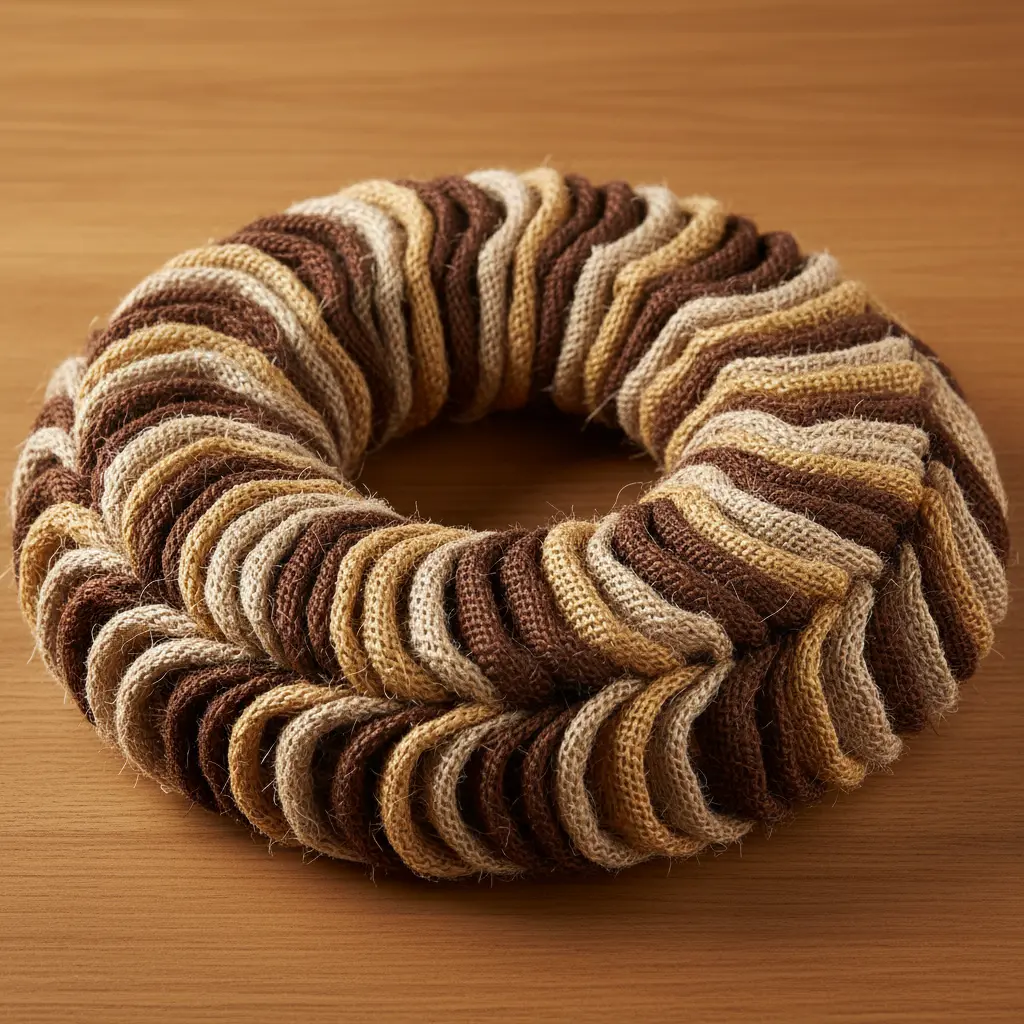
Ever wondered how to get that perfect rustic look without any fuss when assembling diy fall wreath ideas? This is my go-to base for a reason. You simply wrap or drape the textured burlap ribbon around your wreath form, securing it with floral wire or hot glue as you go. Its natural, earthy feel instantly brings a cozy harvest vibe to your door. I love how it serves as a neutral foundation, letting your other autumn accents like berries or leaves really pop. Try it and feel that warm, classic autumn satisfaction.
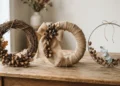
3. Natural Pinecone Cluster Harvest Wreath
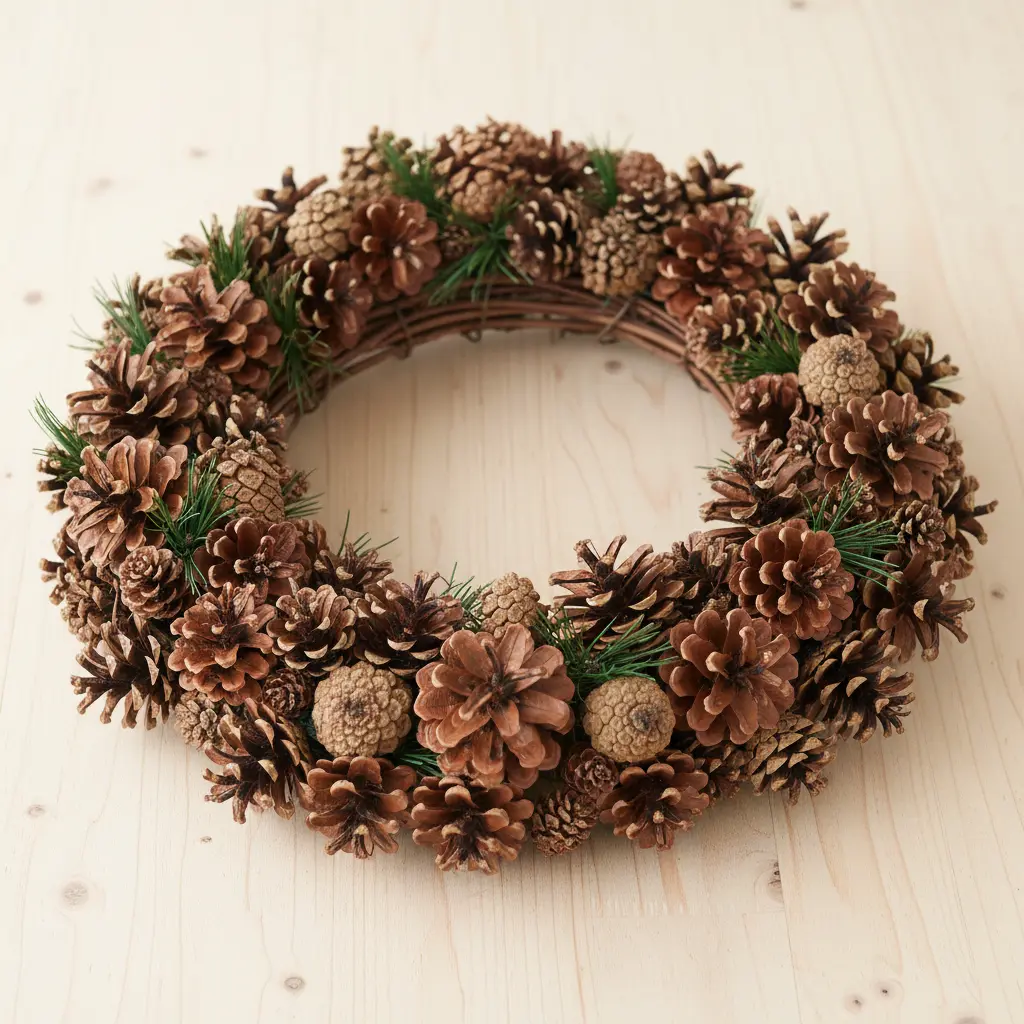
This one looks so intricate, but the process is wonderfully simple when executing diy fall wreath ideas. You start by baking your collected pinecones to ensure they are clean and fully open, then use a hot glue gun to attach them in dense, overlapping clusters to a grapevine base. I love how the varied sizes create instant texture and a real sense of harvest abundance. The key is to begin with your largest pinecones and fill in the gaps with smaller ones. Does that not feel wonderfully warm and welcoming?
4. Dried Corn Husk Feathered Wreath Design
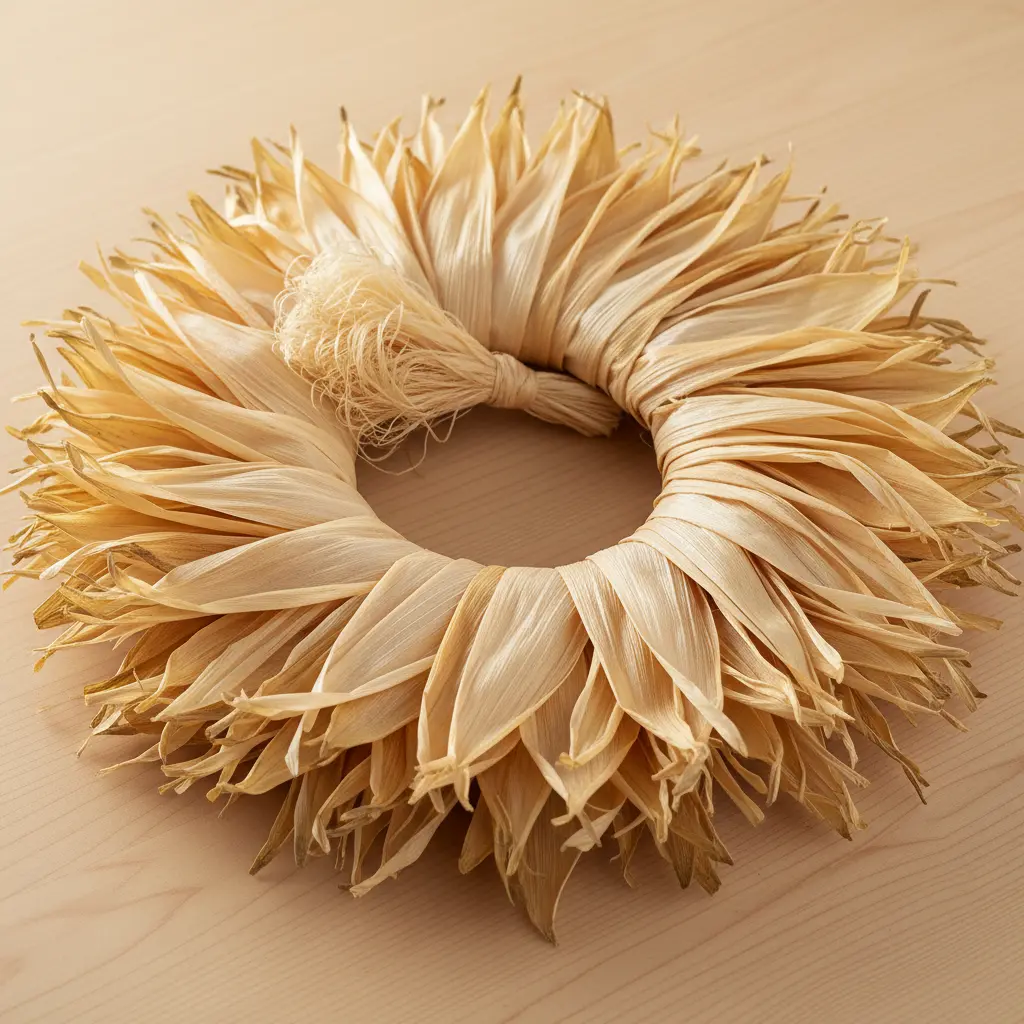
This project has such a lovely rustic charm, especially when gathering materials for diy fall wreath ideas. You cut dried corn husks into feather-like shapes and layer them onto a grapevine wreath base with patience. I love how the natural shades of cream and brown create instant depth as you overlap each piece. It sounds delicate, but it is incredibly forgiving. Soak the husks first to make them pliable, then let your glue gun do the work. The final texture is so organic and warm, perfect for a front door.
Trust me on this one. You will feel so proud hanging up your handcrafted, feathered masterpiece.
5. Modern Minimalist Eucalyptus Hoop Wreath
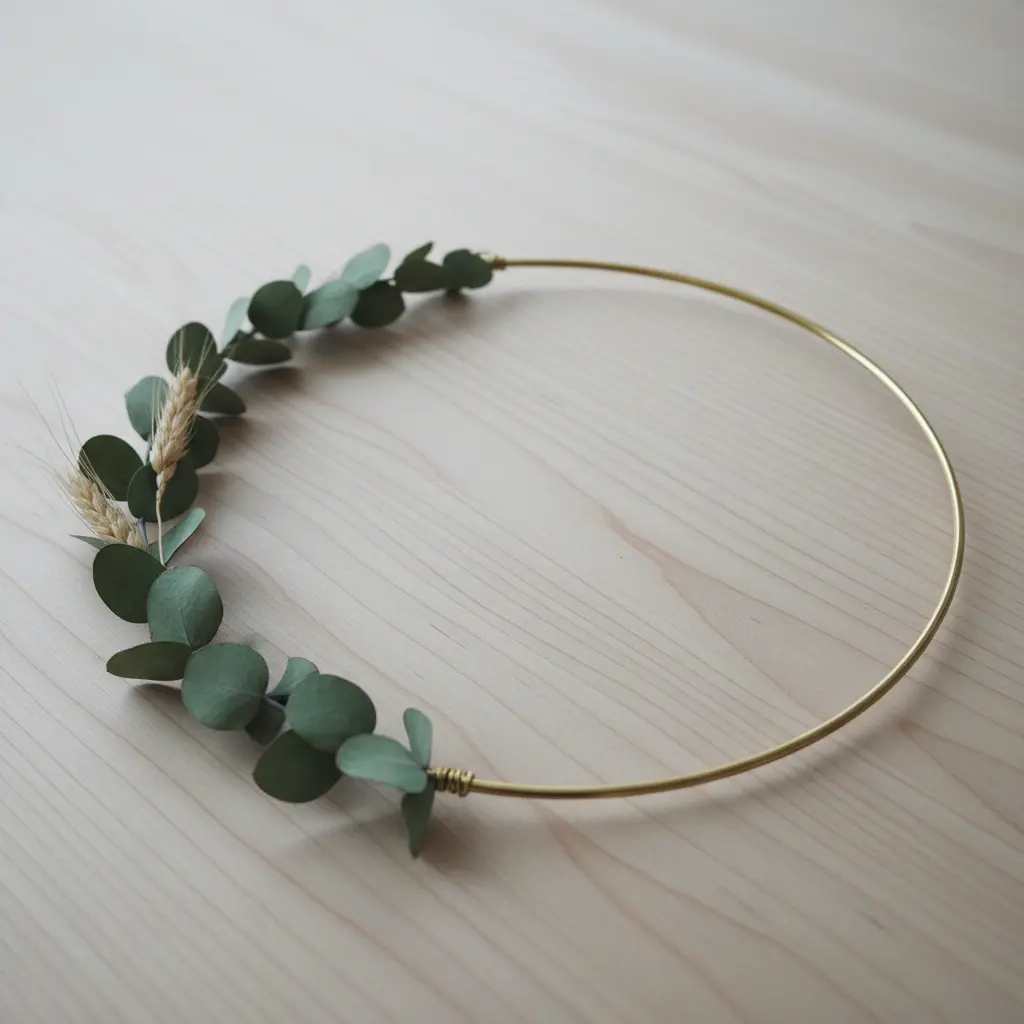
This one feels so chic but is surprisingly simple to put together while exploring diy fall wreath ideas. You start with a metal hoop and gather a few sprigs of your favorite eucalyptus. The trick is to arrange them in a small, deliberate cluster on just one section of the hoop, securing everything tightly with floral wire. I love how the clean lines of the exposed hoop balance the natural greenery.
It works because that intentional negative space feels fresh and modern, not cluttered. Your finished piece has a sophisticated, airy vibe perfect for a front door or above a mantel. For a totally different autumnal shape, you could also create a unique cornucopia heart wreath using similar natural materials.
6. Layered Plaid Fabric Swatch Wreath
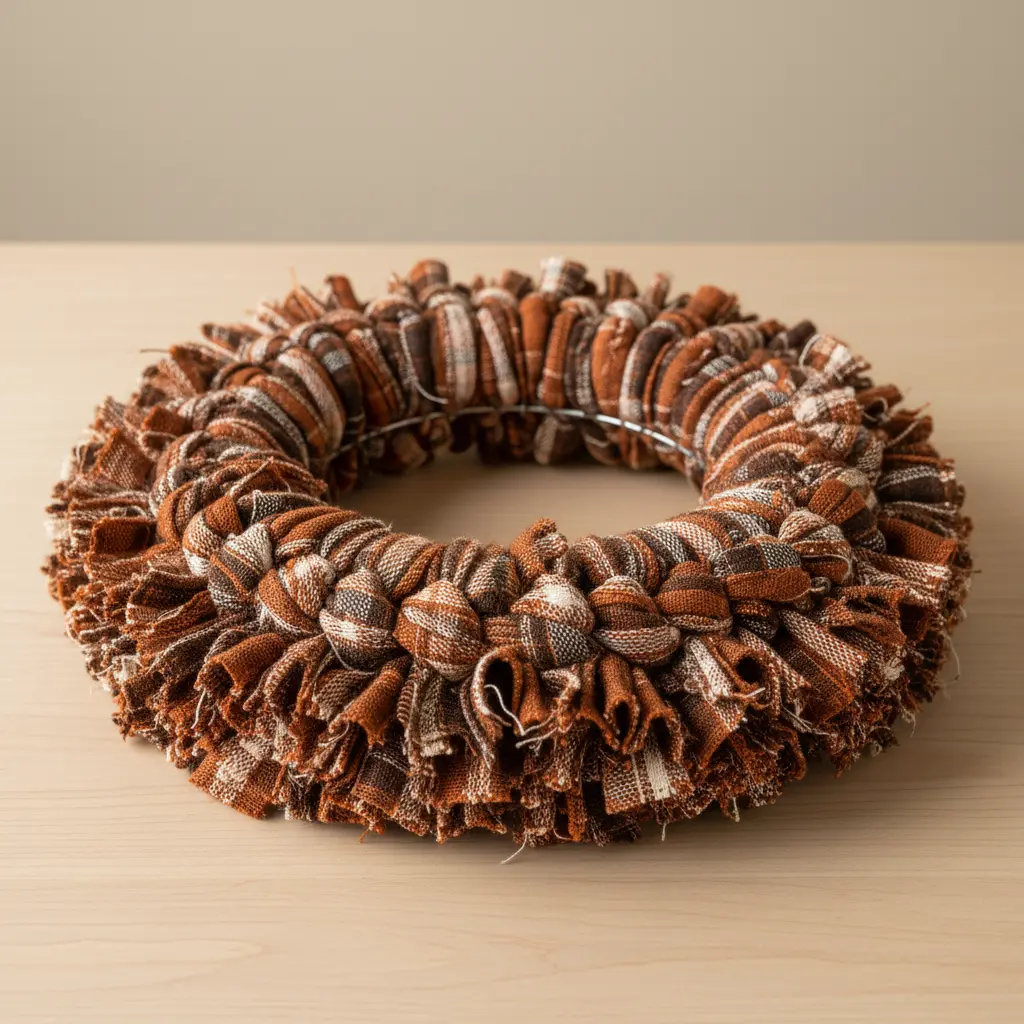
Ever wonder how to get that incredibly full, cozy look when planning diy fall wreath ideas? This wreath is all about layering different plaid fabric swatches onto a form. You will start by cutting a generous pile of squares from your favorite fall flannels and cottons. Then, you fold each piece and attach it with U-shaped floral pins, overlapping them tightly to hide the base. I love how mixing patterns within a color palette creates such rich texture and depth. The result is a wonderfully rustic decoration that feels handmade and warm.
7. Mini White Pumpkin Berry Accent Wreath
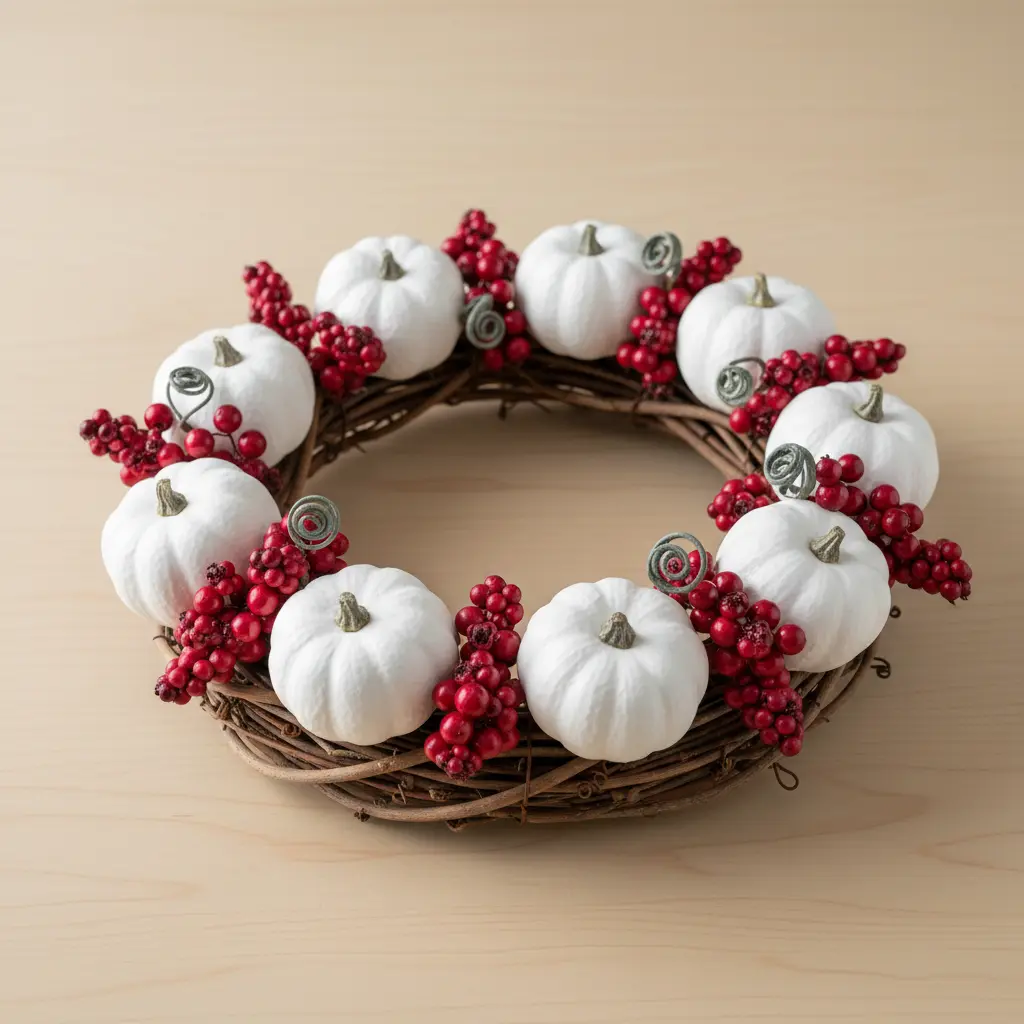
This one is a favorite for adding a subtle touch of fall without overpowering a space while testing diy fall wreath ideas. You start with a small grapevine wreath base and arrange a few mini white pumpkins for a fresh, modern look. Then, you tuck in clusters of deep red or burgundy berries for a vibrant pop of color and texture. It works so well because the white pumpkins let this accent piece blend into any decor style, from farmhouse to minimalist.
My best tip? Dry-fit all your elements before you glue anything down to get the perfect balance. That way, you avoid the common mistake of overcrowding your wreath. This is a great first major piece, but read up on crafting a pretty spring wreath so you know what to expect when you tackle a seasonal project. You will love the sophisticated charm it brings to your door or wall.
8. Felted Wool Acorn Forest Wreath

This wreath looks like a tiny forest floor you can hang on your door, making it ideal for tactile diy fall wreath ideas. You will create soft, fuzzy acorns by wrapping wool roving around a core and needle felting it into shape. Then, you glue them into real acorn caps and arrange them with moss and twigs on a grapevine base. I love how the cozy texture of wool makes the whole piece feel warm and inviting. Try it and feel that wonderful handmade charm.
9. Dried Wheat Stalk Circular Door Accent
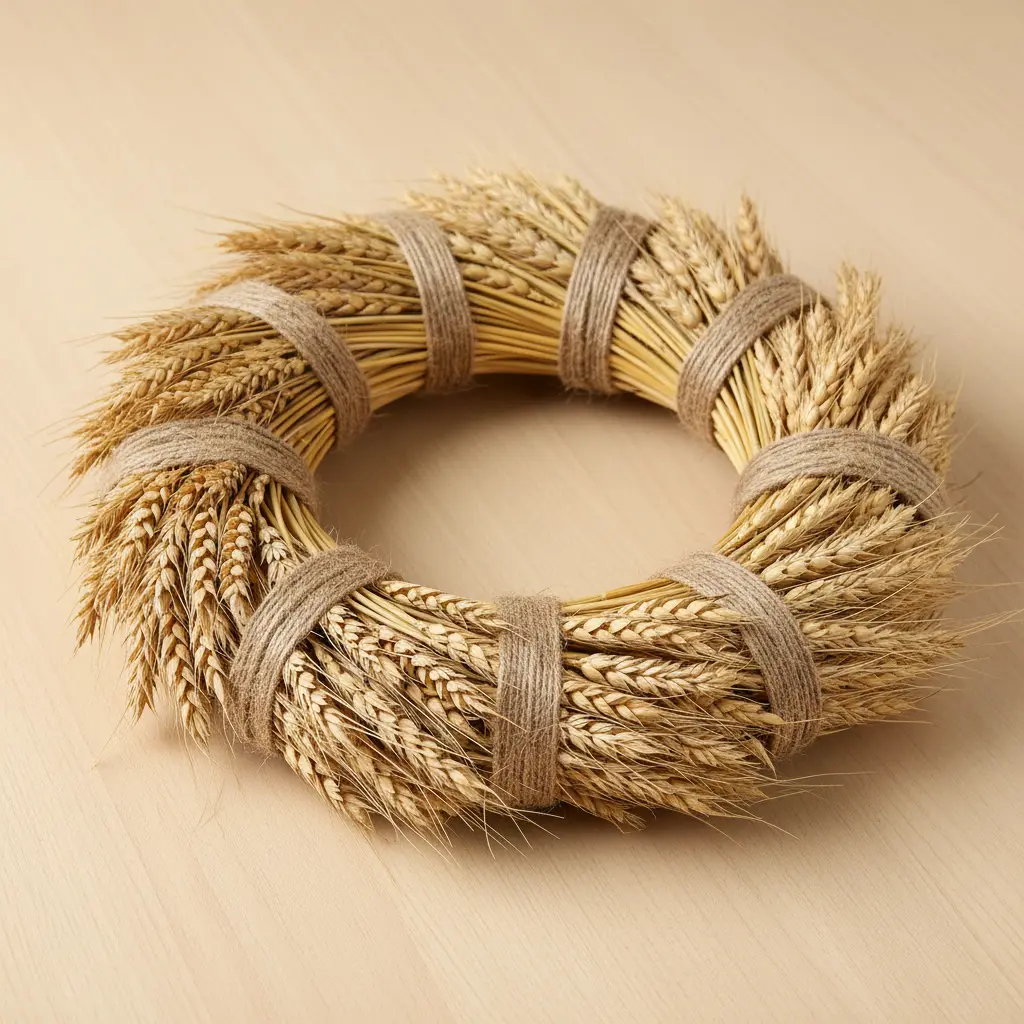
This is the definition of rustic charm, and it is surprisingly simple to make when exploring diy fall wreath ideas. You will bundle small groups of dried wheat stalks and attach them to a wire wreath frame, overlapping each cluster to create a full, textured circle. Secure everything tightly with floral wire, and finish with a simple twine loop for hanging. I love how the natural golden color instantly brings a warm, harvest-time
For a fun seasonal twist, you can add a coordinating accent like a make your own pumpkin hoop wreath to your porch setup. The key is to use wheat that is completely dry to prevent any mold. Trust me, you will feel so proud when you hang up your handmade, cozy creation.
10. Bold Sunflower Grapevine Front Door Wreath
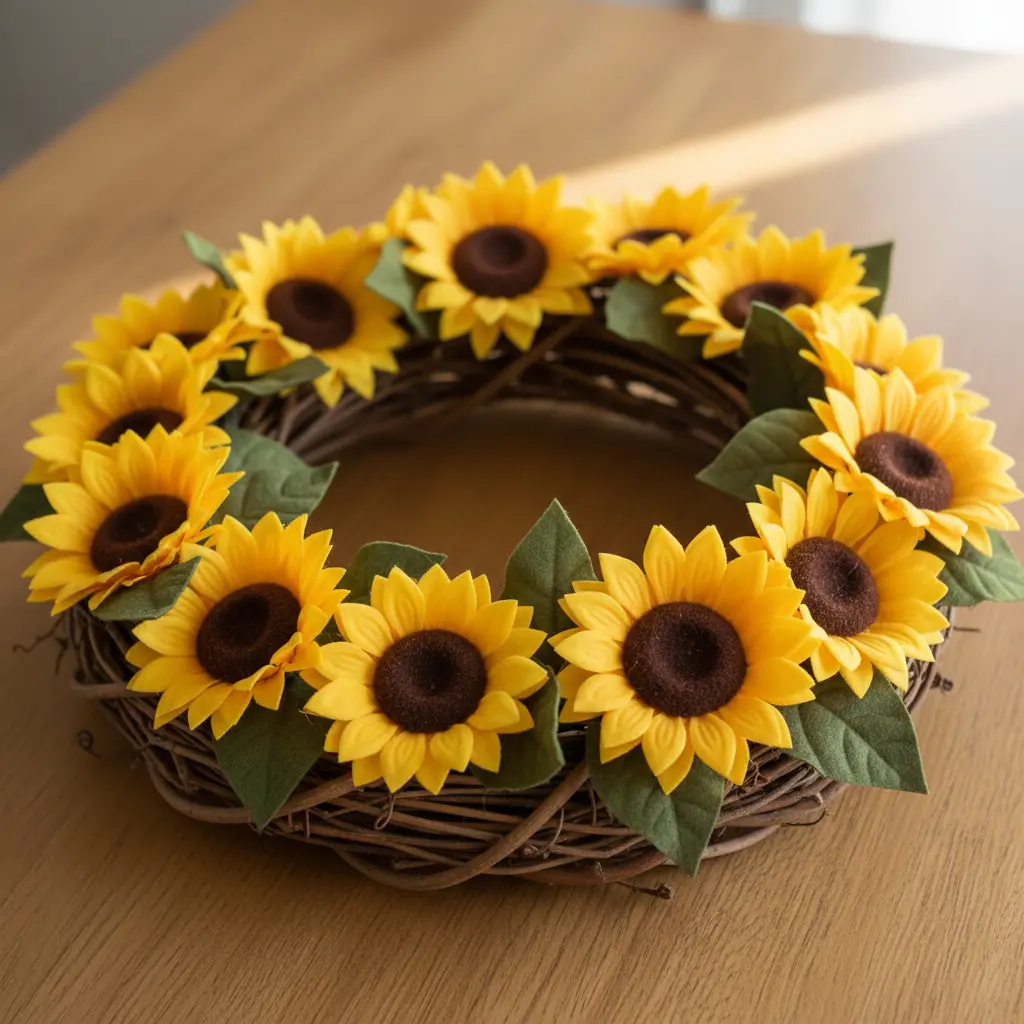
Ever want a wreath that practically shouts “welcome” from the curb when building diy fall wreath ideas? This one does exactly that with its big, cheerful sunflowers. You start with a grapevine wreath base and attach large, vibrant sunflowers first for maximum impact. Then you tuck in eucalyptus and wheat stalks to fill it out, securing everything with floral wire for a hold that lasts outdoors.
It works so well because the rustic, natural base makes those bold yellow blooms pop even more. I love how this combination feels both cozy and full of life. Trust me, you will feel a genuine sense of pride hanging this on your door.
11. Gold Painted Natural Branch Arrangement
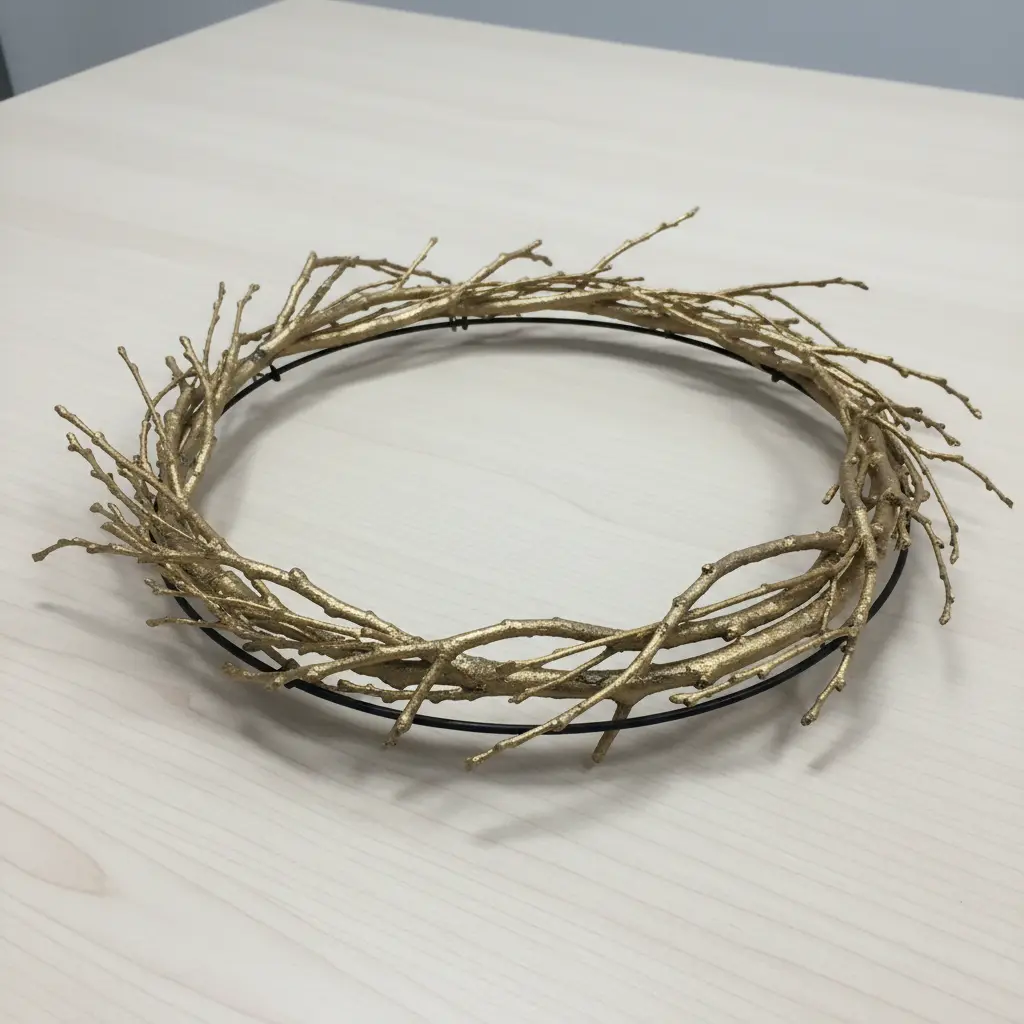
Who knew a handful of sticks could look so elegant when trying unconventional diy fall wreath ideas? This project takes humble natural branches and gives them a glamorous twist. You will clean and dry your branches, then apply several thin coats of gold spray paint outdoors. Let each coat dry fully to avoid drips. Once they are shimmering, arrange them in a weighted vase filled with sand or pebbles. The contrast of the organic texture with the metallic shine is simply stunning.
If you have leftover branches, you could use them for some fun ideas for Thanksgiving leaf crafts. Pro tip, start with shorter branches to get a feel for the painting technique before tackling a large, dramatic piece.
12. Cotton Boll Rustic Farmhouse Wreath
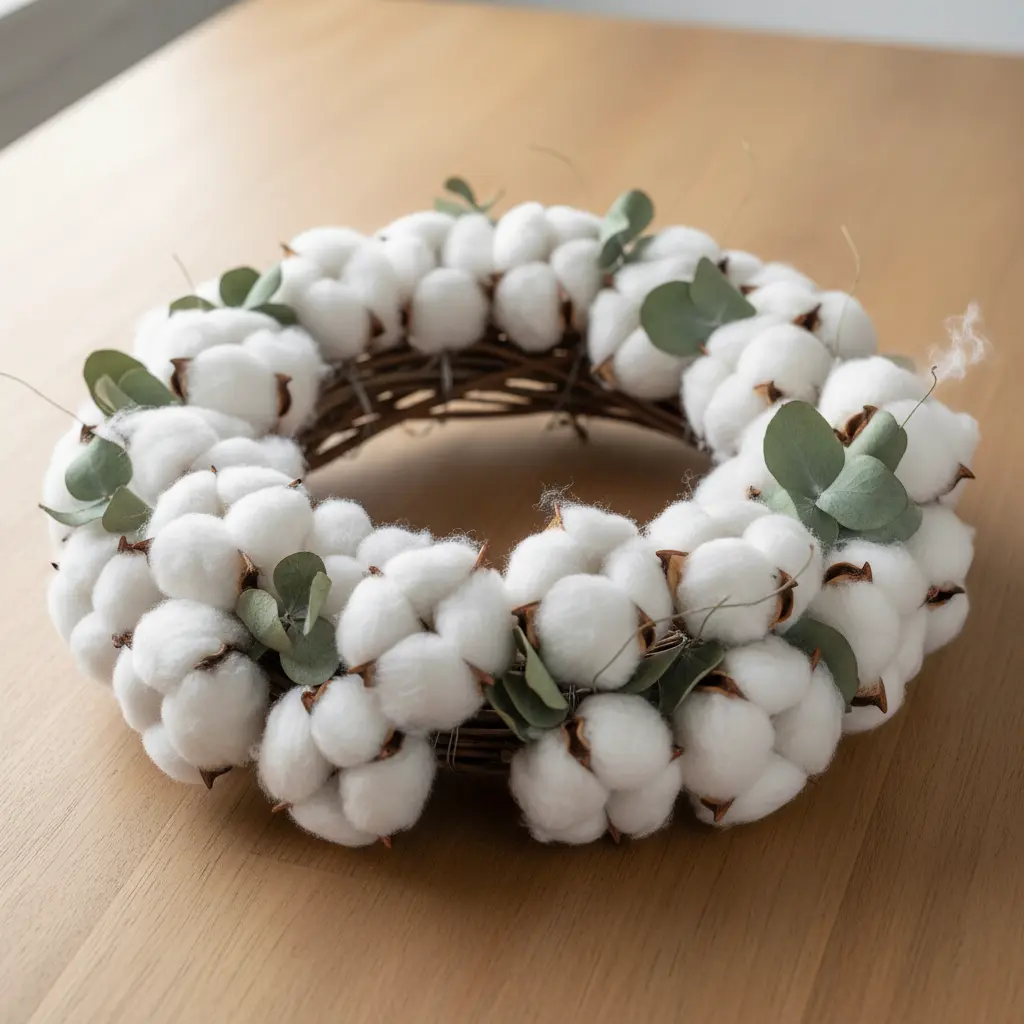
Ever wanted a wreath that feels cozy all year round while planning diy fall wreath ideas? This one surprised me with its simple, natural charm. You start with a grapevine wreath base and hot glue dried cotton bolls directly onto it. I love how you can arrange them in loose clusters to create a soft, fluffy texture. It works because that natural white and brown palette fits any room instantly. Trust me on this one, the key is to dry-fit everything before you glue. This prevents a lopsided look and lets you tuck in optional greenery like eucalyptus perfectly. Your finished piece will have that wonderful rustic farmhouse feel.
13. Dried Orange Slice Spice Wreath

This wreath looks like a professional bakery window display, but you can make it at home when crafting aromatic diy fall wreath ideas. Slice your oranges thin and bake them low and slow until they are dry and translucent. Then, use a hot glue gun to attach them to a grapevine wreath along with cinnamon sticks and star anise. I love how the warm citrus scent greets you every time you walk by. It is a fantastic way to add texture to your front door, and you can easily create charming fall acorn decorations to tuck in for extra seasonal charm. The whole project feels so rewarding and cozy.
14. Geometric Wire Frame Foliage Accent
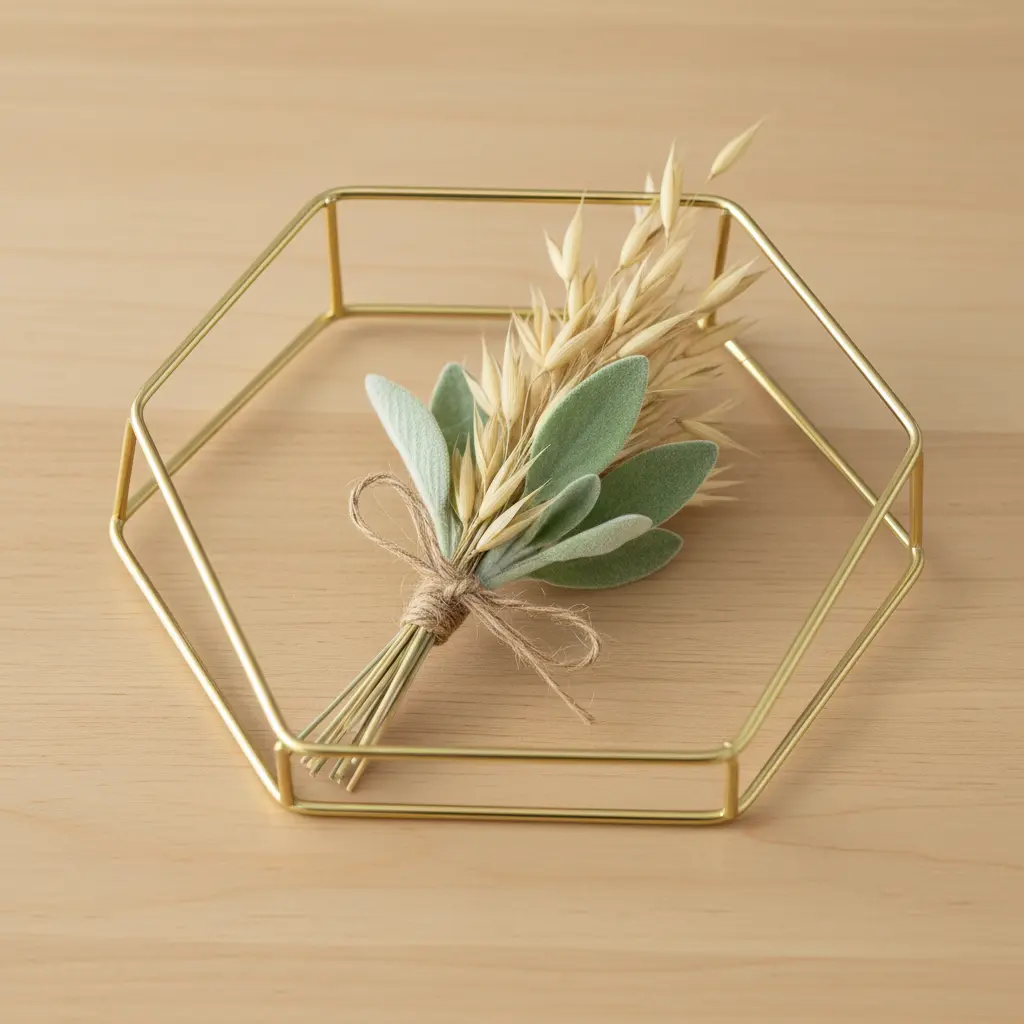
Who would have thought clean lines and soft leaves could look so good together when designing modern diy fall wreath ideas? You start by shaping your metal wire into a simple cube or circle, securing the joints tightly. Then you tuck in a few sprigs of eucalyptus or some preserved ferns, letting the greenery peek through the open frame. I love this one because it gives you that modern, airy feel without looking bulky. Your wreath gets this fantastic visual contrast between the sharp geometry and the organic foliage. Try it and feel how sophisticated your front door can look.
15. Soft Velvet Ribbon Autumn Wreath
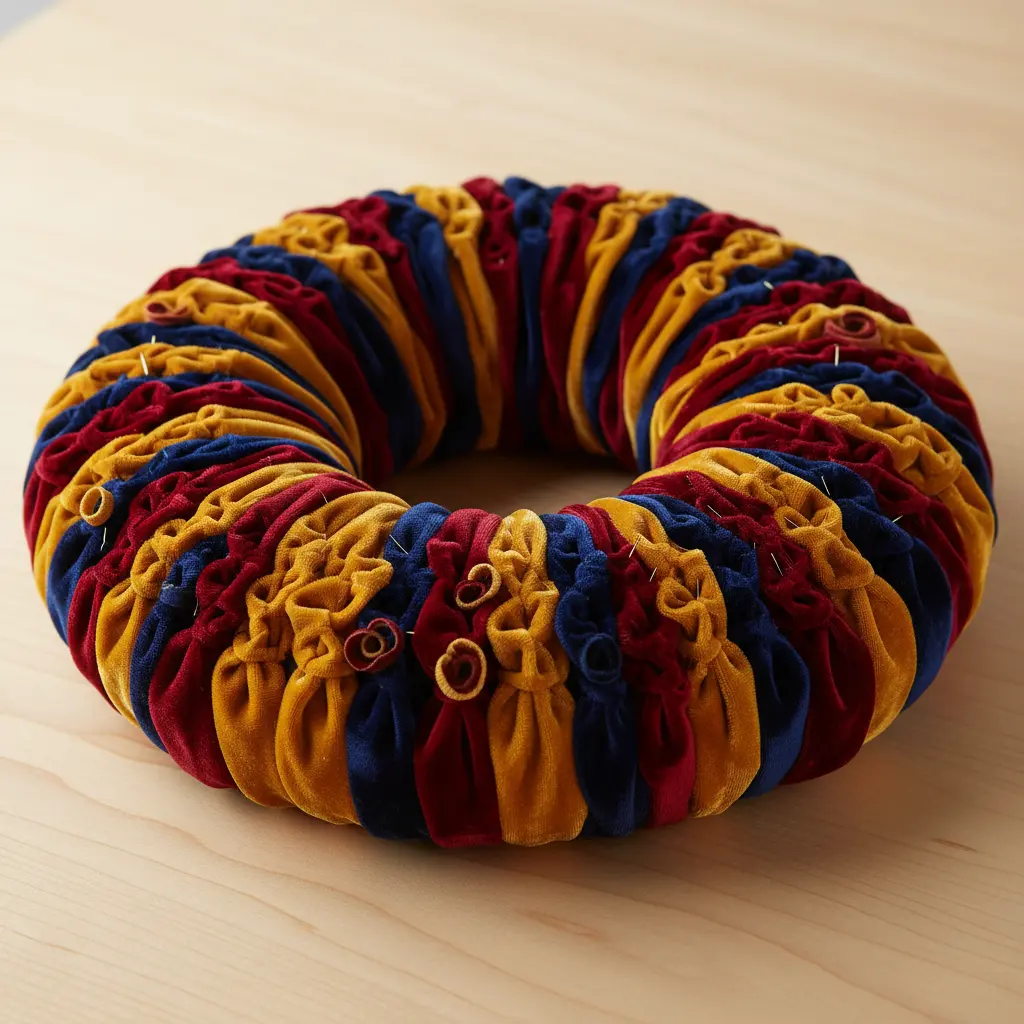
Ever wondered how to make a wreath that feels as cozy as it looks when selecting materials for diy fall wreath ideas? This one is all about the lush, tactile texture of soft velvet ribbon. You can wrap a grapevine base completely or use the ribbon to create big, beautiful bows and streamers. I love mixing a few rich autumn colors like deep burgundy and forest green for a look that is both elegant and inviting. Adding a few faux autumn leaves and berries gives it a natural touch without overwhelming the softness. It is a surprisingly simple way to bring a feeling of luxury to your front door. Trust me, you will adore the final result.
16. Neutral Pampas Grass Boho Wreath
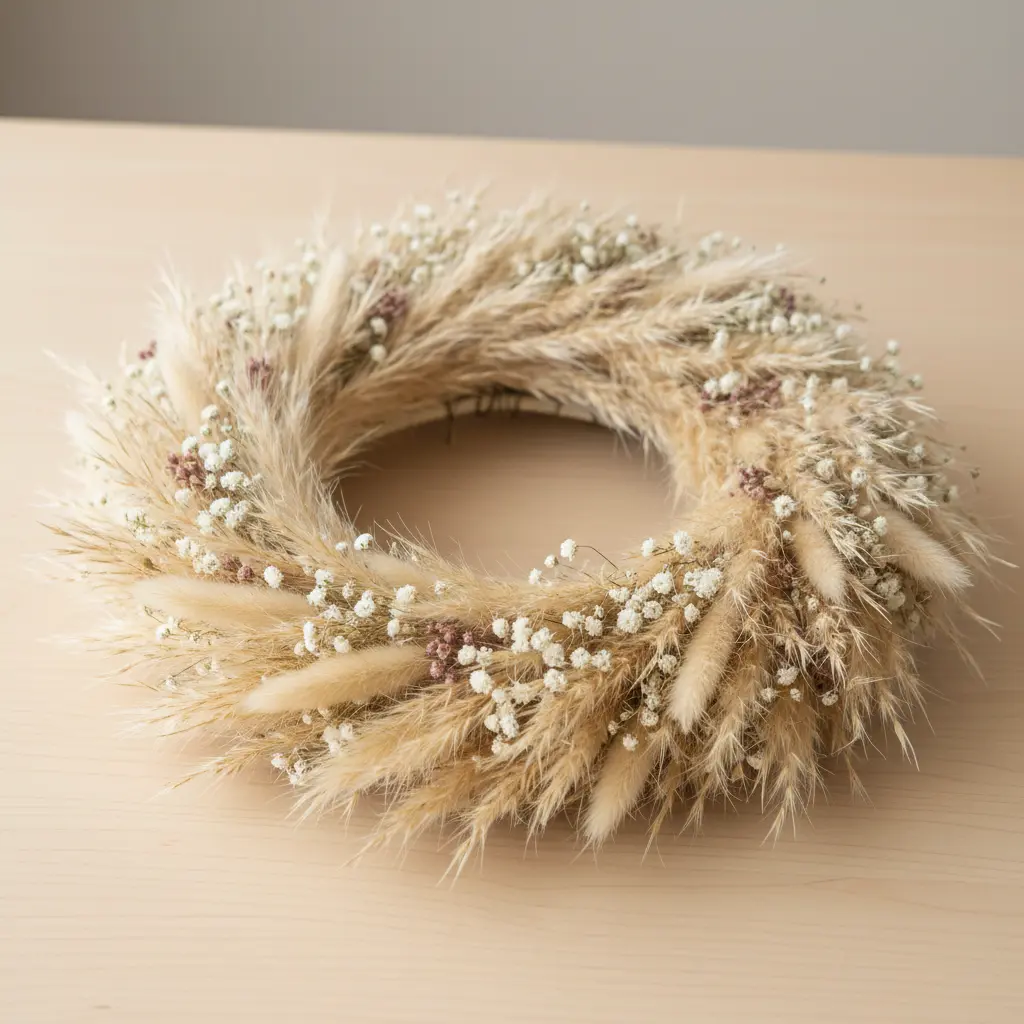
Isn’t it wonderful when a project feels effortlessly chic while gathering diy fall wreath ideas? This wreath does exactly that with its soft, feathery plumes. I love using natural, undyed pampas grass and securing it to a grapevine base with floral wire. Layer the bunches in one direction for that perfect, free-flowing boho shape. Trust me, the neutral palette makes it incredibly versatile for any room. A light coat of hairspray keeps everything in place and minimizes shedding. Feel that cozy, sophisticated warmth it brings to your space.
17. Asymmetrical Succulent Fall Greenery Wreath
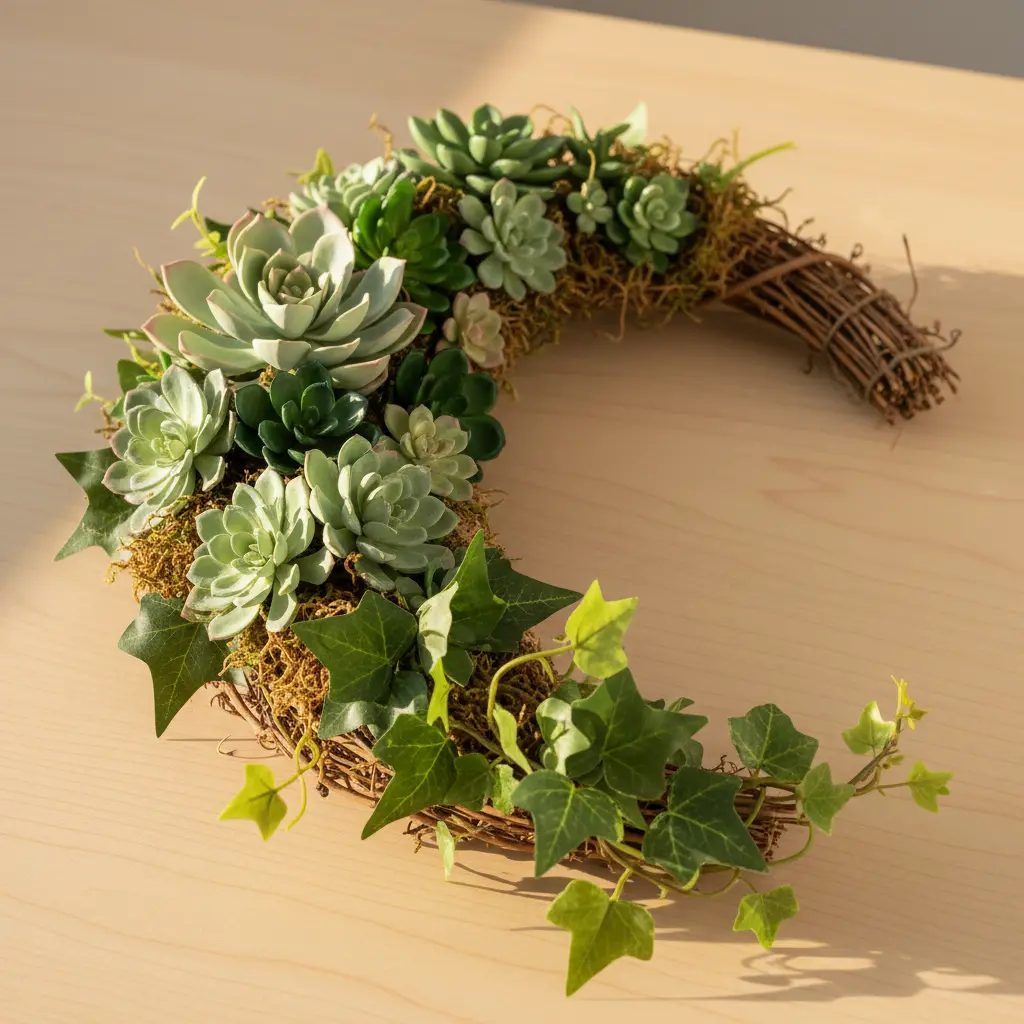
This one is for anyone who finds perfectly round wreaths a bit too predictable when arranging diy fall wreath ideas. You start by building a lush cluster of silver dollar eucalyptus and olive branches on just one side of a simple grapevine base. Then, you tuck in those gorgeous artificial succulents and maybe a few muted berries to create an artistic, flowing look. I love how the intentional imbalance feels modern and organic, not messy.
Doesn’t that sound more interesting than a symmetrical circle? The key is to leave plenty of negative space so your main arrangement really pops. This design works because it uses an earthy, sophisticated color palette that feels fresh for autumn. For another unique take on seasonal decor, look at some holiday card wreath inspiration to see how personal mementos can become part of your display.
18. Dark Berry Cluster Vine Wreath
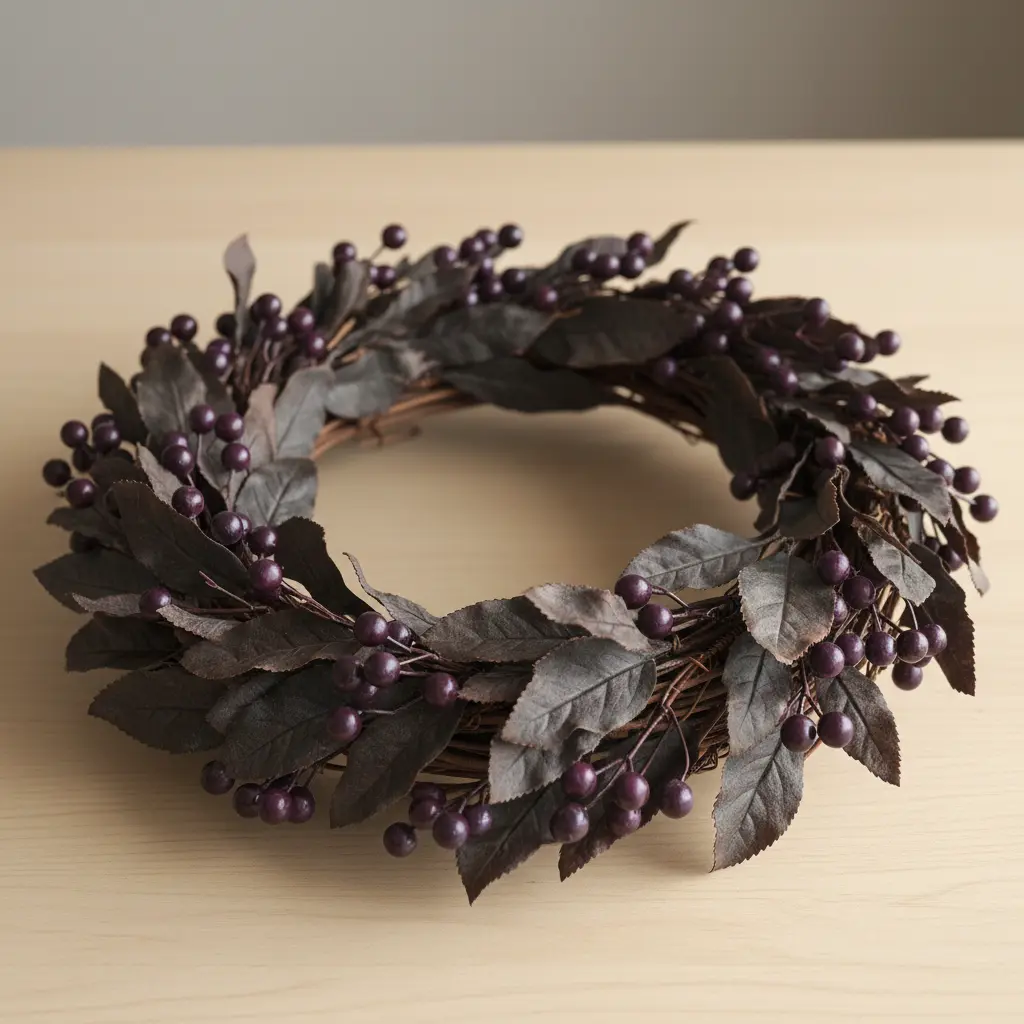
Ever feel like a seasonal door accent needs to be more than just a splash of orange when exploring diy fall wreath ideas? This one is my secret for a look that feels both elegant and earthy. You start with a simple grapevine wreath base and attach clusters of deep burgundy or purple berries. The trick is to place them in small, organic-looking groups, not just dots all over the place. This creates incredible depth and a rich texture that works perfectly for a sophisticated fall or even a winter door. It is surprisingly simple to put together, and the payoff is a stunning, versatile piece.
19. Rustic Twig Frame Fall Floral Wreath
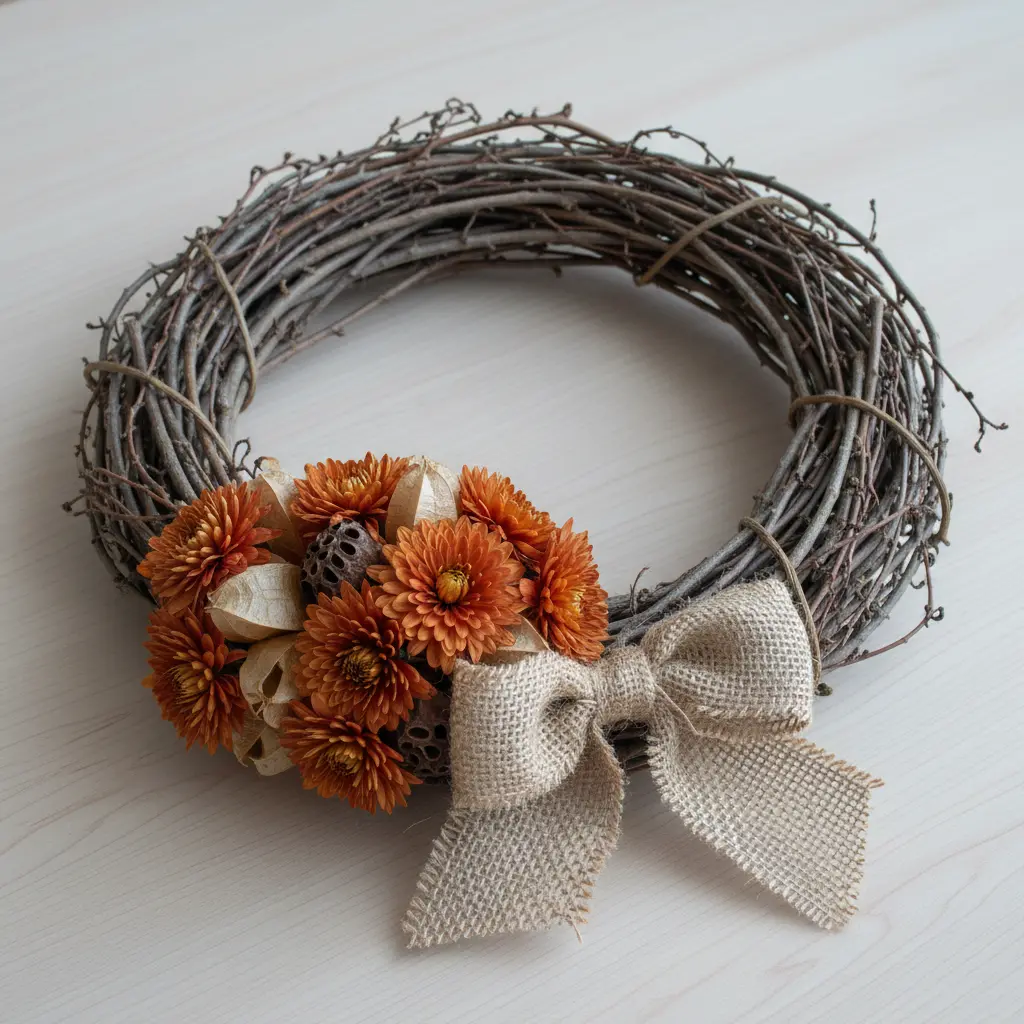
Ever wondered how to make a wreath that feels truly gathered from the woods when designing diy fall wreath ideas? This one captures that magic by letting the grapevine wreath base stay visible. You’ll start by securing your largest floral pieces, like sunflowers or hydrangeas, in a loose cluster. Then, fill in with smaller leaves, berries, and maybe some dried wheat for texture.
I love this design because that raw, natural frame does most of the work, giving you instant rustic charm. It feels wonderfully homemade and cozy. A practical tip is to lay everything out before gluing to avoid overcrowding the frame. Once you’ve finished your warm autumn arrangement, you might want to plan a spooky Halloween wreath as your next seasonal project.
20. Braided Jute Rope Circular Wreath
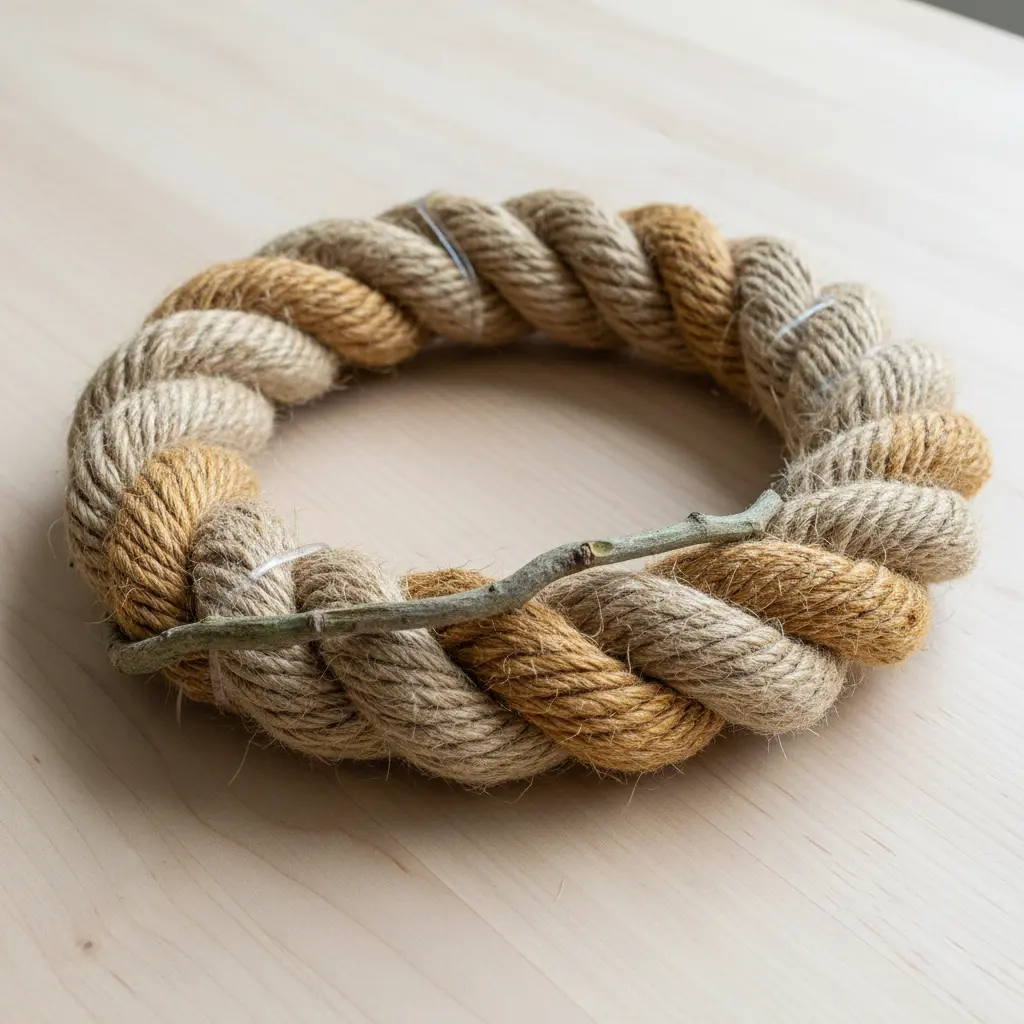
This one has a wonderfully rustic texture that feels instantly welcoming when practicing diy fall wreath ideas. You start by taking a length of braided jute rope and coiling it tightly into a circle, securing the end with a dab of hot glue. I love how you can leave it as a simple, natural loop or add a few dried wheat stalks for a harvest touch. It works so well because the raw, earthy material does all the heavy lifting for your autumn vibe. Try hanging it on a door or over a mirror and feel the cozy, handmade charm it brings.
Mounting Hardware and Preservation for Extended Use
A sturdy wreath hanger rated for double the weight of your finished piece is the only safe choice for a front door exposed to wind when protecting your diy fall wreath ideas. That flimsy hook from the craft store will fail, and you will find your beautiful work on the porch. For preservation, your method depends entirely on the materials. Outdoor wreaths demand UV-rated foliage and waterproof hot glue or floral wire to prevent sun bleaching and rain damage. For indoor pieces with delicate dried elements, a light mist of clear acrylic spray can help reduce dust accumulation and frizz. Always check the adhesion of key components before you hang it up for the season, as a loose bow or pumpkin is an easy fix now but a headache later.
Conclusion
So how did your turn out with diy fall wreath ideas this season? If you haven’t started yet, that is perfectly fine—these seasonal projects are meant to inspire, not rush you. The best feeling comes when you step back and see a cluster of dried wheat or a few mini pumpkins sitting just right on the door. Your front porch is a little more welcoming now, and that is the real reward. If you are looking to expand your autumn decor, consider using some leftover wheat stalks in a table centerpiece or bundling pinecones into jar fillers. The materials you gathered for one project often lead you straight into the next, and that is part of the seasonal fun. Look at how much you have created—real skill, real warmth. The best wreath is the one that makes you smile each time you come home.
FAQs
Q: What keeps a DIY fall wreath from looking lopsided?
A: Secure the heavier elements like pinecones with floral wire rather than glue alone, and position them directly opposite each other to balance the weight. Always hang the wreath on a hook and check from a distance before finalizing the arrangement.
Q: What is the best wreath base for a lightweight design?
A: Grapevine and wire frames are excellent lightweight options that still provide plenty of support. A wire hoop works especially well for modern, airy wreaths.
Q: How long will fresh foliage last on an autumn wreath?
A: Fresh leaves and florals typically stay vibrant for about a week when kept out of direct sunlight. For longer-lasting color, dried or artificial alternatives are a smarter choice.
Q: What is the easiest way to attach heavy pinecones?
A: Use a hot glue gun with industrial-strength sticks for a quick hold, then reinforce with floral wire wrapped through the pinecone scales. This double method ensures nothing falls off in gusty weather.
Q: How should I store a handmade fall wreath for next year?
A: Place the wreath in a large resealable plastic bag or wrap it in a sheet to keep dust off, then store it flat in a cool, dry closet. Avoid stacking anything on top so the shape stays intact.


