

Essential Tray Preparation and Paint Consistency
When practicing marble painting techniques for kids, the fastest way to ruin your marbled paper is using paint that’s too thick to slide. We all know that washable tempera is the standard choice, but the real trick is thinning it to a creamy, pourable consistency with a touch of water. This fluidity lets your glass marbles glide and deposit those beautiful, unpredictable veins instead of dragging thick gobs.
You want to avoid a tray that’s too deep, as marbles get stuck and patterns become muddy. A baking sheet or a shallow cardboard lid taped securely to the table creates the perfect low-friction surface for this fluid arts technique. Trust me, taking these two minutes to prep your paint and tray makes all the difference between a muddy mess and a masterpiece.
Selecting Heavyweight Paper for Fluid Arts
Your finished piece will warp and tear if you use thin, porous paper that struggles with the moisture. The good news is that a sheet of heavyweight watercolor paper or smooth cardstock provides a stable, non-absorbent surface that holds its shape. This substrate gives the wet paint and rolling marbles a solid foundation to work their magic without the paper buckling.
You will notice the paint sits on top for a moment, allowing you to tilt the tray and guide the pattern before it soaks in. That brief window of control becomes vital for mastering marble painting techniques for kids, creating crisp, high-contrast veins. A canvas board offers another excellent choice for a project you plan to display, as you bypass the mounting step later.
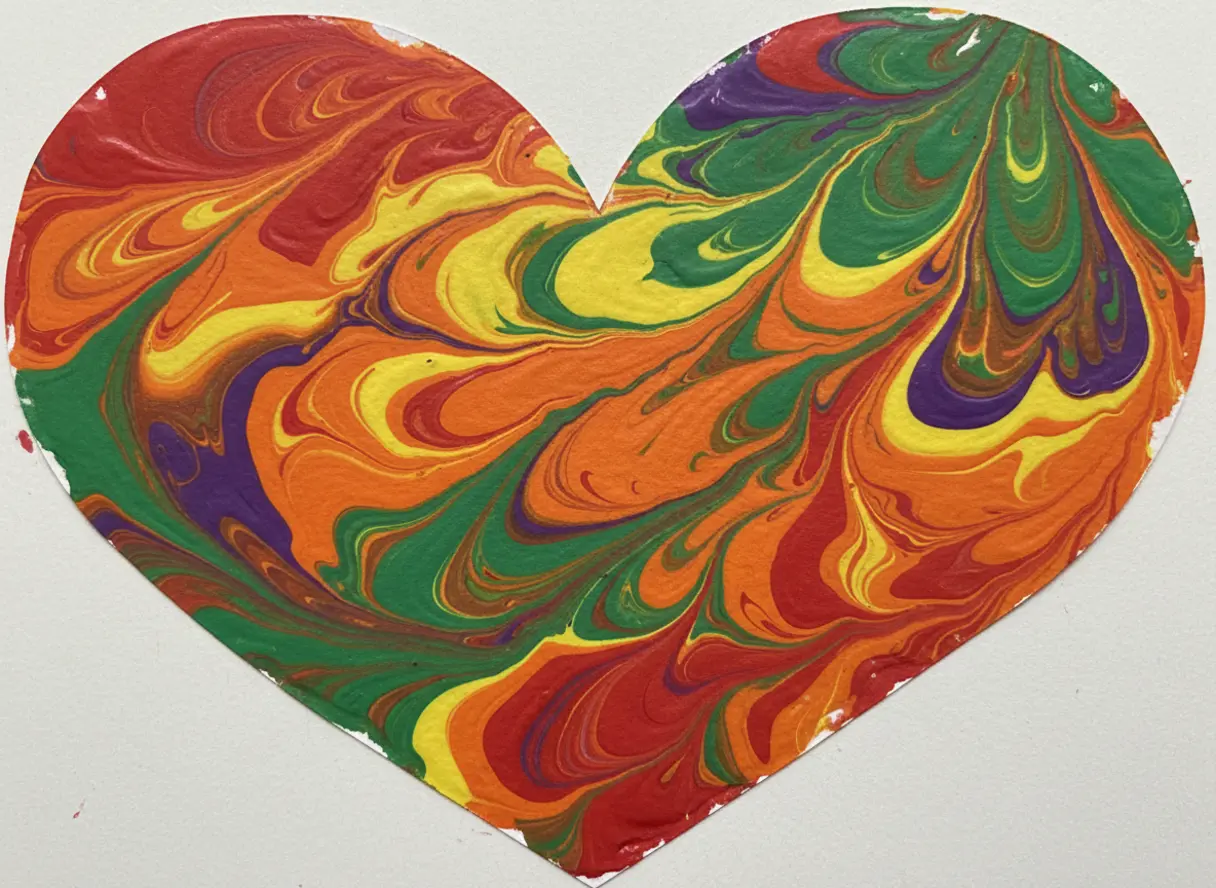
1. Rainbow Swirl Cardstock Heart Cutout with Vibrant Trails
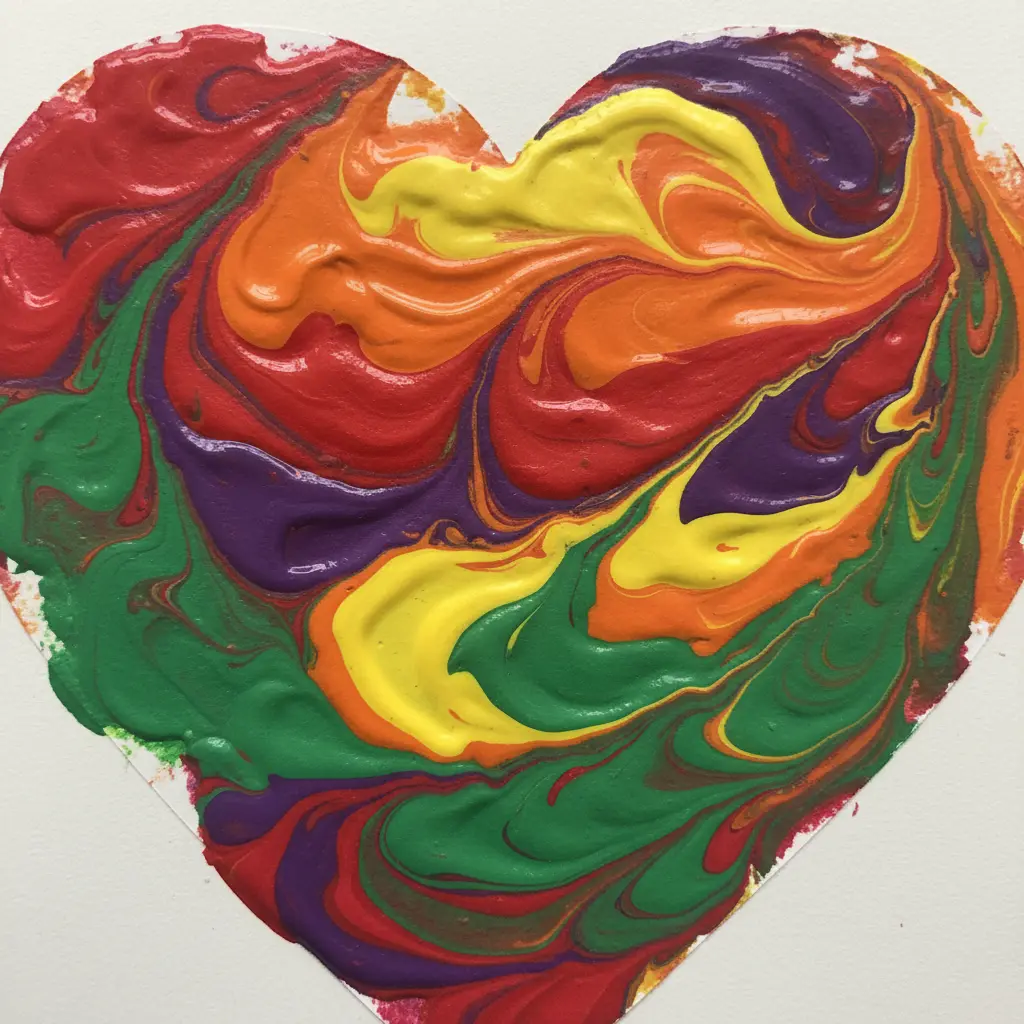
This heart project perfectly demonstrates marble painting techniques for kids and looks like a professional art piece, but trust me, it’s a fantastic first attempt. You start by cutting a crisp heart shape from sturdy white cardstock using a die-cutter or sharp scissors. Then, you simply swirl your markers in a rainbow pattern right on the surface, blending the colors while they are still wet to create that soft, dreamy effect.
The magic happens when you extend those colors outwards to form the vibrant trails. This gives your heart a sense of joyful motion, like it is dancing across the page. I love how this simple approach turns a flat shape into something full of energy.
It serves as a wonderful way to explore other painting techniques and build confidence with color blending. Your finished heart will appear as a burst of pure happiness.
2. Monochromatic Blue Abstract Cardstock Square: A Calm Oceanic Effect
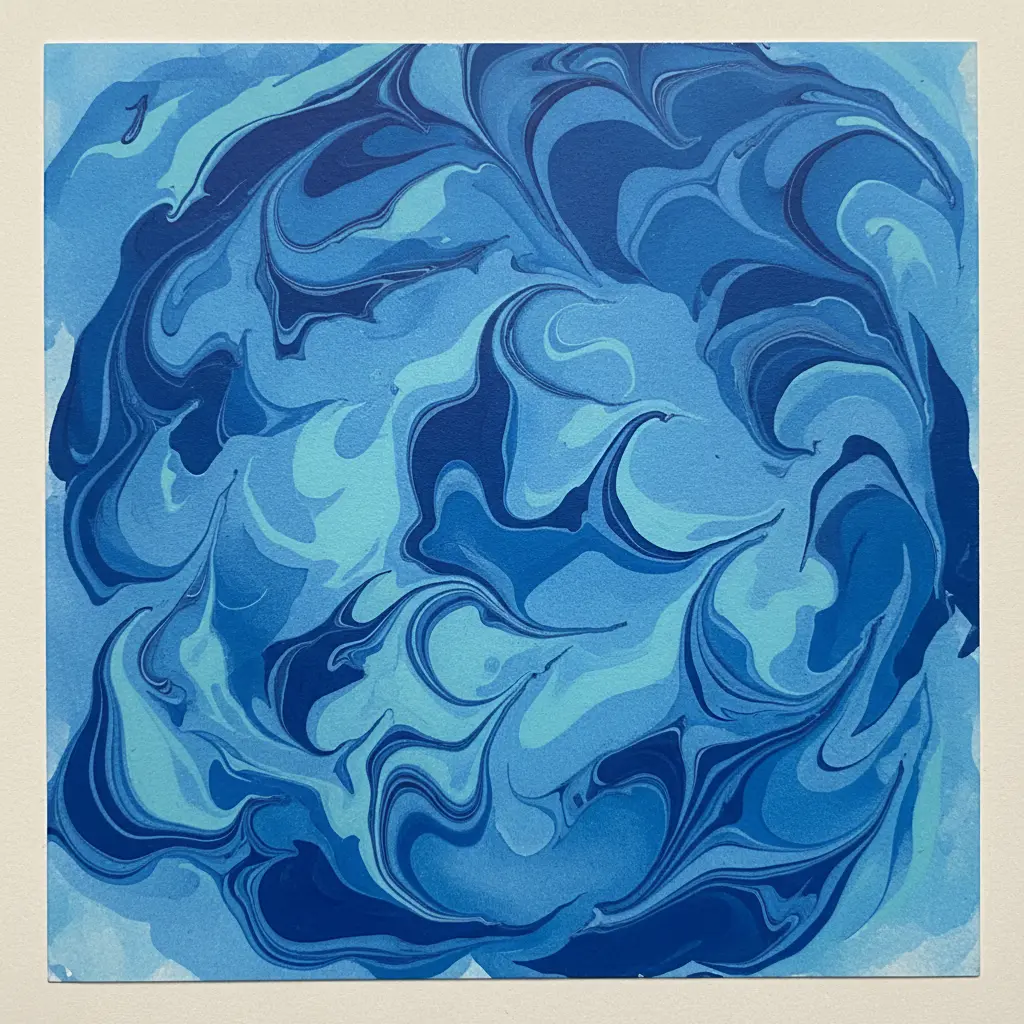
Who would have thought you capture the ocean’s peace without a single drop of water? This project focuses entirely on feeling the calm through layers of color and texture. You will cut flowing, organic shapes from a whole range of blue cardstock in different finishes and shades.
Then, you layer them onto a sturdy base square, using foam adhesive dots to create depth that mimics gentle waves. I love how the different textures catch the light, adding so much visual interest. The trick is to overlap your pieces and let the edges blend softly, avoiding any harsh lines.
When exploring marble painting techniques for kids, focusing on a single color family makes the creative process feel so serene. You will be amazed at the tranquil, expansive scene you build with simple paper.
3. Complementary Orange and Green Pattern — Bold Botanical Marbling
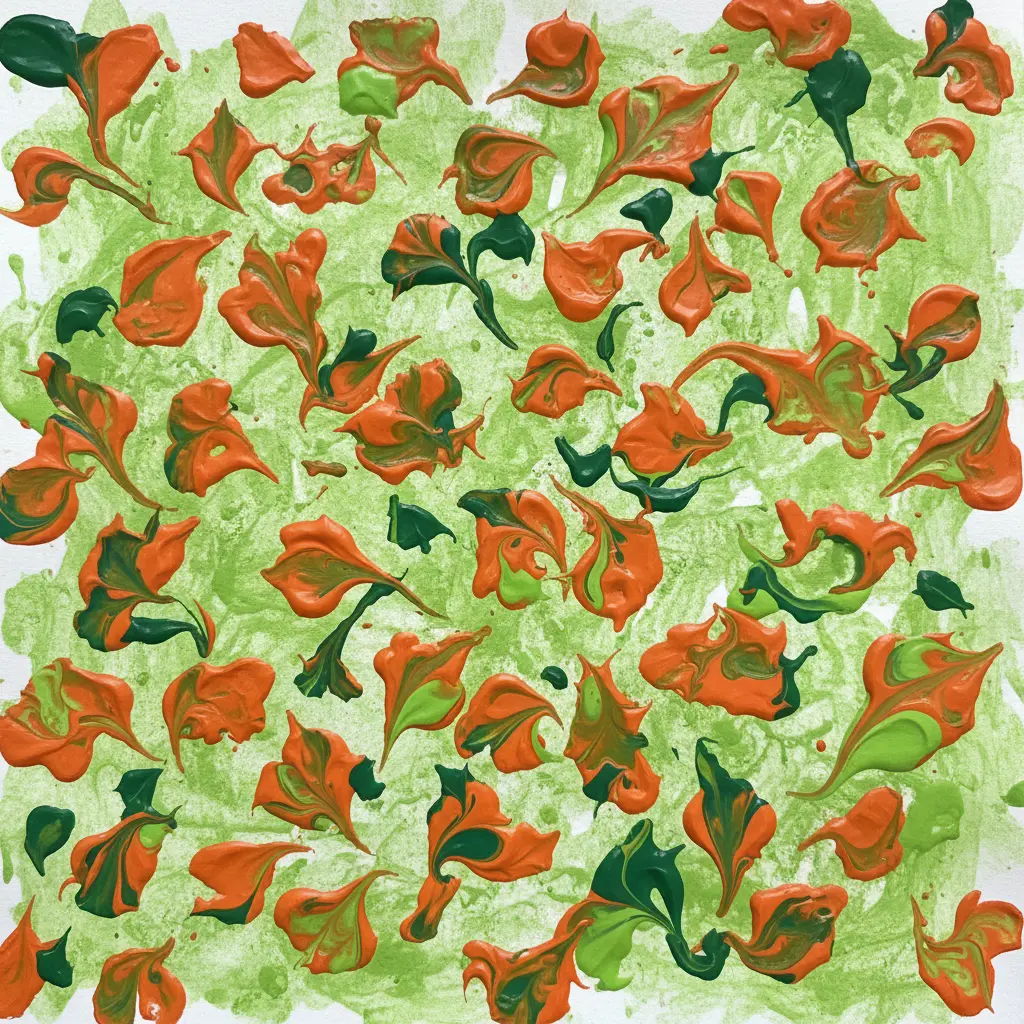
Who would have thought a simple color combo looks so sophisticated? This pattern uses the dynamic contrast of orange and green paints to create something that feels alive. You will drop and swirl them on the marbling size to mimic bold leaf veins and wood grain, avoiding tiny delicate lines.
Let the colors spread first, then use your stylus with confidence. The trick is to make those sweeping, organic gestures before you transfer the pattern to your paper. I love how the finished piece has such depth, with some colors popping forward and others receding.
Following marble painting techniques for kids here builds serious confidence with fluid art. For another fun, textural art activity that kids adore, look into some creative salt painting ideas. Does that not look stunning?
4. Pastel Springtime Flower Paper Shape with Soft, Flowing Swirls
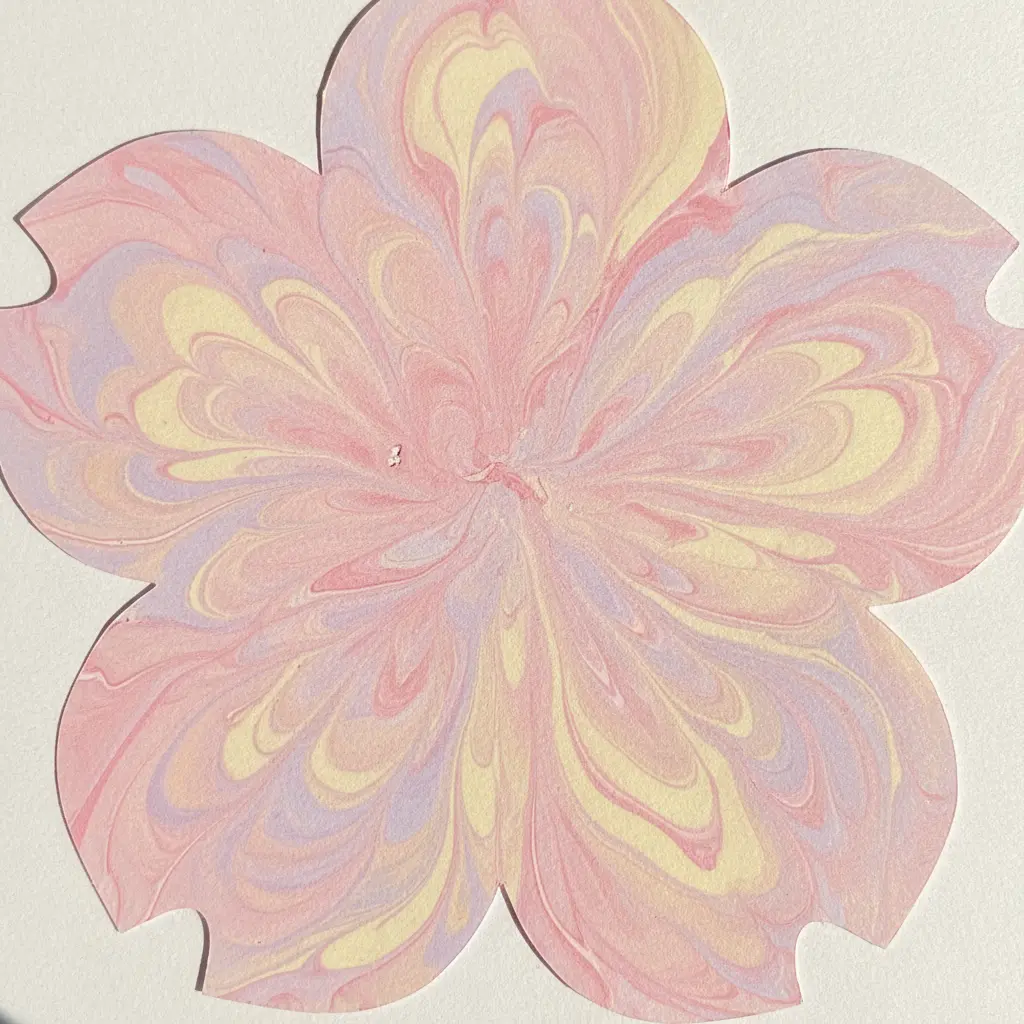
This one looks delicate but trust me, it is so forgiving for beginners. You start by sketching a simple flower shape, then add a few gentle, organic swirls into the petal edges or as cut-outs inside them. I love using a die-cutting machine for this because it gives you those perfect, clean lines on the swirls every single time.
Pick two or three soft pastel papers that feel like spring, like a pale pink and a minty green. The key is letting those flowing swirls create a sense of movement and lightness in your finished piece. Is it not amazing how such a simple shape feels so elegant?
Before tackling a design this detailed with marble painting techniques for kids, it is a great idea to get comfortable with some simpler geometric painting projects for kids to build your cutting confidence. Then, simply stack your shapes with a dot of glue and step back. Feel that fresh, cheerful vibe you created.
5. Bold Primary Color Chaos Design: Energetic Abstract Motion
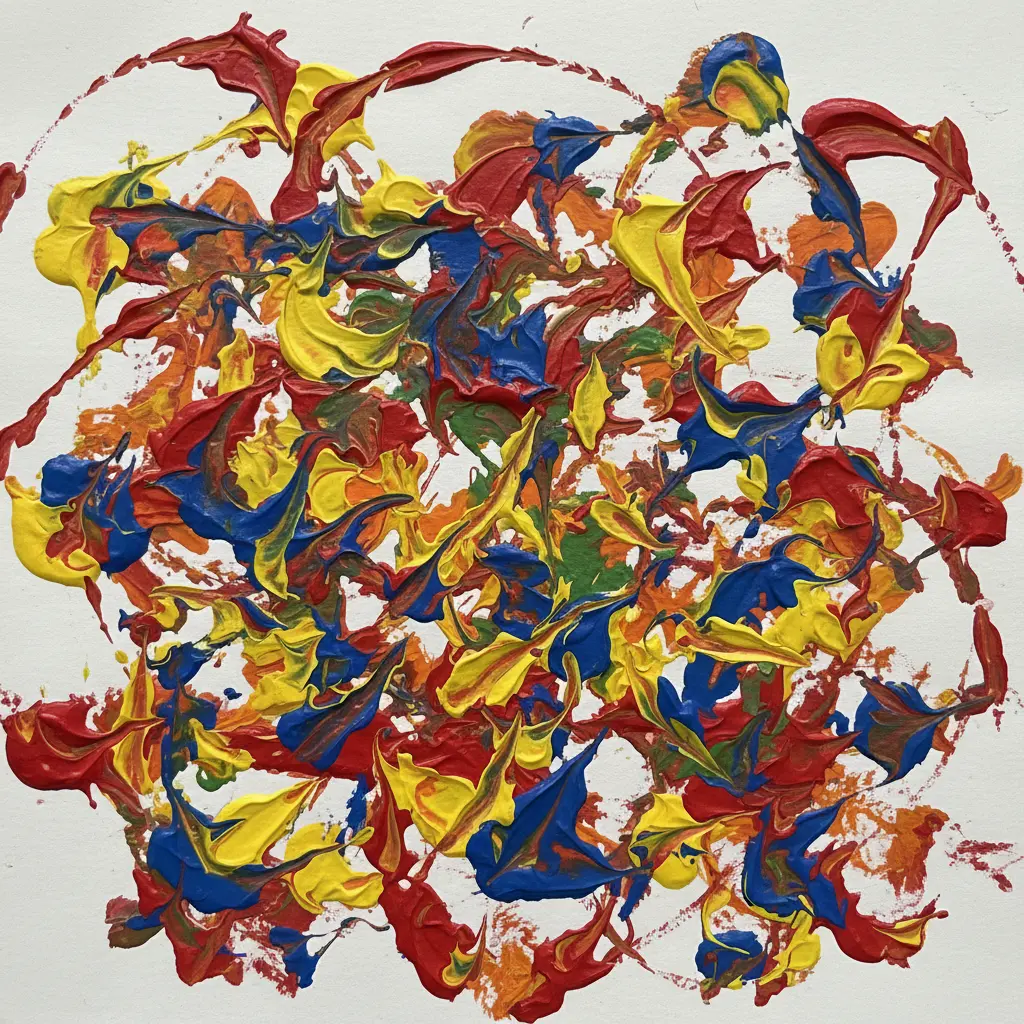
Ever wondered how to capture pure, unrestrained energy on a canvas? This technique is all about letting the primary colors run wild. Start by laying down big, swirling strokes of one color, then quickly add another right over the top so they blend and clash. The real fun arrives with the third color, applied with drips and splashes to create that sense of explosive motion.
I love this one because it turns controlled chaos into something vibrant, which highlights why marble painting techniques for kids work so well for energetic projects. The key is to embrace the mess and let the colors interact on their own terms. Does that not look stunning?
6. Metallics on Black Construction Paper — Shimmering Night Sky Effect
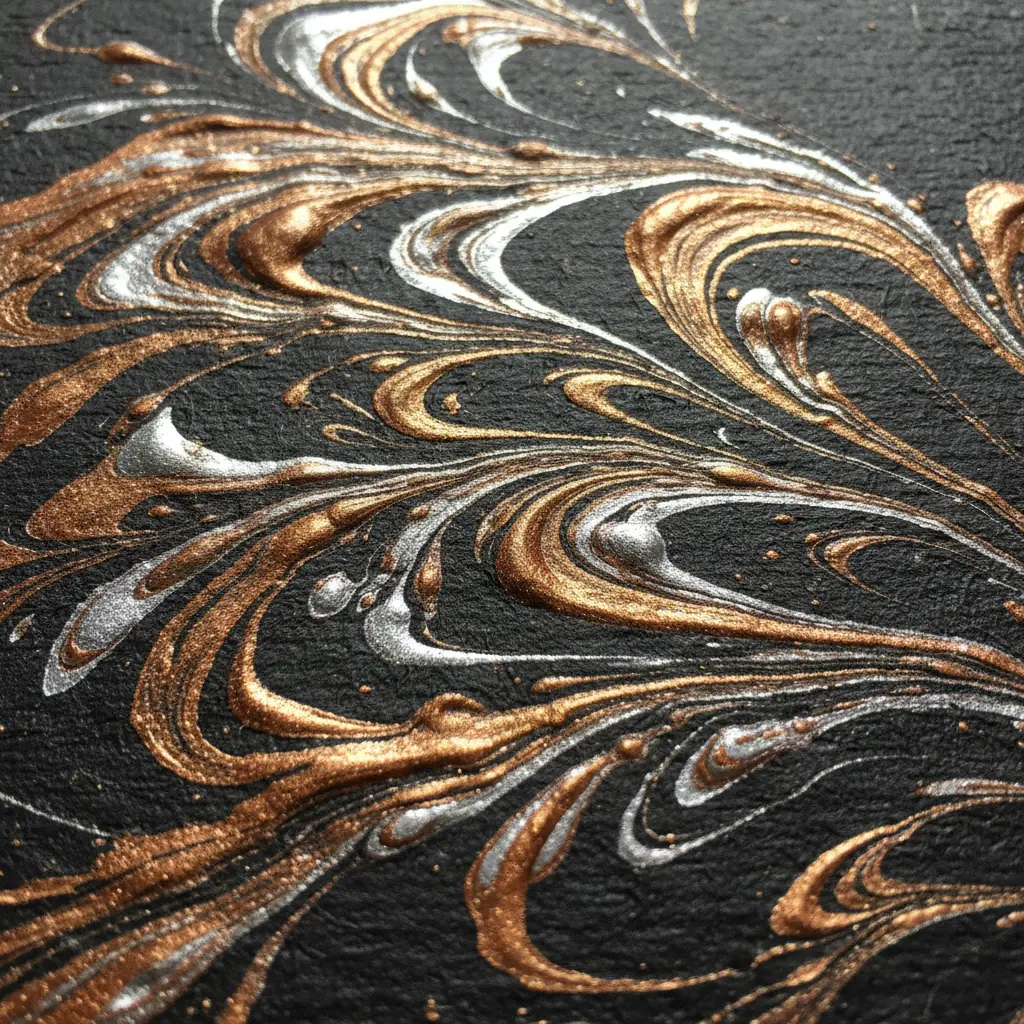
Does the idea of painting a galaxy sound tricky? It is simpler than you think, and the results are pure magic. You start with a sheet of black construction paper as your deep space backdrop. Then, you create a field of tiny stars with a toothbrush splatter technique using silver or white paint. For the big, shimmering stars and soft nebulae, I love using a metallic paint pen and a damp sponge to dab on iridescent blues and purples.
This works so well because the dark paper makes every speck of metallic shine pop and twinkle. Mastering marble painting techniques for kids on dark surfaces gives your finished night sky amazing depth and a truly alive feel. It is a wonderful way to incorporate mixed media into art, letting you play with pens, paints, and sponges at once. Your final creation will feel completely alive.
7. Neon Splatter Effect White Canvas: Electric Energy Burst
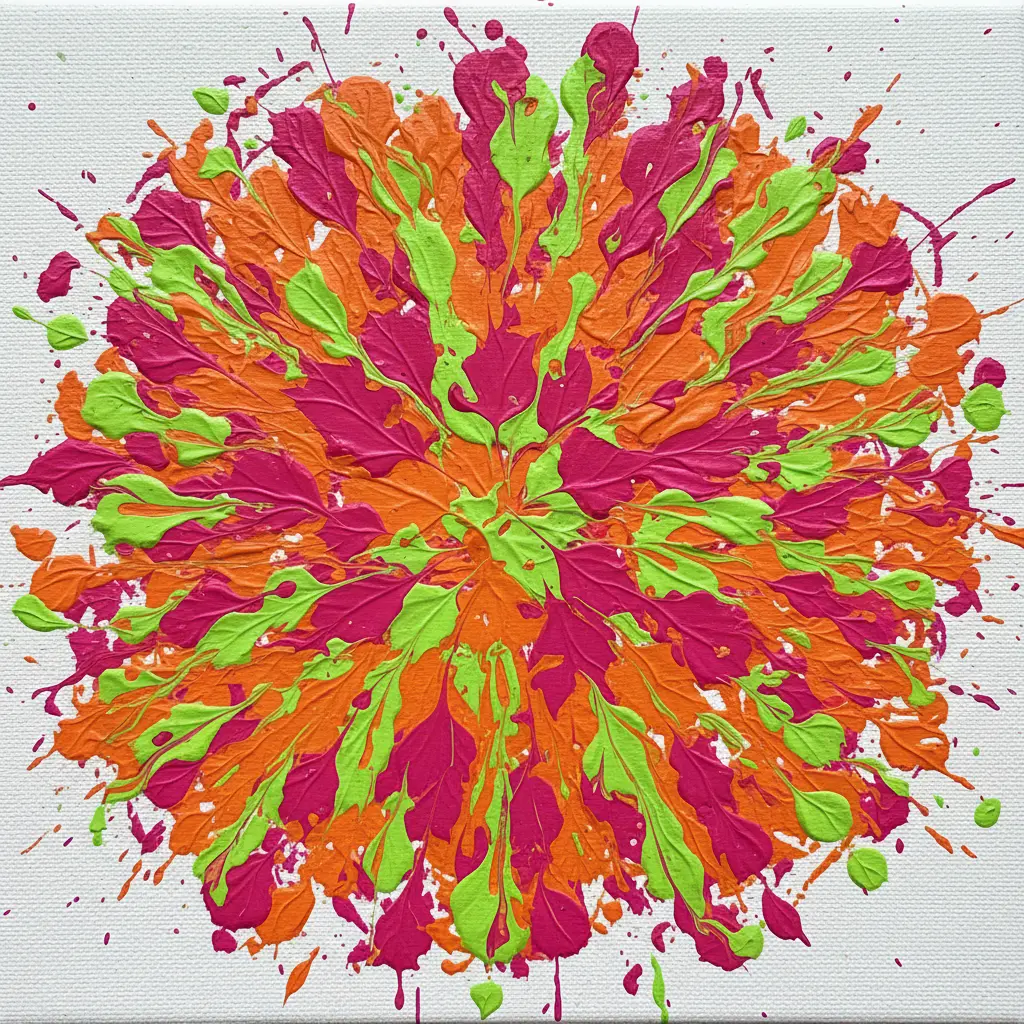
Ever wonder how to capture pure energy on a canvas? This technique is all about that electric buzz. You start with a clean white surface and a palette of vibrant neon acrylics. Then, let loose with dynamic splattering using brushes, toothbrushes, or even a straw to blow the paint into wild, arcing bursts.
The real magic hides in the glow. While your neon splatters remain wet, add a tiny bit of white or a lighter shade to their centers and gently blend outward. That gradient effect makes the colors look like they are lit from within, creating amazing depth. Practicing these marble painting techniques for kids remains a fantastic way to experiment with color and movement.
Trust me, do not overthink it. Start with less paint and build up the intensity gradually. The controlled chaos delivers that authentic, high-energy feel. You will love the final, electrifying result.
8. Warm Analogous Sunset Paper Star with Blended Hues
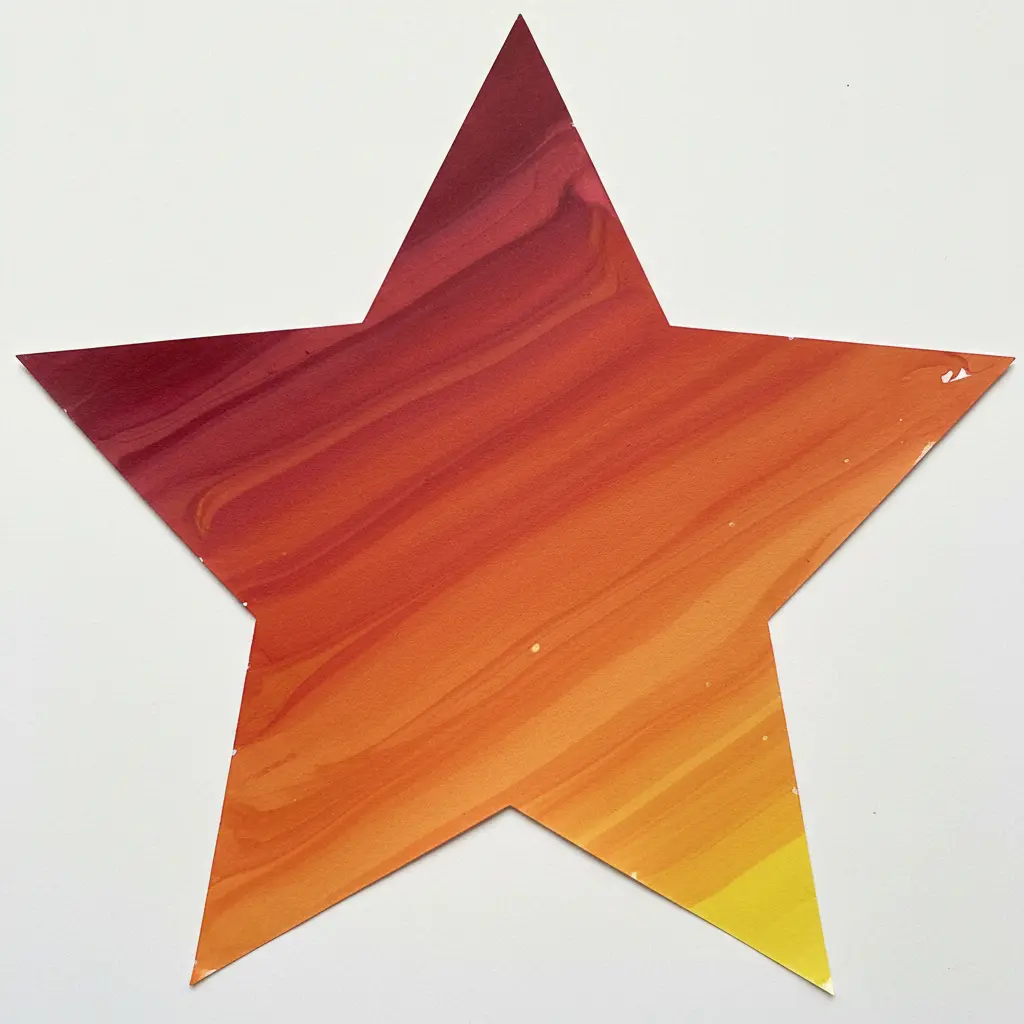
This one looks like a professional art piece, but trust me, it is a fantastic project for kids to try. You start by cutting star points from sturdy paper, then use a blending technique to create a soft sunset effect. I love how the wet-on-wet watercolor method makes the colors melt together so beautifully.
For those exploring marble painting techniques for kids, a great tip is to start with the lightest yellow and slowly add orange and red, letting each layer dry a little. This works because those warm, close-together colors create a feeling of harmony, much like a real sunset. For another project that plays with soft, blended colors, you will find more watercolor heart painting inspiration using similar approaches.
Does that final glowing star feel like a real accomplishment?
9. Cool Tone Winter Snowflake Cutout: Icy Motion Lines
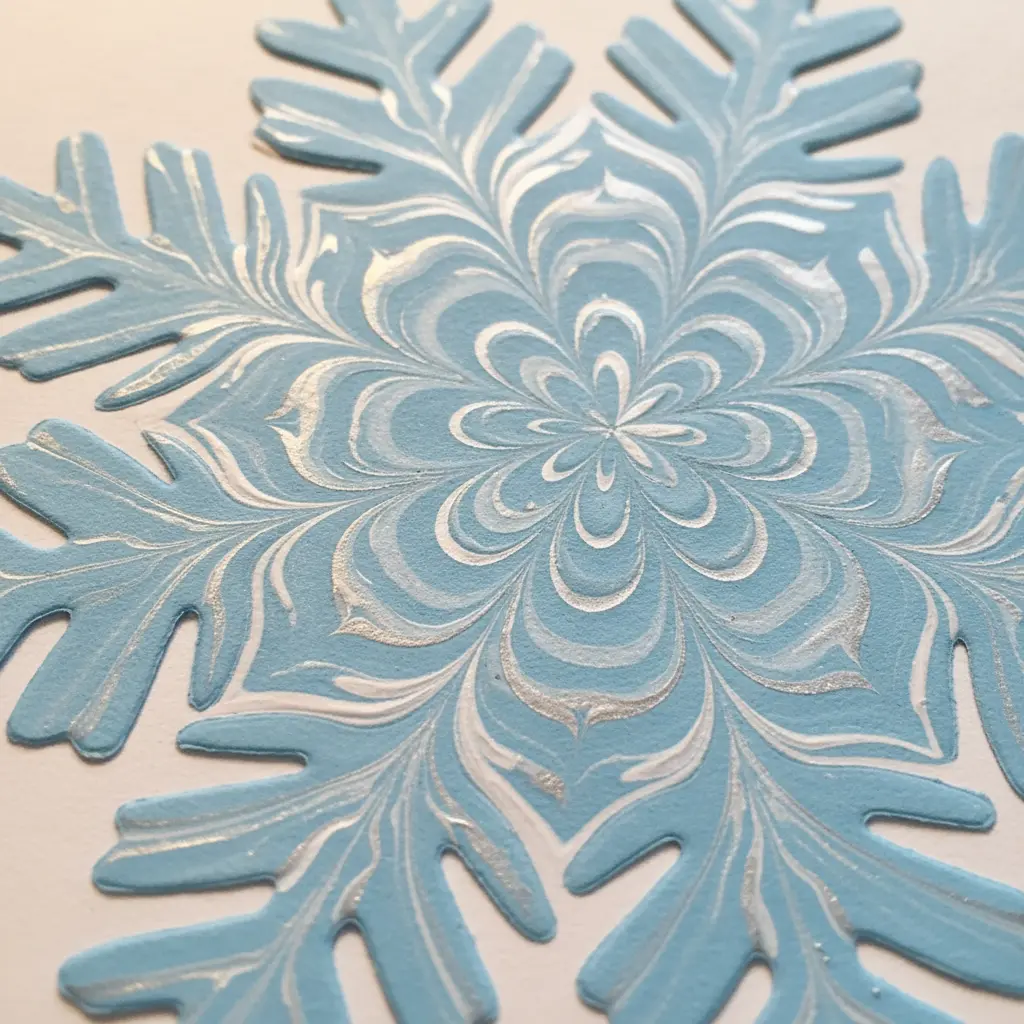
Does winter art need to feel still and frozen? When setting up marble painting techniques for kids in winter, ask yourself this question while designing. You will create a detailed snowflake cutout using cool blues, whites, and grays, then surround it with jagged, angular lines that look like shattering ice or swift wind. I love how these icy motion lines bring crisp energy to the whole piece.
Keep those lines sharp and avoid soft curves to truly sell the feeling of cold motion. For a fantastic burst of color energy in a different season, your next project focuses on some vibrant Holi art activities. Feel that wintry magic come to life.
10. Textured Golf Ball Painted Backdrops with Deep Impressions
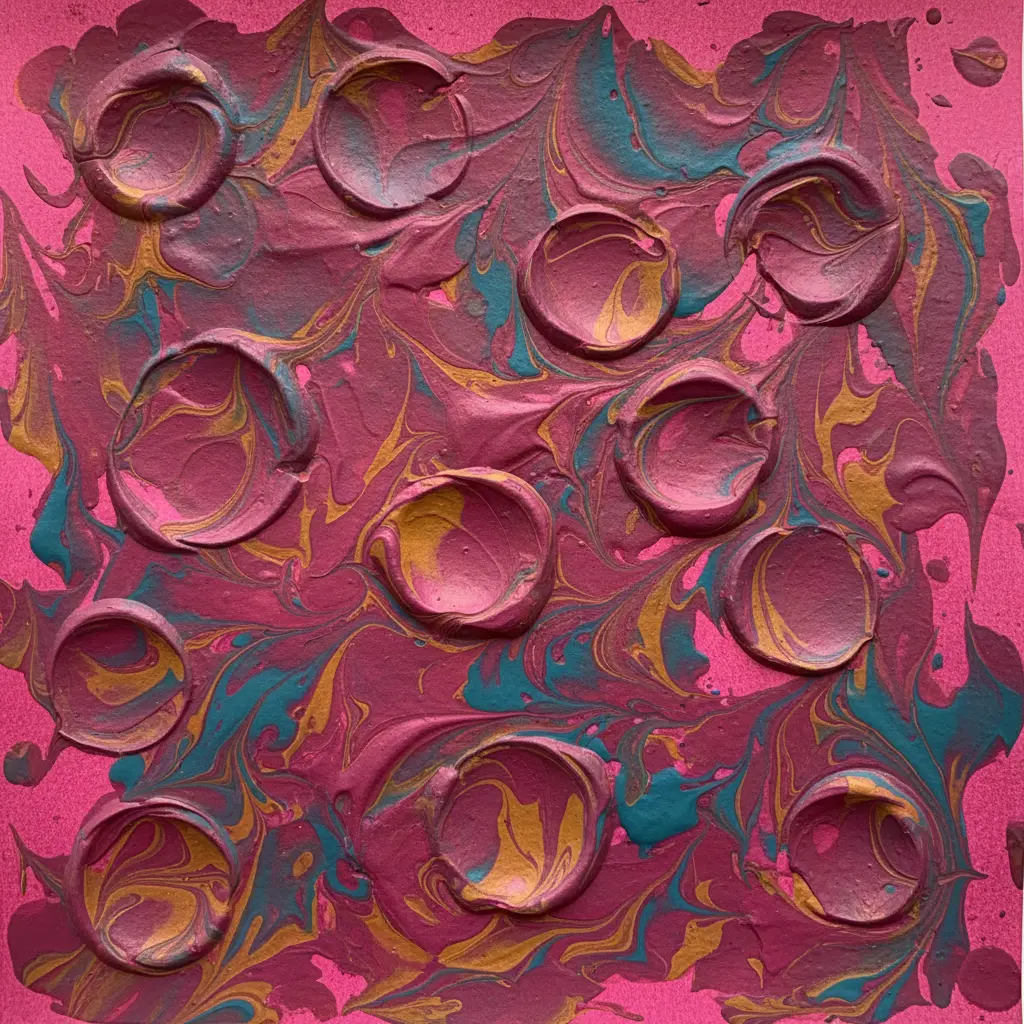
This one looks incredibly sculptural, but you create it with a few simple materials. The trick is to press a rounded tool, like a large spoon or a golf ball itself, deep into a wet layer of joint compound spread on a rigid board. Let that dry completely, then add another thin layer to smooth the peaks.
The deep impressions create fantastic shadows, making your backdrop resemble a giant, artistic golf ball. Is that not a fun way to add serious texture? Applying marble painting techniques for kids here yields a unique, handcrafted surface that makes any photo pop with dimension.
I love how the final look focuses on form, not color, so stick to a simple monochrome palette. After priming, apply a solid base coat and let the light play across those dimples. The payoff delivers a distinct surface that elevates every visual display.
Curing and Mounting Marbled Paper Creations
Let your marbled paper dry flat overnight, a crucial step when wrapping up marble painting techniques for kids, before you even think about moving it. Rushing this step smears the beautiful organic shapes you worked so hard to create. Once it’s bone dry, a light spray of matte acrylic sealer will lock in the colors and protect the surface from fingerprints and dust.
For mounting, a simple double-sided tape or acid-free glue stick works perfectly for turning these sheets into vibrant book covers or gift tags. If you used a sturdy canvas board, you bypass the mounting entirely and hang it right up. This final curing and sealing process ensures those swirled pigments stay vivid and your child’s artwork lasts.
Conclusion
Watching paint move under a rolling marble is a small, simple joy that stays with kids long after the project ends. The real magic of these marble painting techniques for kids is not in the final product — it is in the giggles, the ‘oohs,’ and the quiet concentration as they tilt the tray. You now have ten different ways to spark that feeling, from heart cutouts to golf ball textures. When you set up your next session, do not overthink the results.
The artwork you hang on the fridge will remind you of a morning well spent, not merely a piece of decorated paper. And if you have leftover paint, try cutting out new shapes tomorrow — the same approach feels brand new with a star or a flower. These moments of messy, creative play are the ones they will carry with them.
FAQs
Q: What kind of paint works best for marble painting?
A: Liquid tempera paint stands as the top choice because it has the right consistency to coat the marble and leave smooth, defined trails. Washable tempera makes cleanup easy. Avoid thick acrylics that clump or dry too fast.
Q: How do I keep the marble painting mess contained?
A: Use a shallow baking pan or a deep tray with a rim to hold the paper and prevent the marble from rolling off the table. Place a plastic tablecloth or newspaper underneath for extra protection. A smock or old shirt keeps clothes paint-free.
Q: Are toddlers able to attempt marble painting safely?
A: Yes, with close supervision. Use larger marbles to reduce choking risk and stick to washable, non-toxic paint. You also swap marbles with ping pong balls or plastic eggs for smaller hands to grip safely.
Q: What paper should I use for marble painting with kids?
A: Cardstock or heavy construction paper works best because it absorbs the paint without tearing or curling from the moisture. Standard printer paper is too thin and will buckle under the weight of the rolling marble.
Q: How do I get the paint to look swirly and not merely smeared?
A: Use a small amount of paint in a few concentrated spots rather than coating the entire surface. Roll the marble gently and change directions often. High contrast colors keep the trails distinct instead of blending into a muddy mess.








