

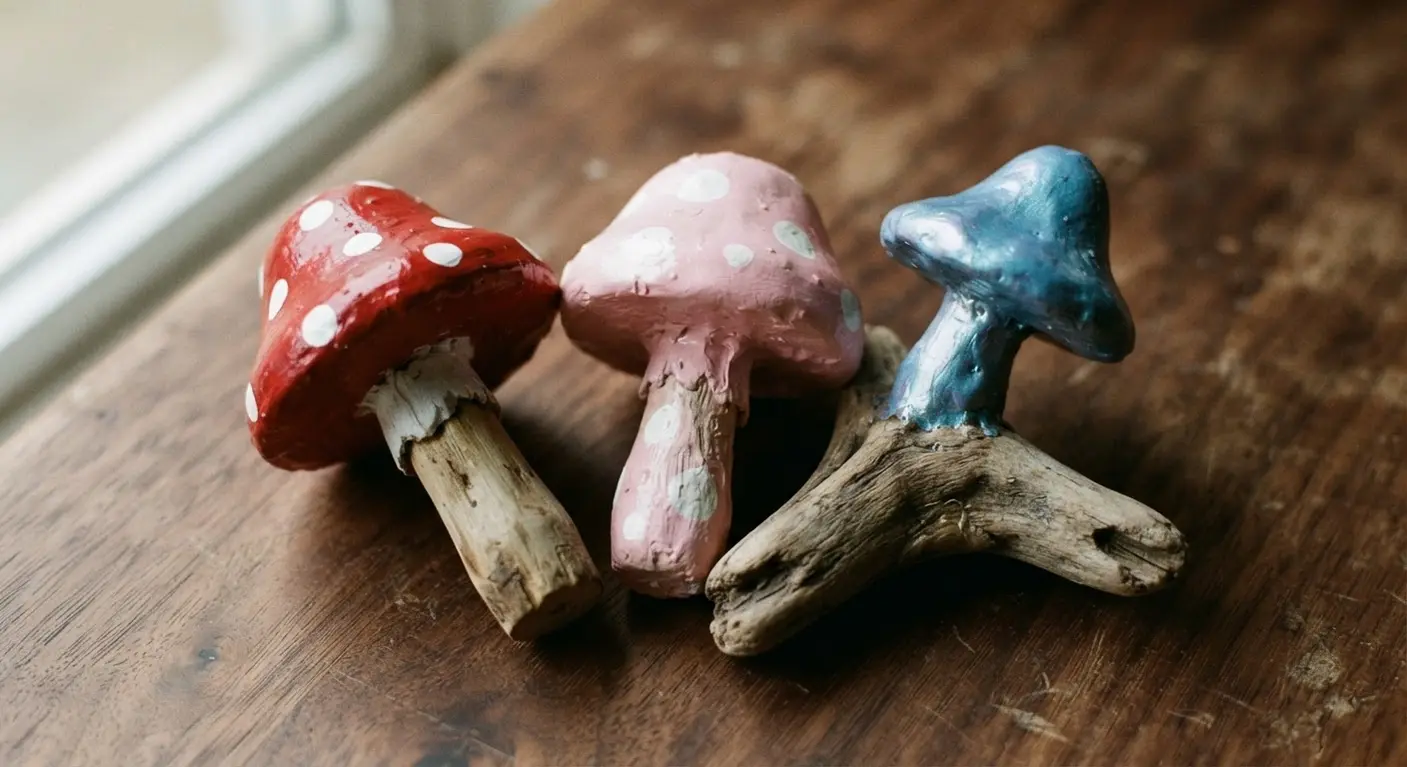
You know that feeling when you step into a garden and something transports you to another world? That is the magic a few oversized DIY toadstools bring. Whether you dream of a fairy-tale corner under the old oak tree or a whimsical centerpiece for your patio containers, these Diy toadstool mushroom ideas let you build that enchantment yourself. Across these ten projects, you will find everything from classic storybook styles to glow-in-the-dark nightlights and rustic, moss-covered stems.
The best part? Many of them start with simple items you might already have tucked away—plastic planters, foam scraps, or an old ceramic bowl. I have gathered the techniques that work outdoors, the paint tips that keep colors vibrant, and the little finishing touches that make a mushroom look truly magical. So grab your imagination and let us get started on creating some oversized garden magic.
Selecting Weather Resistant Materials For Outdoor Installations
The fastest way to watch your toadstool crumble is picking indoor craft foam or untreated wood for the main support. Your oversized mushroom needs bones that laugh at rain and sun. We tend to forget that a saturated red cap holds water like a bowl, so the material underneath must not swell or rot. This is where using PVC piping for the stalk becomes essential. It is light, strong, and completely waterproof right from the hardware store. For the cap, a large plastic planter bowl gives you that perfect dome shape without ever absorbing moisture. The good news is these materials make Diy toadstool mushroom ideas much easier to seal with the right outdoor finish. Trust me on this, starting with the right core stuff means you build your fantasy piece once, not rebuild it every season.
Structural Considerations For Oversized Fantasy Décor
A wobbly toadstool is a sad toadstool, and the culprit is almost always a stalk that is too skinny for its giant cap. Here is the thing about fantasy scale. You want that magical, cantilevered look where the cap seems to float, but physics still applies. Your support structure must handle that wide overhang without tipping in a breeze. The trick is proportion. Make your stalk diameter at least one-third the width of your cap for visual balance and real stability. Then, you anchor it. Drive a length of rebar deep into the ground and slide your PVC stalk over it. This hidden stake locks your creation in place. For extra realism, wrap the stalk with thick rope or add faux bark texture before you paint. Applying this simple ratio turns casual yard projects into stable Diy toadstool mushroom ideas that stand firm. This approach gives you the whimsy without the worry.
1. Classic Red and White Spotted Toadstool with a Glossy Finish
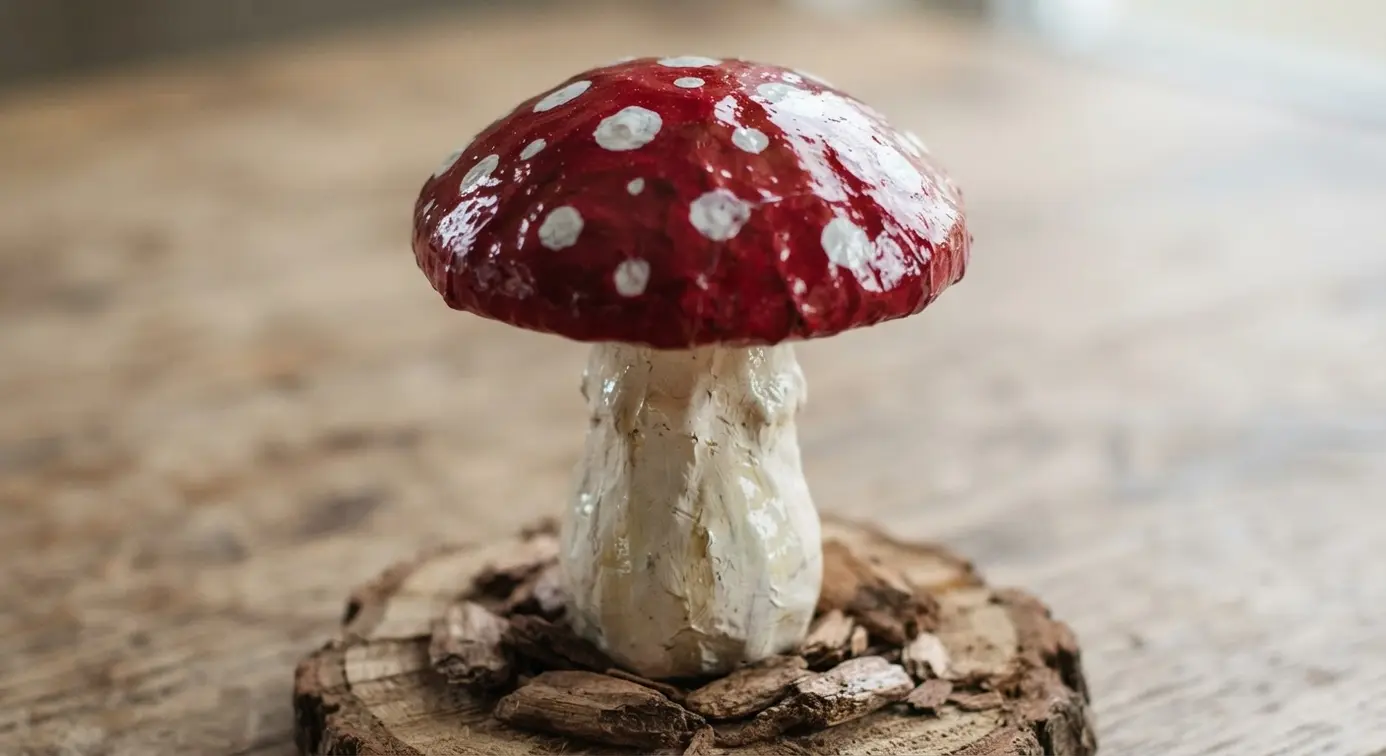
As kids, most of us drew this exact shape in school, right? It is that classic fairy tale icon, and making your own oversized version is incredibly satisfying. You will start with a sturdy base for your domed cap, painting it a vibrant candy-apple red. After that layer dries completely, you add those whimsical white spots, varying their size for a natural look.
The magic happens when you apply the final high-gloss sealant. This gives the red cap that enchanting, wet look that feels straight out of a storybook. It works because the bold contrast and shiny finish instantly create a focal point of pure fantasy in your garden. I love how this bright piece anchors a whole set of Diy toadstool mushroom ideas in your garden. This design pairs beautifully with other DIY whimsical garden decorations to build a complete enchanted corner.
Trust me on this one, taking your time between coats is the secret to a flawless, durable piece that will make you smile every time you see it.
2. Weathered Terracotta Toadstool with Natural Moss Accents
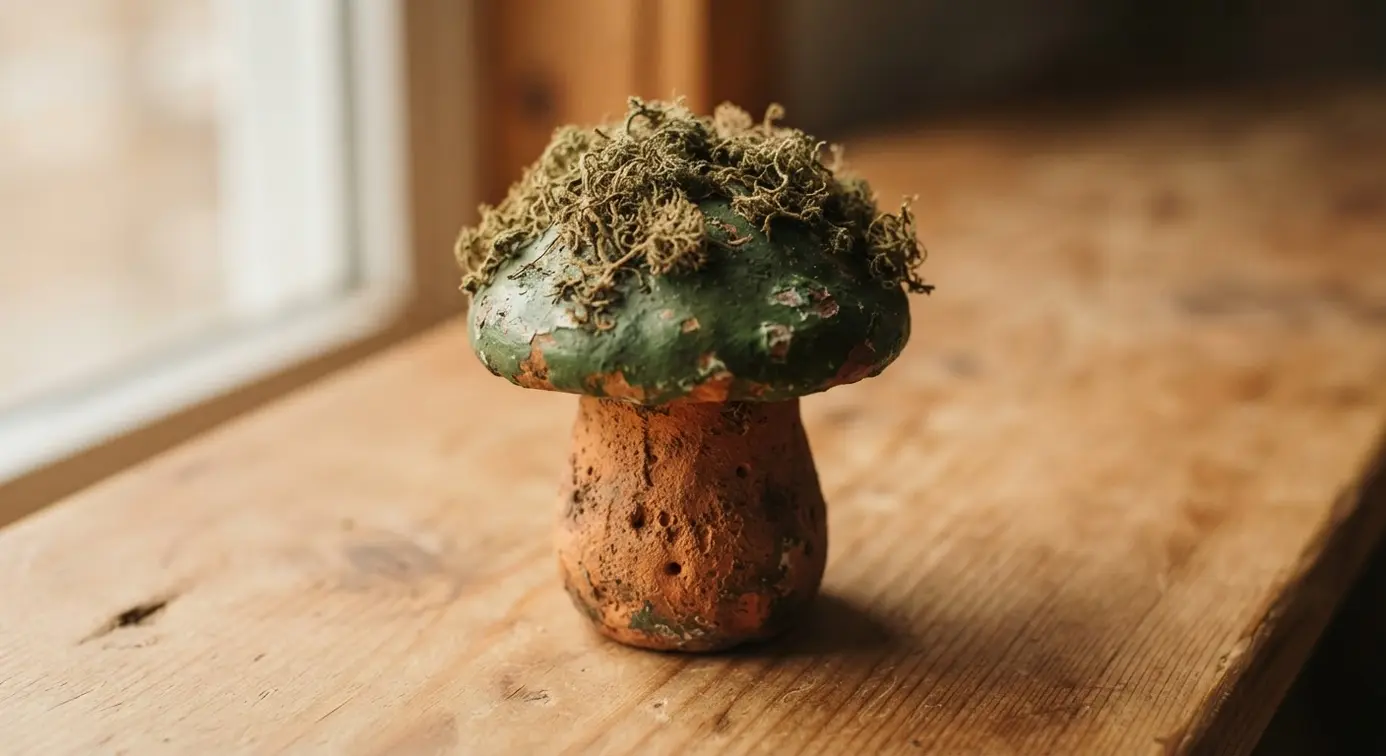
Ever wished you could find a fairy-tale toadstool that looked like it had been in your garden for a hundred years? This project nails that feeling. You start by sculpting your toadstool shape from plain terracotta. Then comes the fun part—applying stains or washes to create a beautifully aged, weathered patina. The magic happens when you add clumps of real, preserved moss into the crevices. That vibrant green against the earthy clay is pure woodland enchantment.
I love how it brings an instant sense of history and whimsy to any space. The key to keeping it looking lush is remembering that moss likes a bit of moisture. For indoor pieces, a light misting now and then works wonders. That aged look elevates simple clay pots into timeless Diy toadstool mushroom ideas. Trust me, seeing that soft green flourish against the rustic terracotta never gets old.
3. Pastel Pink Polka Dot Cap on a Driftwood Stem
Who would have thought something so whimsical be so simple to make? This project looks like it belongs in a storybook, but trust me, you can put it together in an afternoon.
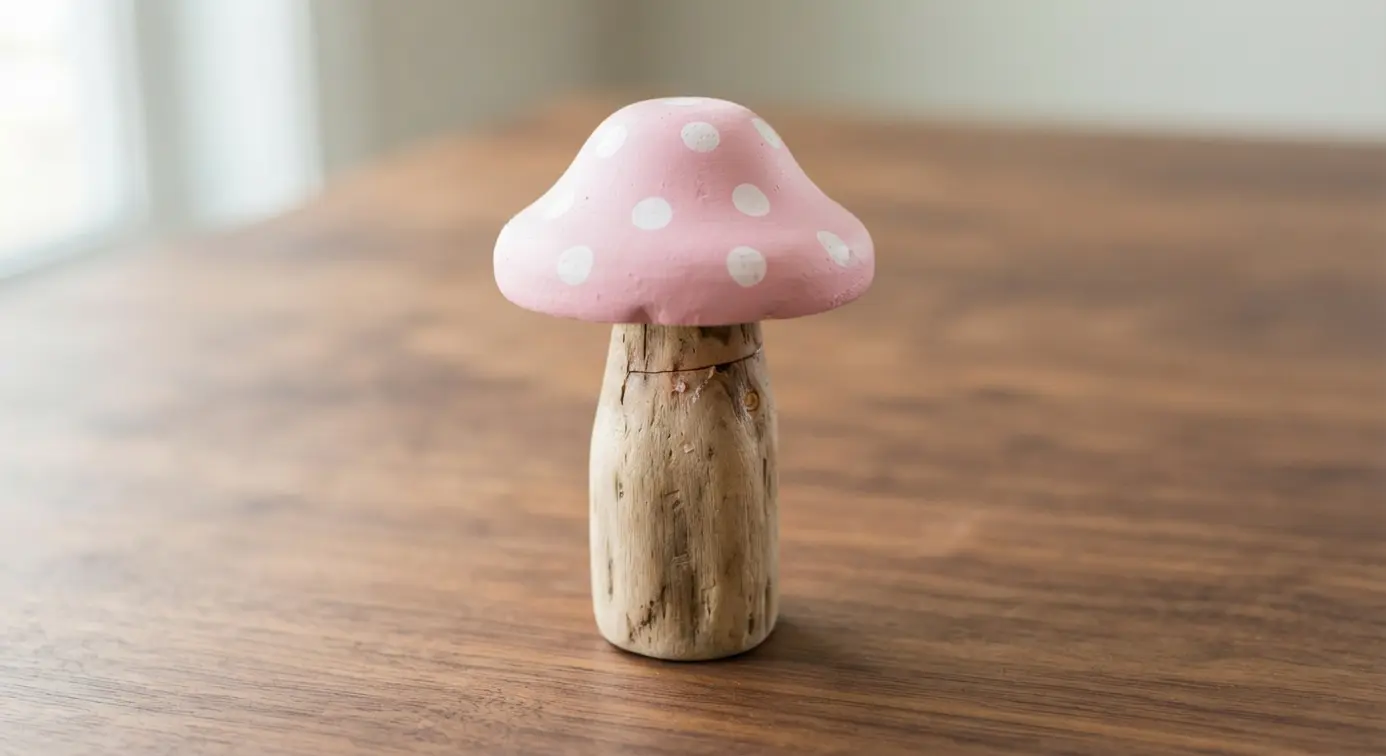
You start by painting a dome-shaped cap with a soft pastel pink base. Then, use the end of a paintbrush handle or a pencil eraser to tap on perfectly round polka dots in a creamy white. Let that dry completely before you give it a protective coat of clear sealant.
It works because the sweet, playful cap sits on a rugged piece of natural driftwood, creating a fantastic contrast between fantasy and nature. I love how this combination instantly adds a touch of magic to any garden nook or shelf. That clever contrast explains why so many crafters rank this design among their favorite Diy toadstool mushroom ideas.
Pro tip: make sure to use a strong, waterproof adhesive when attaching the cap to the stem and let it cure fully. That way, your charming toadstool stays sturdy and perfect for years of outdoor whimsy.
4. Glow-in-the-Dark Nightlight Toadstool for Evening Magic
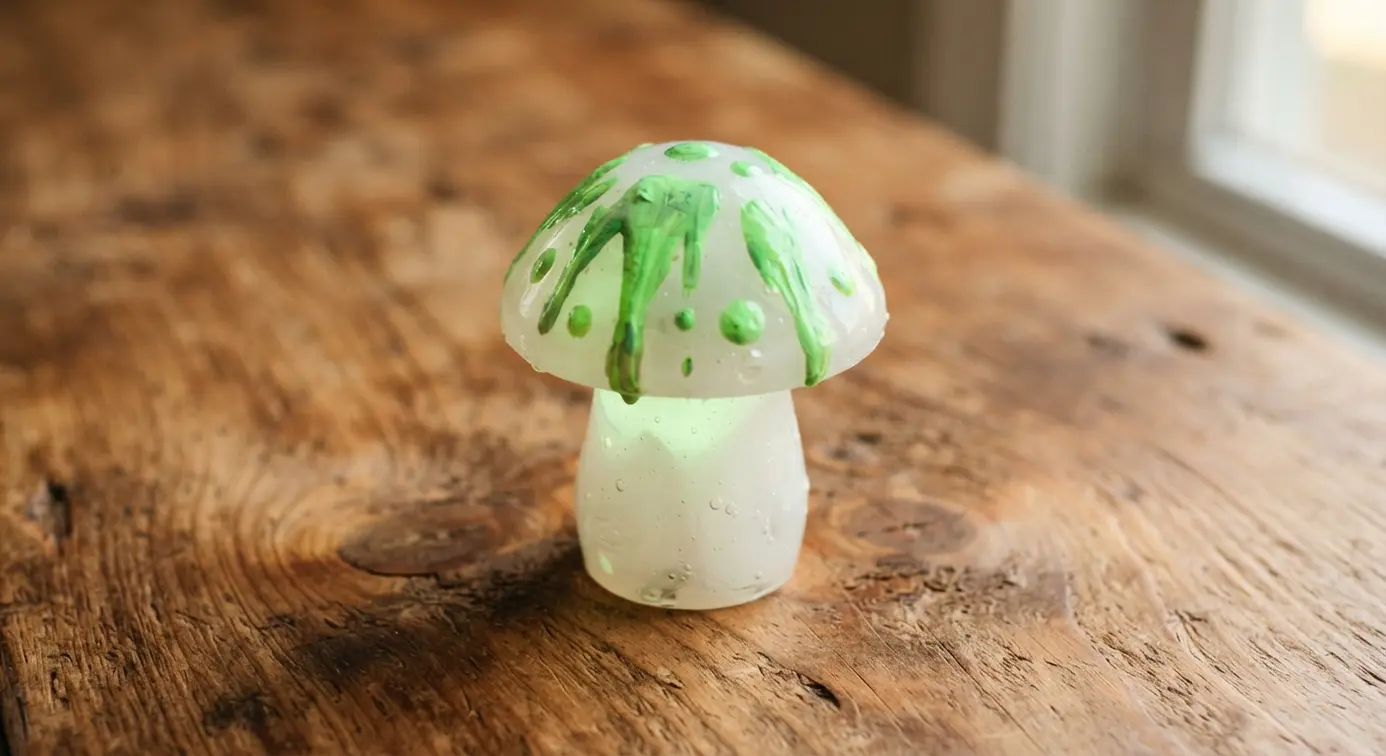
This one is pure evening magic. You take a simple LED tea light, build a toadstool around it, and paint the spots with glow-in-the-dark paint. The result gives you a soft primary light and a gentle, lasting glow after you turn it off. It creates such a comforting, moonlit forest feel in a room.
I love that it uses upcycled materials like a cardboard tube for the stem and a plastic bowl for the cap. The key is using only cool-to-the-touch LED components for safety. This glowing project belongs right beside any other favorite Diy toadstool mushroom ideas for evening paths. This makes a fantastic project to personalize your space or create some cute fairy garden additions. Try it and feel the cozy fantasy it brings.
5. Stacked Multi-Tiered Mushroom Cluster with Dripping Paint Details
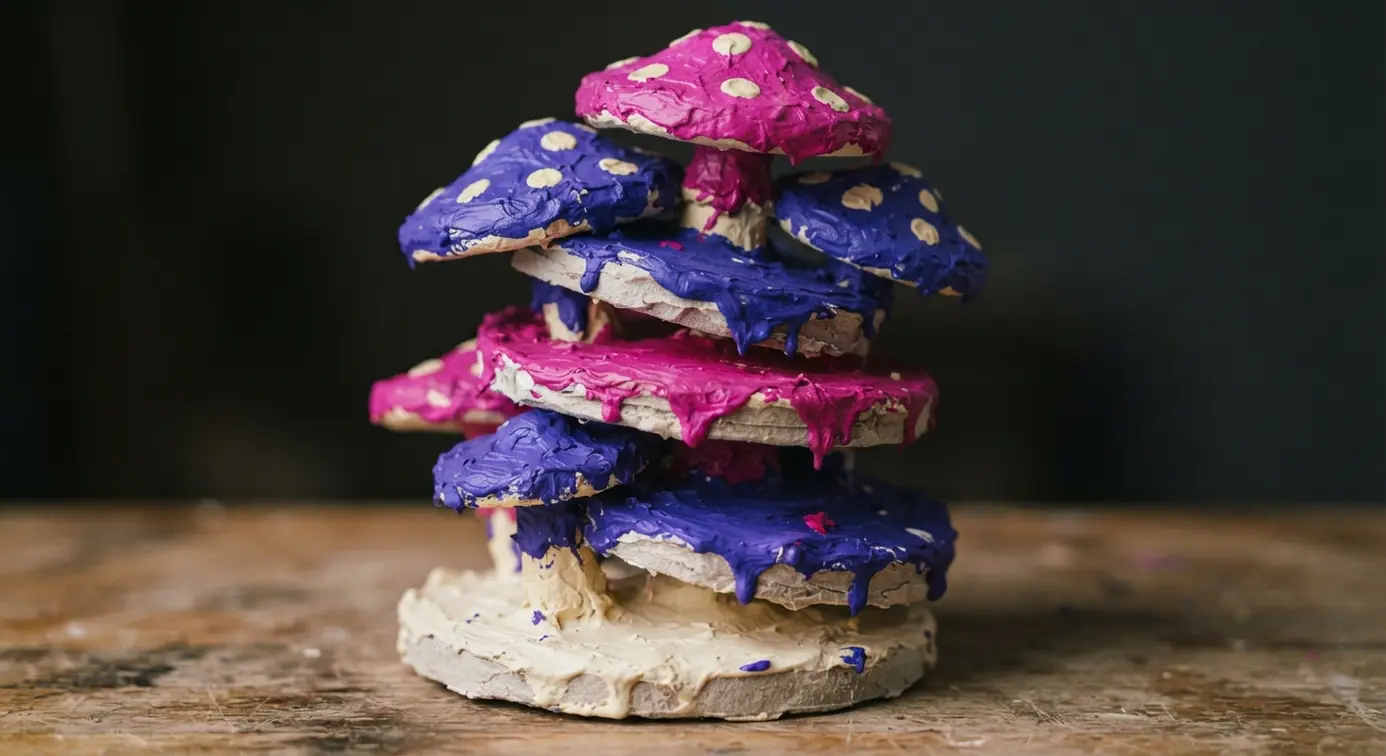
This one looks like a fairy tale wedding cake. You stack different sized mushroom caps and stems to create a tall, tiered structure. The magic happens when you add those dripping paint details, letting colorful paint cascade down the sides from the top. I love using a squeeze bottle for this part to control the flow.
The flowing paint technique completely transforms everyday supplies into bold Diy toadstool mushroom ideas. Trust me, practice your drips on a scrap piece first. That way you get the perfect consistency before committing to your main piece. Let each layer dry completely before adding the next to avoid smudges. The final step is a clear sealant to protect your work and make those colors pop. Feel the creative rush when you step back and see your whimsical, one-of-a-kind creation.
6. Rustic Log Stem Toadstool Fairy House with Tiny Windows
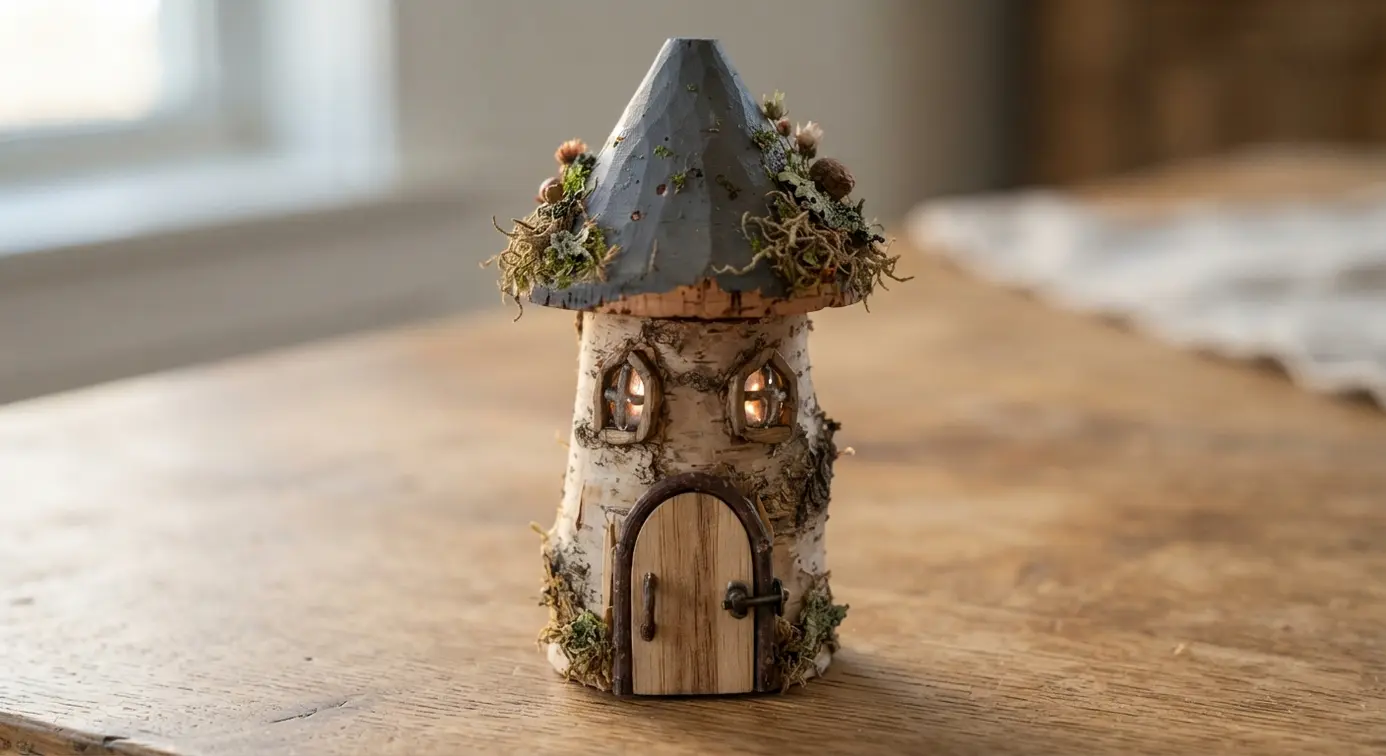
Ever wanted to make a fairy house that looks like it sprouted right from the forest floor? This design feels wonderfully natural because you start with a real log or a piece of textured driftwood for the base. You carve a small, crooked door and a few tiny window holes, then add a handmade red and white spotted cap on top.
The magic is in those miniature windows. I love using bits of clear plastic packaging for the “glass” and framing them with tiny twigs. It creates such a charming, lived-in look that sparks your imagination. Handmade charm separates these rustic Diy toadstool mushroom ideas from mass store decor. The whole project works because it feels genuinely organic and handcrafted, not perfect. Try it and feel that rush of whimsy when you peek inside the tiny windows.
7. Metallic Bronze Hammered Surface Toadstool for a Steampunk Look
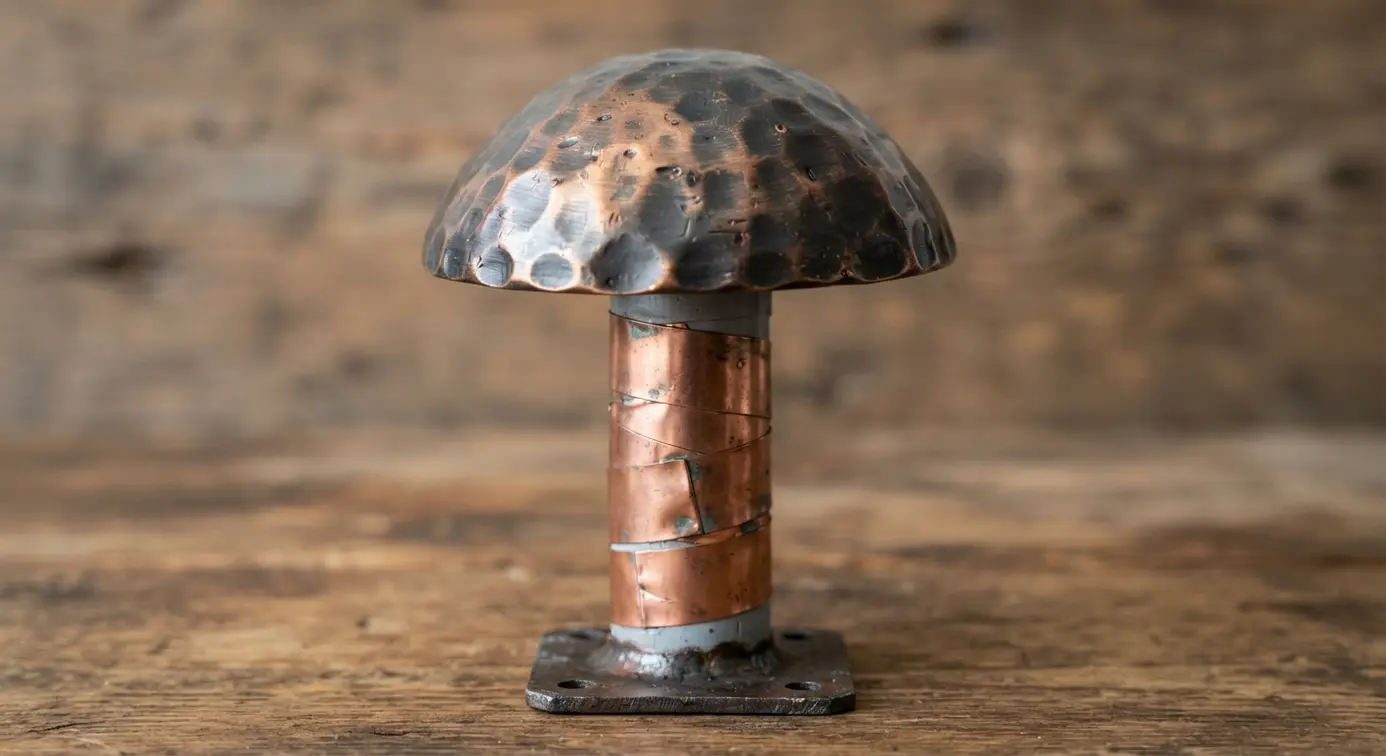
Who says a mushroom has to look like it came from a forest? This one looks like it was forged in a workshop, and I love that about it. You form your toadstool from clay or foam, then press a ball peen hammer or a rounded tool into the surface to create that classic, faceted texture. After a coat of primer, you paint it all with a rich metallic bronze and add a dark wash into the recesses to make the texture pop.
Why does this work so well? That hammered surface catches the light and gives it a handcrafted, industrial feel that is pure steampunk. Sealing that finish shows why metallic accents rank high on every list of creative Diy toadstool mushroom ideas. Trust me on this one, the final step is to seal everything with a clear matte varnish to lock in that gorgeous aged patina. Feel how sturdy and imaginative your new garden accent is.
8. Iridescent Blue Glitter Fantasy Cap over a Curved Driftwood Base
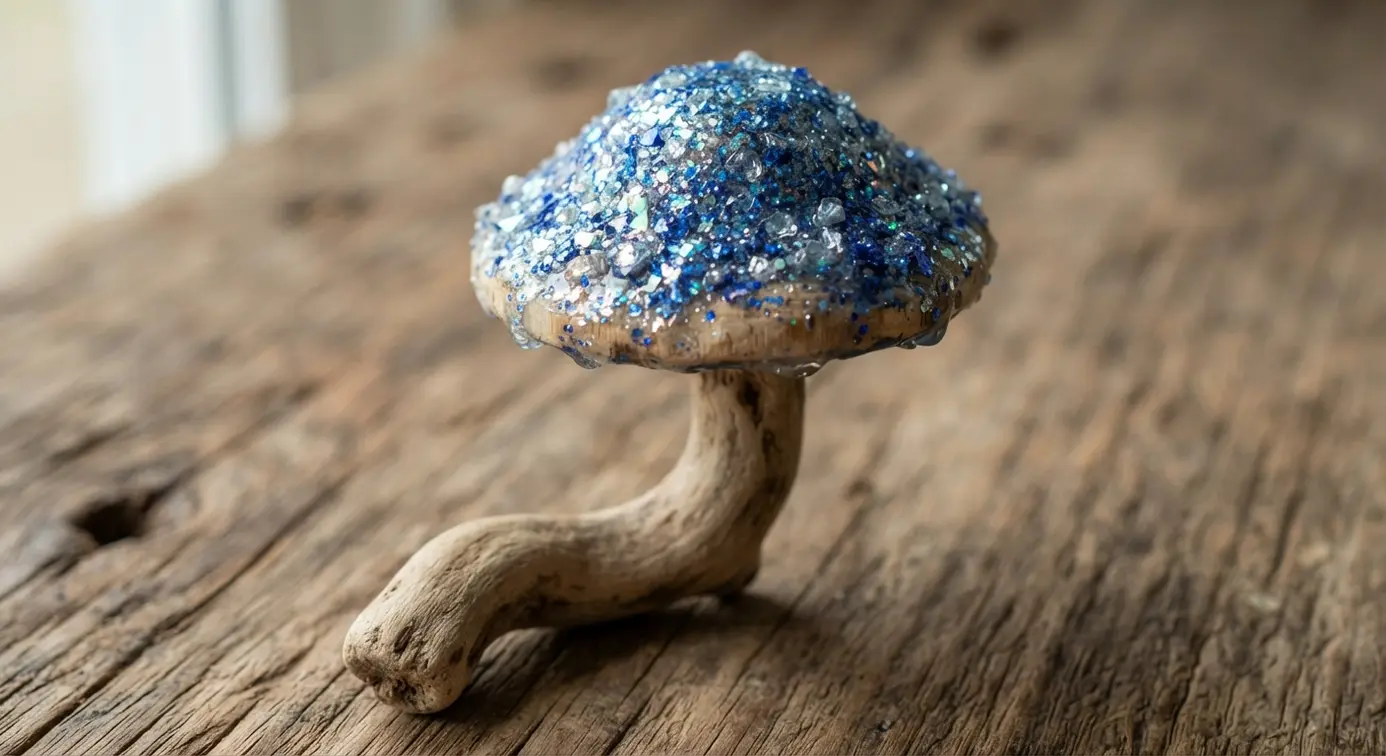
This one is pure magic, like a tiny piece of a fairy tale you can hold. The secret is that dazzling iridescent blue glitter over a simple shape, which catches the light from every angle. I love to build the cap from air-dry clay, then coat it completely in glue before dumping on that shimmer.
Once sealed, it gets attached to a curved driftwood base you find at the beach. The raw, natural wood makes the glitter pop even more, creating that perfect whimsical balance. Doesn’t that sound like a fun afternoon project?
Pairing this shimmering cap with other enchanted decor rounds out your collection of Diy toadstool mushroom ideas. For a similar enchanted vibe, you could explore other magical witch craft ideas to build out a whole mystical display. Trust me, the final look is absolutely stunning.
9. Carved Foam Textured Bark Stem Supporting a Felted Wool Cap
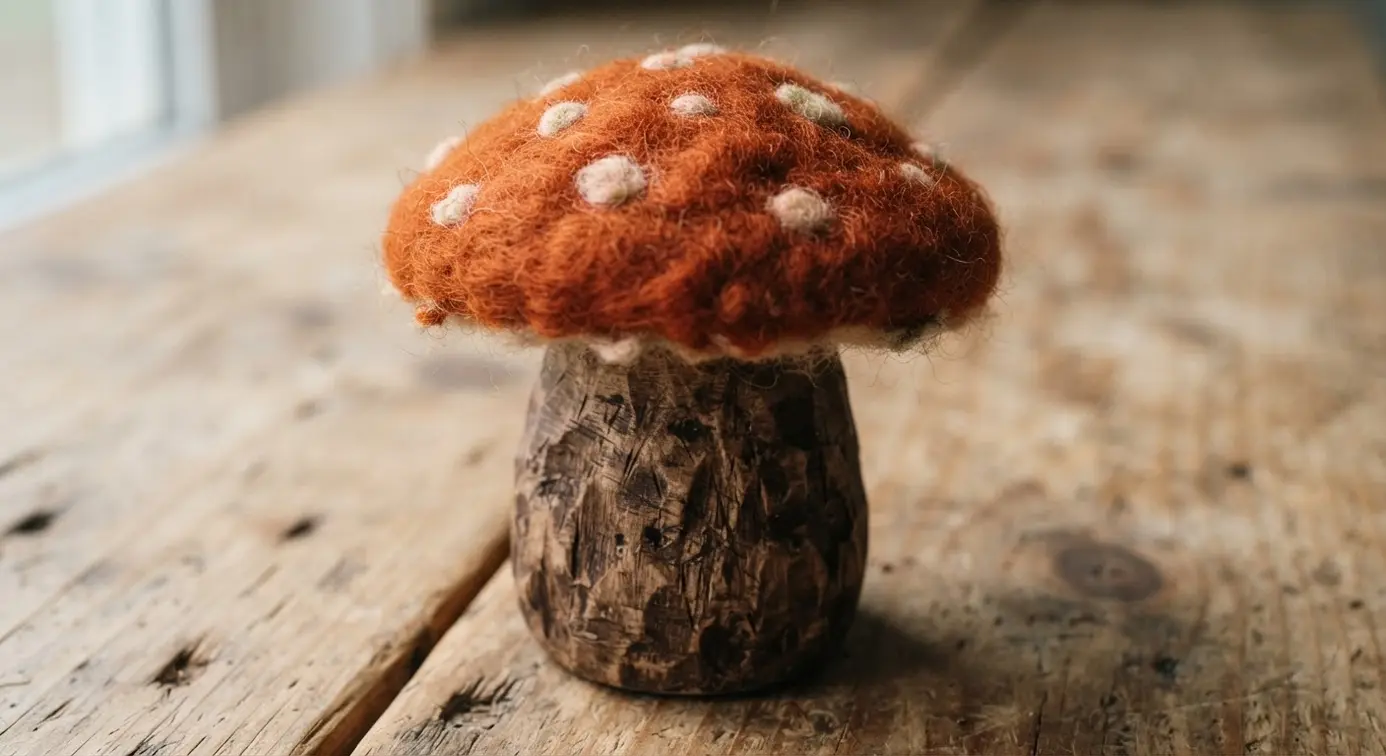
Ever wanted to create a mushroom that feels straight from a storybook? This project combines a rugged, realistic stem with a soft, cozy cap for a stunning textural contrast. You will carve your stem shape from a block of XPS insulation foam, using tools to etch deep grooves and ridges that mimic real tree bark.
Once painted with earthy tones, the real magic happens with the cap. I love how you can sculpt a dense, durable shape by repeatedly jabbing wool roving with a felting needle. It is incredibly satisfying to see that soft, organic form take shape. Painting those earthy tones reveals how versatile textured Diy toadstool mushroom ideas really are.
The final step is attaching the two parts securely. Trust me on this one, using a strong construction adhesive is key for a lasting bond. The finished piece has such a wonderful, whimsical presence in any space.
10. Inverted Planter Toadstool with a Concrete Textured Cap and Stone Base
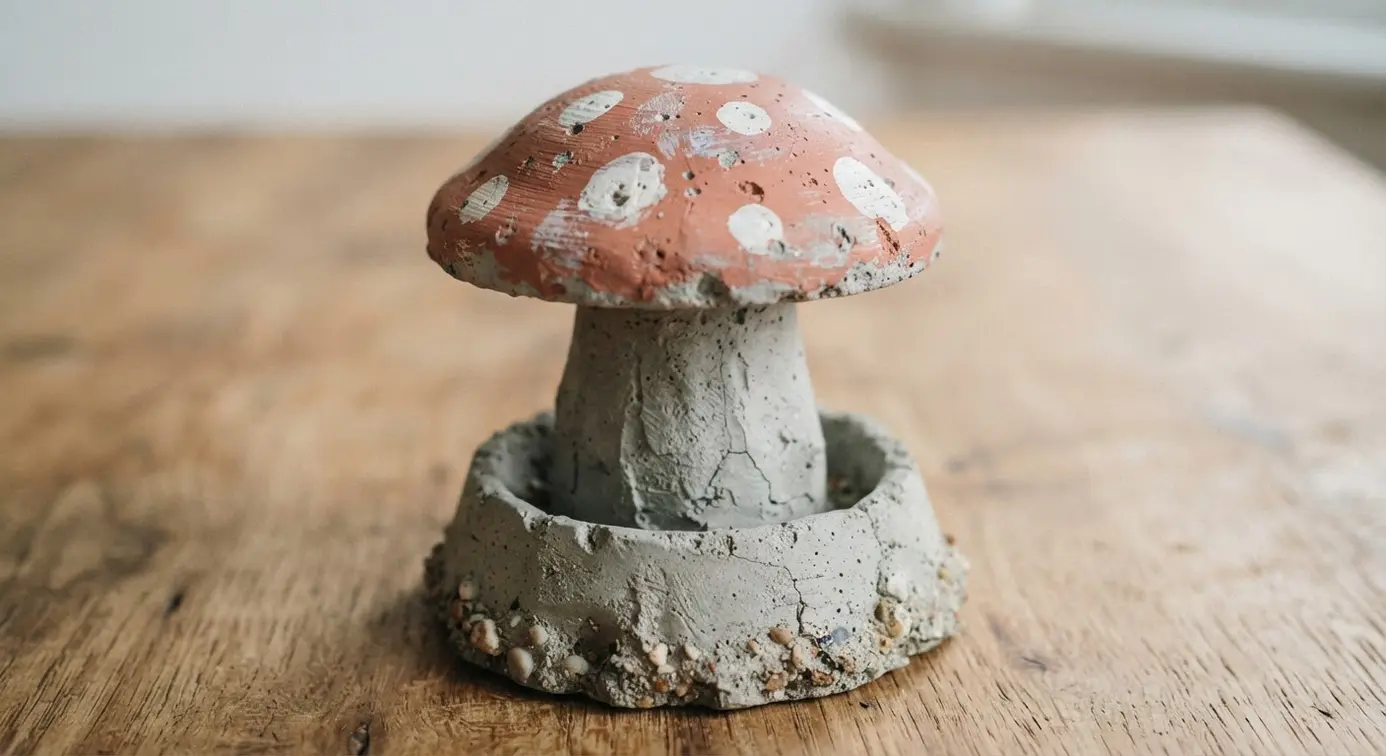
This one feels like a proper garden sculpture that also wants to be a home for your plants. You create a custom mold for the concrete cap, making sure its underside is a perfect little basin. After pouring in your high-strength concrete, let it cure fully before revealing that wonderful textured finish. The real anchor is a sturdy base built from natural stone, which gives it a timeless, rustic feel.
Once assembled, the magic happens when you plant it. Trailing plants like creeping jenny spill downwards from the cap, creating a living waterfall effect. It works because the materials are so durable, so this piece will last for years outdoors. I love how the combination of rugged stone and soft, flowing greenery makes it look like something from a fairy tale. Combining rugged stone with soft greenery turns spare pots into lasting Diy toadstool mushroom ideas.
Your biggest job is ensuring proper drainage holes in that concrete basin to keep your plants happy. Trust me, take your time to get the base wide and heavy enough for stability. The payoff is a stunning, functional focal point that feels incredibly rewarding to build.
Preserving Your Garden Creations With UV Resistant Sealants
All your hard work disappears if you skip the final shield against the elements. Sunlight is the silent killer of bright colors, and rain will find every tiny crack to start breaking things down from the inside. You need a finish built for the outdoors. A proper outdoor sealant keeps your finished Diy toadstool mushroom ideas vibrant year after year. After your paint is completely dry, apply multiple thin coats of an exterior-grade spar urethane. This specific product is formulated to flex with temperature changes and block UV rays that cause fading.
Do not use an indoor varnish. It will cloud, crack, and peel within months. Apply it evenly over every surface, including the underside of the cap where moisture collects. This sealant layer is what transforms your project from a temporary craft into a permanent, magical garden feature that stays vibrant season after season.
Conclusion
Choosing which oversized mushroom to build first might be the hardest decision—each of these Diy toadstool mushroom ideas brings its own personality to your garden. Whether you fell in love with the iridescent blue glitter cap or the weathered terracotta look, the real joy comes from making it your own. One piece of advice I always share is to test your paint and sealer on a hidden spot; the outdoor sun can be brutal on colors, and a UV-resistant top coat makes all the difference. Remember, your toadstools do not need to look perfect. The slight handmade character is what gives them that enchanted, storybook feel. Over time, they will grow into your garden, gathering a patina of real moss and becoming part of the landscape. I hope you find as much happiness in making these as I have in watching them bring a little corner of fantasy to life.
FAQs
Q: What is the best material for a mushroom cap that will last outdoors?
A: Plastic planters and metal bowls work well because they are lightweight and weather-resistant. For a lighter option, rigid foam insulation carved into shape and sealed with outdoor-grade paint holds up nicely. Avoid unsealed wood, which will rot quickly in damp conditions.
Q: How do I stop the paint on my toadstool from fading in the sun?
A: Use outdoor acrylic paint and finish with a UV-resistant clear sealer, such as a urethane spray. Apply at least two coats of sealer and reapply every year or two. Storing your mushrooms under a tree or pergola during the hottest months also helps.
Q: What keeps a tall mushroom sturdy in windy conditions?
A: Anchor the stem over a rebar stake driven deep into the ground or fill the base container with heavy stones. A wide, solid base like a concrete stepping stone hidden under mulch adds extra stability without ruining the look.
Q: How do I get smooth, realistic-looking spots on the cap?
A: Use a round sponge brush or the tip of a foam pouncer for perfect circles. For irregular, natural shapes, cut a stencil from a plastic lid and lightly sponge through it. Practice on cardboard first to get the spacing right.
Q: What glue works best for attaching a cap to a stem?
A: Construction adhesive like Liquid Nails or a heavy-duty outdoor silicone caulk bonds most materials firmly. Apply it generously to both surfaces, press together, and let it cure for a full day before painting. Hot glue is not strong enough for outdoor use.








