

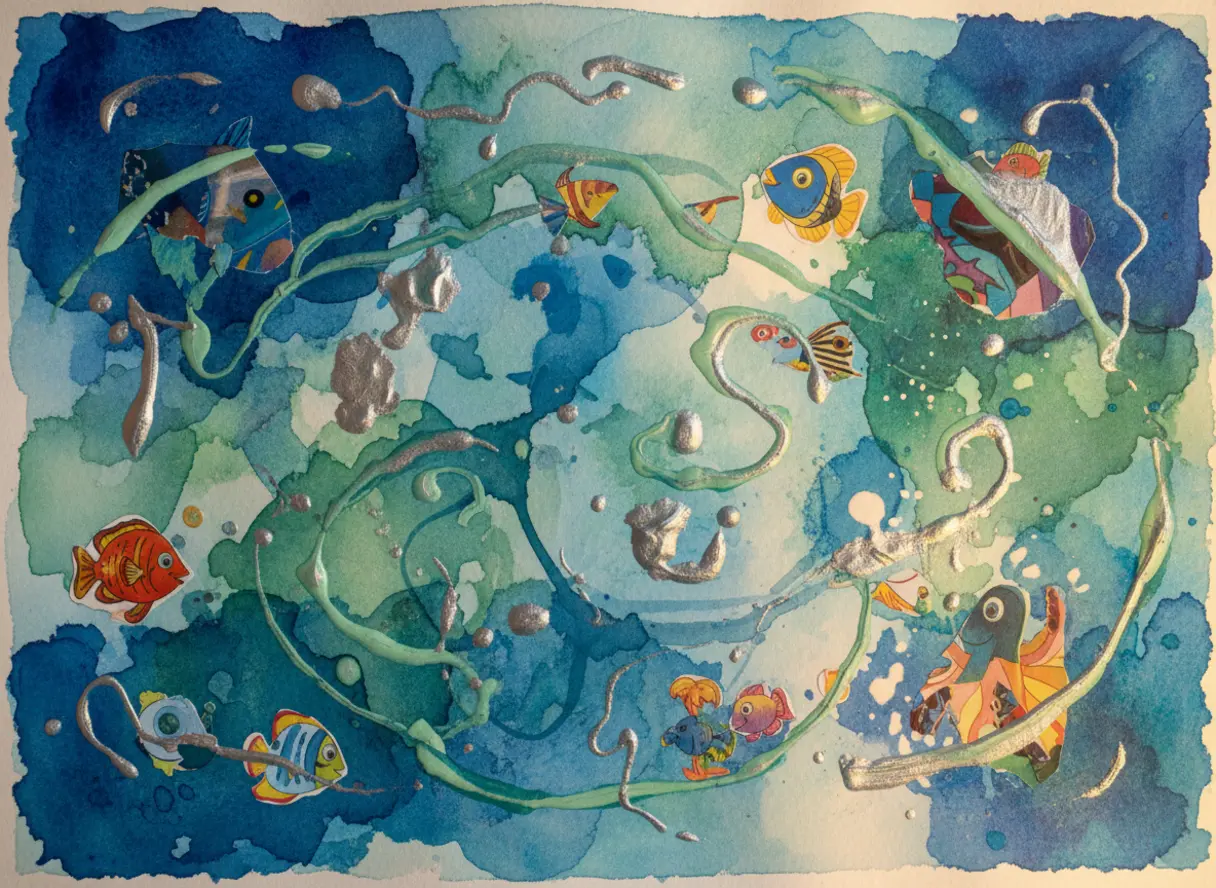
Preparing Surfaces For Multi Layered Creativity
Your surface choice makes or breaks a layered project, which is a core rule for mixed media painting for kids because thin paper warps and buckles under wet glue and paint. We all know kids press hard and love texture, so you want to start with heavy cardstock or a primed wood panel. These sturdy bases handle the weight of collage items and repeated paint layers without tearing. They also provide a smooth, non-absorbent ground that keeps your liquid watercolors vibrant instead of soaking them in.
Trust me on this, that solid foundation is what lets all the fun, tactile elements stick securely and your final piece look crisp instead of crumpled.
Managing Drying Intervals Between Artistic Layers
The fastest route to a muddy, smeared mess is adding a new medium before the last one is bone dry, a timing factor you must watch during any mixed media painting for kids session. Here is the thing, water-based paints and glues need that full drying time to set, especially when you are building up collage elements. You will notice your opaque tempera layer stays put and your transparent watercolor washes stay bright if you let each step air dry completely. I keep a small fan on the table to speed this up between steps. This patience prevents colors from bleeding into each other and gives every material its own chance to shine in the finished work.
1. Watercolor Crayon Resist Underwater Scene with Hidden Ocean Treasures
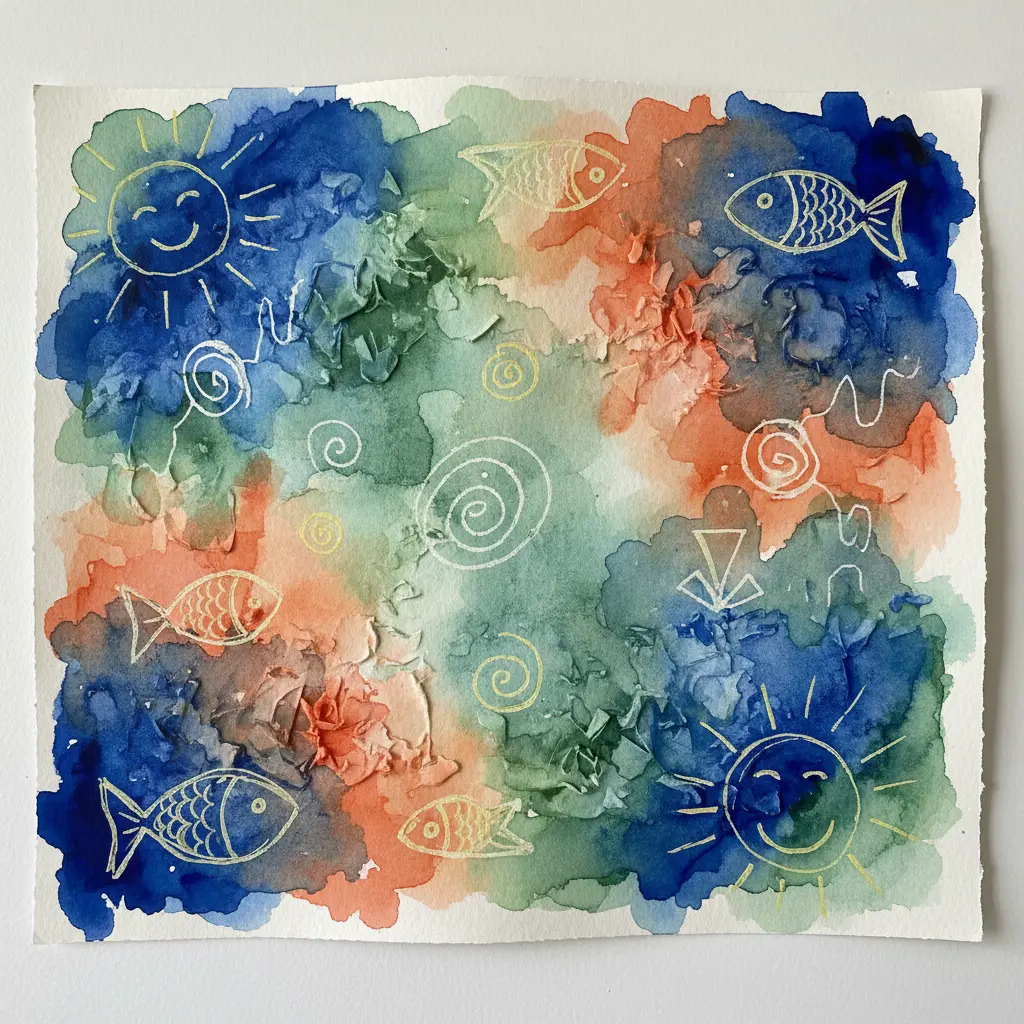
Ever wondered how to make a drawing magically appear? This project is a classic example of mixed media painting for kids because it reveals hidden details. You start by firmly drawing fish and coral with regular crayons, then add secret treasure maps or coins using a white crayon that seems to vanish. When you wash the whole page with watery blue and green paints, your hidden drawings pop right through the color. That moment of reveal is pure joy for a young artist exploring mixed media painting for kids.
I love how this teaches layering in such a hands-on way. The key is pressing down hard with your crayon to build up enough wax to resist the paint. Your underwater world will look stunning with those translucent watercolor washes over the bold crayon lines. It is a fantastic first step before trying more active splatter painting techniques for dynamic texture. Feel proud when you discover those hidden ocean treasures.
2. Acrylic Painted Recycled Magazine Collage of Whimsical Shapes
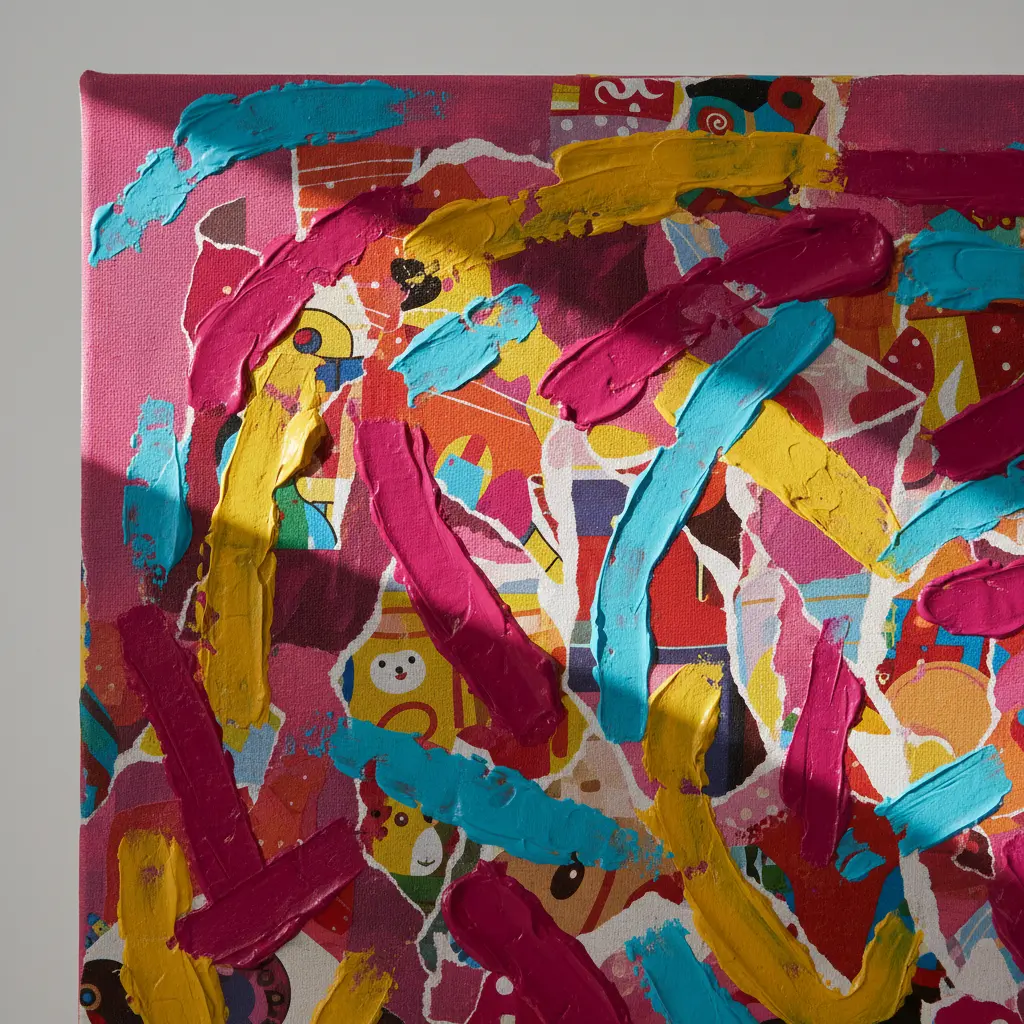
This one feels like a treasure hunt, making it a favorite starting point for mixed media painting for kids when looking for big blocks of color or interesting textures. You flip through old magazines and cut out those colors or textures into your own playful, abstract shapes. Arrange those pieces on a sturdy base like cardboard or canvas and glue them down smoothly. Once dry, the real magic happens. You get to paint over and around them with acrylics to tie everything together, add new details, or even hide bits you do not love.
It works because it turns everyday clutter into something uniquely yours, with fantastic texture and depth. Trust me on this one, mastering a simple marble painting for kids technique first will make you way more confident with the brushwork here.
3. Textured Cardboard and Button Mosaic Full of Tactile Charm
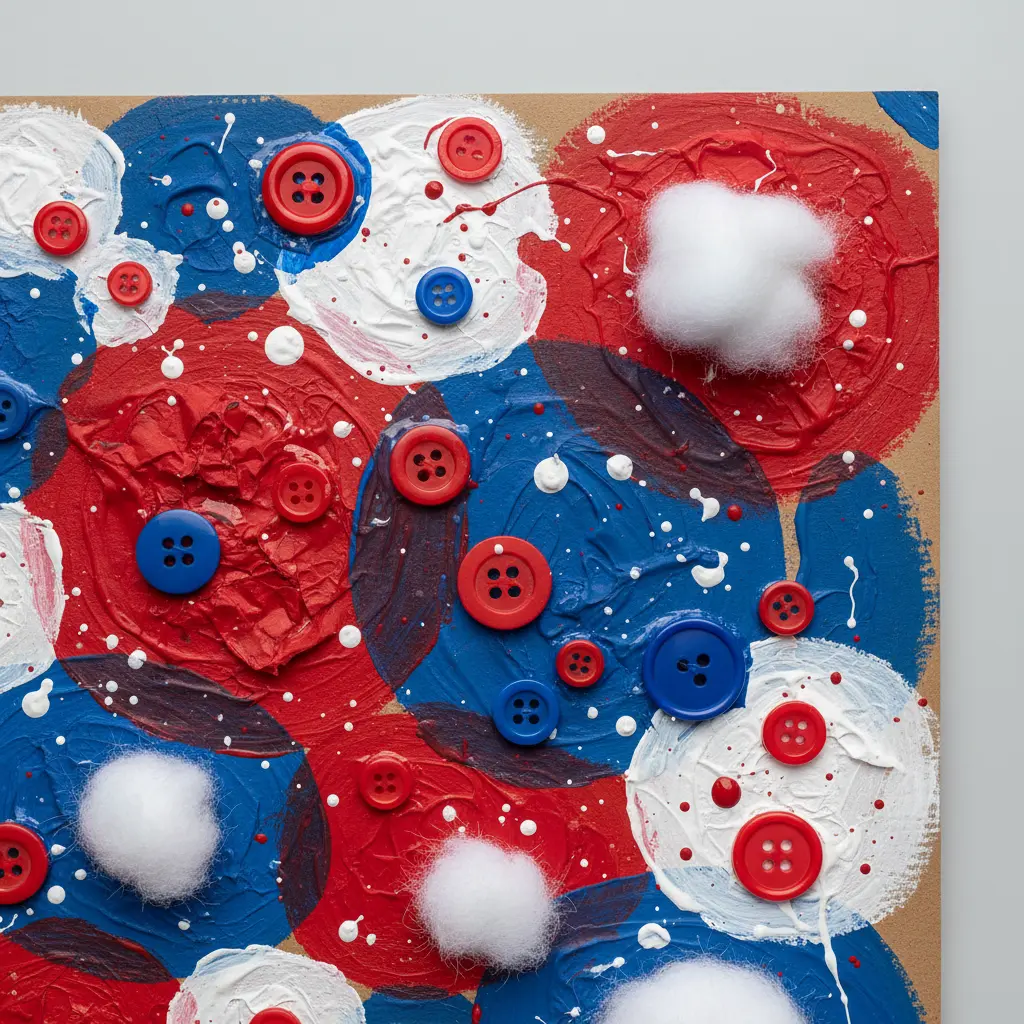
Who would have thought a box and a jar of spare buttons could create something so rich? This project is a feast for the fingers. You arrange an eclectic collection of plastic, wood, and metal buttons onto a base of corrugated or layered cardboard, building a surface that begs to be touched. It encourages fine motor skill development and creative exploration.
I love letting kids sort and play with the buttons first, a simple step that grounds any mixed media painting for kids session in tactile exploration. The process of handling all those different textures is half the fun. A simple pencil sketch on the cardboard can guide your design, or you can start placing buttons and see what emerges. Use a toothpick for glue to keep those tiny buttons tidy.
Isn’t it satisfying when a project uses upcycled materials so beautifully? This mosaic makes a wonderful gift or a vibrant piece of wall art. The tactile quality is its real magic, offering a sensory experience that goes far beyond a flat painting. Feel the charm in every bump and groove.
4. Stenciled Tempera Patterned Paper Craft with Bold Repeated Motifs
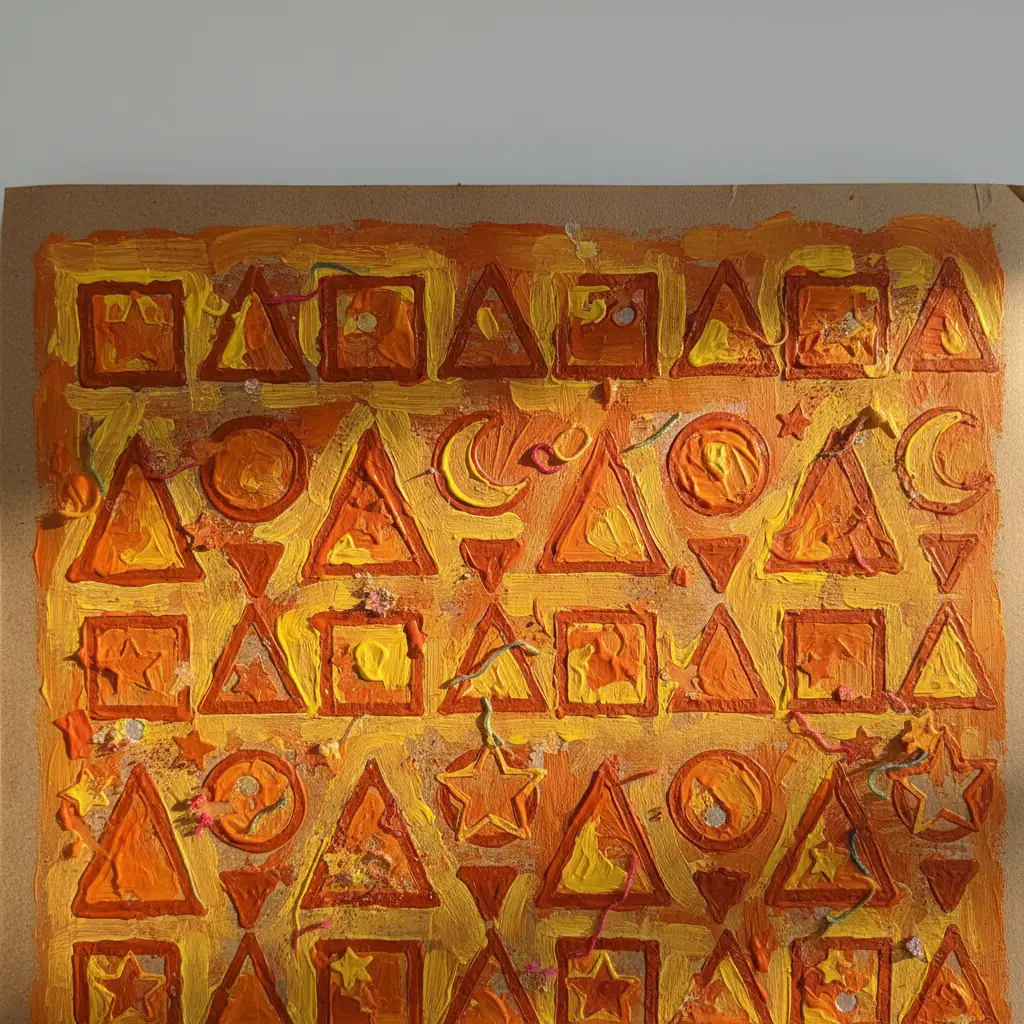
Ever wondered how to create such bold, graphic paper? This one is so satisfying. You simply tape a stencil onto sturdy paper, then dab thick tempera paint through the opening with a sponge. Lift and repeat the motif across the whole page for a dynamic pattern.
It works because the repetition creates a powerful visual rhythm that feels both planned and playful, making it ideal for mixed media painting for kids. I love the moment you peel the stencil away to reveal that crisp shape. Your patterned paper is perfect for collages or book covers, and making it builds great coordination. For even more creative possibilities, look into exploring various mixed media artwork techniques. Feel how proud you are of your vibrant, custom designs.
5. Nature Inspired Leaf Print Painting Using Real Garden Leaves
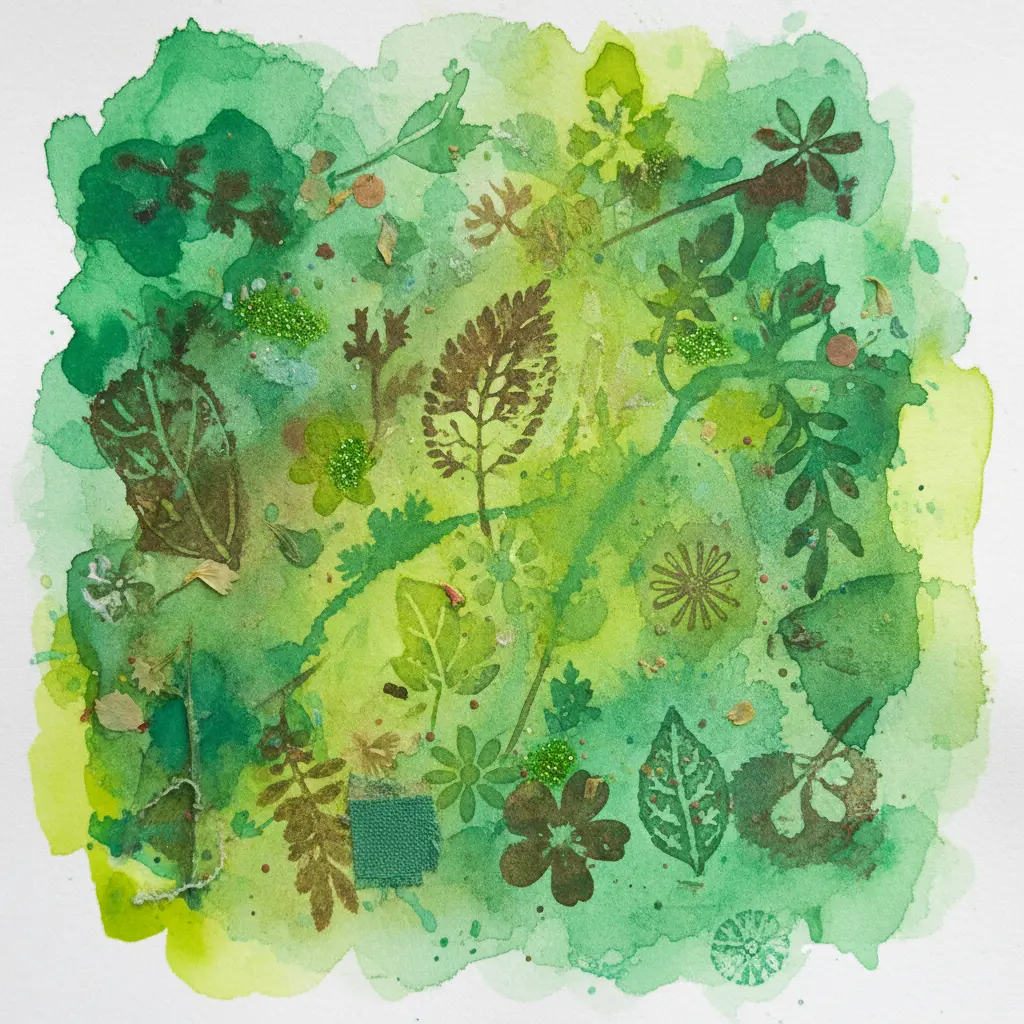
Who would have thought your own backyard could supply the best art supplies? This project turns a simple leaf into a custom stamp. You just paint the veined side with a thin layer of acrylic or tempera paint and press it onto paper or fabric.
It works so well because every leaf’s unique texture guarantees a one-of-a-kind print during mixed media painting for kids. I love watching the intricate vein pattern appear like magic. The surprise reveal is half the fun, and it’s a fantastic way to connect kids with natural patterns. Your biggest challenge will be using too much paint, which muddies the details. Trust me on this one: a little goes a long way. For a clean, graphic look that pairs with this organic style, you can also create geometric painting designs on the same page. Does that not feel fresh?
6. Yarn Embellished Fabric Patchwork Canvas with Soft Cozy Layers
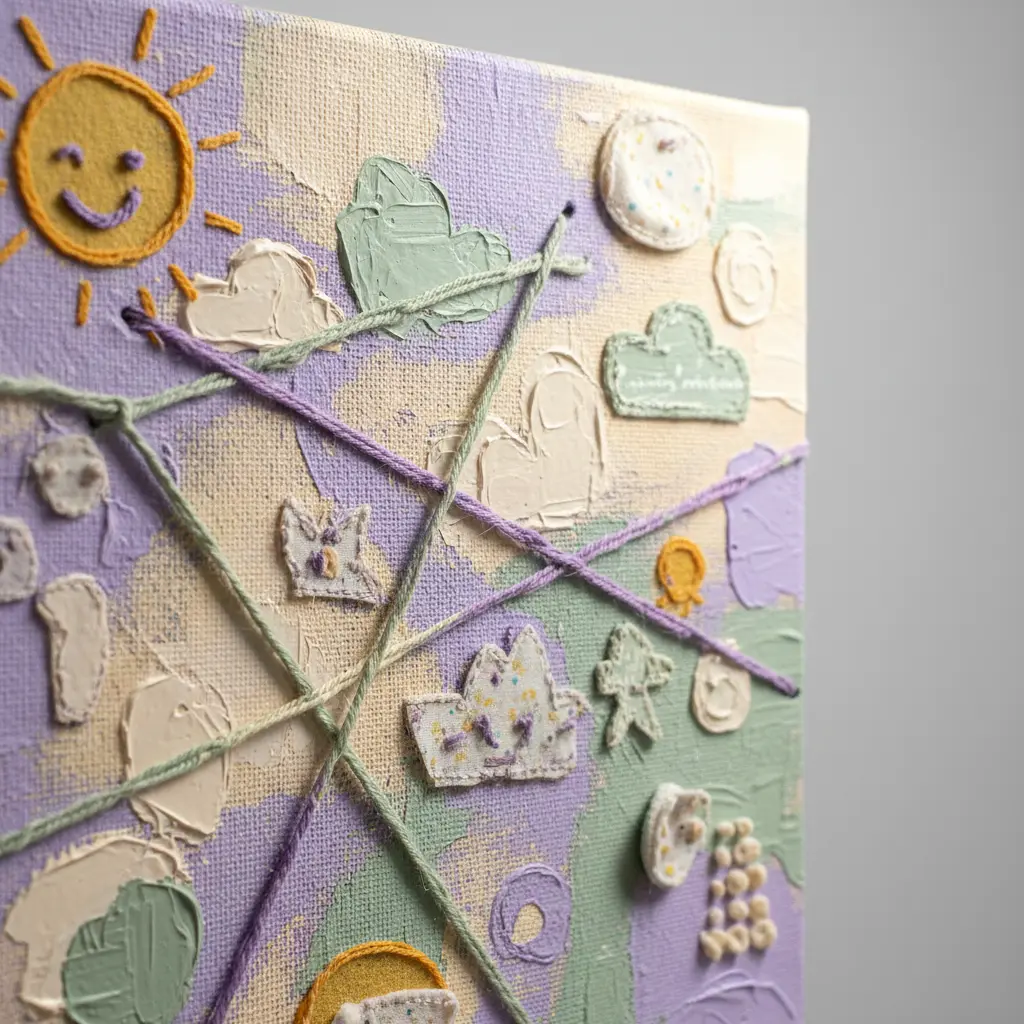
Ever wondered how to make a canvas that begs to be touched? This project feels like a warm hug in art form, proving that mixed media painting for kids focuses on comfort as much as creation. Kids start by cutting and gluing a colorful fabric patchwork onto a canvas base. Then, they get to add the magic by weaving and gluing soft yarn into loops and lines across the textured surface.
It works so well because it’s wonderfully forgiving and focuses on sensory play over precision. I love watching them layer on those cozy textures without any pressure for it to look “right.” For a smooth process, remind them to use a thin line of glue when attaching the yarn to avoid messy shifts. Your finished piece will be a tactile masterpiece they’ll adore.
7. Finger Painted Aluminum Foil Relief with Shiny Crinkled Texture
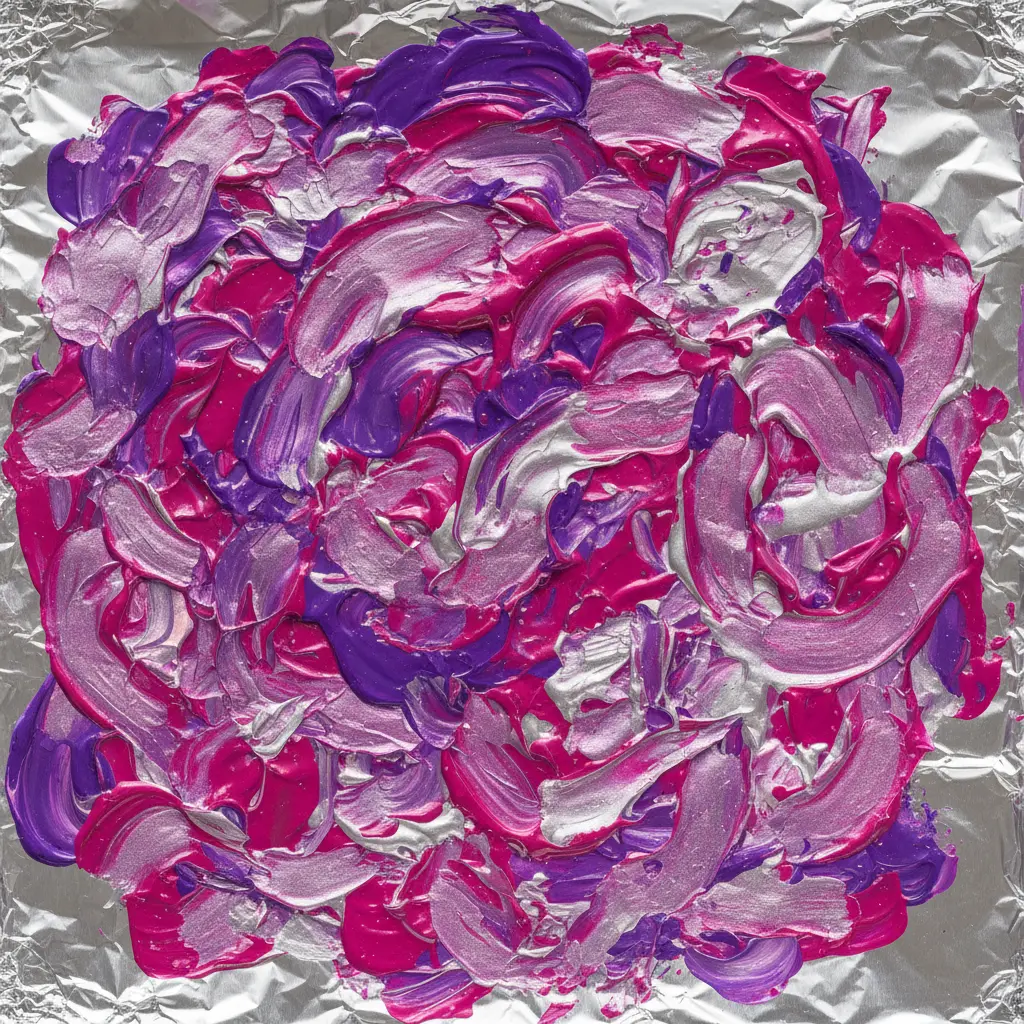
This one is a total sensory delight for kids. You start by crumpling a piece of heavy-duty aluminum foil into a loose ball, then gently unfolding it to keep those amazing, deep wrinkles. Glue that crinkled sheet onto a sturdy cardboard backing, making sure not to press out all the fantastic texture. Then, let the finger painting begin! Dab and swirl bright colors right onto the shiny surface, watching how the paint catches in the grooves while the metallic shine peeks through.
I love how this project turns a simple, everyday material into a stunning piece of art, showing how mixed media painting for kids repurposes kitchen supplies. It works so well because the foil base gives kids an instant, interesting texture to explore, which takes the pressure off a blank canvas. Your child will be mesmerized by the light play and the satisfying, tactile experience of painting over those crinkles. It is a perfect next step after trying some easy paper collage ideas to build confidence with different materials.
8. Dried Pasta Mosaic Acrylic Frame That Doubles as a Keepsake
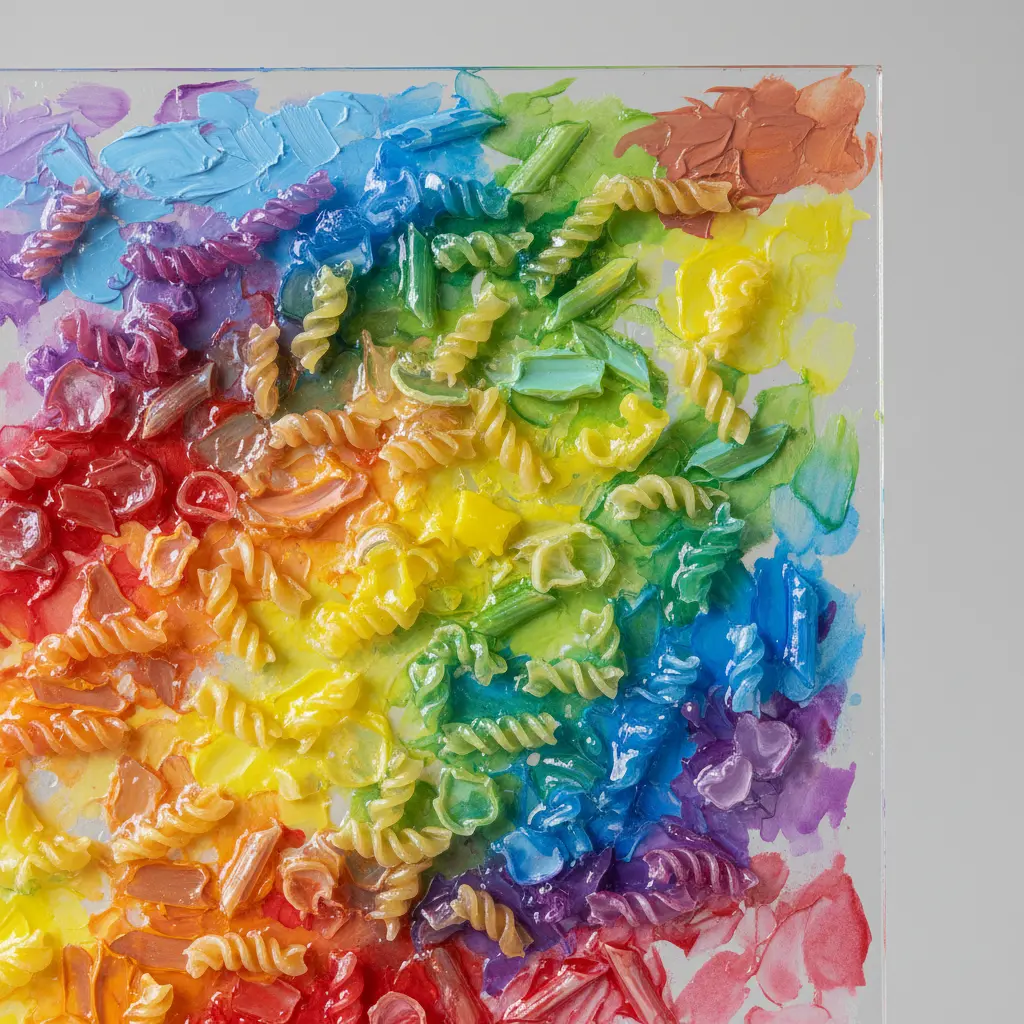
Ever wondered how to make a keepsake that looks like stained glass? This project uses dried pasta shapes to create a textured, colorful mosaic right on a clear acrylic frame, which is a clever twist for mixed media painting for kids. You’ll arrange different pasta pieces into a pattern and glue them down, then sandwich a favorite photo inside. It works because the clear frame shows off both your creative mosaic and the memory it holds.
I love how you can dye the pasta with food coloring for a custom palette. For a similar project that uses natural materials in a playful way, you need to see this fun fox leaf art. Your finished frame will be a unique treasure you’ll feel proud to display.
9. Tissue Paper Stained Glass Collage Glowing with Sunlit Hues
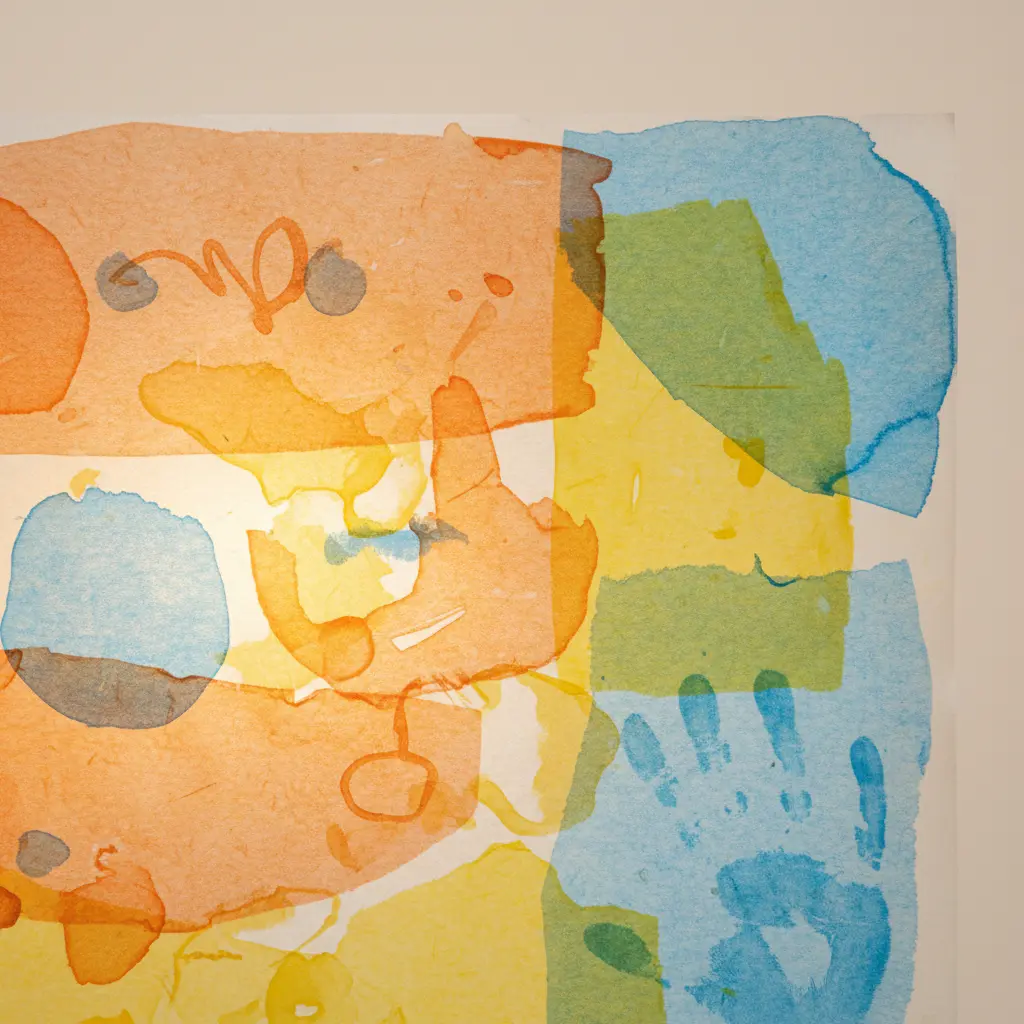
Ever wondered how to get that magical stained glass effect without any glass? This project looks like a beautiful, glowing window decoration, proving that mixed media painting for kids relies on simple materials for big impact. It is built with simple tissue paper and glue. You will layer different colored pieces onto a clear adhesive sheet, letting them overlap to create new, glowing shades. When sunlight hits it, the colors come alive with a soft, diffused light that is absolutely stunning.
I love how forgiving this technique is for beginners. The key is generous overlapping of the tissue paper pieces, which is what gives you those rich color blends. Avoid using too much glue, as that can make the finish cloudy. Once you have your collage sealed, hang it up and watch the light transform it. The payoff is pure magic, and it makes a fantastic gift or a bright addition to a kid’s room window. For another project that repurposes everyday materials into something beautiful, see how to make creative doily bowls.
10. Pom Pom Decorated Wooden Sign A Cheerful Room Accent
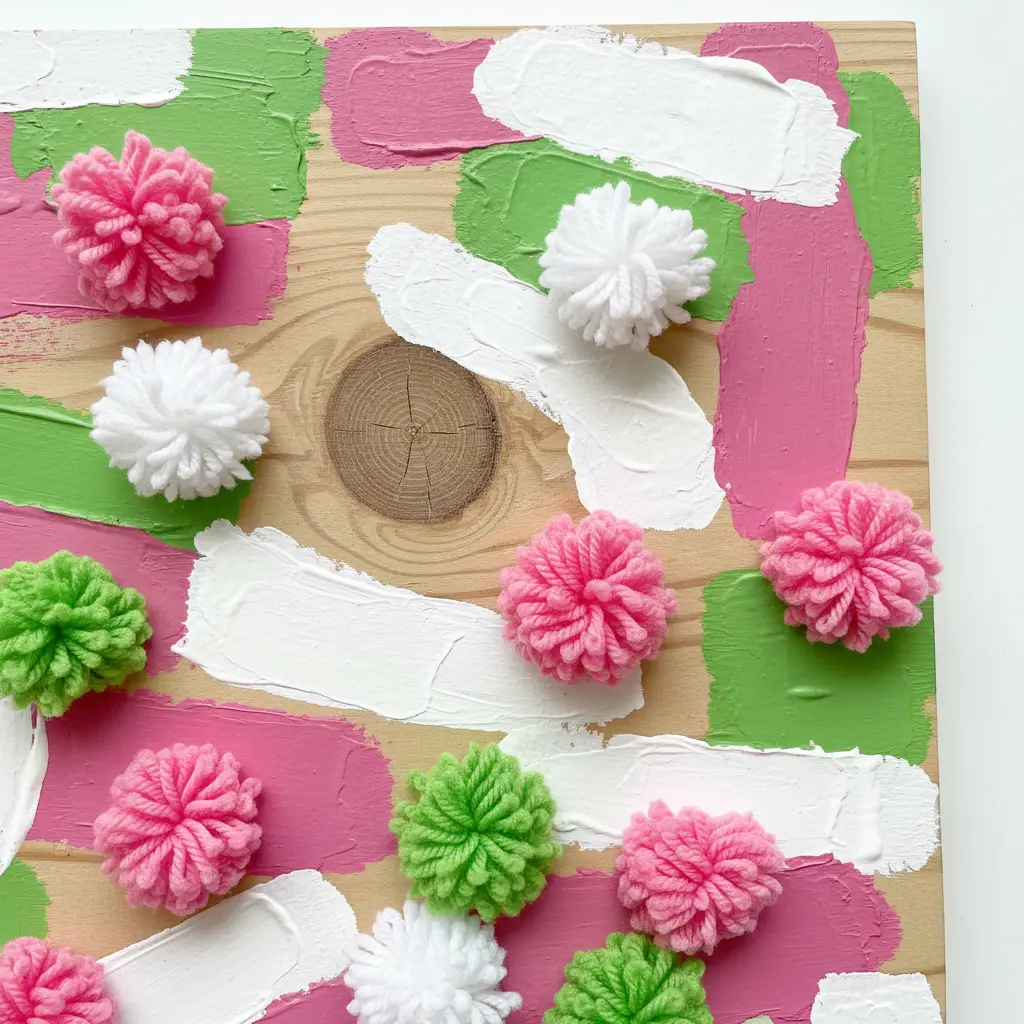
Ever wondered how to add a burst of playful texture to a kid’s room? This project does it perfectly. You start with a simple wooden plaque as your base. Then, you get to press soft, colorful pom poms onto it to spell out a name or create a fun pattern. I love how the fluffy texture pops against the natural wood grain.
The magic is in the three-dimensional effect, which highlights why mixed media painting for kids moves beyond flat surfaces. Those little pom poms stick out, making the sign feel alive and super inviting. It works because it is incredibly personal and hands-on. Your child gets to pick their favorite colors and see their design come to life. A quick tip is to use a strong craft glue for safe assembly if you are working with little ones.
Once it is dry, you have a unique piece of decor that is full of joy. It is a wonderful way to preserve a fun afternoon’s work. For another personal project that celebrates memories, you could pair this sign with a diy photo collage on the same wall. Doesn’t that sound like a cheerful corner?
Displaying And Preserving Dimensional Painted Artwork
A simple matte acrylic varnish spray seals everything in place and protects weeks of creative work, acting as the final essential step for any mixed media painting for kids. The good news is one light coat locks down loose glitter, seals paper collage edges, and gives the whole piece a uniform finish. You want to hold the can about twelve inches away and use quick, sweeping motions in a well-ventilated area. This final step also deepens the colors and helps all the different layers feel like one cohesive artwork. Your child’s creation will look professional and be ready to hang proudly without anything peeling or fading over time.
Conclusion
So how did your little artists enjoy mixing up all those textures? I hope you found that mixed media painting for kids is less about perfect results and more about the laughter and discovery along the way. Seeing their faces light up when they press bubble wrap into paint or glue down fabric scraps is what it’s all about. Keep a box of random recyclables handy, because you never know what might become the next masterpiece. Your home is now filled with colorful, textured treasures that are worth every glue stick you went through. The process itself builds fine motor skills and confidence, all while having a ton of fun. Remember, the best projects come from letting them lead and saying yes to the happy accidents. Now go frame that glittery cardboard mosaic and hang it with pride. I cannot wait to see what you create together next.
FAQs
Q: What age is best for introducing mixed media painting?
A: Most projects suit children ages 4 and up with supervision. Toddlers can join in with larger materials and washable paints, focusing on sensory play rather than a finished product.
Q: Can I use washable paint for these projects?
A: Washable tempera paint works wonderfully for all these ideas. It cleans up easily from skin and most fabrics, making it perfect for worry-free creative sessions.
Q: How do I prepare a workspace for messy mixed media art?
A: Cover your table with a plastic tablecloth or old newspaper. Have a damp cloth ready, keep supplies in shallow trays, and dress your child in old clothes or a smock to contain the mess.
Q: Which recycled items work best for adding texture?
A: Cardboard, egg cartons, bubble wrap, fabric scraps, and bottle caps are fantastic. Almost any clean, dry household item can become an interesting tool or collage piece.
Q: How do I adapt a project for a younger sibling?
A: Offer larger materials like big buttons or chunky pasta and skip small embellishments. Focus on the sensory experience of squeezing glue and smooshing paint, celebrating any marks they make.








