

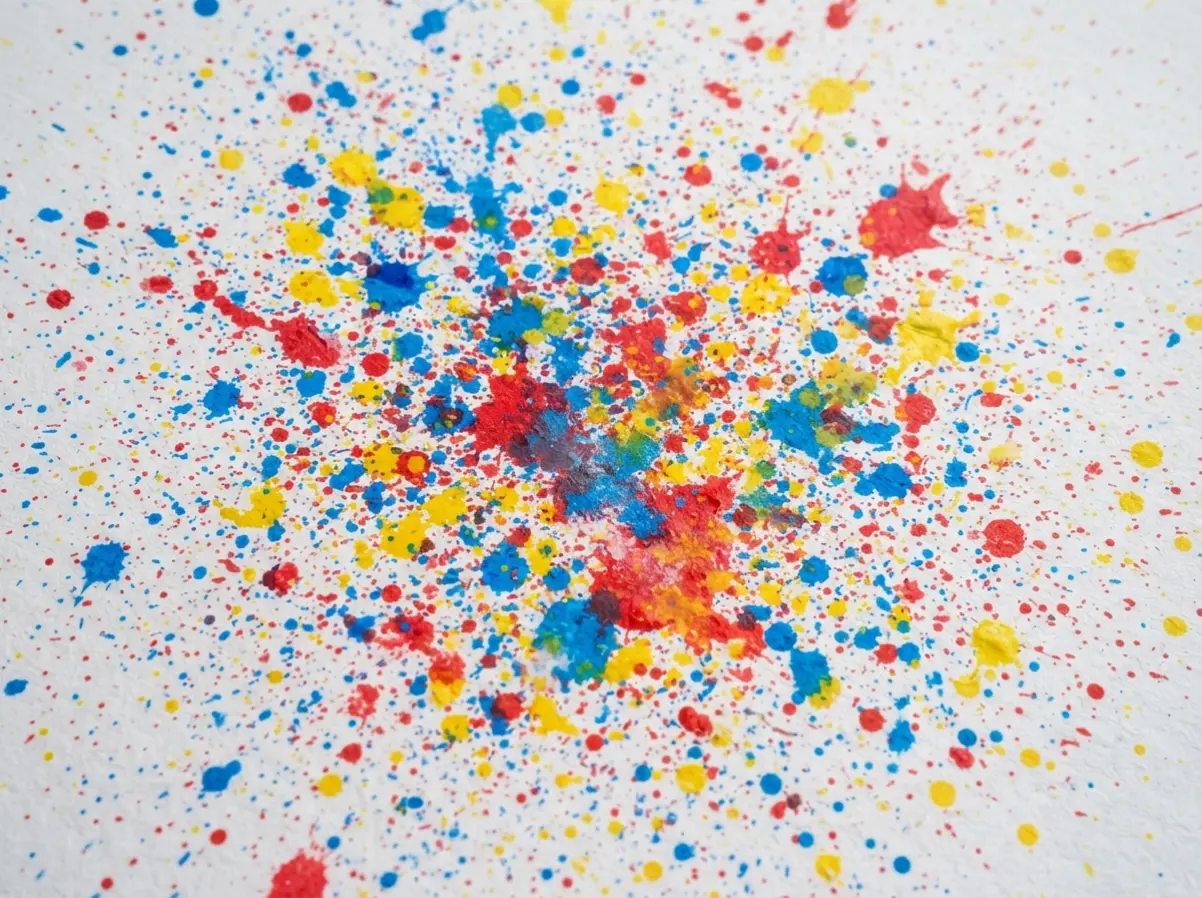
We will look at how everyday objects like old toothbrushes, kitchen forks, and drinking straws create stunning textures without needing expensive supplies. Let us grab some washable tempera paint and test these expressive abstract ideas together. You will find plenty of inspiration to keep little hands busy and creative minds engaged.
Get your aprons ready and let the colorful chaos begin!
Establishing Safe Outdoor And Indoor Painting Environments
A dedicated splatter zone is your first line of defense against runaway paint, so I always start by laying down a plastic painter’s tarp that extends at least three feet beyond my planned work area. Trust me, this simple step prevents those energetic flecks from decorating your floors or furniture. For indoor setups, you want to tape your paper or cardstock directly onto the tarp to keep it from sliding around with each enthusiastic flick.
Mastering this setup step is crucial because one of the best splatter painting techniques for kids starts with a clean, protected workspace. The best part is you can create this controlled zone almost anywhere, from a garage floor to a kitchen corner covered in old sheets. Outdoors, a grassy spot works wonders because any stray paint will wash away with the next rain.
Just remember to secure your paper with heavy rocks or clips on a windy day. Your goal is to make a space where your kids feel free to be as wild and creative as they want without you worrying about the cleanup.
Optimising Paint Viscosity For Better Flow Control
The secret to perfect splatters, not sad drips, is getting your paint to the consistency of whole milk before you even pick up a brush. If your tempera or acrylic is too thick, it forms heavy blobs that lack those beautiful radial spray effects we all love. The good news is fixing this is easy.
Add water a few drops at a time and stir until the paint flows smoothly off your stir stick. You will notice thin paint behaves differently, creating finer, mist-like specks perfect for building up layered textures. For more control over those large, dynamic splashes, use slightly thicker paint on a stiff-bristled brush and flick it with more force from a greater distance.
Testing your mix on a scrap piece of paper first saves your main artwork from becoming an uncontrollable runny mess. Understanding how viscosity affects your flow is vital when exploring new splatter painting techniques for kids.
1. Toothbrush Fine Mist Sunset Scene Painting
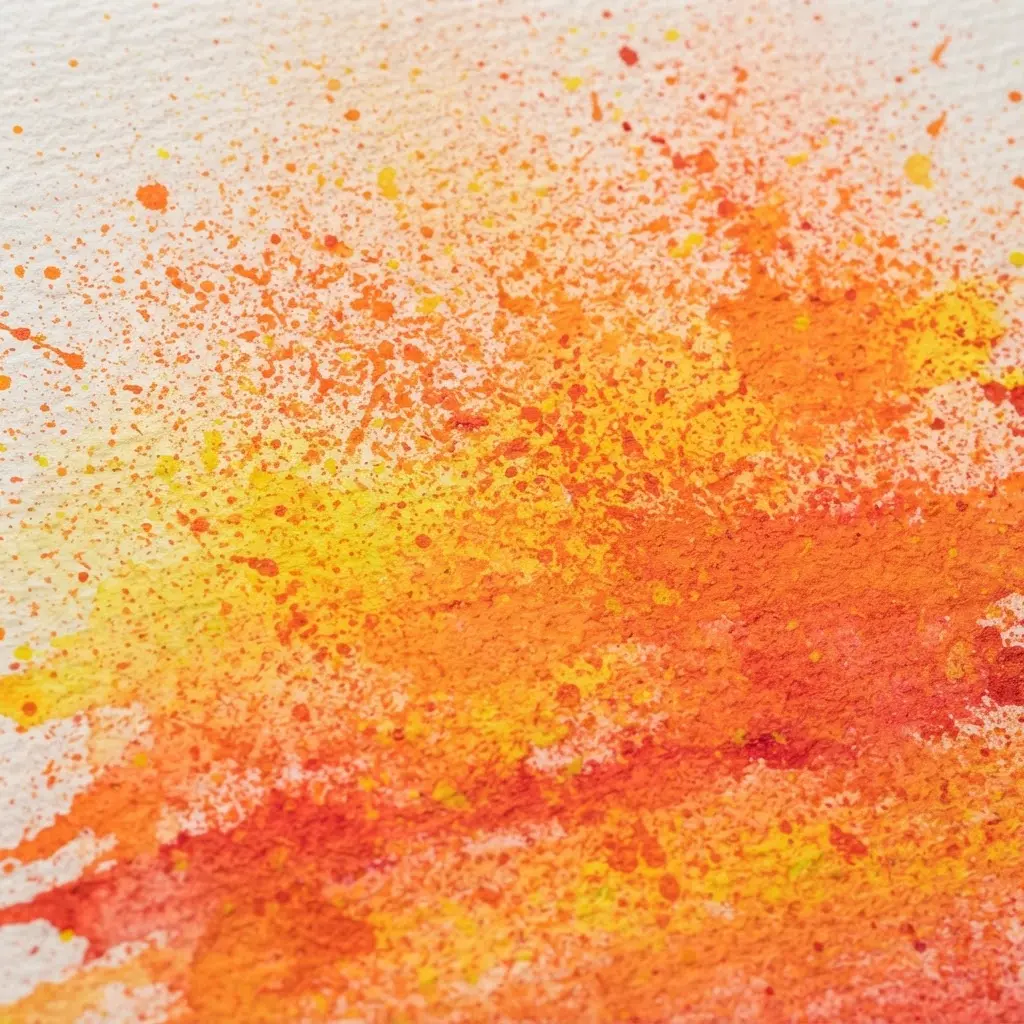
This one is a total crowd-pleaser. It looks like a professional misty sunset, but the secret tool is just an old toothbrush. You dip it in thinned watercolor or acrylic paint, flick the bristles with your finger, and watch a fine spray of color land on your paper.
Build up layers of lighter yellows and oranges first, then add deeper reds and purples near the horizon. The splatter texture naturally creates that hazy, dreamy light you see at dusk. I love how organic it feels.
Your best tip is to always test on scrap paper first to get the spray just right. Implementing this flicking method is highly recommended among modern splatter painting techniques for kids. Does that not look stunning?
2. Fork Dragged Rainbow Splatter Art Piece
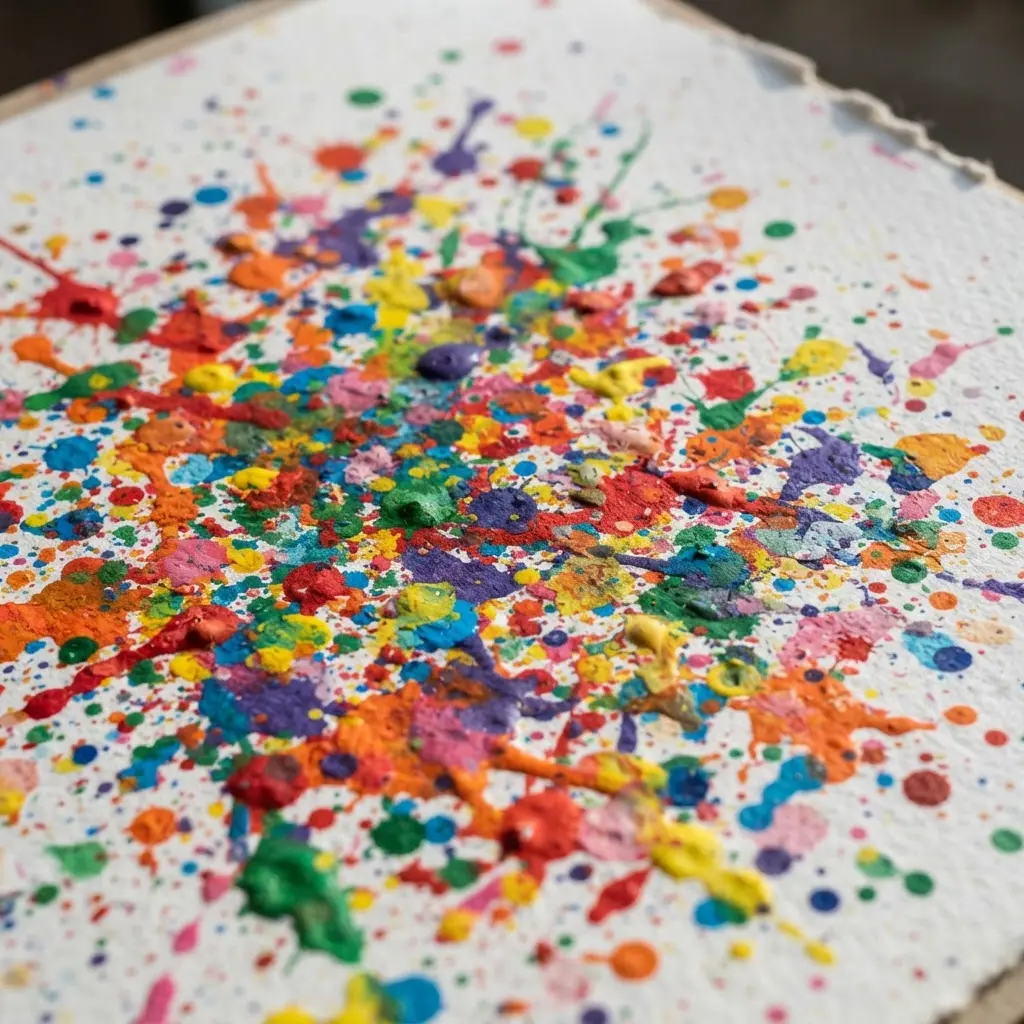
Ever wondered how to turn wild splatters into something with a bit of deliberate flair? This technique is your answer. You start by flicking and splashing a whole rainbow of colors onto your paper or canvas.
Then, while the paint is gloriously wet, you take a plastic fork and drag it right through the mess. I love how this transforms random blobs into these amazing, textured lines and swirls.
It works so well because you get the best of both worlds: the fun chaos of splattering and the satisfying control of creating patterns. Dragging a simple utensil through wet layers stands out as one of the most playful splatter painting techniques for kids. The key is to work fast before the paint dries.
Trust me on this one, the tactile feel of dragging that fork is half the joy. Try it and watch your kids’ faces light up when their rainbow explosions get a cool, personal touch.
3. Straw Blown Organic Paint Vein Design
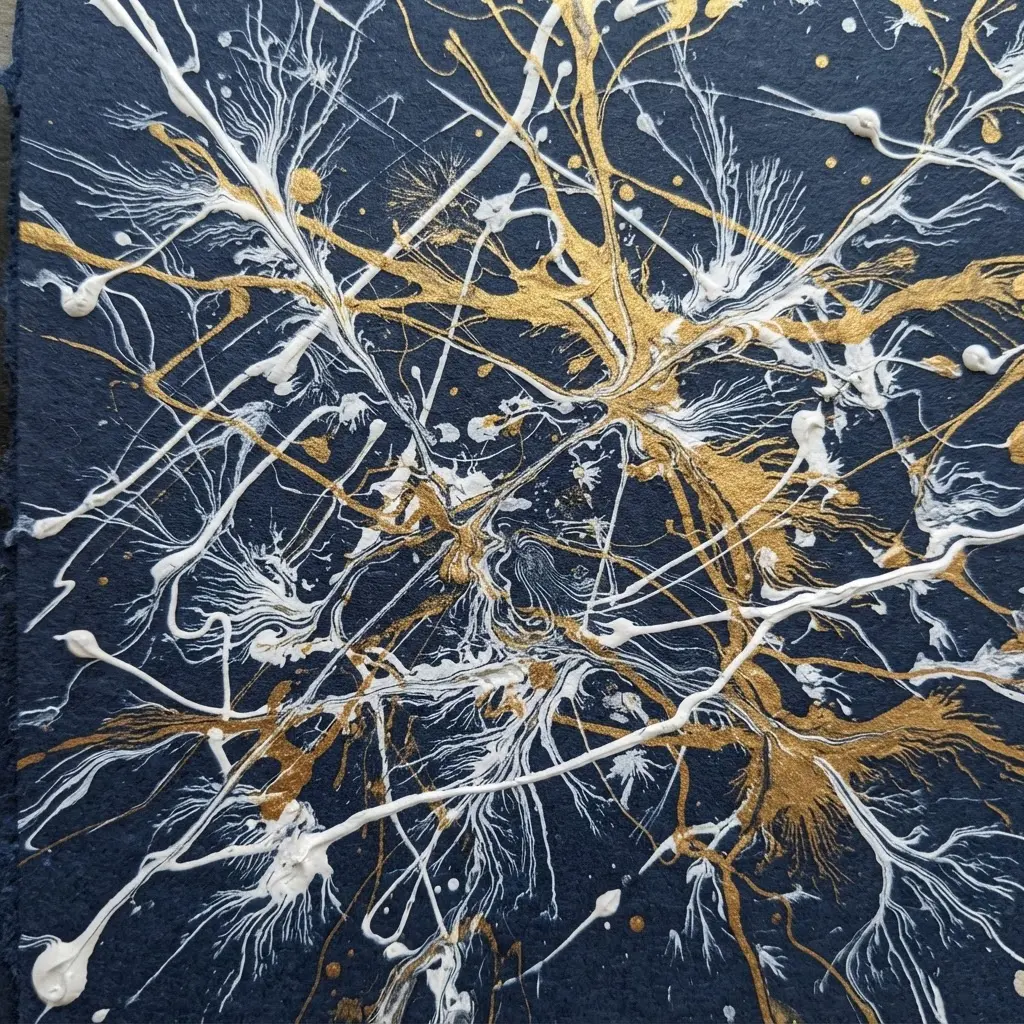
This is one of my favorite splatter painting techniques for kids because it looks like magic. You simply place a few drops of thin acrylic paint onto your paper and blow through a straw to push the paint into wild, branching patterns. The result is a delicate network of lines that looks like veins, lightning, or tiny rivers.
Why does it work so well? The directed air pressure gives you a surprising amount of control over the chaos, letting you guide the paint’s flow. For the best results, make sure your paint has the consistency of warm honey.
If you have enjoyed making textured art before, mastering this blowing technique is a fantastic next step. Try it and feel the thrill of seeing those organic shapes appear.
4. Stiff Brush Large Droplet Galaxy Canvas
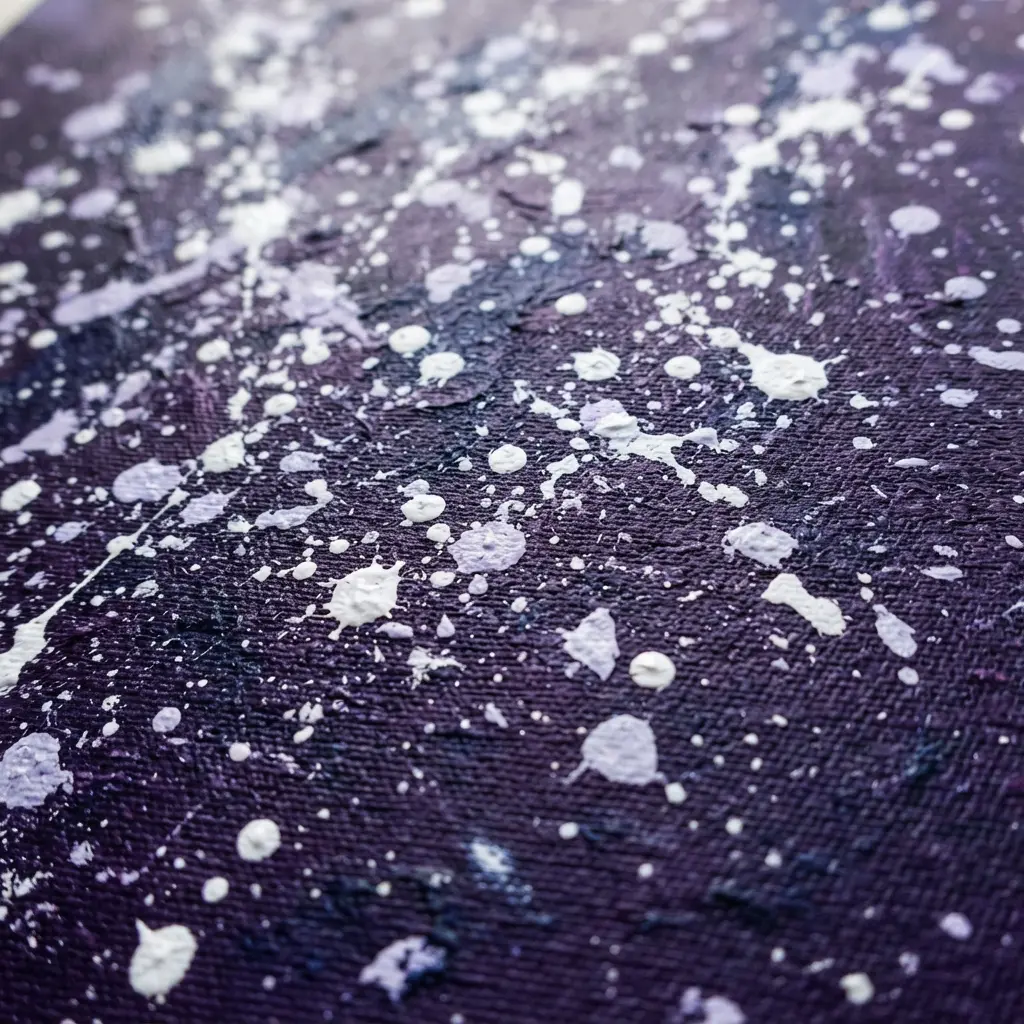
Who would have thought you could build a galaxy with a brush? This technique is all about texture and thick paint. You start with a dark, blended background of blues and purples, then load a stiff bristle brush with a huge glob of paint.
You dab and flick it on to create those beautiful, raised star clusters and nebula cores. It feels more like sculpting than painting, and that is the magic. The thick droplets catch the light, giving your space scene a real sparkle and depth.
Mastering heavy droplet application ranks as one of the most popular splatter painting techniques for kids right now. Trust me, do not be shy with the paint. The more you pile on, the more stunning and three-dimensional your galaxy becomes.
5. Masked White Space Geometric Shape Layout
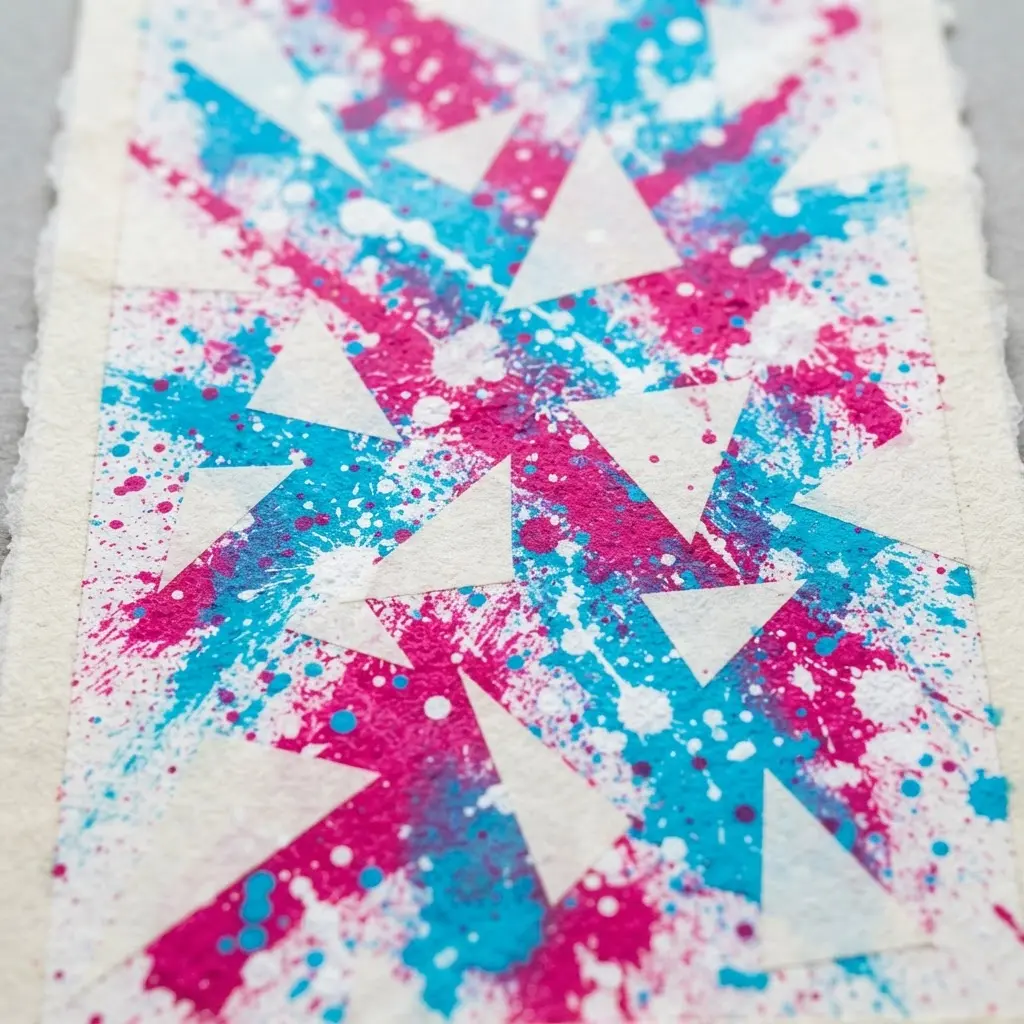
This technique looks like something from a modern art gallery, but it’s a fantastic way to bring order to the beautiful chaos of splatter painting. You start by creating a simple geometric shape stencil from cardstock, like a circle or a square, and tape it onto your canvas. Then, you let the kids go wild with their splatters all around it.
When you peel the stencil away, you are left with a perfectly clean, crisp shape of untouched canvas right in the middle of all the color. It works so well because our eyes love the contrast between the controlled, empty shape and the wild, energetic splatters. The clean white space makes the painting feel intentional and sophisticated, even though the process is pure, messy fun.
Using negative space effectively remains a staple among professional splatter painting techniques for kids. For a softer, more delicate look that also uses negative space beautifully, you can explore these charming watercolor heart painting ideas.
I love how this method teaches kids about composition and positive space without them even realizing it. Trust me, the moment you peel off that stencil and see the perfect shape underneath is pure magic.
6. Sponge Dabbed Textured Background Splatter Effect
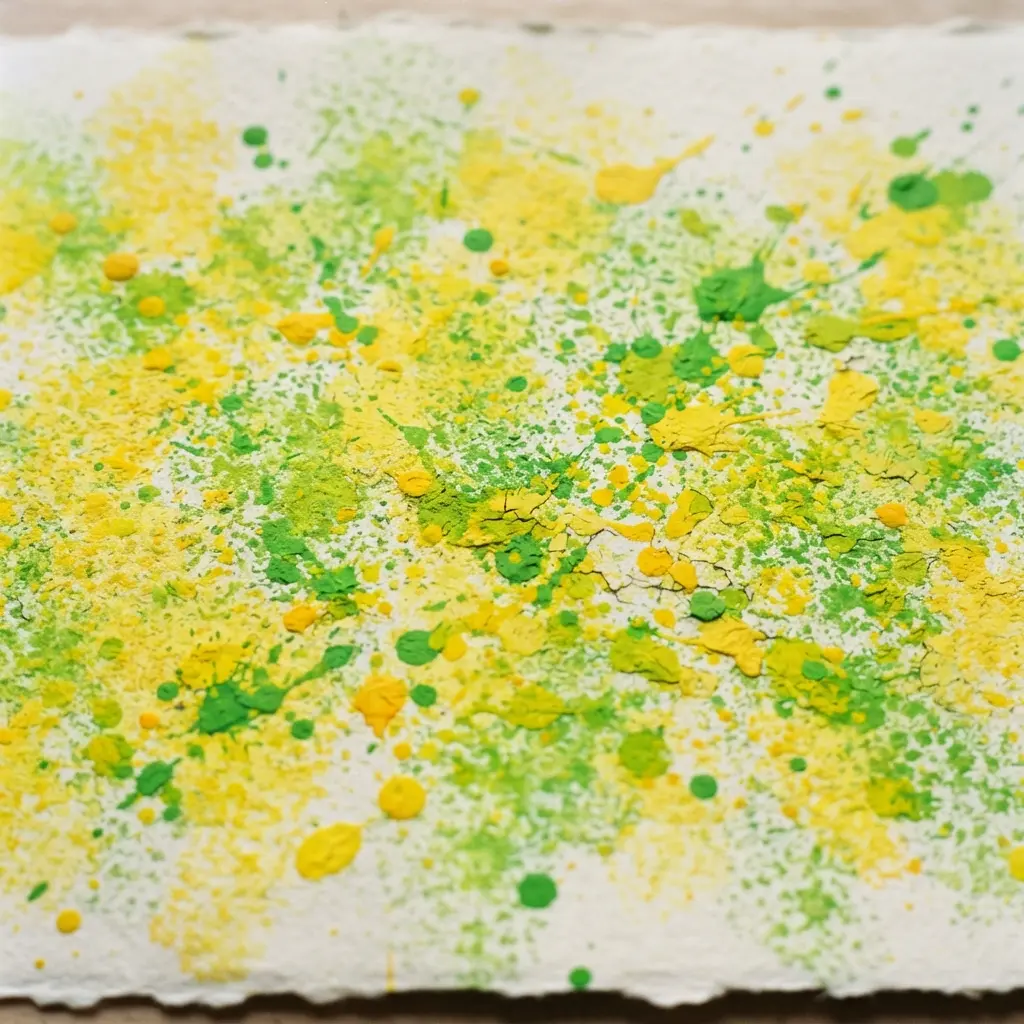
This one is a personal favorite because it looks complex but is so much fun. You start by dabbing your paint with a natural sea sponge to create a wonderfully bumpy, organic texture for your background. Let that layer dry completely, then use an old toothbrush to flick on your splatter effect.
Why does this work so well? That sponge texture gives your artwork instant depth and a place for the splatter droplets to land. Your final piece feels alive with movement and energy.
Dabbing with porous materials complements traditional splatter painting techniques for kids beautifully. Trust me, you will love the happy surprise of how those random splatters finish the look.
7. Comb Flicked Parallel Paint Line Pattern
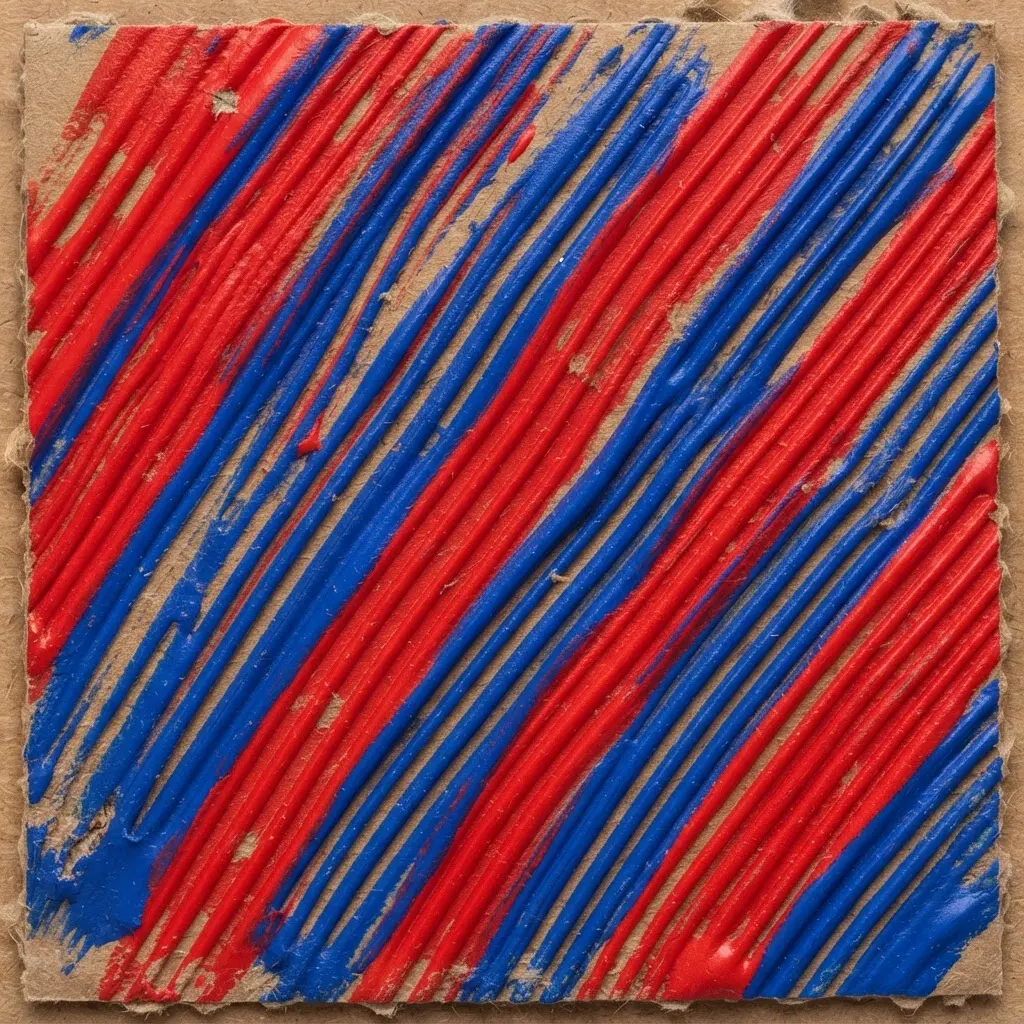
This one looks like a professional wall finish, but it is so easy to do. You simply load the teeth of a plastic hair comb with paint and flick it across your canvas or paper. The quick motion creates a set of textured, parallel lines that look energetic and handcrafted.
I love this technique for its sense of movement. It is perfect for creating backgrounds that feel dynamic, like grass or rain. The irregular lines are much more interesting than plain stripes.
My go-to tip uses medium-thick paint. If it is too runny, your lines will bleed together and lose that great definition. Raking through wet pigment offers a unique twist on classic splatter painting techniques for kids.
8. Negative Shape Leaf Stencil Splatter Motif
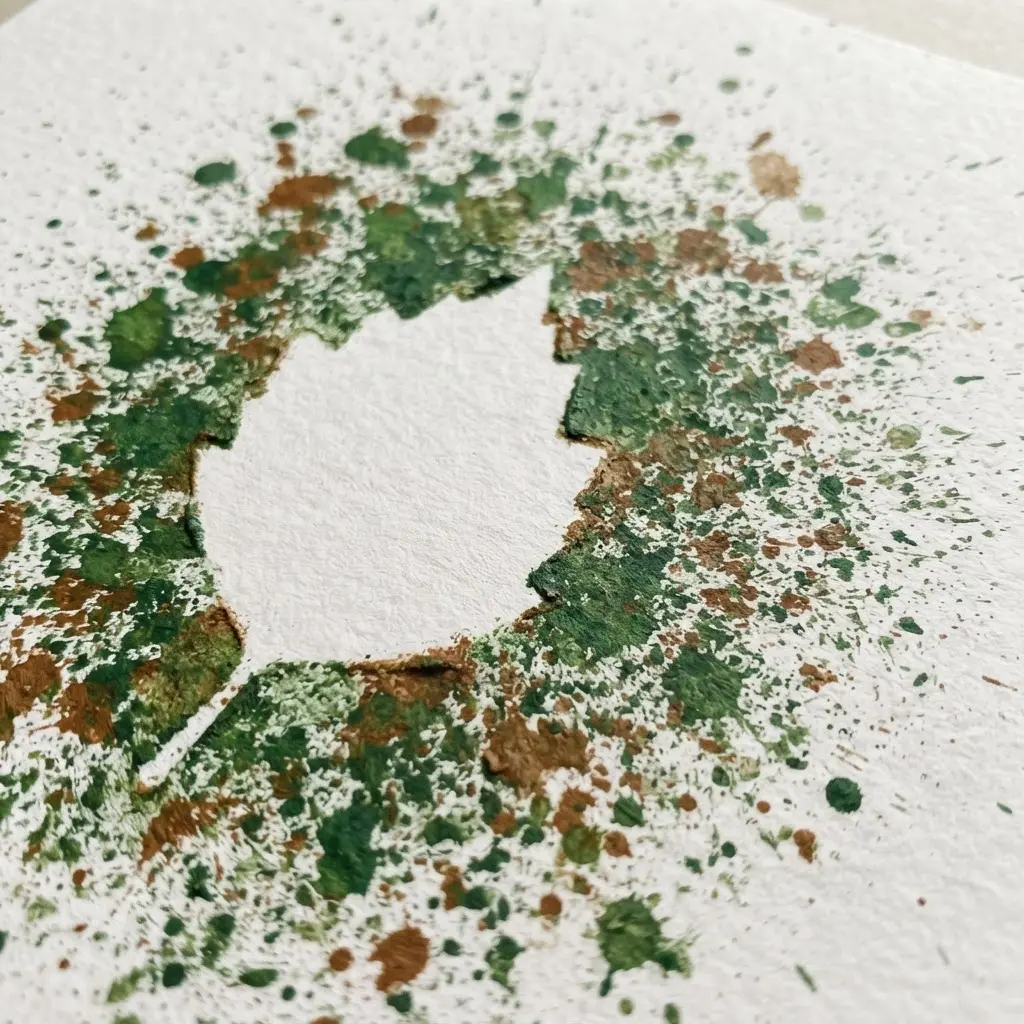
Ever wondered how to get a perfectly crisp leaf shape inside a wild splatter painting? This is the technique that makes it feel like magic. You place a leaf stencil down and splatter paint all around it. When you lift the stencil, the clean, untouched leaf silhouette is revealed against the textured background.
I love this one because it combines control with happy accidents. The key is to press that stencil down firmly so no paint sneaks underneath. Let the paint dry for a minute before you peel the stencil away to keep those edges sharp.
Creating crisp negative silhouettes rounds out your advanced splatter painting techniques for kids portfolio. Trust me, seeing that perfect leaf appear is so satisfying.
9. Twig Drip Controlled Vertical Line Artwork
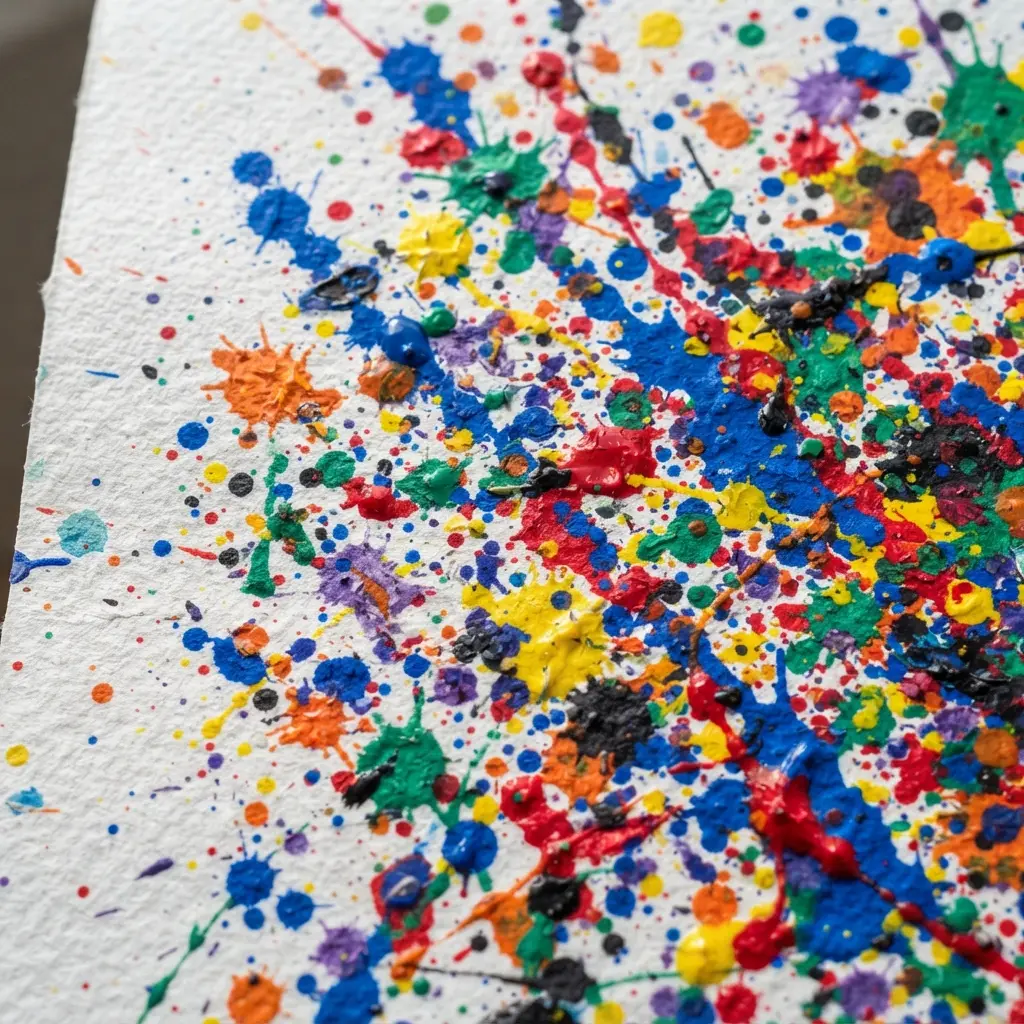
This one feels like magic. You guide a loaded twig across a vertical surface and let gravity do the rest, creating beautiful, organic lines. The trick is getting the paint or ink to the perfect dripping consistency. I love how each twig gives you a different line texture, from smooth and even to delightfully rough.
It works because you get a wonderful mix of control and happy accident. You decide where the lines start, but the drips add their own natural character. For a fantastic contrast, try this technique after exploring geometric painting patterns.
Controlling gravity-driven lines introduces natural physics into fun splatter painting techniques for kids. My go-to tip is to test your medium on scrap paper first. Isn’t it satisfying to see those first few perfect drips run down the page?
10. Handprint Silhouette Negative Space Splatter Portrait
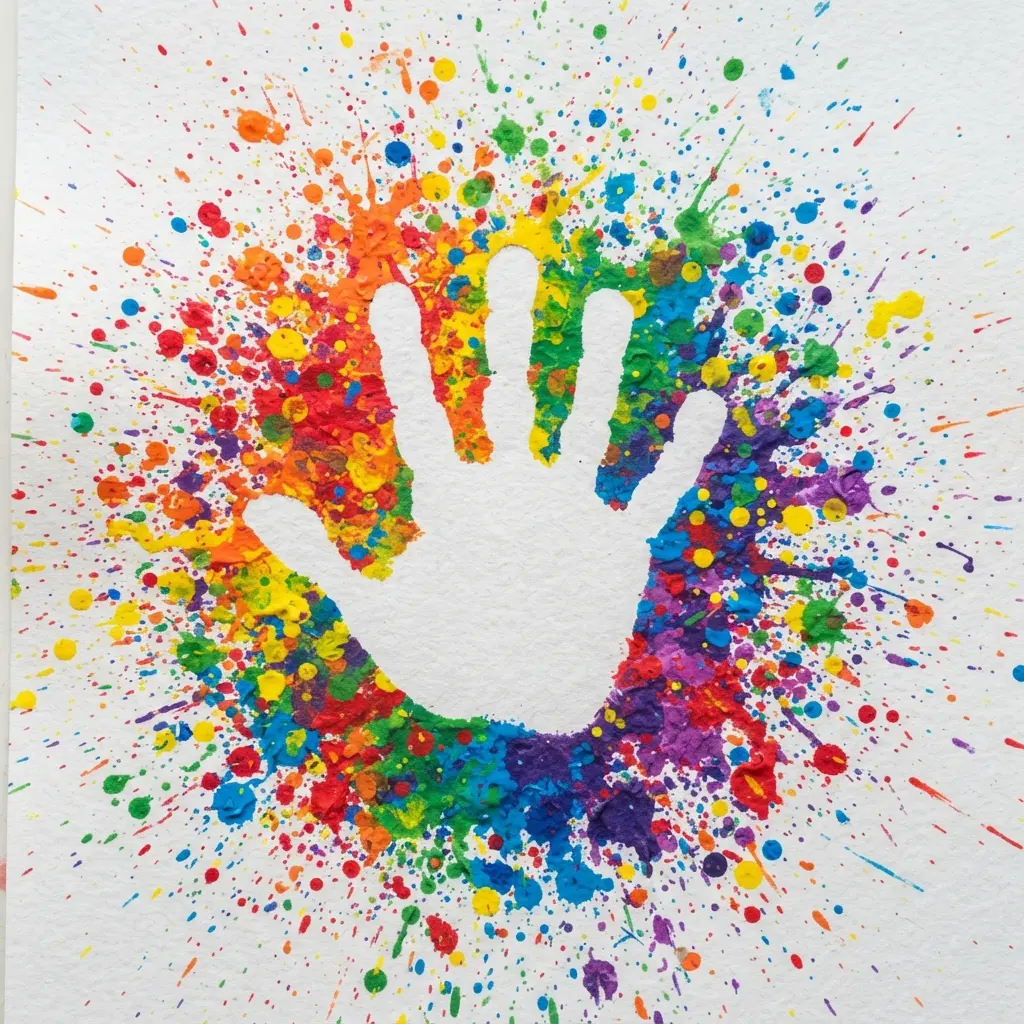
This one looks incredibly advanced, but I promise you it is all about a clever trick. You start by painting a detailed portrait of a face, like a grandparent or a friend, inside the outline of a traced handprint. After that layer dries completely, you let loose with wild paint splatters all over the background.
The controlled portrait peeks through the negative space of the hand, while the energetic splatters add so much life. It works so well because it teaches the idea of negative space in a way kids can literally see and touch. The messy fun of the splatter part is a huge payoff, and the final piece has this fantastic contrast between careful detail and pure, joyful expression.
Framing portraits inside traced silhouettes blends personal expression with structured splatter painting techniques for kids. For a similar burst of colorful, messy creativity, you will need a good guide to colorful Holi art activities for kids to get the right vibrant energy.
My top tip is to always practice your splatters on a scrap paper first. Trust me on this one, it saves the masterpiece and makes the final reveal even more satisfying.
11. Layered Monochromatic Neon Paint Spray Composition
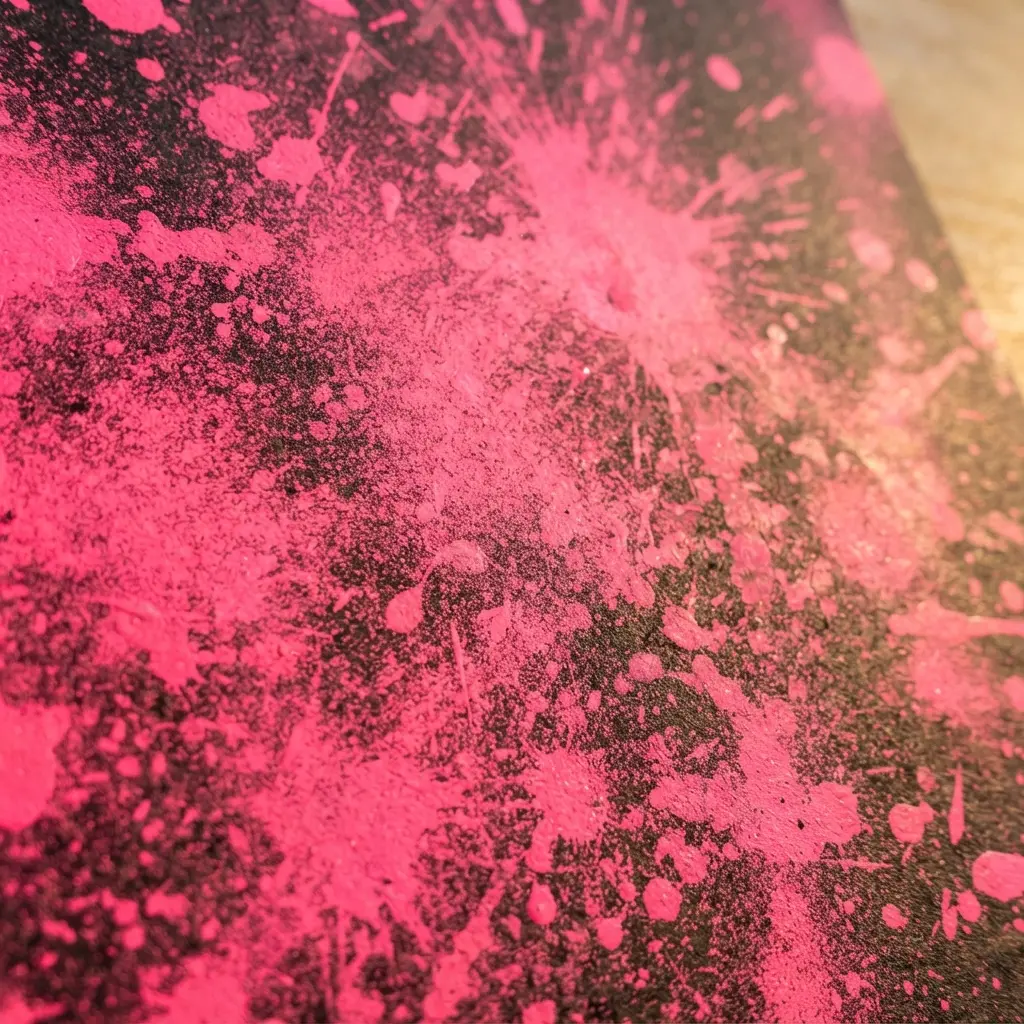
Ever seen a fun marble painting techniques for kids to glow with its own light? This technique creates that exact magic. You work with a single vibrant neon paint, building it up in thin, translucent layers with a spray can. The trick is in those light passes, letting each one dry a bit to create depth and form before you add the next.
I love how this forces you to think about light and shadow instead of just color. You can use masking tape to create sharp edges and protect areas, adding contrast to the soft spray gradients. The finished piece has amazing texture and movement, all from one incredible color.
Isn’t that a fun way to make an abstract statement? Feel the energy when you see it under a blacklight.
12. Drip Dried Radial Pattern Burst Illustration
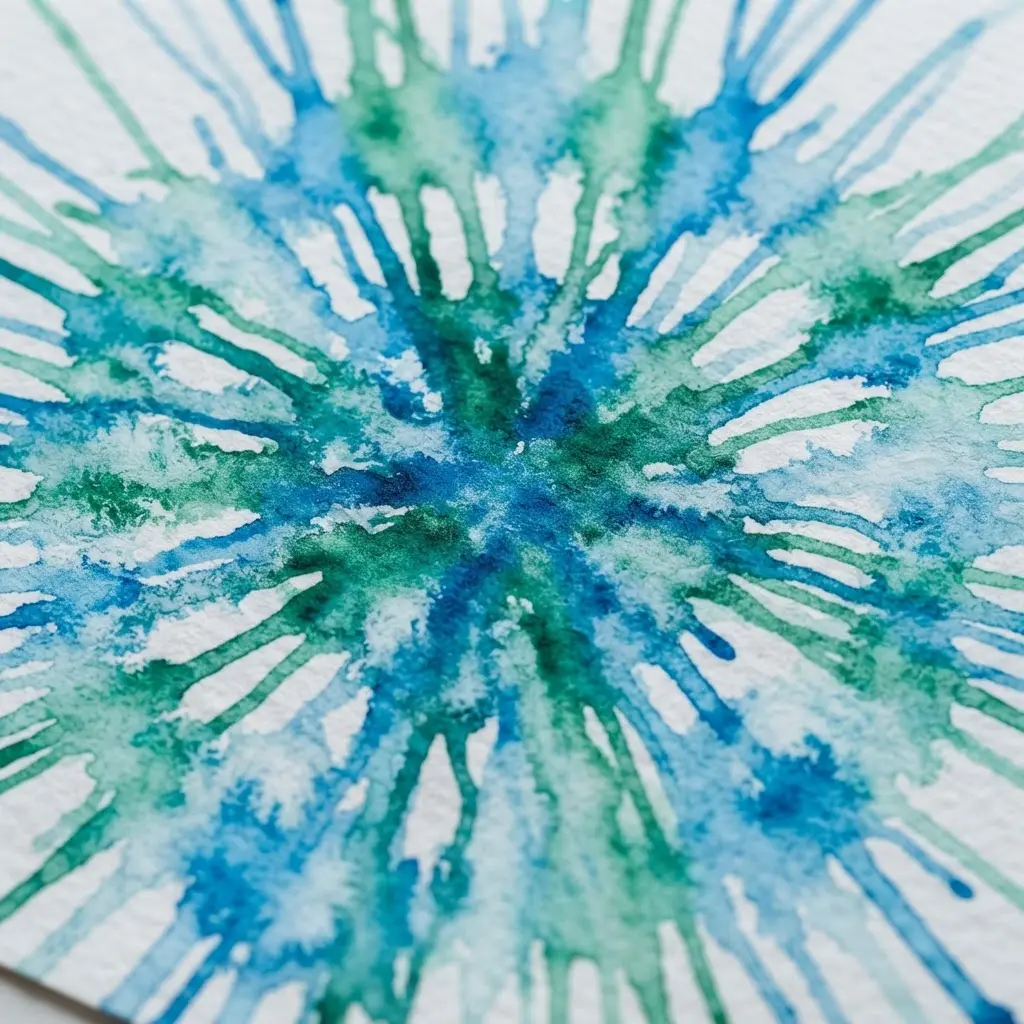
This one looks like a science experiment gone wonderfully right. Start with a thick blob of paint right in the center of your paper. Then, lift it up and tilt it so the paint drips outward in all directions like a sunburst. Let it dry completely without touching it.
I love how the drips create their own unique, uneven paths as they flow and dry. The key is using fairly runny paint so it moves easily, but not so watery that the colors bleed together into a muddy mess. Isn’t it amazing how such a simple action can create such a dynamic pattern?
For a fantastic textural contrast once your burst is dry, try adding some simple paper collage craft ideas on top. Feel that explosive energy frozen on the page.
13. Cardboard Shape Shadow Splatter Effect Study
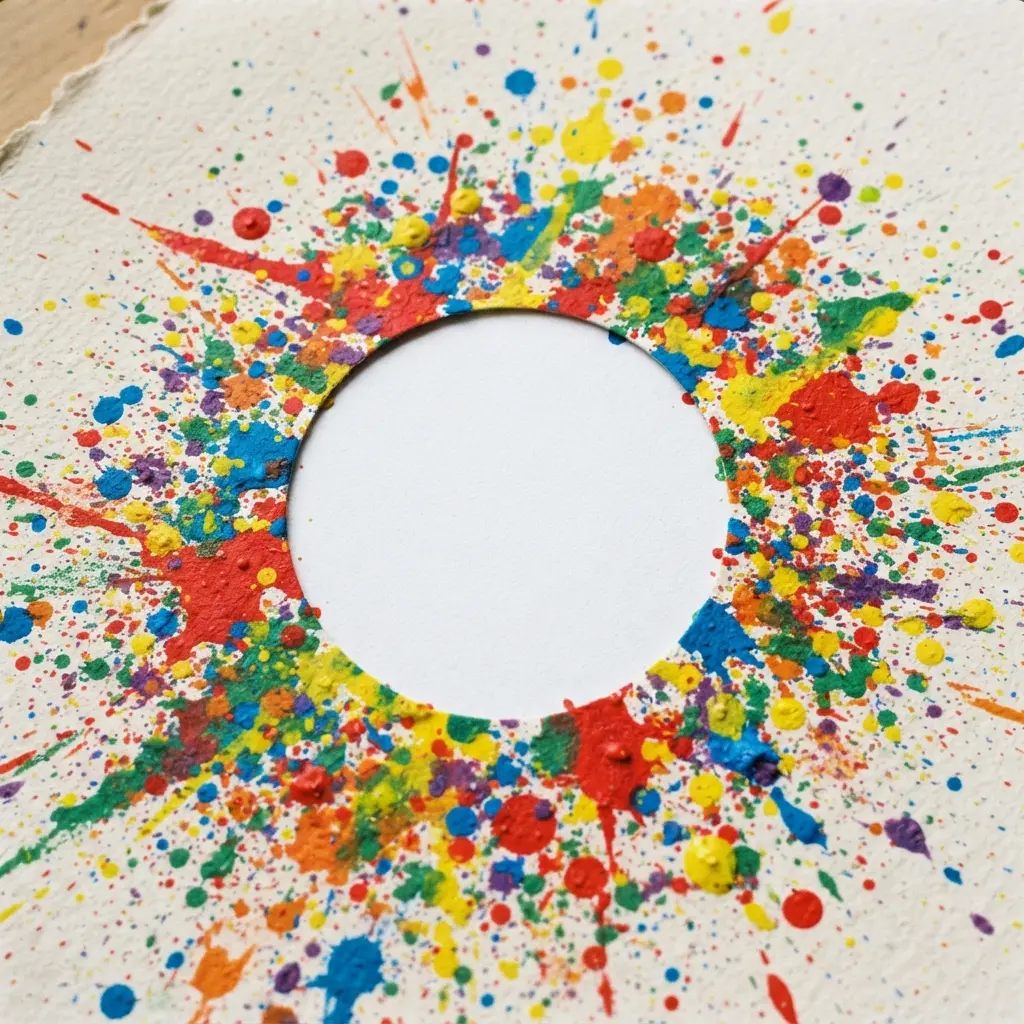
Who knew cardboard and splatters could look so sophisticated? This is one of my favorite ways to add a ton of texture and depth. You start by cutting out clean, simple shapes from corrugated cardboard and arranging them on your surface. Then you add realistic shadows to make them look like they are floating. The final, fun step is to create energetic splatter patterns all around them.
It works so well because it mixes that solid, geometric structure with wild, organic energy. The contrast between the tidy shapes and the messy paint is just visually delicious. Trust me, getting that light source consistent for your shadows is the key to making the whole scene pop.
My go-to tip involves practicing your splatter technique on some scrap paper first. Use a stiff brush and flick your wrist for different sized droplets. Try it and feel the thrill when that perfect chaos comes together.
14. Heavy Drip Horizontal Motion Trail Painting
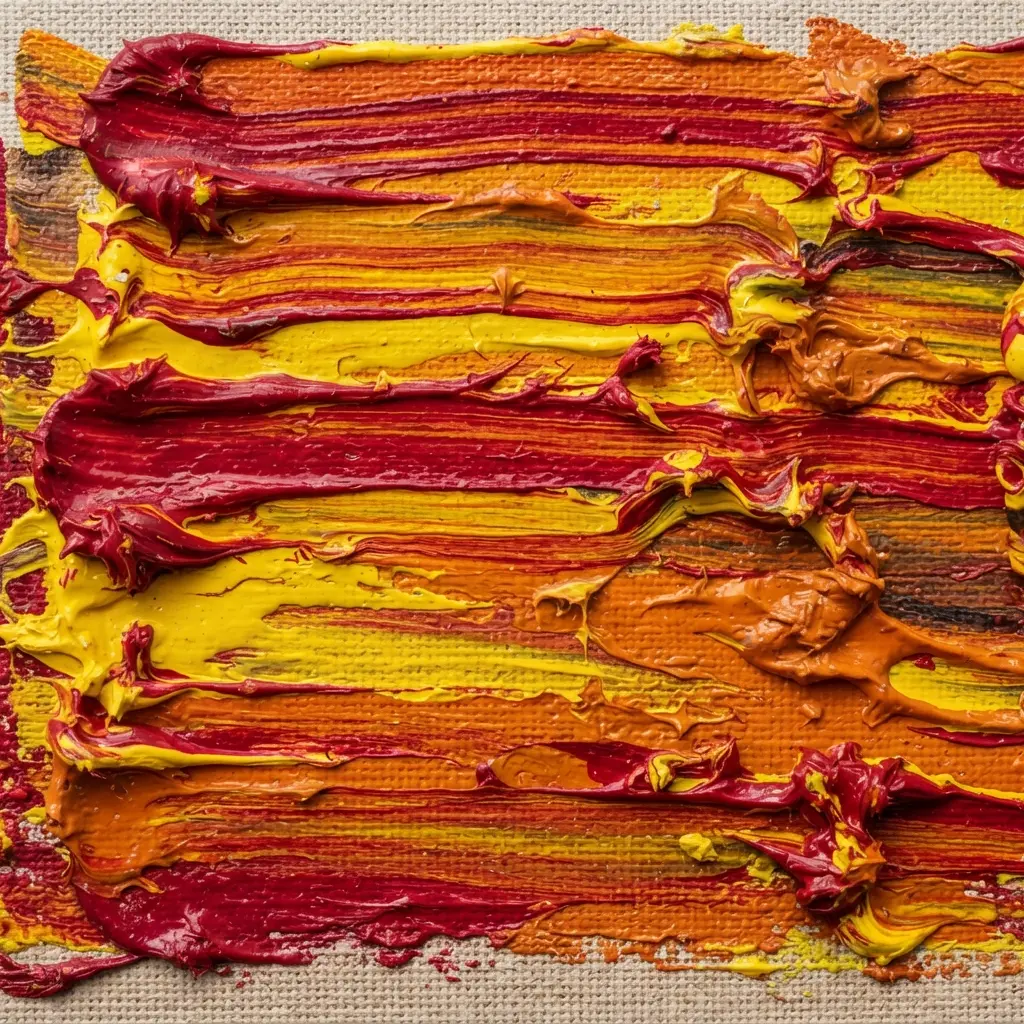
Ever wondered how to get those thick, dramatic drips that seem to race across the canvas? This is all about controlling the flow. You start with a flat surface and use thick, viscous acrylic paint so the drips hold their shape. Then, you actively tilt the canvas or even blow gently with a straw to guide the paint in long, horizontal trails. It is a fantastic way to explore abstract expressionism and see paint as a living, moving material.
I love the physical, almost sculptural quality this technique gives your work. The key is balancing your paint consistency so it is thick enough for a substantial drip but fluid enough to slide. That sense of controlled chaos is incredibly satisfying.
Once you are comfortable with this energetic style, you could apply the same bold, fluid approach to designing a hand-painted skirt for a truly unique wearable art piece. Mastering this controlled horizontal flow introduces movement into fundamental splatter painting techniques for kids.
15. Marble Rolled Paint Splatter Path Masterpiece
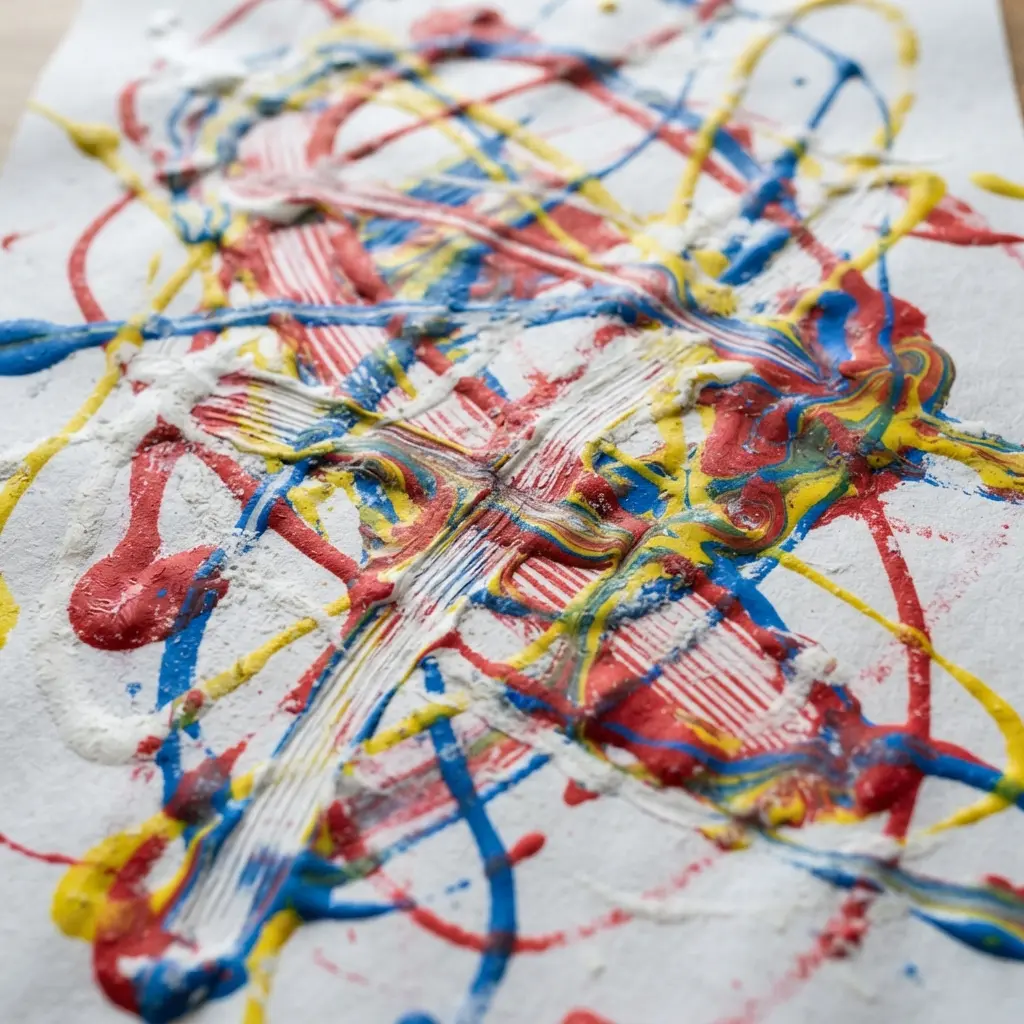
This one looks wildly complex but is honestly one of the most fun and accessible projects you can do with kids. You start by placing your paper inside a sturdy cardboard box lid or tray, which becomes your controlled painting arena. Dip marbles into different colors of washable paint, drop them onto the paper, and then tilt the box to let them roll and create beautiful, swirling paths.
Next, you get to add the splatter layer. I love using an old toothbrush for this part because it creates such a fine, energetic mist of dots. You simply dip the bristles in paint and flick your thumb over them, watching the speckles land right over and between those marble trails. The combination of the deliberate, linear paths and the random, spontaneous splatters is what makes each piece a unique masterpiece.
It is so satisfying to see those two textures come together on one page. My go-to tip here is to start with fewer marbles and lighter paint application. It is easy to get excited and add too much, which can muddy your lovely paths. Trust me on this one, let the kids experiment with the tilt and flick, and feel the pure joy of creating something abstract and amazing together.
Preserving Artworks Through Proper Drying And Varnishing
Let your finished splatter painting dry completely flat for at least twenty-four hours before you even think about moving it, as those thick droplets take much longer to cure than regular brushstrokes. Once it is bone dry, a light coat of matte acrylic spray varnish locks in all that vibrant color and protects the surface from dust and fingerprints. Hold the can about twelve inches away and use quick, even passes to avoid soaking the paper and causing runs.
This final sealant also brings out the depth in your overlapping circular patterns, making the energetic textures really pop. For works on heavy cardstock, this varnish provides a permanent finish ready for framing, while paintings on thinner paper benefit from being mounted on a stiff backing board first. Your child’s dynamic masterpiece deserves this simple step to ensure it lasts.
Conclusion
Watching a child step back and admire their own chaotic, colorful creation is one of the most rewarding parts of making art at home. You do not need perfect brushstrokes or expensive studio equipment to help them build confidence and express their feelings. The best part about these splatter painting techniques for kids is how easily they adapt to whatever supplies you already have in your kitchen junk drawer.
For your next session, try laying down a large piece of butcher paper on the floor and let them work on a massive collaborative mural together. Give them the space to experiment freely without worrying about staying inside the lines. Seeing their faces light up when the final paint dries will make every bit of cleanup completely worth the effort.
FAQs
Q: What type of paint works best for flicking and dripping?
A: Washable liquid tempera paint provides the best consistency for flicking and dripping. You should thin it slightly with water if it feels too thick right out of the bottle. This helps the paint break apart into fine droplets instead of clumping on the paper.
Q: How do I stop the colors from turning into brown mud?
A: Allow each layer of wet paint to dry completely before adding new colors on top. Limiting the palette to three or four complementary colors also prevents the composition from becoming muddy. Keep a hair dryer nearby to speed up the drying process between layers.
Q: Which household tools make the finest mist effect?
A: An old toothbrush creates the finest mist when you run your thumb across the bristles. You will get a tighter spray by pulling the bristles back and letting them snap forward. A clean fly swatter also produces a wonderful fine spray when you dip it in paint and tap it against a stick.
Q: What paper weight holds up to heavy wet applications?
A: Heavyweight cardstock or watercolor paper holds up best against heavy wet applications. Standard printer paper will buckle and tear when it absorbs too much liquid paint. A cheap pack of mixed media paper gives you a sturdy surface without costing a lot of money.
Q: How do I protect my floors and tables during the activity?
A: Lay down a plastic drop cloth or large garbage bags over your work area before opening any paint bottles. Tape the edges down securely so the covering does not slip while the children move around. Keep a damp sponge and paper towels within reach for immediate cleanup of stray drops.








