Shell Preparation for Optimal Pigment Adherence
You need to wipe every eggshell with white vinegar before your brush touches it to remove surface oils that repel paint. This is the single most important step because watercolor pigment already struggles to stick to the non-absorbent, curved surface. When planning watercolor easter egg craft ideas, remember that a quick swipe with a paper towel gives the paint a clean, slightly etched surface to grip onto. We tend to skip this step, but trust me, it makes the difference between smooth washes and a patchy mess.
Let the shell air dry completely after wiping for the best adhesion. That simple one-minute prep ensures your delicate gradients have a fighting chance to stay put. You will notice immediately how the liquid flows differently once the natural barrier is gone.
Essential Brush Selection for Curved Surfaces
A pointed round brush with a fine tip and a generous belly is your best friend for painting on eggs. The pointed tip allows you to draw fine lines and place small dots of color with precision, which is essential for details like floral stems or tiny leaves. Anyone exploring watercolor easter egg craft ideas will notice that a flat or angular brush fights the curve, while a good round brush naturally follows the contour.
The full belly holds a reservoir of pigment and liquid, letting you lay down broad washes without constantly reloading. For larger background areas, switch to a soft mop tool that glides over the shell without scratching. This brush control is key for managing flow on a slick surface.
1. Soft Pastel Ombre Painted Egg: A Gentle Gradient
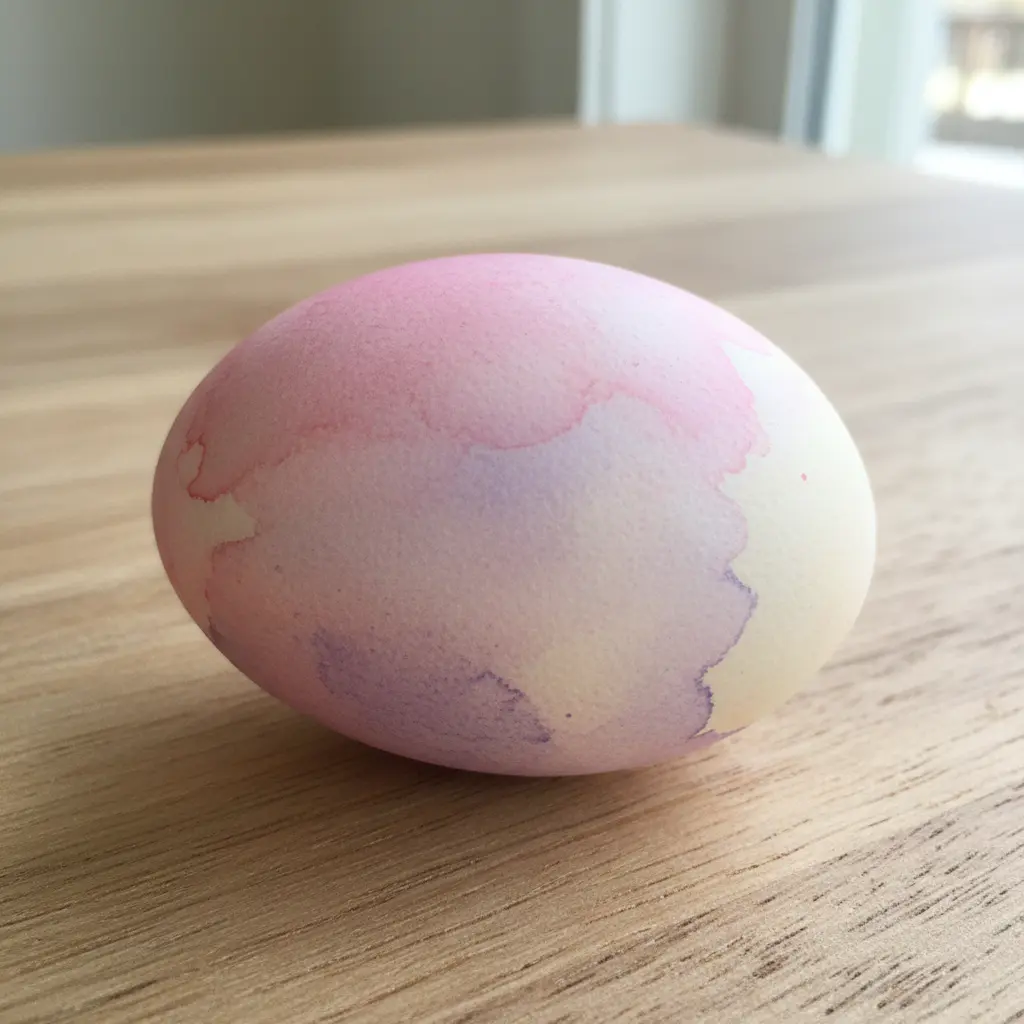
Who would have thought a soft gradient could look this sophisticated? This technique creates a beautiful transition from one light pastel to another. You will apply your lightest color to one end and a slightly deeper shade to the other, keeping watercolor easter egg craft ideas in mind as you blend. Then, use a clean, damp brush to gently feather the hues together in the middle until no harsh line remains.
It works because the subtle mix feels artistic and calming, perfect for spring. I love how forgiving this is for beginners. Start with two shades of the same hue, apply thin layers, and let each dry completely before blending. This prevents the pigments from turning muddy and gives you that soft, ethereal look.
Getting a smooth blend is easier if you have a stable surface to work on. Setting your shell in a DIY Easter egg cup while you paint keeps it from rolling and makes the process much simpler. Trust me on this one. Does that not look stunning?
2. Metallic Gold Vein Watercolor Egg
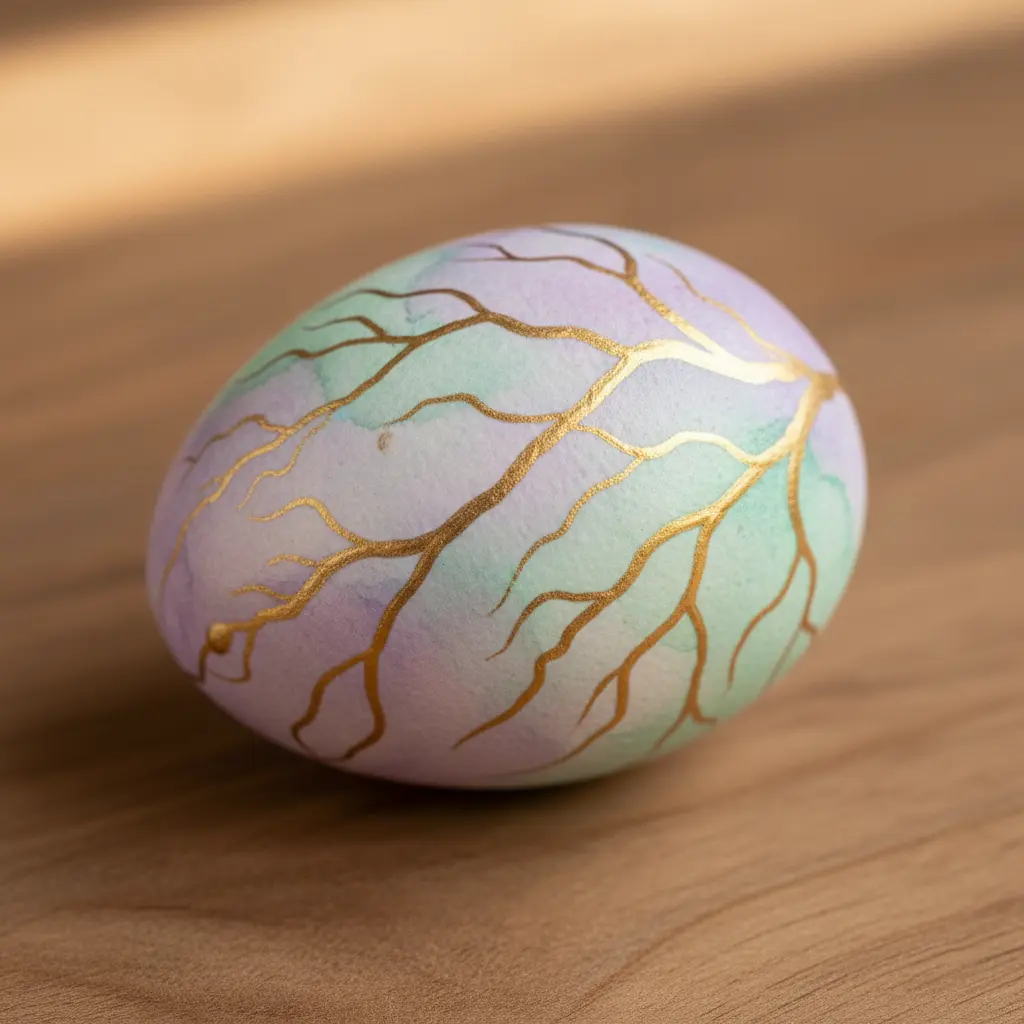
Who says Easter pieces have to look rustic? This design is all about elegance, and it is far easier than you think. You start with a soft watercolor wash in a color like lavender or slate blue, a staple among the most popular watercolor easter egg craft ideas. Once it is dry, take a tiny brush and draw thin, wiggly lines of metallic gold paint across the surface.
The trick is to let each layer dry completely to keep your colors crisp. It works because the organic gold veins feel naturally part of the shell, creating a stunning treasure. I love how it turns a simple object into art you would display year-round. If you are making a whole set, you might also enjoy some cute bunny craft ideas for a complete spring arrangement. Does that final touch of shimmer feel magical?
3. Salt Texture Speckled Pastel Egg — Sparkling Crystalline Patterns
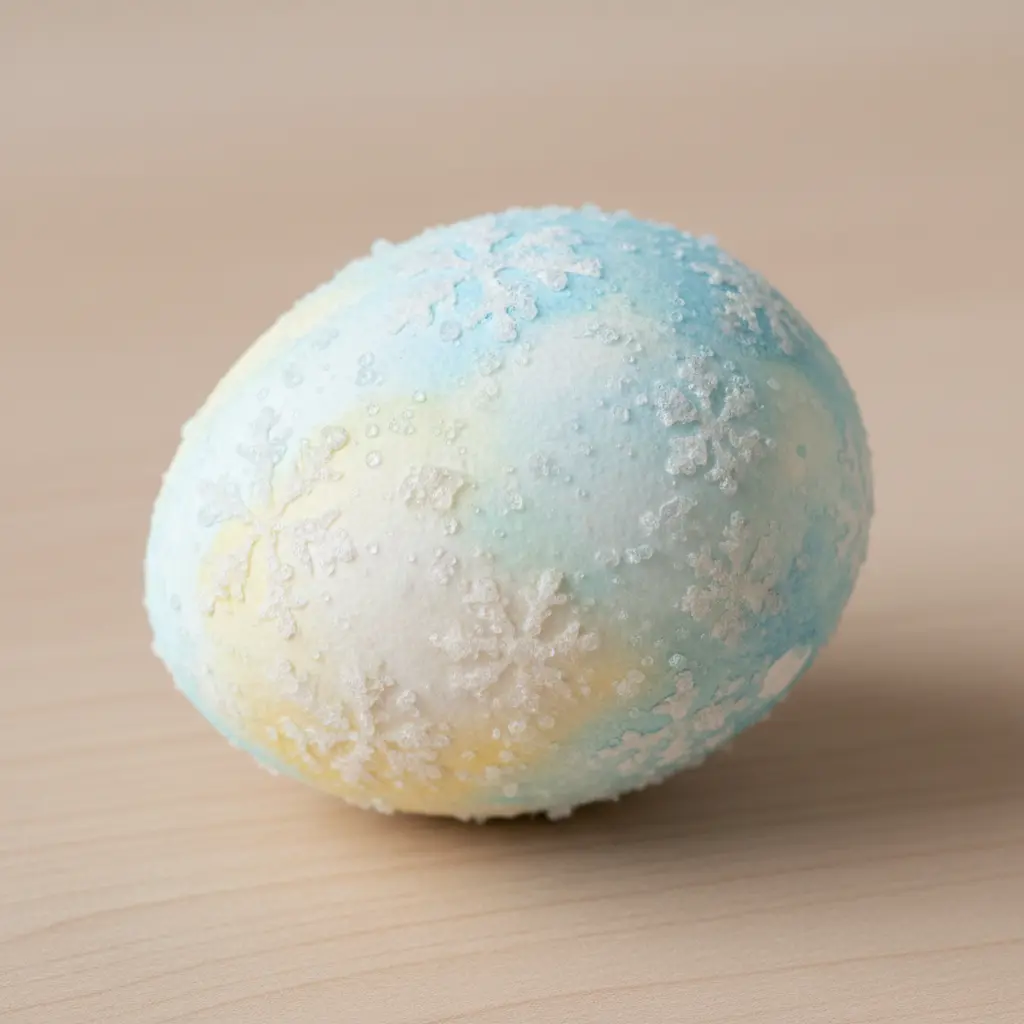
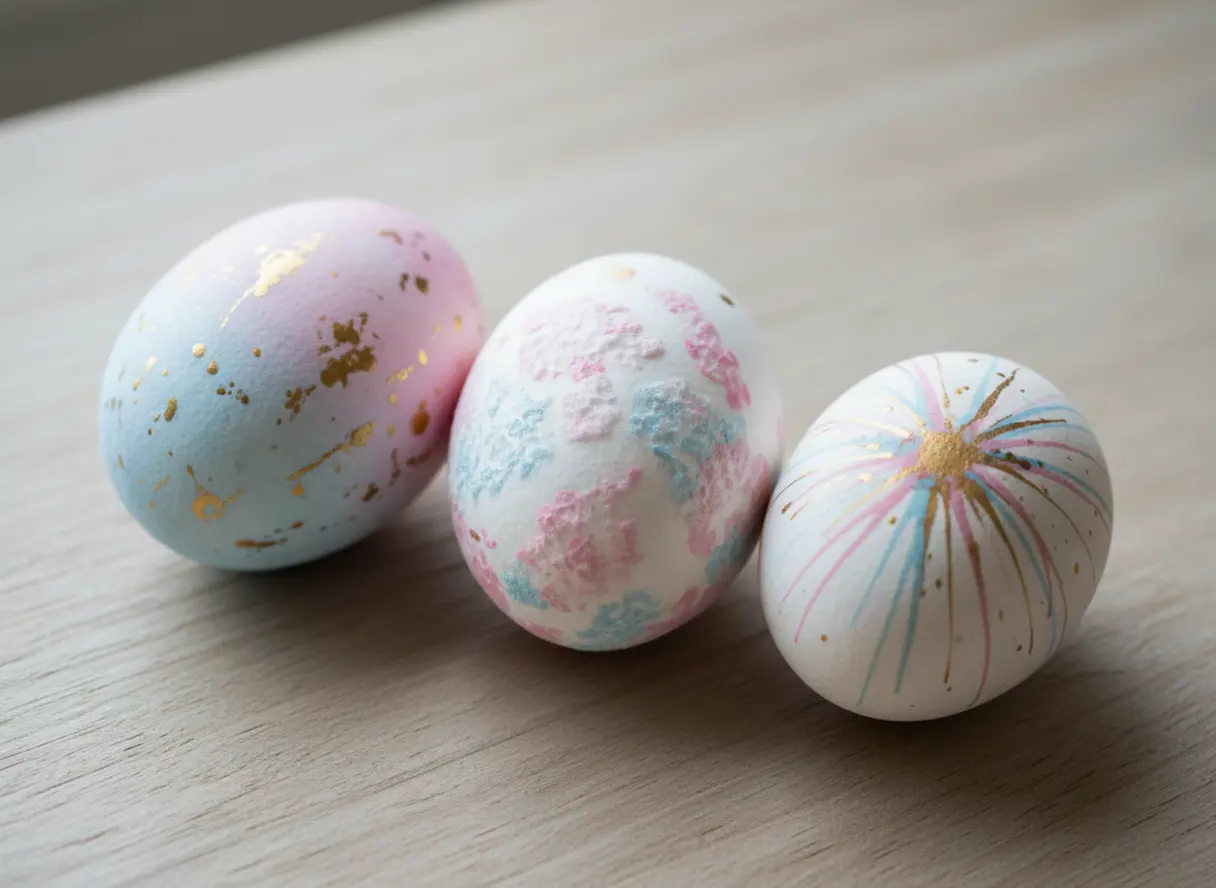
This one looks fancy, but it is honestly one of the simplest ways to get a gorgeous, textured result. You start by painting the shell in a soft pastel shade and letting it dry completely. Many collectors of watercolor easter egg craft ideas rely on this method because brushing on a thin layer of craft glue and sprinkling fine salt creates a stunning crystalline effect. The granules stick and form those speckles as the adhesive dries.
Once that base is set, the real magic happens. Use a fine-tipped brush to draw delicate crystal shapes with glitter glue or iridescent paint right on the textured surface. These sparkling patterns catch the light and look like tiny gems. It works because the soft, matte background makes the shimmering details pop. I love how this technique feels both earthy and elegant.
A perfect next step after making these is to create some adorable pom-pom chick crafts for a complete display. Your finished pieces will have a wonderful, frosty sparkle that catches every bit of sunlight on the table.
4. Wax Resist Floral Pattern Egg
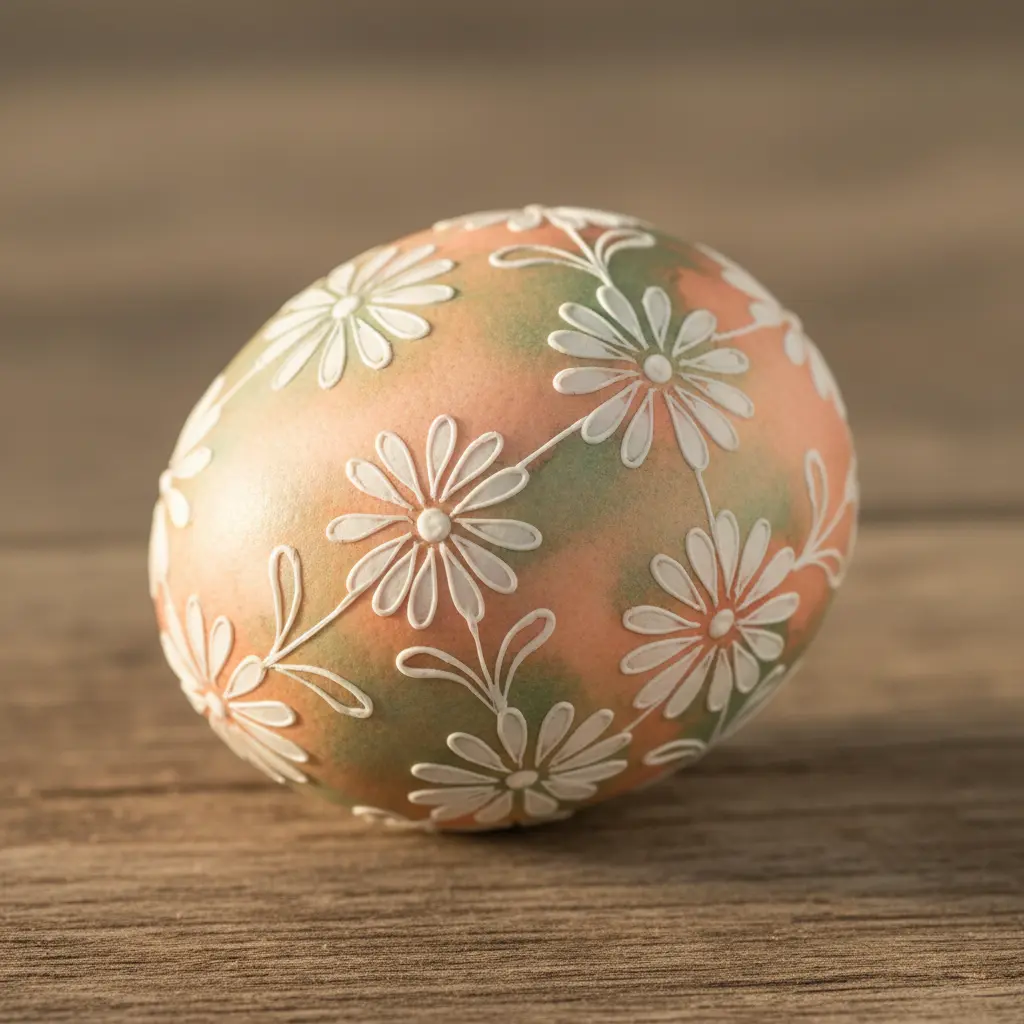
Ever wondered how those intricate folk-art shells with sharp, vibrant colors are made? This is the wax resist technique, and it is straightforward once you learn the layers. Folks trying advanced watercolor easter egg craft ideas often use this method to draw a floral design with melted beeswax using a special kistka tool. The wax seals the shell, so wherever you draw stays that base color as you dip into dye.
I love this process because the final reveal feels like pure magic. After your last dye bath, you gently melt off all the wax to uncover the brilliant, layered design hiding underneath. Floral patterns work beautifully here, symbolizing new life and spring. For a simpler start, you could also decorate with Sharpie marker crafts to practice your designs on paper first. Does that not look stunning when you are done?
5. Minimalist Splatter Art Ceramic Egg — Simple and Striking
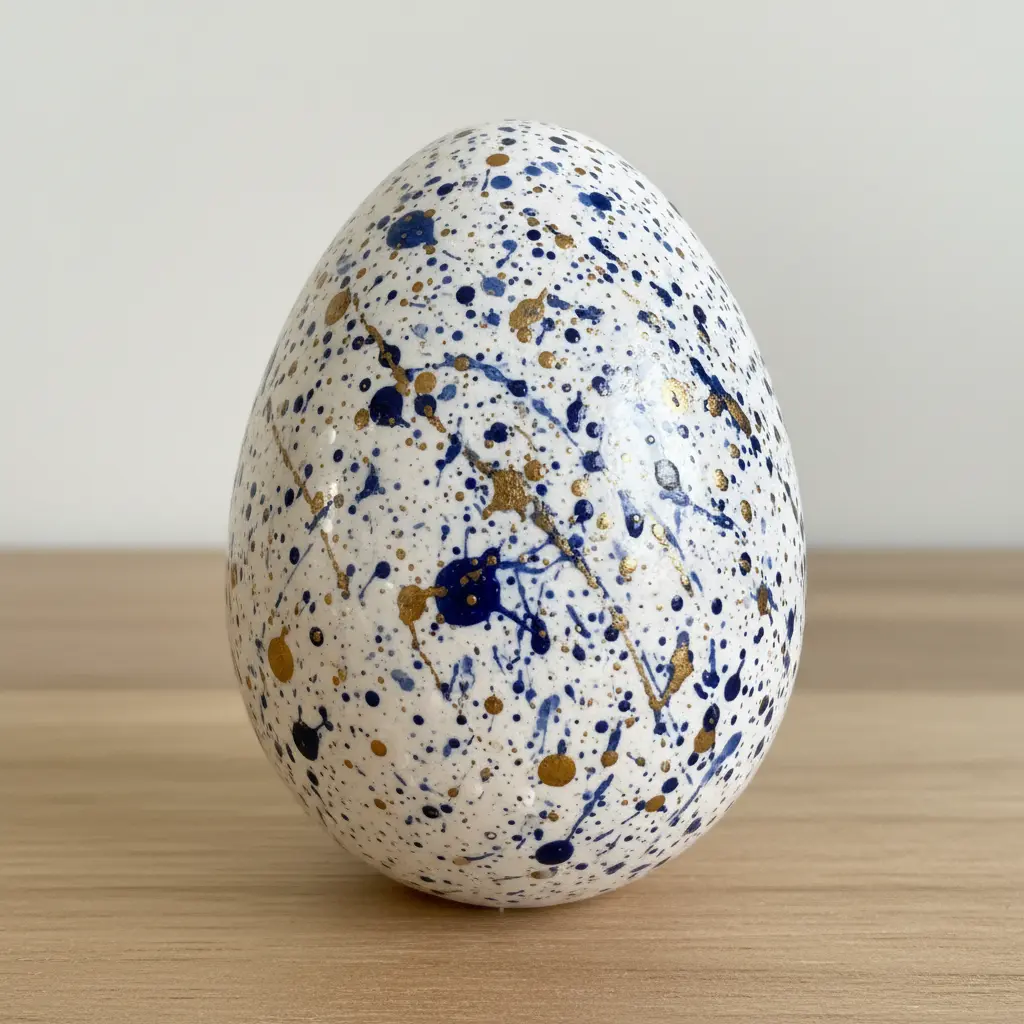
Who thought splatter art could feel so elegant? This project looks like a gallery piece, but the technique is wonderfully simple. You start with a clean, smooth ceramic egg and a tiny bit of acrylic paint, keeping watercolor easter egg craft ideas fresh by trying abstract methods. Hold a brush a few inches away and flick your wrist to send a few deliberate spatters across the surface.
The magic is in restraint. You want to see plenty of the base color peeking through for that modern look. I love how each one turns out completely unique. It is a perfect way to add abstract art to your spring decor without mess. Before you start your own Easter egg-shaped food crafts, why not make a beautiful centerpiece?
A set of these artistic shells looks stunning in a bowl or displayed on a shelf. Trust me, you will feel so proud of your little masterpiece.
6. Wet-on-Wet Abstract Blend Egg
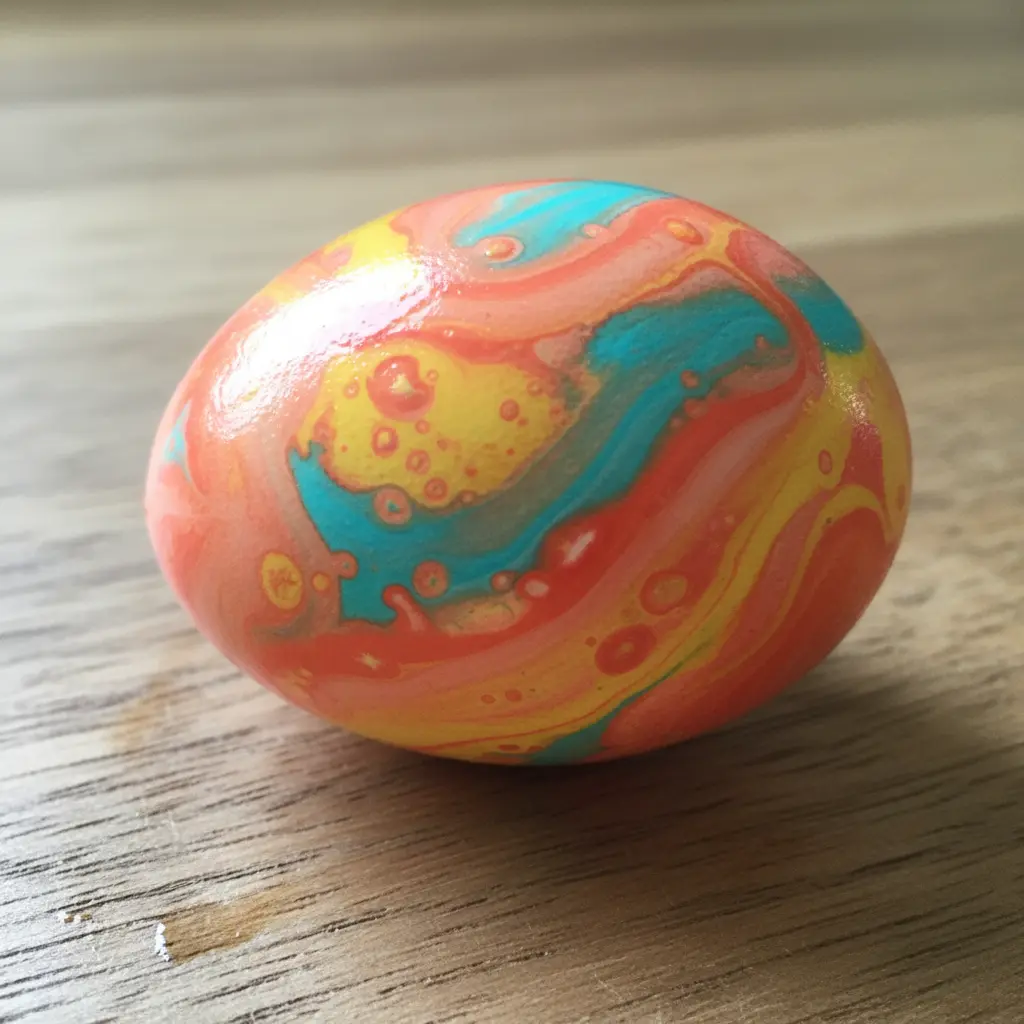
This one looks like a professional painting, but it is a forgiving beginner technique. You start by lightly sketching the shape and wetting the area with a large wash brush. While the surface is still glistening, you drop in your favorite colors and watch them bloom, a core principle behind popular watercolor easter egg craft ideas. It is a beautiful way to explore combinations without pressure for perfection.
Letting the liquid do the work is the key. Resist the urge to overwork the paint with your bristles, as that turns colors muddy. Instead, embrace the happy accidents and the soft, ethereal effects. It is a meditative process that feels more like playing than painting. Once you master this blend, you can apply the same flow to other projects.
Try creating ideas for decorating golden Easter eggs with a matching wash. Does that not feel wonderfully freeing?
7. Dried Botanical Imprint Watercolor Egg: Nature’s Silhouette
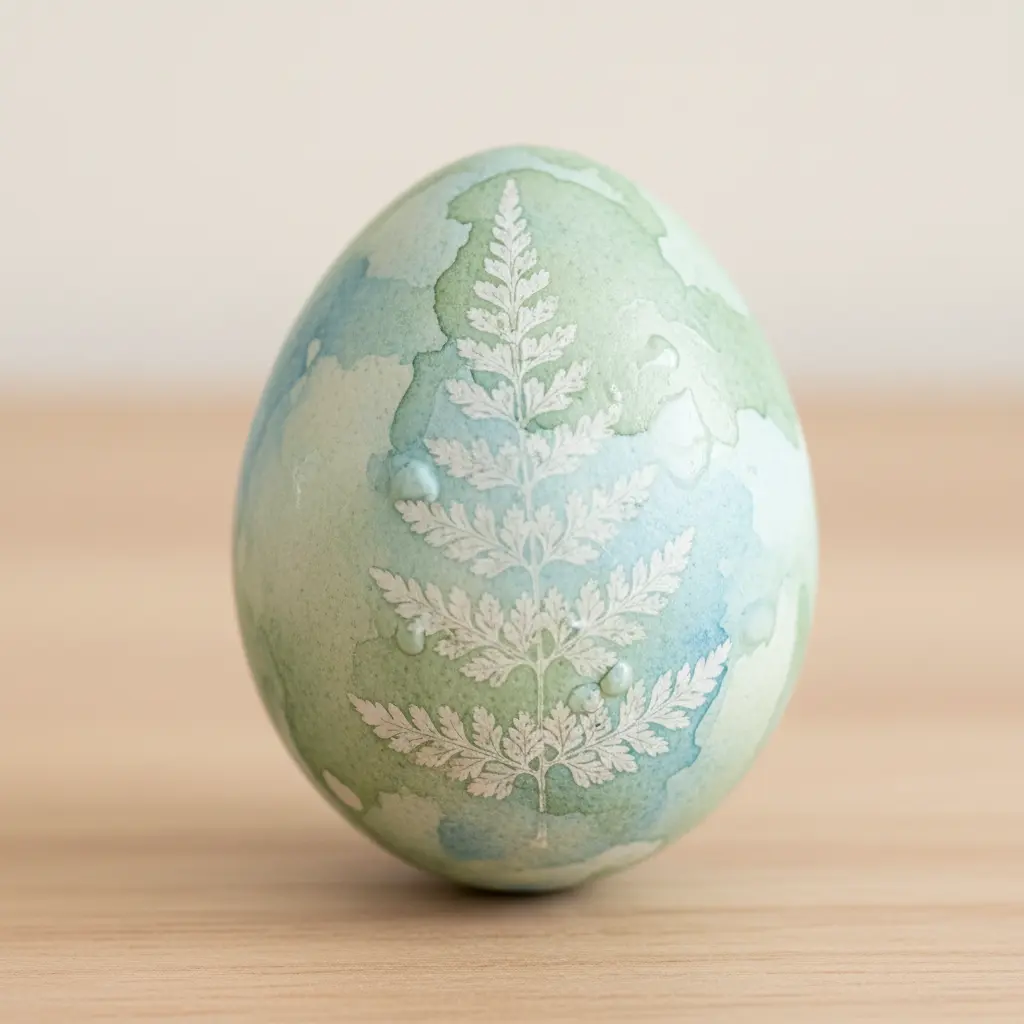
This one is for the nature lovers who want a sophisticated, ethereal look. You adhere a flat, dried leaf or flower to the shell with matte Mod Podge, let it dry completely, and brush a soft wash over the whole thing. Many collectors favor this botanical approach because the leaf acts as a barrier, leaving its delicate silhouette behind on the painted surface.
I love how it turns a simple object into a tiny piece of natural art. The secret to a crisp imprint is letting that glue layer dry thoroughly before you touch a bristle to it. Rushing causes bleeding and a blurry shape. For another elegant project, look at making unique gold-dipped newspaper eggs. Both designs carry that beautiful, grown-up vibe. Does that final reveal feel magical?
8. Striped Washi Tape Masking Egg
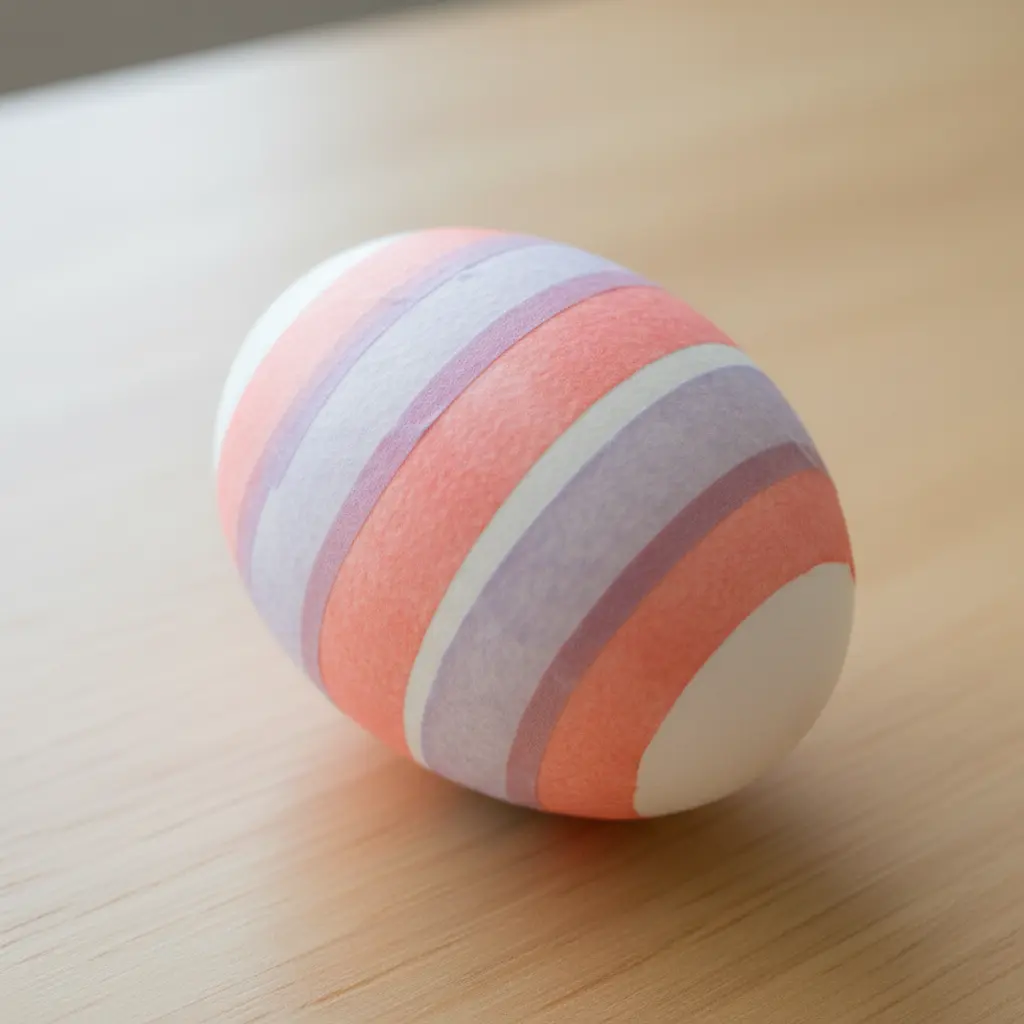
This one looks sharp and modern, does it not? You create clean stripes by applying strips of washi tape as a resist before painting. Enthusiasts of precise watercolor easter egg craft ideas press the tape edges down firmly to prevent any moisture from sneaking underneath. Let the surface dry completely before peeling the tape off to reveal those perfect lines.
That drying step is the secret to the sharp result. I love how this masking technique gives you such a graphic finish. For another fun way to decorate without liquid, you could learn to make sock yarn eggs for a completely different textured look. Your table will instantly feel refreshed.
9. Stippled Dry Brush Texture Egg — Softly Textured Finish
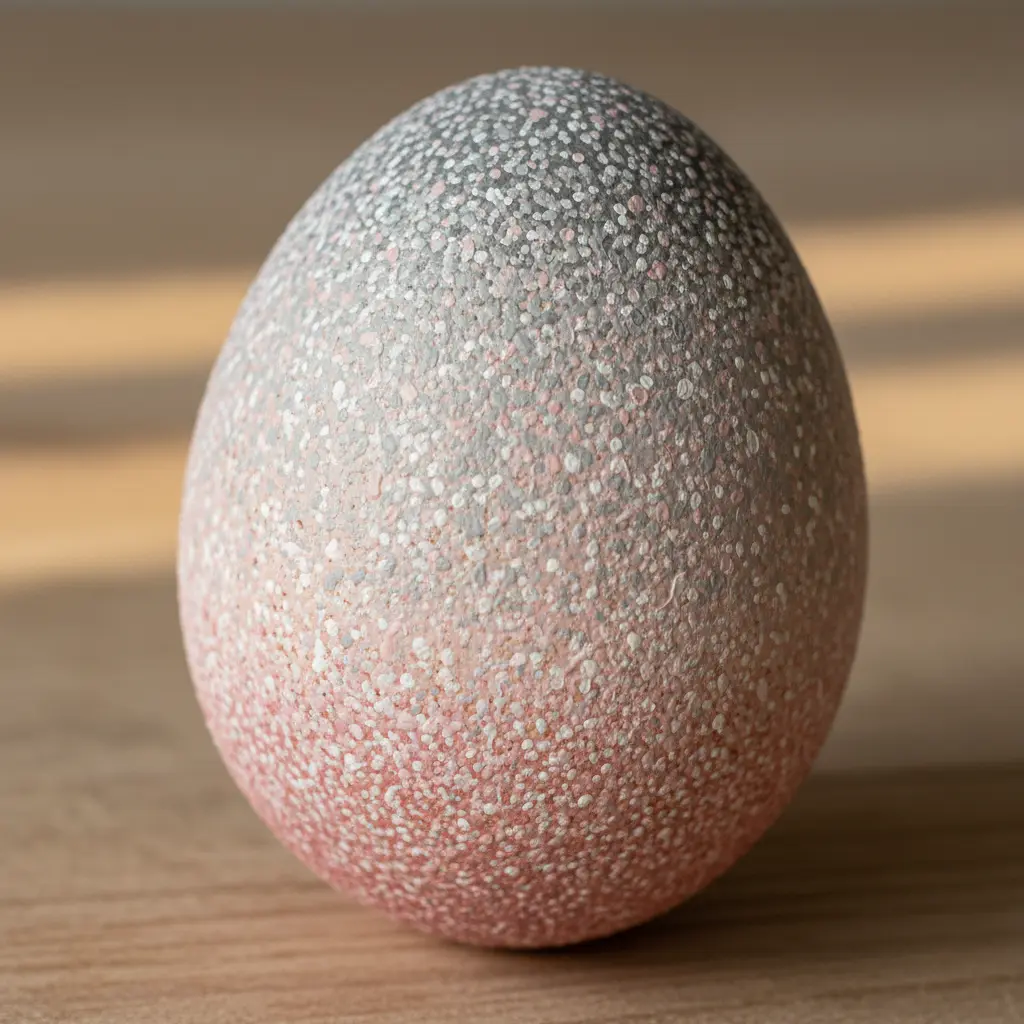
This one surprised me. It looks like a complex finish, but it relies on two simple techniques working together. You start with a solid base coat paint and let it dry completely. Then, using a nearly dry stippling tool, you gently tap tiny dots across the surface, a method shared across many watercolor easter egg craft ideas that want that organic look.
Why does it work so well? The combination builds incredible depth without being loud. It feels natural, like a real bird shell or weathered stone. Trust me, the key is a light touch with a brush almost out of pigment. This technique is perfect for upcycling plastic shells into sophisticated decor. You will watch those simple strokes blend into a beautifully textured finish.
10. Fine Line Calligraphy Sketch Egg
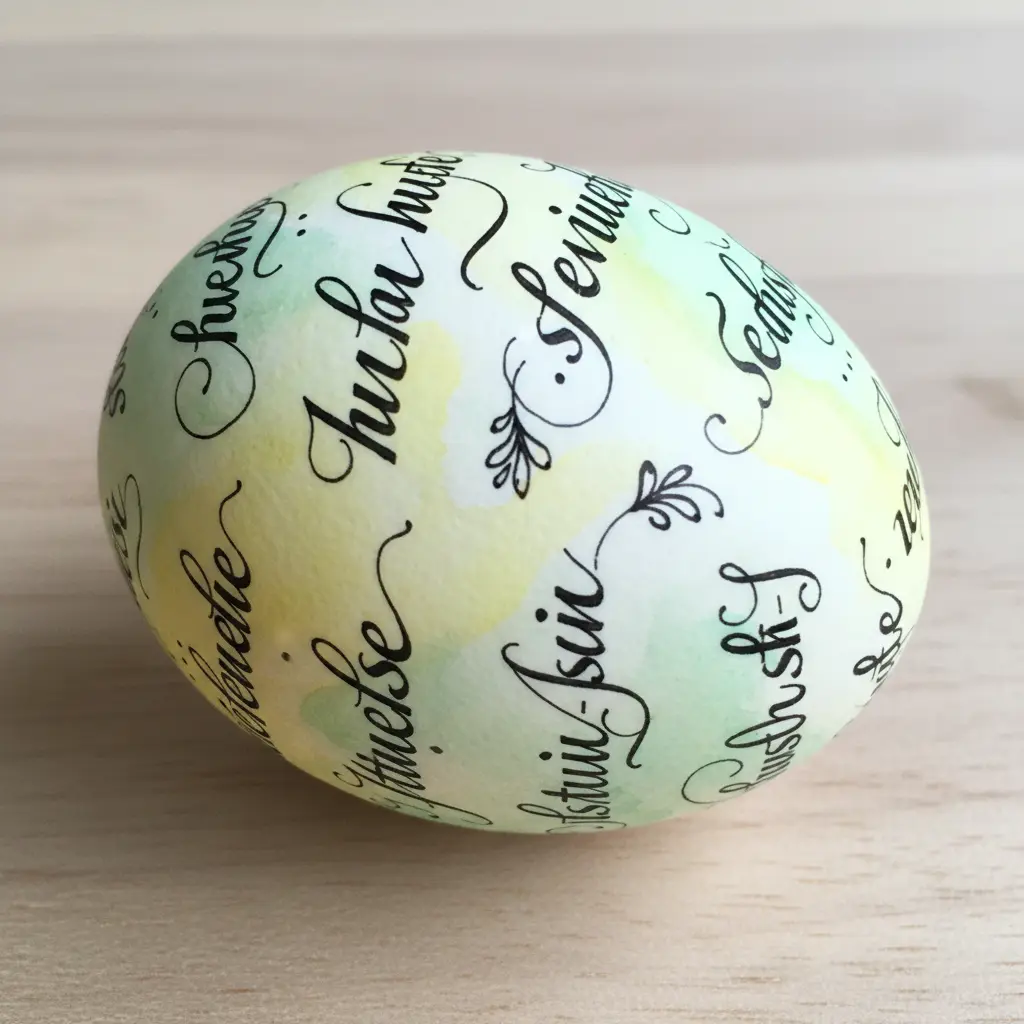
Ever wondered how to make a shell look like a tiny piece of sophisticated art? This is the project for you. Start by lightly sketching your chosen word or initial with a pencil, keeping in mind the delicate spacing of popular watercolor easter egg craft ideas. Grab a fine-tipped permanent marker to trace over your sketch, adding botanical swirls and patterns around the lettering.
This style works well because it merges calligraphy elegance with sketch charm. It feels personal and intricate without being overwhelming. My go-to tip is to practice your design on paper first, especially the way letters curve. Getting comfortable with the flow makes decorating the curved shell much easier. Once your ink is dry, you can gently erase any pencil marks behind it.
If you love this delicate look, pair it with puffy paint accents later. Does that not look stunning?
Protective Sealing Methods for Lasting Displays
Spray your finished pieces with two light coats of matte acrylic sealer, letting the first coat dry fully before applying the second. The good news is this takes minutes and locks in weeks of work, protecting delicate paint from fingerprints and dust. You want to protect any watercolor easter egg craft ideas you spend afternoon hours on, and brush-on varnishes will reactivate the underlying layers.
A spray sealant provides a clear barrier without disturbing your gradients. Hold the can about ten inches away and use a gentle sweeping motion for consistent coverage. This final step ensures your shells remain as vibrant and soft-edged as the day you painted them. Your lasting spring display will thank you for taking five minutes to preserve it properly.
Conclusion
Your kitchen table covered in tiny palettes and speckled shells is a memory in the making, not merely a craft project. Every piece you lift from a dye bath or brush soft color onto carries a little piece of the afternoon you spent together. That laughter when a wash drips sideways, the quiet focus of taping off stripes, and the proud moment when a wax-resist flower reveals itself are all part of the experience. These moments turn simple spring decorating into something you look forward to all year.
As you pack away the supplies, hold onto the thought that imperfect results still make a perfect afternoon. Next year you might revisit a favorite technique or try layering a botanical print over a salt-speckled base. That sharing and experimenting are exactly why watercolor easter egg craft ideas bring families back to the table season after season. Let your pieces tell the story of the hands that made them, and keep that story hanging on a branch a little longer this spring.
FAQs
Q: Can I use regular watercolors on real eggs?
A: Yes, you can use regular tube or pan watercolors on real eggs, both blown-out and hard-boiled. The paint adheres better to porous natural shells than to smooth ceramic or wooden blanks, but a light base coat of white gesso or matte medium helps the color flow without beading up.
Q: What eggs work best for watercolor painting?
A: Blown-out real eggs give the most authentic surface for pigment to sink into, creating soft, organic blends. If you want keepsakes that last, wooden or ceramic craft eggs offer a smoother surface that picks up fine detail beautifully once primed with a matte sealer.
Q: How do I keep watercolor from running off the egg?
A: Start with a dry, clean egg and work with a damp brush rather than dripping water directly onto the shell. Let each layer dry completely before adding more pigment, and handle the object by the ends or lay it on a soft cloth to avoid smudging the painted surface.
Q: Do I need to seal the eggs after painting?
A: Yes, a light sealant preserves your work and prevents flaking. Use a spray matte varnish or a gentle brush-on acrylic sealer made for porous surfaces. Apply one thin coat, let it dry, and add a second if the objects will be handled often or displayed for years.
Q: Can I make edible eggs with watercolor?
A: Regular watercolor paints are not food-safe, so they are not recommended for shells you plan to eat. For edible varieties, stick to food-grade liquid coloring or natural dyes. If displaying inedible painted shells, always mark them so no one mistakes them for snacks.