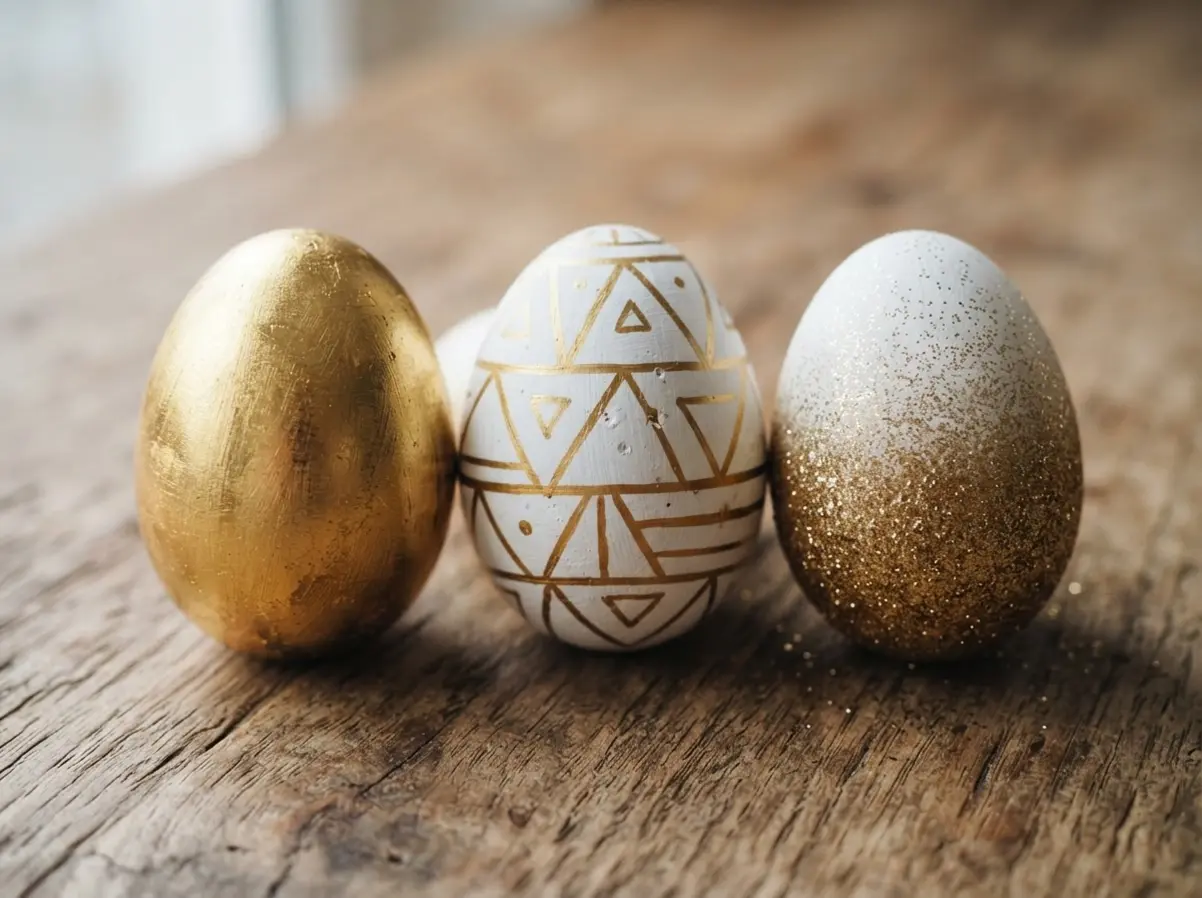
There’s something special about moving beyond the bright plastic eggs to create decorations that feel truly elegant. Golden easter eggs bring a touch of quiet luxury to your holiday table, turning a simple craft into a sophisticated centerpiece. You want projects that are beautiful enough to display with pride, yet still fun for the whole family to make. This collection is all about that perfect balance, offering a range of techniques from quick paint pens to delicate gold leaf. Let’s find the right project to add a little gilded magic to your celebration.
Prepping Hollow Shells for Metallic Adhesion
Start with blown-out hollow shells to avoid the mess and risk of rot from a real egg. Trust me on this, you need a perfectly clean, dry, and grease-free surface for any gold to stick properly. Wipe the shell with a cloth dampened with white vinegar, then let it dry completely before you touch it. The porous nature of eggshell means any leftover moisture or oils will cause your paint to bead up or flake off. This simple prep step is the difference between a smooth, professional finish and a streaky, uneven disaster.
Selecting Gilding Media for Desired Texture
Your choice between liquid gilding leaf and a heavy-body metallic acrylic paint defines the final look. Liquid leaf gives you that brilliant, smooth, and almost mirror-like finish you see on high-end decor. The good news is, a quality acrylic paint in a rich gold hue offers more control for beginners and dries with a lovely sheen. You will notice that wax-based gold pastes are fantastic for adding subtle, burnished texture in small areas. For sharp lines and intricate details, nothing beats the precision of a fine-tip gold paint marker.
1. Brushed Gold Leaf Cracked Effect Egg
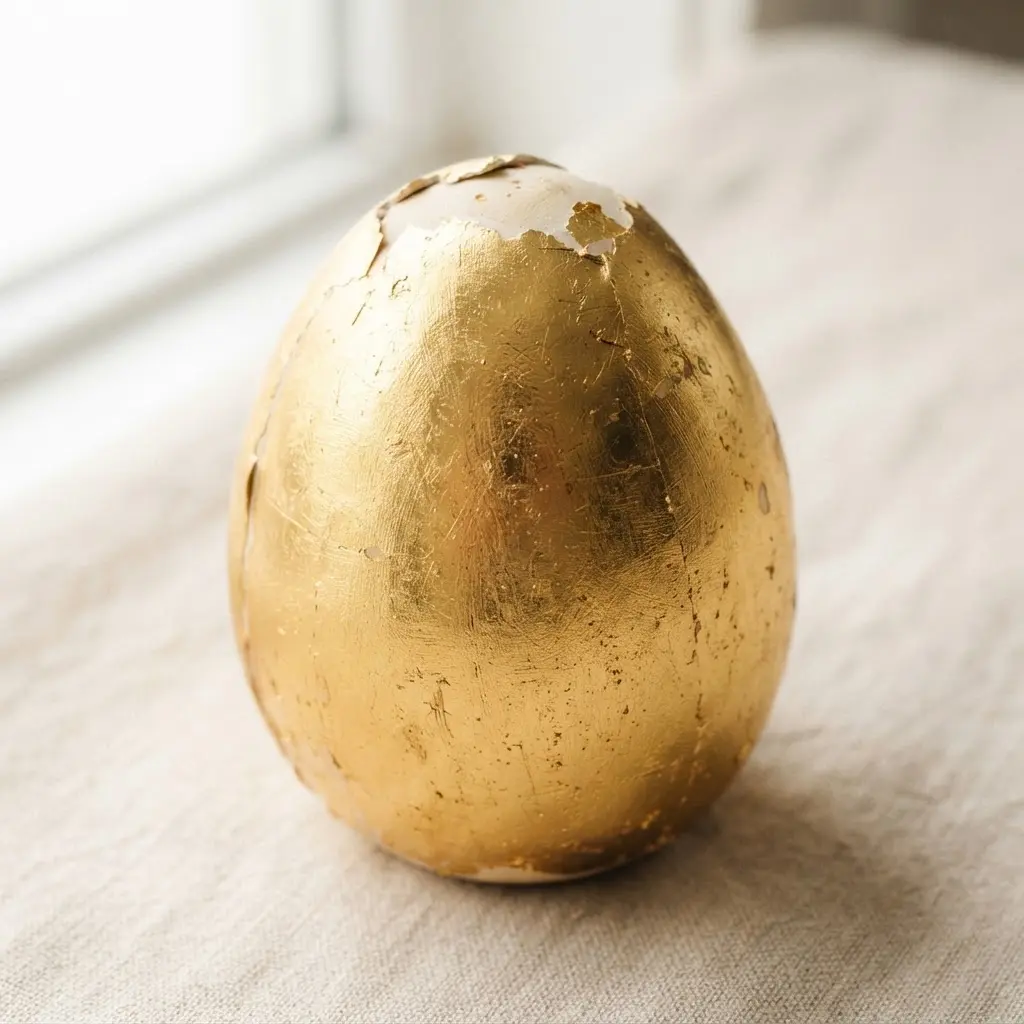
Ever thought a craft project could look like a museum piece? This one does. You start with a plain egg form and cover it in imitation gold leaf, pressing it onto a tacky adhesive. The real magic happens when the crackle medium dries, creating a fine web of antique lines across the brilliant surface.
A light brush over the top adds those subtle directional marks, softening the shine into a sophisticated, aged glow. I love how this process turns something new into a treasure that feels found, not made. Your finished piece has so much visual depth from the light catching in all those tiny cracks.
Before you tackle the metallic materials, getting comfortable with a simpler gold-dipped newspaper Easter egg craft is a great way to practice handling finishes without the pressure. Trust me, a light hand is your best friend for that perfect brushed effect. Does that not look stunning?
2. Polished Gold Paint Dipped Pastel Egg
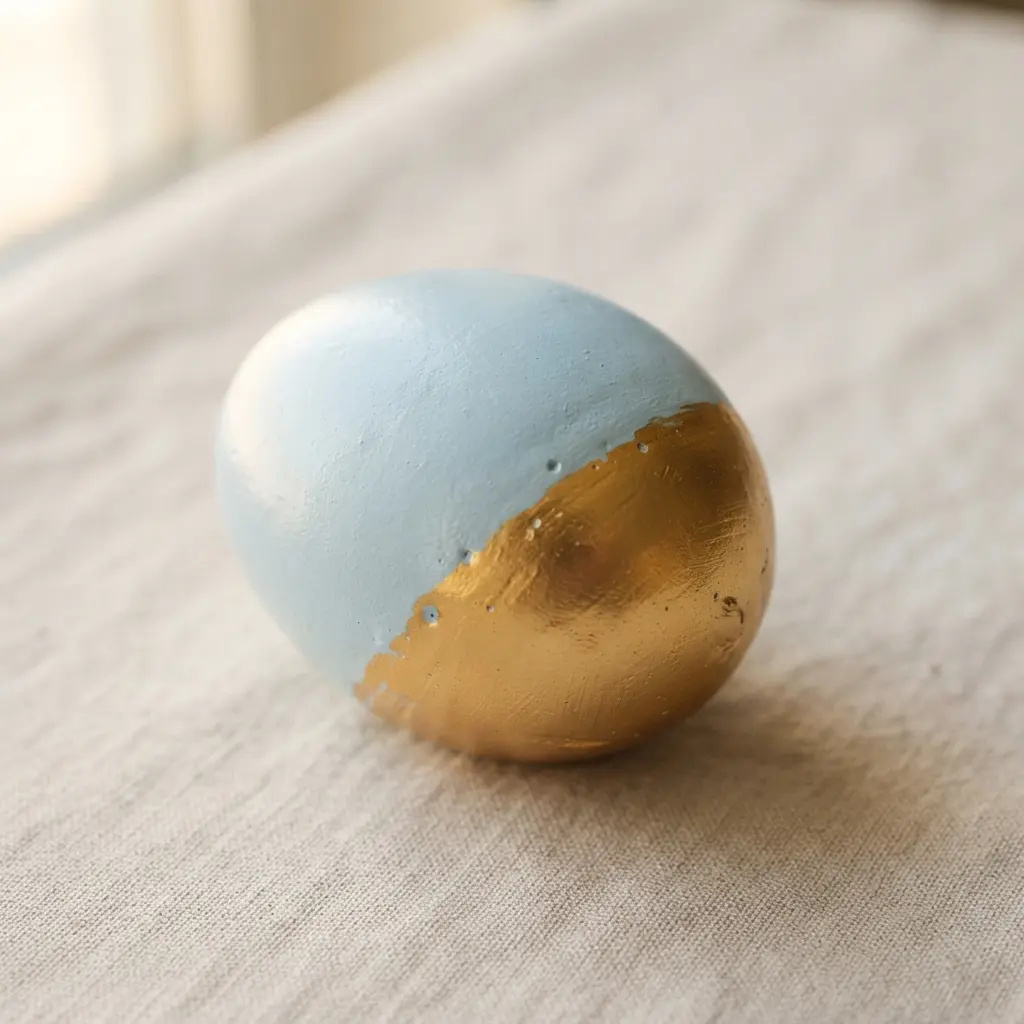
This one looks like it belongs in a high-end boutique, but it’s surprisingly simple. You start with a smooth egg painted in a soft pastel color. Once that’s bone dry, you dip one end into a pot of high-sheen metallic gold paint. The trick is to pull it out slowly for a clean, crisp line. That sharp contrast between the gentle pastel and the bold, polished gold is what makes it so elegant.
I love how this technique offers a modern twist on a classic decoration. For a truly professional finish, make sure you use painter’s tape to mask off the line before you dip. This prevents any messy seepage and gives you that perfect dipped edge. Trust me, your finished piece will look absolutely stunning.
3. Metallic Gold Paint Pen Geometric Pattern Egg
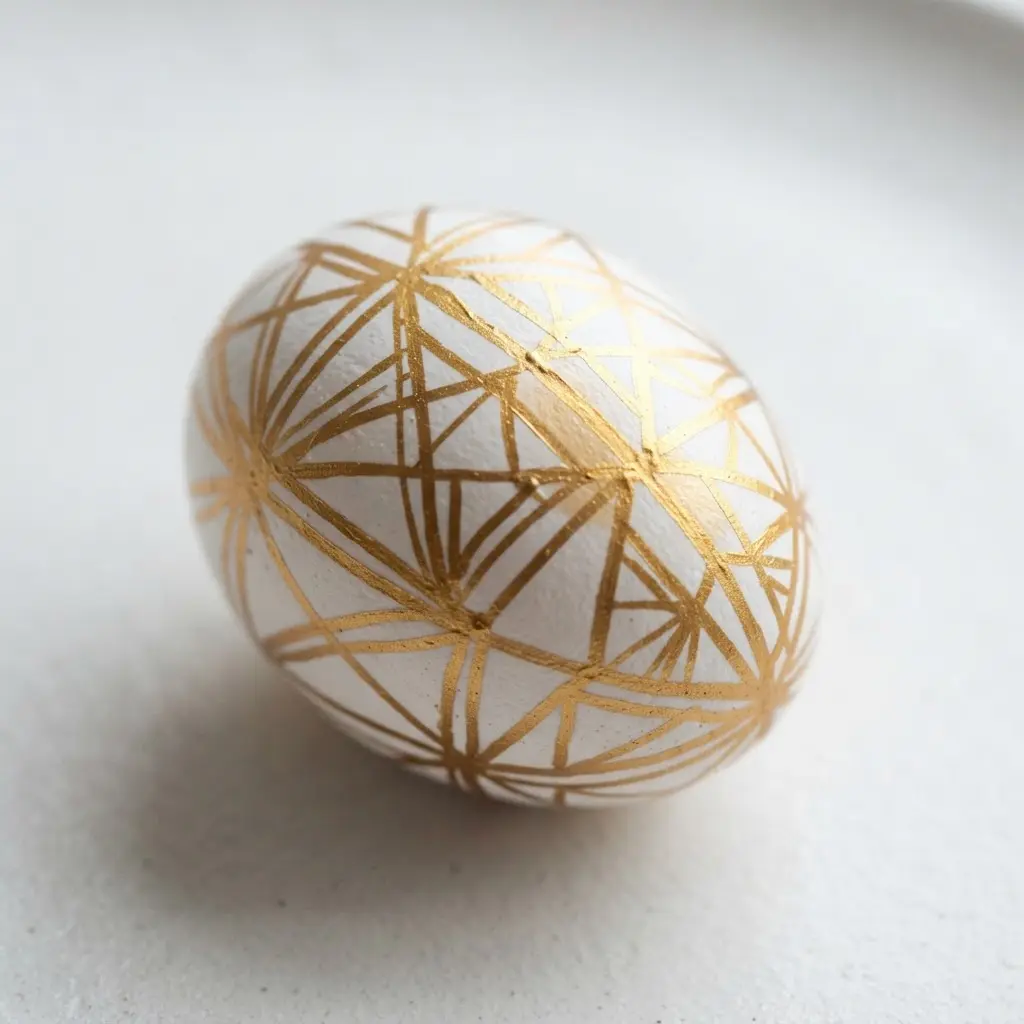
This one looks so fancy, but I promise it is super approachable. You will start with a clean egg, then use a fine-tipped gold paint pen to draw crisp lines and shapes like triangles or diamonds. Work slowly and let sections dry to avoid smudges.
The metallic sheen catches the light beautifully, giving your design that elegant, reflective quality. I love how this contemporary style feels so sophisticated for your Easter display.
My go-to tip is to always prime the pen on scrap paper first for a smooth flow. Feel that satisfaction when your last geometric line connects perfectly. Crafting these golden easter eggs is a wonderful way to spend an afternoon.
4. Gold Foil Washi Tape Striped Egg
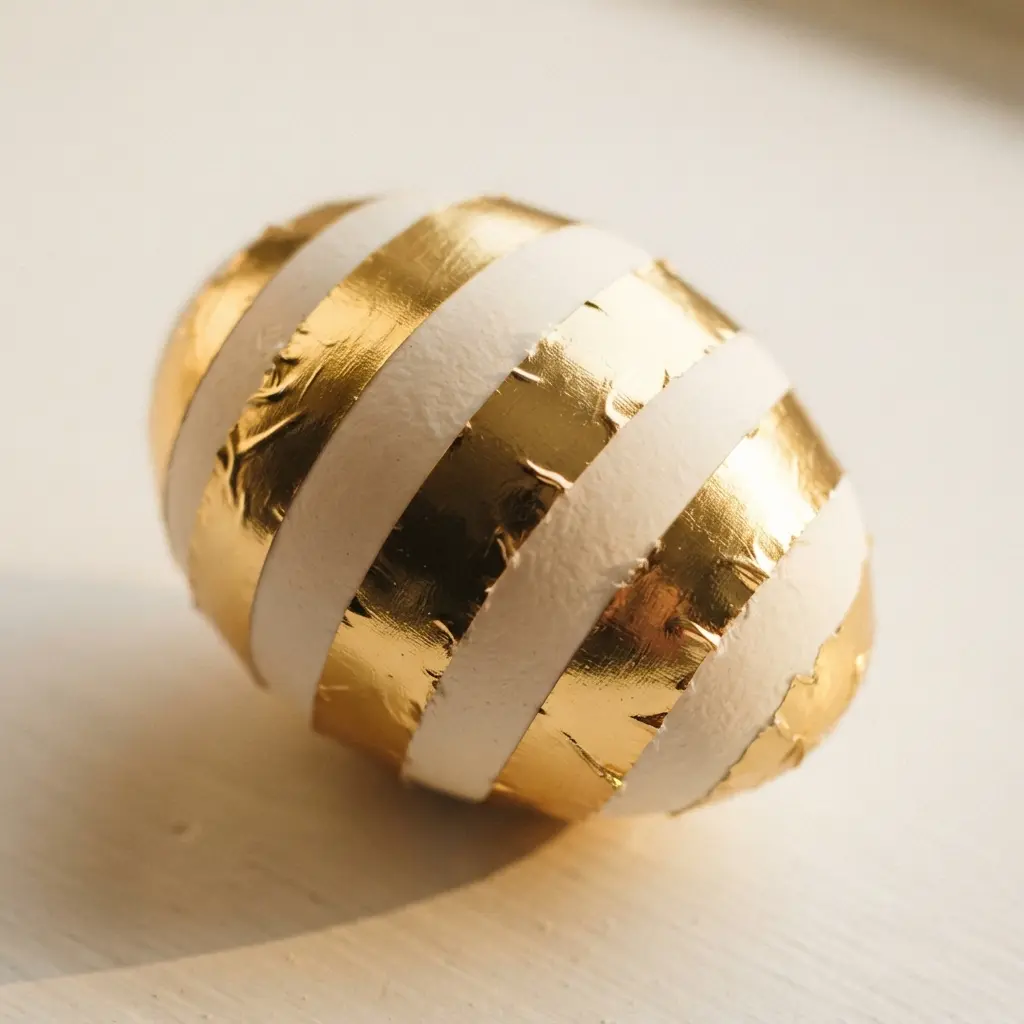
This is one of those projects that looks so high-end but is surprisingly straightforward. You start with a clean, dry egg and plan your stripe layout. Then you cut strips of your gold foil washi tape and apply them one by one, smoothing gently from one end to the other to avoid wrinkles. I love how the metallic strips create instant elegance against the egg’s simple surface.
It works because the tape is so forgiving and the metallic finish adds a luxurious touch without any mess. For a similar sparkling effect with a different technique, you might enjoy DIY glitter Easter egg decorations.
My go-to tip is to use a thin tape width for easier handling around the egg’s curves. The final look is absolutely stunning.
5. Delicate Gold Splatter Speckled White Egg
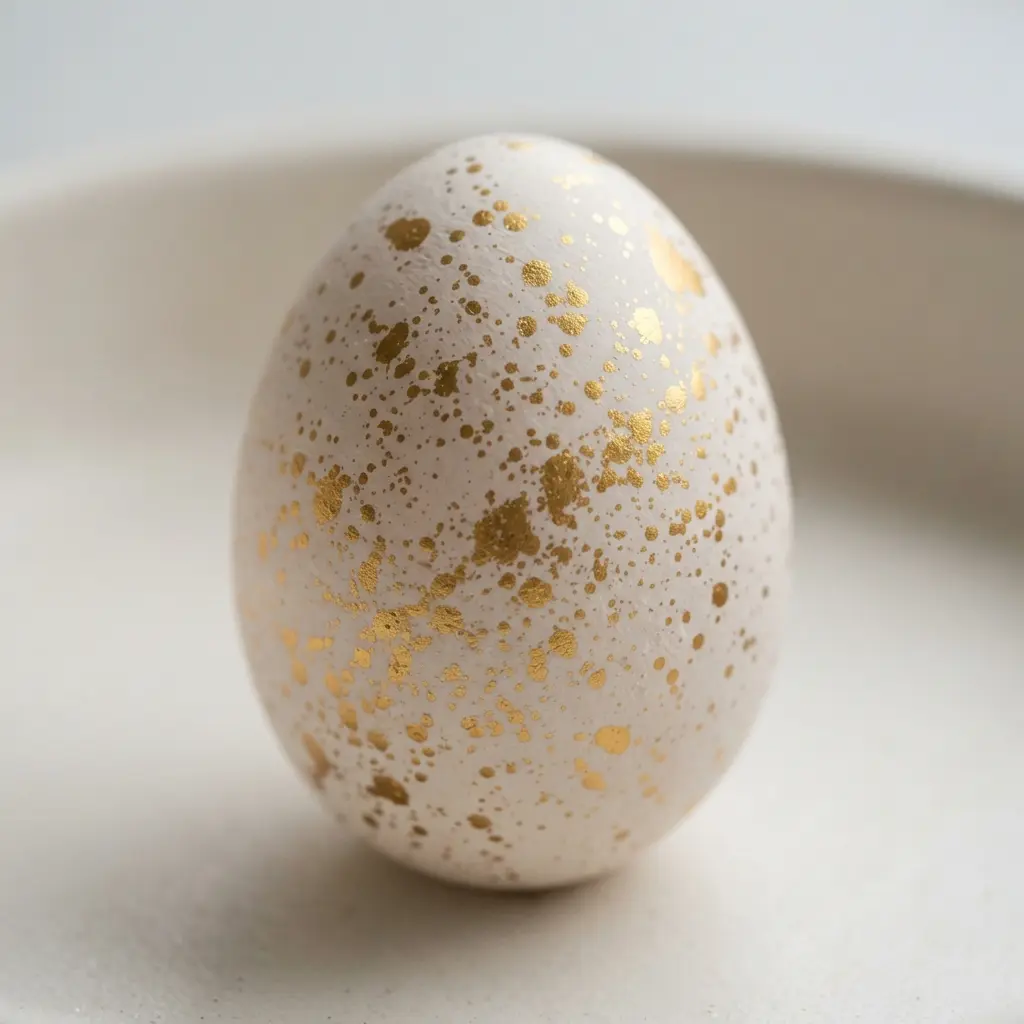
Ever wondered how those elegant speckled patterns are made? It looks like it took hours, but the trick is in a simple, playful flick of the wrist. You start with a clean white egg and load a stiff old toothbrush with a little metallic paint. Then, tap the bristles toward the egg to create those random, delicate specks. The joy is in the controlled messiness of it all.
Getting the right effect is all about practice. I love doing a few test flicks on scrap paper first to gauge the paint load and distance. You want fine, varied splatters, not big blobs. This creates a look that is both sophisticated and organic, like catching a bit of starlight.
This design is a fantastic way to add a touch of luxury without going overboard. It pairs beautifully with other minimalist decorations. If you enjoy this painterly approach, you will adore seeing how the soft blends of beautiful watercolor Easter egg designs can create a similar ethereal feel. Try it and feel the satisfaction of creating something so elegant with such a simple technique for your golden easter eggs.
6. Gold Stenciled Floral Motif Ceramic Egg
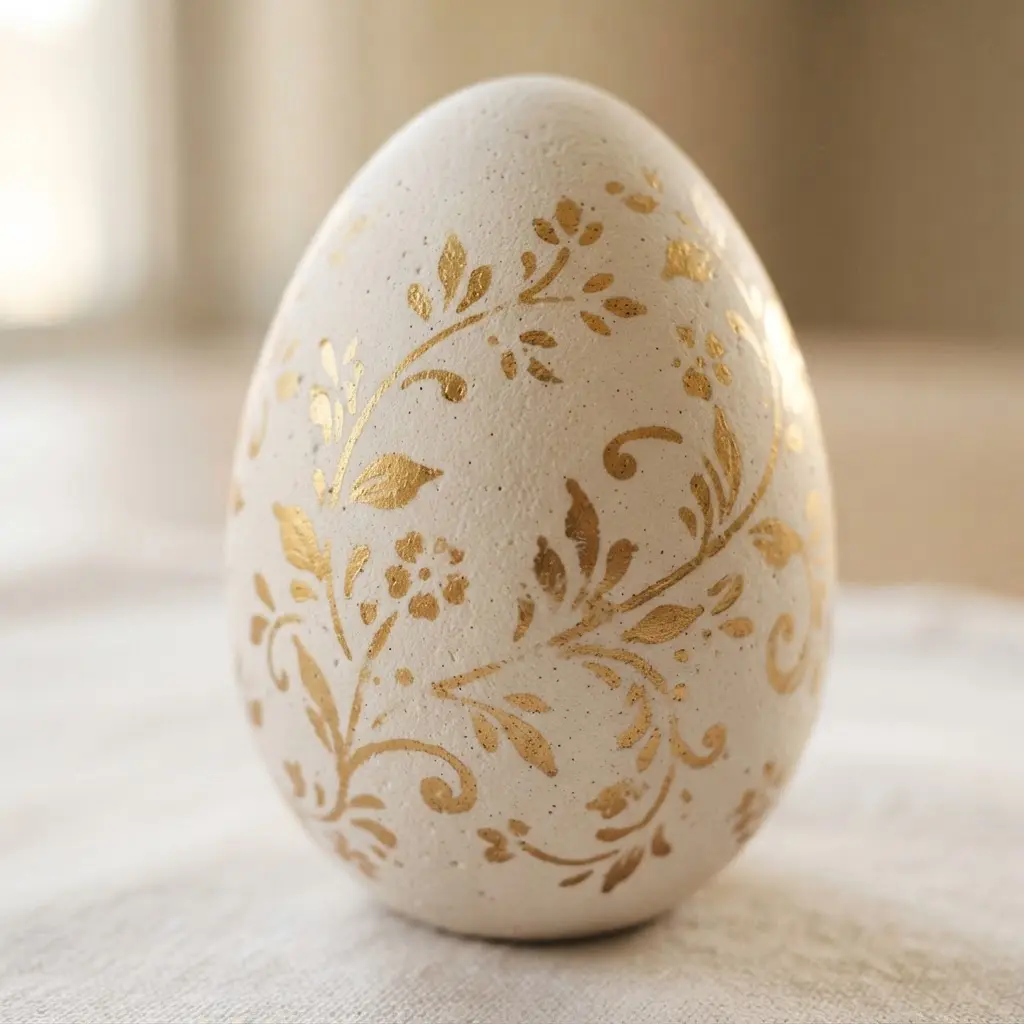
This project looks like it requires a kiln, but trust me, you can get stunning results with simple creative Easter egg craft ideas. You start with a smooth, blank ceramic egg and use a reusable adhesive stencil to apply your paint. Dab the paint through the openings with a sponge for a crisp, professional-looking floral pattern.
Why does this work so well? The stencil does all the hard design work for you, ensuring clean lines every single time. Your biggest challenge will be preventing paint from bleeding under the edges. My go-to tip is to use very little paint on your sponge and build up the color in thin layers. Does that not look stunning when it is done?
7. Gold Glitter Ombre Gradient Dyed Egg
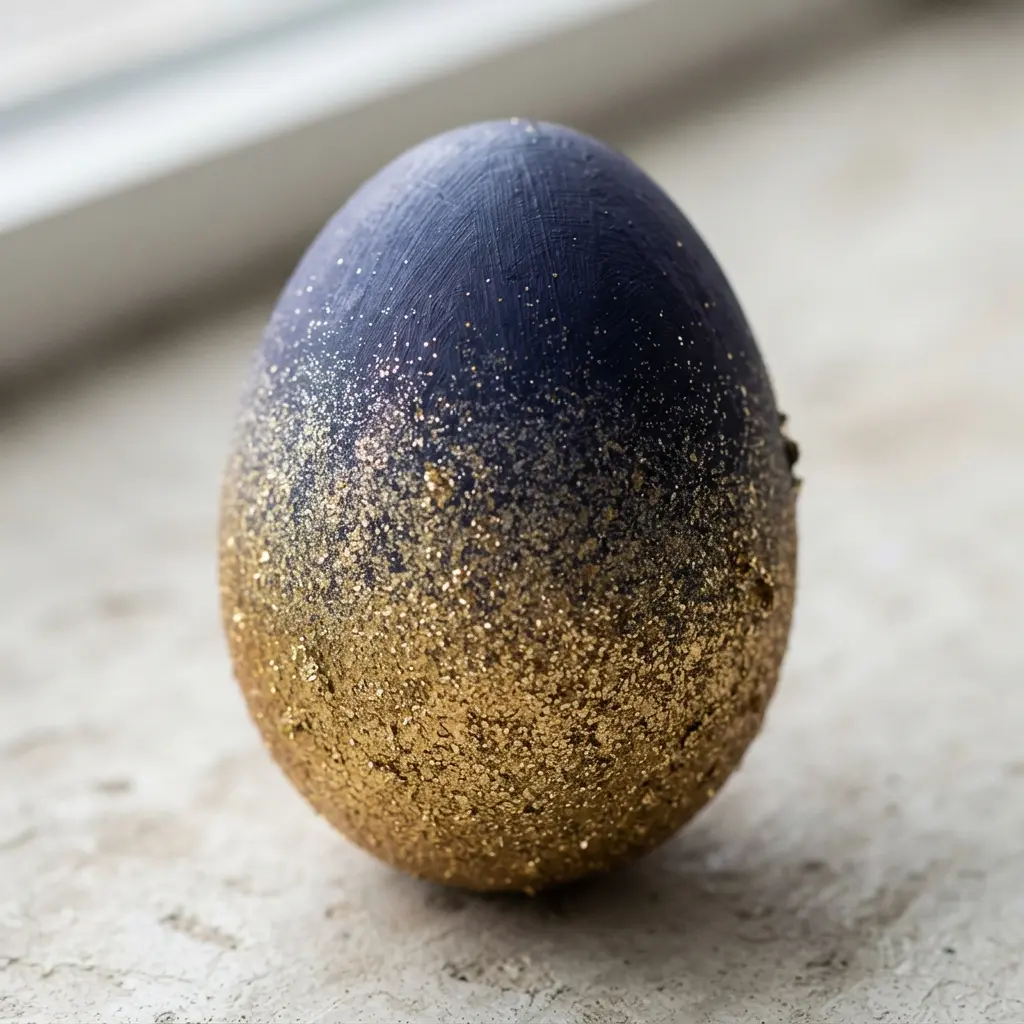
This one looks fancy but trust me, it is surprisingly simple to pull off. You start with a dyed egg in a light color, then use a thin glue wash to create a gradient on the bottom. Paint the glue thickly at the base and feather it out as you move up. Immediately cover it with fine gold glitter, heavy at the bottom and light on top.
Why does it work so well? The ombre effect adds a modern, elegant twist to a classic holiday activity. It feels special and festive. A great companion project is making some colorful tissue paper Easter eggs for a table display with different textures. You will love how these glittery gems catch the light.
8. Miniature Gold Star Decal Minimalist Egg
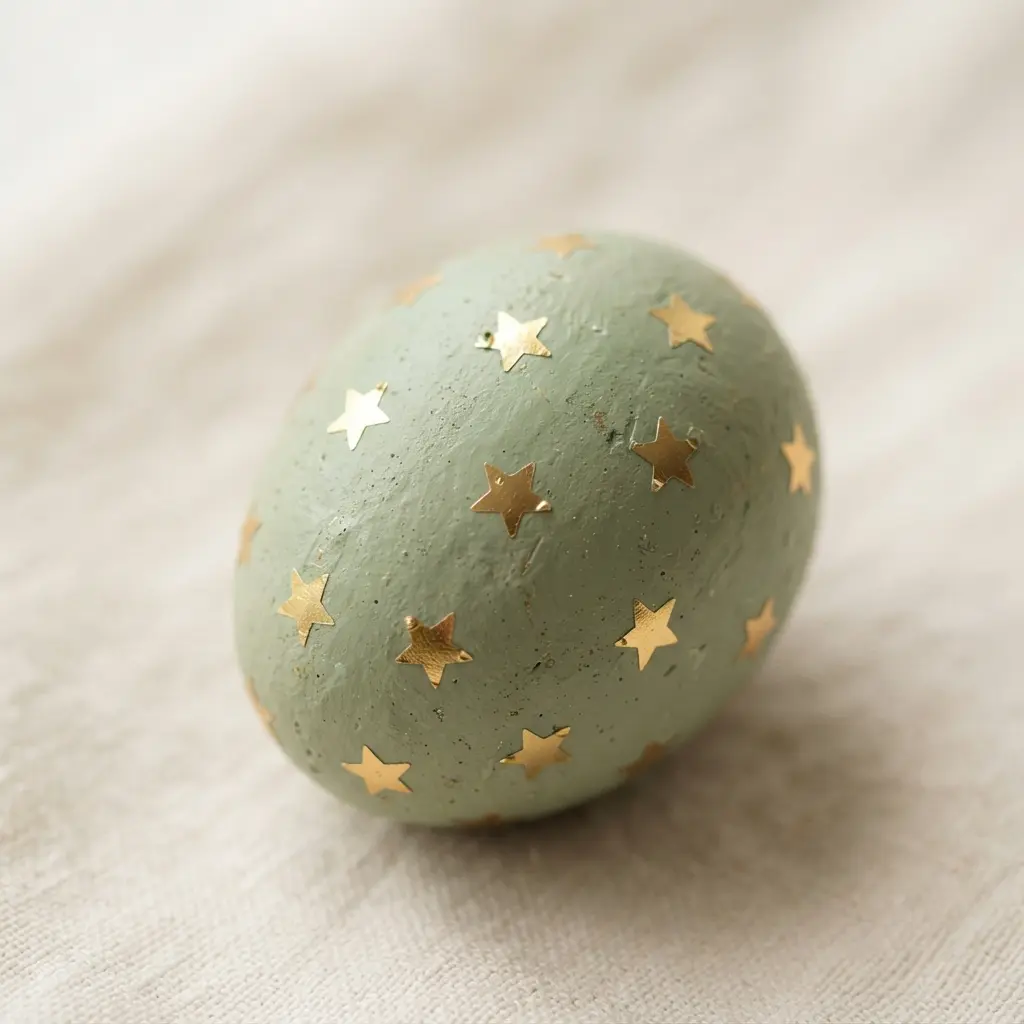
This one surprised me. It looks complex but really takes under 10 minutes. The magic is in the crisp, singular gold star decal placed perfectly on a clean, pastel egg.
You just prepare a smooth surface, peel the tiny star, and use tweezers for that exact placement. The minimalist aesthetic makes it feel modern and chic, not crafty.
It works so well because the gold instantly elevates the simple shape, creating a subtle feeling of celebration. For more creative Easter egg craft ideas that share this elegant spirit, this is a great place to start.
Trust me on this one. Try it and feel the satisfaction of a perfectly executed, understated decoration for your display of golden easter eggs.
9. Abstract Gold Nail Polish Marbled Egg
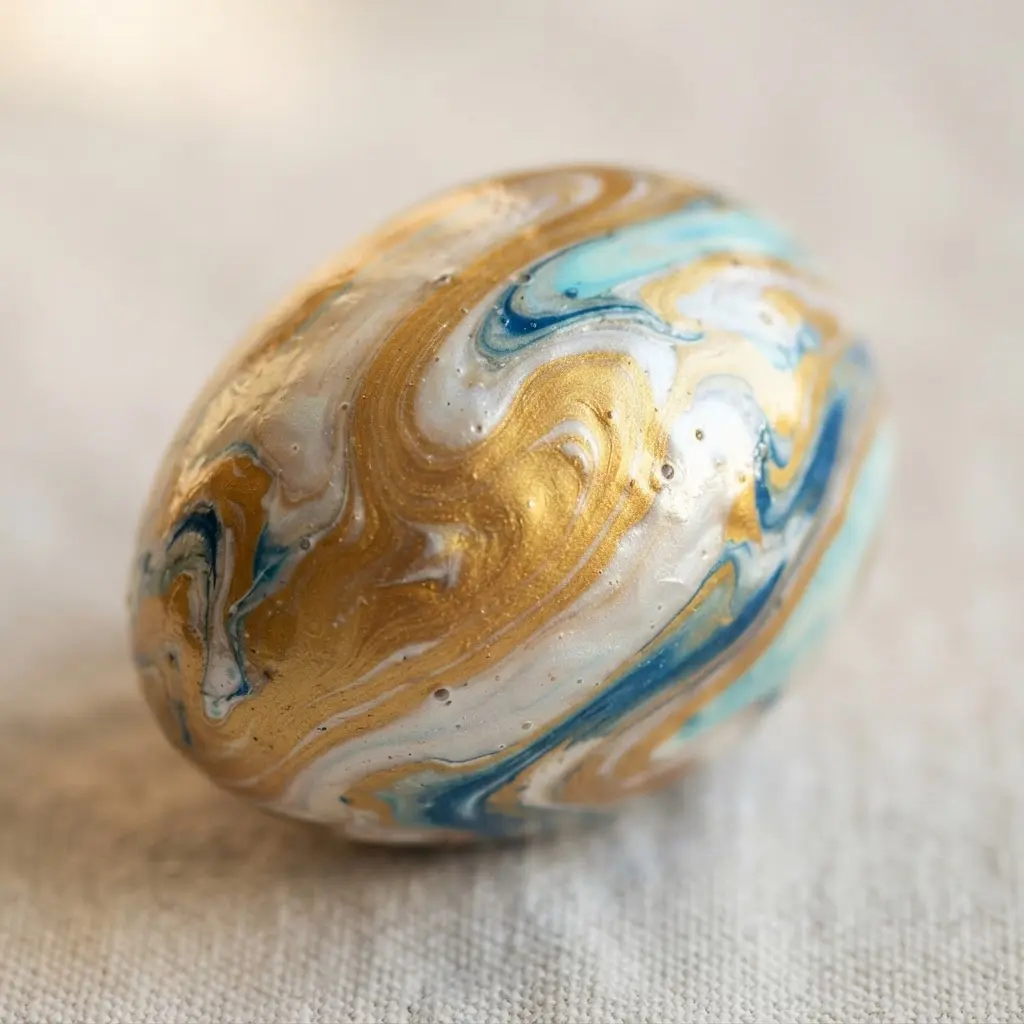
Does it look like a professional artisan made it? This one surprised me because the process is so simple and the results are always stunning. You create a swirling pattern on the surface of room temperature water by dripping in gold nail polish and a complementary color, then dip your egg through the film.
I love this because it turns a basic craft egg into a tiny, luxurious piece of art. The technique works so well because nail polish is designed to float and form a skin on water, giving you that perfect abstract pattern every time. Trust me on this one, you will feel like a magician when you lift out your gorgeous creation.
10. Intricate Gold Foil Lace Wrap Egg
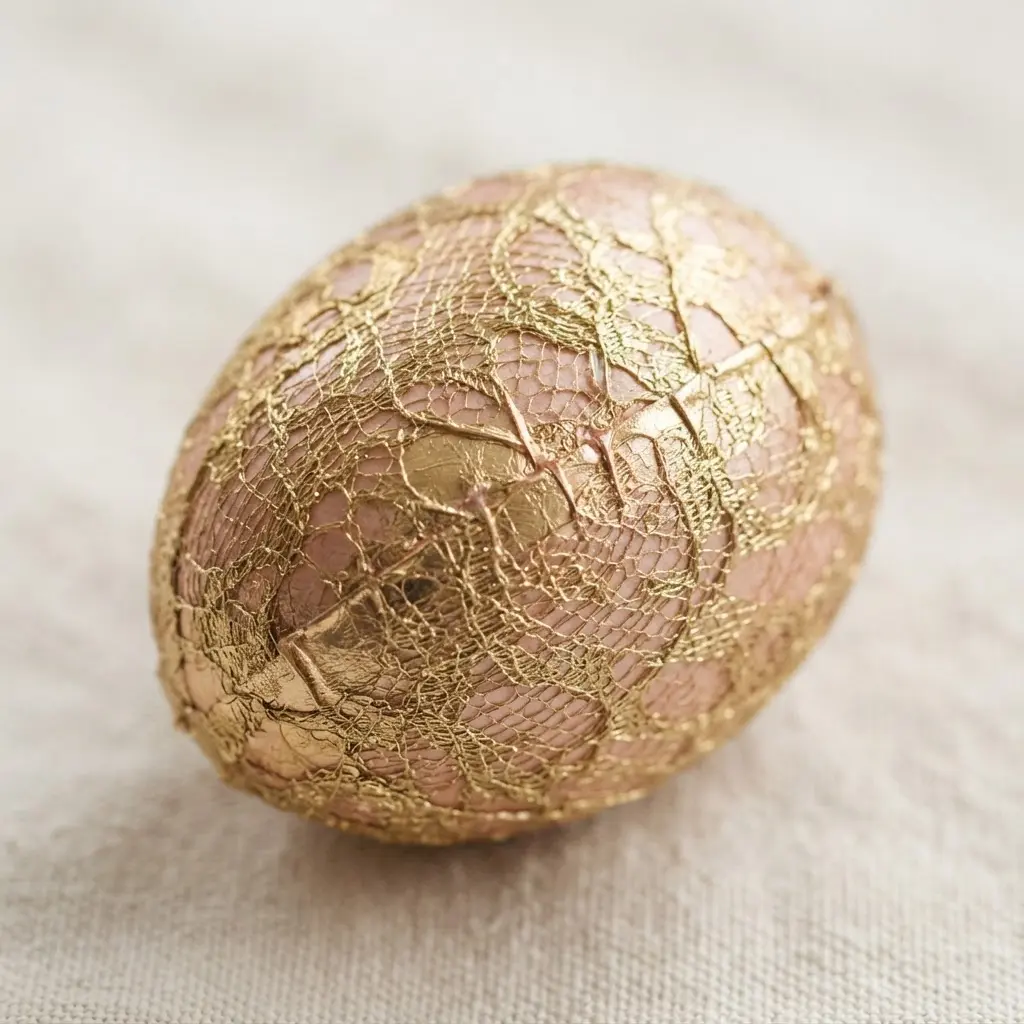
This one looks like a tiny, precious heirloom, doesn’t it? The secret is using fine flat lace that lies perfectly against the egg’s curve. I love applying a layer of gold leaf first, then carefully pressing the lace over it so the metal shimmers through the openwork patterns.
It works because the combination of delicate texture and rich metallic sheen feels incredibly luxurious. A great tip is to practice on a spare egg first to get the hang of handling the materials.
Once you’ve mastered this elegant style, you could even create some fun monster themed Easter eggs for a playful contrast. The feeling when you hold that finished, gleaming egg is pure satisfaction with your homemade golden easter eggs.
Varnishing Techniques for Metallic Finish Longevity
Seal your work with a clear acrylic varnish applied in several light, dust-free coats. Here is the thing: a thick, single layer can react with the metallic pigments and create a cloudy film called blooming. Let each coat dry fully according to the product instructions before adding the next.
A matte finish varnish is my top pick as it protects the gold without adding competing shine, letting the metal itself pop. This final step locks in all your hard work and prevents the gold from tarnishing or scratching over time. Your elegant pieces will stay beautiful for seasons to come with this simple protective finish.
Conclusion
The best part of making these decorations is seeing how a simple egg transforms into something that feels both personal and polished. Your golden easter eggs become little treasures that reflect the care you put into them, perfect for gifting or as a beautiful focal point on your table. For your next step, pick the technique that most excites you and gather your materials for your next batch of golden easter eggs. The joy is in the making, and the result is a holiday tradition that shines a little brighter each year.
FAQs
Q: What is the best type of paint for golden Easter eggs?
A: High-quality metallic acrylic paint gives a rich, opaque finish. For fine details, a metallic paint pen offers the most control and a consistent line.
Q: How do you make gold leaf stick to an eggshell?
A: Apply a thin, even layer of adhesive size to a clean, dry egg. Let it become tacky before gently pressing the gold leaf sheets onto the surface. Use a soft brush to remove excess leaf.
Q: Will the gold finish rub off after handling?
A: Seal your finished decorations with a clear acrylic spray sealant. Apply two light coats, letting each dry completely. This protects the metal from tarnishing and prevents it from transferring.
Q: Can I use real eggs for these projects?
A: You can, but blown-out shells are more fragile. For durability, ceramic, wood, or plastic craft bases are better. They hold finishes well and last for many seasons.
Q: How do you get clean lines with a paint dip?
A: Use low-tack painter’s tape to mask the line where you want the decoration to stop. Dip the base carefully, let it dry fully, and then peel the tape away slowly to reveal a sharp edge.