
There’s a special kind of magic in bringing a bit of the outside in, especially during the Thanksgiving season. You’ve probably gathered a few of those perfect, vibrant leaves from your yard or a walk, thinking they’re too beautiful to just let crumble away. Finding the right project to honor their natural beauty can be tricky, especially when you want something that feels special but doesn’t require a huge time investment. That’s exactly why I’ve put together this collection of ten diy thanksgiving leaves projects. Each one uses simple techniques to transform your gathered foliage into lasting decorations that will make your home feel warm, personal, and full of autumn spirit.
Optimal Methods For Preserving Autumn Foliage Textures
The fastest way to ruin a craft is using brittle, untreated foliage that will shatter and brown in a week, especially if you are focusing on diy thanksgiving leaves. You want supple, colorful shapes that feel like thin leather, not dry paper. The secret is a quick soak in a mod podge medium thinned with water, which seals in moisture and color without making the leaf feel plastic.
For a more natural finish, press them between parchment paper with a warm iron for a heat-sealed effect. I always press my best finds in a heavy book for a few days first to flatten them. This initial step prevents curling and makes any decoupage or painting surface perfectly smooth. Trust me, this preparation transforms a fragile piece into durable material.
Selecting The Best Leaf Shapes For Crafting
Look for foliage with a strong central vein and symmetrical lobes, like maple or oak, because they provide a stable structure for garlands and wreaths when planning diy thanksgiving leaves. Your finished piece needs items that can handle a needle or hold a dab of glue without tearing at the edges. Avoid shapes with deep, intricate cuts or ones that are too large and floppy, as they lack the necessary support for assembly.
The high-contrast palette of late autumn, those deep burgundies and burnt oranges, offers the best visual impact against neutral backgrounds. Smaller, uniform leaves work beautifully for creating place cards or coasters where you need a clean, minimalist negative space. For rustic layering, mix in a few slender willow or birch pieces to add texture and movement to your arrangement.
1. Elegant Metallic Paint Pen Leaf Placards
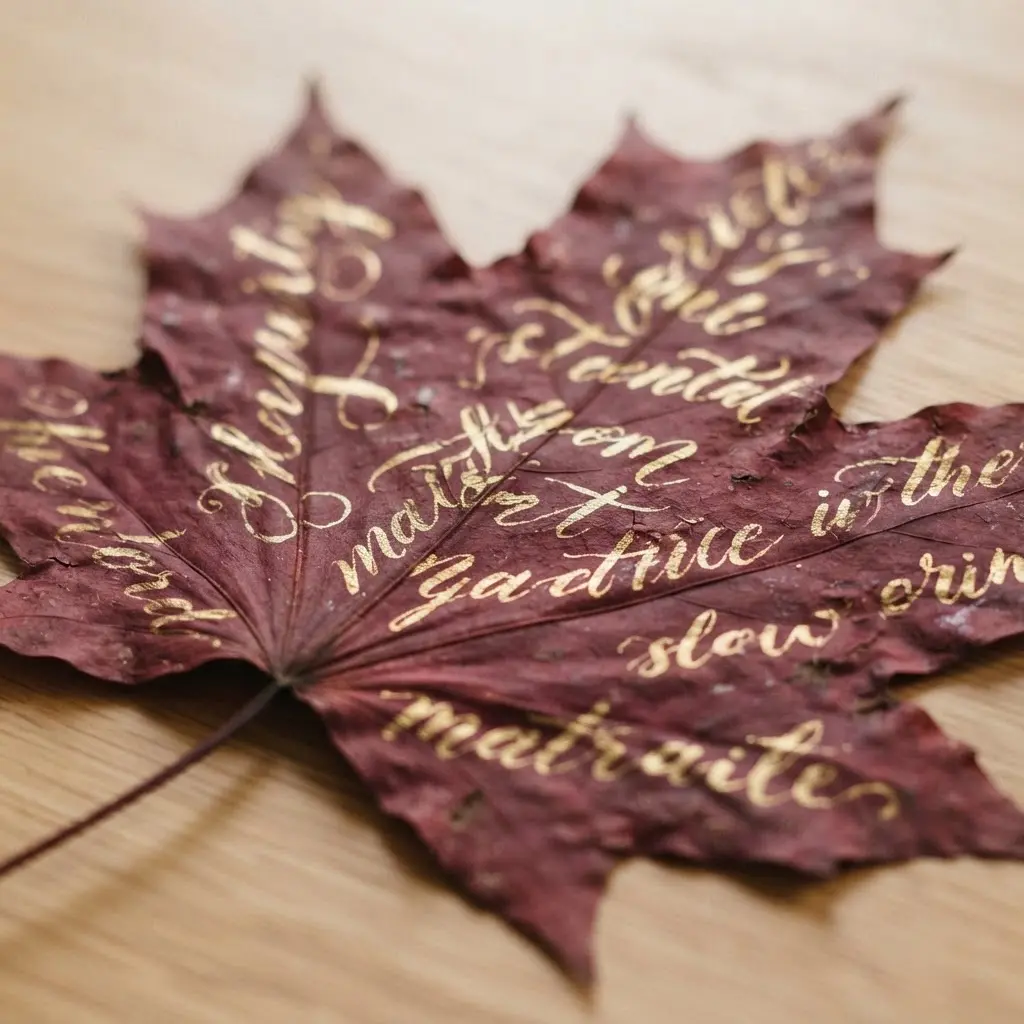
This one looks so fancy, but it is honestly one of the simplest ways to elevate your table during diy thanksgiving leaves sessions. You take a beautiful, sturdy piece and write a guest’s name on it with a metallic paint pen. The contrast of the shimmering ink against the natural texture is pure magic.
I love using broad types like maple or magnolia because they give you a nice flat canvas. The key is to make sure your foliage is completely dry before you start, or the ink will bleed. For a project this delicate, proper prep is everything. You can find great inspiration for other simple, nature-based decor, like spooky cheesecloth ghost decorations, which use a similar hands-on, organic approach.
It works because it feels personal and luxurious without any real cost. Try it and feel like a true hostess.
2. Glowing Mod Podge Leaf Mason Jar Luminaries

Who would have thought you could trap a bit of autumn light in a jar? This project looks complex, but trust me, it is wonderfully simple for diy thanksgiving leaves setups. You start by pressing beautiful fall foliage between heavy books for a few days. This flattens them perfectly.
Then, you apply a thin layer of Mod Podge to a clean jar and gently press the shapes into place. I love working in small sections to avoid a sticky mess. Seal everything with another coat and let it dry overnight.
It works so well because the adhesive preserves the vibrant color and texture. When you pop a battery-operated LED tea light inside, the whole jar glows with a warm, dappled light that feels like pure magic.
These luminaries are perfect for your Thanksgiving table, but you could make them for any fall gathering. If you are looking for more inspiration to decorate your front door this season, I have some great festive Halloween wreath ideas that use a similar rustic vibe. Your finished jars will look absolutely stunning.
3. Rustic Layered Leaf Garland Bunting Strand

This one looks intricate, but trust me, it is so simple to put together for your diy thanksgiving leaves display. You start by cutting various shapes from natural fabrics like burlap or linen, mixing in a few paper ones for contrast. I love to stack two or three cutouts of slightly different sizes and glue them together for that wonderful, dimensional look.
Then, you just thread them onto a length of jute twine, alternating colors and shapes as you go. The key is to keep your spacing a bit irregular for that authentic, gathered-from-the-woods feel. It works because the layered texture catches the light and adds a cozy, handmade warmth to any room. Try it and feel that instant autumn atmosphere come to life.
4. Natural Leaf Imprint Clay Dishes

Does this sound like a project for a ceramic artist? It is not, I promise, and that is exactly why it fits so well into diy thanksgiving leaves crafting sessions. This is one of the most accessible and satisfying ways to capture nature’s detail. You simply roll out your air dry clay, press a fresh piece into it, and peel it away to reveal a perfect, intricate pattern. Then you shape it into a little dish or trinket bowl.
I love how each one turns out completely unique, like a tiny fossil. The trick is using pieces that are still pliable and full of deep veins, like maple or oak. You will be amazed at how crisp the imprint is. It is a mindful activity with a beautiful, tangible result you can use for years. For a quick and easy finishing touch, you can pair these handmade dishes with some printable Halloween gift tags to create a complete, personalized gift set.
Feel proud when you see that delicate texture preserved forever in your own little dish.
5. Practical Cork Backed Pressed Leaf Coasters

Who says functional decor can’t be breathtaking? These coasters capture a perfect autumn piece in a glossy, protective finish. You arrange your pressed foliage on a cork coaster blank, then seal them with a clear, pour-on resin or several coats of a strong sealant. The result is a durable, waterproof surface that protects your table while showing off nature’s artwork.
I love this method because it feels like preserving a little piece of the season forever. The resin gives it such a smooth, professional look that’s surprisingly easy to achieve with a little patience. It’s a fantastic project to do with older kids when you want to try diy thanksgiving leaves together, especially if you pair it with some easy pumpkin crafts for kids for a full afternoon of seasonal fun.
Just ensure your materials are bone dry and your work surface is perfectly level before you pour. The satisfaction of peeling off a perfectly cured, crystal-clear coaster is absolutely worth the wait.
6. Botanical Dried Leaf Framed Wall Art

Who would have thought the most beautiful fall art was already lying on the ground? This project is about capturing that fleeting beauty and giving it a permanent spot on your wall. Start by gathering healthy, vibrant shapes and pressing them thoroughly between layers of blotting paper inside a heavy book.
Once they are completely dry, the real fun begins. I love arranging them on a piece of acid-free backing board, playing with shapes and overlaps until the composition feels just right. A tiny dot of adhesive holds each piece in place before you secure everything inside a floating frame.
It works because it feels so personal and organic, bringing a quiet piece of the outdoors into your home. This framed art makes a wonderful, lasting centerpiece for your seasonal decor, and the process of creating a holiday card wreath is another fantastic way to use your pressed collection for handmade diy thanksgiving leaves gifts. Your front door will look absolutely stunning!
7. Welcoming Grapevine Leaf Autumn Door Wreath

Ever wondered how those gorgeous, full wreaths you see in magazines come together? This one is all about layering. You will start by tucking and hot-gluing your largest artificial autumn leaves into the grapevine base to create a full foundation, overlapping them in a consistent direction.
Then you add more shapes, varying the colors and angles to build depth and texture for your diy thanksgiving leaves masterpiece. It works because the warm, rich colors and natural textures instantly capture that cozy autumn feeling. I love how forgiving this project is. If you want to try a different shape for your base, a DIY star-shaped wreath decoration uses a similar layering technique with seasonal picks. Your front door will look absolutely stunning!
8. Gilded Gold Leaf Mod Podge Bowl

Doesn’t this look like something from an expensive boutique? The secret is that you are working with affordable imitation gold leaf and a simple adhesive. You brush a thin layer of the glue onto a small section of your bowl, then gently press a sheet onto it. Overlap the sheets slightly as you go to create that rich, textured look for diy thanksgiving leaves centerpieces.
It works because the adhesive acts as both glue and a durable sealant, locking in all that shimmer. Trust me, the moment you brush away the excess flakes and see that solid metallic finish is pure magic.
9. Luminous Waxed Leaf Window Suncatcher Array

This one is pure magic. You take foliage you found outside and turn them into glowing stained glass for your window. First, you gently melt paraffin wax in a double boiler for safety. Then, dip each flat, fresh piece in the wax and let it dry on wax paper. The wax makes them translucent, so light shines right through it later.
You tie each shape to a different length of clear fishing line and attach them to a branch. Hang it up and watch the sun bring those autumn colors to life for your diy thanksgiving leaves collection. It is a stunning way to preserve the season.
This project is simple but looks so elegant. It also pairs perfectly with other handmade table decor, like the steps in an easy no-sew placemat tutorial, to create a complete fall tablescape. You will love the warm, natural glow it adds to your home.
10. Festive Glitter Dipped Leaf Table Decor
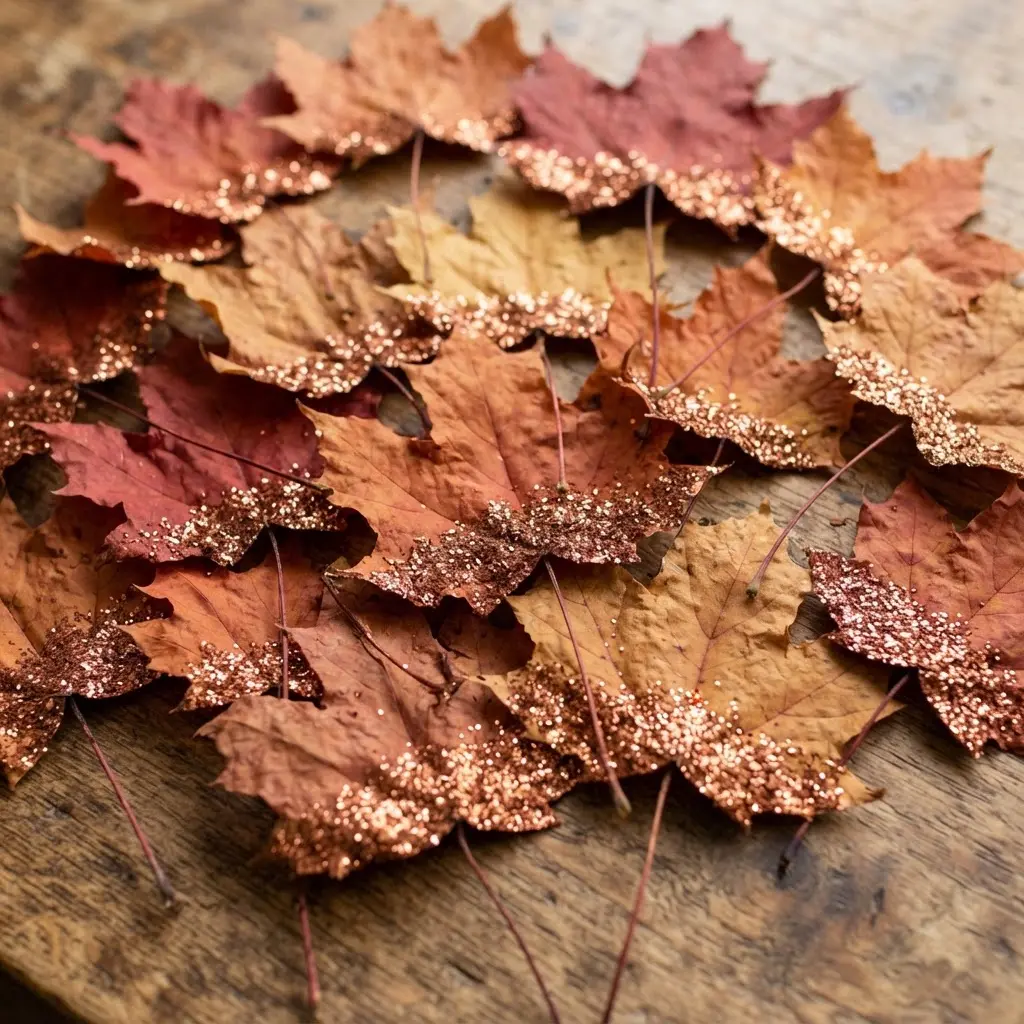
Who says elegance can not be easy? This project looks fancy but honestly, it is one of the simplest ways to dress up your table when crafting diy thanksgiving leaves decorations. You just dip part of a real or faux piece in adhesive and then into glitter. I love using Mod Podge because it acts as both glue and sealer. The glitter sticks beautifully, and you get that perfect, glamorous sparkle on half the piece while the natural texture shows through on the other.
It works because it marries rustic charm with festive celebration in a single, stunning creation. Your finished foliage is perfect for scattering down the center of your table or tucking into napkin rings. For a truly coordinated look, pair them with an adorable rabbit napkin ring craft. Trust me, that combination creates a tablescape your guests will remember.
Techniques For Properly Storing Seasonal Decor Pieces
Place finished crafts in a sturdy cardboard box lined with acid-free tissue paper to prevent color fading and physical damage. You will notice that direct sunlight or a humid attic causes preserved colors to dull and materials to become brittle. I keep my autumn garlands coiled loosely in their own box, never folded, to maintain their form when storing diy thanksgiving leaves safely.
For delicate pieces like printed coasters, layer them with parchment paper separators so surfaces do not stick or transfer. A matte acrylic spray varnish applied before storage adds a final protective layer against dust and moisture. Store this box in a cool, dark closet or under a bed, not a basement, where temperature swings are less extreme. This simple system ensures your favorite pieces return next season looking as vibrant as the day you made them.
Conclusion
The best part of working with diy thanksgiving leaves is how the process connects you to the season itself. Each project starts with a simple walk and the joy of finding that one perfect piece. My favorite piece of advice is to gather more foliage than you think you will need. This gives you room to play with color combinations and sizes without pressure. The goal is not perfection, but to create something that holds the warmth and memory of your own autumn. I hope these ideas inspire you to make your Thanksgiving table and home feel uniquely yours this year.
FAQs
Q: What is the best way to preserve foliage for crafts?
A: For flexible pieces, try a glycerin bath. For flat, pressed shapes, use a heavy book or a flower press. Both methods help retain color and prevent immediate crumbling.
Q: Can I use fresh materials instead of dried ones?
A: Fresh pieces often shrink or curl as they dry, which can warp your project. It is better to press or dry them first for a stable, long-lasting result.
Q: How long will these projects last?
A: With proper preservation, these decorations can last for many seasons. Keep them away from direct sunlight and moisture to maintain their color and form.
Q: What shapes work best?
A: Maple, oak, and ginkgo varieties are excellent choices due to their sturdy structure and beautiful outlines. Avoid pieces that are already torn or overly brittle.
Q: Are these projects suitable for kids?
A: Absolutely. Activities like the glitter-dipped shapes or simple garlands are great for little hands. Adult supervision is needed for steps involving hot wax or glue.


