


They have a wonderfully ethereal look, floating with a life of their own, and the best part is how simple they are to make with the family. This collection is here to spark your creativity. We have gathered ten distinct styles, from minimalist figures to illuminated specters, all showcasing the beautiful drape and texture of layered fabric. Let these ideas be your starting point for a truly personalized and spooky setup this season.
Structuring Your Internal Support Armature
The difference between a ghost with droopy shoulders and a perfect spectral silhouette is the shape hidden under the fabric. When planning your DIY cheesecloth ghosts, we all know the classic balloon form works well, but the best armature depends on the posture you want.
For a tall, looming figure, tape a few inflated balloons together to create a longer torso. For a bent, mournful spirit, crumple aluminum foil into a dynamic shape before you drape. Trust me on this, wrapping your form in plastic wrap or a thin plastic bag is the single most important step.
That waterproof layer means you can pop the balloon or slide out the bottle without tearing your stiffened masterpiece. You want to avoid any fabric touching the actual form, or you will glue your ghost to its skeleton forever.
Selecting The Optimal Fabric Stiffening Medium
Liquid starch from the laundry aisle gives you a beautifully stiff finish that feels authentically crisp for DIY cheesecloth ghosts. The good news is you have a few great options, and your choice changes the final look and feel.
A 50/50 mix of white PVA glue and water creates a stronger, slightly glossier blend that holds intricate pleats. For the most rigid, almost sculptural results, a commercial fabric stiffener is your best bet.
Here is the thing, no matter which medium you pick, you must completely saturate every single layer of material. Drizzle is not enough. Submerge each piece, wring it out gently so it is soaked but not dripping, and then apply it to your form.
You will notice the fabric becomes translucent and pliable, which is exactly what you want for forming those gravity-defined folds.
1. Floating Porch Entryway Ghost Pair
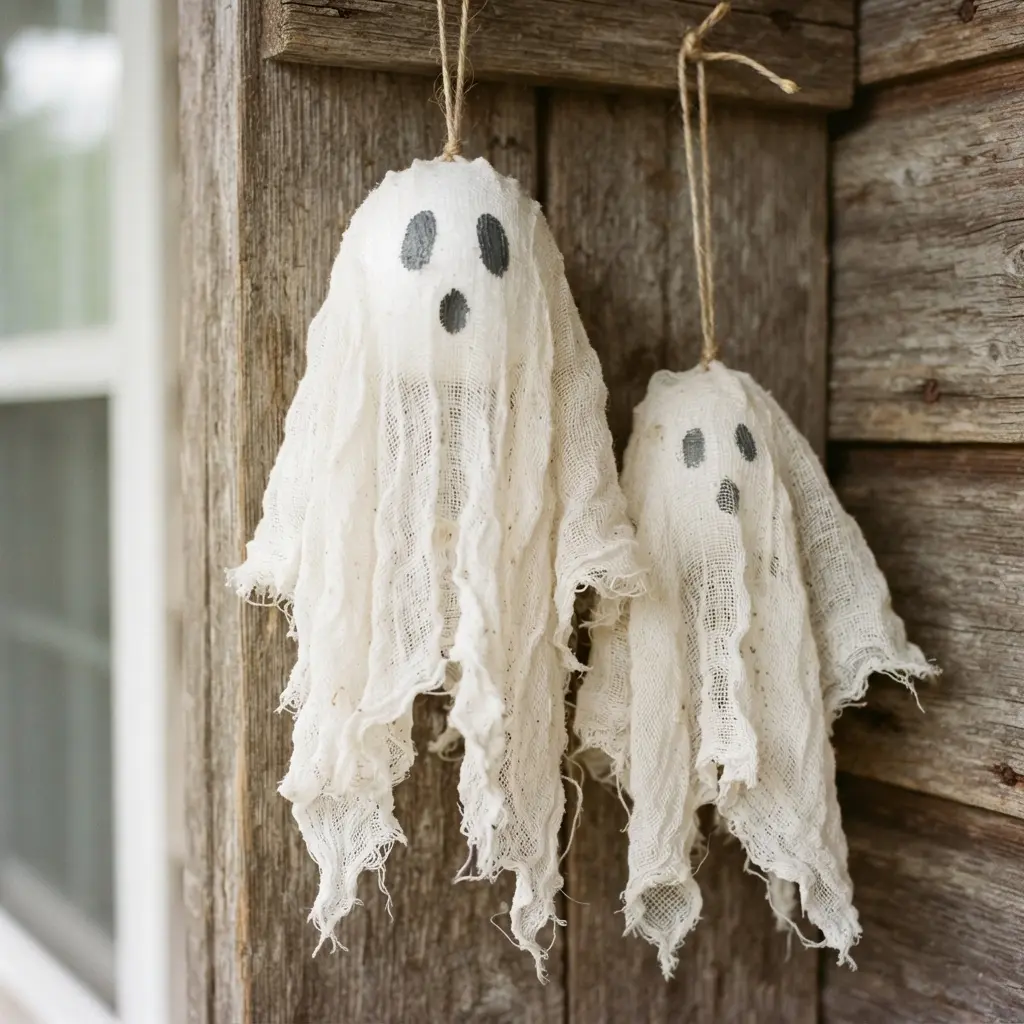
Ever wondered how to give your porch that perfect spooky welcome? This pair of DIY cheesecloth ghosts does exactly that. You start by building a simple armature from wire and a styrofoam ball, then drape material soaked in stiffener over it.
Let it dry completely before you remove the form and add some simple black felt eyes. It works so well because the translucent material catches the light beautifully, creating a truly ethereal look.
I love hanging them at different heights with fishing line to get that floating effect. For a complete entryway setup, you will want to pair them with some DIY Halloween wreath decorations on your door.
2. Minimalist Standing Fabric Ghost Centerpiece
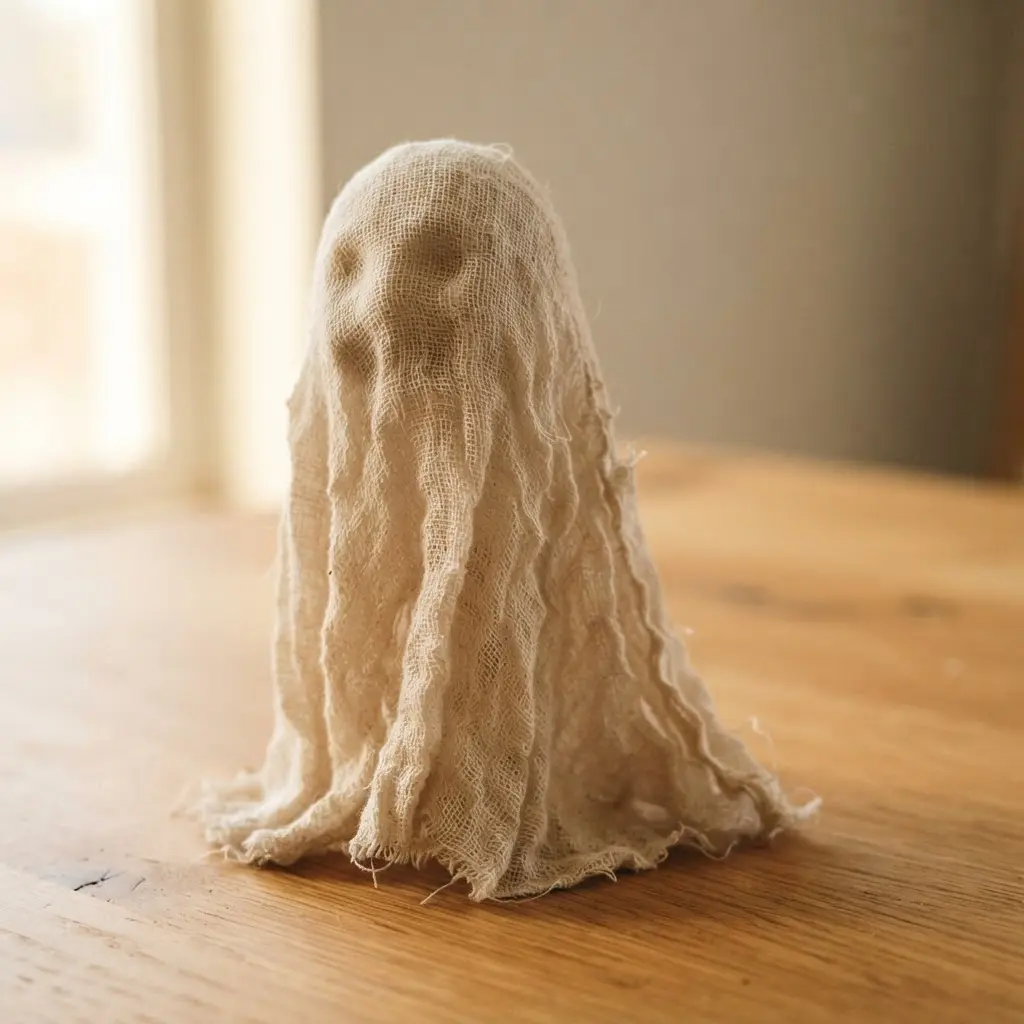
Ever wondered how those elegant, wispy figures on stylish mantels are made? This approach is all about clean lines and letting the fabric speak for your DIY cheesecloth ghosts. You start by bending a heavy gauge wire into a simple, stable armature for your creation to stand on.
Then, gently drape a piece of white muslin or gauze over it, adjusting the folds until you get that perfect silhouette. It works because the negative space and natural drape create a subtly spooky presence without any clutter.
Trust me, the most important tip is to keep your base heavy so your delicate creation does not tip over. It is a fantastic project to pair with some printable Halloween gift tags for a complete, coordinated look.
3. Layered Tattered Cheesecloth Hanging Apparition
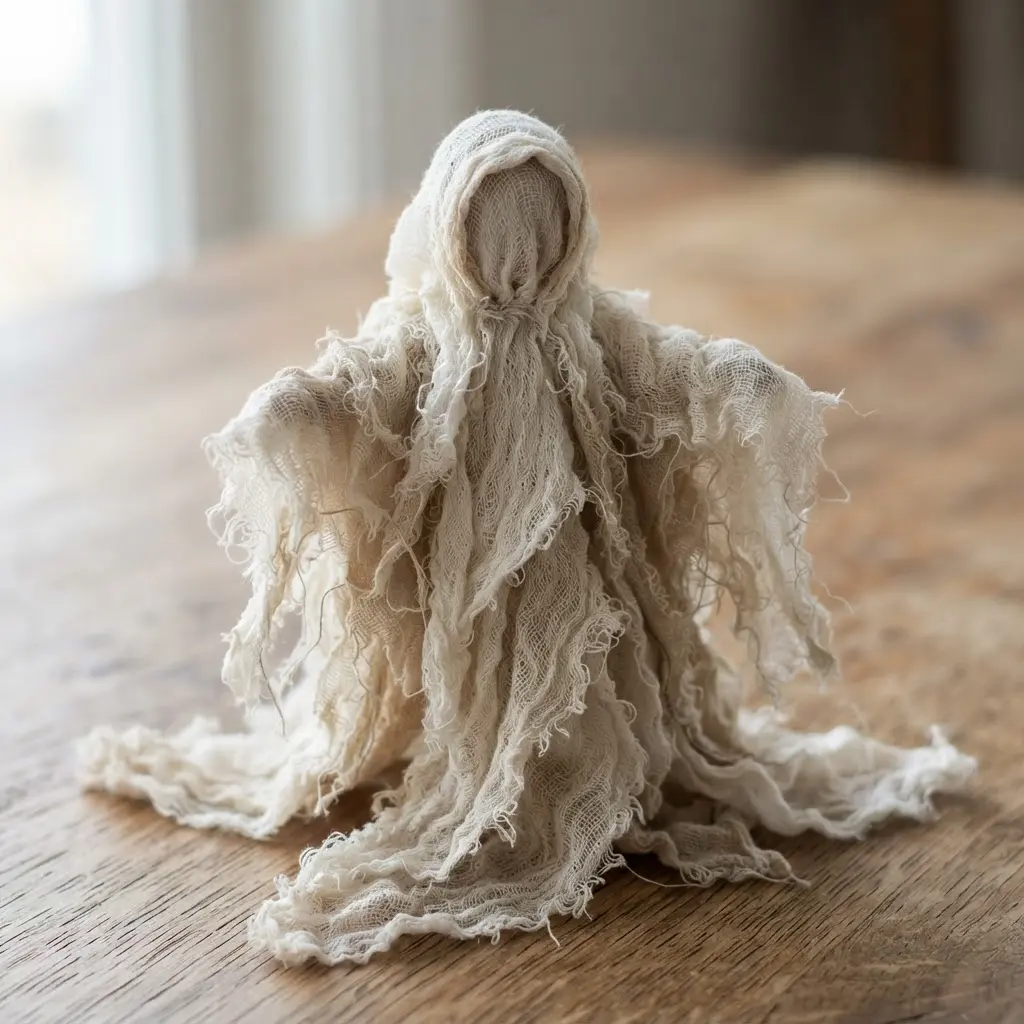
Ever feel like your decorations look a bit too solid? This layered method is your secret weapon for crafting wispy DIY cheesecloth ghosts with a perfect floating look. You will drape multiple pieces of soaked material over a simple wire hanger armature.
Let the ends hang free to create a ragged, ethereal form. I love how you can build up volume in the shoulders and head while keeping the rest transparent.
It works because the multiple layers catch the light and move differently, giving your piece real depth. Trust me, the key is to use much more fabric than you think you need for that full effect.
Let those pieces dry completely while hanging, and you will have a haunting apparition that seems to drift on the air. Does that not look stunning?
4. LED Illuminated Grinning Cheesecloth Specter
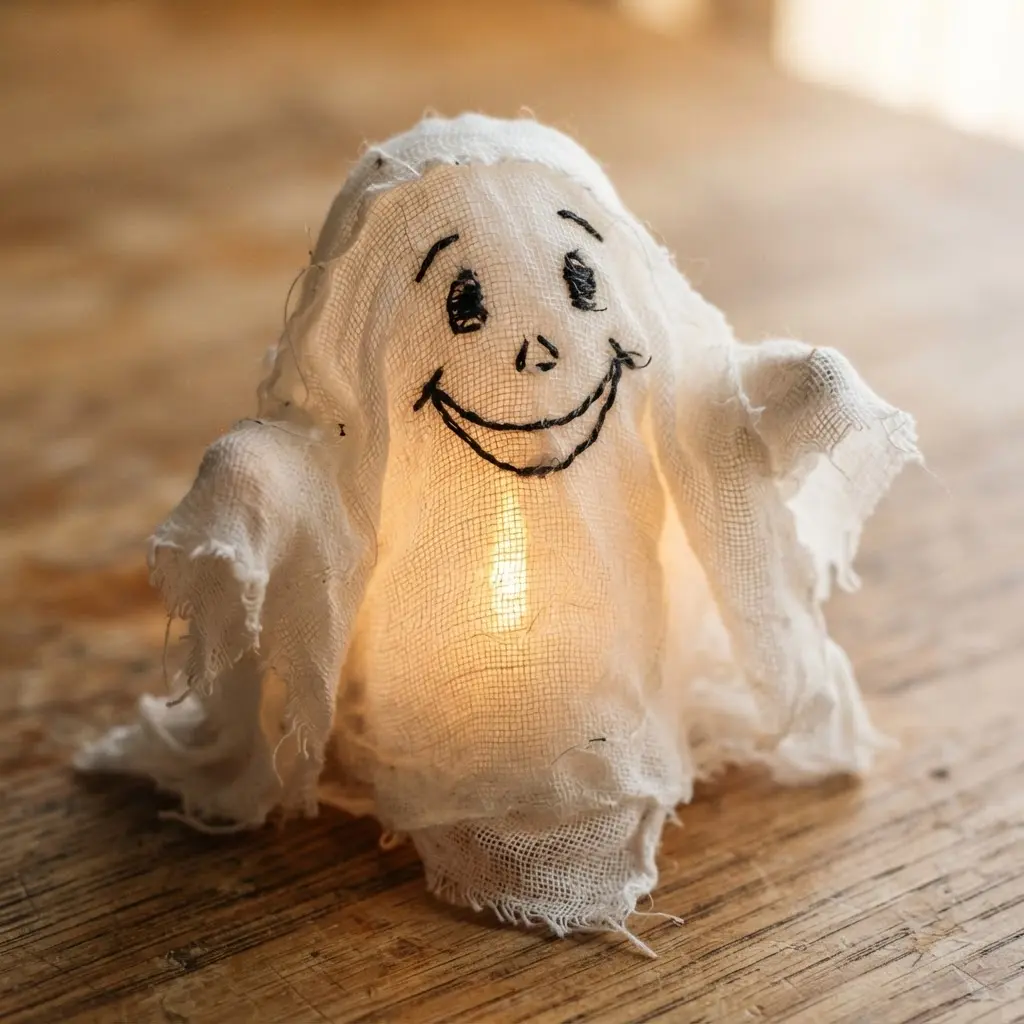
This is the project that always gets the most gasps from trick-or-treaters. You start by shaping a simple wire frame for the head and arms, then drape layers of white cheesecloth over it.
The magic happens when you weave a string of battery-operated LED lights right into the fabric before it dries. I love using a fabric stiffener here to pose the arms and help the whole shape hold its form.
That internal glow makes the grinning felt face you add later look absolutely eerie. The combination of a classic silhouette with modern lighting is what makes DIY cheesecloth ghosts so effective.
For a fantastic display, pair your glowing specter with a hand-painted spooky ‘Boo’ sign on your porch. Seeing that ethereal light highlight the material texture is incredibly satisfying.
5. Weathered Outdoor Tree Draped Ghost
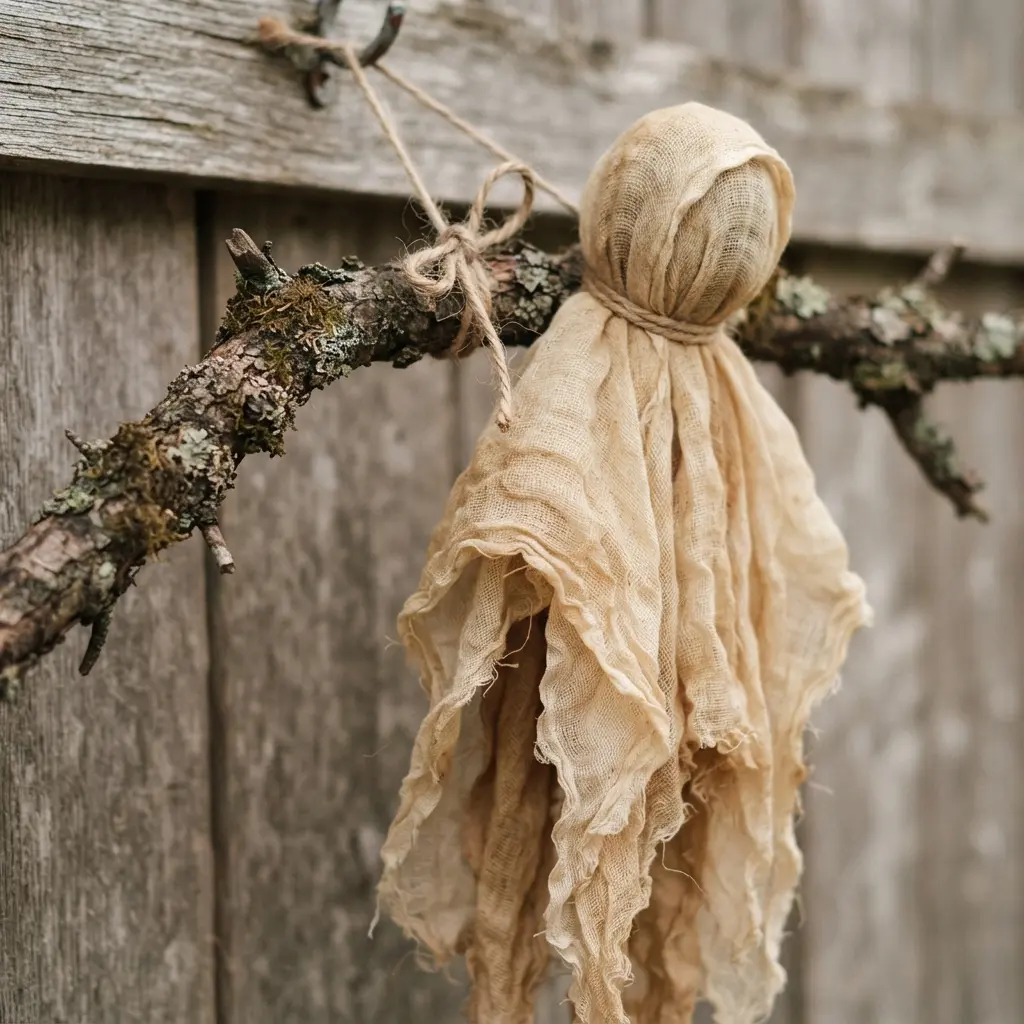
Who says a spirit has to be a perfect, floating shape? This approach feels more like a lonely presence that is part of the landscape when making DIY cheesecloth ghosts. You will drape thin, translucent cheesecloth or gauze over bare branches of an old tree, letting the fabric cling to the bark.
I love how you can gently shape a rounded head and long sleeves that fray in the breeze. It works because the figure feels ancient and forgotten, not scary, which is honestly more unsettling.
A great tip is to intentionally stain your fabric with weak tea to get that perfect pale grey color. This avoids anything too bright and new-looking.
For another project that blends natural elements with a handmade feel, you could explore our DIY dream catcher using similar principles of draping and weaving.
6. Dramatic Floor Standing Ghost Figure
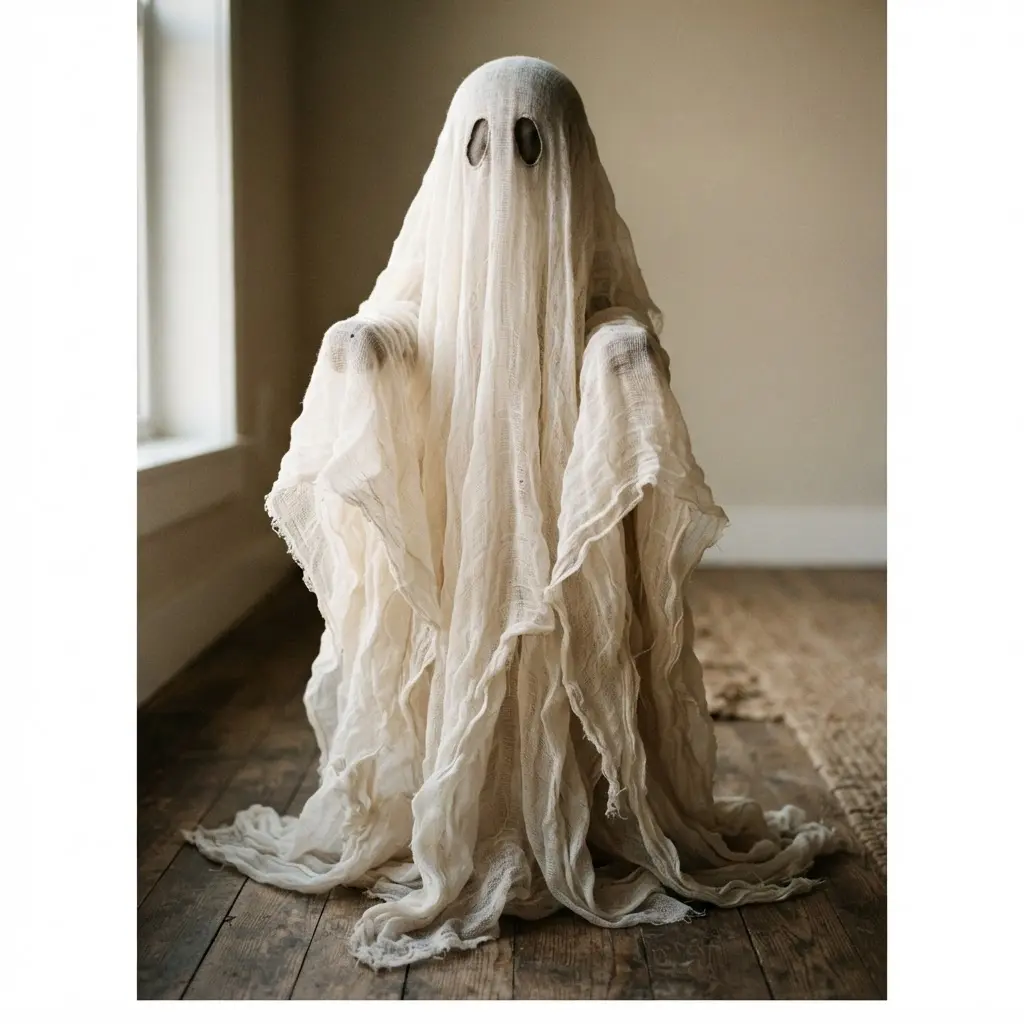
Want a decoration that makes people stop and stare? This is the one for you, as dramatic DIY cheesecloth ghost designs are all about scale and presence. You start with a solid PVC pipe frame to give it imposing height and structure.
Drape it in layers of flowing, sheer material to get that floating look. The real magic happens with hidden lighting.
I love placing a flickering LED light inside the frame. It casts a creepy glow through the fabric and makes the whole figure look alive.
Isn’t that the perfect spooky payoff for your front yard? This setup works beautifully in a dark corner too.
7. Miniature Cheesecloth Ghost Garland Decor
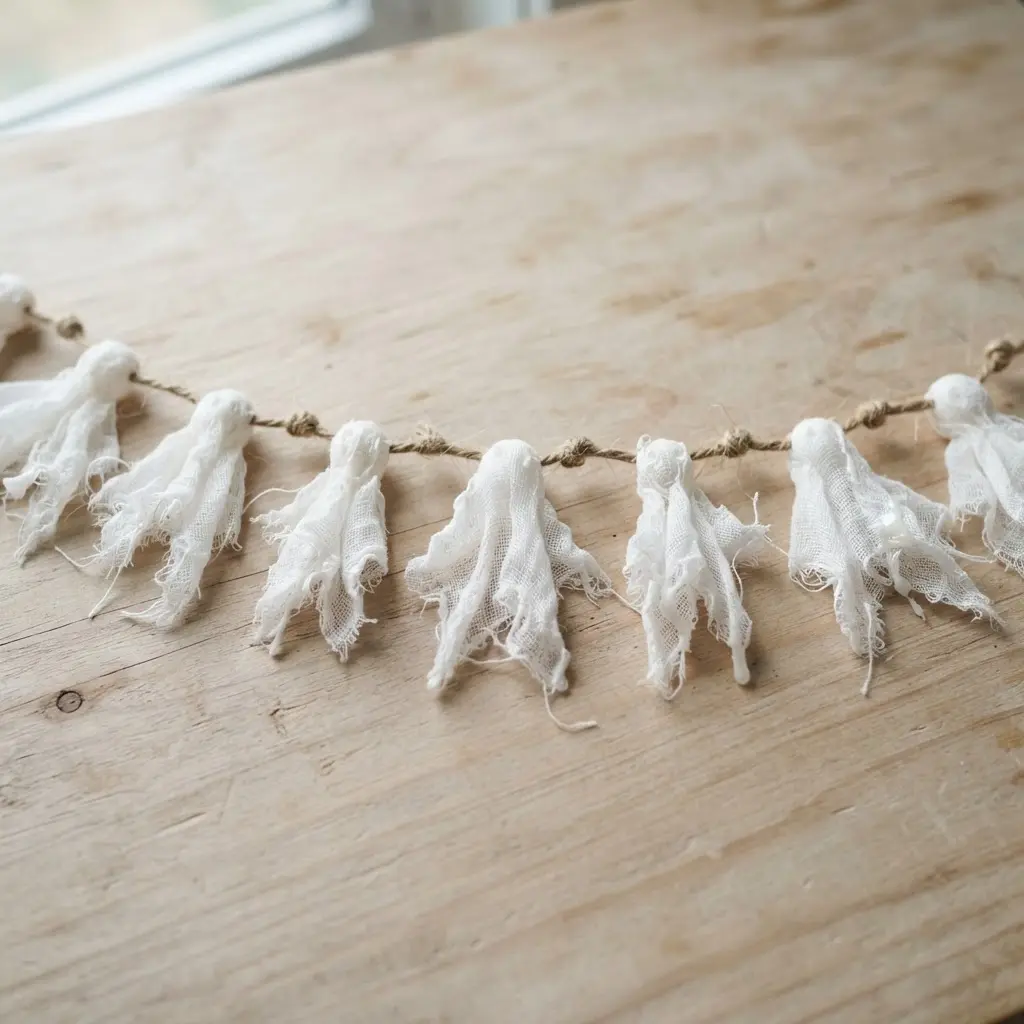
Isn’t it funny how simple materials create the most charming decor? For these miniature DIY cheesecloth ghosts, you drape a small square of cheesecloth over a tiny ball and dip it into a stiffening solution.
Once it dries hanging, you draw a sweet face and string them all together. It works so well because the garland is light and looks perfect draped over a mantle.
I love making a bunch of these at once for a big impact. For another quick and charming project, making an easy washi tape star craft uses a similar approach of simple materials with a delightful payoff.
Feel that cozy, whimsical spirit when you hang your finished piece. Your guests will absolutely adore the subtle seasonal vibe.
8. Ghostly Victorian Style Draped Figure
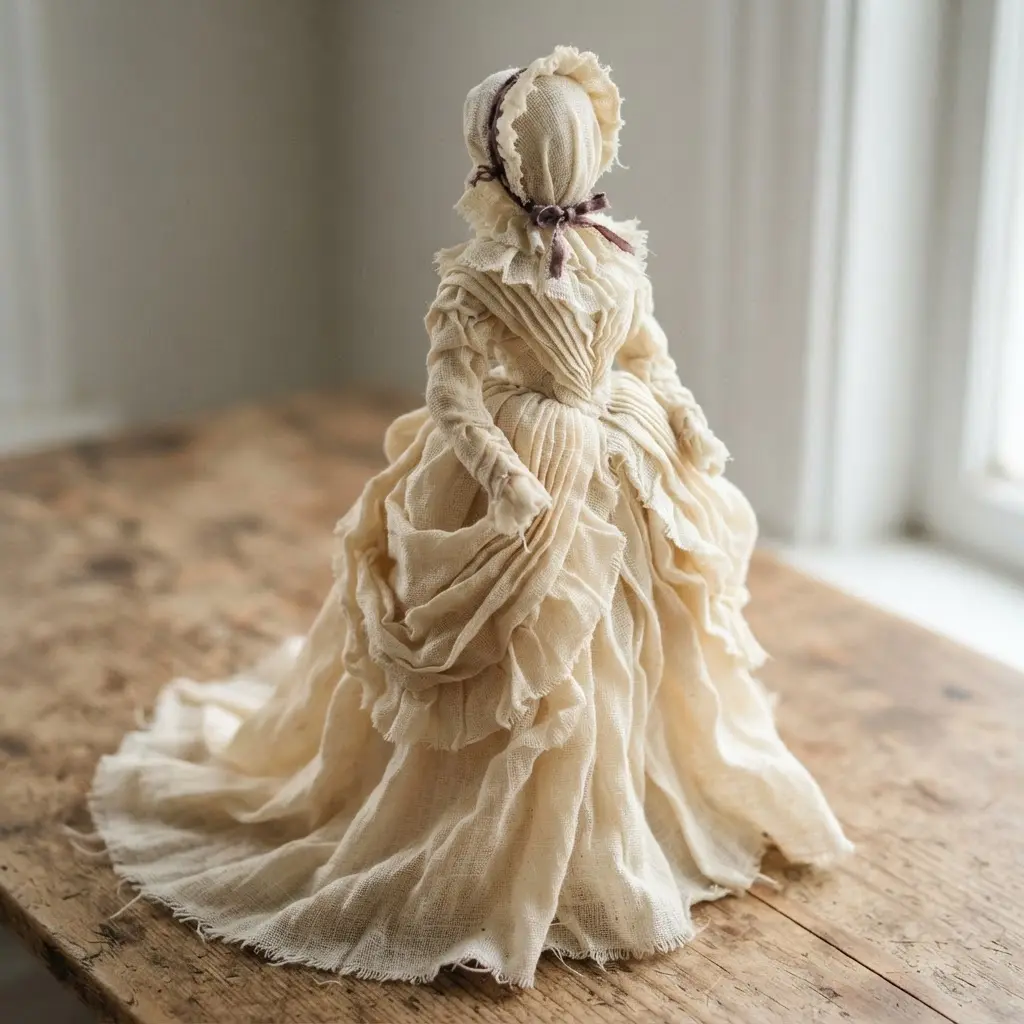
This arrangement feels more like a painting than a craft, doesn’t it? The goal is to capture that elegant spirit from old portraits while making your DIY cheesecloth ghosts float gracefully.
You start by draping material over a form to create a full, sweeping Victorian skirt silhouette. Let the fabric pool and trail dramatically at the base.
To get that truly ethereal look, you want the edges to be wispy and soft, not crisp. A light misting with diluted glue helps you gently pull and blur those boundaries.
I love adding a touch of pearlescent paint to the final layers for a subtle shimmer. It works because it combines historical opulence with spectral mystery, creating something beautifully haunting.
For extra period drama, try your hand at making an inspirational felt banner with a gothic font to display nearby. The payoff is a figure with serious presence and a story to tell.
9. Multi Layered Ethereal Floating Spirit
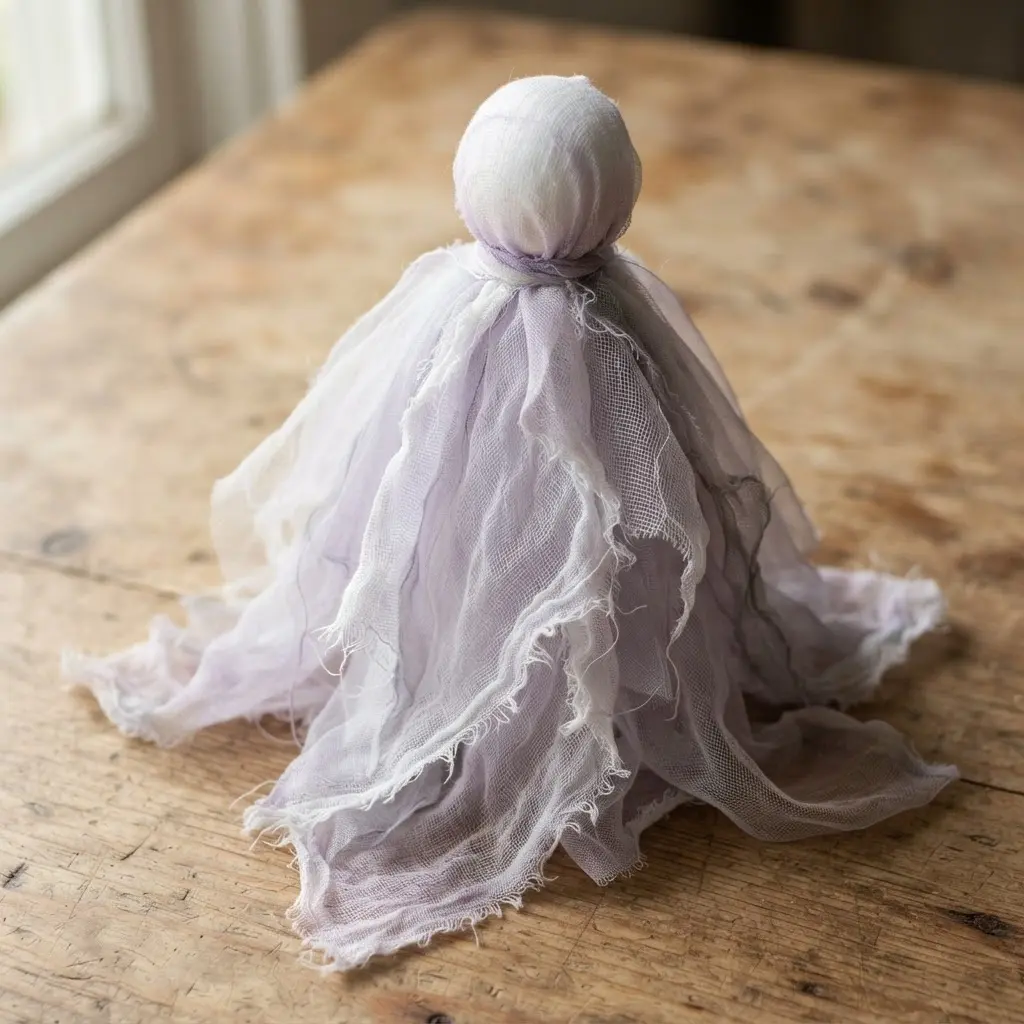
This is the one that looks like a real ghostly memory caught in the air. The trick is all in the layers when constructing delicate DIY cheesecloth ghosts. Start by draping material over a simple form like a balloon to make a head shape.
Soak it with stiffener and let it dry completely. Next, add sheer fabrics like organza in different opacities around that core.
I love finishing with the most delicate layer of all, a whisper-thin veil that fades into nothing. The varying translucency catches light in a way a single layer never could, creating depth and gentle movement.
My go-to tip is to use a low-temp glue gun to secure those outer layers. You want just a tiny dab so the fabric still moves freely.
Hang it with clear fishing line and watch it float. Isn’t that magical?
10. Spooky Entryway Cheesecloth Ghost Family
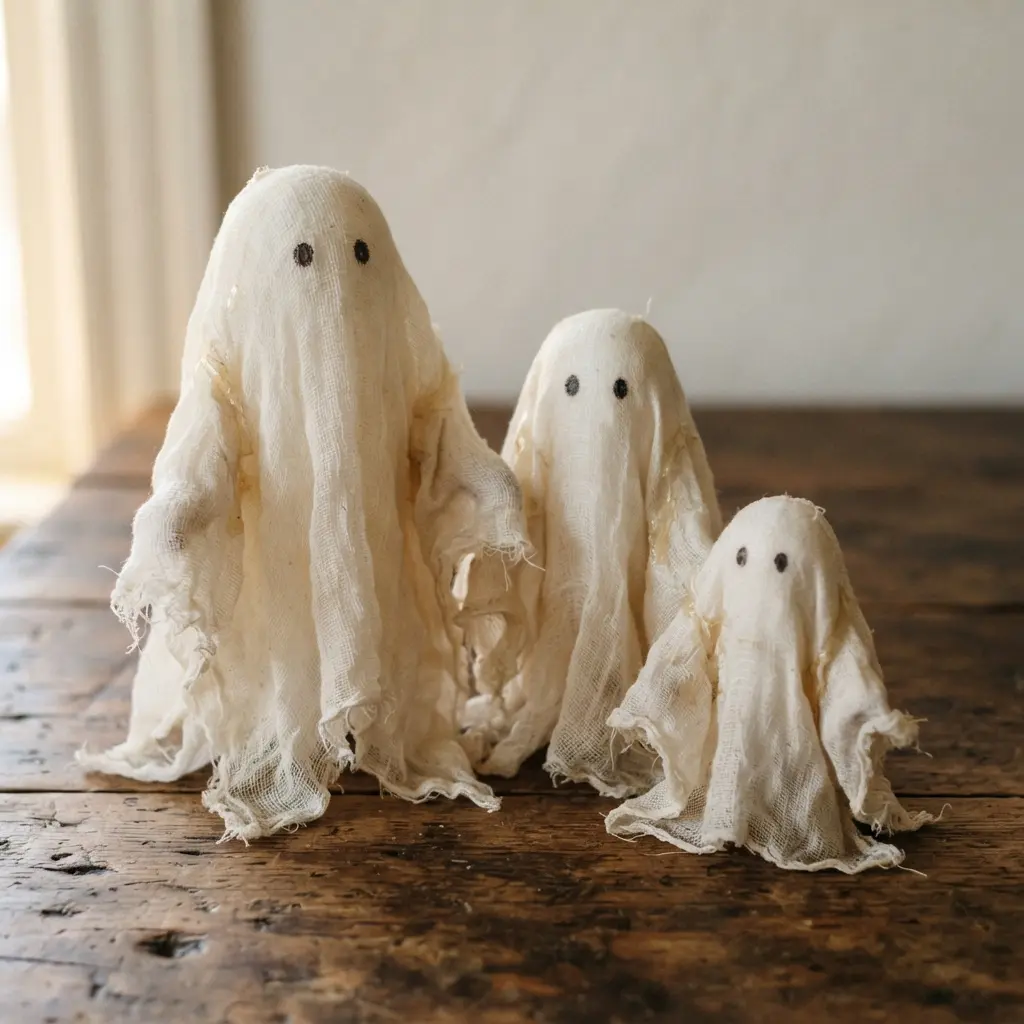
This setup creates a huge impact for a surprisingly simple process. You are essentially draping stiffened cheesecloth over simple armatures to form floating DIY cheesecloth ghosts that tell a story.
I love making a few in different sizes to suggest a little family gathered by the door. The magic happens during the drying stage, which takes a full day or two.
Do not rush this process. A completely rigid form is essential for holding its eerie shape once placed.
For the best effect, plan your strategic lighting in advance, like a small uplight hidden behind a potted plant. These ethereal decorations are a fantastic way to build atmosphere in any space.
When you enjoy working with form and structure, the skills here translate perfectly to other papier-mâché sculptures. You will feel so proud when your entryway looks perfectly haunted.
Preserving Structural Integrity For Seasonal Storage
A quick mist with a clear acrylic sealer before you pack your creations away locks in the stiffness and protects against dust and humidity. You worked hard on those pleats, and this spray takes two minutes to apply for your DIY cheesecloth ghosts.
Find a large, sturdy box and gently nestle each piece with plenty of crumpled tissue paper between them. Do not stack them flat or put heavy items on top, as the stiffened material can crack under pressure.
Store the box in a cool, dry place like a closet shelf, avoiding a damp basement or hot attic. Your careful project will emerge next Halloween looking spooky and structured, ready to float again.
Conclusion
The magic of these decorations comes from that moment when the stiffened fabric takes shape and suddenly has presence in your space. It is a project that turns simple materials into something with character, which is what makes seasonal crafting so rewarding.
For your next step, pick the style that speaks to you and gather your supplies for making fantastic DIY cheesecloth ghosts. Remember that a little asymmetry or extra fraying just adds to the haunted charm.
Have fun playing with the drape and placement until you find the exact atmosphere you want. Your home will get just the right amount of friendly spookiness this year.
FAQs
Q: What is the best way to stiffen cheesecloth for ghosts?
A: A simple mix of white glue and water works well. Dip the fabric in the solution, drape it over a form like a balloon, and let it dry completely for a permanent shape.
Q: How do I make my cheesecloth ghost look old and tattered?
A: Gently pull at the edges to fray them before you stiffen it. You can also lightly tear some holes in the layers or use watered-down brown paint for a subtle, weathered stain.
Q: Can I use these ghosts outside?
A: You can, but they are best for covered areas. Use a weather-resistant stiffener rated for outdoors and bring them inside during heavy rain to help them last.
Q: How long does it take for a cheesecloth ghost to dry?
A: Drying time depends on humidity and thickness. A single layer draped over a form typically needs 24 hours to dry fully and become rigid.
Q: What can I use as a base form for my ghost?
A: Balloons are popular for round heads. For different shapes, try glass bottles, upside-down bowls, or crumpled paper taped into a rough structure before draping.








