

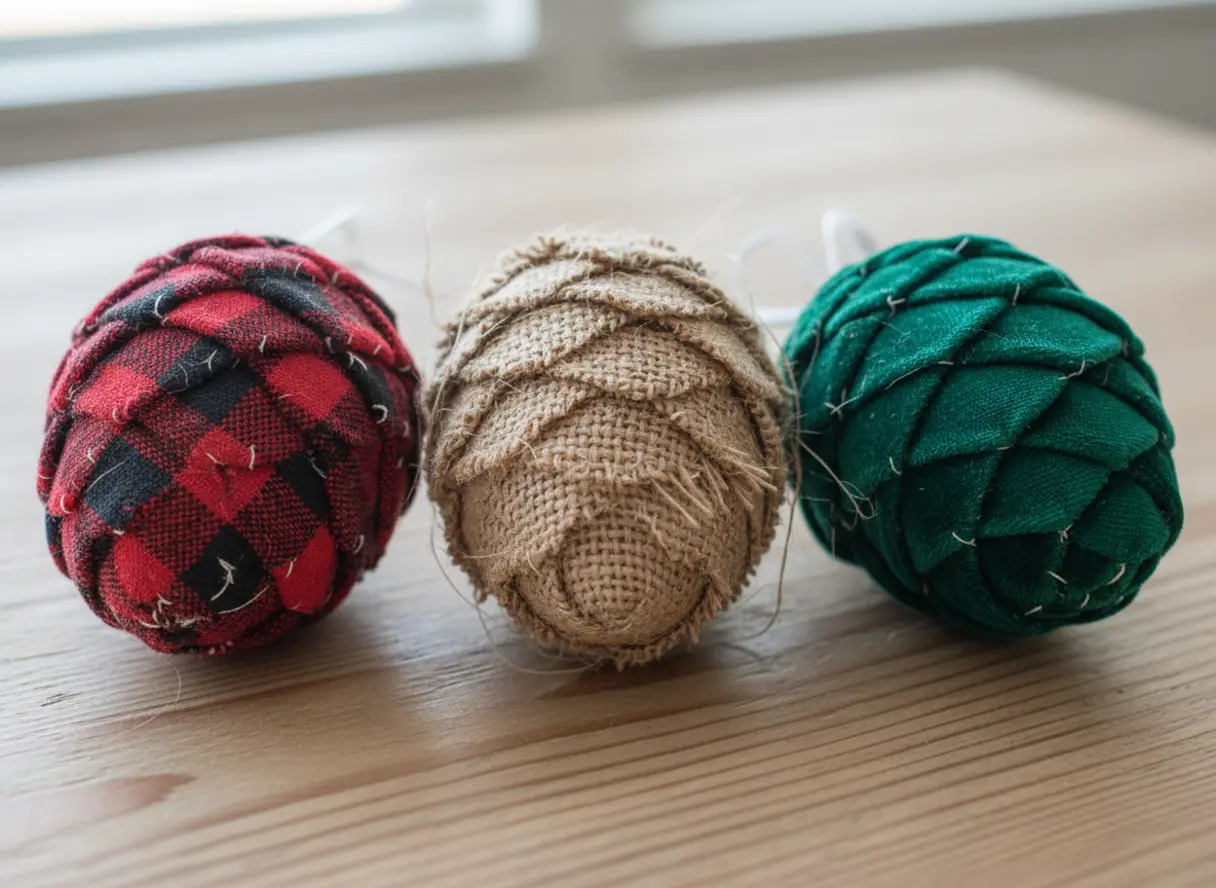
Each ornament takes on its own personality based on the material you choose, from cozy buffalo plaid to elegant velvet. This collection of 10 designs walks you through a variety of styles so you can match your own decor or use up the leftover pieces you have on hand. The best part is how forgiving the technique is; even if a fold is slightly off, the layered texture hides imperfections and adds to the handmade charm. Gather your supplies, clear a little table space, and get ready to see your scrap pile turn into a forest of beautiful shapes for your tree.
Choosing Precise Fabric Squares For Consistent Folds
The fastest way to ruin your pinecone shape is using material that lacks structure, like unstarched lightweight quilting cotton, which will sag and refuse to hold a crisp crease. You need something with more body to create those clean, uniform folds. Trust me on this, the good news is you can still use cotton, but you must pre-starch it heavily or swap to a stiffer option like satin or velvet for instant results.
When assembling diy fabric pinecones ornaments, you need a reliable foundation for those sharp geometric folds. The real secret weapon here is a rotary cutter with a quilting ruler. This tool guarantees your squares are perfectly identical, which serves as the basis for a smooth, three-dimensional geometric texture. Without that perfect square, your folds will drift off track, and the entire layered effect falls apart.
Styrofoam Core Selection And Pin Insertion Techniques
Beginners often make the mistake of overcrowding the pins, which creates too much pressure and causes the core to crumble apart. You want to space your pins so each folded triangle has room to sit without pushing against its neighbors. The right tool for this job is a sturdy T-pin, not a flimsy dressmaker pin, because it offers the grip and length needed to penetrate the foam cleanly.
You might skip this step when working on diy fabric pinecones ornaments, but using a thimble to protect your finger from repetitive pressure is an absolute lifesaver for this project. Your base selection matters too. A dense styrofoam egg or cone will hold up far better than a cheap, crumbly ball, giving you a solid foundation for diy fabric pinecones ornaments that stay perfectly shaped for years. This stable core supports every layer you pile onto the surface, keeping your finished piece intact.
1. Cozy Buffalo Plaid Cotton Pinecone Ornament
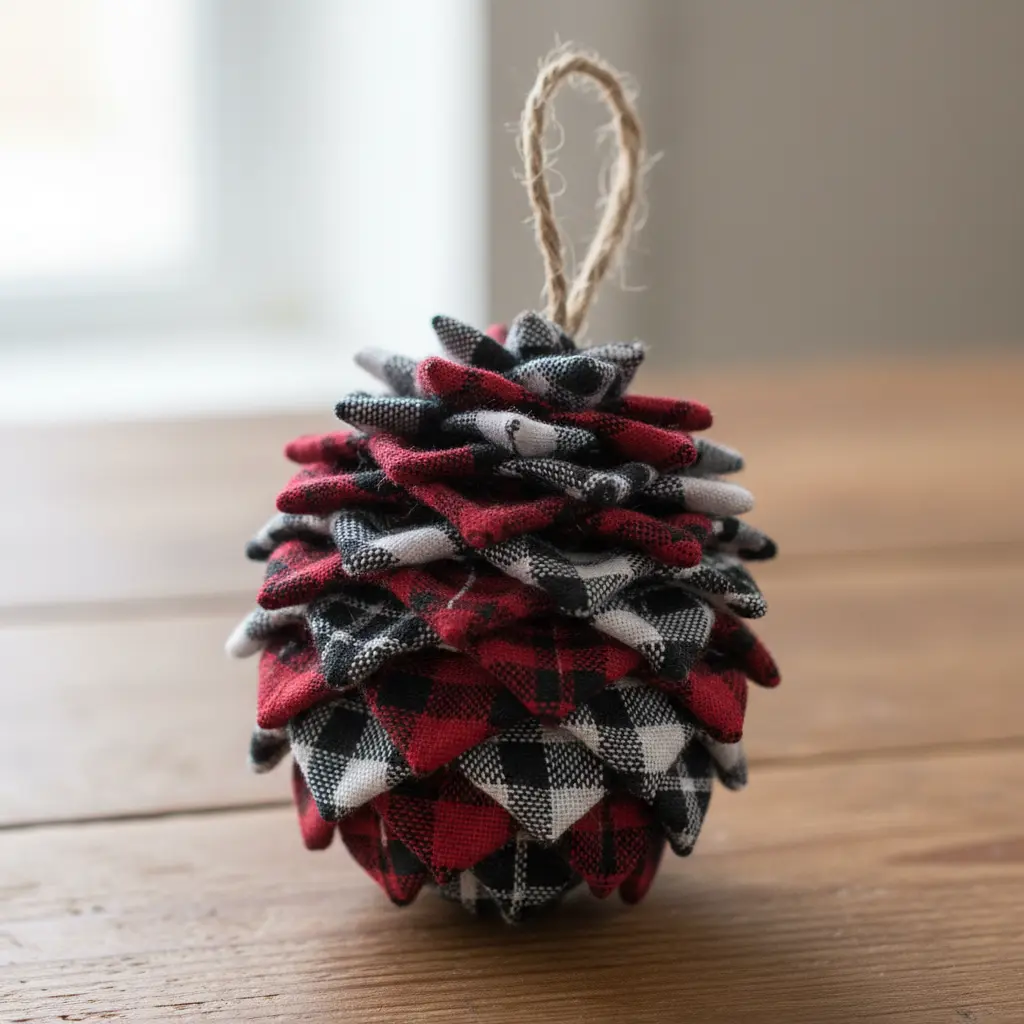
This project looks complex, but it stays surprisingly straightforward and delivers that perfect rustic touch. You start by cutting your buffalo plaid cotton into small squares, then folding each one into a neat triangle. Layer these folded pieces onto a foam base with straight pins, working from the bottom upward and overlapping each row to create textured scales. I love how the soft textile creates a cozy feel, a nice change from the prickly real thing.
The key is keeping your squares identical and your folds consistent. For a classic holiday look, pair this with some vintage Christmas ornament ideas on the same tree branch. Does that not look warm and inviting?
2. Frayed Burlap Rustic Pinecone Ornament for Farmhouse Style
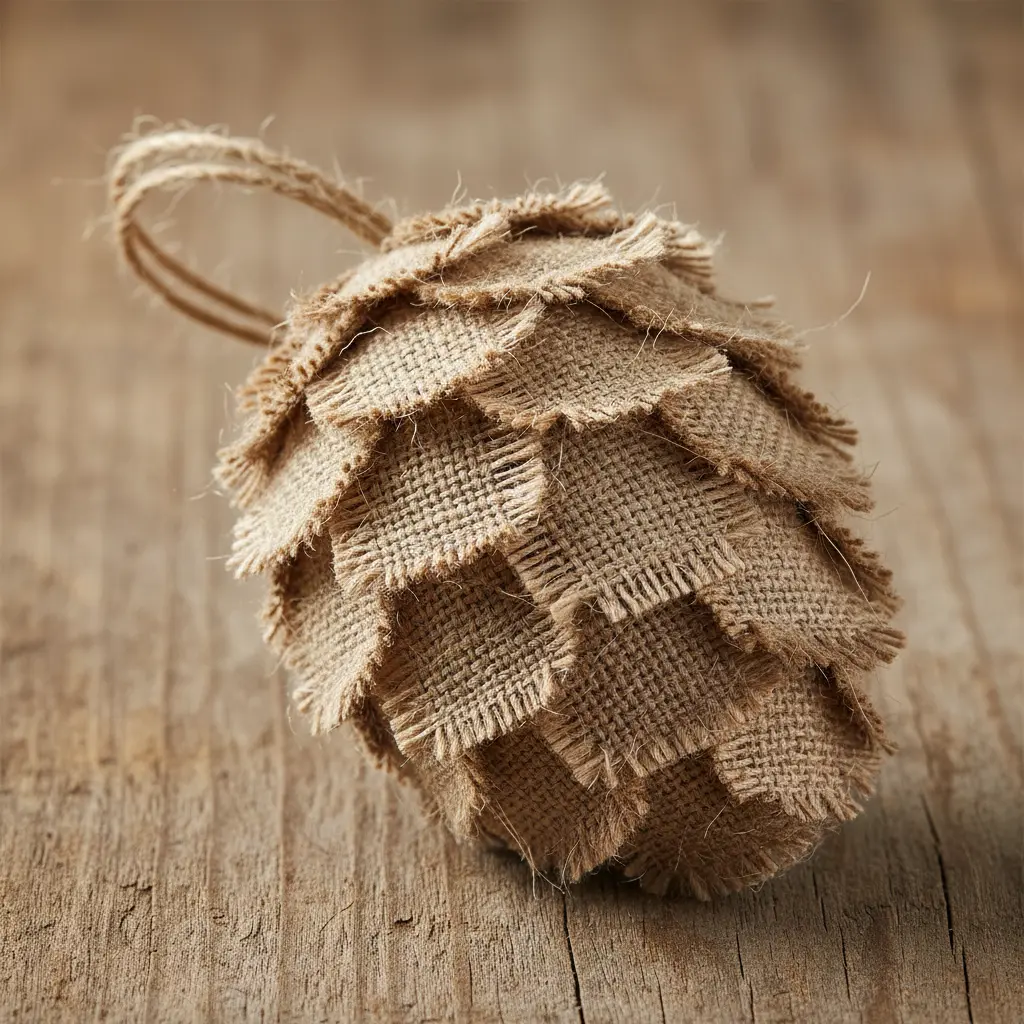
This one surprised me. It looks like you bought it at a fancy boutique, but it is honestly one of the simplest designs you will make. You start with a clean, dry natural cone. Then you cut a square of unbleached burlap and fray its edges by pulling threads to create a soft fringe.
Gather the center, glue that fluffy bundle to the top of the form, and attach a loop of jute twine. It works so well because that frayed texture gives a cozy, organic feel against the hard scales. The whole thing whispers rustic charm. I love how you can personalize it, too. Add a few small faux berries or a tiny cinnamon stick before hanging it on your tree.
Before you begin, make sure your natural cone is prepped. A quick bake at a low temperature cleans and opens it perfectly. For another fantastic farmhouse project that uses similar rustic materials, check out this tutorial online.
3. Velvet Ribbon Detail Pinecone Ornament with Rich Texture
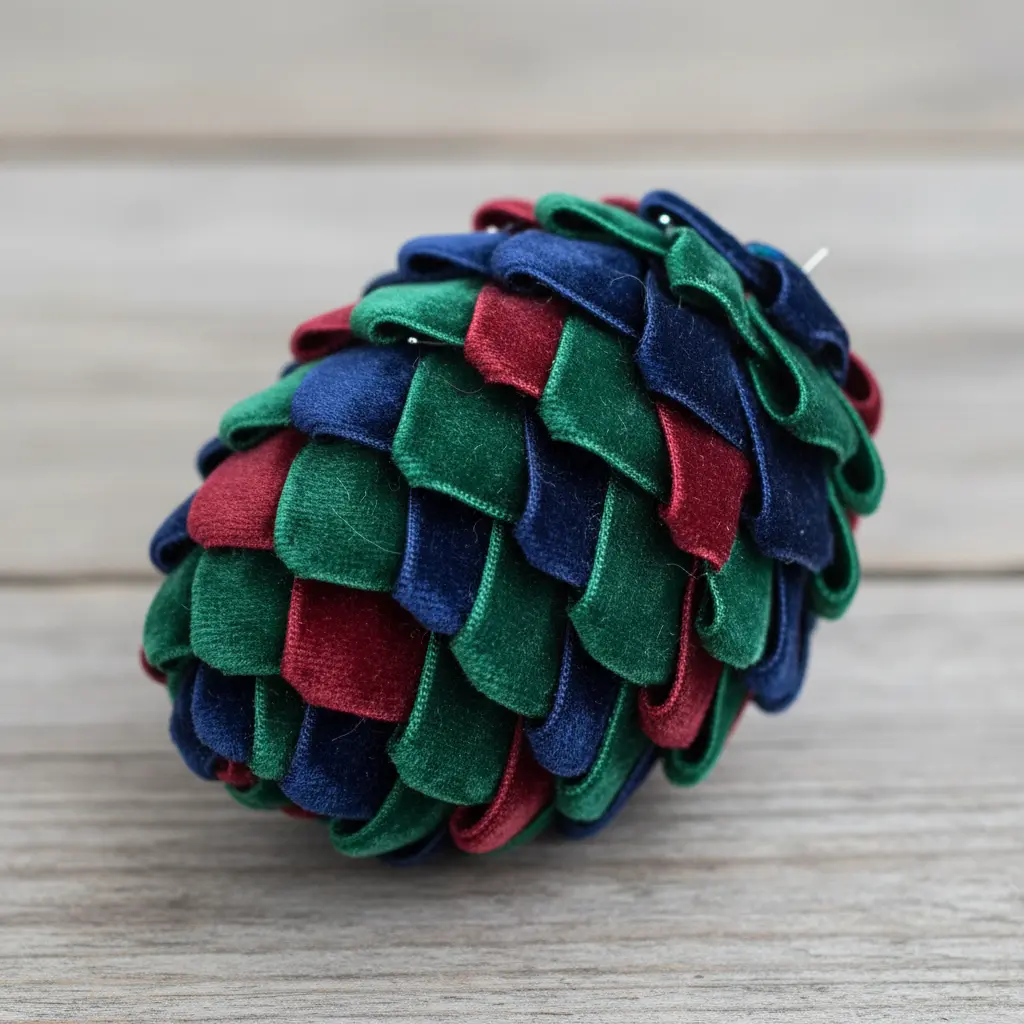
Creating diy fabric pinecones ornaments in this style looks elegant but stays surprisingly simple to finish. You take a clean, open pinecone and wrap or weave a piece of velvet ribbon through its scales. I love using crushed velvet for a little shimmer, and a simple wrap or a neat bow at the base adds instant luxury.
The magic lies in the contrast. The rough, natural texture of the cone makes the soft textile feel even more special. Isn’t that a wonderful way to add a tactile element to your tree? For an extra dimensional look, the process works similarly to a shadow box project, where you layer materials for depth.
My go-to tip is to use small, precise dots of hot glue to secure the ends so your work stays neat. You will love how this rich texture catches the light and adds warmth to your decor.
4. Frosted Glitter Tipped Fabric Pinecone
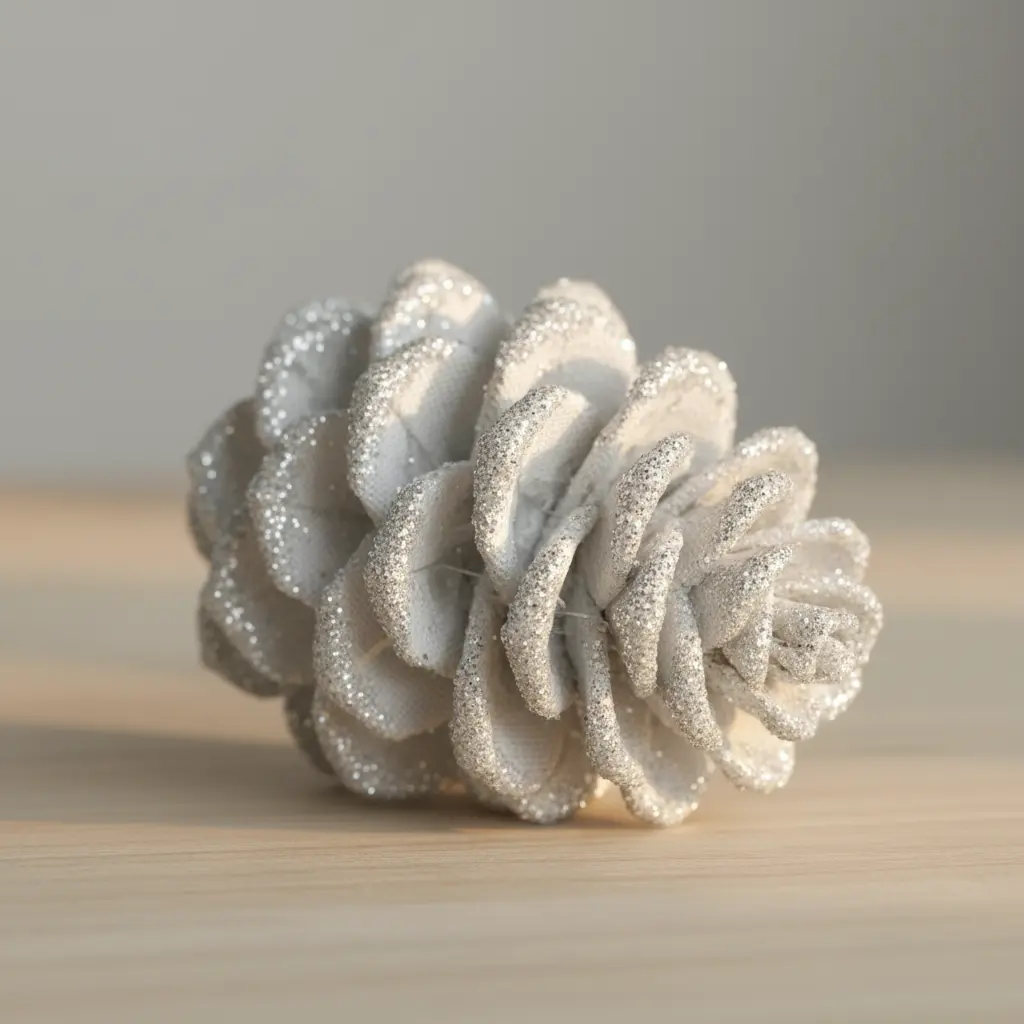
This project looks wonderfully wintry, yet the technique stays surprisingly straightforward. You start by building your base shape with overlapping felt or burlap scales on a sturdy cone form. The magic happens right after assembly. For diy fabric pinecones ornaments with a frosted look, I love using a dry brush technique with white acrylic paint.
You barely touch the brush to the surface, just dusting the tips lightly. While the paint stays tacky, dab on a clear-drying glue and sprinkle your favorite glitter. Let it dry completely before shaking off the excess. Does that not sound satisfying?
Trust me, giving diy fabric pinecones ornaments proper drying time is essential, as it prevents smudging and delivers a delicate sparkle. Your finished piece will hold a soft texture with gorgeous shimmer, perfect for tree displays or winter centerpieces.
If you are working with kids, a great way to keep them engaged is by letting them decorate printable coloring pages while your glue sets on the cones. It keeps the festive fun going!
5. Linen Scraps Natural Pinecone Ornament
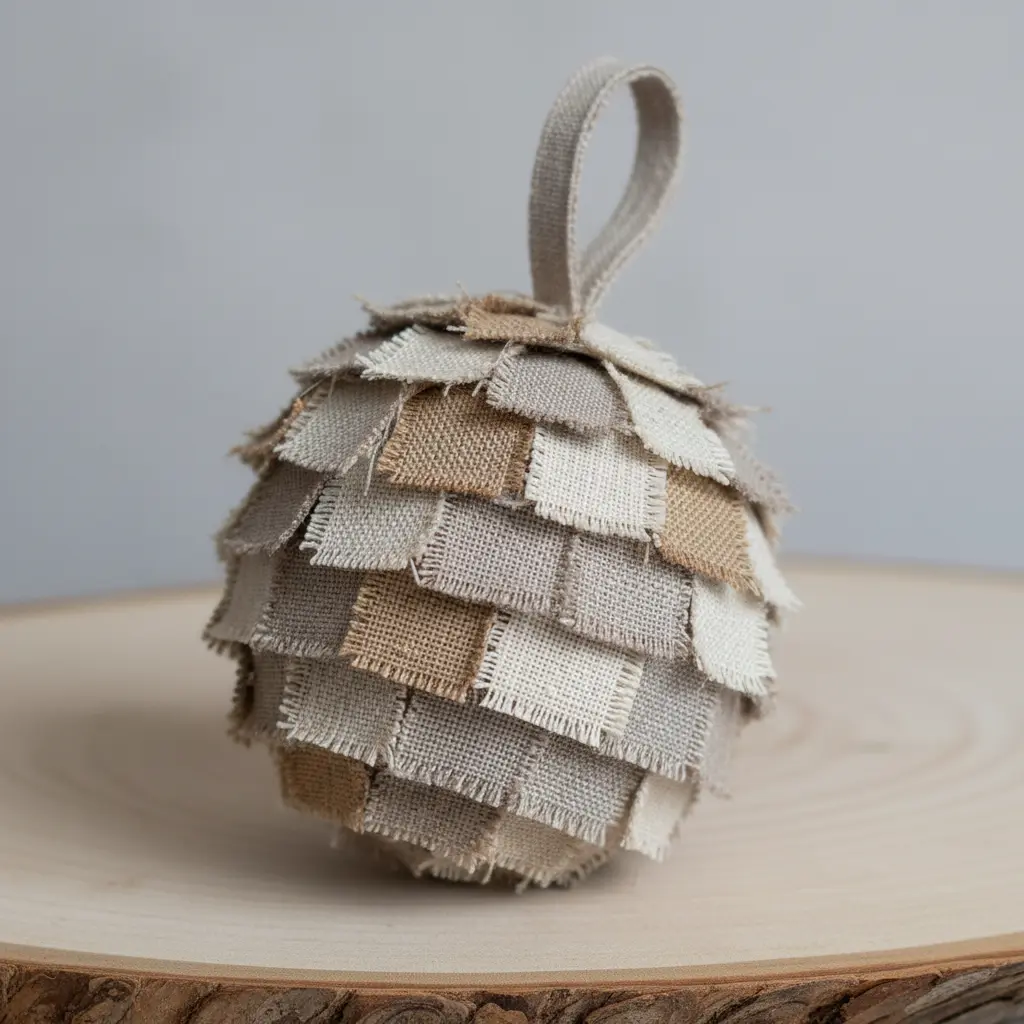
Who knew a few leftover cloth pieces could soften the look of a pinecone so beautifully? When styling diy fabric pinecones ornaments, I love how the frayed edges catch the light, creating a cozy texture against the woody base. You tuck small strips of natural-toned linen between the scales using a hot glue gun to secure everything in place.
This design works because it lets the natural form shine through. A common pitfall is overcrowding it, so start sparse and add more cloth slowly. For another charming nature-inspired project, you might need the steps for an adorable Rudolph ornament craft that uses similar simple supplies.
Finish by tying on a loop of jute twine and feel that wonderful handmade warmth on your tree. The subtle layering brings out the organic beauty without needing heavy embellishments.
6. Sequin Embellished Festive Pinecone Ornament
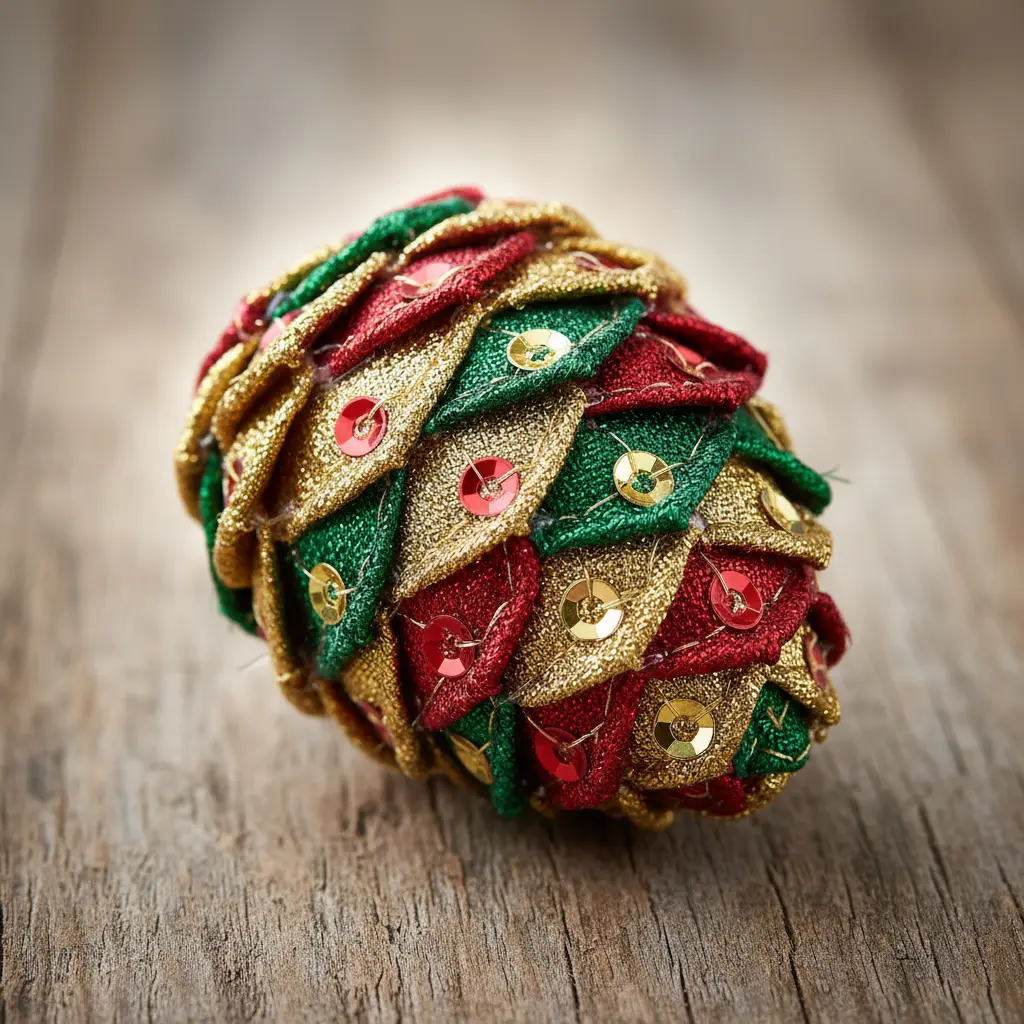
This one adds a bit of glamour to a natural find, making it a standout on the garland. The trick is applying a tiny dab of quick-drying craft glue to the edge of each scale and pressing a sequin on top. When building diy fabric pinecones ornaments, I love starting from the bottom and working my way up with tweezers for absolute control.
The result blends rustic texture with festive sparkle that catches every bit of holiday light. It works because each sequin acts like a tiny mirror, making your tree seem to shimmer from every angle. For a cohesive display, plan your sequin palette to match your other decor or your unique Christmas trees ideas before gluing begins.
Trust me, the final arrangement looks absolutely stunning against dark evergreen boughs. Careful placement ensures maximum visual impact without overwhelming the natural shape.
7. Vintage Sheet Music Fabric Ornament
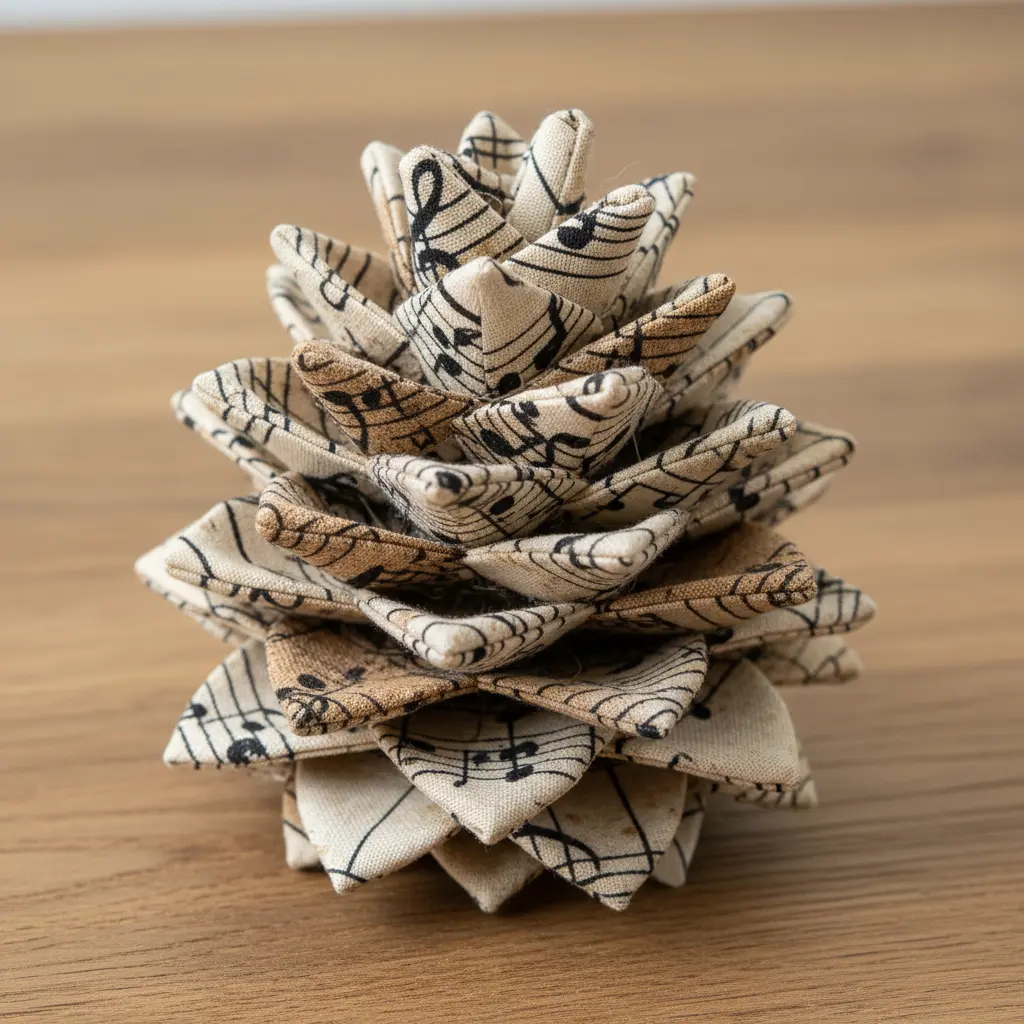
This project carries a quiet charm that consistently draws compliments from guests. When working on diy fabric pinecones ornaments, you layer a piece of vintage sheet music onto a sturdy cloth backing, then seal it all with a thin coat of matte Mod Podge. The printed notes give instant character, while the textile adds a soft, cozy texture that feels like history in your hands.
I love using a small hole punch at the apex to thread some rustic twine for easy hanging. The combination of paper and cloth in these diy fabric pinecones ornaments creates a wonderfully nostalgic holiday display. This is a fantastic project if you plan to pair it with handmade figures for a cohesive vintage aesthetic.
Trust me, letting each adhesive coat dry completely avoids annoying wrinkles. The payoff is a beautiful, one-of-a-kind piece that holds plenty of heart.
8. Metallic Gold Thread Detail Ornament
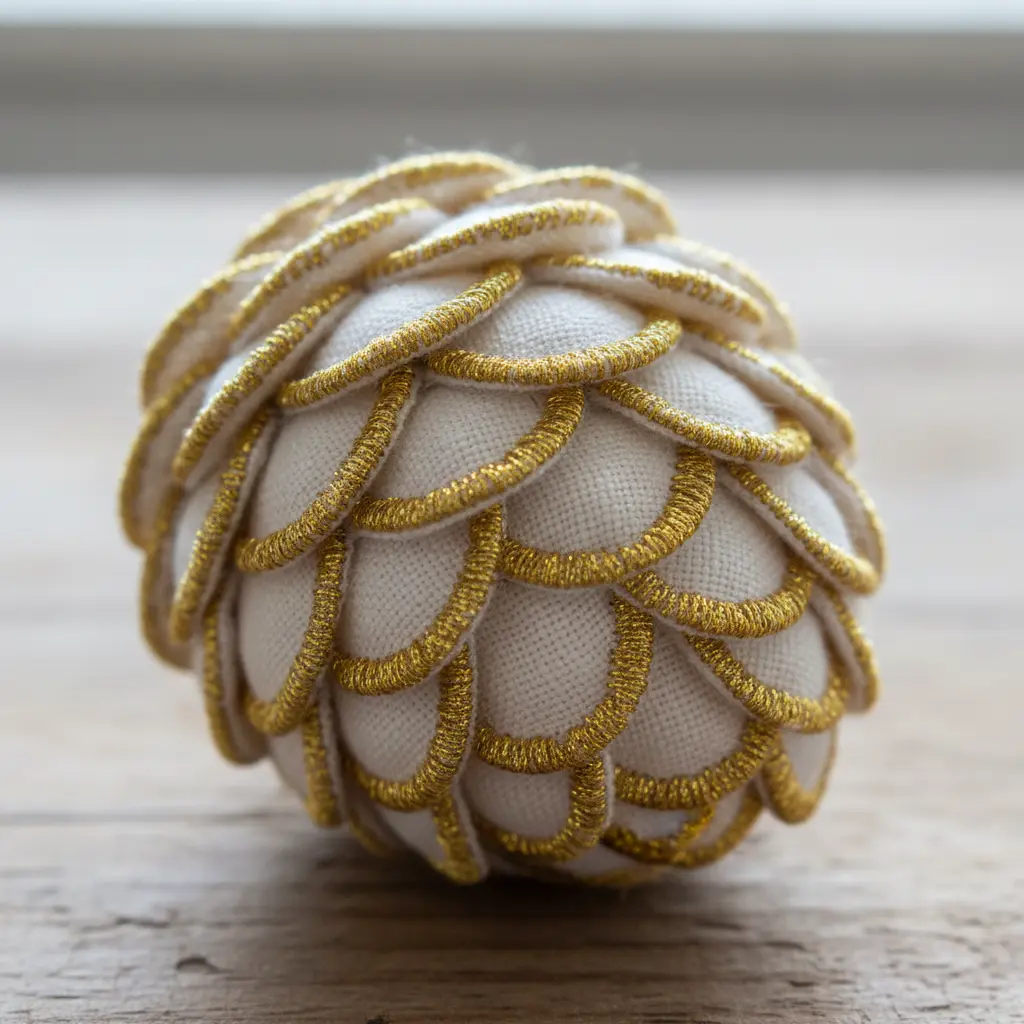
Ever feel like a simple tree accent needs extra sparkle to feel special? When designing diy fabric pinecones ornaments, you often find that metallic gold thread becomes your secret weapon. You wrap it around a finished form to highlight the layers, or stitch a tiny star onto a felt circle for contrast. That shimmer catches the holiday lights beautifully, making your handmade piece look luxe and festive.
It works because the gold acts as a perfect accent, adding richness without overwhelming the overall design. I love using a shorter thread length to keep tension manageable, as metallic strands tend to fray quickly. For a lovely coordinating project, a detailed cross stitch Christmas tree pattern uses similar fine thread work for stunning holiday results.
Doesn’t that final metallic accent feel wonderfully satisfying on your branch? A light touch ensures elegance without cluttering your carefully arranged branches.
9. Beaded Scale Edge Pinecone Ornament
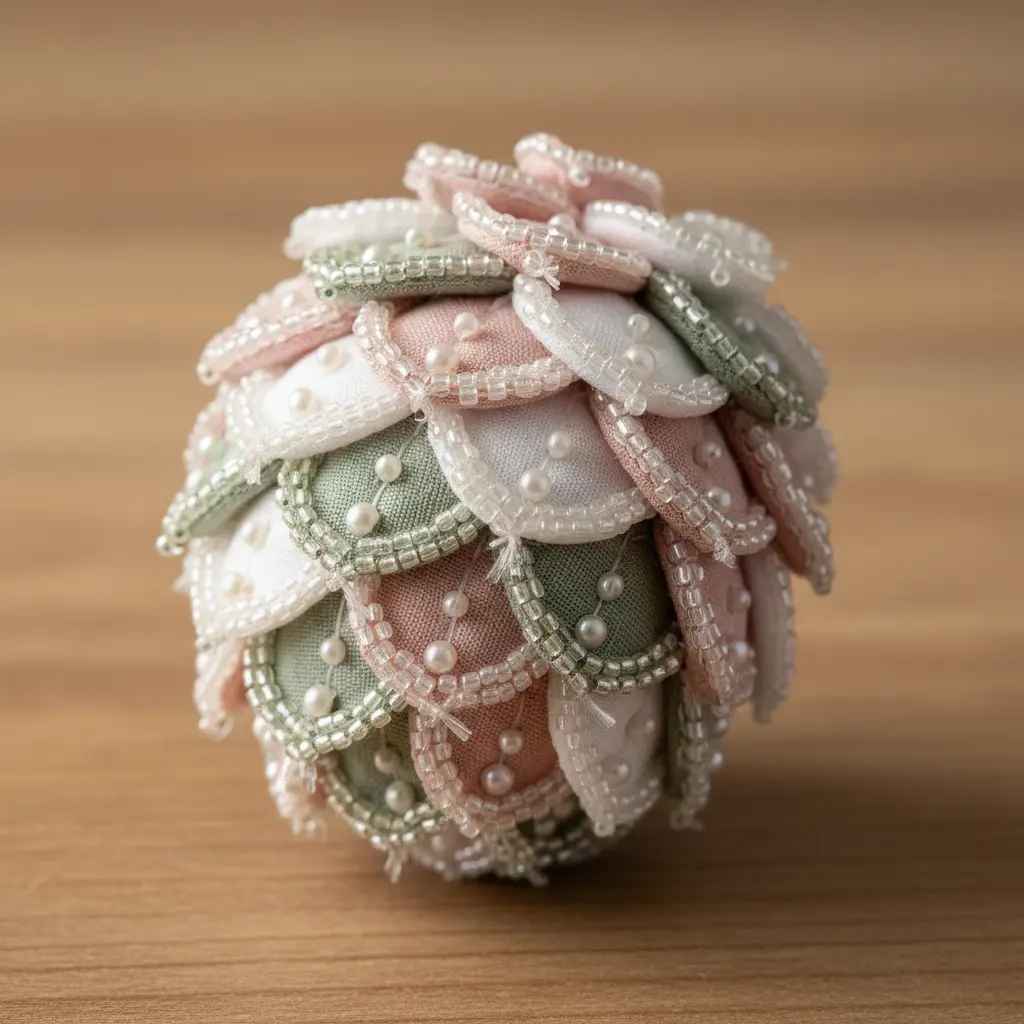
These diy fabric pinecones ornaments look highly intricate but become surprisingly meditative once your hands find the rhythm. You will attach tiny seed beads along the natural curve of each scale, which highlights its beautiful shape and adds delicate reflections. I love how this simple embellishment transforms a rustic find into something truly elegant and refined.
Why does this approach work so well? The decorative edging brings focused light to the organic form, creating an accent that feels both handcrafted and polished. It is a wonderful evening activity that rewards your patience with a lovely, balanced weight in your palm.
If you enjoy detailed manual work, you will appreciate the calm focus this routine requires. For another project that offers a similar hands-on feel, look into crafting an inspirational felt banner. Both add a deeply personal touch to your seasonal arrangements.
10. Felt Petal Style Pinecone Ornament
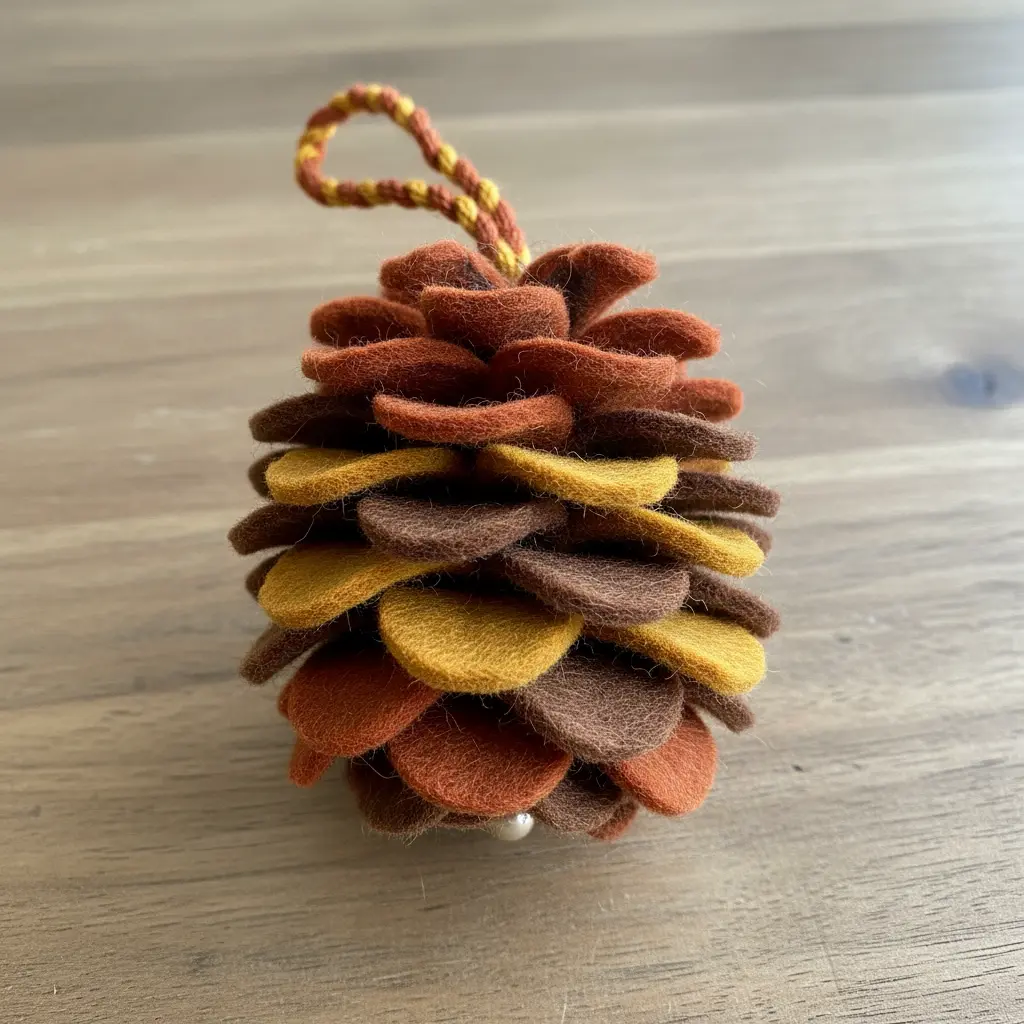
Constructing diy fabric pinecones ornaments with felt petals looks highly intricate, but it remains one of the most relaxing textile projects you can tackle. You cut dozens of teardrop shapes and glue them in overlapping rows onto a styrofoam egg base, moving steadily upward. The key is cutting a massive batch first so you can fall into a smooth, repetitive rhythm.
It works beautifully because that consistent layering builds a soft, dimensional surface that feels amazing to touch. Once you secure the last petal, you might feel inspired to build an entire matching set for the fireplace mantel. You can even pair this cozy aesthetic with a DIY festive joy sign to round out your holiday display.
Adding Ribbon Loops And Winter Greenery Finishing Touches
The final detail that elevates any handmade piece looks like a defined focal point, often a rich velvet loop or a tight cluster of mini pine needles. You must avoid picking a random ribbon shade that clashes with your color scheme. Adding diy fabric pinecones ornaments means choosing a contrasting tone that draws the eye and provides an intentional finish. Before anchoring anything, verify your last cloth row sits securely against the base.
Then, apply a generous dot of hot glue to secure your contrasting ribbon loop firmly into the foam core. Tuck in a few sprigs of faux greenery or a tiny cinnamon stick for extra winter charm. Your finished piece will carry that polished, cohesive look you always aim for.
Conclusion
There is something quietly satisfying about taking cloth scraps that once seemed destined for the trash and shaping them into keepsakes that will grace your branches year after year. The repetition of folding each tiny triangle settles your thoughts, and the moment you see the first shape emerge brings a creative victory worth savoring. These diy fabric pinecones ornaments are not just about the final result — they are about quiet evenings spent at the kitchen table with a warm mug and a pile of leftovers. If you are new to this textile hobby, start with a sturdy material that holds its shape well, like heavy cotton or woven linen, and ignore perfect spacing since nature itself lacks strict symmetry. Once your first few pieces dry completely, try blending textures in a single cluster for deeper visual interest. The most personal trees carry handmade treasures, and these layered creations will bring genuine warmth into your space in a way no factory decoration ever could.
FAQs
Q: What material works best for these pinecone ornaments?
A: Cotton is a great starting point because it folds neatly and holds its shape. Linen and burlap add a rustic texture, while velvet gives a richer feel. Avoid textiles that are too thick, as they become difficult to pin or attach securely to the foam base.
Q: How do I prevent gaps between the pieces?
A: Start your layers from the bottom and work upward, overlapping each row by about half the height of the previous one. Use a pair of tweezers to nudge pieces closer together before securing them. Pinning slightly deeper into the core also helps hide the white foam underneath.
Q: Can I use hot glue instead of pins?
A: A low-temperature adhesive applicator works well and avoids melting the foam. Apply a small dot and hold the fold in place for a few seconds. Pins are easier for beginners who want to adjust placement, but glue creates a cleaner look with no visible metal heads.
Q: What size foam cone should I start with?
A: A two-inch or three-inch base is easiest for learning. Smaller ones require more precise folding, while larger ones demand many more cloth pieces. Start with a three-inch form so you have room to watch the layers build without getting frustrated.
Q: How can I make my fabric pinecones look more rustic?
A: Choose materials like unbleached muslin, burlap, or linen that already carry a natural weave. Let a few threads fray at the edges instead of tucking them completely flat. Adding a twine hanger and a small sprig of dried evergreen also boosts that farmhouse charm.








