
In this tutorial, we’ll teach you how to create modern tape art using Adobe Photoshop. We’ll start by creating a simple background image, and then we’ll use Photoshop to add tape strips and text to create a unique and striking piece of art.
This tutorial is perfect for anyone looking to create sophisticated and eye-catching tape art using the latest Photoshop techniques. So let’s get started! I totally forgot about this post. This is one of my favorites that I had on my old blogger site and wanted to bring it over to this site. Hope you enjoy it as much as I do.
I have to back post this tutorial. But, I absolutely loved how this project turned out and had to share it with everyone. You too could have modern art created by yourself or your child with ZGallery looks or the look of the Guggenheim for a very low, low cost.

Modern Tape Art
This artwork was created by my daughter Emma when she was just 6 1/2. This tutorial is so simple and you’ll have timeless, classic modern artwork that will be a product of your little one or yourself.
Here’s what you need:
- 1, 2 or 3 Canvases 12 x 12 (Depending on the size of your wall space and the look you desire. I always pick the canvases that have the 1″ finished canvas sides. They may be more expensive then the regular canvas boards. However, when you go to hang your finished work, you won’t have to pay the additional cost of the canvas frame bars. That will easily add an additional, $15.00 or more to your overall cost of the project. If you can’t find canvases with the 1″ sides, do use the canvas boards. They also sell the canvas frame bars at Michael’s where you know you can use your 40% off coupon. Also, here’s a tip for you. If you didn’t know, you can use JoAnn coupons at Michael’s. They will only take one per visit though.
- 2 Containers of Acrylic Paint (choose 2 high contrasting colors)
- Foam Paint Brush
- Roll of Painters Tape
- Container For Your Paint
- Newspaper
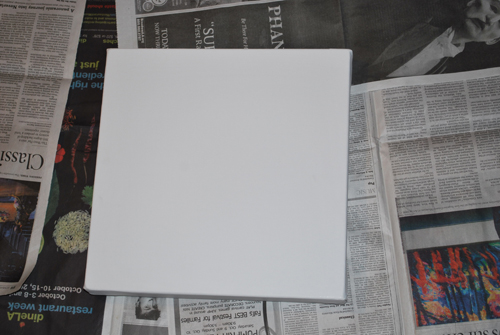
Here’s the 12 x 12 canvas.
Start off with your lightest color first. If you want to use white, you could skip painting the first layer the lightest color.
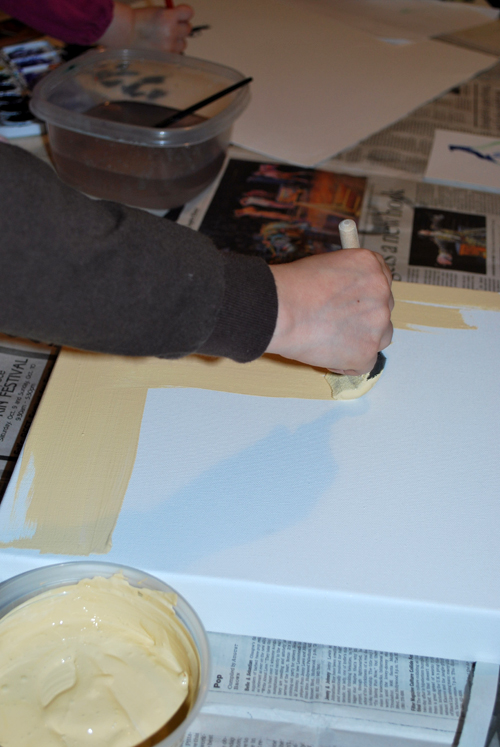
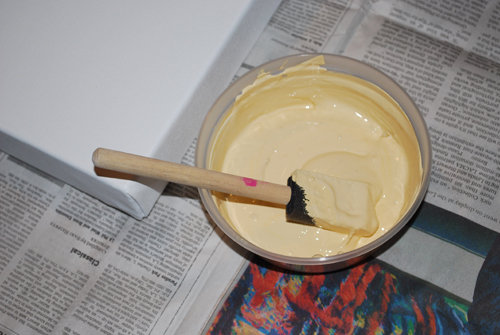
Here’s my daughter Emma painting the first canvas the lightest color. It’s like a butter cream color. You will want to use the higher quality acrylic paint for this. I prefer the Ceramcoat by Delta. If you go with the least expensive acrylic craft paint, you will have trouble coating the canvas. Sometimes you will get very thin layers in areas that seem somewhat transparent or you will have to put several layers of paint on the canvas. Save yourself some time.
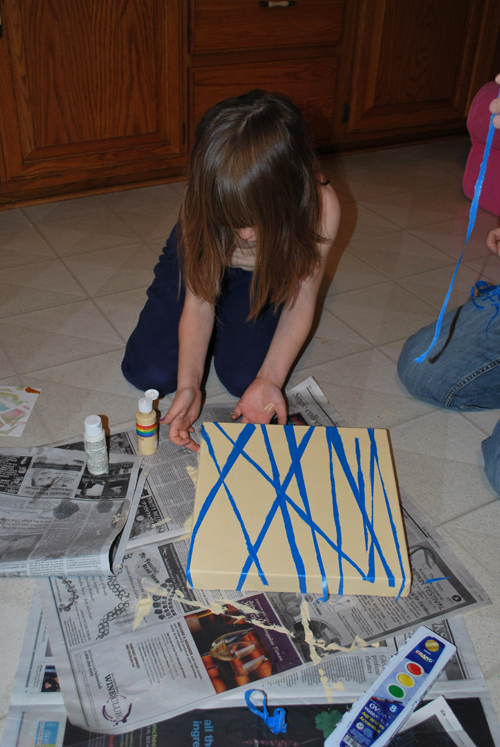
After the first color has dried your ready for the next step. If the paint is not drying fast enough, which it never does for kids, use a hair dryer to speed up the process. Next, take the painters tape and tear it in half the long way. You may have to help your child with this part. Apply the tape and make sure to wrap it around the edges. Also, make sure to have your child smooth over the tape with their hands a couple of times.
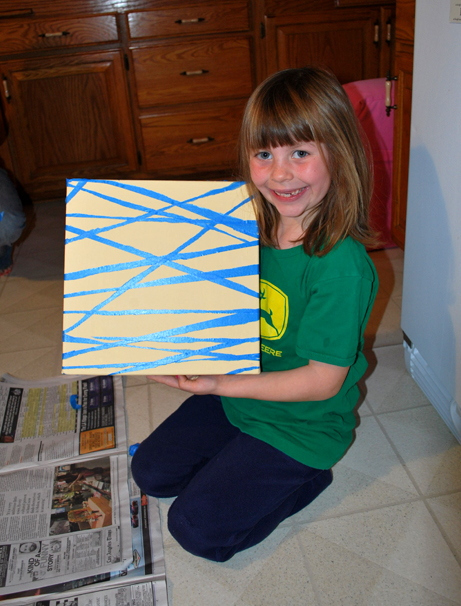
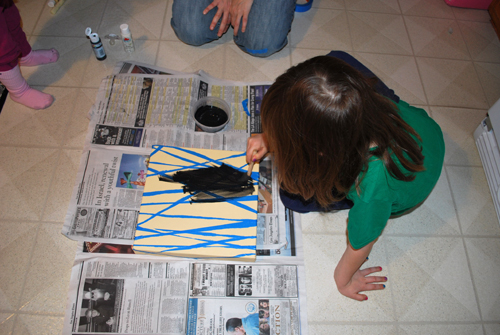
Add your second color which is your darkest. Paint over the entire canvas. A tip to learn from our mistake…make sure to thoroughly rinse and dry out your foam brush. Foam brushes have a tendency to hold a lot of excess water. You can see here where the paint is very transparent. So, make sure to squeeeeeeze that foam brush out really well. Give the darkest color a couple of coats to ensure you have full coverage.
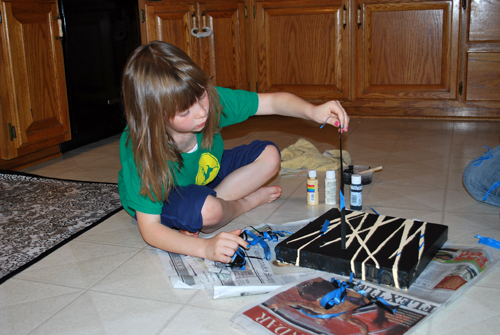
The best part is removing the tape and seeing the results. Oooooooh! Emma loved it.
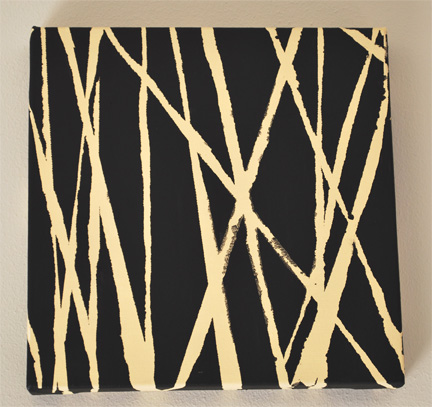
The first painting is finished. Now, to have Emma complete the other two.
In this blog post, we will be discussing modern tape art – a new and exciting form of art that is slowly but surely gaining popularity. By following the simple steps outlined in the article, you can create your own modern tape art masterpiece. Whether you are a beginner or an experienced artist, this tutorial is sure to provide you with everything you need to create beautiful and innovative tape art. If you’re interested in learning more about modern tape art, be sure to check out the article and leave a comment below. We would love to hear your thoughts and suggestions.
FAQs
Q: What is tape used for in art?
A: The majority of artist and drafting tapes have a crepe paper backing, a low to moderate tack rubber-based adhesive, and are made to be easily removed without leaving any sticky residue or harming surfaces. These tapes are frequently used by artists to make precise lines or to attach pieces to drawing boards and other surfaces.
Q: What is art with tape called?
A: A piece of art made with sticky tape, such as packing tape or duct tape, is called tape art. It evolved out of urban art in the 1960s as an alternative to the scene’s prevalent usage of spray cans. When applied on glass or plastic that is light from behind, sellotape can create a “stained glass” effect.
Q: Is art tape waterproof?
A: Tear manually. a controlled, fluid unwind. backing that is waterproof. quite conformable.


