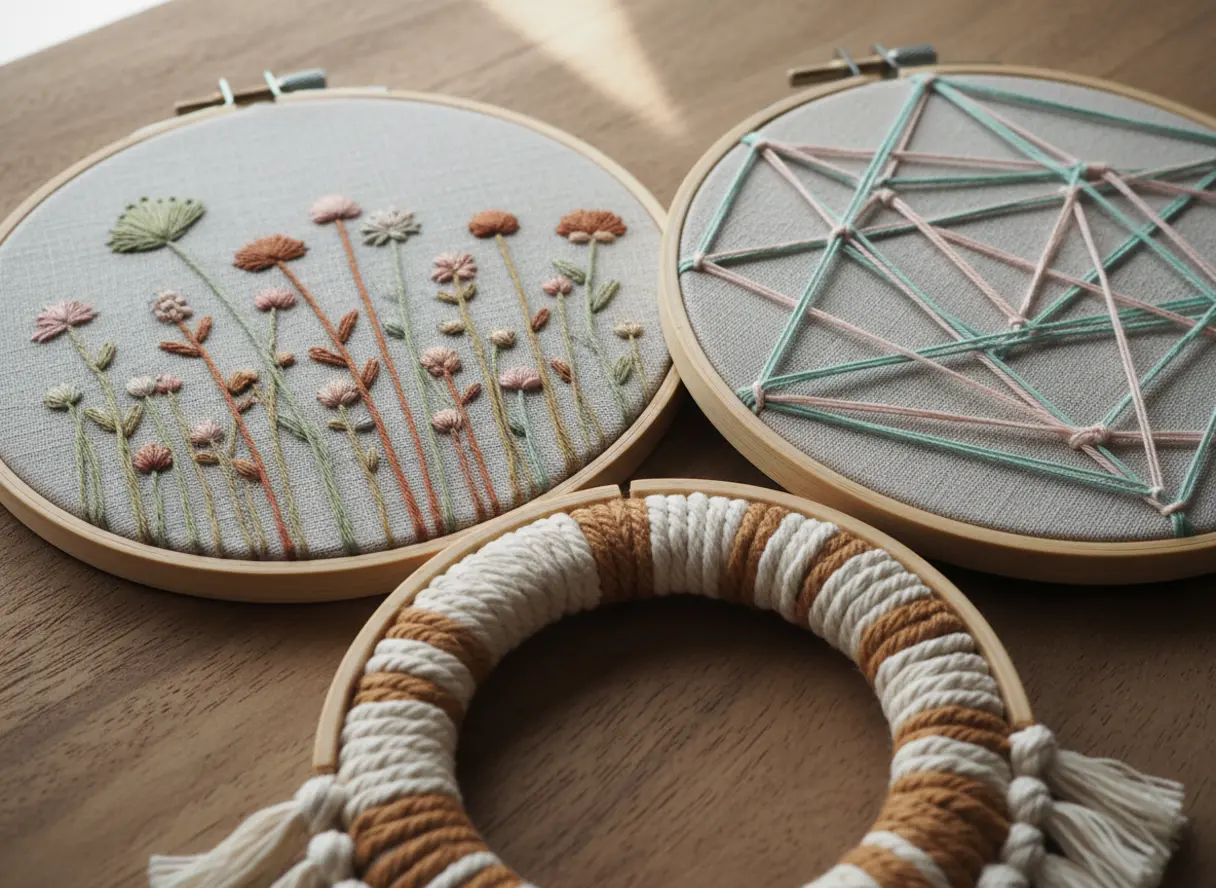
Every idea works with common craft materials you source easily. Whether you love nature-inspired botanicals, clean geometric lines, or rustic earthy textures, these fifteen projects prove that beautiful wall decor does not have to be complicated. Let us walk through each idea together, breaking down the materials and techniques so you can start stitching with confidence. Trust me, your journey with diy hoop art wall decor begins right here on this wall.
Preparing Fabric Tension Within Wood Hoops
The fastest way to ruin your work is starting with a loose hoop, which guarantees puckering and a wobbly final look. You want the fabric drum-tight, like a real drum, before you make your first stitch. Loosen the metal screw on your hoop completely and press the inner ring flat onto your work surface.
Lay your fabric over it, then press the outer ring down firmly, walking your fingers around the entire edge to lock it in place. Tighten the screw until the fabric feels solid and makes a slight thumping sound when you tap it. This initial tension is your foundation, so trust me, taking two extra minutes here saves hours of frustration later.
A smooth hardware hoop makes this process easier and prevents snagging your threads as you work. Every precise adjustment defines your diy hoop art wall decor foundation.
Selecting Supporting Threads and Textile Bases
Your fabric choice sets the entire mood and directly impacts which stitches will look best. A smooth, medium-weight linen offers a classic look and holds crisp lines from a backstitch beautifully. For a softer, textured feel, cotton canvas or felt provides a sturdy base that loves dense satin stitch coverage.
Match your thread weight to your fabric. Six-strand embroidery floss is the standard, but you can separate it for finer detail on delicate linens. The good news is, a high-contrast color palette makes your design pop, so pair dark threads with light fabric or vice versa. Choosing the right thread completes your diy hoop art wall decor vision.
This contrast principle is key for readability, especially with nature motifs or word art where you need every element to stand clear. Visual balance transforms simple supplies into gallery-worthy pieces.
1. Wildflower Meadow Linen Hoop Embroidery with Soft Floral Stitching
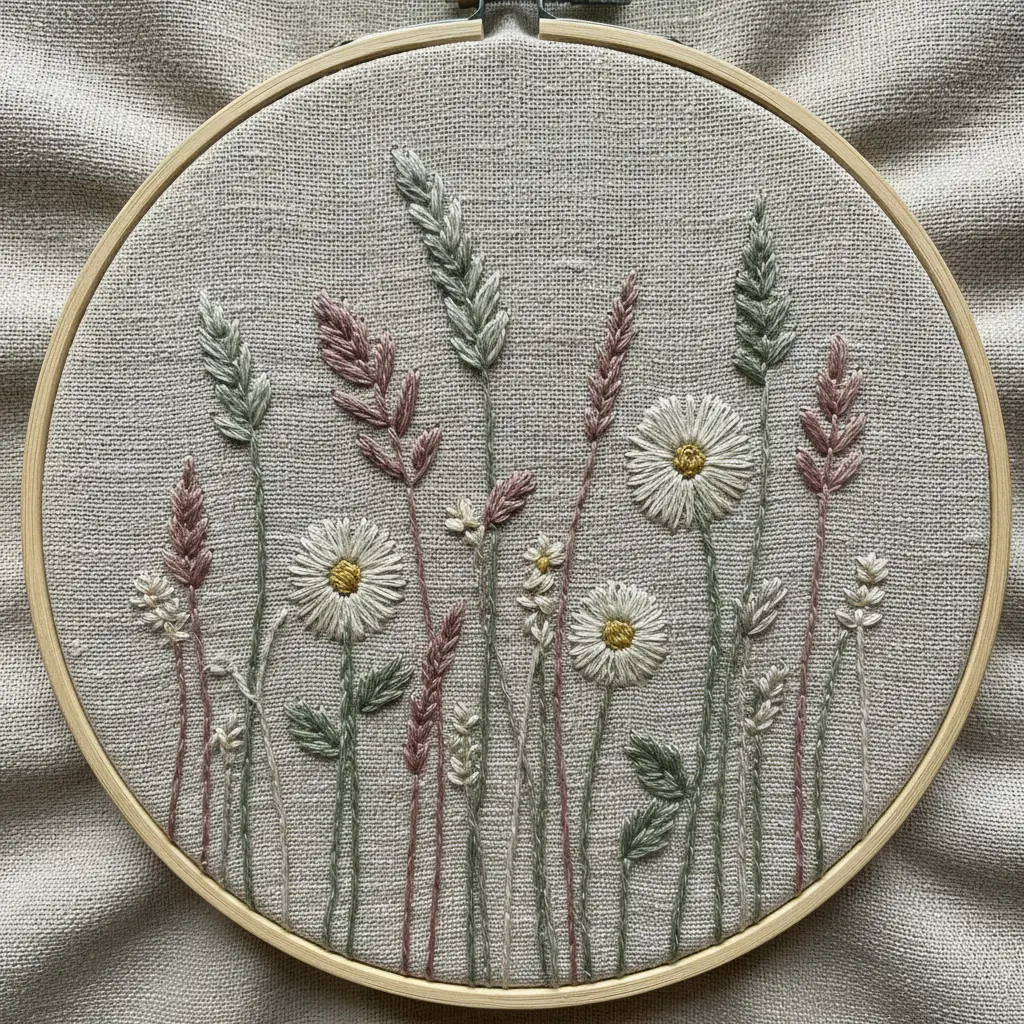
This one looks like a complex painting, but trust me, its soft style makes it wonderfully forgiving for beginners. You start by transferring a loose wildflower design onto a piece of natural linen fabric stretched in your hoop. The magic happens when you use simple stitches like lazy daisy and French knots, blending those gentle yellows and purples to create depth without any harsh outlines.
It works so well because the impressionistic approach feels more like painting with thread than rigid sewing. I love how the finished piece brings a little piece of a sunny meadow right onto your wall. Does that not feel fresh and calming? A well-planned layout guarantees stunning diy hoop art wall decor results.
2. Minimalist Gold Monogram Felt Applique Featuring Metallic Lettering
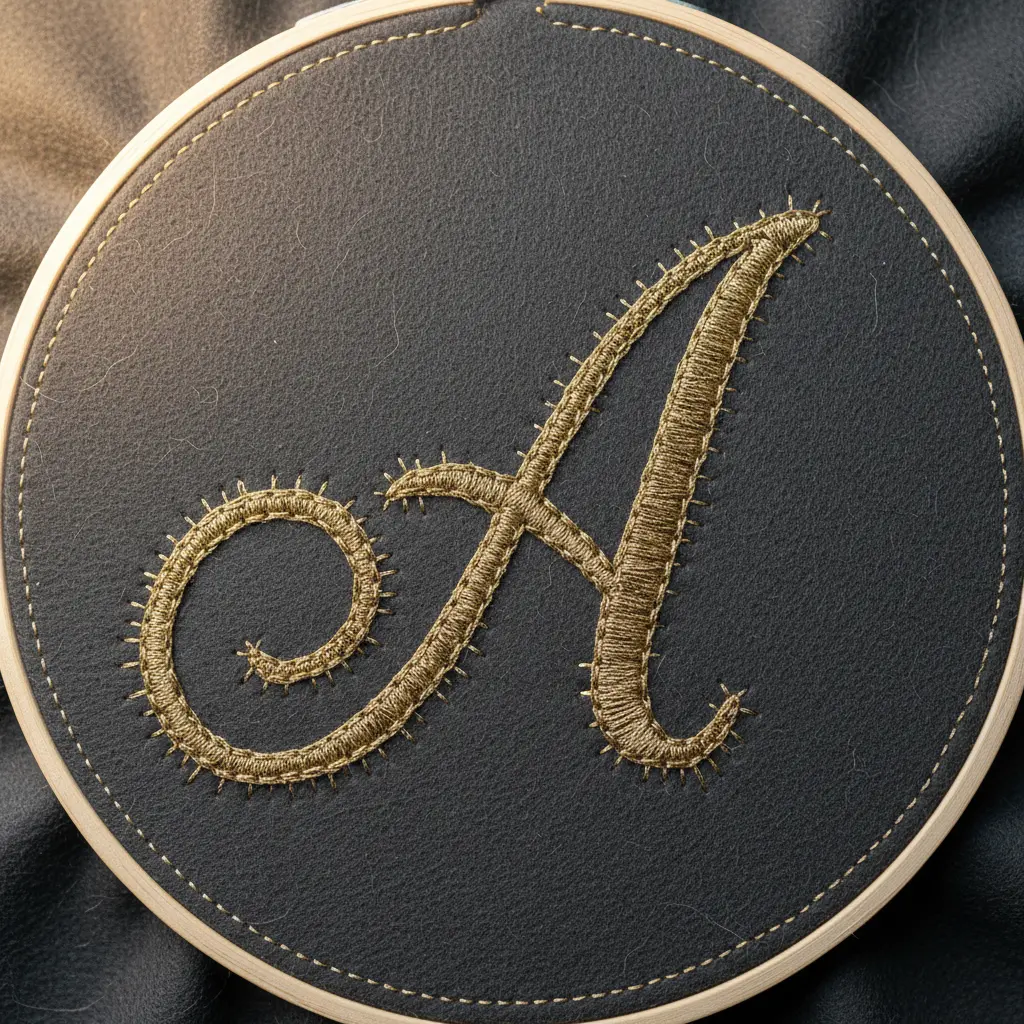
Ever think a monogram feels so modern? This project proves it with elegant simplicity. You start with a simple piece of wool blend felt in a neutral tone.
Then, you add your single, bold letter using a shimmering metallic thread or some smooth heat transfer vinyl. The magic is in the contrast between the soft, tactile felt and that sleek, reflective gold. Designing a minimalist letter establishes a sleek diy hoop art wall decor focal point.
I love how this works because it feels luxurious without being fussy. The clean lines keep everything looking sharp and uncluttered. Your wall gets a personal touch that is both elegant and handmade. Pro tip: always test your heat settings on a scrap piece first. This prevents any unfortunate scorching and keeps your final piece looking pristine. Trust me on this one.
3. Vintage Floral Quilt Patch Collage with Mixed Fabric Scraps
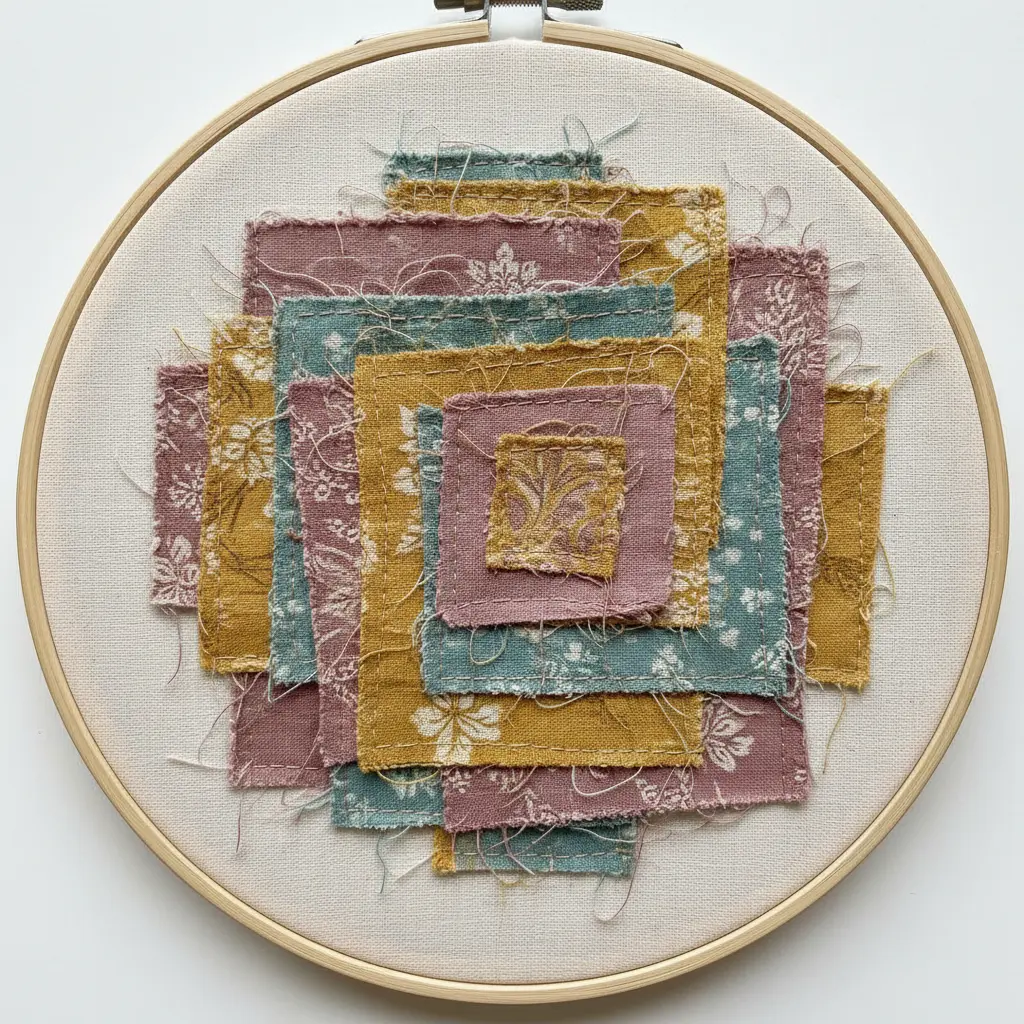
Have you ever looked at a pile of leftover fabric and seen a garden? This project is for you. Start by fussy cutting your favorite tiny floral motifs from old prints. Arranging nostalgic prints elevates your diy hoop art wall decor collection instantly.
Then, arrange these scraps on a sturdy backing fabric, layering them with coordinating solid pastels and bits of lace for texture. Iron them down with fusible webbing to hold your collage in place. I love the freedom here. You are not making a perfect quilt block.
You are creating a one-of-a-kind piece of textured art. The magic happens in the layering. Overlap those soft, faded roses with a piece of sheer organza or a scrap of embroidered linen. The result feels like a cherished heirloom you made yourself.
Your biggest ally is your iron. Press every scrap flat before you start fusing. This prevents puckering and gives you a smooth, professional-looking surface. Stand back and feel that warm, nostalgic pride. Your wall just got a beautiful new story.
4. Geometric Pastel Thread Mapping Design Using Straight Stitches
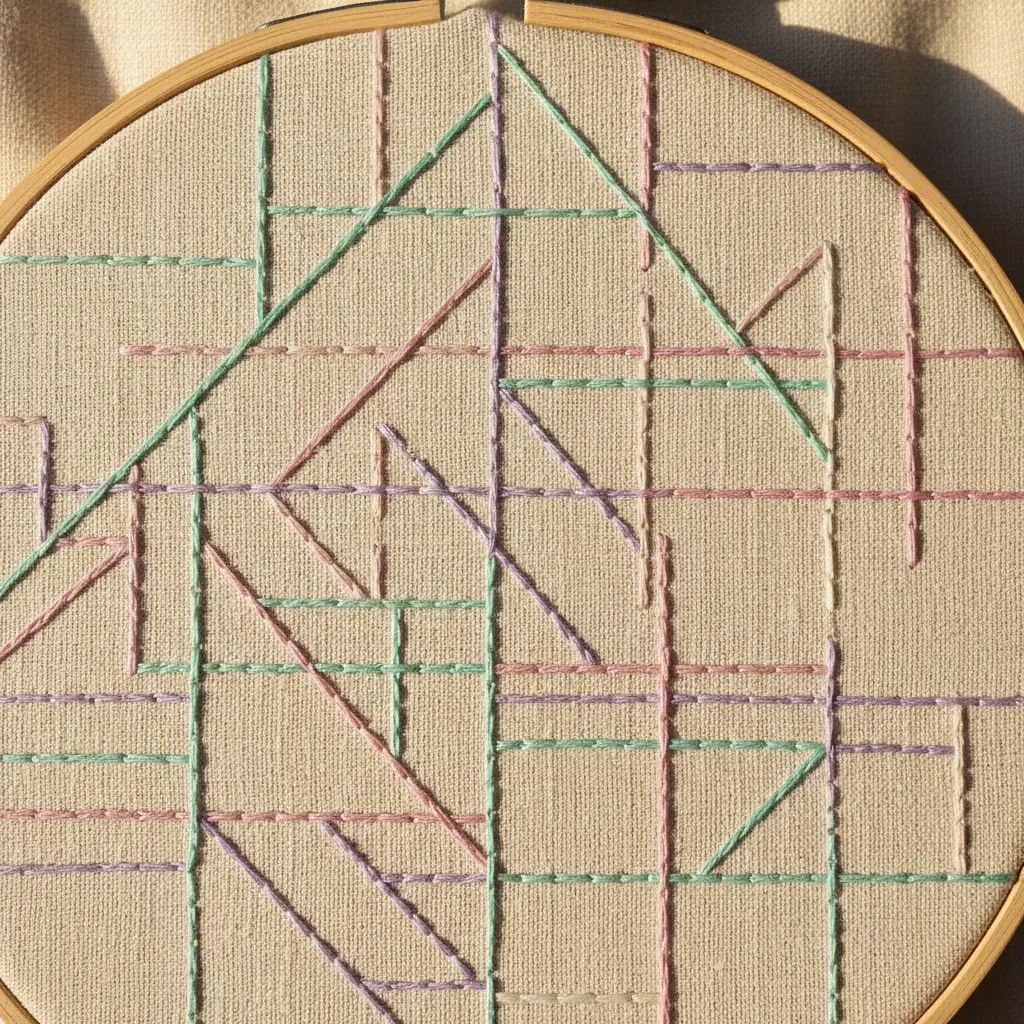
Ever wondered how those modern, pixel-like patterns are made? This one looks detailed, but trust me, it relies on the simplest stitch you know. You start by plotting points on your fabric and connecting them with straight lines. Mapping geometric intersections shapes your diy hoop art wall decor grid perfectly.
The magic is in your pastel color palette, which gives the whole piece that soft, dreamy feel. It works so well because you get a crisp, graphic look with a gentle, approachable vibe. I love spending time with a digital design app first to play with shapes and colors.
Transfer that final design carefully to your fabric, then follow your mapped lines. The payoff is huge. You end up with a stunning piece of modern wall art that feels both precise and beautifully soft.
5. Dried Eucalyptus Sprig Rustic Hoop with Natural Greenery Accents
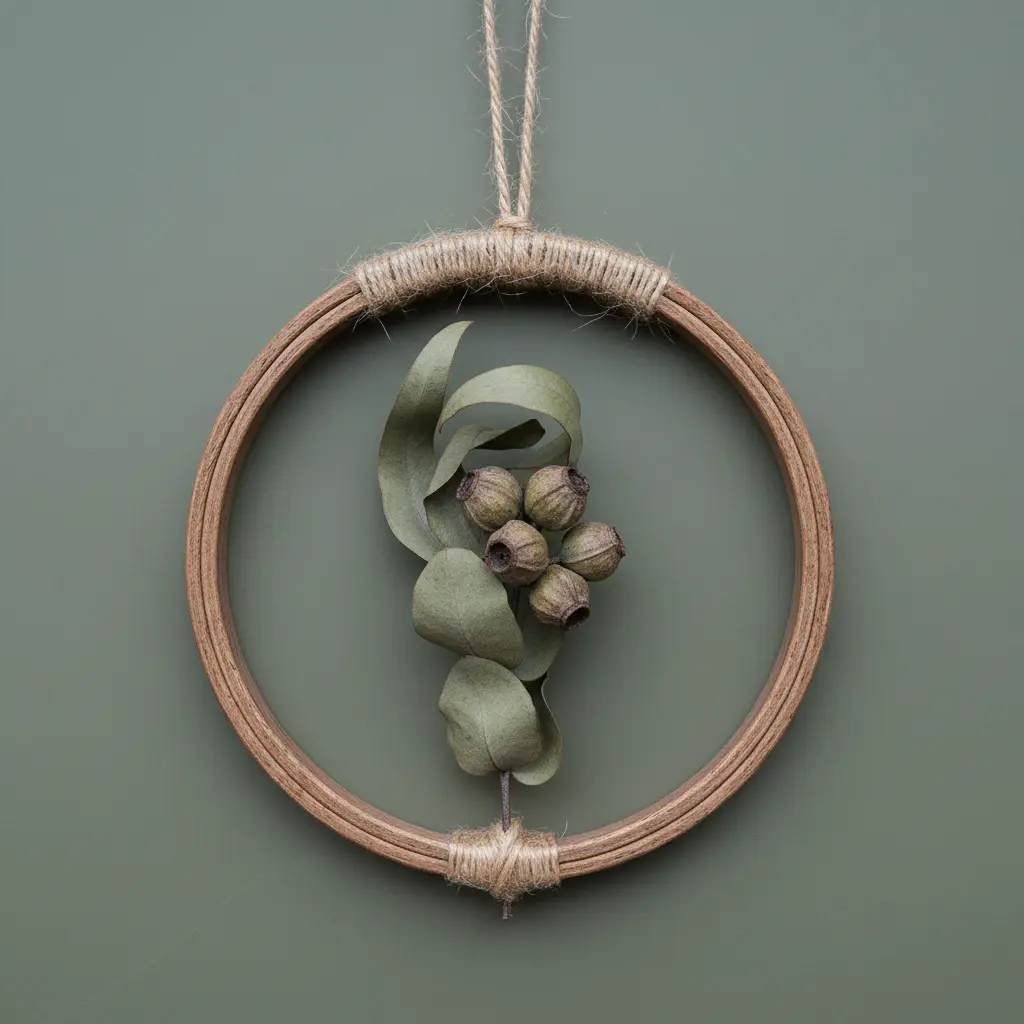
Ever notice how a simple dried eucalyptus sprig warms up a room instantly? I love this one because it looks so elegant but remains incredibly straightforward to put together. You start by selecting your favorite dried eucalyptus sprigs and laying them in a natural, flowing direction along a section of your hoop. Anchoring botanical elements creates earthy diy hoop art wall decor charm.
Secure them firmly with floral wire or twine, then tuck in optional accents like lavender or ferns for extra texture. This works so well because it highlights the beauty of the natural materials against the hoop’s structure. It creates a piece of rustic wall decor that feels organic and calming. Focus on balance and let some of the hoop show through for that perfect minimalist chic look.
6. Watercolor Ombre Dyed Canvas Backdrop in Soft Washes
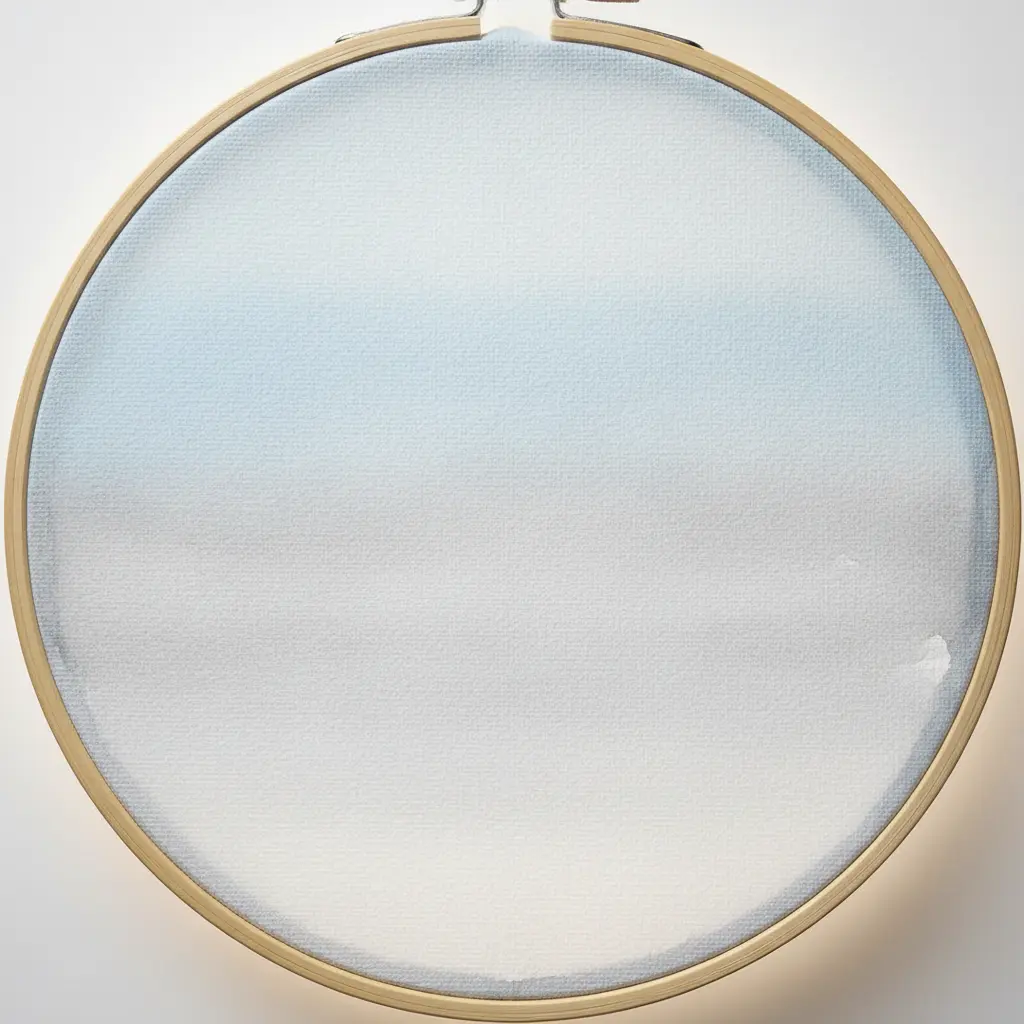
Ever wondered how those beautiful, dreamy backgrounds come together? This technique captures soft, flowing color with minimal effort. You start by laying out your unprimed cotton canvas and mixing your dye or fabric paint with plenty of water. Wetting the fabric carefully guarantees a seamless diy hoop art wall decor backdrop.
The secret is to apply the most diluted color first, then gently layer slightly stronger shades to create that soft ombre blend. It works so well because the translucent layers let the canvas texture show through, giving you depth without harsh lines. I love this technique for its ethereal mood. Trust me, the magic is in starting light and building up slowly. Feel how calming and artistic your space becomes.
7. Seaside Shell and Burlap Texture Hoop Display for a Coastal Feel
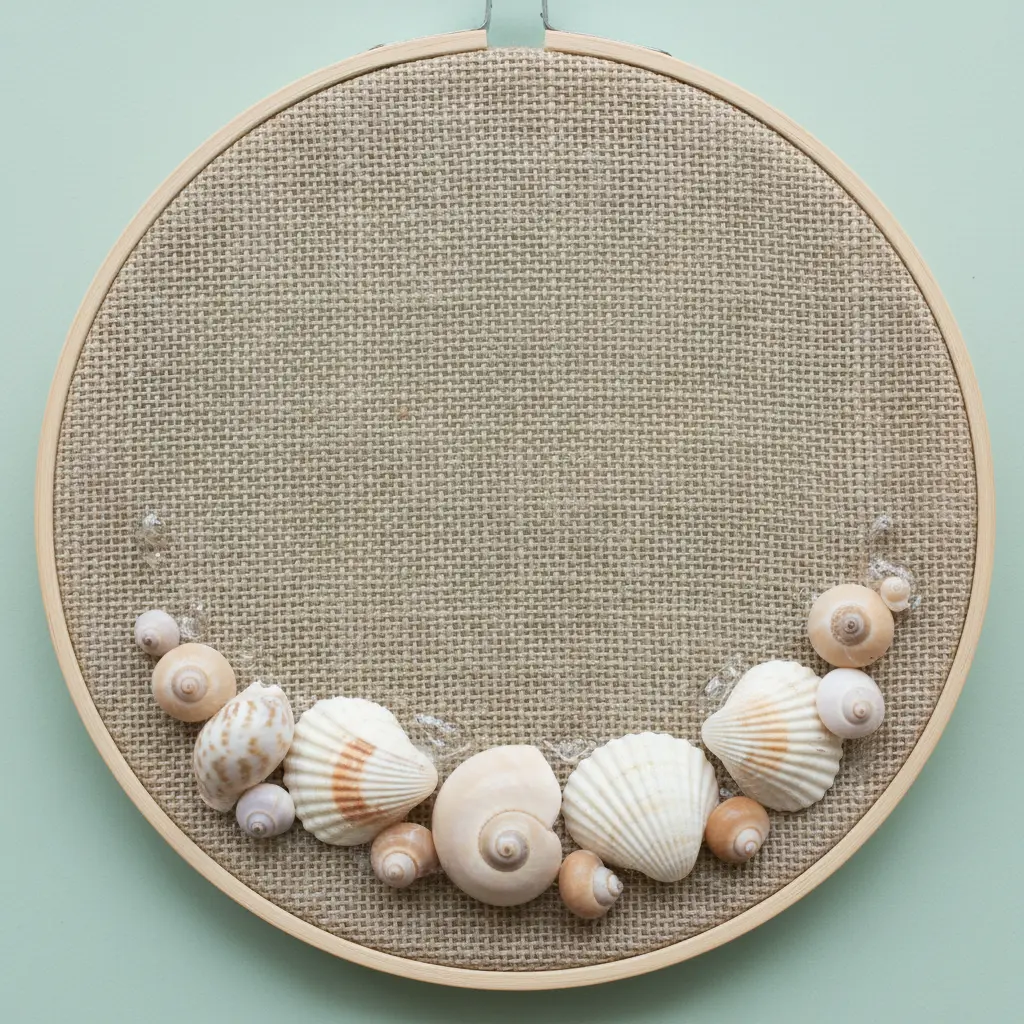
Who knew you could capture a beach walk inside a wooden circle? This one brings the coast home through natural textures. You will stretch a piece of natural burlap fabric inside your hoop for a rustic backdrop. Pairing coastal finds builds a breezy diy hoop art wall decor atmosphere.
Then, you get to play with an assortment of shells, from tiny coquina to larger scallops, arranging them before you glue them down. The magic happens in the contrast between the rough burlap and the smooth shells. That combination creates a peaceful, serene quality that instantly feels coastal.
I love how this project looks complex but is incredibly straightforward to assemble. A common mistake involves placing too many shells and overcrowding the design. Trust me on this one. Arrange them loosely first to find a pleasing balance. Leaving enough space lets you appreciate each shell individual shape. Doesn’t that final, minimalist look bring instant calm?
8. Modern Abstract Yarn Fringe Hoop with Colorful Tassels
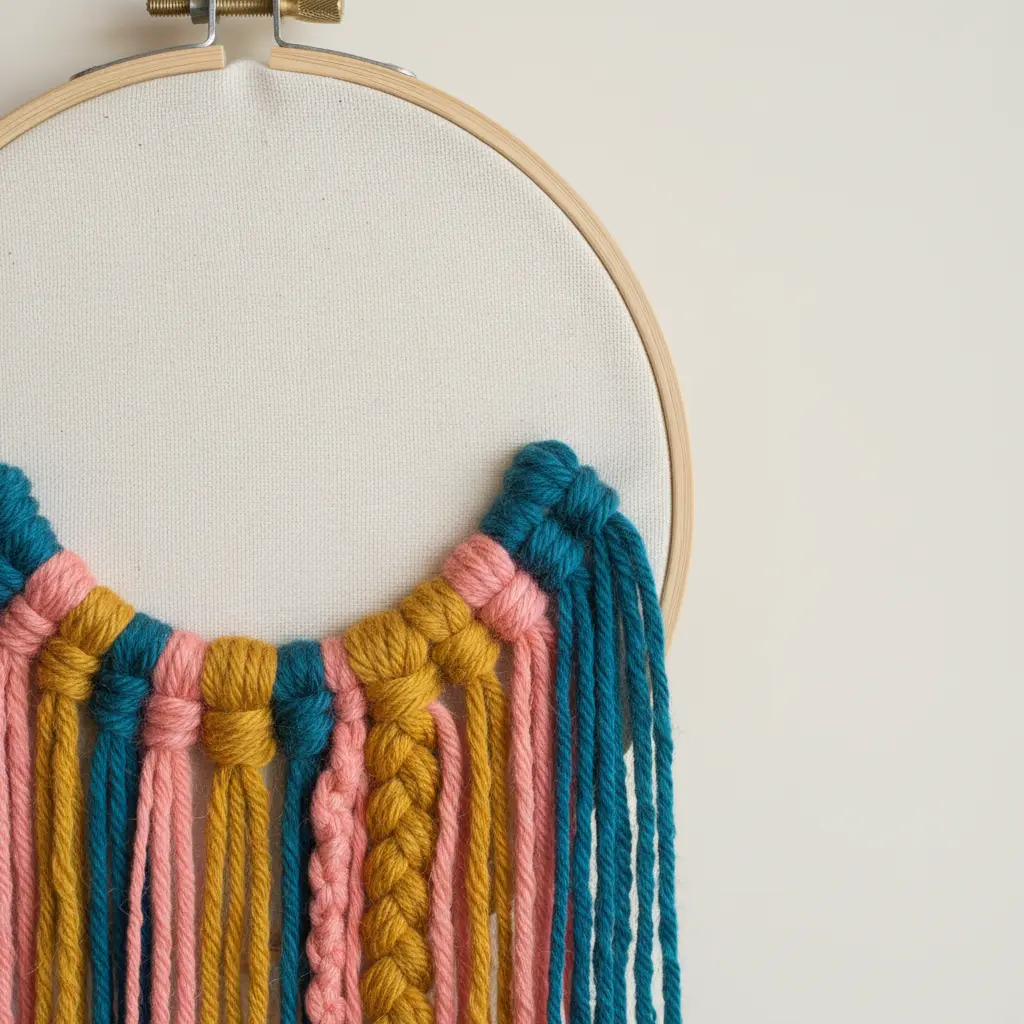
This one ranks high on my favorites list because it looks incredibly complex yet stays wonderfully simple to make. You start by cutting a generous amount of yarn into long strands. You attach each strand around the hoop using a lark’s head knot. Securing thick strands correctly supports heavy diy hoop art wall decor weight.
Cut far more yarn than you initially estimate to guarantee that lush, full fringe. Once your base fringe is on, you get to play with texture and color by adding vibrant tassels. I love mixing a chunky roving yarn with a fine cotton for contrast. Trust me, the irregular shapes and flowing lines you create are what give this piece its modern, abstract feel.
It works because it thrives on joyful texture rather than perfect pictorial accuracy. Your best tool remains a sharp pair of scissors for a clean, even trim after attachment. Stand back and look at your colorful, textural statement piece. Does that not feel wonderfully playful?
9. White Lace and Muslin Layering for an Airy Textile Look
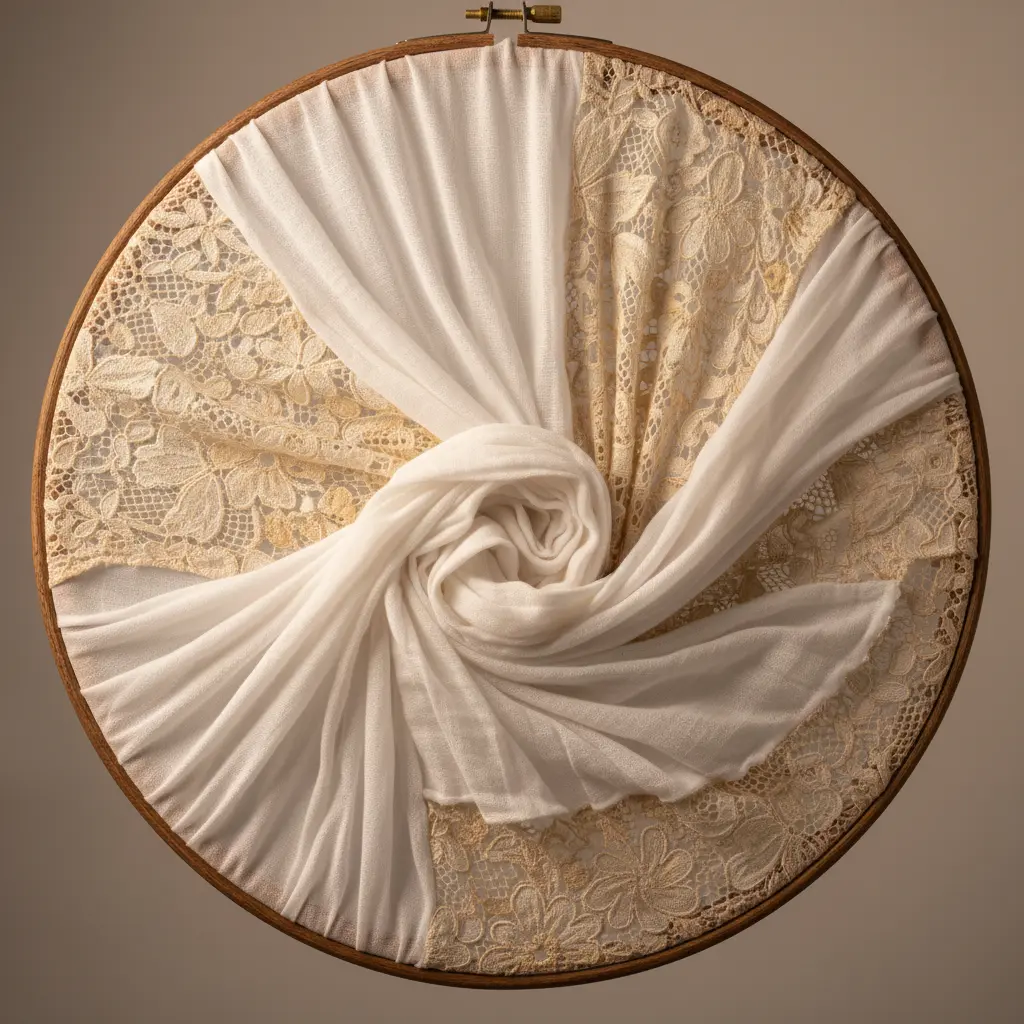
Ever wondered how to make a textile installation feel light and romantic? This layering technique acts as my absolute secret weapon. You drape sheer, patterned white lace over a soft, opaque muslin base. Balancing sheer overlays defines an elegant diy hoop art wall decor presentation.
The muslin acts as a gentle canvas, letting the intricate lace details become the star of the show. It filters light beautifully across the room and creates soft, subtle shadows. I love the ethereal elegance it brings to an ordinary embroidery ring.
Start with a small project like a decorative hoop to understand the fabric interaction firsthand. Feel that delicate, airy charm come to life in your hands.
10. Constellation Pattern Metallic Thread Art with Twinkling Stitches
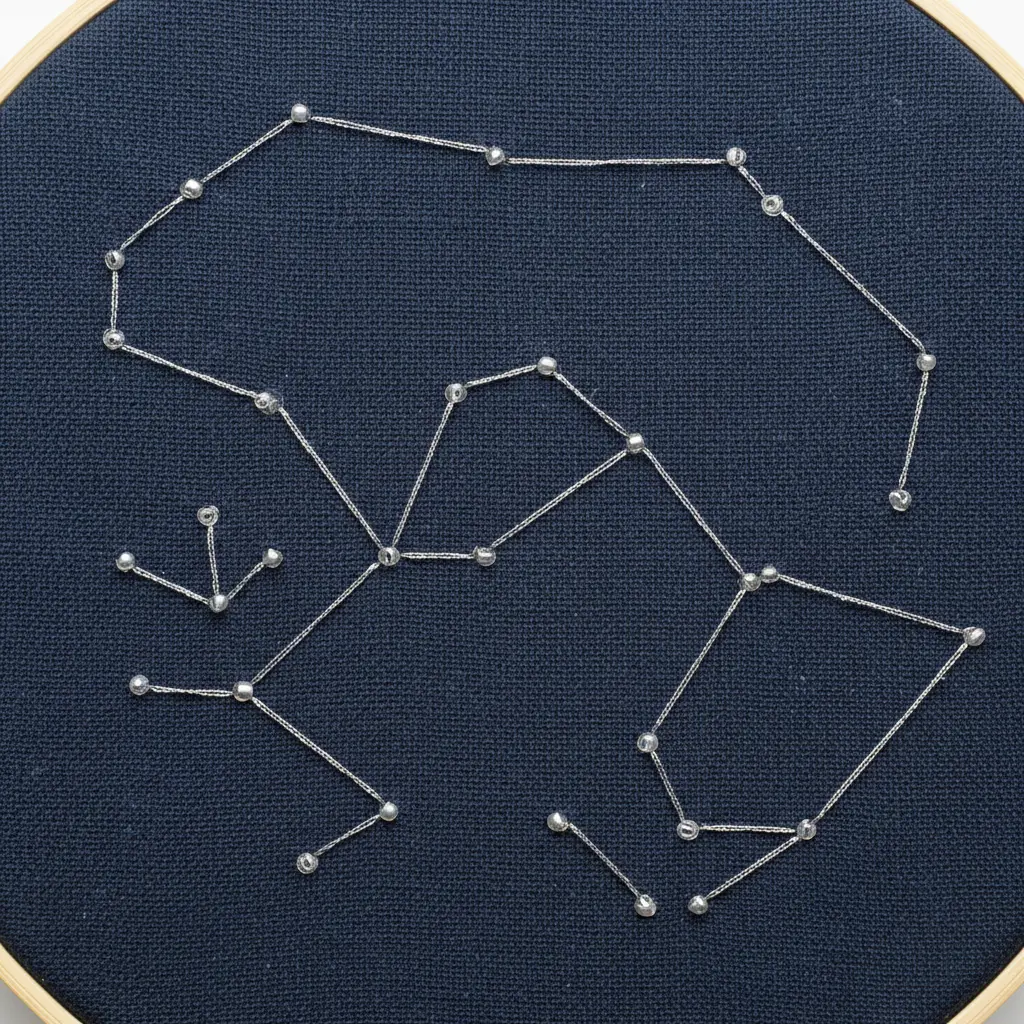
Who has not wanted to capture a starry night sky indoors? This celestial project guides you through stitching your favorite configurations using shimmering metallic embroidery threads. Adding celestial outlines sparks a magical diy hoop art wall decor theme.
You will outline the stars with those gorgeous threads and then add tiny beads or crystals to make them sparkle. I love how the dark fabric creates a perfect night sky backdrop. You will need a good star chart to get your shape right.
Trust me, a little beeswax or thread conditioner makes working with slippery filament much easier. The result is a piece of wall decor that feels truly personal and magical. Does that not look stunning?
11. Textured Wool Pom Pom Cluster Hoop with Playful Fluff
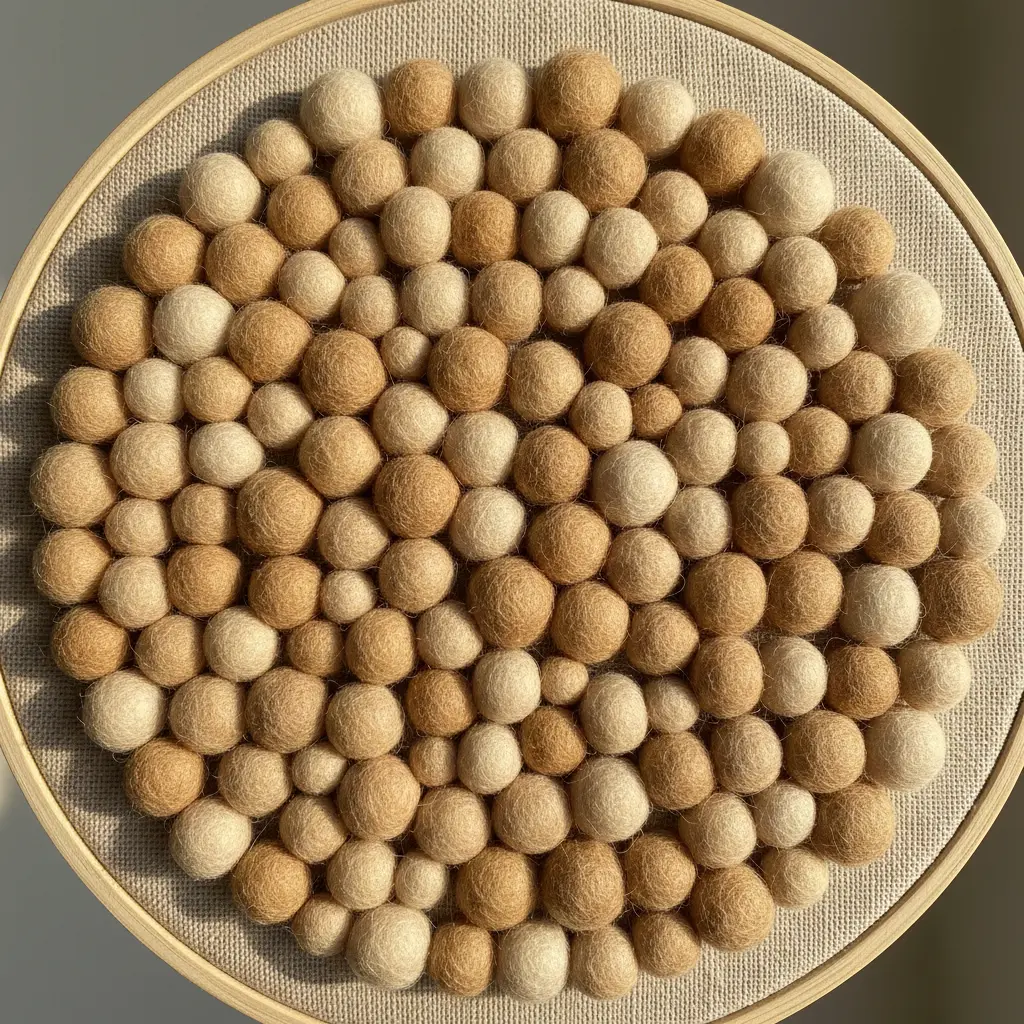
Wonder how to achieve that wonderfully soft, cloud-like appearance? The secret rests entirely in your material choice. You create a dense cluster using mixed textured wool yarns. Layering fluffy spheres populates your diy hoop art wall decor garden quickly.
I love how tactile this piece becomes. The magic happens when you build the cluster on the hoop, overlapping the shapes tightly. Use a strong thread and needle to attach them securely, letting the textures bounce off each other.
It works because it is pure, joyful texture you can almost feel with your eyes. Do not trim everything perfectly. Let some stay wild and fluffy for that signature playful look. Trust me, embracing the irregularity is what makes this diy hoop art wall decor so charming and full of life.
12. Botanical Fern Pressing Framed Art Using Real Dried Leaves
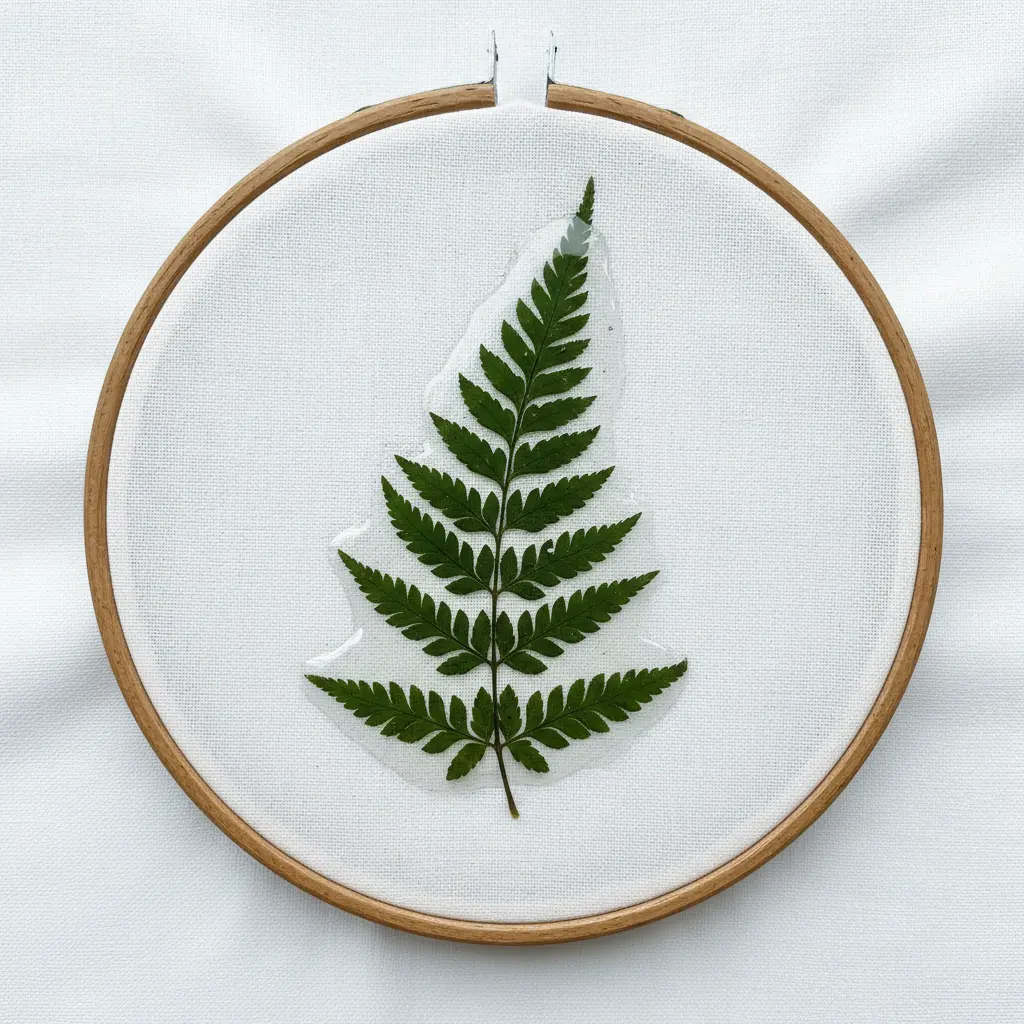
Have you ever wished to preserve a forest fragment indoors? This method captures delicate natural beauty in a timeless way. You start by pressing fresh fern fronds inside a traditional plant press. Mounting preserved leaves secures a natural diy hoop art wall decor statement.
Wait several weeks until the foliage becomes completely dry and brittle. Once ready, arrange them carefully on a sheet of acid-free paper. Mounting them is the most delicate step.
I love using a tiny amount of acid-free PVA glue applied with a toothpick. This art works because it offers a direct, calming connection to the natural world. Your finished piece will feel both elegant and deeply personal.
13. Polka Dot Chiffon Fabric Display in Layered Hoops
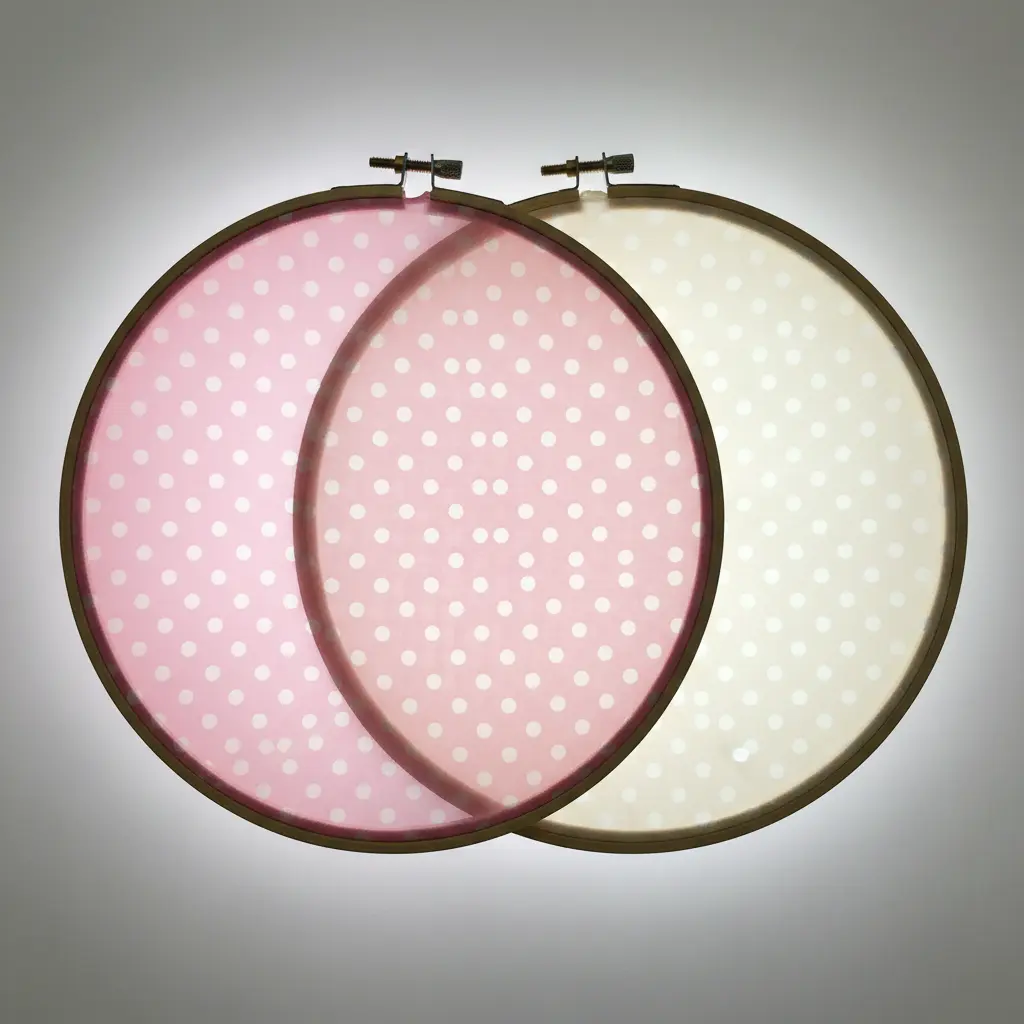
This installation radiates pure visual magic from start to finish. It resembles a delicate sculpture while remaining built on basic embroidery rings. You stretch polka dot chiffon across several hoops of different sizes. Suspending sheer layers creates floating diy hoop art wall decor depth.
Layering them together forms floating, three dimensional shapes. Working with the sheer fabric is the key step. You need to attach it carefully to avoid visible glue marks or uneven tension. I love using clear fishing line to connect the layered hoops.
The invisible suspension makes the entire assembly appear mid air. The result is an airy, whimsical wall hanging that catches the light beautifully. It works because it combines soft, playful texture with clean, structured circles. Trust me on this one, the effect is stunning when you see it in person.
14. Boho Macrame Cord Knot Hoop with Intricate Knotwork
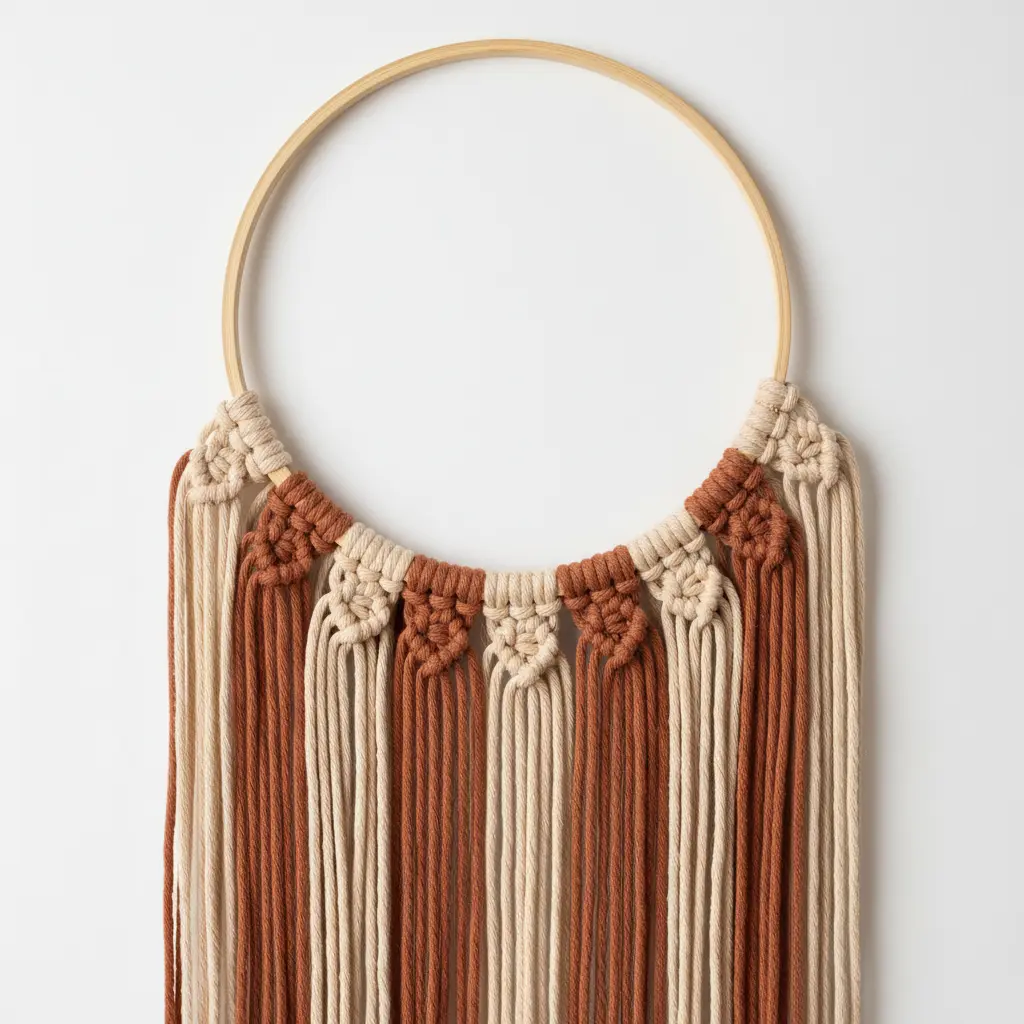
This installation looks wonderfully complex while relying on a sequence of simple, repeated movements. Attach long pieces of natural macrame cord directly onto your hoop. You secure each strand tightly using Larks Head Knots. Weaving thick cords establishes an earthy diy hoop art wall decor rhythm.
Then, you build texture by tying a variety of knots, like Square Knots and Double Half Hitches. You create a dense, patterned web across the lower edge. What makes it so satisfying? The repetitive knotting is almost meditative.
You end up with a stunning piece of handmade art. Trust me, the key is maintaining consistent tension on every single knot for a neat, professional look. Feel proud when you hang up your unique, textured creation.
15. Felted Succulent Garden Hoop Arrangement of Mini Felt Plants
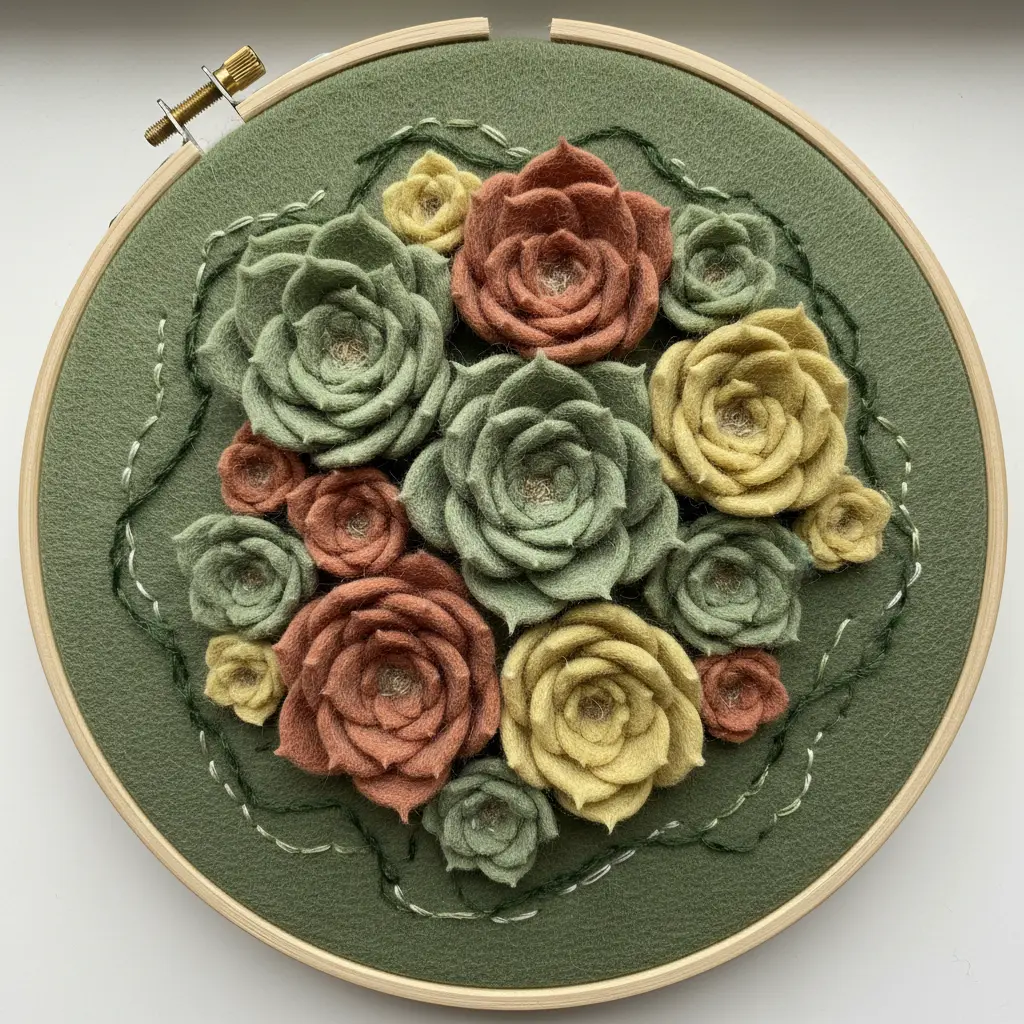
Who says you need a green thumb to have a gorgeous little garden? This felted arrangement gives you all the vibrant color and texture without water. I love how you start by cutting pieces of high-quality wool felt into tiny rosettes. Sculpting felted shapes populates your diy hoop art wall decor terrarium instantly.
Layer them into spiky clusters and arrange them on a felt base inside your hoop. Playing with different shapes and colors until the composition feels right guides the entire process. The final payoff is a permanent, three-dimensional piece that brings life to any room. Feel the joy of making something that stays beautiful forever.
Refining Backside Finishes for Wall Mounting
A clean reverse finish transforms a simple project into professional display art. Trim all extra fabric down to exactly one inch around the wooden edge first. Apply a thin bead of durable fabric adhesive like Aleene’s Tacky Glue around the inner ring.
Fold the raw edges inward and press firmly until the surface lies completely flat. Allow the adhesive to cure fully before attempting any wall installation. This technique seals every loose edge and eliminates fraying completely.
Place a matching felt circle over the dried backing for added security. You will immediately notice how this attention to detail creates a polished silhouette. Clean backing edges guarantee a durable diy hoop art wall decor finish.
Conclusion
Your handmade pieces bring undeniable warmth to bare walls that store-bought prints simply cannot replicate. Each thread carries a fragment of your daily mood. Every textile choice captures a quiet moment of inspiration.
Once you finish a few pieces, play with grouping hoops of different sizes before committing to nails. Use removable hooks to test layouts and experiment with overlapping arrangements. This way you adjust your display whenever seasons shift or your mood calls for something fresh.
Mixing textures like crisp linen with soft felt gives your gallery arrangement authentic depth. Do not worry about perfection. Slight wobbles in a stitched line or uneven fringe add character that mass-produced decor lacks.
Most of all, enjoy the quiet creative time these gentle projects offer. The final display makes you smile daily, knowing your own hands built it. Every careful stitch completes your diy hoop art wall decor journey beautifully.
FAQs
Q: What type of fabric works best for embroidery hoop wall art?
A: A medium-weight linen or high-count cotton provides a smooth, stable background that does not sag over time. Avoid stretchy or loosely woven fabrics, as they lose tension easily within the hoop.
Q: How do I prevent my hoop art fabric from wrinkling after mounting?
A: Iron the fabric before stretching it in the hoop, and pull it evenly as you tighten the screw. Use a spray starch on the back for extra crispness. Re-tighten the hoop a day later, as fabric often relaxes slightly.
Q: What is the easiest way to hang hoop art without damaging walls?
A: Use a small loop of ribbon or twine tied around the top screw for hanging on a nail. Alternatively, attach a sawtooth hanger to the back with strong glue for a flush mount. Removable adhesive strips also work for lightweight hoops.
Q: Do I need to finish the back of my hoop art before displaying it?
A: Finishing the back gives a clean look and protects stitches. Gather excess fabric toward the center and whipstitch it closed, then cover with a circle of felt or cardboard. This prevents dust and hides raw edges.
Q: Can I mix different hoop sizes in one wall display?
A: Yes, combining small, medium, and large hoops creates visual rhythm. Start with the largest hoop as an anchor and arrange smaller ones around it on the floor before hanging. Keep spacing even for a cohesive gallery look.