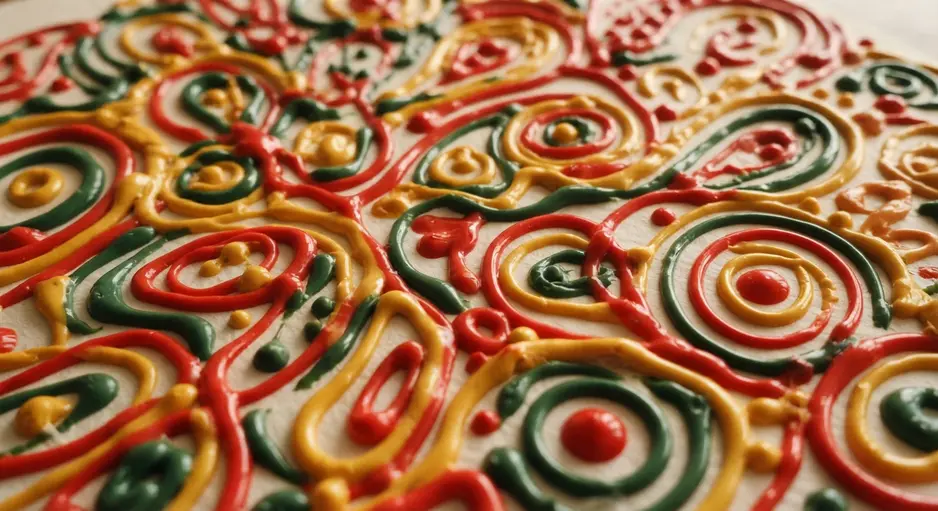
Finding activities that are both creative and engaging can be a challenge when you want to keep little hands busy. You have all faced the dilemma of wanting a project that sparks joy without a huge mess or complicated setup. Puffy paint ideas offer the perfect solution, blending simple painting with the magic of watching lines rise and transform. The process is straightforward, the results are wonderfully tactile, and the smiles are guaranteed. Let us gather our cardstock and get ready for some three-dimensional fun.
Choosing Appropriate Surfaces For Dimensional Paint Projects
When you explore puffy paint ideas, you quickly learn that surface selection dictates success. A thin sheet of printer paper will buckle under the weight of the thick medium, so you want a material with real backbone.
Heavy-duty cardstock remains your best partner for these projects. Its structural integrity holds up to the thickest blobs and lines without warping. Canvas boards give the finished art a professional look, while rigid paper plates ensure your raised relief lines stay proud and defined as the medium cures.
Mixing And Achieving Optimal Medium Consistency
Perfecting your mixture of puffy paint ideas requires a viscosity thick enough to hold a peak on a spoon, much like soft whipped frosting. If the mixture runs off your spoon, it is too thin and will flatten into a puddle on the page.
The good news is that this is an easy fix. You simply add more of your dry ingredient, like flour or cornstarch, a spoonful at a time. The tactile quality comes from trapped air, so you must mix gently to keep those bubbles intact. Over-stirring collapses the air and makes the mixture dense, so you will test a small line on scrap paper first. Perfect medium holds its shape immediately without spreading.
1. Bright Rainbow Arches Puffy Design
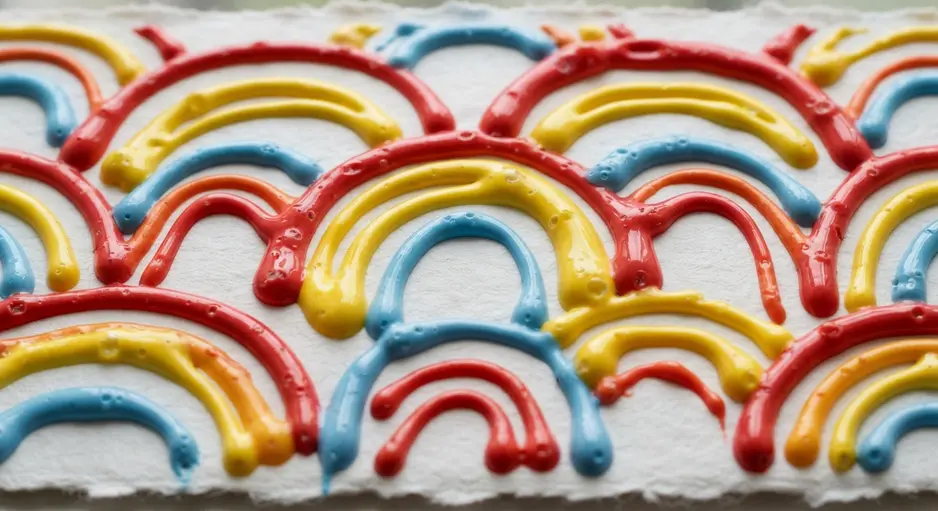
Ever wondered how those super bright, 3D rainbow designs get their joyful pop? Many beginners search for puffy paint ideas that deliver instant gratification without complex steps. You start by sketching a big arch on your fabric or paper, then nest smaller ones inside it.
Apply your thick medium in the classic ROYGBIV order, letting each color set for a few minutes before adding the next to prevent bleeding. The magic happens when the mixture dries and expands, giving each arch a soft, inflated look you just want to touch. That tactile, dimensional texture makes this design highly engaging. Feel the satisfaction when those vibrant, glossy colors come together!
2. Textured White Puffy Cloud Landscape
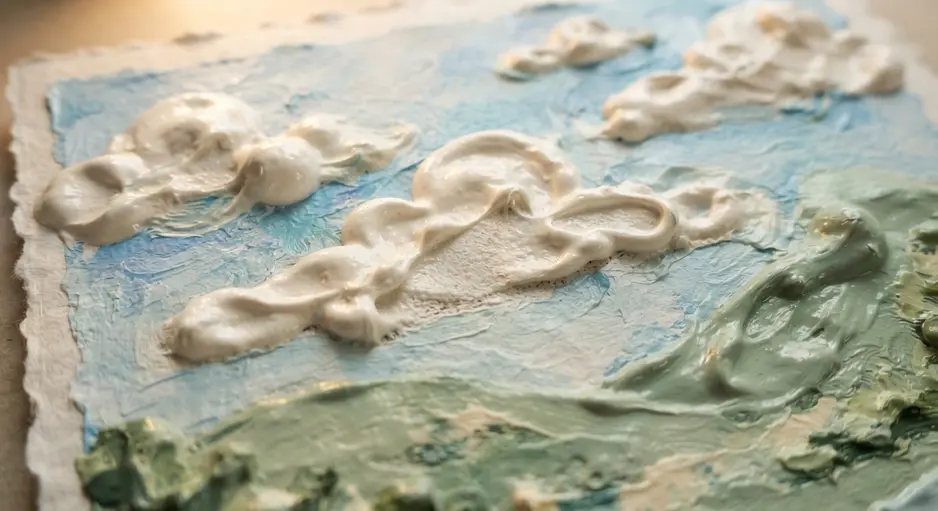
This landscape proves why puffy paint ideas remain so popular with tactile art lovers. You start by applying a simple blue sky gradient with acrylics and letting it dry completely. Then, you squeeze thick lines of white medium directly onto the canvas to form your cloud shapes, building up layers in spots for extra dimension.
I love how you can use a toothpick to swirl the wet material for even more organic texture before it sets. The raised effect creates real forms that flat paint cannot match, so your landscape gains instant depth. Trust me on this, patience while drying ensures that texture really pops.
This technique offers a fantastic way to explore dimensional art with a forgiving medium. If you enjoy structured patterns, you might find that mastering these organic shapes first helps with more creative geometric painting projects later on, since both rely on confident application and spatial planning.
3. Neon Initial Letter Art Decor
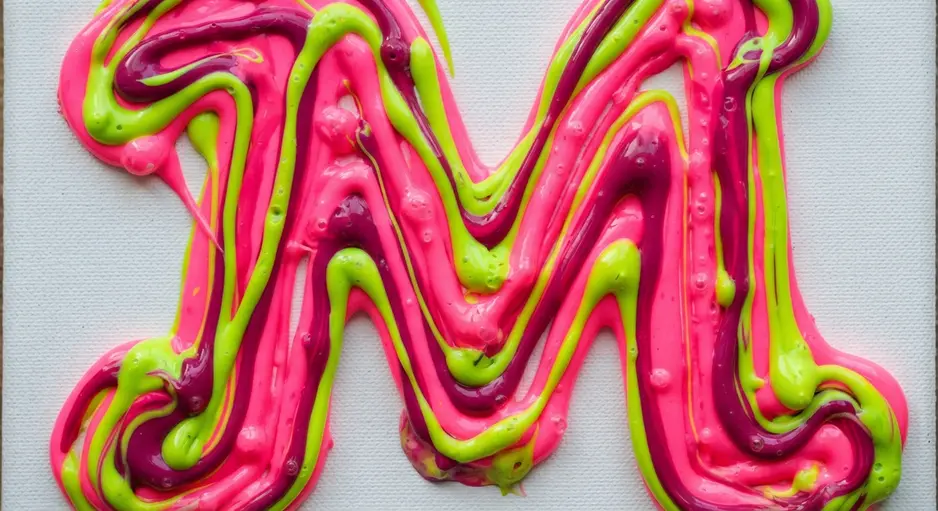
You pick a letter, choose a vibrant color, and discover modern lighting pairs beautifully with creative puffy paint ideas to shape your favorite font. This flexible approach makes a space feel uniquely yours in an instant.
I love how it turns a simple initial into a personal statement. For a truly custom look, you can explore mixed media painting ideas to create a one-of-a-kind background for your glowing sign. Just be sure to measure your wall first, because a sign that looks perfect online can feel too small or too bright in your actual room. Pick a color and style that fits your existing decor, and you will have a stunning focal point.
4. Deep Space Planetary Puffy Scene
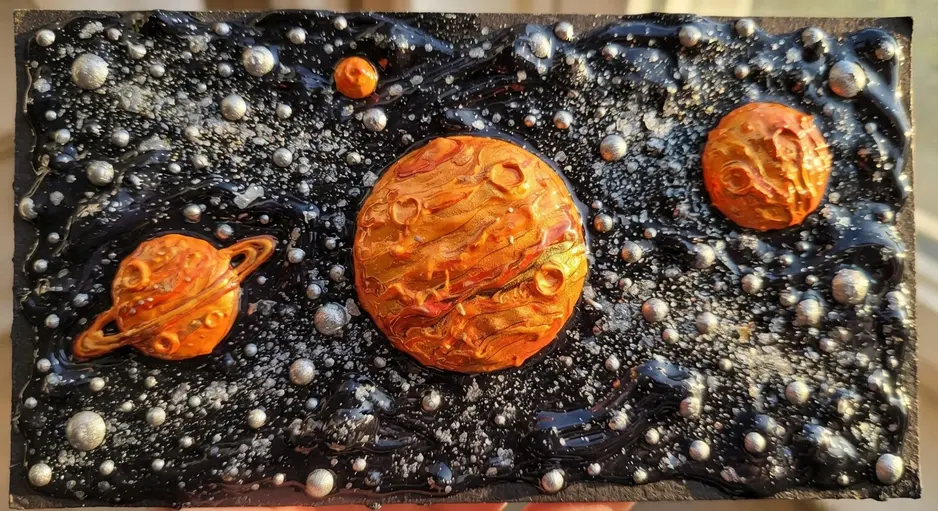
Who says space art has to be sharp and serious? Creating a celestial backdrop aligns perfectly with popular puffy paint ideas for young stargazers. You will start with dark-colored paper as your canvas, then squeeze on medium to form your round planets and swirling nebulae.
The trick is to let the colors blend a bit on the surface for that marbled, ethereal look. I love how the raised texture naturally creates soft, rounded edges you see in a cosmic scene. It is incredibly satisfying to watch the material puff up as it dries, transforming your flat paper into a tactile, three-dimensional universe. For another fun way to create textured art, you can learn some easy salt painting techniques that use a similar raised effect.
My go-to tip is to use a moderate amount of paint and let it dry completely flat. You will be amazed at how professional your deep space scene looks.
5. Holiday Evergreen Tree Ornament Craft
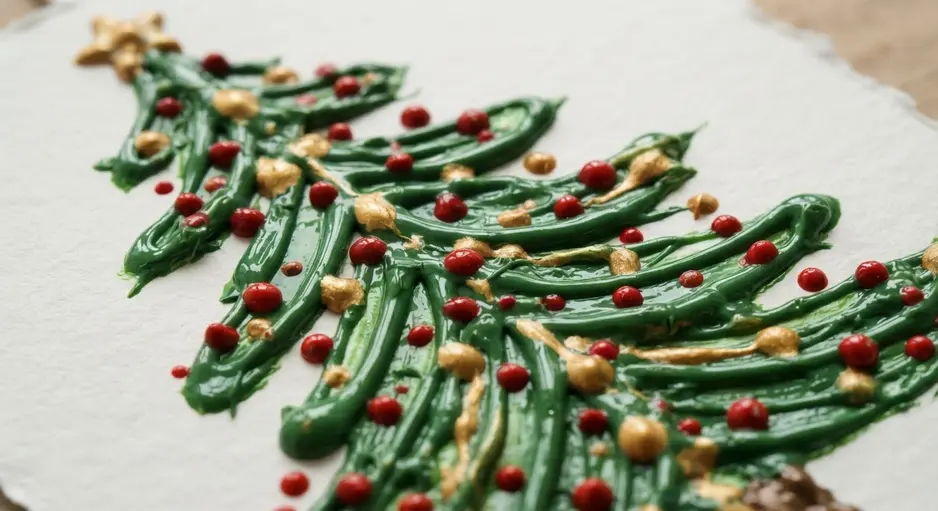
Festive seasonal crafts often highlight puffy paint ideas that bring nature indoors safely. You can go rustic with fresh evergreen sprigs tied with twine, or paint a simple tree on a wood slice. Both are super approachable and fill your home with that wonderful holiday scent.
For the painted version, letting the wood grain show through with just a few shades of green works best. You get a personalized, handmade decoration that feels so much warmer than a store-bought one. Try it and feel proud of your little forest creation. If your kids want to join in, this craft is perfect for them too.
Let them dab on dots of white for snow or red for berries. Just be sure to check out some unique marble painting for kids first for more fun, easy ways they can add colorful patterns to their ornaments.
6. Intricate Snowflake Pattern Cardstock Art
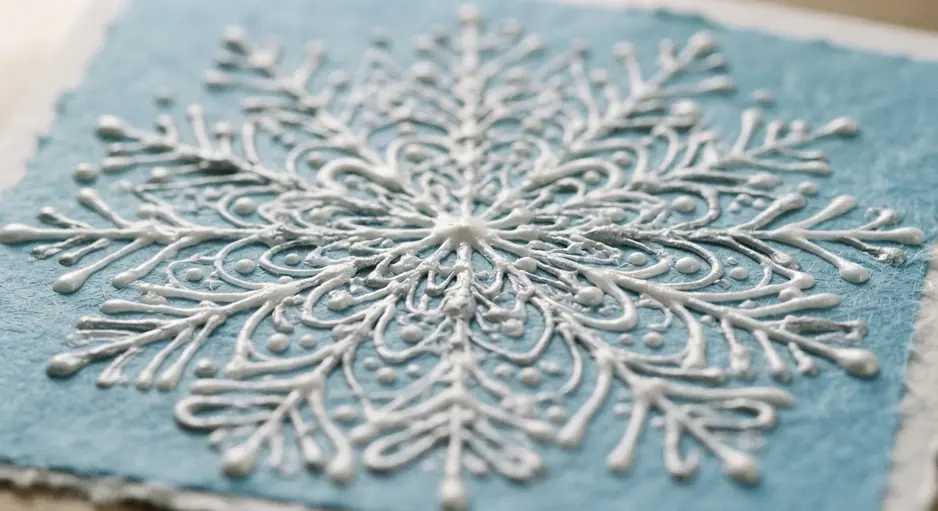
Winter symmetry projects consistently rank among the most shared puffy paint ideas online. This craft looks delicate and complex, but the process is a surprisingly meditative task. You start with a square of paper and fold it into a tight triangle to create perfect six-fold symmetry.
Then, you carefully sketch and cut your lace-like pattern with a precision craft knife before gently unfolding it to reveal the beautiful design. The simple act of cutting transforms a plain sheet into something truly elegant. I love how the reveal feels like a little magic trick every single time. For a cozy, handmade touch to your winter decor, you could also craft an inspirational felt banner to pair with your snowflakes.
My go-to tip is to always use a fresh blade for those crisp, clean edges. Trust me on this one, the difference is stunning.
7. Summer Ocean Wave Texture Painting
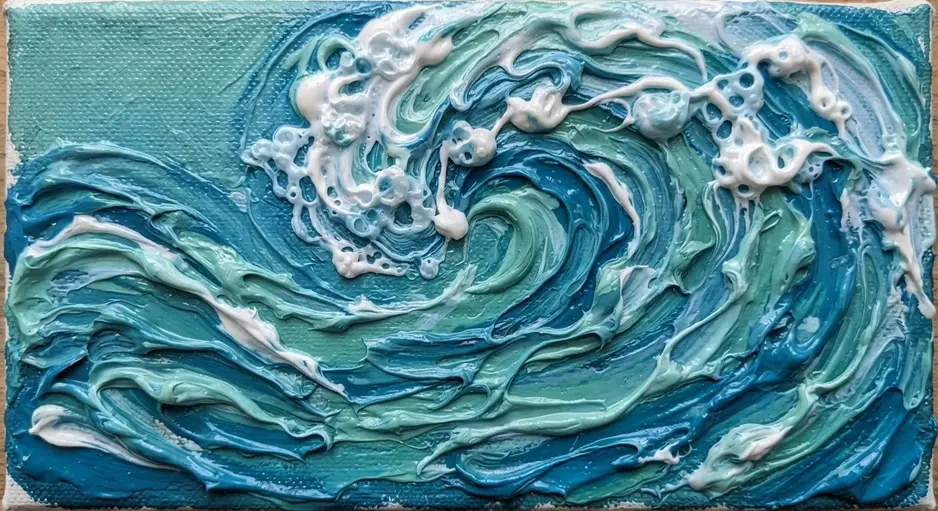
Ever wondered how to make a canvas piece you can almost feel? Capturing coastal motion through puffy paint ideas transforms a quiet afternoon into a sensory experience. You will start by applying a textured gesso base to your board, then build up the waves with thick dollops of modeling paste.
The key is to work patiently, letting each layer dry completely to avoid cracking. I love how the final piece captures both the look and the physical sensation of crashing surf. The vibrant blues and foamy whites come alive with the shadows and highlights you carve into the texture. You can create a similar feeling of joy and discovery with watercolor love hearts using fluid, playful techniques.
8. Decorative Puffy Pumpkin Patch Illustration
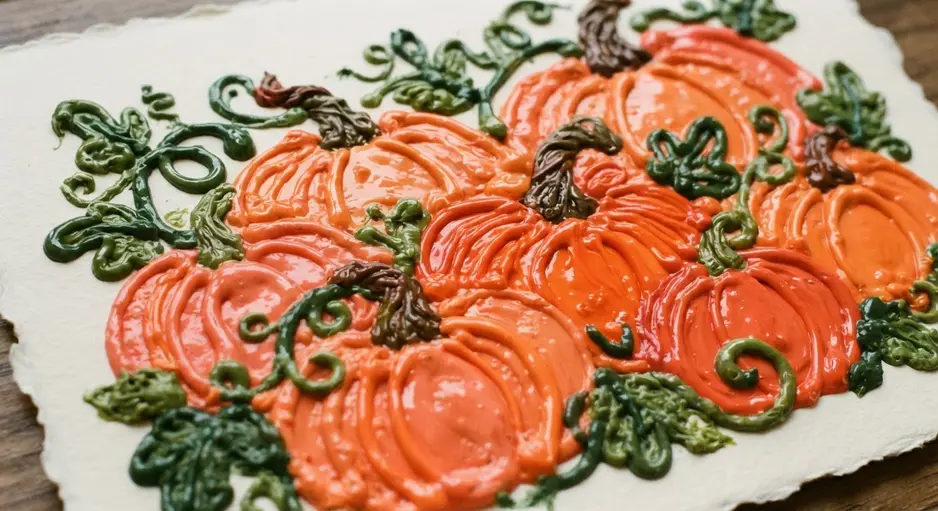
Ever wondered how to make a pumpkin patch look soft enough to hug? Harvest season naturally inspires puffy paint ideas that focus on round, comforting shapes and a cozy mood. Start with loose, rounded sketches for your pumpkins and leaves, then refine them into smooth, flowing lines.
The magic happens when you apply your base colors and then build up those soft, blended gradients. I love using muted autumnal tones for this because they instantly create a warm and inviting feel. Your goal is to make everything look inflated and gentle, so avoid harsh shadows or overly bright colors. A consistent, soft light source helps create believable volume. Isn’t it satisfying when those smooth blends make your pumpkins pop off the page?
This technique works great for seasonal cards or cozy artwork. If your kids enjoy colorful, tactile projects, they might get a kick out of a fun colorful rainbow hands craft for a different kind of hands-on creativity.
9. Floral Spring Blossom Branch Painting
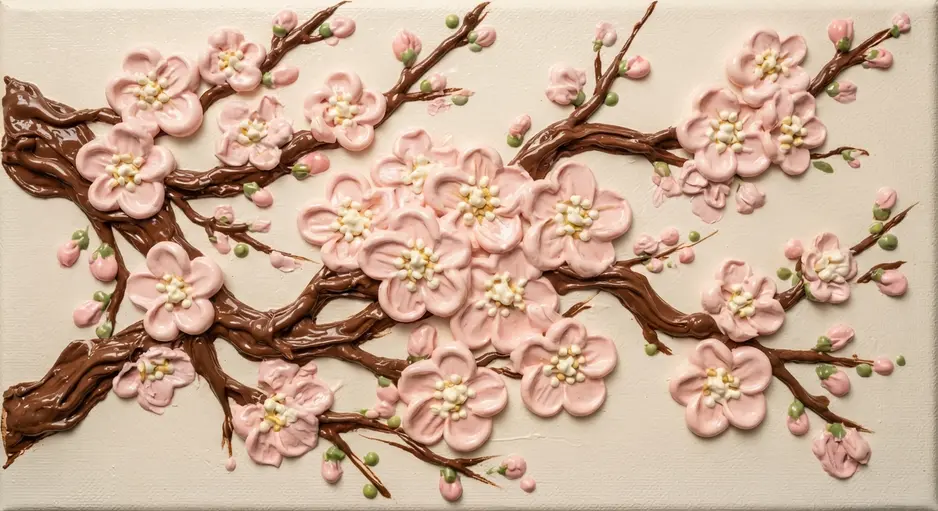
Ever wondered how to make your spring florals pop? This project uses a fun twist to bring a blooming branch to life. You will paint a simple branch first, then grab your bottle for a quick round of puffy paint ideas to create the blossoms.
The added texture makes each flower stand out, giving you a lovely 3D effect. I love this one because it is so tactile and forgiving. Start with a soft background, let it dry, and sketch your branch with a dark color. Then focus on applying clusters of pink and white dots along the twigs. Vary the size and density to mimic real blossoms.
For an extra touch, you can add a little glitter while the material is wet. The result is a cheerful, raised piece that feels fresh and vibrant. It makes a wonderful gift, especially tucked into a diy flower pot card. Does that not look stunning? You will feel so proud of your blooming creation.
10. Colorful Dessert Cupcake Puffy Art
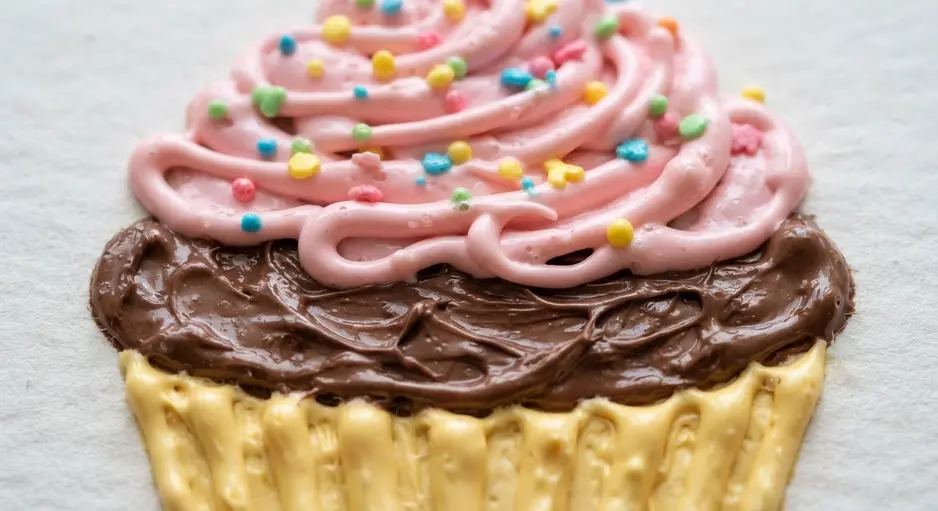
Who would have thought a cupcake could feel so squishy and fun? Dessert-themed sessions easily stand out among puffy paint ideas because they invite playful layering. You will draw a simple outline and then fill it with thick, gooey medium in different colors, watching it puff up into a soft, 3D treat.
The key is using thick cardstock to prevent any warping, especially if you are microwaving it to speed up the process. I love how you can add glitter or tiny beads for sprinkles while the material is still wet. Does that not look good enough to eat?
Once your masterpiece is dry, you can even enhance crafts with foil accents to make the frosting shimmer like real sugar. It is a fantastic way to add extra sparkle and dimension to your kitchen decor.
Preserving And Displaying Dimensional Creative Artwork
Let that amazing 3D artwork dry completely, and I mean for a full day, before you even think about touching it. The thickest parts take the longest to cure. Protecting your finished pieces ensures your puffy paint ideas last through changing seasons. You can secure all that raised texture with a light mist of clear acrylic sealer to prevent any flaking over time.
Hold the can about twelve inches away and use a sweeping motion to apply a thin, even coat. A matte finish keeps the focus on the design without adding shiny glare. For display, use simple poster putty on the back to stick it to a wall, since it accommodates the uneven surface better than tape. Your child’s textured masterpiece will stay looking fantastic for years to come.
Conclusion
The best part about these projects is seeing the look of wonder when kids watch their flat artwork puff up into something they can almost touch. That moment of transformation is what makes puffy paint ideas so special and memorable. For your next project, try experimenting with different color combinations on dark cardstock to make the bright medium really stand out.
The key is to enjoy the playful process and celebrate each unique, textured creation. We hope this collection of projects brings plenty of colorful, three-dimensional fun to your creative time.
FAQs
Q: What is the best paper to use for dimensional paint projects?
A: Use heavy cardstock or poster board. Regular printer paper is too thin and will warp when the material is microwaved. The thicker surface provides better support for the raised medium and prevents cracking.
Q: How do I get thick, clean lines with dimensional medium?
A: Hold the bottle at a consistent angle and squeeze gently. Move your hand steadily to create an even line across the surface. Avoid stopping and starting, as this creates blobs. Practice on a scrap piece first.
Q: Can you make a dimensional paint mixture at home?
A: Yes, you can make a simple version with white glue, shaving cream, and food coloring. Mix equal parts glue and shaving cream, then add color. The texture will be light and fluffy, perfect for tactile sensory play.
Q: How long does dimensional paint take to dry and expand?
A: Let the raised design air dry for a few minutes until it is no longer wet to the touch. Then microwave the project for about 30 seconds. Watch it closely as the mixture rises and becomes fully three-dimensional.
Q: Is dimensional paint safe for young children?
A: Most commercial bottles are non-toxic and safe for kids under supervision. Always monitor the microwave step closely. For homemade versions, ensure all ingredients are child-safe. The mixture washes off skin and surfaces with standard soap and water.