

Creating Your Popsicle Designs
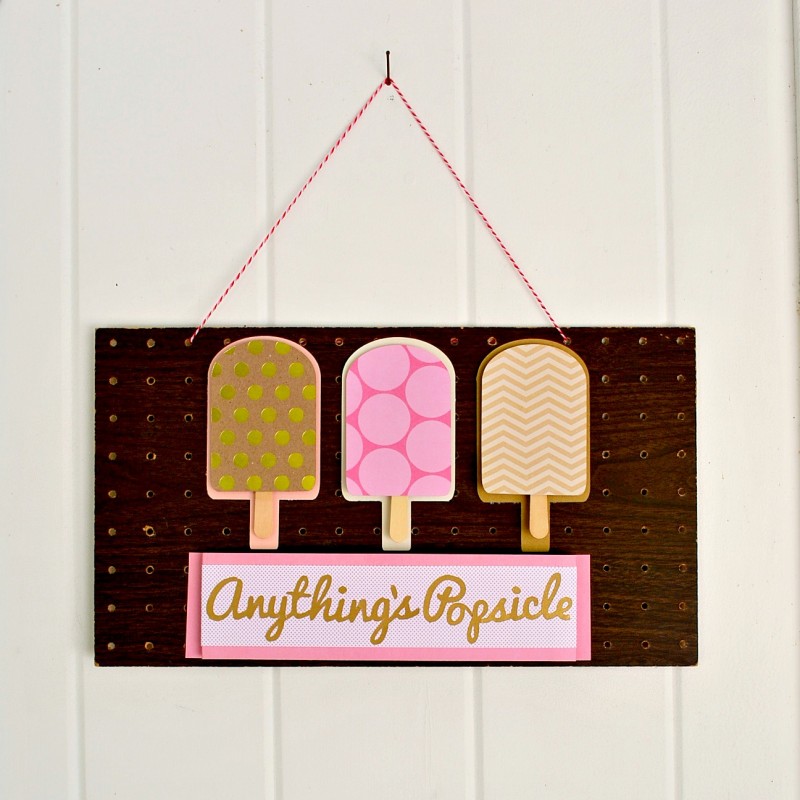
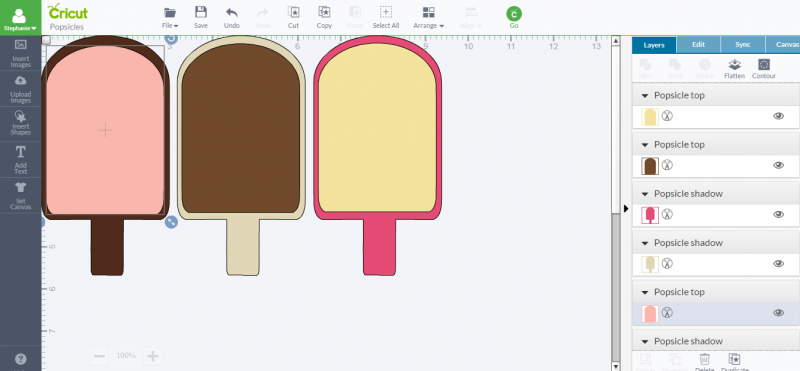
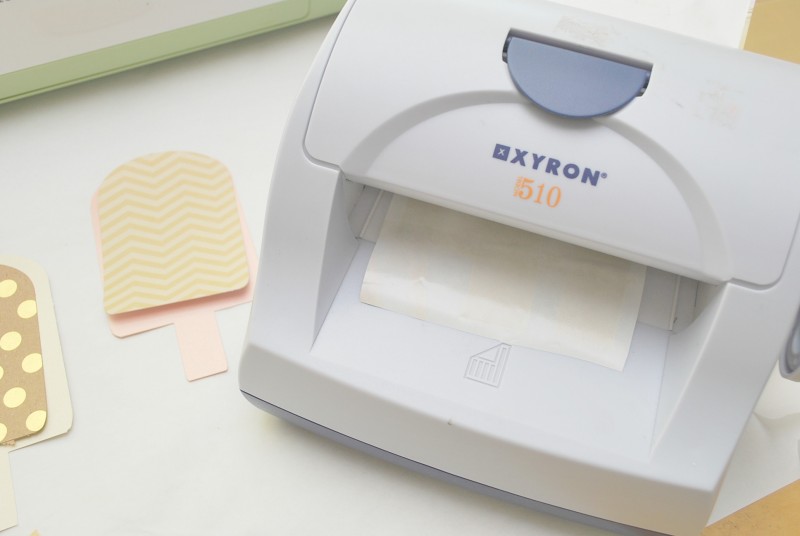
I made my “Anything’s Popsicle” Summer Popsicle Wall Art with my trusty Cricut Explore and Xyron adhesives. I first designed my popsicle shapes in Pic Monkey. There are two shapes for the ice cream treat: the popsicle’s background, or shadow, which is the shape of the popsicle plus the popsicle stick. Then there’s another shape that is just the popsicle itself.
Feel free to save the popsicle shapes to your computer, and upload them into your Cricut Design Space. You can customize the size, but my shadow piece was 3 inches wide, and the top piece was 2.75 inches wide. I made two additional copies to make chocolate, strawberry, and vanilla flavors. This allows you to create a colorful collection for your gallery art.


Assembling the Popsicle Wall Hanging
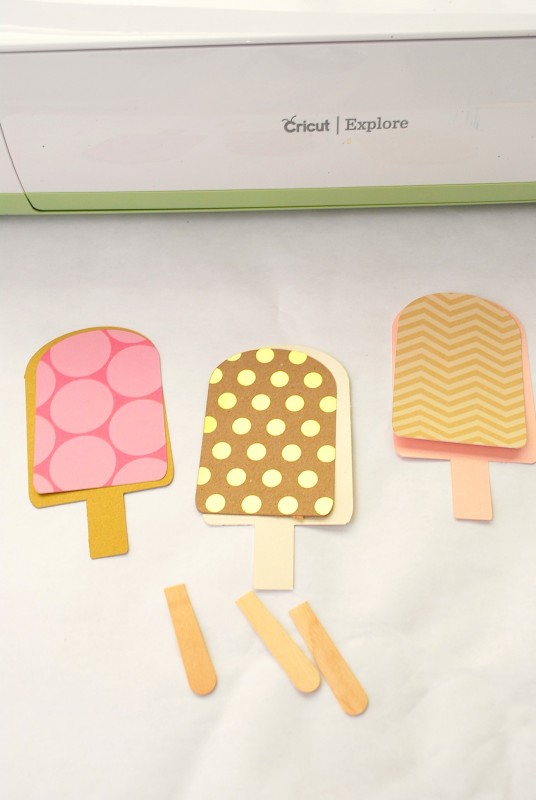
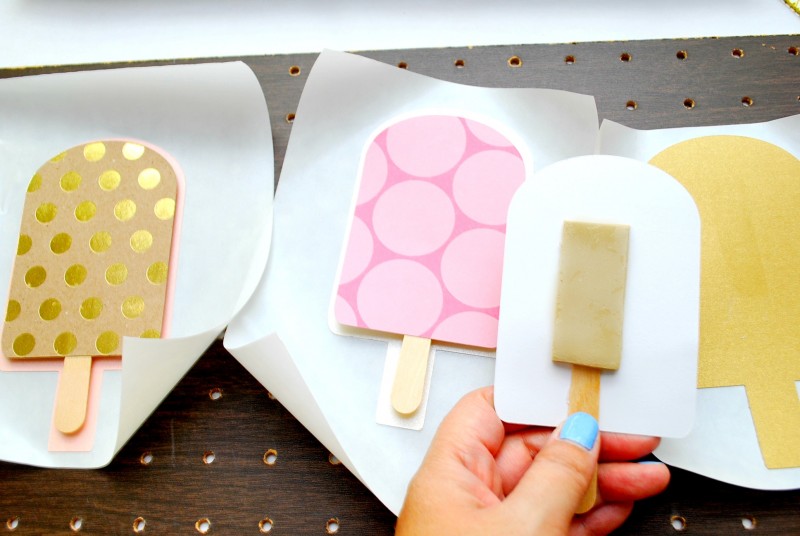
All done cutting. As mentioned, I used something else for the popsicle stick. They’re the handles from wood spoons I used in my Wood Spoon Flower Wreath! It was a great way to reuse materials for this craft.
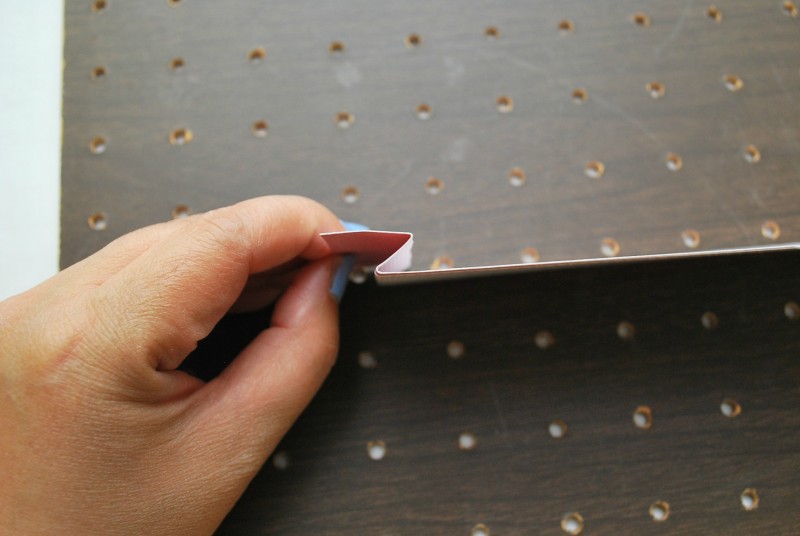
To give the popsicles a little 3D effect, I’m going to make some foam tape using my Xyron. This creates a unique, layered look similar to pop art.
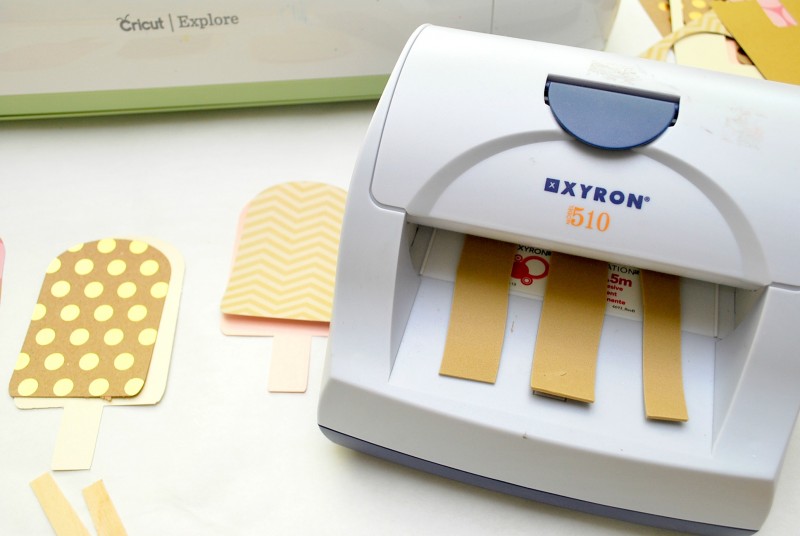
Apply your newly created DIY double-sided foam tape in the middle of the top piece. Then, use some glue stick to adhere the wood stick on the bottom center edge of the top piece. Adhere the whole thing onto the shadow piece. Repeat with all your flavors!
Making the Banner Sign
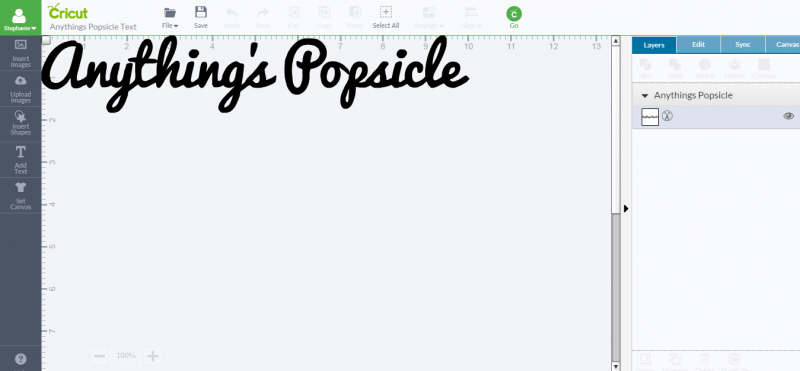
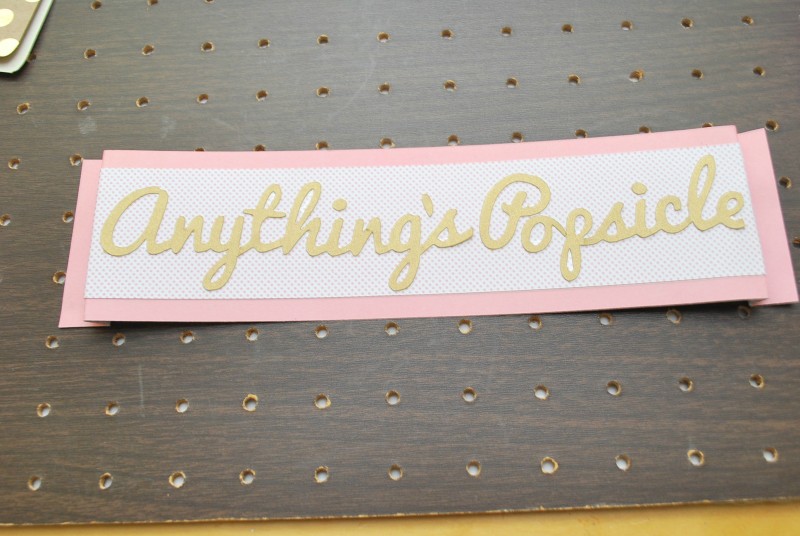
Next I worked on the banner. I cut out my wording in my Cricut Explore so it was just slightly longer than the width of all of my popsicles. I cut two pieces of paper at 11 and 12 inches long.
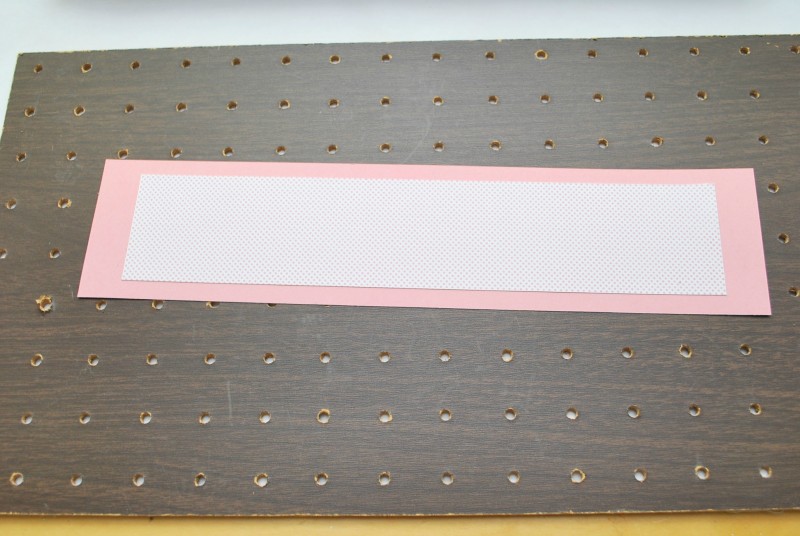
I also wanted to give the sign some dimension so I folded the sides in to form a Z shape, so the result looked like a banner. Fold in one side about an inch, and then flip it over and fold it again. Add the wording to complete this visual element.
Final Assembly on Pegboard
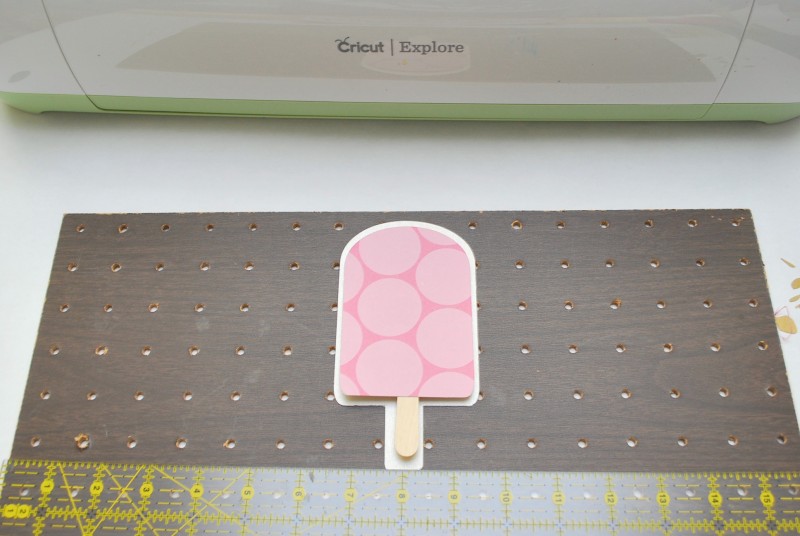
I was looking for a frame to use, but I came across this cool peg board I had found at the thrift store. It works perfectly as a backing for this wall hanging. The dark background was perfect for my pastel color scheme too. So I used my ruler to center my first popsicle, allowing enough room beneath for my sign. Add the other two popsicles around the center one.
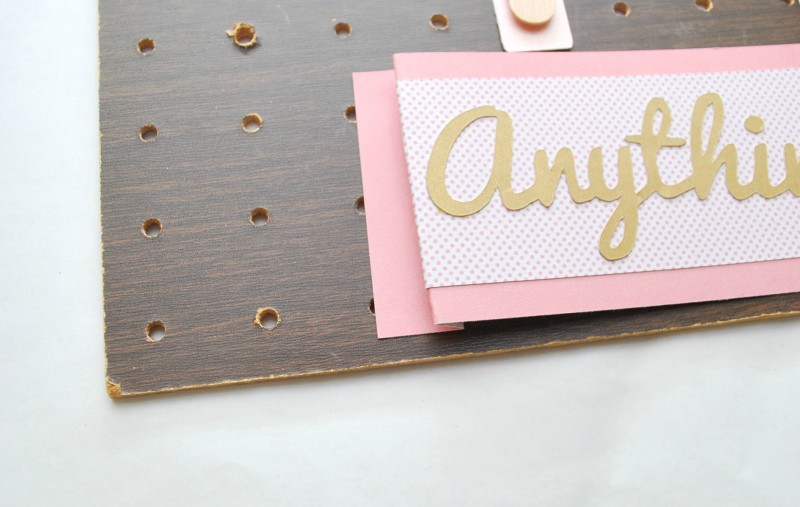
And finally, use glue stick to adhere the sign to the peg board. This modern and easy project creates a beautiful piece of art wall decor.
Conclusion
“Anything’s Popsicle” with my Cricut Explore! If you’re looking for a fun and creative way to decorate your walls this summer, try DIY Summer Popsicle Wall Art! Our easy to follow tutorial shows you how to create a stunning popsicle mural that will brighten up any room, from a kitchen to a nursery. By following our simple steps, you’ll have a beautiful piece that you can proudly show off every day! So what are you waiting for? Get started and make your own iconic pop art today!
FAQs
Q: How do you color popsicles?
A: To color real popsicle sticks for a craft, mix 1/4 cup warm water and 20 drops of food coloring in a bowl. Soak the sticks or paint them with the mixture. For this DIY project, we used colored paper to create the popsicle shapes, which is an easy and mess-free method.
Q: How can I make my art stand out on the wall?
A: A large piece of art looks best on a wall with lots of space. But occasionally, it simply isn’t enough. Try putting smaller pieces around a large frame if the wall surrounding it makes it appear dwarfed—you could say create a frame of frames. Using vibrant colors like neon or creating a gallery art arrangement helps too.
Q: What is the importance of wall art?
A: Wall art finishes a room and pulls the design together. It adds texture, style, and personality to a space. Whether it’s canvas prints, a painting, or a 3D popsicle wall hanging, art acts as a focal point and can make a house feel like a home.
Q: Can I make this without a Cricut?
A: Yes! This is a great beginner project. You can simply print the popsicle templates, trace them onto your colored paper, and cut them out by hand. The 3D effect comes from the foam tape, not the cutting machine.
Q: Where can I hang this popsicle art?
A: This playful art is perfect for a nursery, a kid’s playroom, or a kitchen. It creates a fun, summery vibe anywhere you hang it. The pegboard backing makes it easy to mount on any wall.


