

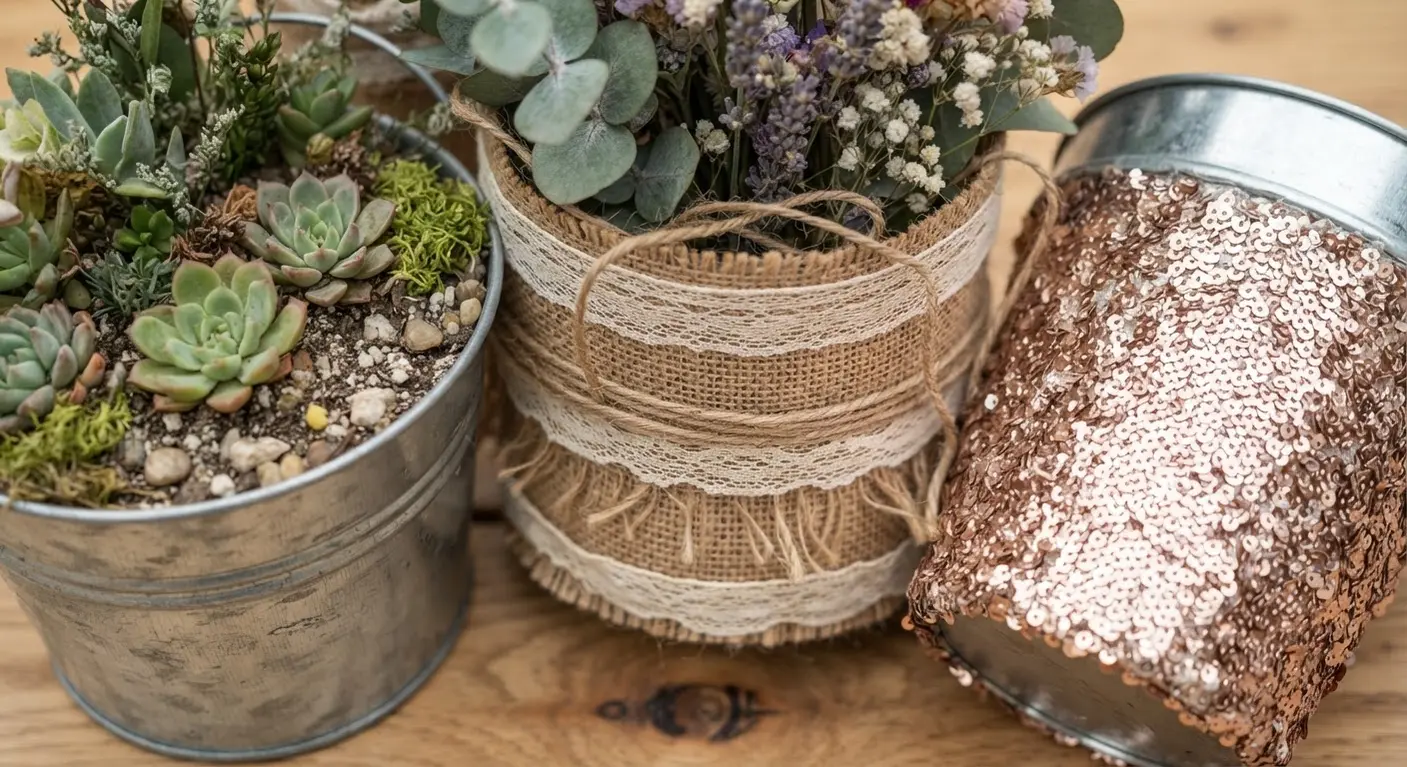
Selecting Metal And Plastic Pail Bases
When exploring diy party pail ideas, the fastest way to ensure your decorations stay put is starting with a rough, uncoated galvanized steel pail instead of a smooth plastic one. That textured surface gives your paint or adhesive something to grip, preventing the whole project from peeling off the first time someone grabs the handle.
For a rustic matte look, chalk paint adheres beautifully to that raw metal, while a glossy enamel spray paint creates a durable shell for outdoor use. Plastic buckets work well for lighter designs, but you need to roughen the surface with fine sandpaper first. Trust me, this one prep step makes all the difference for material adhesion on those curved sides. Your finished piece needs that solid foundation to handle the weight of a floral centerpiece or a bundle of utensils without the decor sliding off.
Adhesive Strategies For Curved Surface Decor
If you are gathering diy party pail ideas, heavy decorations like wooden signs or large fabric flowers need a high-tack permanent adhesive formulated for metal to defy gravity on a curved pail. The good news is these industrial-strength glues come in clear formulas that dry flexible, so they won’t crack when the bucket gets bumped.
For lighter vinyl decals or delicate ribbon, a strong spray adhesive applied in a thin, even coat gives you a moment to reposition things before it sets. The trick is to work in small sections, pressing each element firmly from the center outwards to eliminate air bubbles. You want to avoid standard craft glue here, as it often beads up on metal and fails to create a lasting bond. This careful approach balances the center of gravity, keeping your design secure from the party start to clean-up.
1. Galvanized Steel Succulent Centerpiece Pail
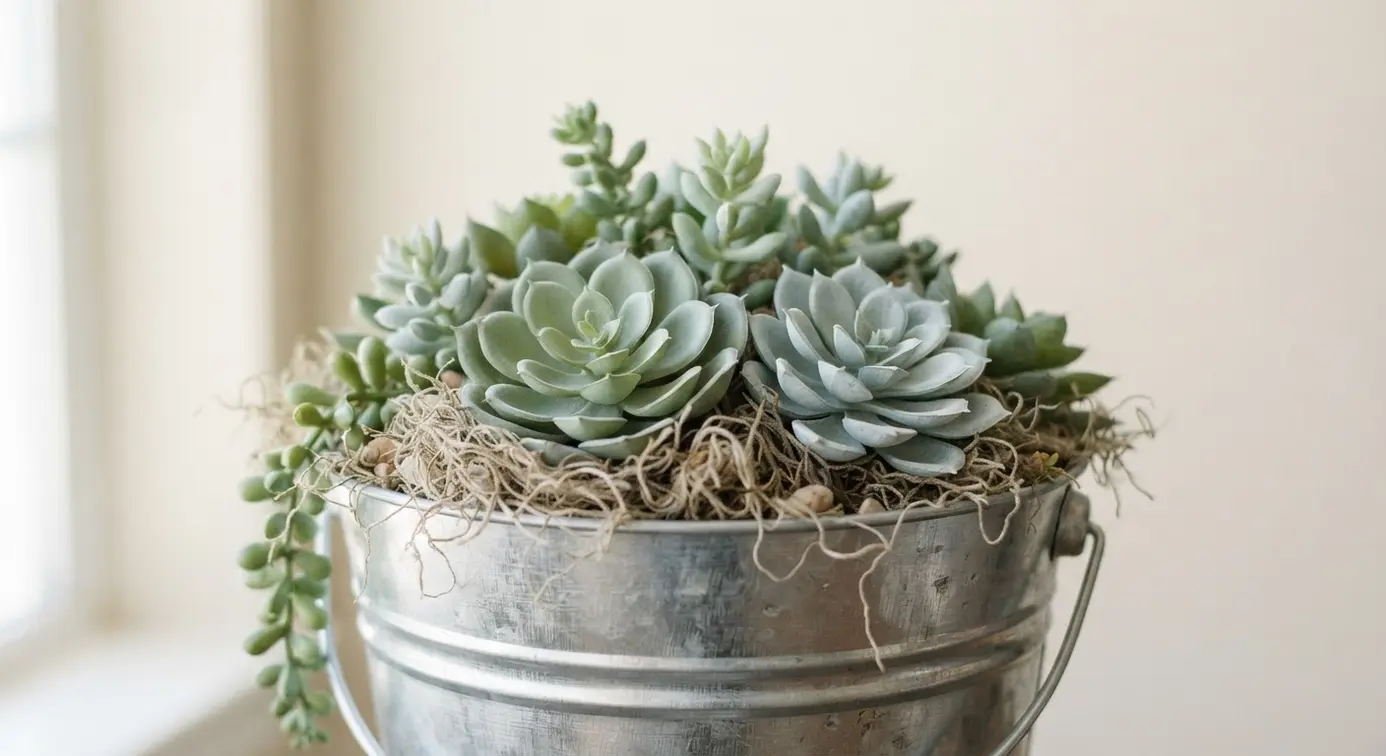
When browsing diy party pail ideas, you might wonder how a simple metal bucket could look so chic on a party table? This one is a personal favorite of mine because it feels so substantial and modern. You start with a galvanized steel pail and fill it with a well-draining cactus potting mix. Then, you get to play with arranging a variety of succulents, mixing different shapes and colors for a lush, textured look.
It works so well because the rustic metal provides a cool, industrial contrast to the soft, fleshy plants. You get a stunning centerpiece that requires almost no upkeep. I always recommend making sure your pail has proper drainage holes drilled in the bottom to keep your succulents happy and healthy. It is the most common mistake, but it is an easy fix with a metal drill bit.
Once your plants are settled, you can add a decorative layer of small pebbles on top. This project is perfect for an outdoor gathering or a rustic indoor dinner party. Your guests will love the natural, elegant vibe. For another easy rustic touch, you could pair this with some DIY paper party horns for a fun, handmade tablescape.
2. Pastel Chalkboard Paint Favor Pail
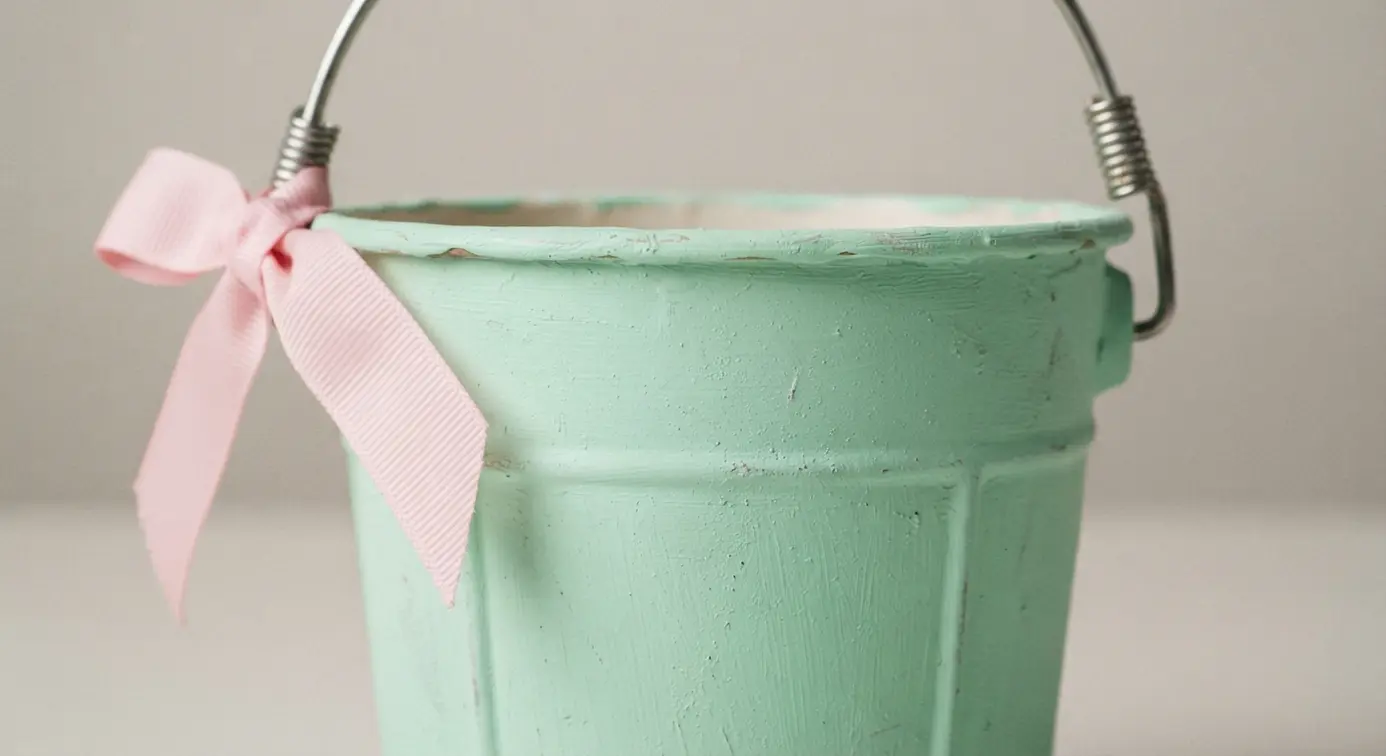
As one of my favorite diy party pail ideas, this looks so elegant, but it is surprisingly simple to pull off. You take a plain metal pail and give it a few coats of a soft, pretty pastel chalkboard paint. I love how you can then write names or sweet messages on each one with chalk. It is that personal touch that makes a favor feel truly special.
Start by cleaning your pails with rubbing alcohol so the paint sticks well. Apply two or three thin coats, letting each dry completely. The magic happens after they cure for a day or two. You get this charming, reusable container that guests can fill with candy or a mini plant.
3. Glitter Dipped Gold Plastic Pail — A Sparkly Accent
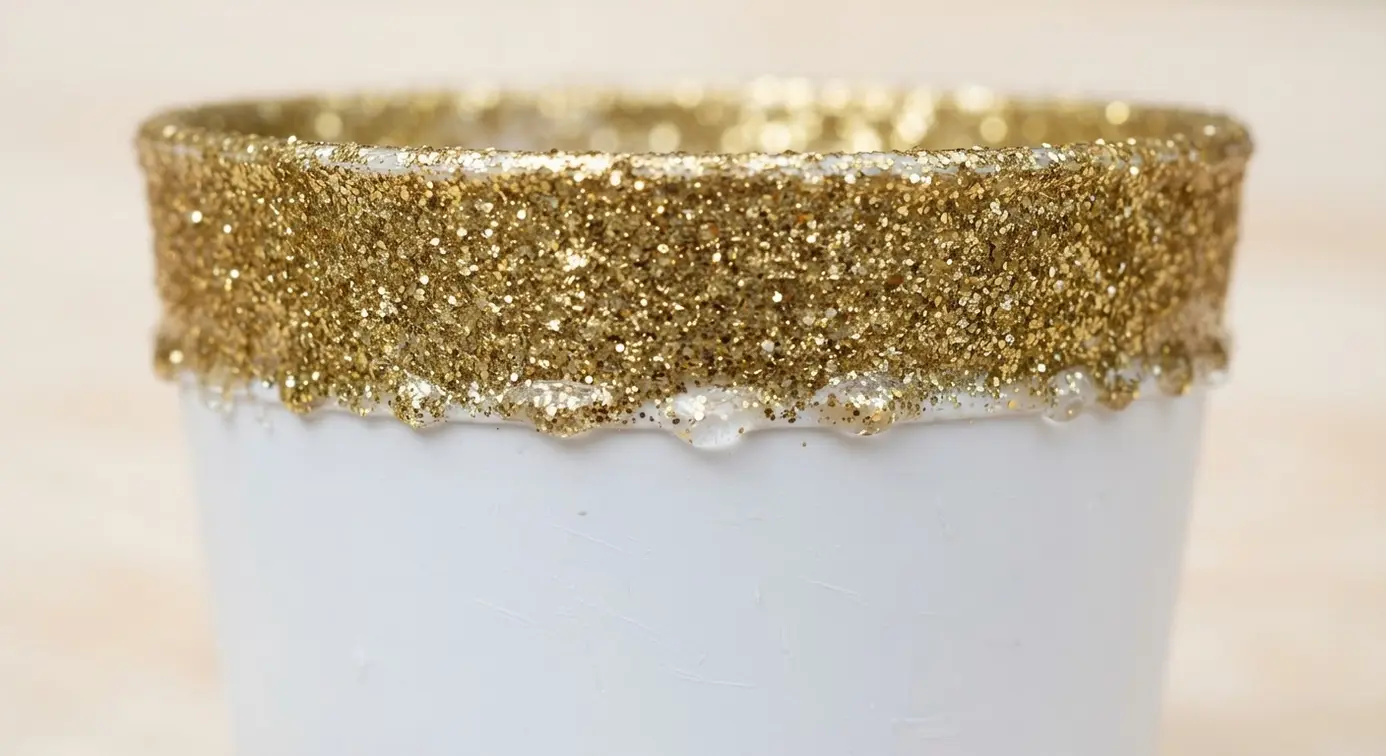
When testing diy party pail ideas, you’ll start with a plain plastic pail and apply a generous layer of clear adhesive to the lower section you want to sparkle. While it’s still tacky, pour on your gold glitter for full, dazzling coverage. Let it dry completely, then I always recommend a final coat of clear sealant spray to lock everything in place.
That step prevents any glitter shedding, which is a common issue if you skip it. Isn’t it satisfying to create something that looks so festive with minimal effort? This pail works perfectly as a standalone centerpiece or to hold utensils. For a complete look, match it with your housewarming party invitation cards to set a cohesive, celebratory theme from the start.
4. Rustic Burlap Wrap and Lace Trim Pail
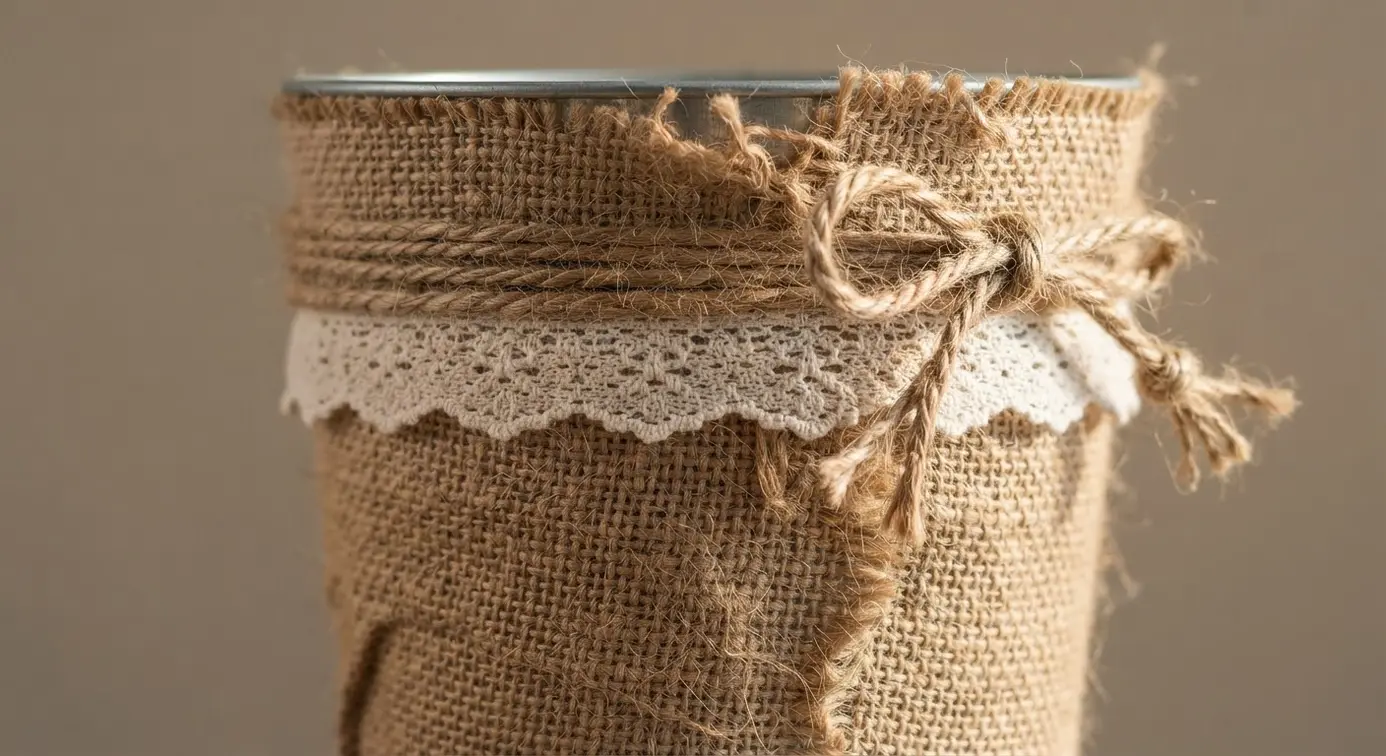
If you want classic diy party pail ideas, this one is a timeless choice. It looks so elegant, but the technique is wonderfully simple. You wrap a strip of natural burlap around your pail and secure it with adhesive. Then, you layer a piece of delicate lace trim right on top for that perfect rustic-chic contrast.
I love how the rough texture of the burlap plays off the soft, intricate lace. It creates a handmade feel that works for so many events, from weddings to birthday parties. Just be sure to pull both materials taut as you glue to avoid any wrinkles. These pails are perfect for holding utensils or floral arrangements.
You could even use one as a charming base for creative DIY cupcake containers on a dessert table. Isn’t that a lovely way to tie your whole theme together? That approach brings a grounded, earthy vibe to your setup.
5. Superhero Logo Painted Metal Pail
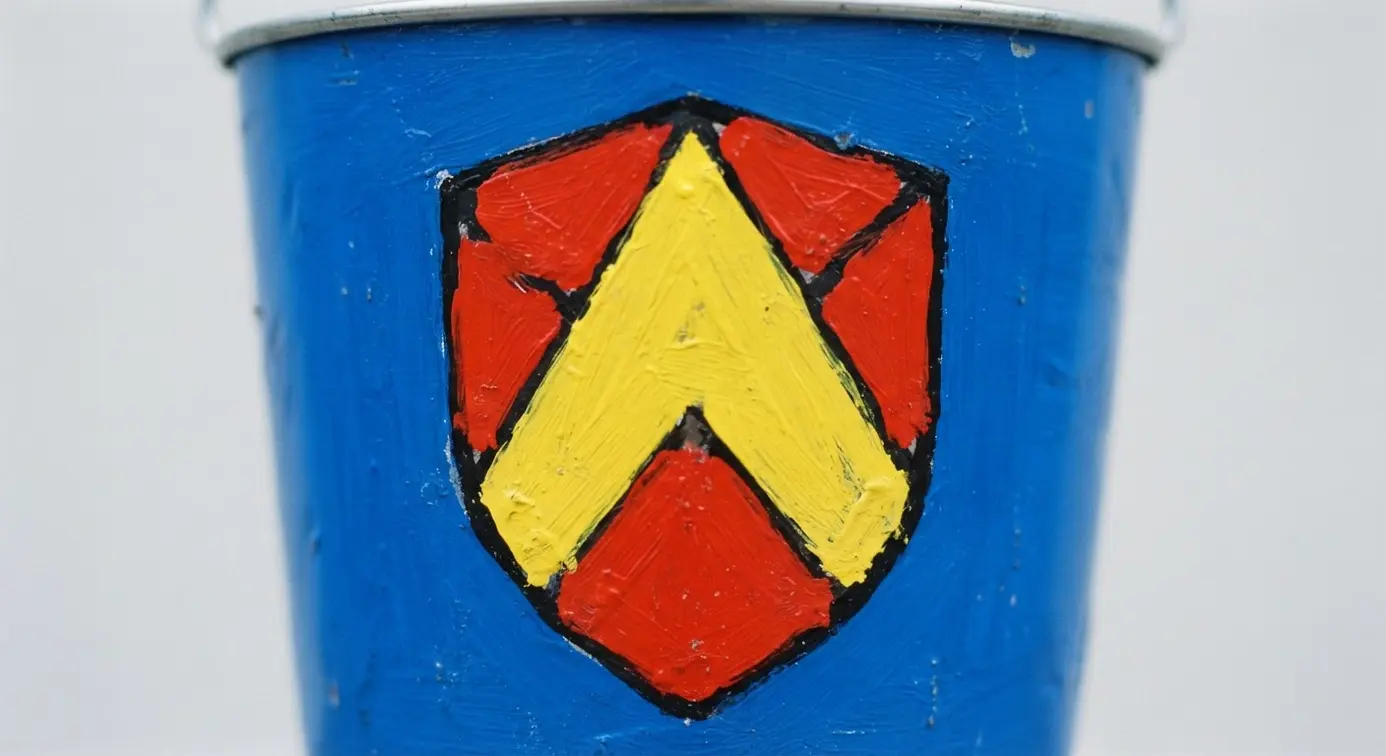
Among kid-friendly diy party pail ideas, this project looks like a professional store-bought item, but you can make it yourself for a fraction of the cost. Start with a plain metal pail and give it a thorough clean, then apply a coat of metal primer for the best results. I love using acrylic paint pens for the fine details of the logo, but stencils are a lifesaver if you are not confident in your freehand skills.
Apply the paint in thin layers, letting each one dry completely to prevent any smudging. The key to a long-lasting finish is a protective clear acrylic sealant, which makes your pail perfect for holding treats or party favors. You will feel so proud handing out these custom, functional decorations at your next celebration.
6. Beaded Handle Mermaid Theme Pail
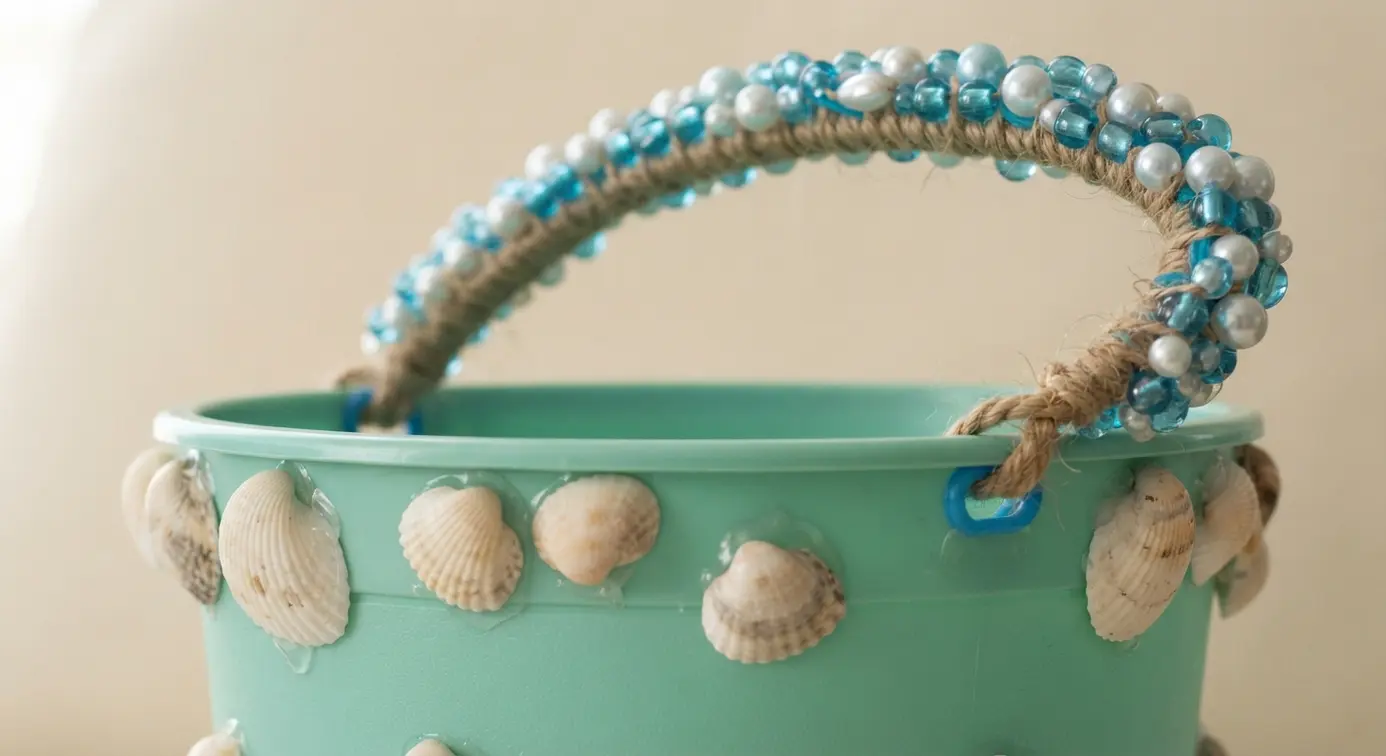
When ranking diy party pail ideas, the handle makes this one special, but the assembly is honestly the easiest part. You start with a plain pail and give it a shimmering base coat in ocean colors. Then, you add your mermaid magic with seashells and glitter. The real star is threading those gorgeous beads onto a sturdy cord.
It works so well because the custom beaded handle instantly makes your pail look like a treasure from the deep. I love using a mix of iridescent and pearlized beads for that authentic underwater sparkle. Your party guests will adore this whimsical touch.
Before you start beading, plan out your pattern on a flat surface. This prevents you from having to re-thread everything. And if you are making this as a party favor, a matching handmade donut-themed greeting card makes the perfect, personal invitation.
7. Construction Pattern Washi Tape Pail
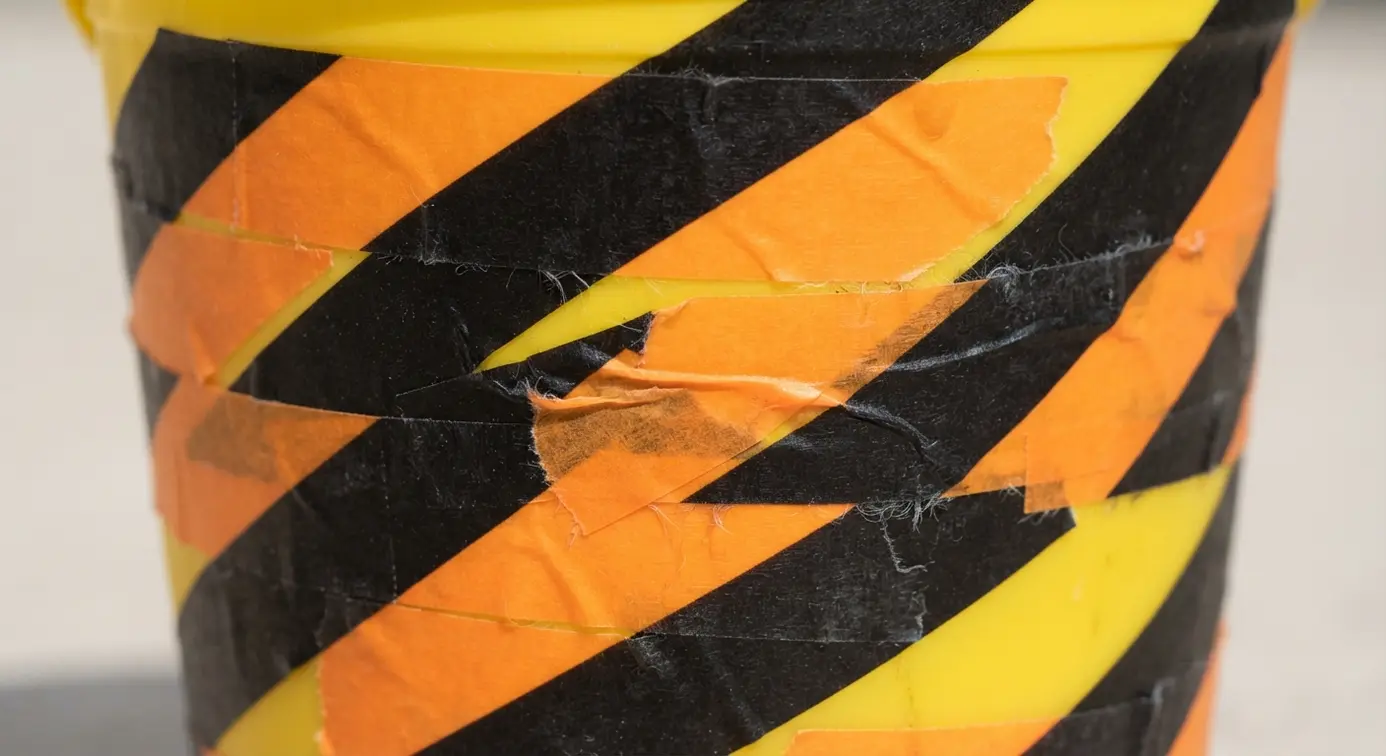
For parents seeking diy party pail ideas, who would have thought a simple bucket of tape could be so endlessly fun? This one is a total win for kids who love trucks and building things. You get a whole pail of themed rolls, each with different construction patterns like excavators and traffic cones. The low-tack adhesive means they can stick it, peel it, and reposition it on almost any clean surface without leaving a mess.
It works so well because it combines a beloved theme with an incredibly forgiving craft material. I love how it encourages creative play without needing any extra tools. A practical tip is to apply the tape slowly and press from one end to the other to avoid air bubbles. For another fun way to add a motivational touch to your party, you could incorporate an inspirational felt banner craft alongside these decorated pails.
Trust me, seeing their little faces light up as they create their own construction scenes is the best payoff. Feel the joy of a truly simple, engaging activity.
8. Polka Dot Paper Decoupage Pail
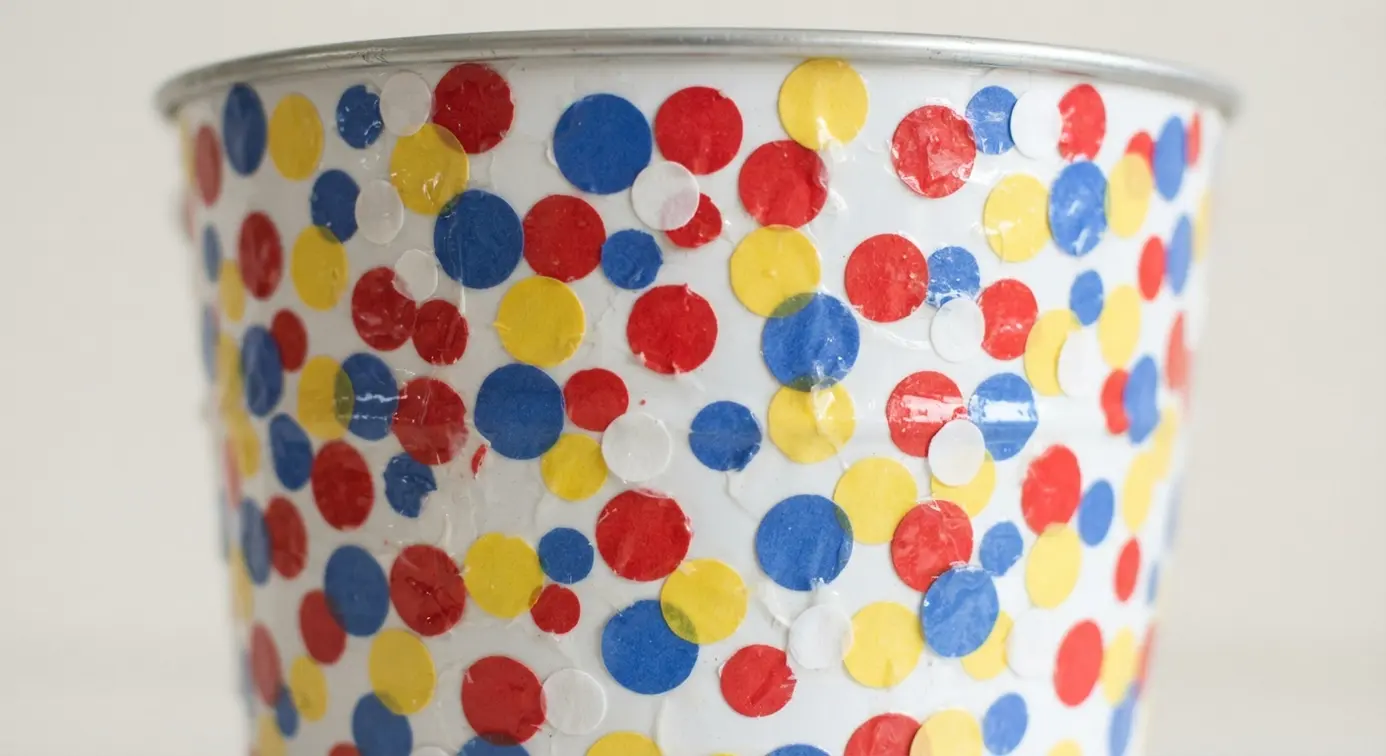
If you love retro diy party pail ideas, this one looks so professional but is surprisingly simple to pull off. The secret is in the decoupage medium, which acts as both glue and a protective top coat. You will cut your polka dot paper into shapes, apply the medium to your pail, and smooth the paper down. After everything dries, a few more thin coats seal the deal.
It works because you are basically creating a smooth, durable skin of paper that looks painted on. I love how forgiving this technique is for covering up old buckets or plain containers. A pro tip is to use a foam brush to avoid visible brush strokes in your finish. Doesn’t it feel great to give an old item a totally new, cheerful life?
9. Floral Fabric Lined Tin Pail
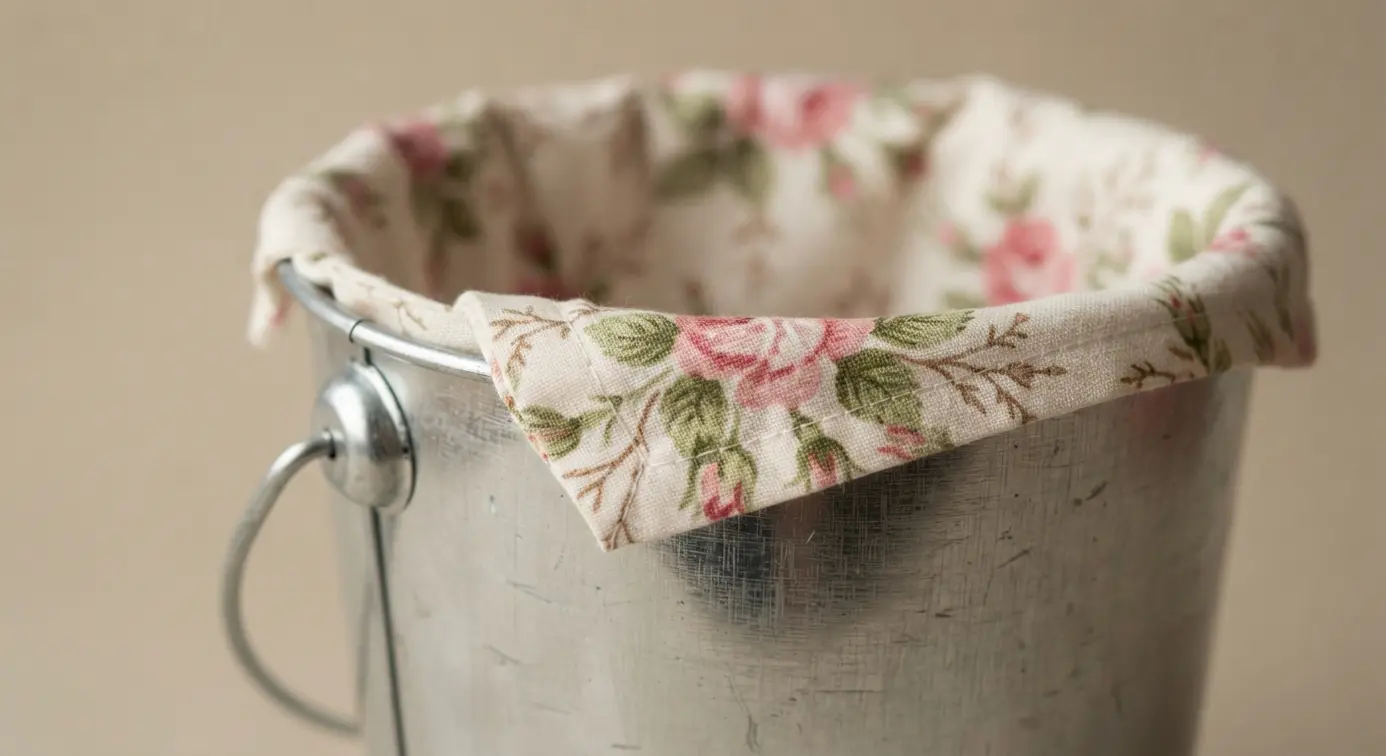
Incorporating soft diy party pail ideas looks so fancy, but it is one of the most forgiving DIY projects out there. You start with a plain galvanized tin pail and fit it with a pretty floral fabric liner. The liner softens the rustic metal and adds a huge burst of color and pattern.
Trust me on this one. Always measure your pail’s height and circumference before you cut your fabric, and create a paper template first. This prevents a sloppy fit and saves your good material. You can sew a simple cylinder with a hem at the top, or just use a little craft adhesive to secure it inside.
It works because it blends durable, practical storage with soft, decorative charm. You will love how it looks filled with treats or as a centerpiece. For a polished party detail, pair your finished pail with some printable Halloween party gift tags to label your goodies.
10. Glow In The Dark Space Theme Pail
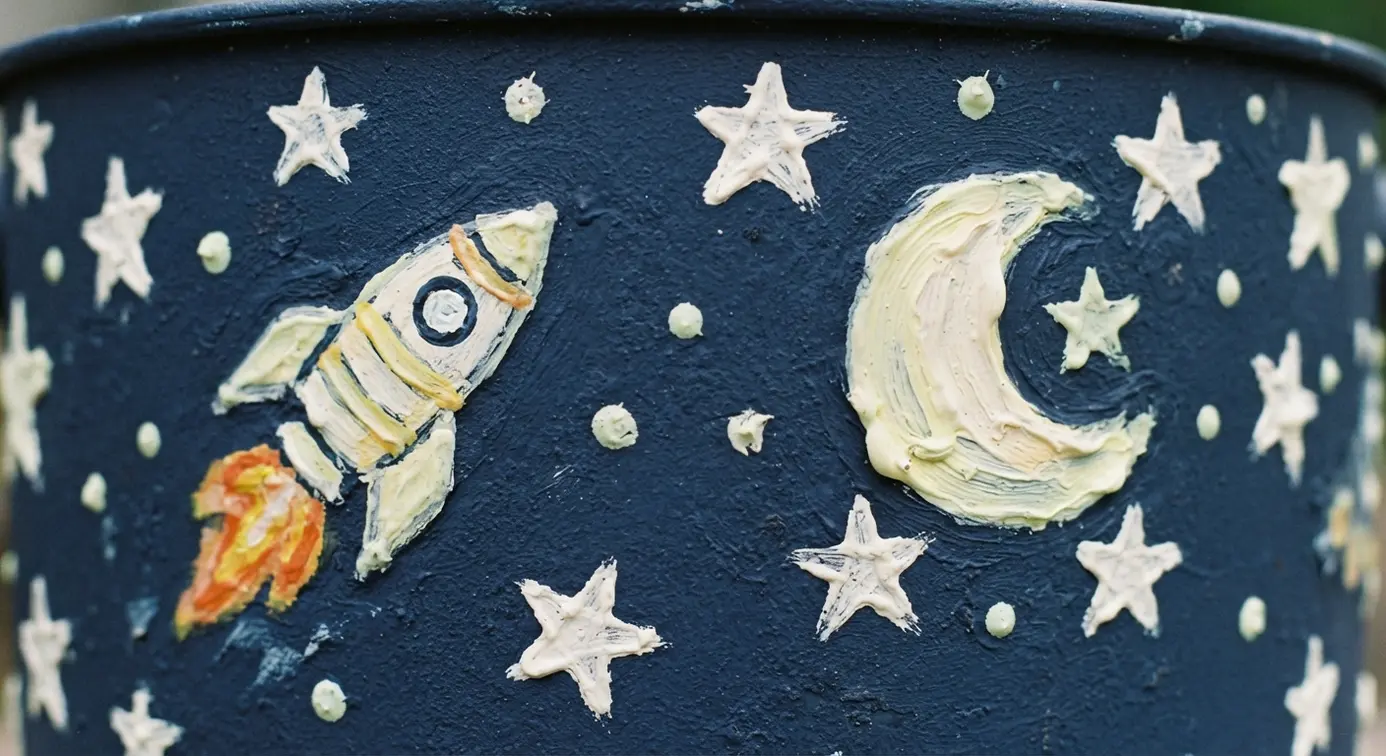
Ever wondered which diy party pail ideas make a space party feel truly magical? This pail is your secret weapon. It looks like a regular plastic bucket covered with planets and stars, but once you turn off the lights, those cosmic designs start to glow. The key is the phosphorescent pigments mixed right into the plastic.
They soak up light energy from a lamp or the sun and then release it as a soft, ethereal light in the dark. I love how this works because it feels like a bit of captured starlight. It sparks so much imagination for kids and makes a fantastic party favor or a fun nightlight in a bedroom. The glow does fade over time, so for the best effect, make sure you give it a good, long charge under a bright light first.
Isn’t that a fun way to bring a bit of the cosmos into your decorations? For a more grounded, earthy contrast to this celestial glow, you could pair it with a rustic log candle holder to create a full sensory experience.
11. Felt Dinosaur Silhouette Metal Pail
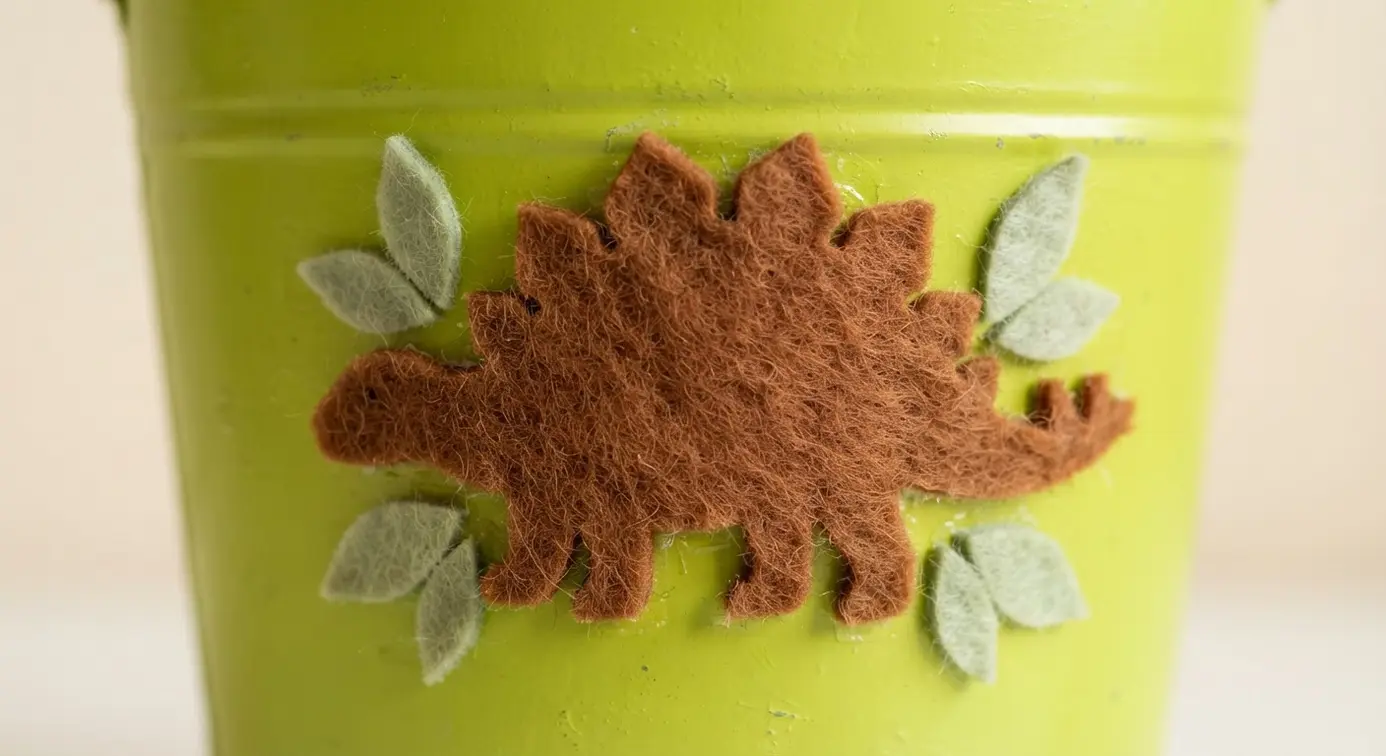
For parents exploring diy party pail ideas, this project looks intricate, but it is one of the simplest ways to add a huge dose of personality to a plain pail. You start with a clean metal pail and trace your favorite dinosaur shape onto a sheet of non-fraying felt. I love how the soft felt texture contrasts with the sturdy metal.
Cut out the shape carefully and attach it with a thin layer of strong adhesive, pressing from the center out to avoid air bubbles. This creates a playful, handcrafted look perfect for a child’s room or a themed party. The result is a unique piece that feels personal and fun.
Trust me on this one: always let the glue cure fully before you use the pail. That patience ensures your dino stays put for all the adventures ahead.
12. Chevron Ribbon Trimmed Party Pail
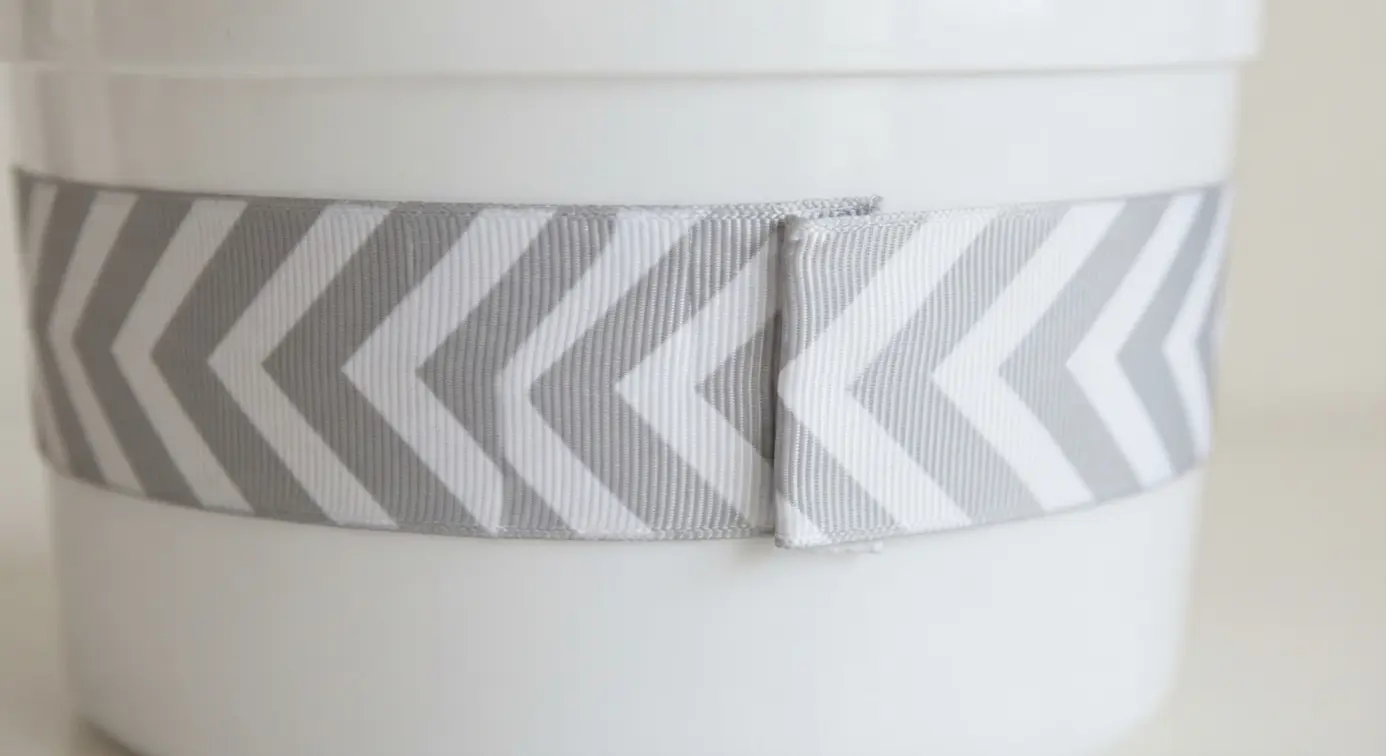
When you want modern diy party pail ideas, this one looks so sleek, but the process is wonderfully simple. You just need a clean, dry pail and a roll of your favorite chevron ribbon. Measure the circumference of your pail and cut your ribbon to length, adding a little extra for overlap. Apply a thin, steady bead of hot glue around the pail where you want the ribbon, then press the ribbon down firmly and smoothly.
Keep it taut as you go to avoid any wrinkles, and hide the seam at the back. It works because the graphic chevron pattern instantly elevates a plain bucket into something festive and custom. I love how you can match the ribbon colors to any party theme. For a really polished look, add a matching bow to the handle or create a set of these pails as part of your decorative doily bowls craft display for a cohesive tablescape.
Your guests will love taking these home as favors. The geometric lines give a crisp, modern edge.
13. Sequined Glamour Birthday Event Pail
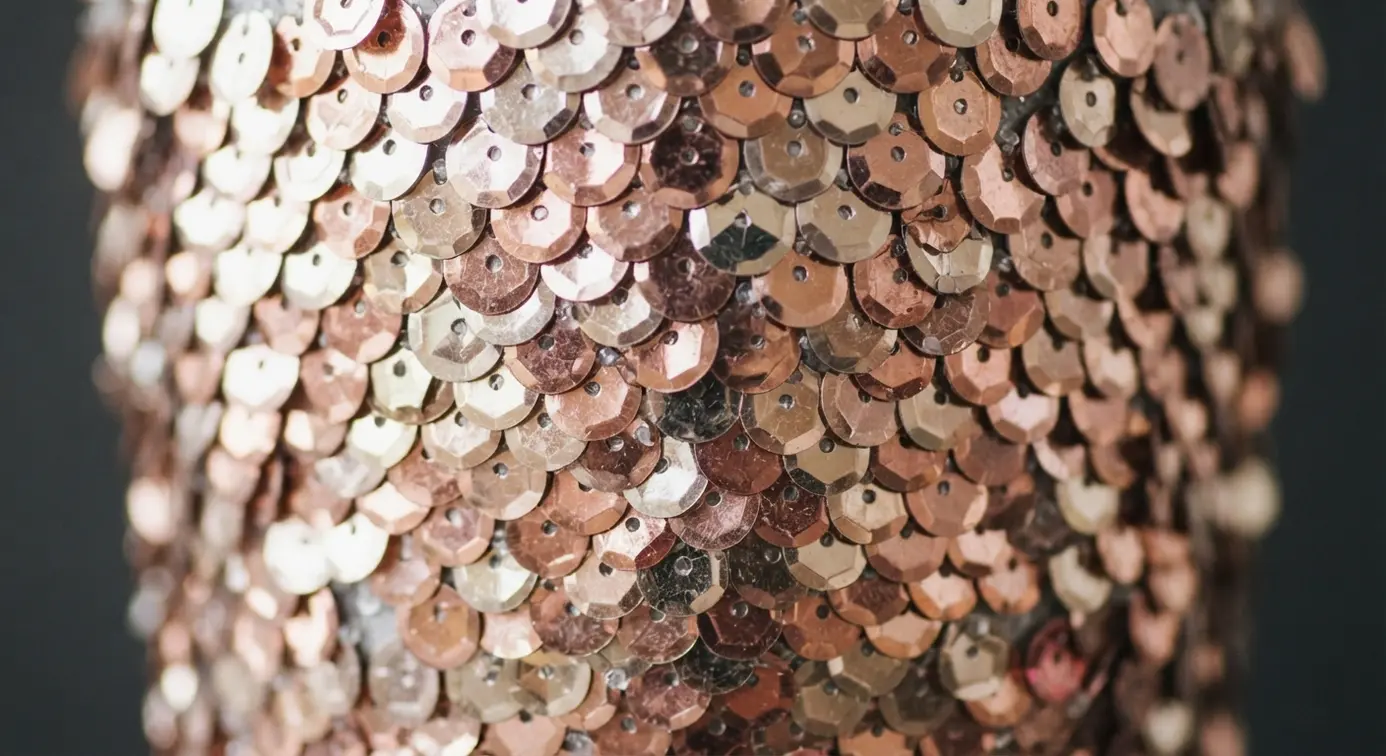
You might think a glam approach to diy party pail ideas is a huge project, but trust me, it is surprisingly simple. The magic is in applying loose sequins one by one with strong glue, working in small sections so the adhesive stays tacky. I love starting with a painted gold or black base to make the sparkle pop even more. Does that not sound satisfying?
Once the sequins are set, you can add extra flair. Tie a satin ribbon around the handle or glue a few feathers to the rim for a touch of drama. This pail works because it instantly feels like a luxury keepsake, something guests will remember. It is a fantastic way to elevate your party’s look, and you can even personalize it with a name. For another celebration craft that guests love, you will need to see how to make DIY money leis for celebrations to add that extra sparkle.
My go-to tip is to use tweezers for placing those tiny sequins precisely. It saves your fingers and gives you perfect control. Feel the glamour when you see it all finished and sparkling.
14. Twine Wrapped Farmhouse Style Pail
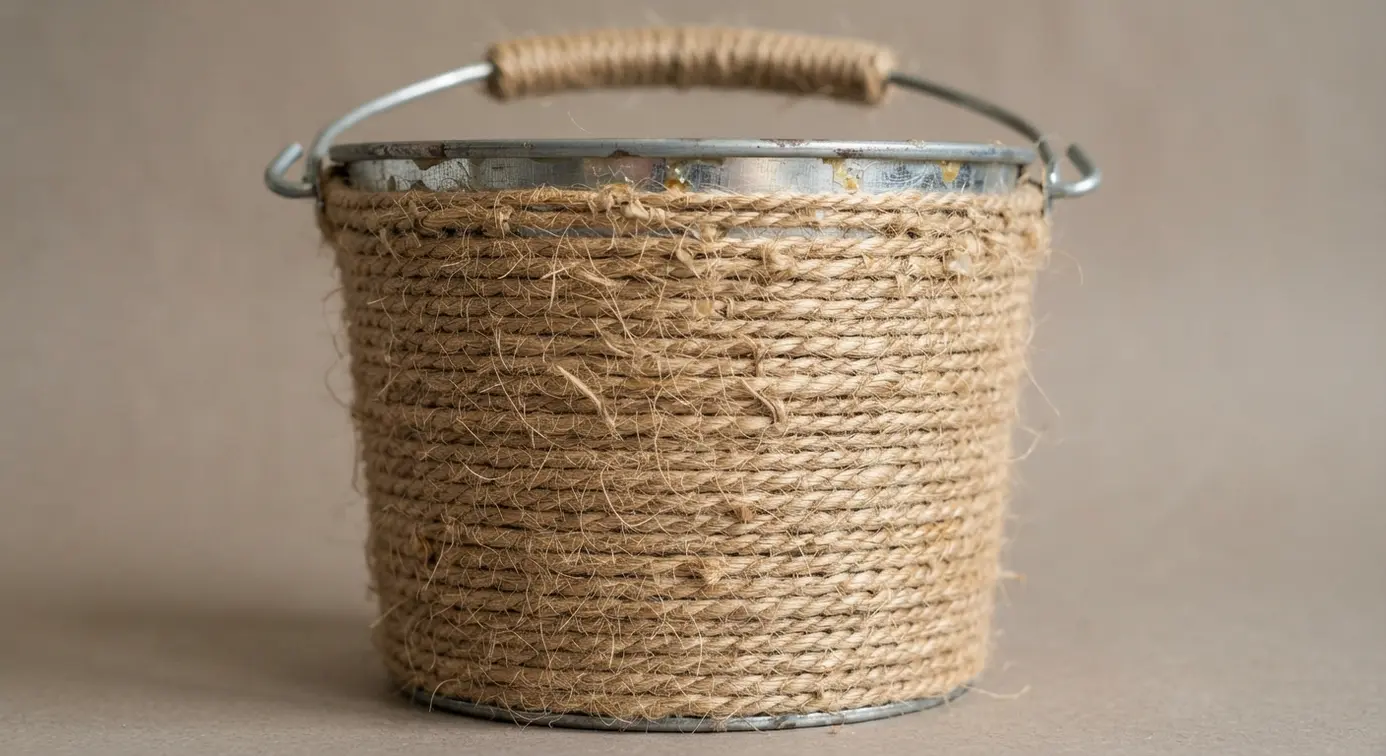
If rustic diy party pail ideas are your goal, trust me, this is one of the simplest ways to add instant charm. You start by wrapping jute twine tightly around a clean pail, securing it with a hot glue gun as you go. Keep each row snug against the last for a seamless, textured finish.
The transformation is so satisfying because it turns a plain container into a cozy, handmade-looking piece full of warmth. You will love how this natural element elevates your whole tablescape. That tactile surface gives everyone a wonderful backdrop.
15. Watercolor Drip Effect Plastic Pail
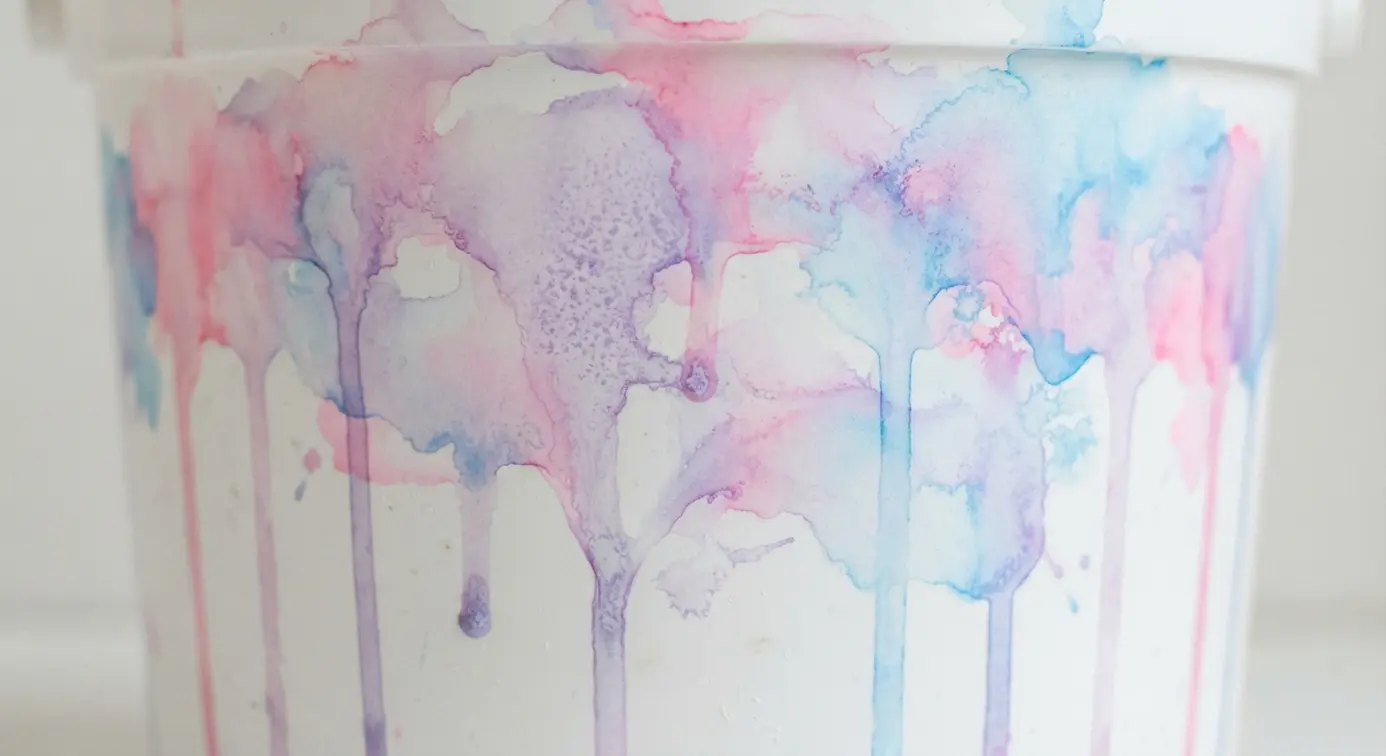
This remains a top pick among diy party pail ideas because it looks like a professional artist decorated it, but the secret is a clever manufacturing trick. The soft, flowing colors are typically applied using a hydro dipping process, where a film with the pattern is floated on water and the pail is dipped right through it. This gives you that seamless, organic look with beautiful gradients you cannot get from hand painting.
It works because it adds an instant, artistic softness to a simple plastic bucket. I love how it turns a basic utility item into a decorative piece that feels personal. For a complete party display, you can easily fill these with flowers and pair them with some DIY photo holders for party displays to create a charming vignette.
Feel that creative satisfaction when your setup comes together. The flowing edges bring an airy, relaxed mood.
Preserving Finished Pails For Future Events
To protect all your diy party pail ideas, a quick spray with a clear matte acrylic sealer after your paint dries completely locks in your work and creates a wipeable surface. This protective layer is the secret to making your handmade decor last for multiple parties, as it shields the finish from condensation off drink cans or greasy fingers reaching for snacks.
For pails with fabric or paper elements, use a brush-on decoupage medium instead, which seals and protects those softer textures. Once the event is over, a damp cloth easily wipes away any spills or dust, so the pail is ready for household storage. This final step transforms your project from a single-use item into a versatile piece of party decor you will pull out year after year.
Conclusion
The best part about these projects is how they turn a simple container into a memory from your event. Your guests will notice the care you put into each detail, and you will have the satisfaction of creating something unique. For your next step, pick one style that matches your party theme and gather your materials before you start.
Take your time layering ribbons or letting paint dry completely for a clean finish. These diy party pail ideas are a wonderful way to add a personal touch that makes your celebration feel more connected and special.
FAQs
Q: What type of paint works best on metal pails?
A: Acrylic craft paint adheres well to metal, especially if you lightly sand the surface first. For a durable finish on galvanized steel, use a spray paint formulated for metal. Always let each coat dry fully to prevent peeling.
Q: How do I make decorations stick to a plastic pail?
A: Use a strong craft glue like E6000 or a hot glue gun for secure adhesion. For painting plastic, clean the surface with rubbing alcohol and use a paint primer designed for plastic to help the color stick and resist chipping.
Q: What can I put inside a decorated party pail?
A: Fill them with wrapped candies, small toys, or packets of seeds for favors. For centerpieces, use floral foam to hold fresh or faux flowers, or fill them with moss and pillar candles. Consider the pail weight when filled to keep the table balanced.
Q: How do I attach a ribbon neatly without wrinkles?
A: Measure and cut your ribbon first. Apply a thin line of glue along the back of the ribbon, not the pail. Start at a seam and press the ribbon down smoothly, working your way around. Use clothespins to hold it in place while drying.
Q: Can I reuse a decorated pail after the party?
A: Yes, many decorations are durable. Gently remove any glued-on items if needed. For painted pails, handle them with care to avoid chipping. These pails work well for storage, small planters, or decor in a child’s room afterward.








