

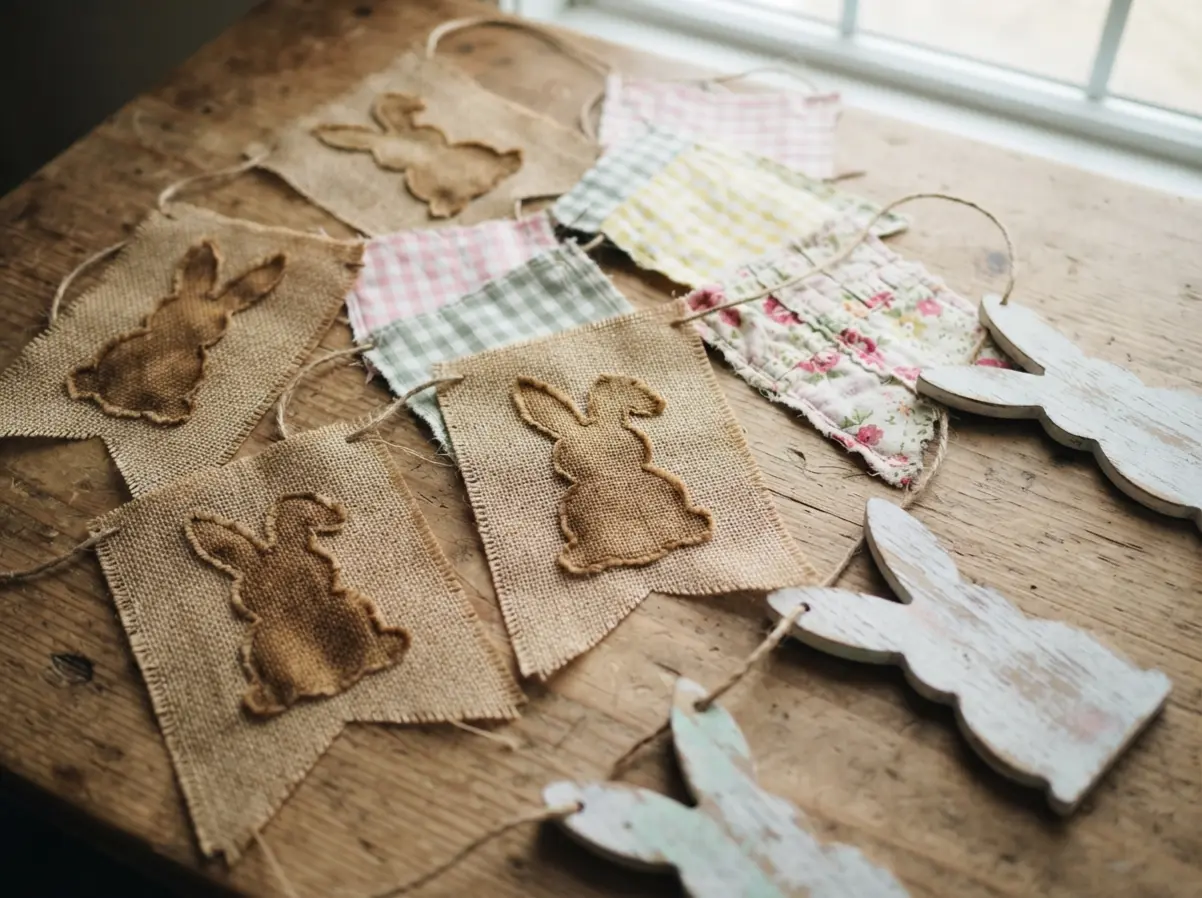
You know that feeling when store-bought decorations look a bit too perfect and lack the soul you want for your home? Creating a DIY easter banner with a vintage touch is about bringing in that warmth and personal history.
That handmade quality highlights the soft textures of old fabrics, the gentle colors of faded pastels, and the charm of something that looks lovingly crafted by your own hands. Each idea focuses on a different material or technique, from tea-stained fabrics to pressed botanicals, giving you a wonderful starting point for your DIY easter banner creation.
Achieving The Authentic Heirloom Fabric Aesthetic
The quickest way to spot a beginner DIY easter banner is stiff cardstock that hangs flat and bright against the wall. You want a soft drape that whispers farmhouse charm, and that comes from the fabric foundation. Raw linen, cotton ticking, or a piece of frayed burlap give you that perfect base weight. Then you layer on your textures with mismatched ribbon scraps and scraps of lace trim.
The magic happens when you add a single, hand-stitched detail, like a running stitch around the edge of a triangle. This small imperfection is the secret that makes your garland look lovingly made, not store-bought. Your finished piece should feel light and organic in your hands.
Curating Your Color Palette For Vintage Appeal
Modern DIY easter banner projects often fail with synthetic, high-contrast colors that feel harsh and new. The vintage look lives in a muted, dusty world of soft teal, butter yellow, and dusty rose. Think of the faded cover of an old storybook, not a neon candy wrapper.
Cream white is your best friend here, acting as a neutral canvas that softens everything it touches. Use a fabric-safe ink pad for any stamped letters or motifs, as it soaks into the muslin for a naturally aged effect. Avoid anything glossy or plastic-looking. Your goal is a palette that feels like it was pulled from a spring garden after a soft rain.
1. Tea Stained Burlap Bunny Silhouette Banner
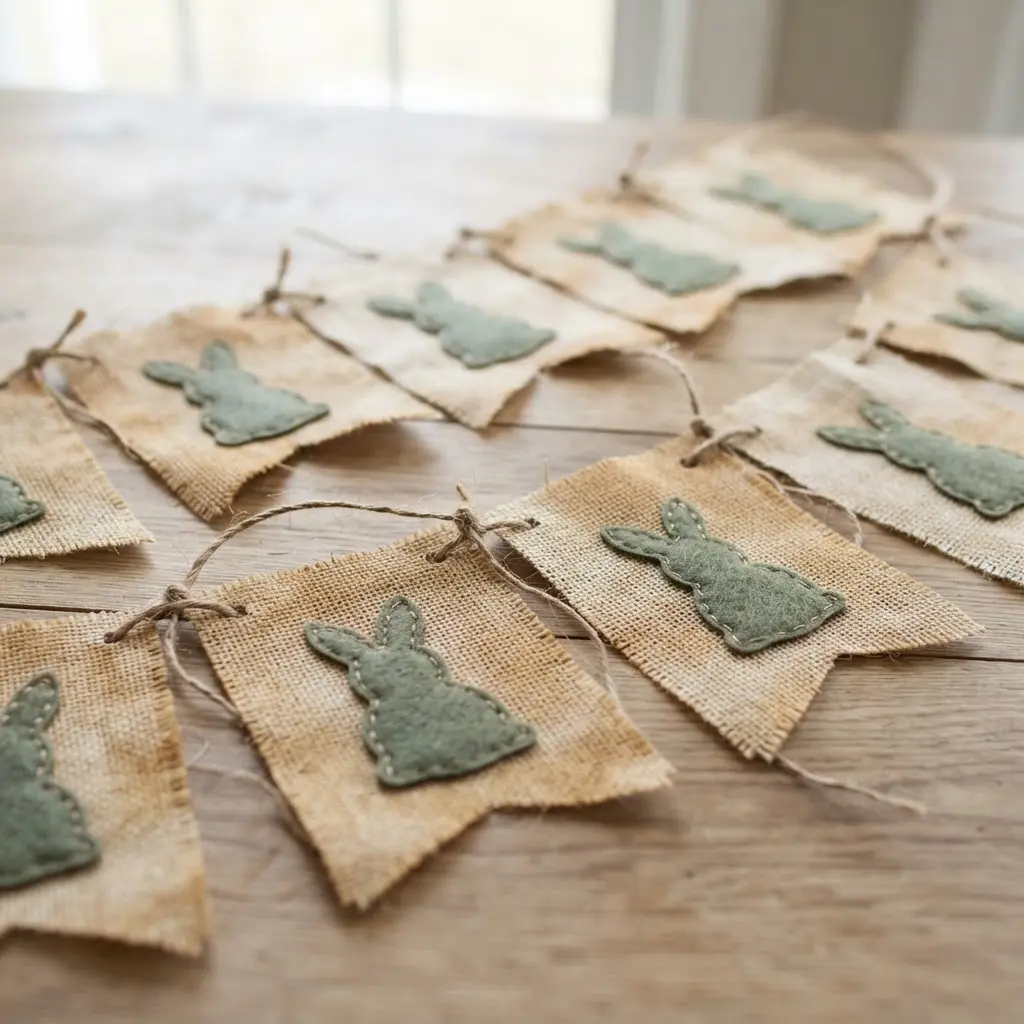
Who would have thought you could build a DIY easter banner with such a charming, vintage look using a simple tea bag? This project gives you that soft, farmhouse feel perfect for spring. You will trace and cut your bunny silhouettes from natural burlap fabric, then steep them in a strong batch of black tea.
That tea bath is what gives them that beautifully faded, aged color. I love how the natural texture shows through the stain. It feels so much more special than plain cutouts.
Once your bunnies are dry, you will glue them to a length of twine. This is a great first major piece, but read up on some DIY felt banner ideas so you can see how different materials change the look. Trust me on this one, your finished garland will look stunning and handmade.
2. Vintage Sheet Music Egg Garland Banner
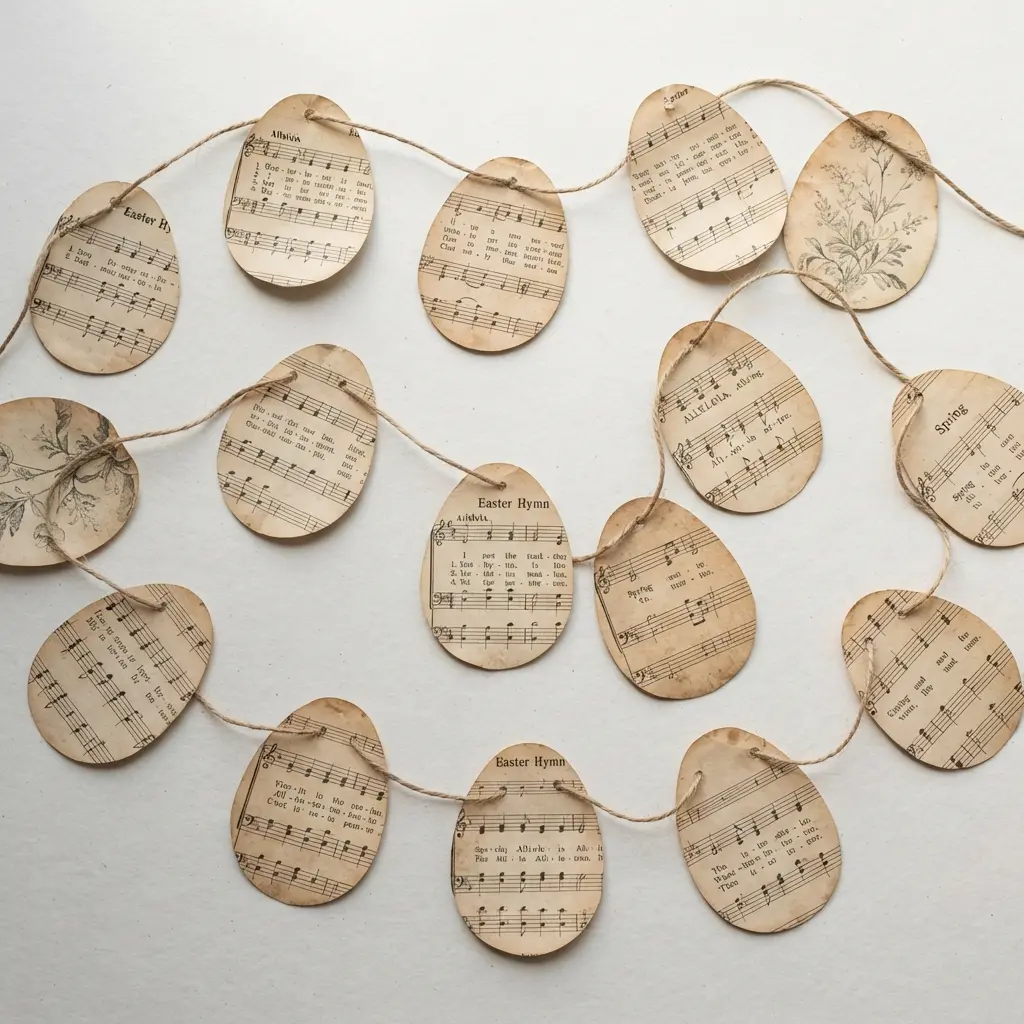
Who says your Easter decorations have to be brand new? This project feels like uncovering a hidden treasure. The process is simple. First, you will trace and cut your egg shapes from vintage sheet music. I love using an old hymnal for that perfect, naturally aged look.
What makes this DIY easter banner so special is its story. Each little egg carries a fragment of melody and history, creating a nostalgic feel. Your finished garland will look charmingly imperfect, which is exactly the point. A quick beginner tip is to back fragile paper with a piece of light cardstock before cutting to prevent tears.
Feeling inspired to create more handmade holiday decor? You might find the perfect companion project with some adorable designs to wear while you work. Then punch holes and string them onto twine or ribbon.
3. Pastel Gingham Floral Patchwork Pennant Banner
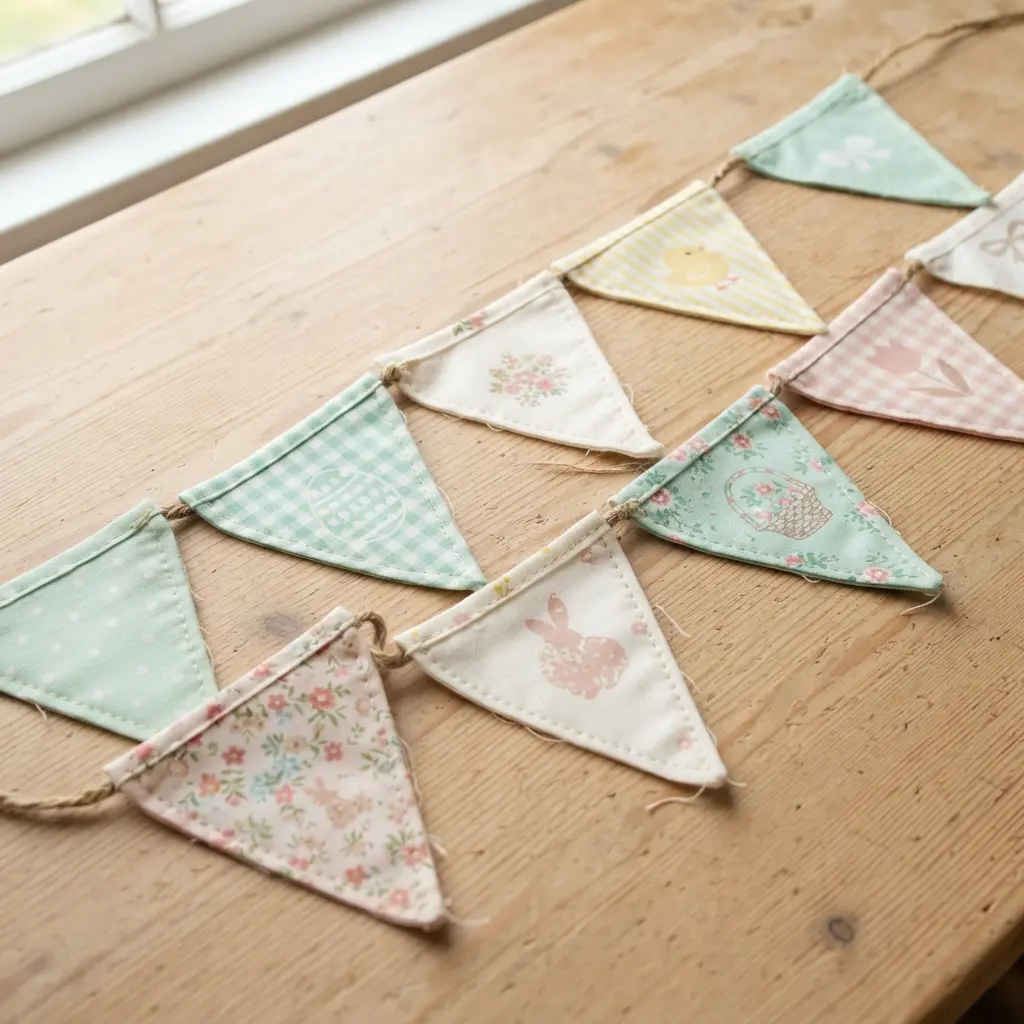
This DIY easter banner always gets the most compliments at my house. It looks complex, but the patchwork is simply a matter of sewing a few coordinating quilting cotton pieces together before cutting your pennant shape. I love how the soft checks and tiny florals blend into something so charming and unique.
Your key to a professional finish is pressing every single seam with an iron as you go. This keeps everything flat and makes sewing the binding tape over the top edges a breeze. Does not that sweet, handmade look simply make you smile?
Since this project involves some sewing, it is a perfect activity to pair with some easy Easter egg treats for a full afternoon of festive fun.
4. Frayed Edge Lace Trimmed Fabric Banner
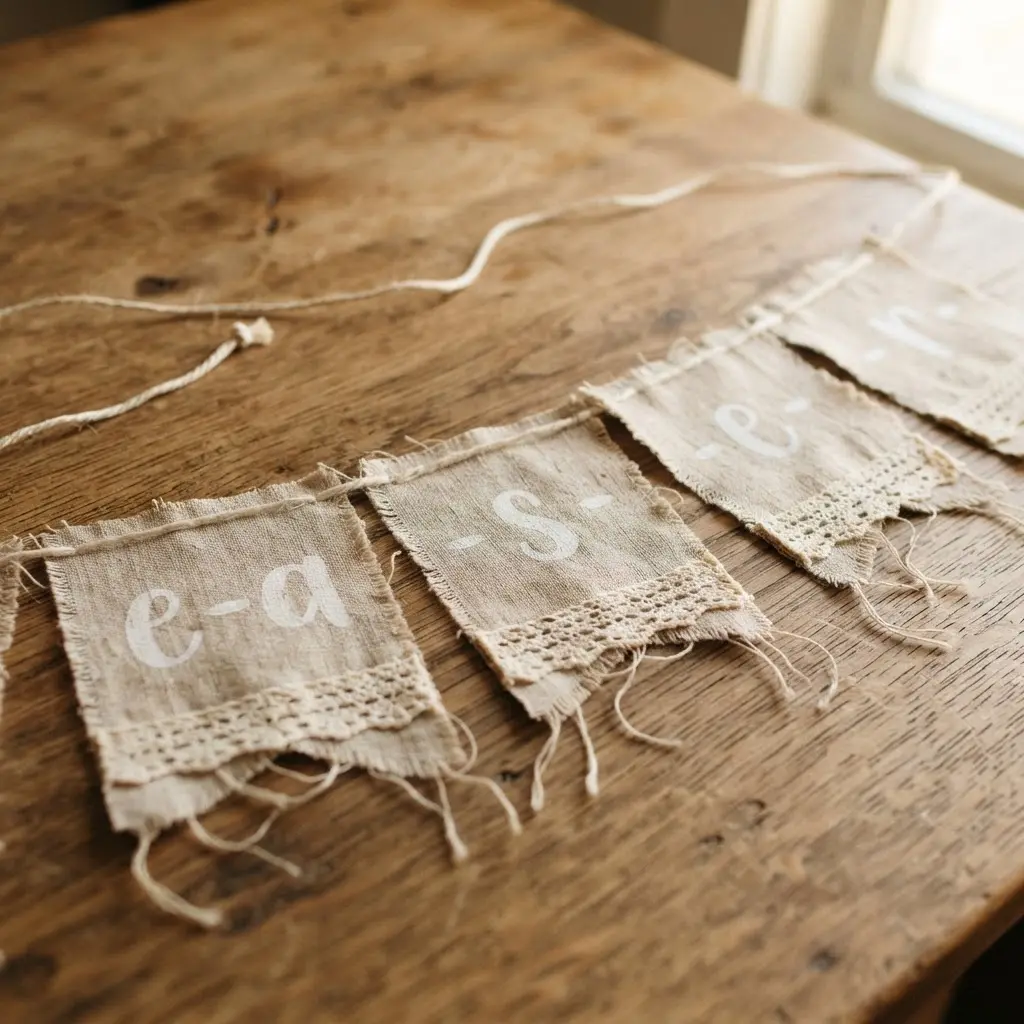
This banner looks so delicate and complex, but its charm comes from a simple contrast. You intentionally cut or tear fabric pieces, then pull threads to create soft, frayed fabric edges. You combine those with pretty lace trims, sewing or knotting them onto a hanging ribbon.
I love how the raw texture of the fabric balances the lace details on this DIY easter banner. It creates a wonderfully soft, vintage look that feels handmade and personal.
For an extra elegant touch, pair your banner with some beautiful golden Easter egg decorations on your table or mantle. Does not that sound like a perfect spring setup?
5. Hand Stamped Kraft Paper Scroll Banner
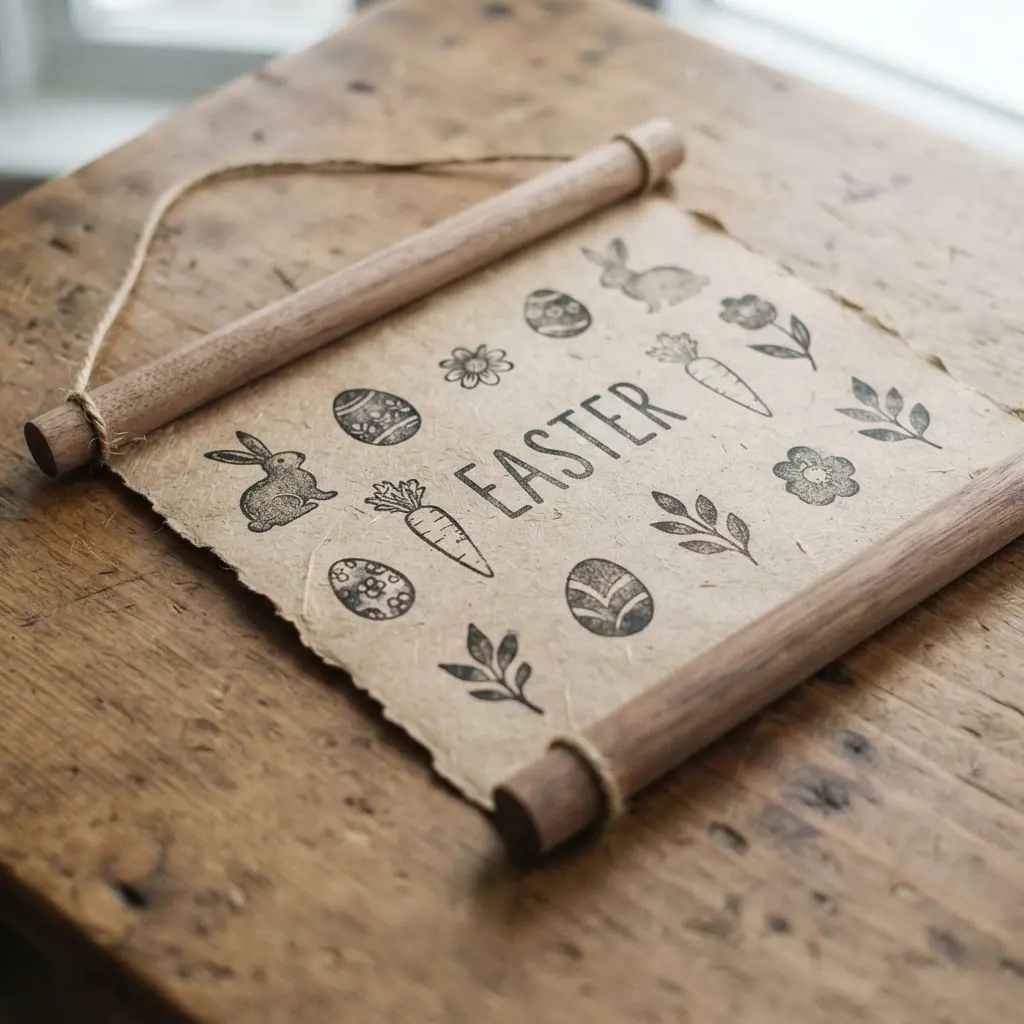
Who would have thought something so rustic and chic is so simple to make? You cut a long piece of kraft paper and stamp it with your favorite Easter designs and a happy message. The natural, earthy tone of the paper makes those stamped images pop in a wonderfully understated way.
This project works because the hand-stamped look gives your DIY easter banner a charmingly imperfect feel. It gives your decor a personal, vintage look. I love how quick it is to put together. For a fun twist that uses a similar rustic material, try making some gold dipped newspaper Easter eggs to display with it.
Trust me on this one: always test your stamp on a scrap piece first to get the pressure and ink coverage exactly right. Feel the satisfaction of hanging up your handmade banner.
6. Pressed Dried Flower Cardstock Pennant Banner
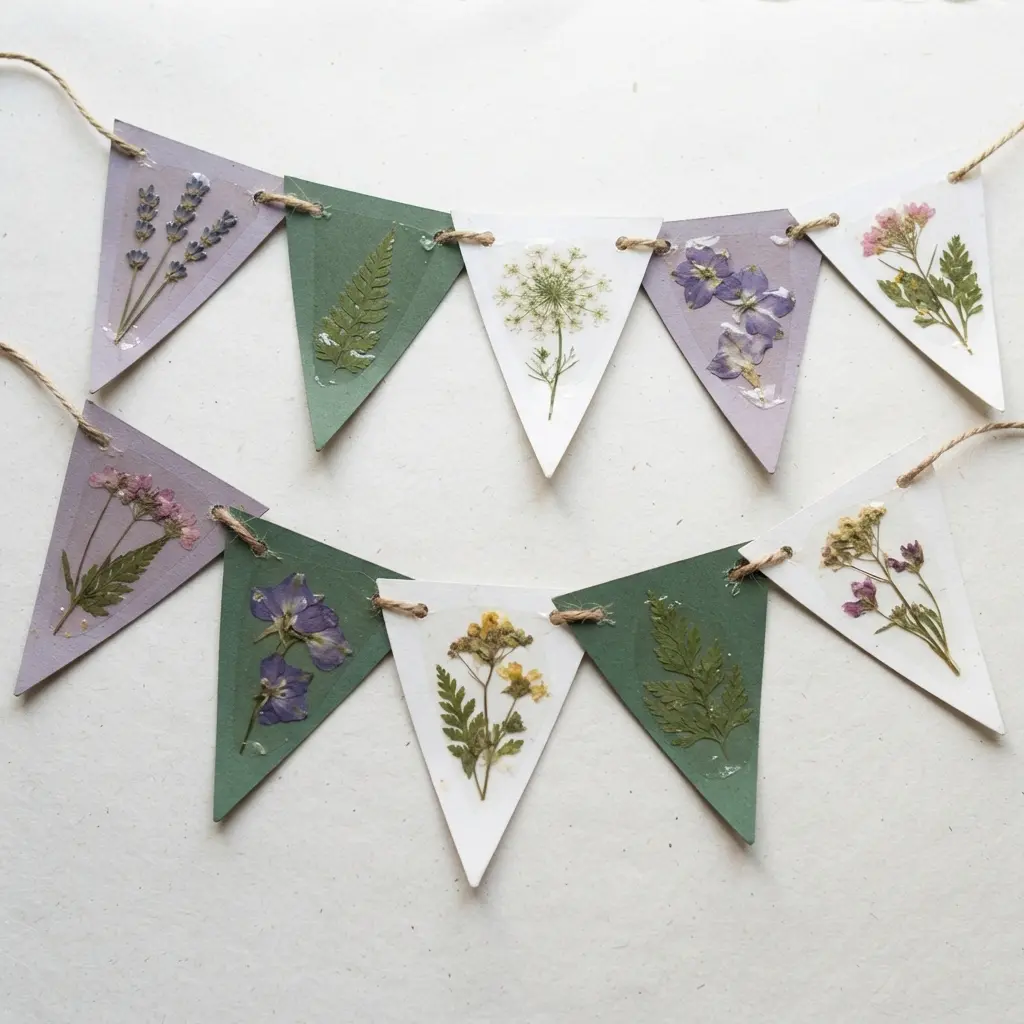
Who would have thought something so delicate is this easy to put together? This banner is all about showcasing the natural beauty of your pressed dried flowers on simple cardstock pennants. You arrange them with tweezers, use a tiny drop of clear glue, and string them up. It works because it feels like you are hanging up a little piece of your garden, preserving its charm in a way that feels personal and timeless.
My best tip for this DIY easter banner is to practice your floral arrangement on a scrap piece first. It saves those fragile petals and lets you perfect your vintage look before you commit. For another project that uses simple materials in a beautiful way, I often point friends toward making sock yarn Easter eggs. Both have that wonderful handmade texture.
7. Distressed Wooden Cutout Bunny Bunting Banner
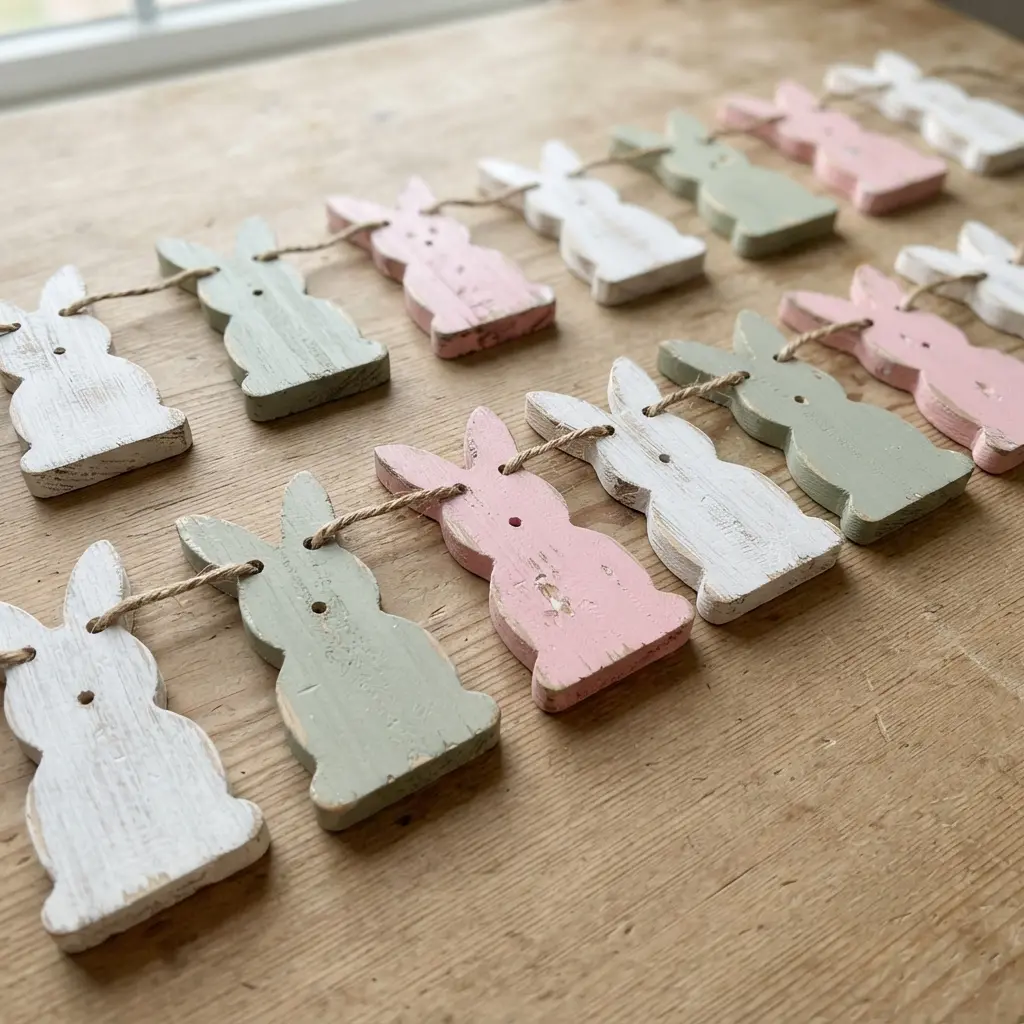
Who says rustic charm needs to be complicated? The secret is in the distressed finish, which helps your DIY easter banner feel like a vintage heirloom right away. You paint your wooden bunnies in a soft, pastel color, let them dry, and then lightly sand the edges and raised surfaces to reveal the wood or a darker base coat underneath.
I love how this gives each piece a unique, handcrafted character. String them up with some natural jute twine, and you have a piece of spring decor that feels warm and inviting. Is it satisfying to create something that looks like it has a story? A quick tip: if you want to add a playful touch, you might decorate plastic Easter eggs to hang alongside your bunnies for extra festive flair.
Trust me, that worn-in look is easier than you think. Start with a light touch on the sanding and build up until you love the effect.
8. Embroidered Linen Easter Message Banner
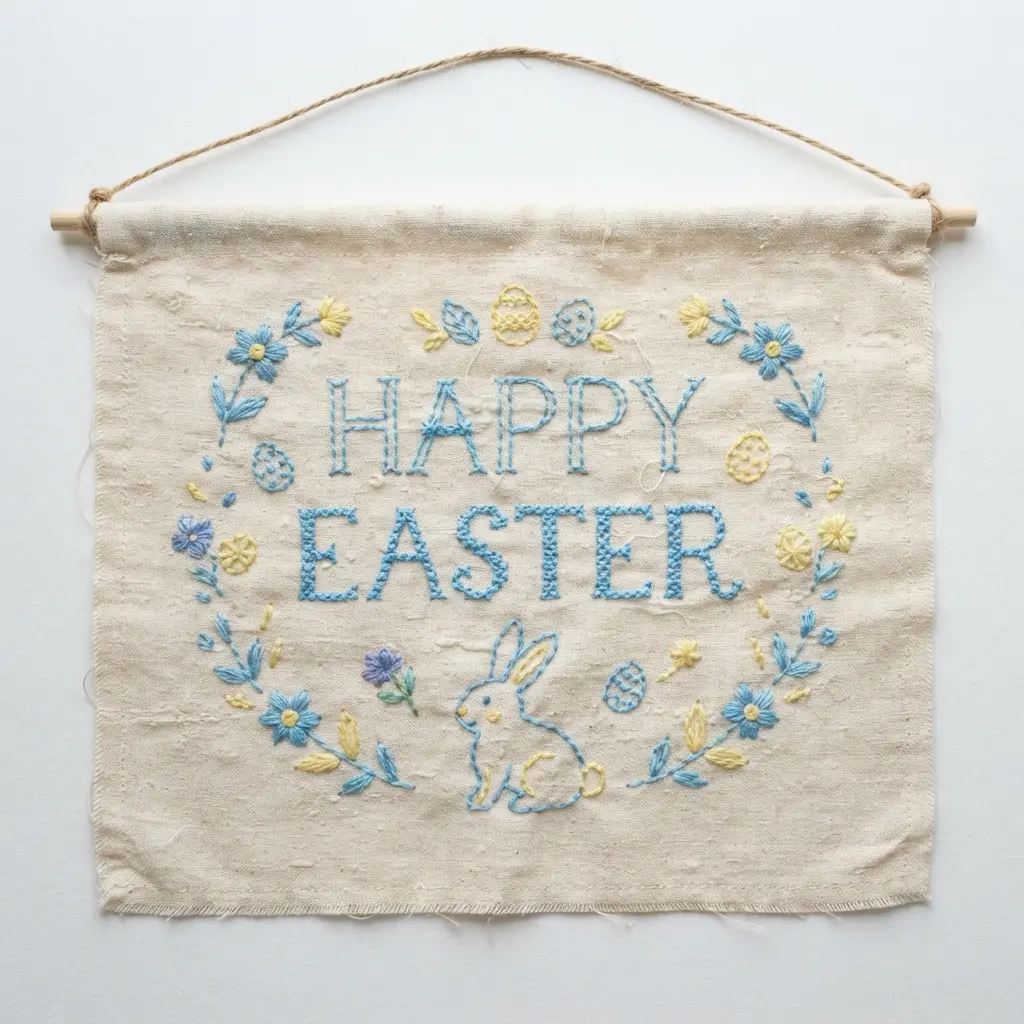
This banner looks like a museum piece but is surprisingly approachable. You transfer your message and design onto natural linen fabric and fill it in with colorful embroidery stitches. The result is a beautifully textured DIY easter banner decoration that feels personal and warm.
It works because the handmade stitches add so much character you cannot get from a printer. A key tip is to keep your stitch tension even to avoid puckering the linen. The finished piece has a lovely, rustic elegance perfect for your spring mantel, and it pairs beautifully with simpler decorations like Easter egg cup crafts on a holiday table.
9. Velvet Ribbon Tied Doily Banner
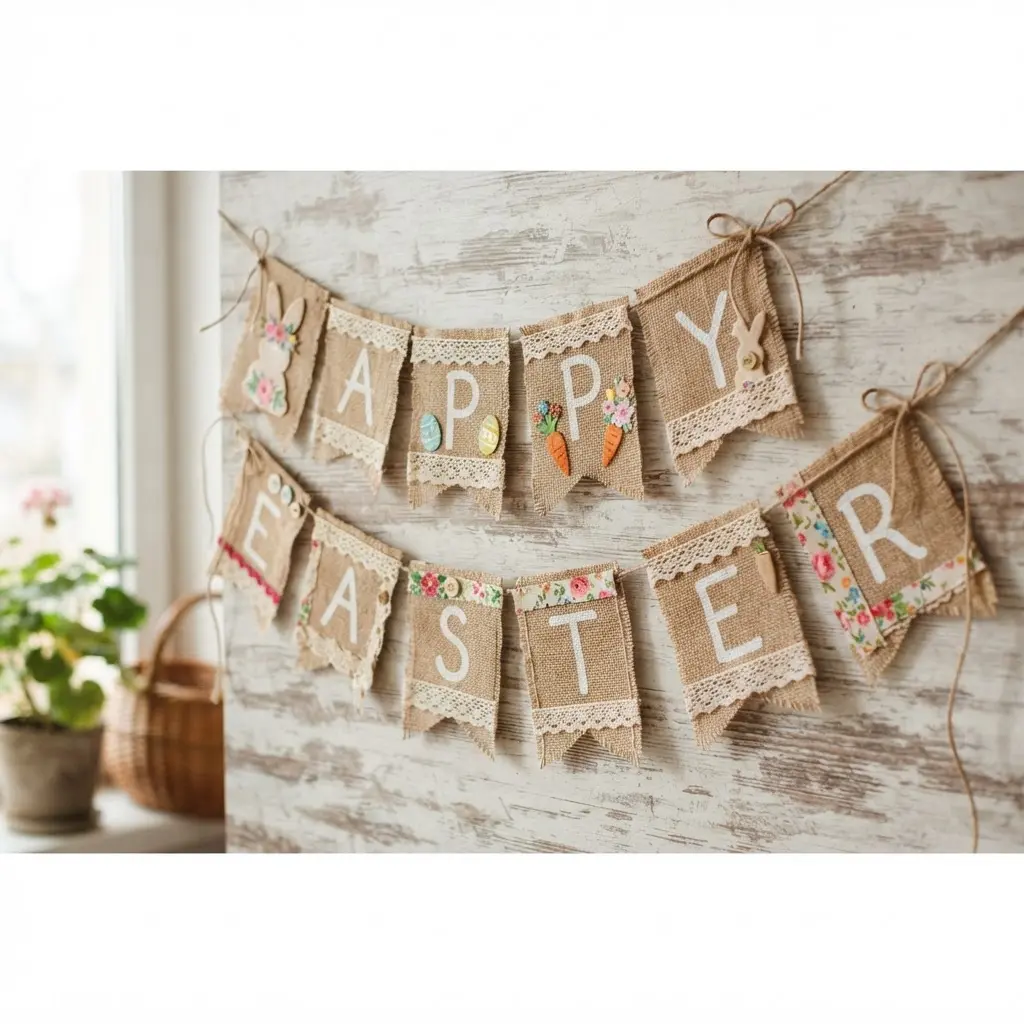
Who knew something so delicate feels so luxurious? You simply thread the ribbon through two holes for each piece of your DIY easter banner and tie a neat knot or bow to secure them. I love mixing different sizes and patterns for extra visual interest. The result is a charming garland that looks far more complex than it is.
It works because that combination of textures feels both elegant and handmade. For a fun, fragrant project that also makes a great gift, you could try making bath bombs after you finish decorating.
10. Victorian Botanical Print Paper Pennant Banner
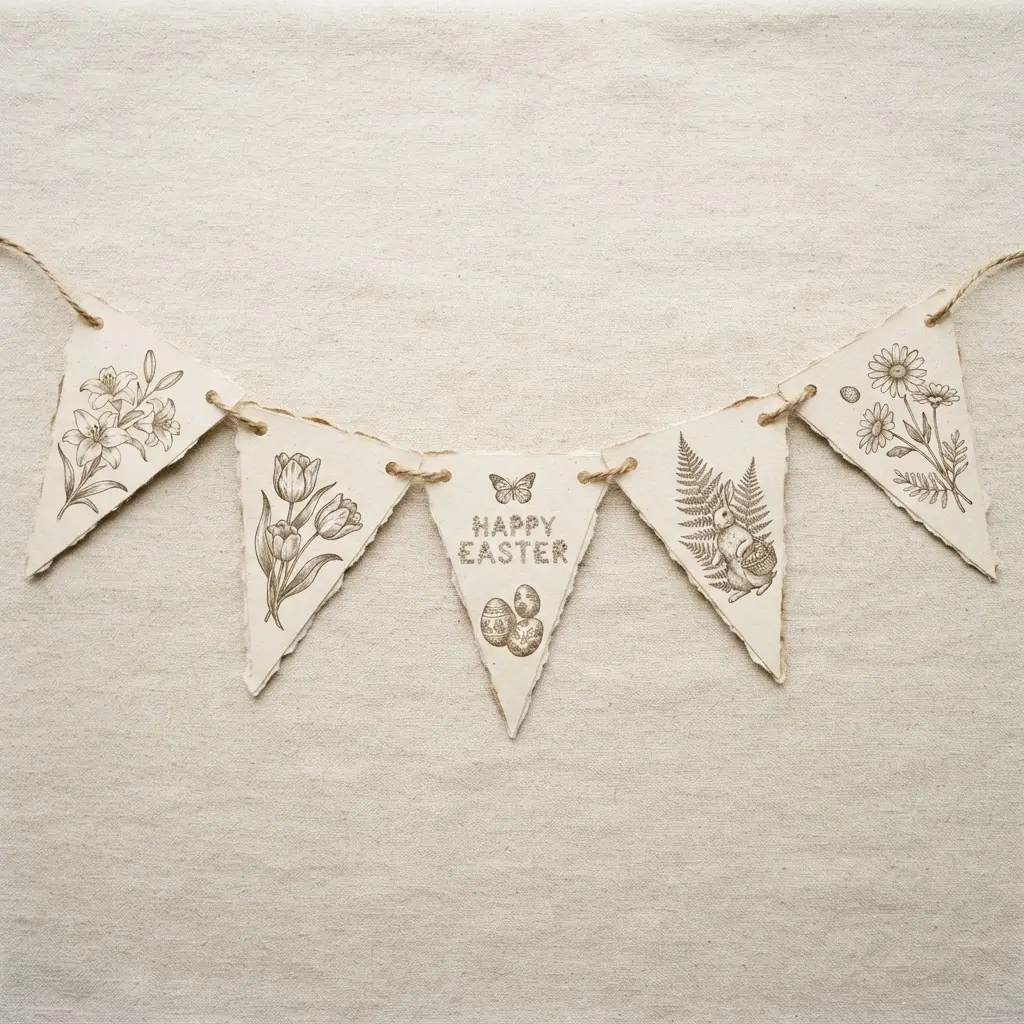
This one surprised me. It looks like it came straight from an antique shop, but you can make it at home with a printer and some cardstock. The secret is finding high-resolution botanical images from public domain archives and printing them on heavy cream or off-white paper. I love to gently distress the edges with a bit of tea or a distress ink pad for that perfectly aged look.
Why does this DIY easter banner work so well? It brings a touch of timeless, natural elegance to your Easter decor without any fuss. You get a sophisticated result that feels personal and handmade. Try pairing your finished banner with some charming tissue paper Easter eggs for a coordinated vintage display. Does not that sound lovely?
Styling And Hanging Your Finished Cloth Garland
Do not use a single piece of stiff ribbon to hang your entire piece, as it ruins the soft, collected look you worked so hard to create. Instead, cut three or four different lengths of twine and natural jute ribbon. Tie each end of your banner to a separate piece, letting them gather loosely at the top. This creates a beautiful, unbalanced drape that feels artisanal.
Drape it over a vintage-style mirror, across your mantel, or along a shelf of books. The varying lengths of your hanging ribbons add that final touch of whimsical, farmhouse-inspired balance. Stand back and admire your handiwork.
Conclusion
The best part of making your own decor is how it slowly fills your home with pieces that have a story. A DIY easter banner is not merely about marking the season. It is about the quiet satisfaction of choosing a fabric, the focus of hand-stitching a line, and the warmth it adds to your space.
My advice is to start with the idea that speaks to you the most and embrace any small imperfections. They are what give handmade items their character and make your spring celebration uniquely yours. I hope these ideas leave you feeling inspired to create something beautiful.
FAQs
Q: What is the best fabric for a vintage-looking Easter banner?
A: Natural fabrics like linen, cotton, or burlap work wonderfully. Look for materials in muted, dusty pastel shades rather than bright colors for an authentic vintage feel.
Q: How do I make new materials look aged?
A: Soak cotton or paper in strong black tea or coffee. Let it dry completely. You can also lightly sand painted wood or fray the edges of fabric for a worn appearance.
Q: What is a simple way to attach banner pieces?
A: Using natural twine, jute, or a pretty ribbon is both easy and effective. Simply sew or punch holes in the top corners of each piece and thread them onto your chosen string.
Q: Is it possible to make a banner without sewing?
A: Yes. Many paper-based projects require only glue, and fabric pieces are attached with fusible web or strong craft adhesive designed for textiles.
Q: How do I store a handmade fabric banner?
A: Gently roll the piece around a cardboard tube to prevent creases. Store it in a cool, dry place away from direct sunlight to preserve the colors.









