
If you’re a craft enthusiast, you know how important it is to have a well-organized and functional storage space for all your supplies. And what better way to store your craft materials than in a DIY craft storage house? In this blog post, we’ll show you how to create your own adorable and practical storage house using simple materials and step-by-step instructions. Say goodbye to the days of searching for that one missing button or tangled thread – with this craft storage house, everything will have its place. So grab your glue gun and let’s get crafting!

Today’s DIY project was inspired by the house shaped boxes on the wall in this post. I thought they were so cute, and knew right away that I wanted to try making my own! But instead of building the house from scratch, I found a flatware organizer at Goodwill for $2.99, which served as the main part of my house. I’ve seen a lot of flatware organizers at thrift stores, so I’m pretty sure you could find one too if you look. Of course, you could always build the house yourself with wood boards from the hardware store. That way, you can make the shelves exactly the size you want!
DIY Craft Storage House
To make your own DIY craft storage house, you will need:
-One flatware organizer
-One thin wood board (mine was a 0.25 x 2.5 x 48” poplar board from Home Depot)
-Sandpaper
-Two colors of paint (one as the base coat, and one for the accent color)
-Painter’s tape
-Hot glue gun
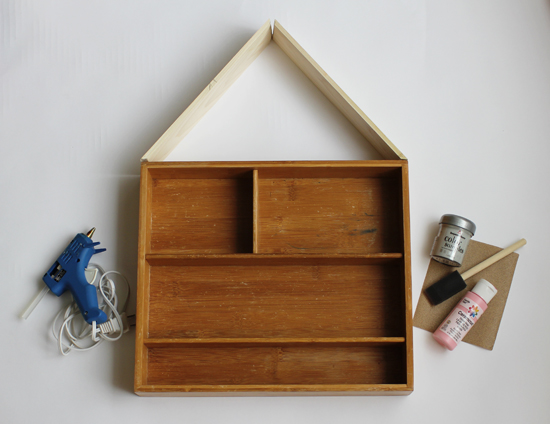
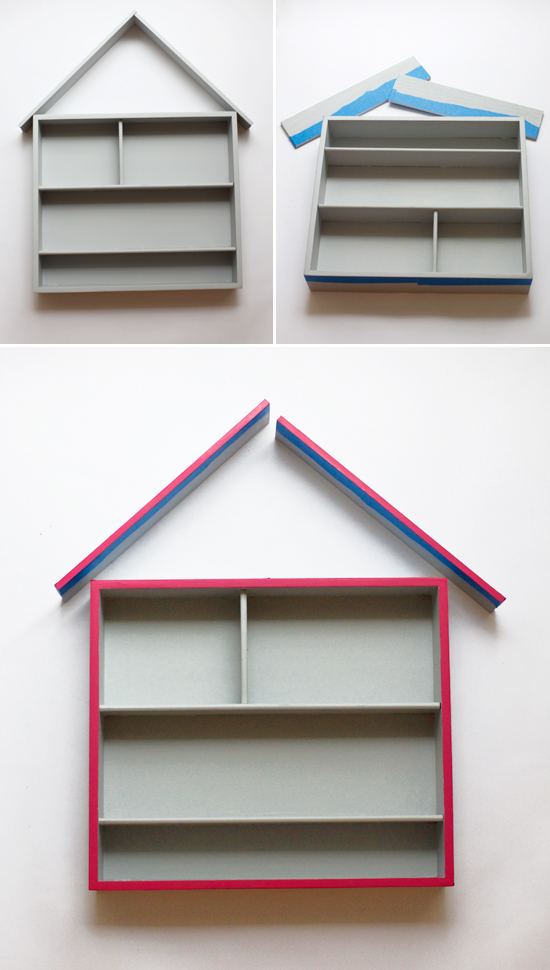
My original intention was to cut the boards at an angle to form the roof of the house, but as you can see in the photo above, I couldn’t get the angles to meet just right (I only have a hand saw, no fancy power equipment). So I went with Plan B, which actually turned out even better. This time, I simply cut the board into two pieces with straight edges, meeting up at a 90 degree angle. I let the edges of the boards hang over on either side to form the roof. Next, I sanded the flatware organizer and the boards, then painted them gray. I taped off off the border of the house with painter’s tape and painted the edges pink to give them a pop of color.
Once the paint was dry, I peeled off the tape. Next, I used hot glue to connect the two boards at the top at a 90 degree angle. Once that was secure, I centered the roof and glued it on either side, where it met the corners of the flatware organizer.
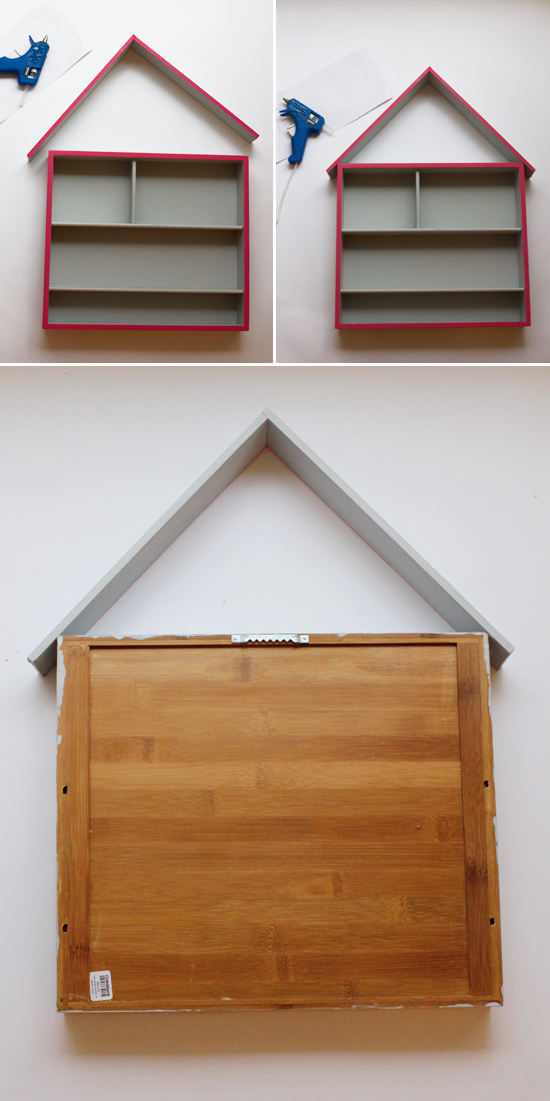
Lastly, I flipped the whole thing over and nailed a picture hanger on the back.
And that’s it! I think this project turned out really cute, and once I figured out the roof, it was really easy. You could also use your DIY house box to store other small things like nail polish, or to display little treasures and tchotchkes.
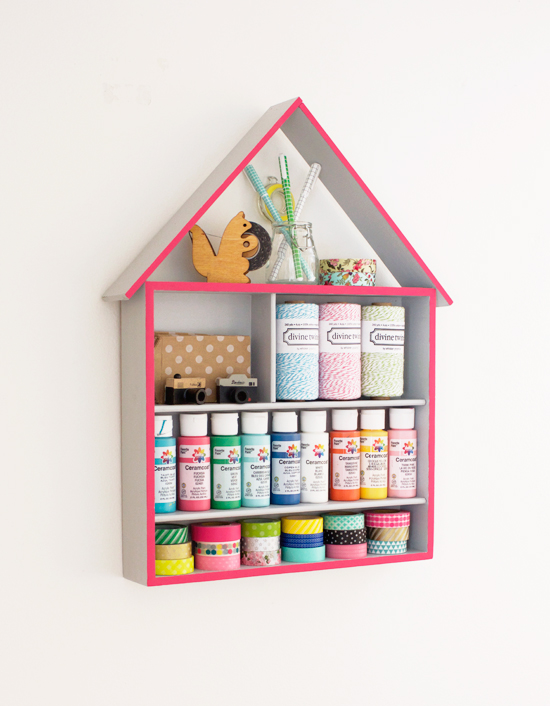
Now, let’s talk about all the craft supplies stored in my little house. Aren’t they cute?? Except for the acrylic paint, everything in there is from Cutetape. They seriously have the best selection of washi tape, not to mention other awesome craft supplies like baker’s twine, stickers, pens, gift bags, and stamps. And that squirrel tape dispenser…SO adorable, am I right?
Creating a DIY craft storage house can be a fun and practical project for any craft enthusiast. Not only does it provide a stylish way to organize and store your crafting supplies, but it also adds a unique touch to your workspace. By following the steps outlined in this blog, you can create your very own storage house that perfectly suits your needs and style. Whether you’re an avid scrapbooker, painter, or knitter, having a dedicated space to store and access your materials will make your crafting experience more enjoyable and efficient. We hope you found this blog helpful and inspiring. If you decide to give this project a try, we would love to hear about your experience. Let us know in the comments section below!
FAQs
Q: What are the uses of storage house?
A: Storage units are a flexible storage option for homeowners because they can be utilized for a variety of things. For instance, a storage unit might be utilized to keep merchandise or equipment for a home-based business. They can also be used to store stuff for hobbies like camping gear or sporting goods.
Q: What are the three main types of storage facilities?
A: Each self-storage facility may provide one, two, or all three of the following self-storage options: drive-up storage, outdoor storage, and indoor storage.
Q: How do you make craft storage?
A: Simple boxes can be quickly transformed into fabric-covered storage boxes. To transform any type of box into a chic storage option, use excess fabric you already have on hand or go to a craft store and buy some. You’re ready to go once you add a few finishing touches of your choice (like jute cord).


