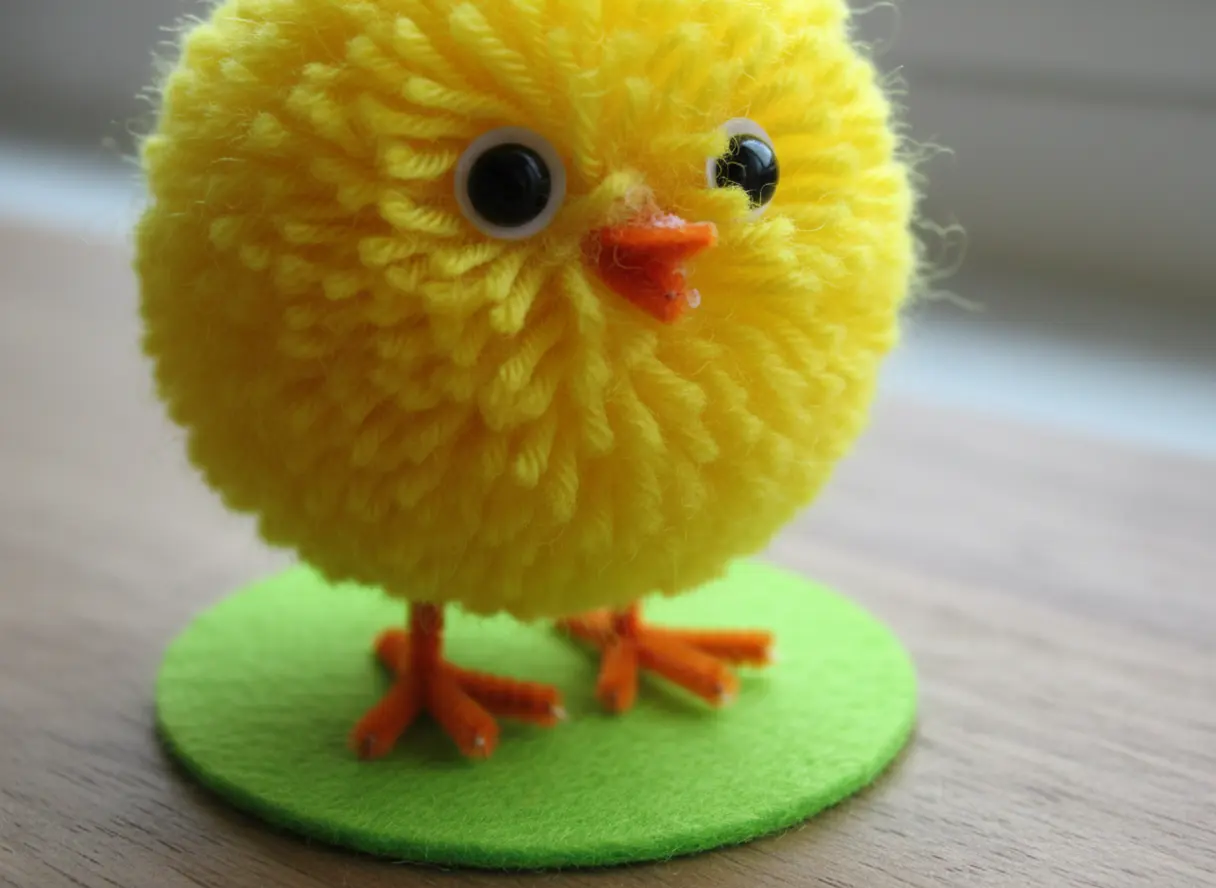
Keeping kids interested in a holiday project from start to finish often feels like a challenge. Pom-pom chicks change that because they come together fast and feel rewarding the moment the first one fluffs up. If you have ever made one together, you know the moment those googly eyes go on and the whole room lights up. That excitement is what this collection celebrates. These pom pom chick easter crafts highlight different styling ideas such as feather wings, flower crowns, ribbon ties, and even tiny hats. Each design is simple enough for little hands but bursting with personality. No complicated steps, simply fluffy chicks with their own quirky charm. Grab your yarn, felt, and glue, and look at ten of the most cheerful pom-pom chicks you will love to make.
Mastering The Yarn Winding And Shaping Technique
The fastest way to ruin your chick’s look is winding your yarn loosely on the maker. You want that pom-pom maker absolutely stuffed with yarn before you tie it off, and I mean packed tight. A dense, firm sphere is the only thing that lets you get aggressive with your fabric scissors later for that perfect round shape. Beginners often pull the loops too gently, leaving gaps that make the whole structure look thin and sad. Trust me on this, a tight wind is your best friend. A solid foundation here matters for pom pom chick easter crafts and gives your chick that plump, huggable body we all love.
Selecting Optimal Yarn Tensions For High Density
Your finished piece will fall apart if you rely on standard craft glue to attach the beak and feet. Here is the thing, PVA glue sits on top of synthetic yarn fibers and never forms a strong bond. You need a low-temperature hot glue gun because the melted adhesive seeps into the tiny spaces between the yarn strands and locks everything in place. It creates a permanent, flexible joint that handles playful squeezing from small hands. This tool becomes essential for pom pom chick easter crafts that take only seconds to use. Just a small dot is enough for each tiny felt triangle beak and those adorable orange feet. You will notice the difference immediately in how secure all the little pieces feel.
1. Fluffy Feather Wing Yarn Easter Chick
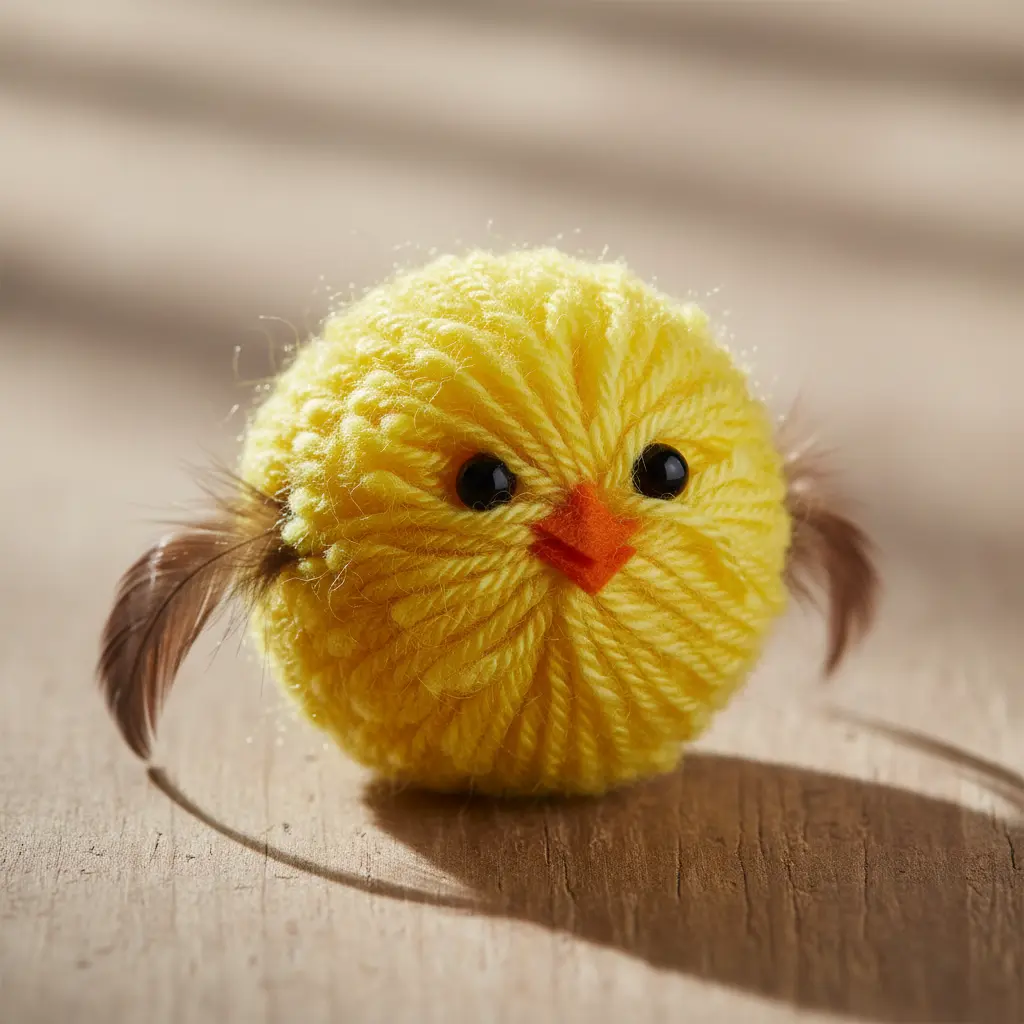
This one looks so intricate, but trust me, it is one of the quickest and most satisfying projects to make. You start by wrapping a Styrofoam ball tightly with yellow yarn until it is completely covered and wonderfully fuzzy. Then, you glue on a folded orange felt beak, a pair of googly eyes, and two soft craft feathers for the wings. When you gather pom pom chick easter crafts supplies, you get a delightful handmade decoration in no time. I love this little chick because it is tactile and soft, making it perfect for a table centerpiece or a child’s hands. For a fun variation, try making a family of these fluffy chicks alongside some creative Easter bunny art projects to build a whole spring scene.
2. Felt Flower Crowned Pom-Pom Chick — Springtime Bloom
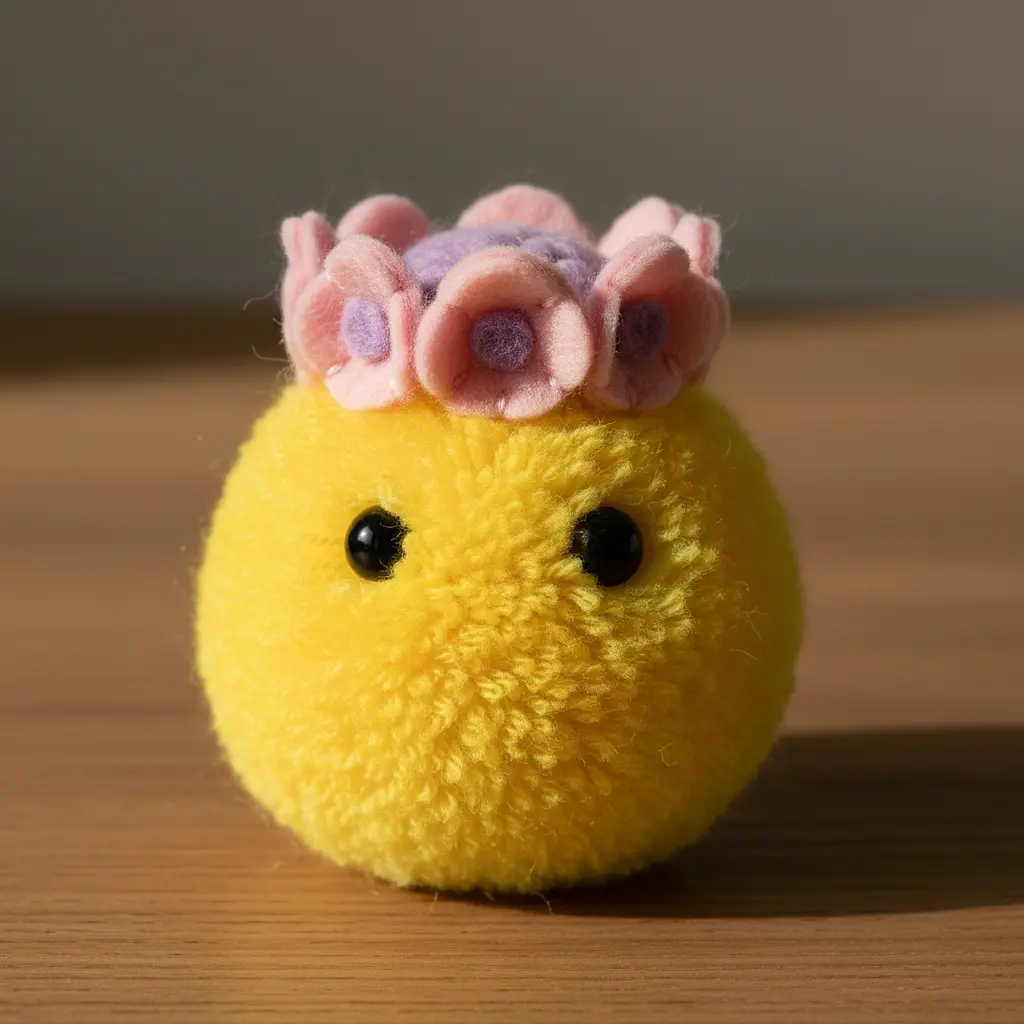
This one looks so fancy, but it’s really just two simple crafts combined. You start by making your fluffy yellow pom-poms, and I promise the secret is a dense wrap of yarn on the maker. Preparing pom pom chick easter crafts means you glue the smaller head to the larger body, then add those sweet felt eyes and an orange beak. The magic happens when you crown it with tiny felt flowers. Cut little spirals or simple petal shapes from colorful scraps and glue them into a wreath. Your chick will look like it just hopped out of a flower garden. It’s a fantastic project to pair with other spring decorations, like beautiful watercolor Easter egg designs, for a full seasonal display. The mix of textures is so satisfying to touch, and you will love how pom pom chick easter crafts deliver that final, festive look.
3. Pipe Cleaner Feet Easter Chick: A Bendable Buddy
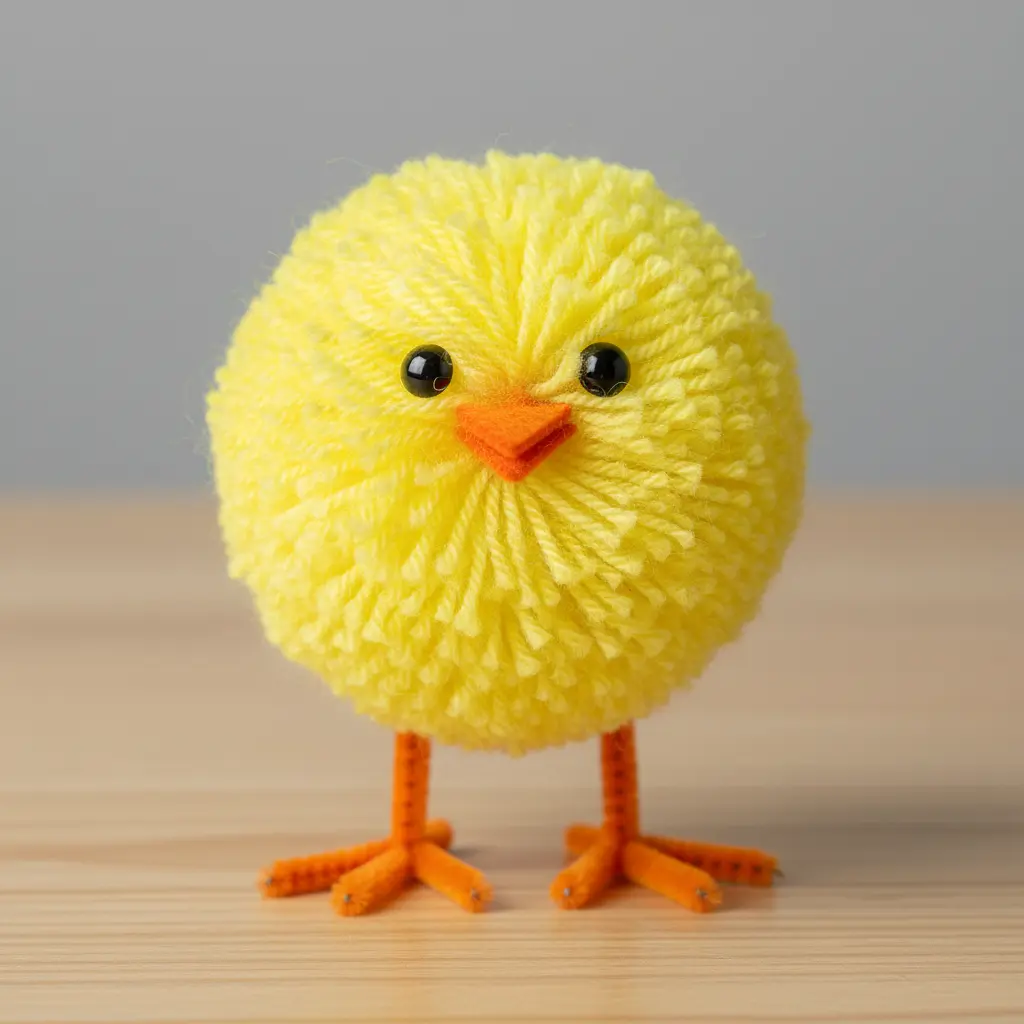
Ever wanted a chick that can stand, sit, or even dance? This bendable buddy is your answer. The magic sits inside pom pom chick easter crafts using the orange pipe cleaner feet. You thread a folded cleaner through the bottom of the coiled yellow body, then shape little loops for toes and wrap the ends to secure them. I love how this lets you pose your creation for a playful springtime scene. Your chick’s personality comes from its stance, so take your time bending those feet into the perfect position. For a truly festive display, pair your new friend with some sparkling golden Easter egg crafts on your mantle. It feels so satisfying to give this fluffy little guy a life of its own.
4. Tiny Mini Easter Egg Hat Chick
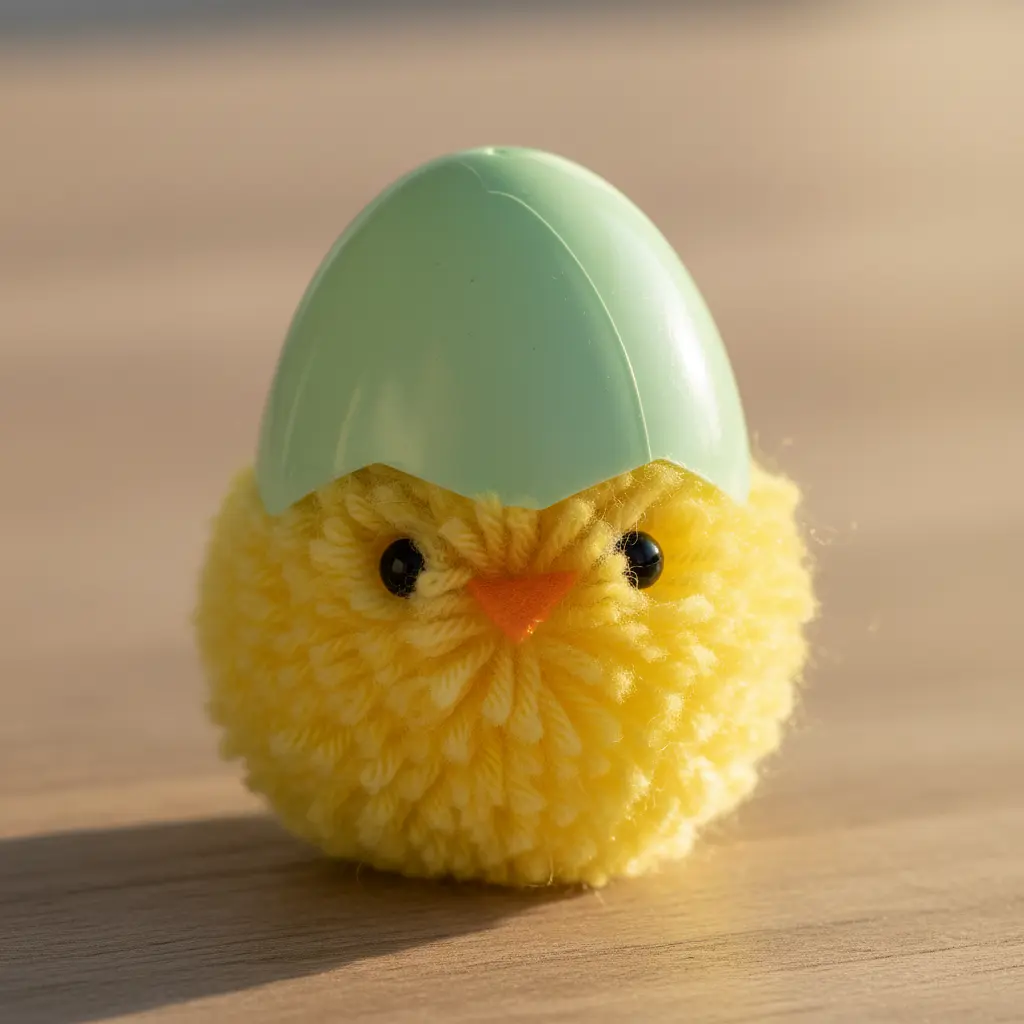
Who would have thought a broken eggshell could become the star of the show? This one surprised me with its extreme cuteness, and it is surprisingly simple to assemble. You start with a small yellow pom-pom and add a tiny orange felt beak and micro bead eyes. Testing different pom pom chick easter crafts shows that the magic happens when you glue a carefully trimmed, colorful piece of eggshell right on top as a whimsical hat. It works because the miniature scale makes everything feel precious and delightful. I love using tweezers for precision when handling these tiny parts, as it keeps the glue neat. You will adore how this little chick looks perched on a shelf or nestled in a festive DIY Easter banner for a complete seasonal display. Does that not look charming?
5. Pastel Yarn Springtime Chick Pair: Soft Hues Together
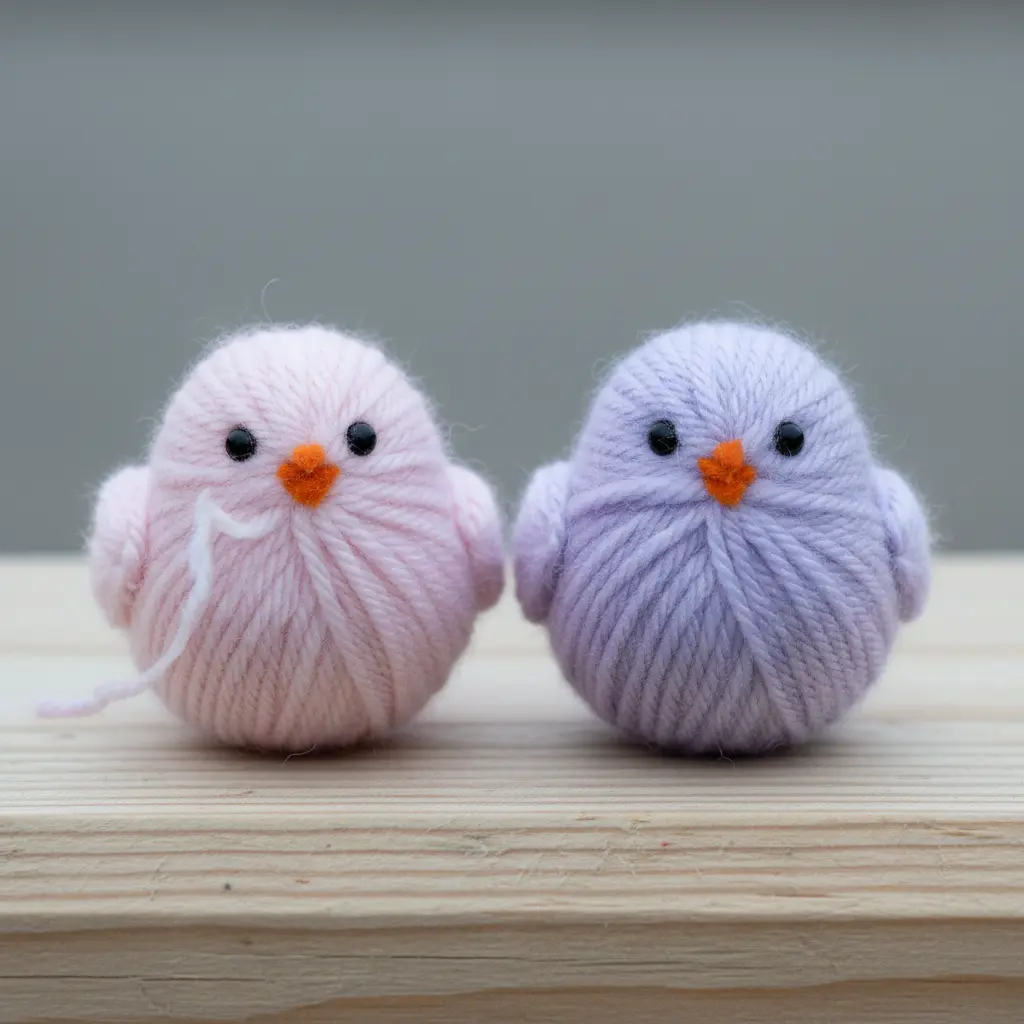
Ever felt like a single decoration looks a bit lonely? That is the magic of making these two soft chicks together. You will build each of your favorite pom pom chick easter crafts from pastel-colored yarn, working the body and head in rounds, then stuffing them lightly as you go. The real charm comes from choosing two different soft hues, like mint and lavender or blush and cream, to create a sweet little duo. I love how their gentle colors instantly bring a calm, springtime feeling to any spot. The best part is seeing them side by side, which makes them far more engaging than a solo figure. For a cohesive spring display, you could nestle your finished pair beside some charming sock yarn Easter eggs.
My top tip? Focus on getting the stuffing just right. Add it in small bits and smooth it out to avoid lumps or sags, so your chicks keep their perfect, squeezable shape. Doesn’t that sound like a lovely project payoff?
6. Silk Ribbon Bow Tie Chick — Dressed-Up Fluff
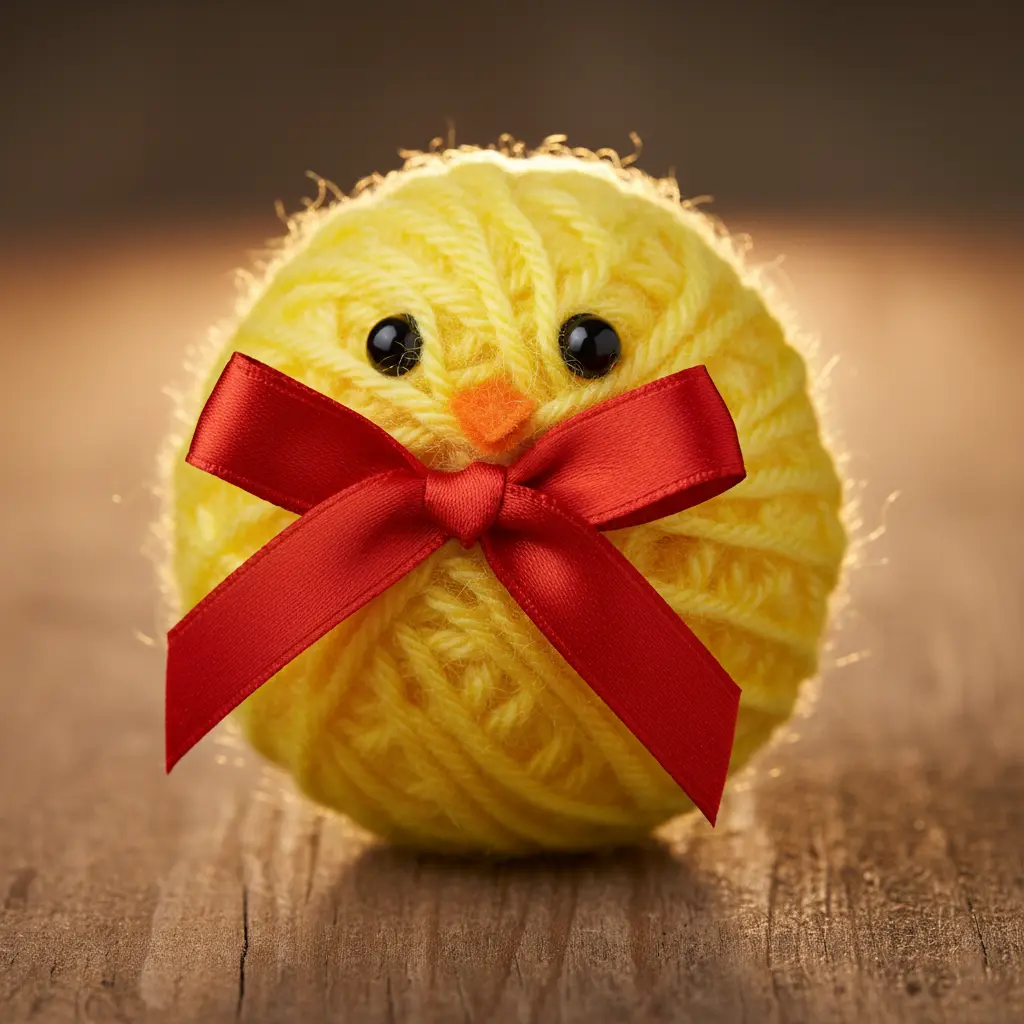
Who knew a tiny accessory could make something so cute look so fancy? This project takes a simple fluffy chick and gives it a charming personality with a single, elegant detail.
Cutting the ribbon correctly for pom pom chick easter crafts takes about five inches of material, then fold it into two loops and tie a simple knot in the center. A tiny dab of low‑temp hot glue attaches your perfect miniature bow right under the chick’s head. It works because the soft fluff paired with a sharp, classic accessory creates a delightful contrast. Trust me, you will get a real kick out of making these dressed‑up little friends.
7. Quirky Wire Rim Glasses Yellow Chick
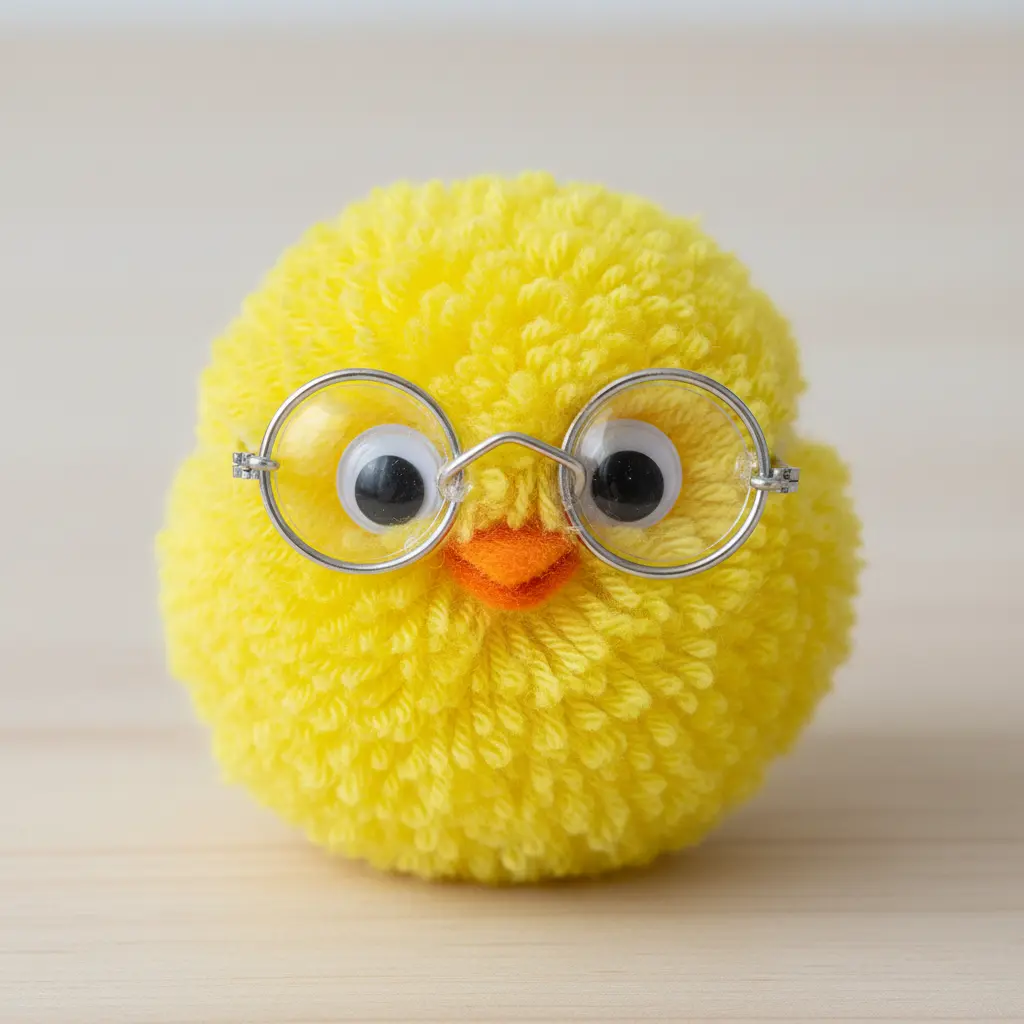
This one surprised me. It looks like a complex character but really takes under ten minutes. You make a classic yellow pom pom chick and then give it personality with a pair of delicate wire glasses. The trick is using your round-nose pliers to bend two small loops. Planning pom pom chick easter crafts lets you connect them with a tiny bridge piece.
I love how the comically oversized glasses make your simple chick look so clever and eccentric. A fun project like this often leaves you with extra plastic Easter eggs, which are perfect for crafts using plastic Easter eggs as a cute display base. Trust me, the final look is so charming and full of character.
8. Glittery Foam Wing Easter Chick: A Touch of Sparkle
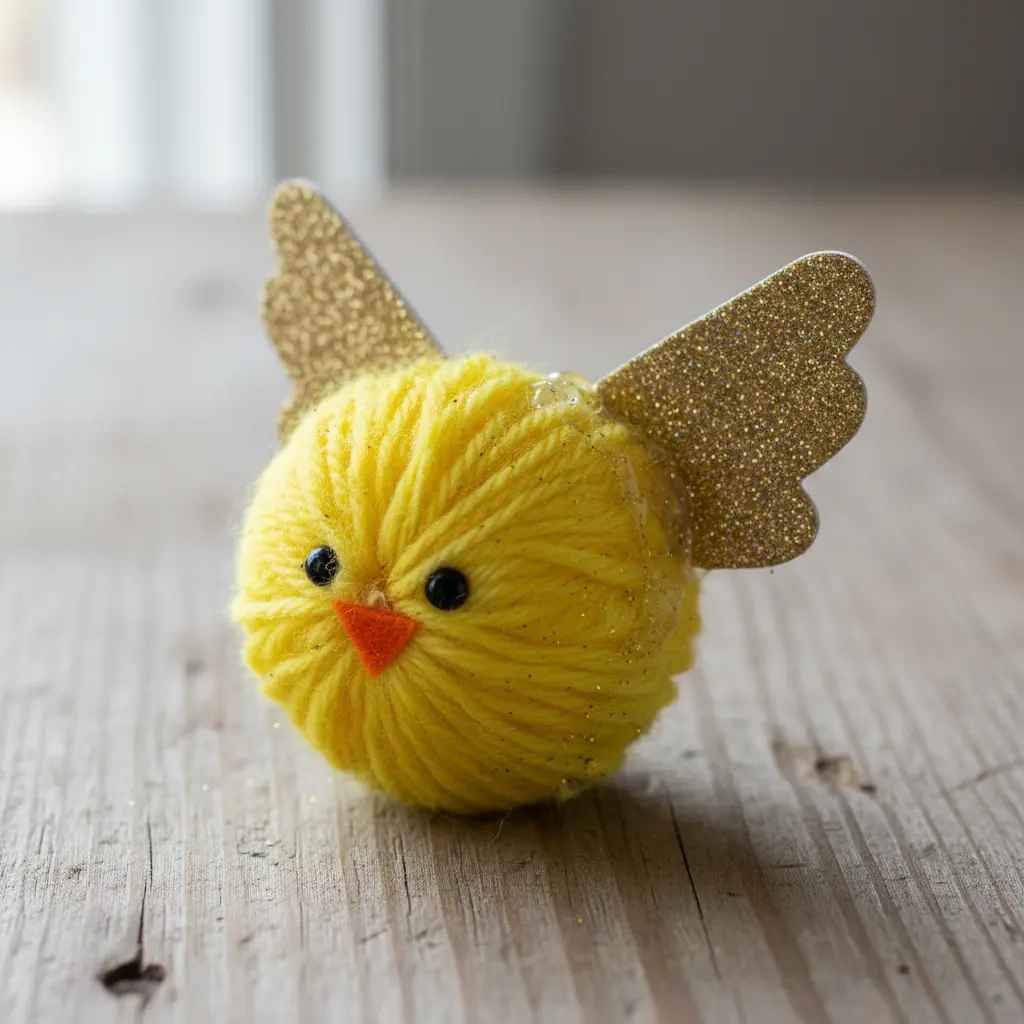
This one always gets a smile from me. You might think glitter foam sounds tricky, but it remains one of the easiest ways to add a festive shimmer. The core method for pom pom chick easter crafts requires cutting two simple teardrop shapes from your glitter craft foam sheet and gluing them to the sides of a pom-pom chick body. It instantly transforms a simple build into something magical that catches the light.
I love using a hot glue gun for this because it gives a strong, instant bond for the wings and googly eyes. Just remember to keep the wings proportional to your chick’s body so it looks balanced. You can even create a whole flock to decorate a centerpiece or pair them with some fun Easter egg cup crafts for a full tablescape. Does that not look joyful?
9. Yarn Scarf Wrapped Easter Chick — Cozy Little Bird
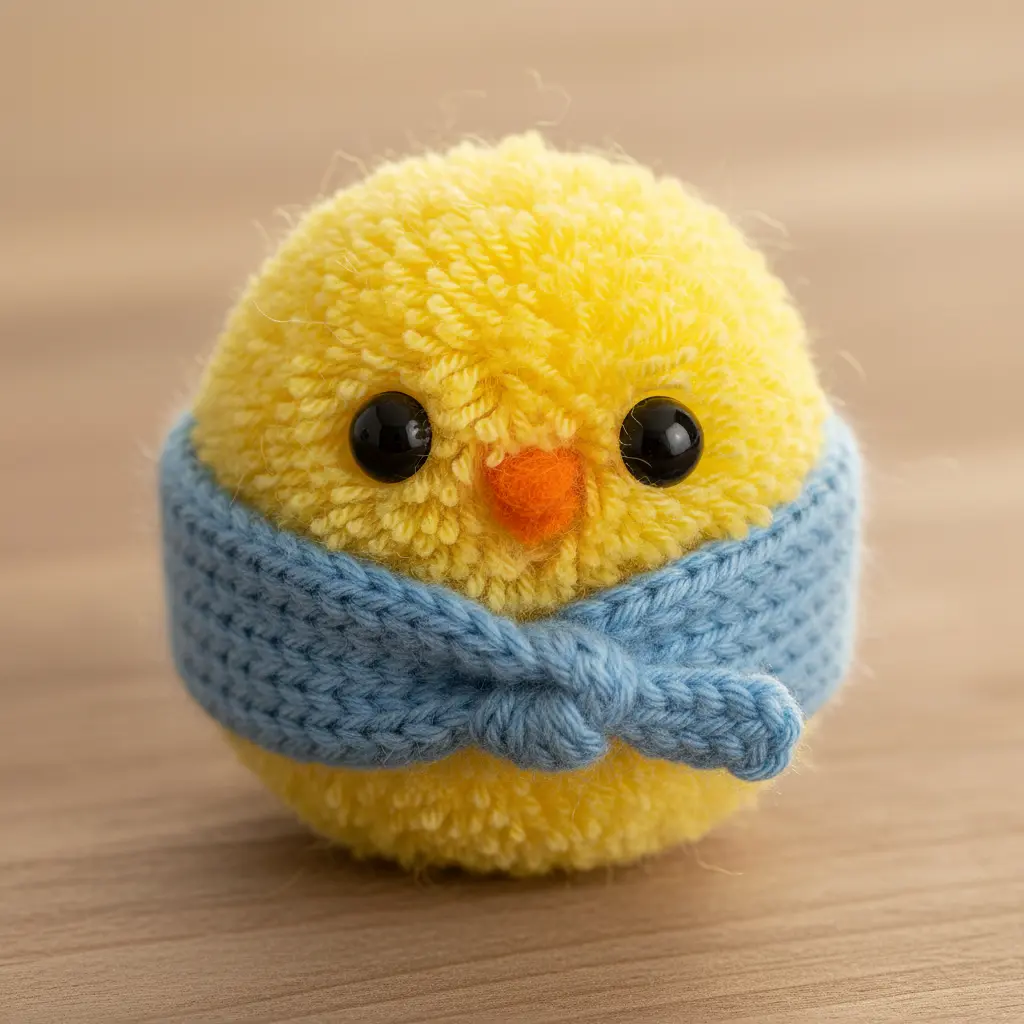
This project looks like a tiny, hand-knit sweater for a bird, and the cuteness factor is off the charts. You create the chick body by wrapping yellow worsted yarn around a foam egg, gluing as you go for a tight, fluffy coat. The real challenge for pom pom chick easter crafts involves adding a miniature scarf, which you knit in a simple garter stitch or just cut from a scrap of felt.
I love this one because the soft textures make it so satisfying to hold. It works well because that tiny scarf instantly tells a story of a cozy little bird, adding a playful touch of color and personality you customize. This is a fantastic project to do with older kids who are learning basic stitches, but you will want to handle the glue gun yourself. Getting a snug fit on your chick’s neck is easier if you read up on easy spring projects for preschoolers first to understand simple construction for little hands.
10. Flouncy Tulle Layered Easter Chick Decoration
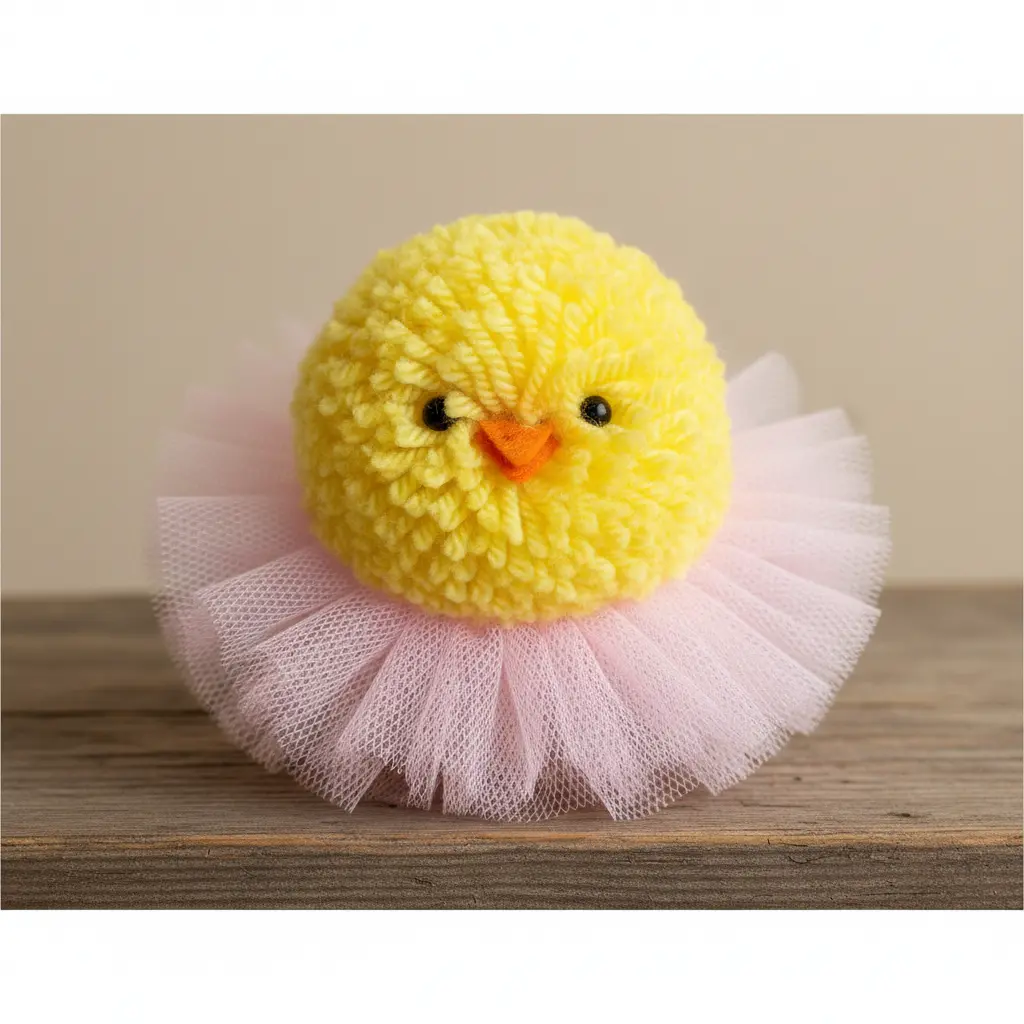
This is the show-stopper of the bunch. It looks like a little puff of sunshine. You build the body by gathering and gluing layer upon layer of soft yellow tulle onto a base. Start at the bottom and work up, overlapping each strip to create that full, feathery look.
Trust me, selecting a yellow styrofoam ball matters for pom pom chick easter crafts and prevents any white from showing through the sheer fabric. Once your fluffy body is complete, those classic chick features like googly eyes and a felt beak make it instantly recognizable. It is a perfect project to pair with a colorful tissue paper Easter egg for a complete, handmade spring display. Does that not sound like a delightful afternoon?
Creative Display Ideas For Spring Holiday Decor
A single coat of matte spray varnish protects your chick from dust and keeps its bright yellow color vibrant. This final step takes two minutes but makes your decoration shelf-ready for years. You then nestle your fluffy friend in a basket of green paper grass with some colorful plastic eggs for a classic centerpiece. Try threading a thin ribbon through the top tying thread and hanging a few from a budding branch in a vase. Another favorite of mine is setting a small family of chicks on a windowsill beside a pot of spring flowers. They bring an instant dose of cheerful texture to any room. Arranging finished pom pom chick easter crafts together tells a little seasonal story without saying a word.
Conclusion
The beauty of these designs means no two ever look alike. Each one picks up a little personality from the maker, a slightly crooked beak, a fluffier side, or eyes set wide. That makes them fun to display. After trying a few styles, you might mix and match accessories. A flower crown from one chick might pair perfectly with a bow tie chick next to it. Keep extra felt, tiny hats, and pipe cleaners handy for quick changes. The best spring decorations feel like memories, not store finds. Set aside an afternoon, grab your favorite yarn colors, and make a chick for each family member. You will end up with a flock that reflects the people you love. Every time you unpack them next Easter, you will remember the sticky fingers and laughter that went into your collection of pom pom chick easter crafts.
FAQs
Q: What is the best yarn type for pom-pom chicks that hold their shape?
A: Acrylic yarn gives a full round shape and fluffs up easily after trimming. Medium weight yarn produces a dense pom-pom that trims cleanly. Cotton blends tend to be limp and shed more so they are less ideal for this project.
Q: How do I prevent the pom-pom center string from loosening over time?
A: Wrap the tying string tightly and knot it multiple times before trimming. Add a dot of clear-drying glue to the knotted area for extra security. Once dry, the pom-pom stays firm even with frequent handling.
Q: What are good ways to attach the beak and eyes without messy glue spots?
A: Use a fine-point glue applicator to place a tiny dot exactly where each piece goes. Press the felt beak and plastic eyes into the yarn strands until the glue catches. Hold each piece for about ten seconds so the glue sets inside the fluff rather than on top.
Q: Are there alternatives to googly eyes for a safer option with toddlers?
A: Felt circles cut into small eye shapes work well and remove choking risks. Draw pupils with a fabric marker to give them a similar animated look.
Q: How big should the pom-pom be for a chick that matches real Easter eggs?
A: A 2-inch pom-pom maker creates a chick about the size of a large egg. For a smaller chick, use a 1.5-inch template and trim evenly for a neat sphere shape.