
Are you looking to add a touch of whimsy and nature to your home decor? The Floral Print Owl Clock may just be the perfect piece for you. With its charming design and practical functionality, this clock is sure to not only keep you punctual but also add a unique and stylish element to any room. Let’s dive into why this clock is a must-have for any owl lover or lover of floral prints.
The second challenge of One Crafty Contest was mod podge. There were several ideas that went through my head. I have used mod podge before for collaging various things, but I wanted this project to be extra special since I figured I’d be up against contestants that were going to do pieces of furniture. I knew I wanted to do something that was going to be different, but cute and functional. I came up with the floral owl clock idea.
This is what I wrote for the contest. For challenge number two, I wanted to create a piece that was going to be both decorative and functional. My daughter loves owls and they also happen to be her grade school mascot. So, when I came across a wooden owl cut out, I knew it would work perfect for this project. To tie in to the colors of her bedroom, I pulled some coordinating decorative papers with the floral print and the blue design to mod podge to the surface of the owl. Button eyes were added to give it some sparkle & depth and a fun trim was used to finish the sides. This is a one of a kind clock that was a real “hoot” to make.

Floral Print Owl Clock
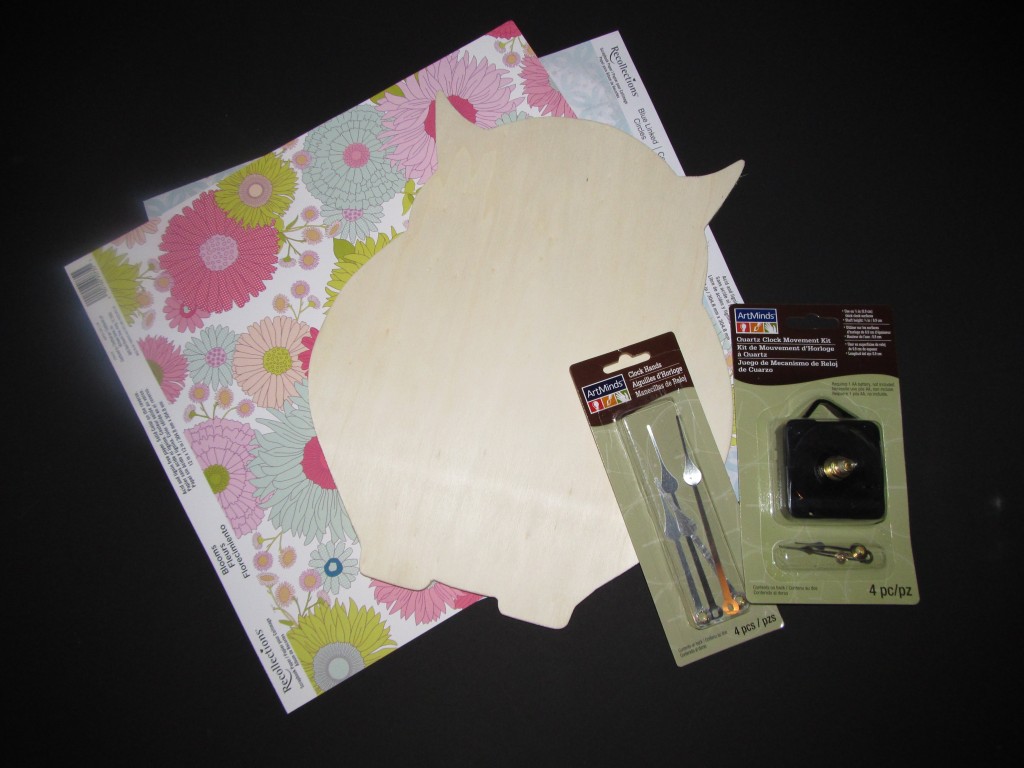
Here’s what you need:
- Wood Cut Out (This can be anything. I got the owl at Michael’s for $1.50)
- 2 different but coordinating pieces of scrapbook paper
- Battery operated clock (Paid a little over $4.00 at Michael’s)
- Larger clock Hands (The clock comes with a set of hands, but they were too small for this project)
- 2 Buttons
- Trim (This is optional. You could always paint the sides of your wood cutout. However, the sides would need to be sanded first.)
- Drill
- Drill Bit 3/8″(Size of the battery operated clock.) 11/64 (Is the size I used for the backs of the buttons to fit. This will vary according to your button size.)
- Scissors
- Paint Brush
- Container
- Newspaper
- Piece of Sand Paper
- Mod Podge
Start by prepping the surface of the wood cut out. Lightly sand the surface. Wipe clean with a slightly damp paper towel.
Flip the wooden cutout over and line the paper up with the cut out.

Flip it back over and apply the mod podge to the surface of the cut out so that it is enough to cover it. Don’t over do it. After doing that, apply mod podge to the back side of your paper. Make sure your wood cut out is dry to the touch before applying and adhering the piece of scrapbook paper to the surface.

When applying take and start adhering you paper from one end. I started with the top and worked my way down to the bottom. This will help eliminate any of the wrinkles and bubbles. Use a credit card or brayer to smooth out the piece of paper. Let this sit and dry. Trim the extra paper off with an x-acto knife.
Cut out the wings and repeat the same process listed up above.
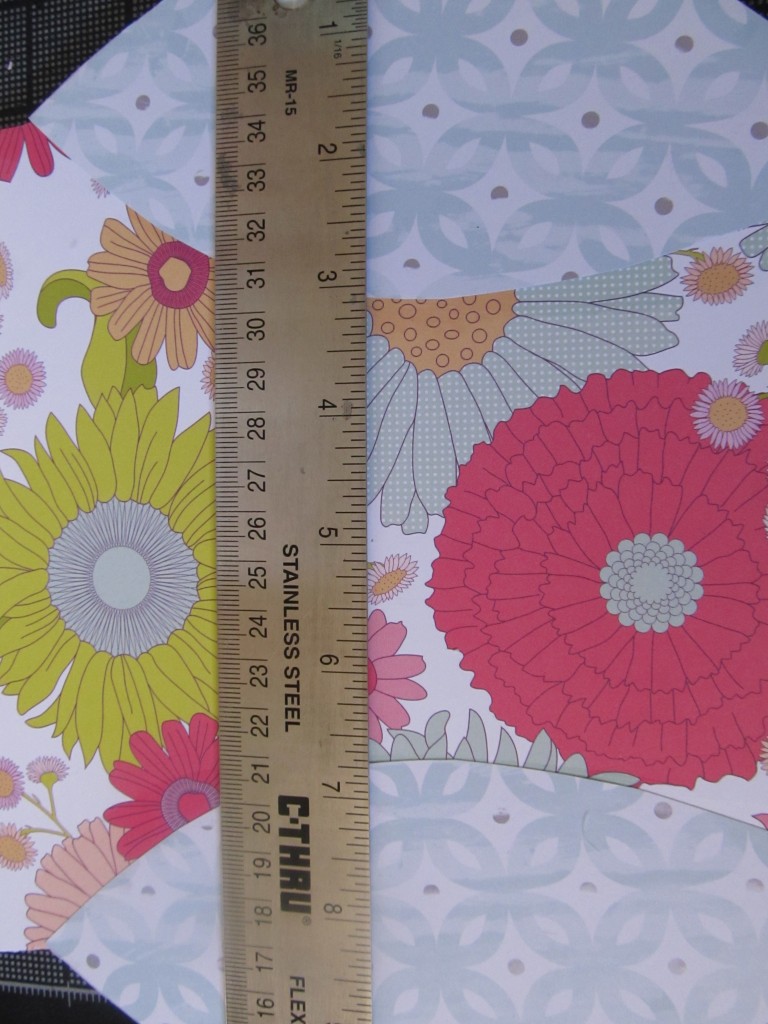
Figure out where the placement of the center of the clock should be. Temporarily put the clock hands on the clock to make sure you will have enough clearance all the way around the circumfrence of the shape. Mark the center with a pencil. Drill the hole for the center of clock based on what your clock size is. Mine was 3/8″.
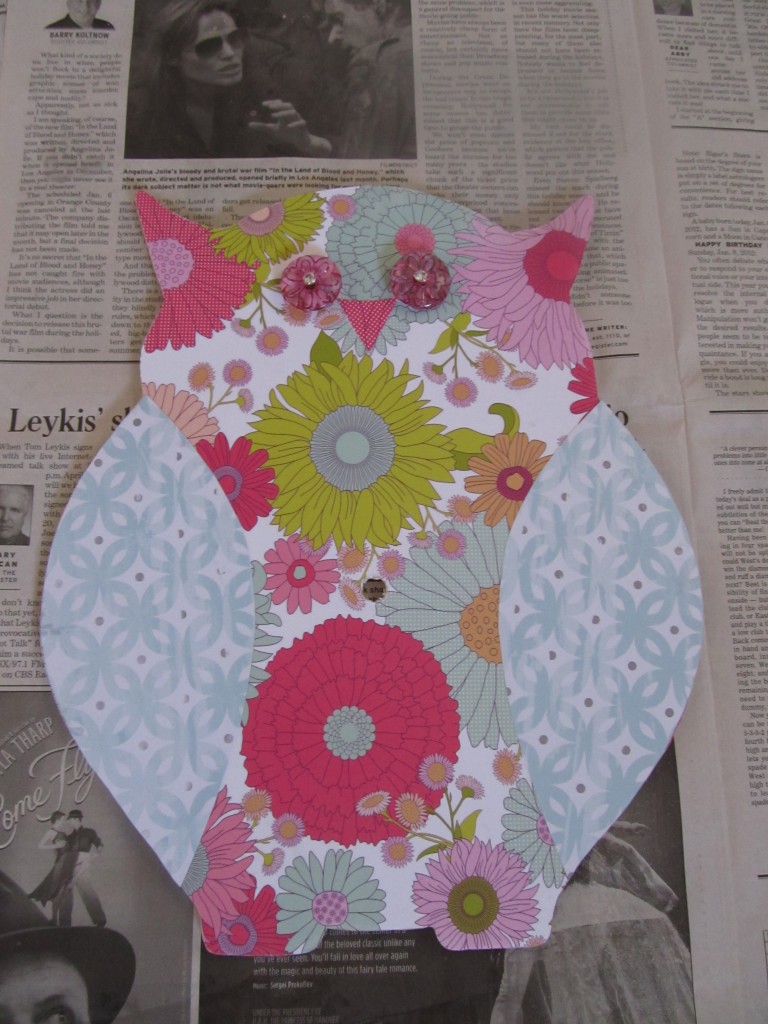
Cut out the beak for the owl and mod podge it in place. Let it dry. Mod podge the entire surface of your project with 3 to 5 coats. I only did 3 coats and felt this was sufficient enough. Measure the placement of your button backs and drill holes to insert the buttons into. Secure with hot glue from the back. Attach trim if you wish to go this route. Like I said, you could paint the sides if you opt to cut down on some cost or can’t find the right trim. Next, put your clock face on according to the directions on the package. With some clock parts, you don’t have to worry about having to attach a hook to the back of your project to hang it from. The battery operated clock piece that I used was designed with one.
Now, you have a one of a kind great functional art piece as well as a clock that’s like no other. This would make a great gift for any kids room, new house, or any room in general for that fact. Super easy and people will be really impressed!
Transform your home decor with the charming Floral Print Owl Clock. This unique timepiece not only adds a touch of whimsy to any room but also serves as a functional piece of art. The intricate floral design combined with the owl motif creates a delightful focal point that will surely spark conversations among your guests. If you’re looking to infuse your space with personality and style, consider adding the Floral Print Owl Clock to your collection. Share your thoughts on this adorable clock in the comments below and let us know how you would incorporate it into your decor!
FAQs
Q: What Is The Theory Of The Clock?
A: Clock Theory uses the synchronized movements of a clock to illustrate the value of individual contributions as well as teamwork. Every team member has an equal role, just like the hands on a clock, and everyone needs to be nimble and adaptive to changing circumstances.
Q: What Materials Are Commonly Used In Floral Print Owl Clocks?
A: These clocks are often made from materials such as wood, plastic, or metal, with printed or painted designs. The clock mechanism typically includes quartz movement.
Q: How Do I Hang A Floral Print Owl Clock On The Wall?
A: Most floral print owl clocks come with a hanging mechanism on the back, such as a keyhole slot or a hook. Use a nail, screw, or wall anchor suitable for your wall type to hang the clock securely.


