

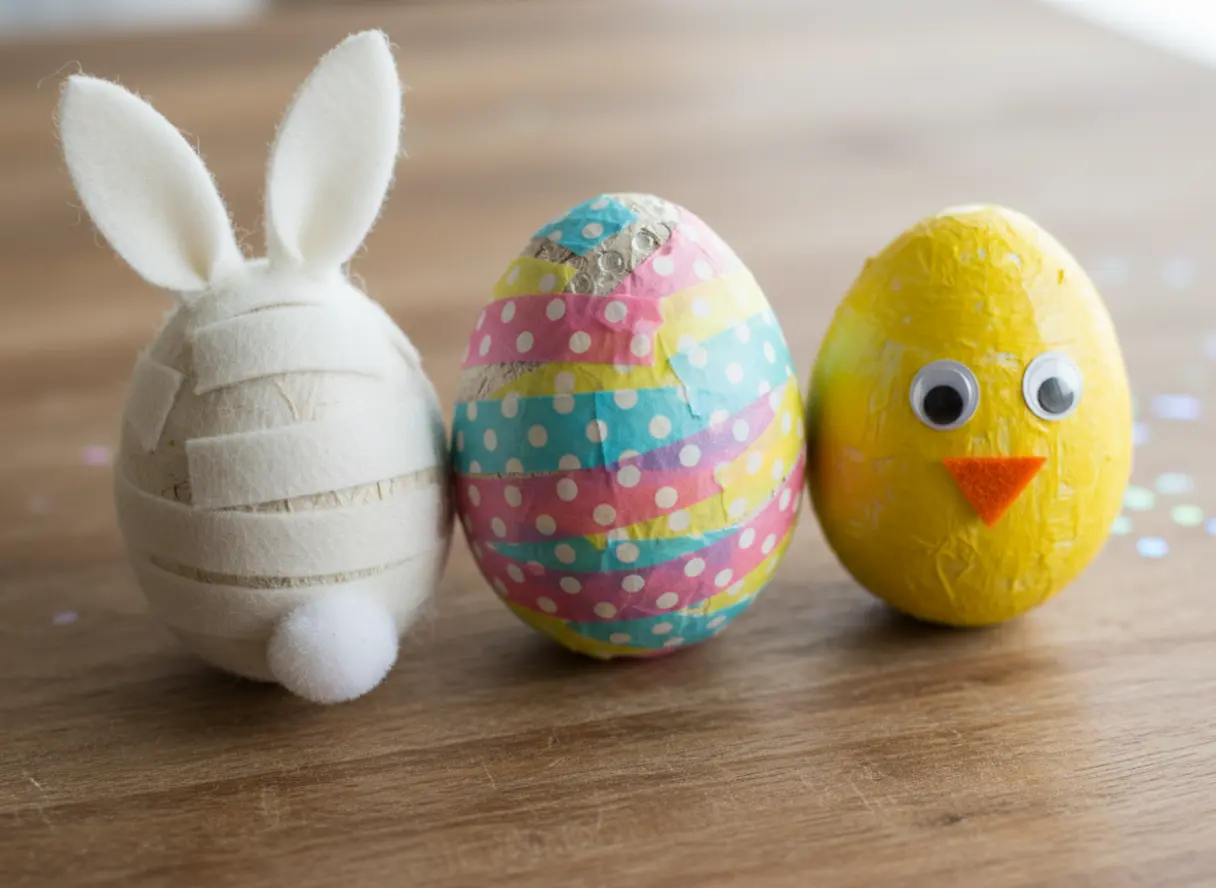
Selecting Sound Fillings For Varying Acoustic Pitches
The choice between uncooked rice and metal beads determines whether your shaker sounds like gentle rain or a sharp tambourine. I prefer dry grains like split peas for a medium, satisfying clatter that pairs perfectly with easter music shaker eggs for kids to make that perfect rhythm. You want to avoid overfilling the egg because too much mass inside prevents the pieces from moving and making noise. A good rule is to fill your plastic egg only one-quarter full, giving those internal elements plenty of room to bounce and create the acoustic performance you want.
Structural Adhesive Requirements For Child Safety Resilience
A strong seal is the only thing standing between a fun instrument and a potential choking hazard. Standard white school glue will pop open with the first enthusiastic shake, so you need to reach for something much tougher. My go-to is an industrial-strength craft glue that creates a flexible but permanent bond on plastic. Run a generous bead of adhesive all around the seam where the egg halves meet on every set of easter music shaker eggs for kids, then secure it further with a wrap of heat-resistant masking tape while it dries overnight. This double-layer method gives you the peace of mind that the fillings stay put, no matter how hard those little musicians play.
1. Vibrant Polka Dot Washi Tape Shaker Egg
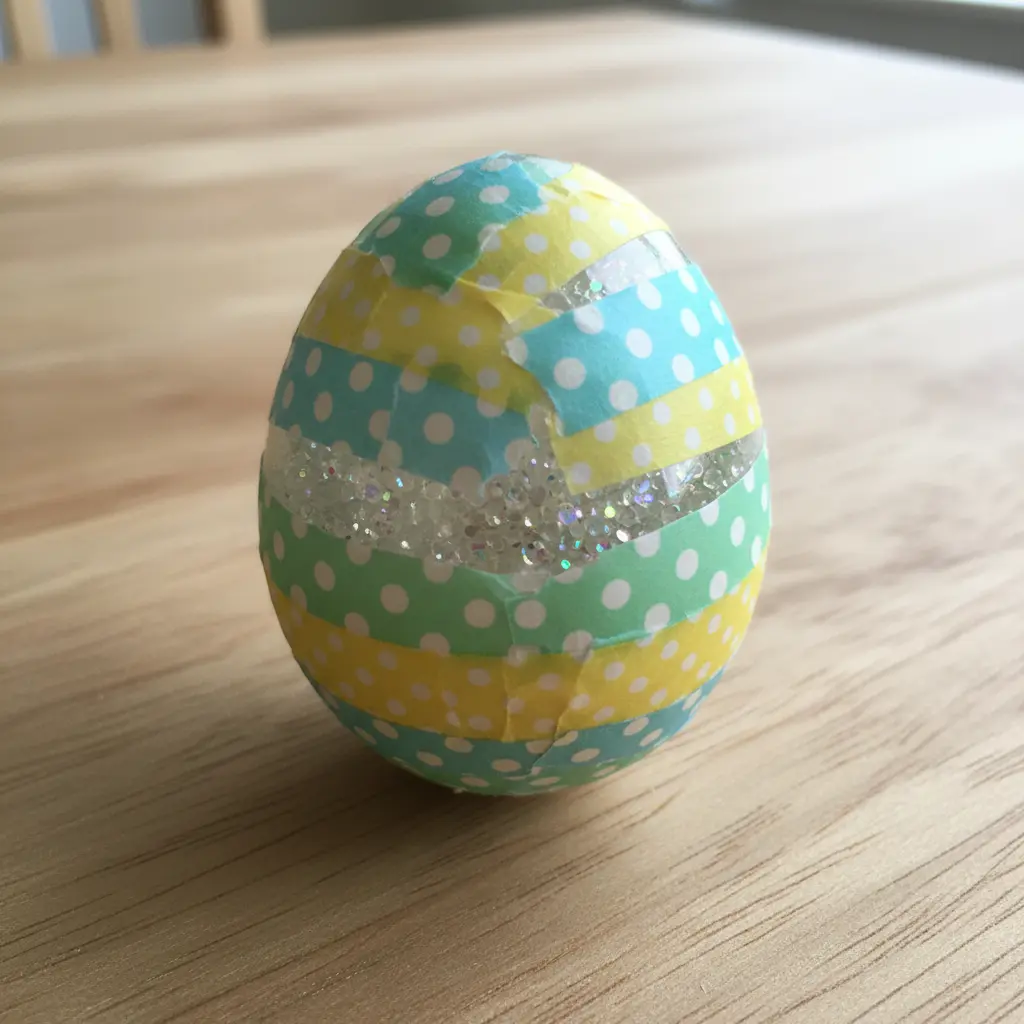
Ever wondered how to make a simple egg look so bright and fun? This one is a total winner because it looks complex but is secretly easy. You start by filling a plastic egg with a small amount of rice or dried beans to get that perfect rattle. Then, you seal it shut with a bit of hot glue for safety.
The magic happens when you add the colorful polka dots using washi tape. I love using a hole punch to make perfectly round dots from the tape, sticking them to wax paper first so they are easy to peel. You just arrange them all over the craft to ensure your easter music shaker eggs for kids deliver both a cheerful look and a steady beat. Trust me, the final look is incredibly cute and they will love playing with it.
2. Felt Bunny Ear Music Shaker: Adorably Hoppy Character
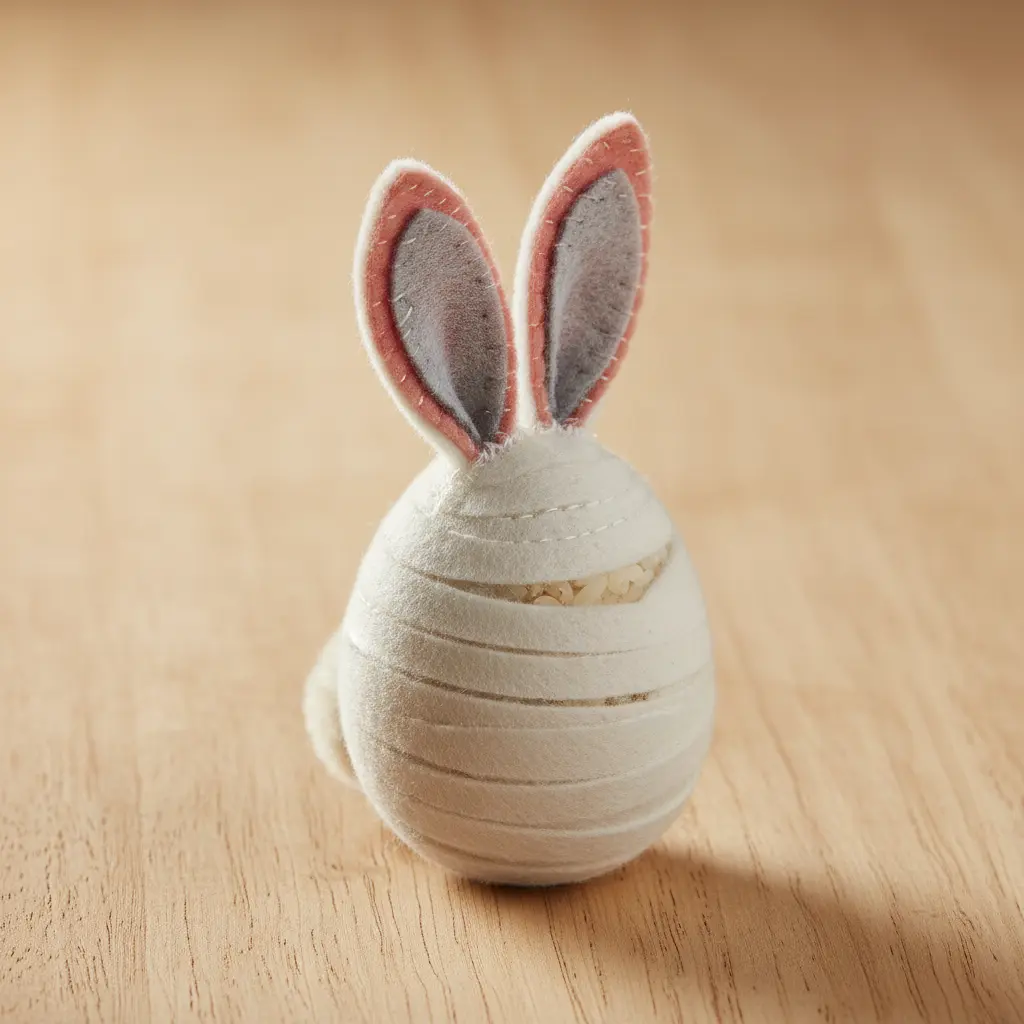
Who would have thought a tiny plastic jar could become the cutest bunny you have ever shaken? The secret is building around a tightly sealed plastic container filled with rice or beans. You wrap it in soft felt, stuff it with polyfill, and stitch on those iconic floppy ears while crafting easter music shaker eggs for kids.
I love how the final touch is hand-stitching the face with black embroidery floss for the whiskers. It gives your bunny so much personality. The whole project comes together as a perfect sensory toy, combining a gentle rattle with a huggable texture. Your finished bunny makes a fantastic homemade gift, and you can even coordinate it with other projects like how you decorate golden Easter eggs. Does that not sound like a fun afternoon?
3. Sequined Pastel Plastic Egg Shaker — A Shimmering Sensory Delight
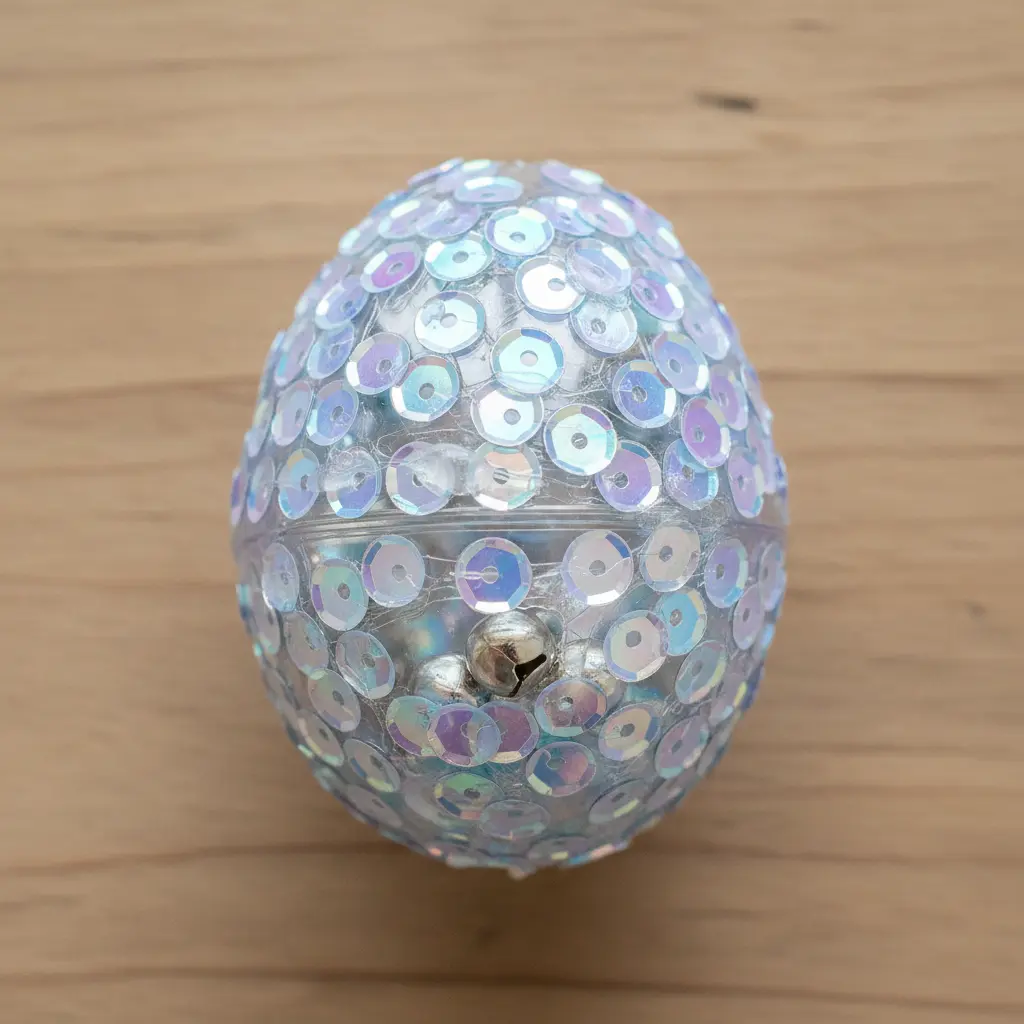
Ever wondered how to get a toddler’s attention with sound and sparkle? This little egg does both. You take a durable plastic shell and fill it with those mesmerizing pastel sequins plus a handful of tiny beads when building easter music shaker eggs for kids. The result is a gentle rattle paired with a shimmering light show every time it’s shaken.
I love this one because it engages more than just their ears. The combination of sound and visual movement is perfect for developing those early cause-and-effect connections. Trust me, securing that permanent seal is the most important step to keep all the small parts safely inside. If you want to expand your holiday crafting, you can learn to create sock yarn Easter eggs for a different, cozy texture. Feel how satisfying it is to watch them play with this simple, beautiful toy.
4. Textured Crackle Paint Easter Egg Shaker
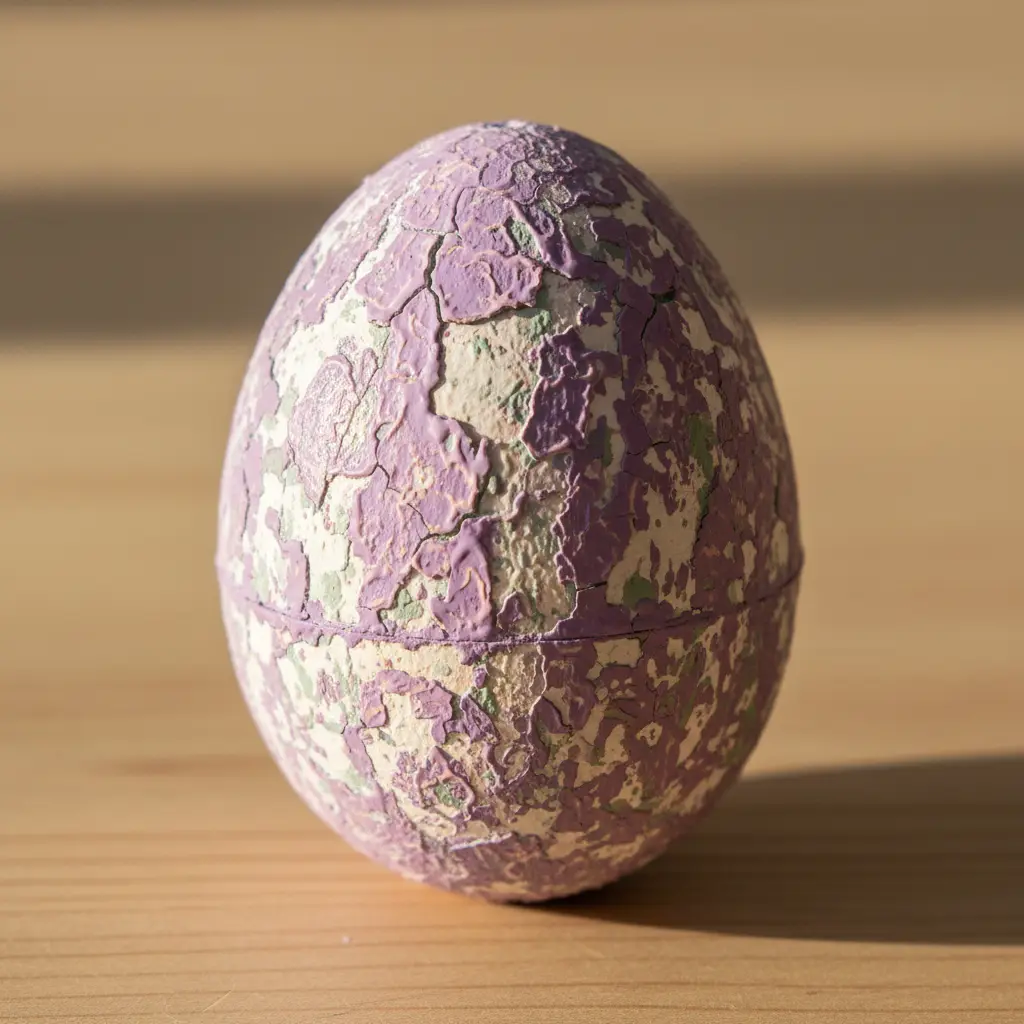
Ever wondered how to get that cool, antique finish on a plastic egg? The magic is in a crackle medium. You paint on a solid base coat, let it dry completely, and then brush over it with the crackle product. As it dries, a network of fine cracks forms, revealing the color underneath for a perfectly weathered look.
It works because it engages multiple senses at once. The visual texture is genuinely artistic, and the sound from the rice or beads inside makes it a standout choice for your easter music shaker eggs for kids projects. I love that you get a unique, handmade decoration and a noisemaker in one. Your key to success is following the instructions on your specific crackle paint to the letter. After you seal your egg, you can find tons of other crafts with plastic Easter eggs to keep the fun going all spring.
5. Ribbon Streamer Handle Shaker Egg: A Colorful Dancing Tail
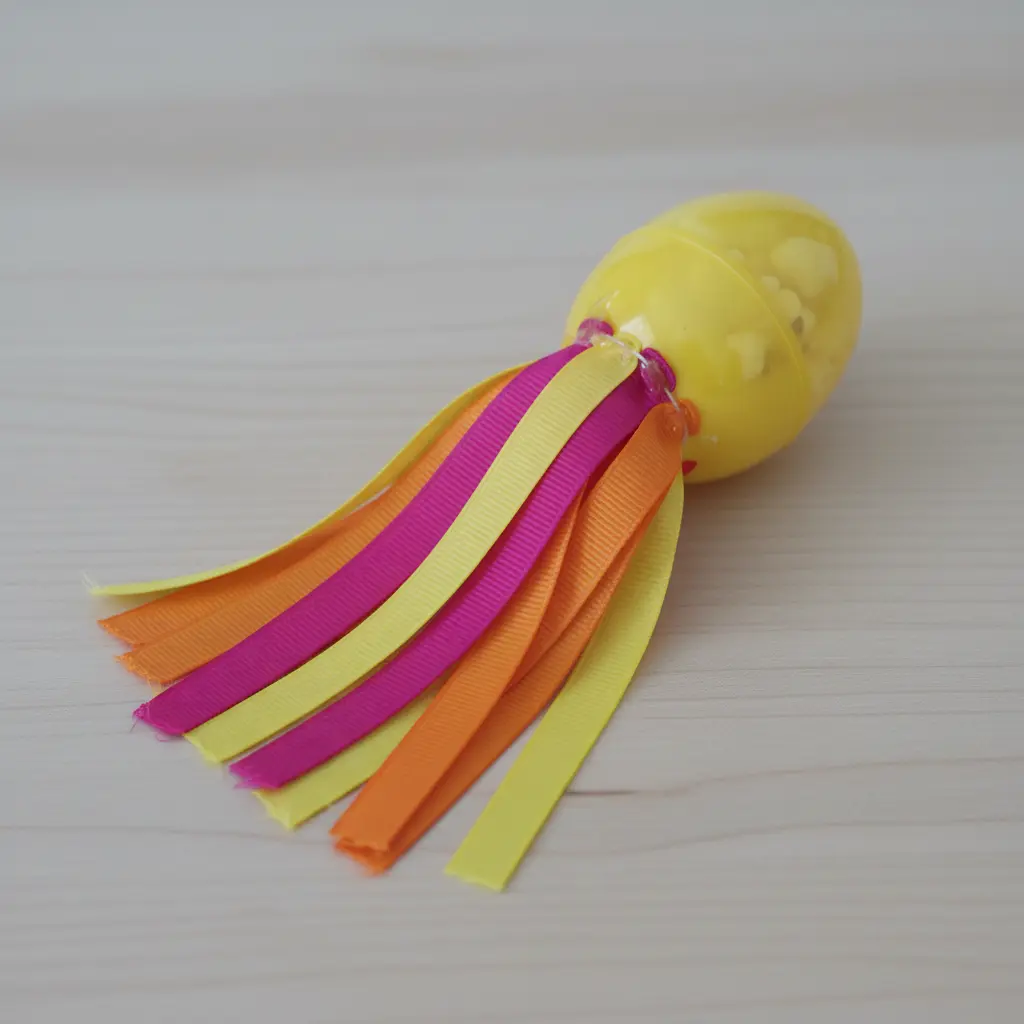
This one looks complex, but trust me, it comes together so fast. You start by gluing your plastic shaker egg firmly onto the end of a wooden dowel to create easter music shaker eggs for kids that are easy to grip. Then, you attach several lengths of vibrant satin ribbon just below it. When your child shakes it, they get a satisfying rattle plus a swirling visual spectacle.
It works because it engages both their ears and eyes at once, which is perfect for gross motor skills. You will love watching those ribbons dance. For a fun variation, you could also make some different monster themed eggs to shake alongside it. Does that not look stunning?
6. Googly Eye Chick Shaker Egg — The Cutest Barnyard Percussion
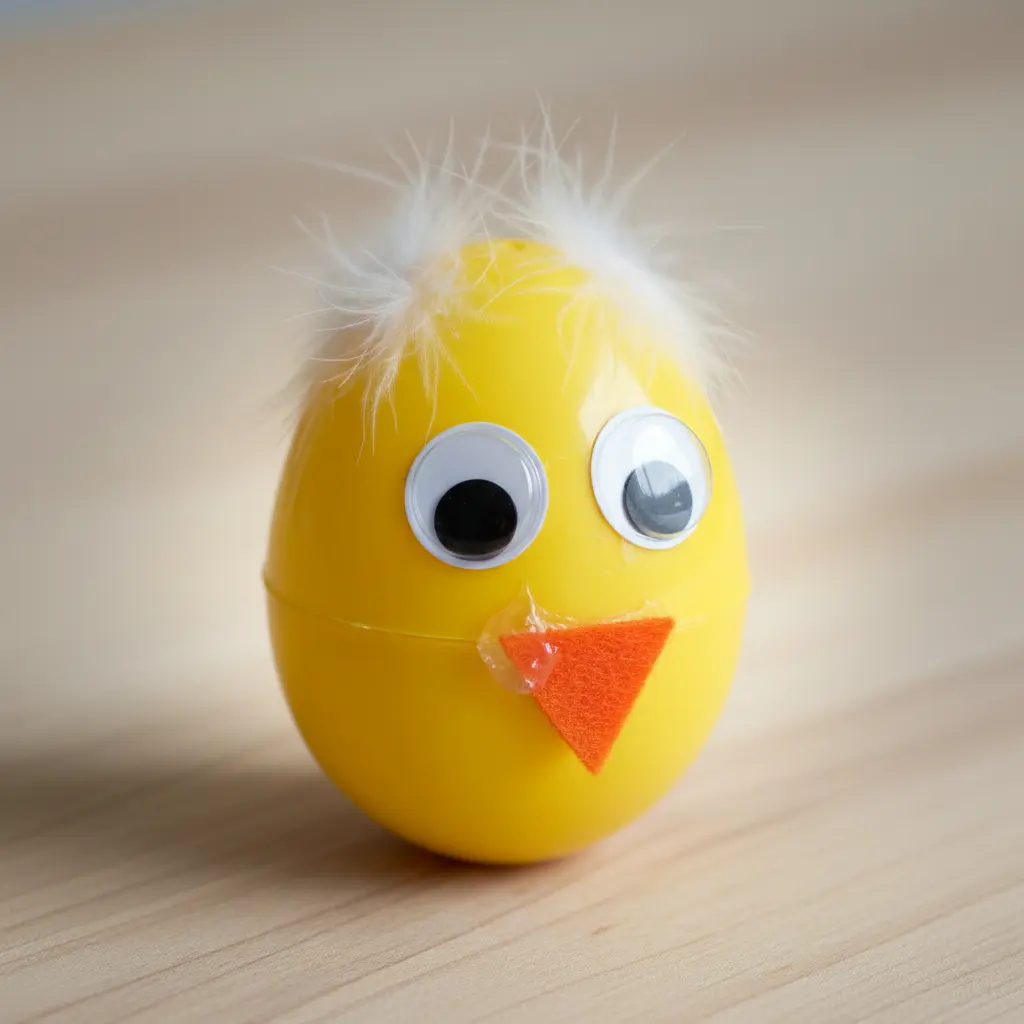
Who can resist a pair of wobbly googly eyes? This little chick shaker is arguably the most adorable instrument in the barnyard band. It is basically a bright yellow plastic egg filled with beads or rice, sealed tight, and brought to life with those signature wobbly eyes. I love how its simple, friendly design makes it an instant favorite for tiny hands.
The process is super straightforward. You start with a plastic egg, fill it with a small amount of dry rice or plastic beads for the sound, and snap it shut securely. That last part is the most important tip for success when assembling easter music shaker eggs for kids safely. A strong seal keeps everything safe inside. Then you just paint it yellow and glue on the eyes, maybe adding a tiny orange beak if you are feeling fancy.
It works because that playful chick theme turns a simple rattle into a character. It encourages kids to shake along with spring or Easter songs without any intimidation. For a full seasonal crafting session, pair this musical project with some fun Easter bunny art. Does that not sound like a perfectly cute afternoon?
7. Glitter-Striped Plastic Egg Shaker
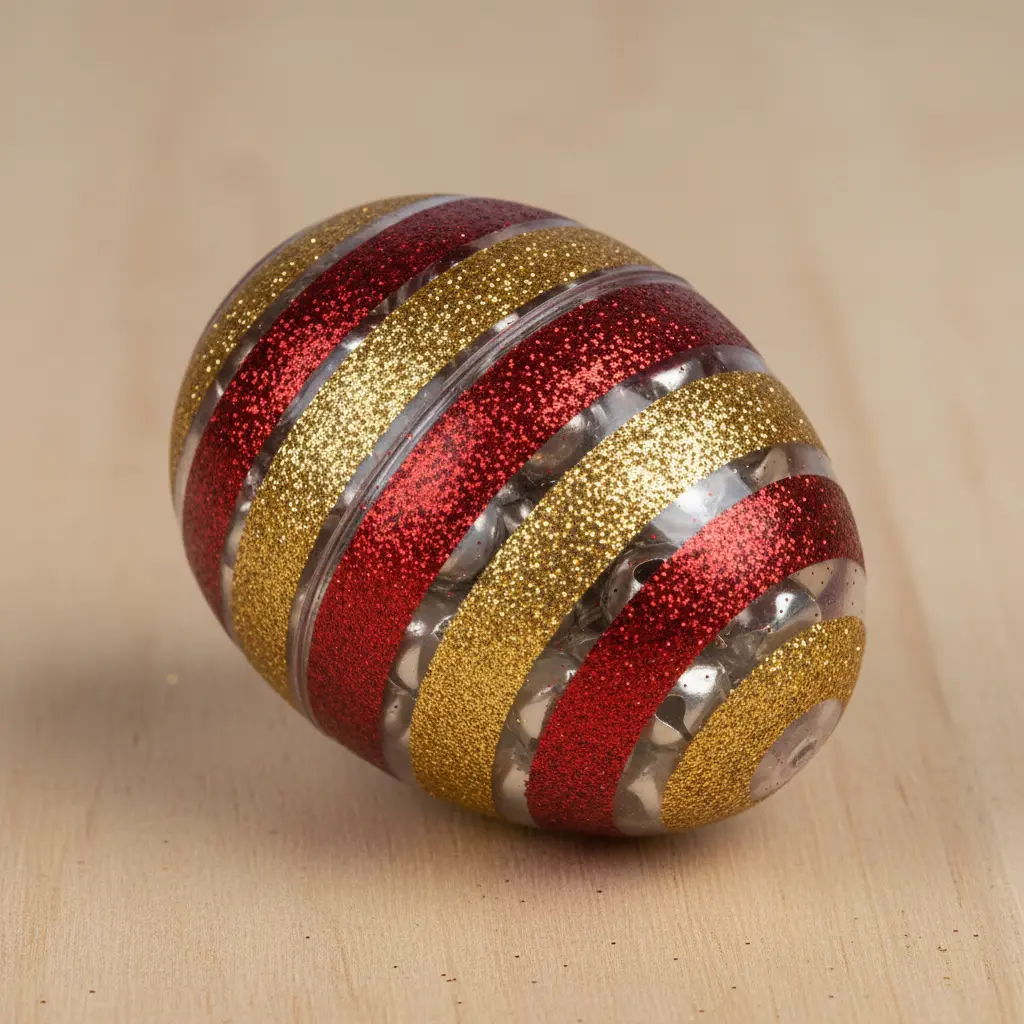
Ever wondered how such a simple instrument makes such a sharp, crisp sound? It is all about the internal fill material you choose to pack inside your homemade easter music shaker eggs for kids for maximum volume. Those tiny beads or pellets inside bounce around, creating a bright, articulate rattle with every shake. The glitter stripes are more than just decoration.
They are sealed onto the durable plastic shell, making it both safe for little hands and visually engaging for sensory play. I love how these shakers add a visual sparkle to any rhythm activity. For a fun, hands-on follow-up, you could make your own Easter egg shaped treats as a themed snack after the music stops. It is a perfect way to extend the festive fun.
8. Charming Painted Floral Design Egg Shaker
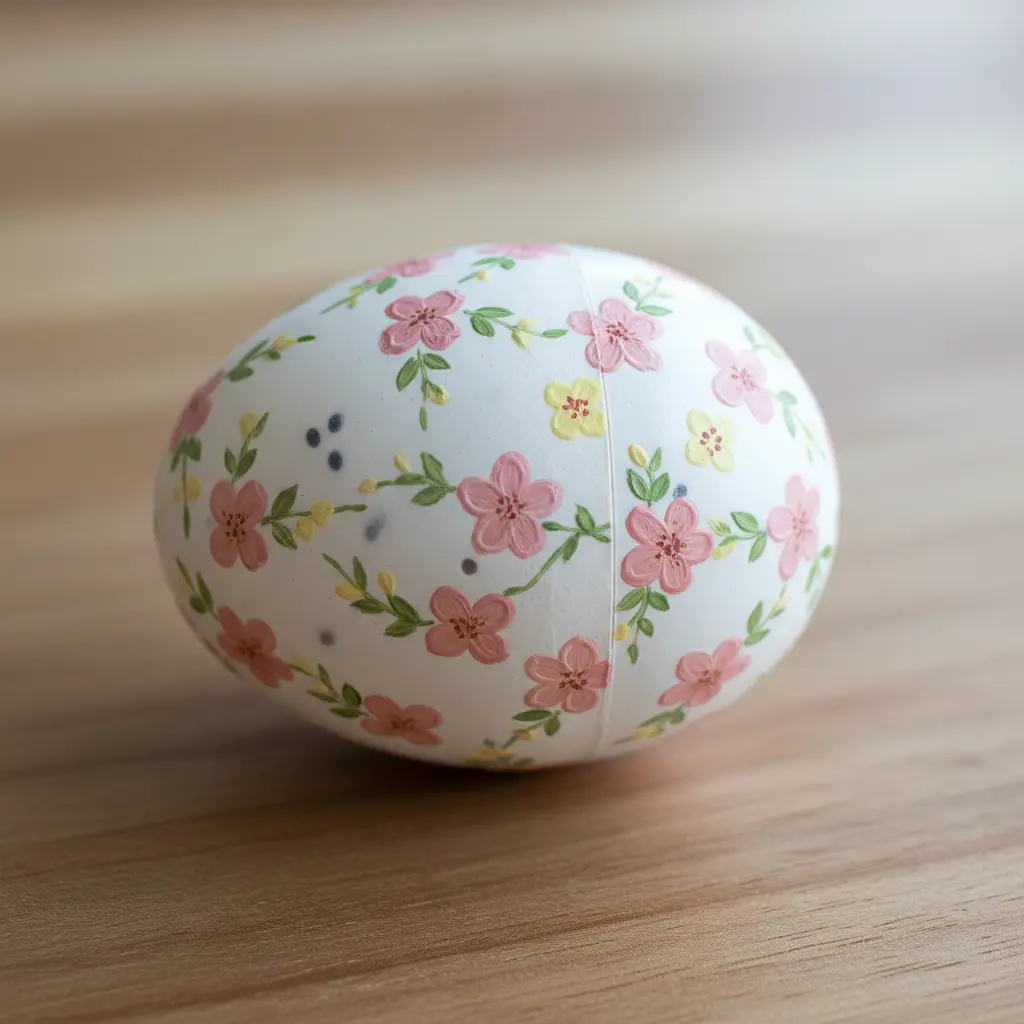
Ever worried those detailed floral patterns are too hard to paint? Trust me, they are not. Start with a simple light pencil sketch on your egg shaker before adding acrylic blooms to your latest batch of easter music shaker eggs for kids. Then, use fine brushes to fill in the flowers and leaves with thin layers of paint. The magic is in letting each color dry before adding the next one.
This keeps your lines crisp and prevents smudging. I love how this merges a calming art project with a fun musical instrument. Once your design is dry, protect your work with a clear sealant. This makes it durable for play and gives it a beautiful finish. Feeling crafty? This project pairs wonderfully with a plan to make an Easter banner for a complete festive setup.
9. Woven Fabric Wrapped Shaker Egg: Cozy Textured Wrap
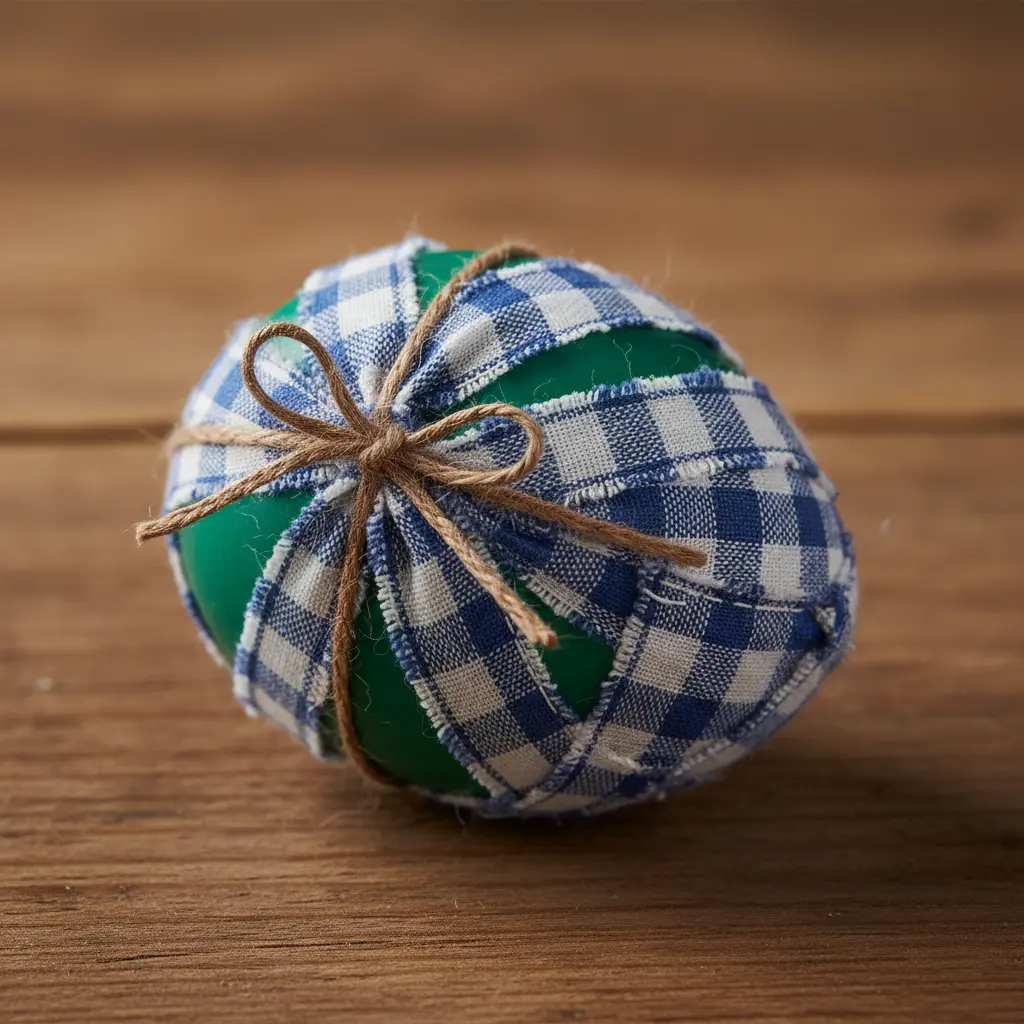
This one is a personal favorite because it feels so different in your hands. You start by wrapping strips of woven fabric around a plastic shaker egg to give your easter music shaker eggs for kids a softer, grippier surface. I love how the texture of flannel or burlap completely changes the look and feel of a simple toy. Use a thin line of fabric glue to secure each strip as you wrap, and keep your tension even for a smooth finish. For a neat look, gently fold the fabric at the ends before the final glue down.
This is a fantastic way to use up fabric scraps and create something unique. If your kids enjoy making colorful projects, they might get a kick out of creating vibrant tissue paper Easter egg crafts as well. Both are great for little hands and add a wonderful pop of color to your spring decorations.
10. Neon Confetti Decorated Shaker Egg — A Bright, Festive Rattle
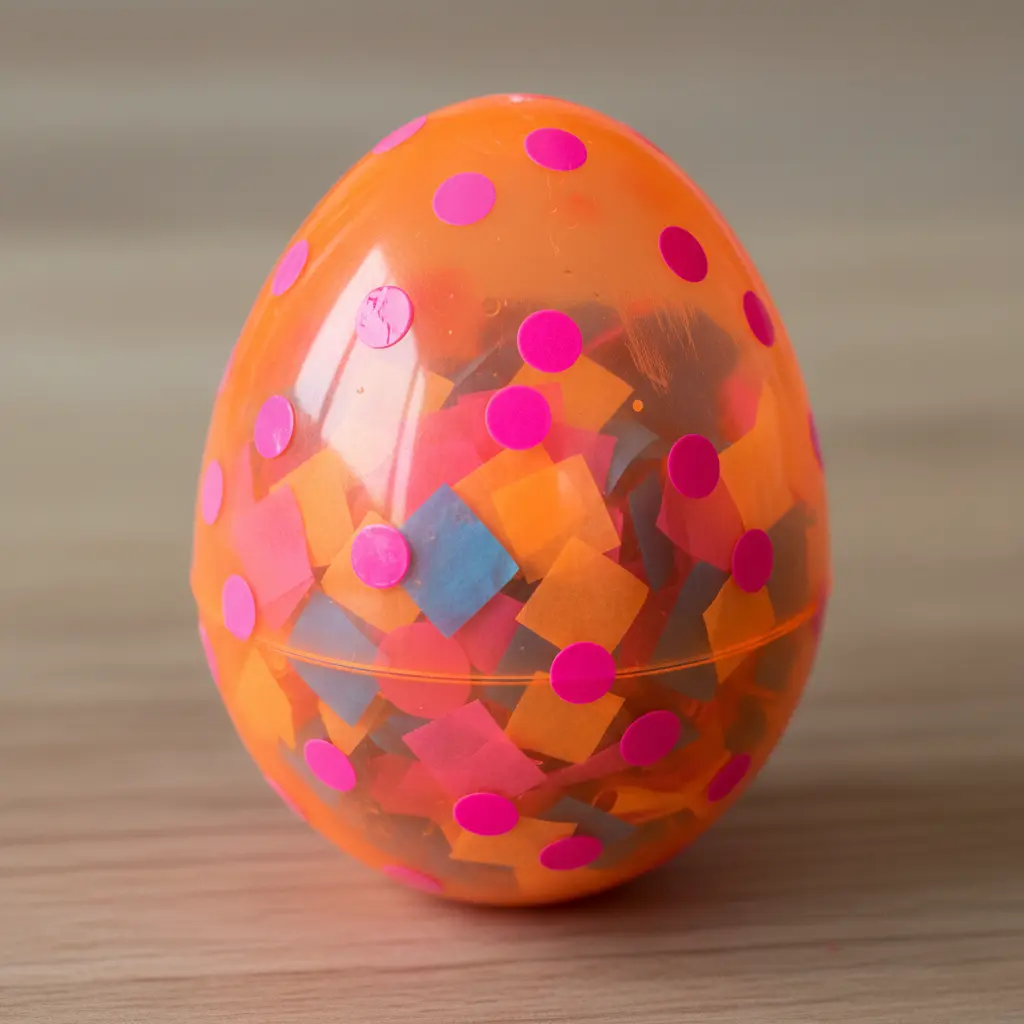
This one is pure party energy in an egg. You are taking a classic plastic shaker and turning it into a vibrant, confetti-filled rattle. It looks complex, but the process is super straightforward. Apply a clear craft glue to small sections of the egg, then sprinkle on those neon confetti pieces while working on your bright easter music shaker eggs for kids. I love working in small sections to avoid a big, sticky mess.
Once the confetti is set, sealing it with a non-toxic glossy lacquer is my go-to tip. It locks everything in and makes those electric colors pop even more. The final sound is a bright, festive shush that makes you want to move. It is a fantastic way to add some visual pop to your musical crafts. After you have mastered this, you might want to explore some other fun newspaper Easter egg ideas for more creative decorating.
That glossy, confetti-covered finish is so satisfying to see and to shake. Feel that festive rhythm.
Developing Rhythmic Patterns With Homemade Percussion Sets
The real magic happens when you pair a high-pitch egg filled with metal beads next to a deeper one loaded with rice. You and your child can start by shaking them together in a simple, steady beat, then try alternating shakes to create a call-and-response pattern. Use these different sounds to mimic the pitter-patter of spring rain while testing out the varying tones of your easter music shaker eggs for kids.
Lay out a few eggs with distinct tones and encourage your young composer to build a rhythmic pattern, maybe even matching the rhythm to a favorite song. This turns a simple craft into a full music lesson that builds listening skills and coordination.
Conclusion
Watching a child discover that they can create their own sound is one of those small, everyday joys that makes parenting and teaching so rewarding. That quiet confidence is what makes these easter music shaker eggs for kids so much more than a craft. When you hand them a hand‑decorated shaker egg filled with beads or rice, you are not giving them a toy — you are handing over a little piece of independence and rhythm. As you finish up your creations, the one practical step you should not skip is sealing each egg permanently with a strong craft glue.
This simple move keeps the fillers safely inside and prevents any small parts from becoming a hazard during enthusiastic music sessions. Take a moment to appreciate the colorful little orchestra you have built together. When the crafting is done, there is nothing like shaking along to a favorite springtime song or making up your own parade around the living room. These moments are the ones you will remember long after the eggs are put away.
FAQs
Q: Are these shaker eggs safe for toddlers?
A: When the plastic eggs are sealed tightly with strong adhesive, they are safe for supervised play with children ages three and up. Avoid using very small fillings like tiny beads that could present a choking risk if the egg were to break open.
Q: What is the best filling for a quiet, gentle sound?
A: Soft fillings like dry rice, small pasta, or quinoa produce a softer, more soothing rattle. Pair these with a gentle visual design to match the quiet sound.
Q: Can I use real egg shells instead of plastic eggs?
A: Real egg shells are fragile and can break easily, creating sharp edges and a mess. Plastic eggs are safer, reusable, and much easier for little hands to decorate and shake.
Q: How do I prevent the decorations from peeling off?
A: Apply a thin layer of decoupage glue or clear sealant over the finished design once everything is dry. This locks in washi tape, glitter, and painted details while adding a slight glossy finish.
Q: What can I use if I do not have plastic Easter eggs?
A: Small plastic containers like clean yogurt cups or spice jars with tight lids can work as substitute shakers. Just be sure the container is lightweight and easy for a child to hold securely.








