

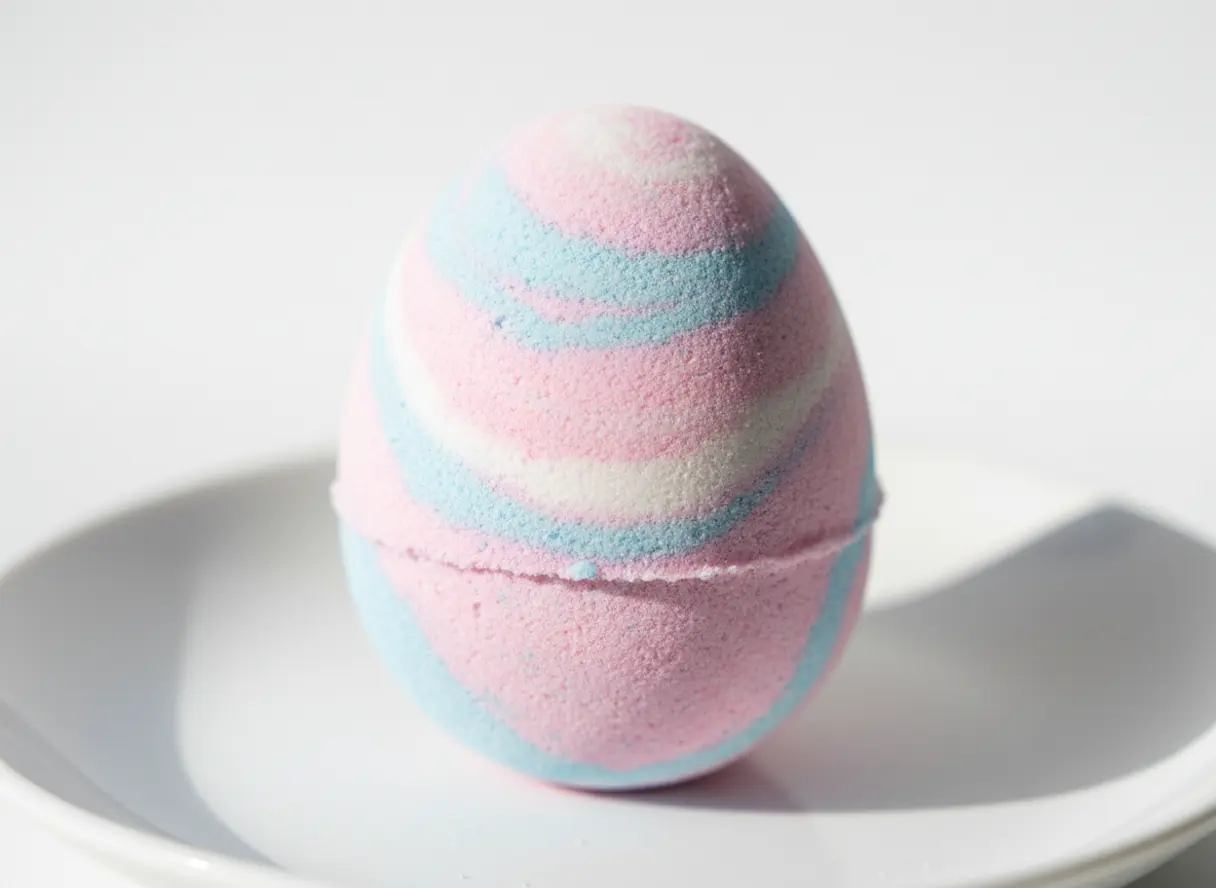
Selecting Bath Safe Pigments and Shimmers
The fastest way to a dull, filmy bathtub is skipping over mica powder for liquid food coloring. Trust me on this, those grocery store dyes do not disperse properly in water and will leave a greasy ring on your tub surface. Mica gives you that vibrant, professional pastel color and a beautiful pearlescent shimmer that dissolves cleanly. You want to look for cosmetic-grade mica specifically labeled as bath safe to ensure it is non-toxic and skin-friendly. The good news is a little goes a long way, so one small jar will last you through many batches of easter egg bath bombs. This simple swap is the key to achieving that high-contrast, multi-layer look that makes your creations look store-bought.
Achieving Ideal Compression for Plastic Molds
Your mixture should hold together like damp, clumping sand before you even touch the mold. If it is too dry, your egg will crumble the second you pop it out. If it is too wet, you will trigger a premature fizzing reaction that ruins the whole batch. The trick is to use a binding agent like witch hazel in a fine misting spray bottle, adding it a few spritzes at a time while you mix. You will know you have the right consistency when you can squeeze a handful and it keeps its shape briefly before crumbling apart. This perfect moisture balance is what allows you to pack the blend firmly into your plastic sphere mold when making easter egg bath bombs without fear of it sticking or breaking.
1. Pastel Tie Dye Swirl Easter Egg Bath Bomb
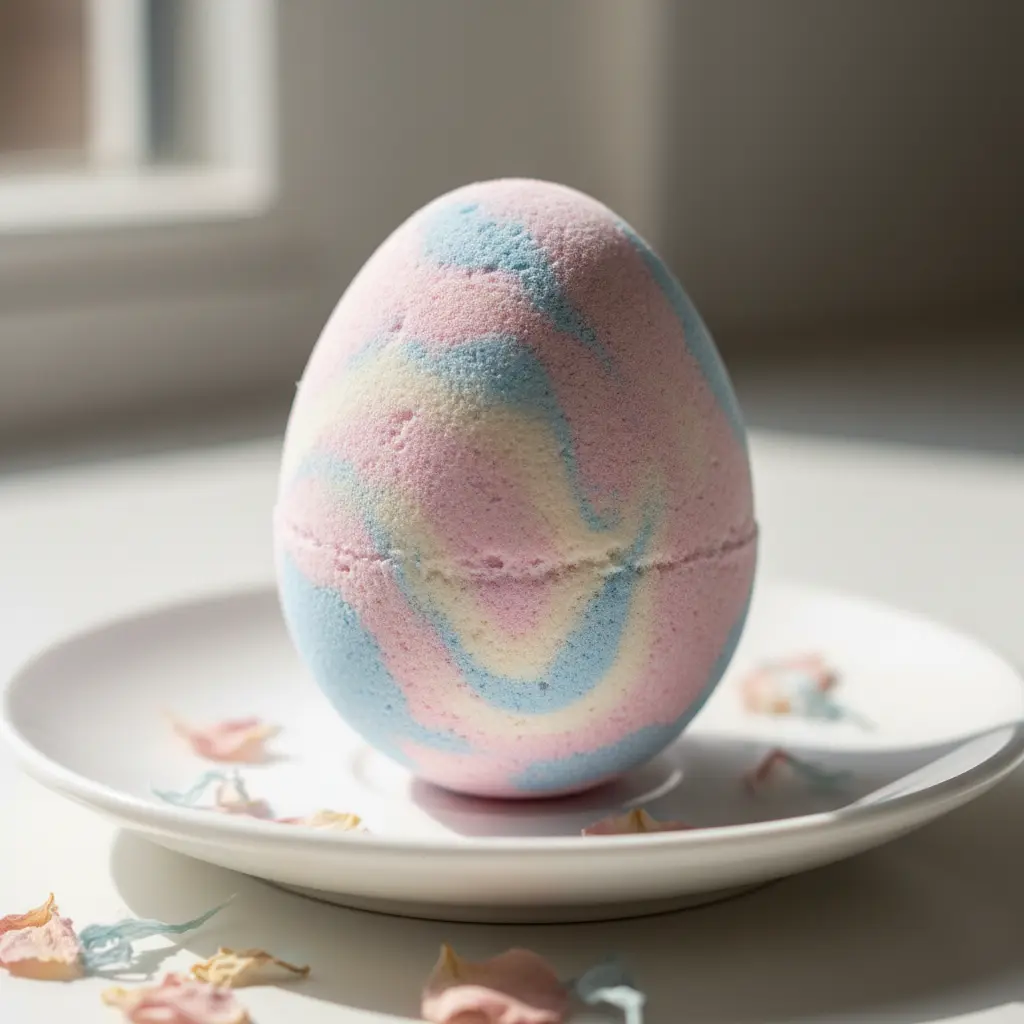
Ever wondered how those beautiful pastel swirls actually work? This one looks complex, but it comes down to layering. You take separate portions of your dry mix, tint each one with a different pastel liquid dye, and pack them loosely into the egg mold. The magic happens when they all meet in the water, creating that mesmerizing, organic tie-dye pattern in your easter egg bath bombs.
I love this technique because each piece becomes a unique little work of art. It gives you that multi-sensory experience of watching the colors dance while enjoying a light, sweet fragrance. The trick is to pack your mixture firmly so it holds its shape, but not so tight that it prevents a good fizz. Getting the colors right often starts with inspiration from hand-painted Easter egg designs. That soft, blended look is exactly what you are going for here. Trust me, you will love how this turns out in your tub.
2. Gold Leaf Speckled Easter Egg Bath Bomb
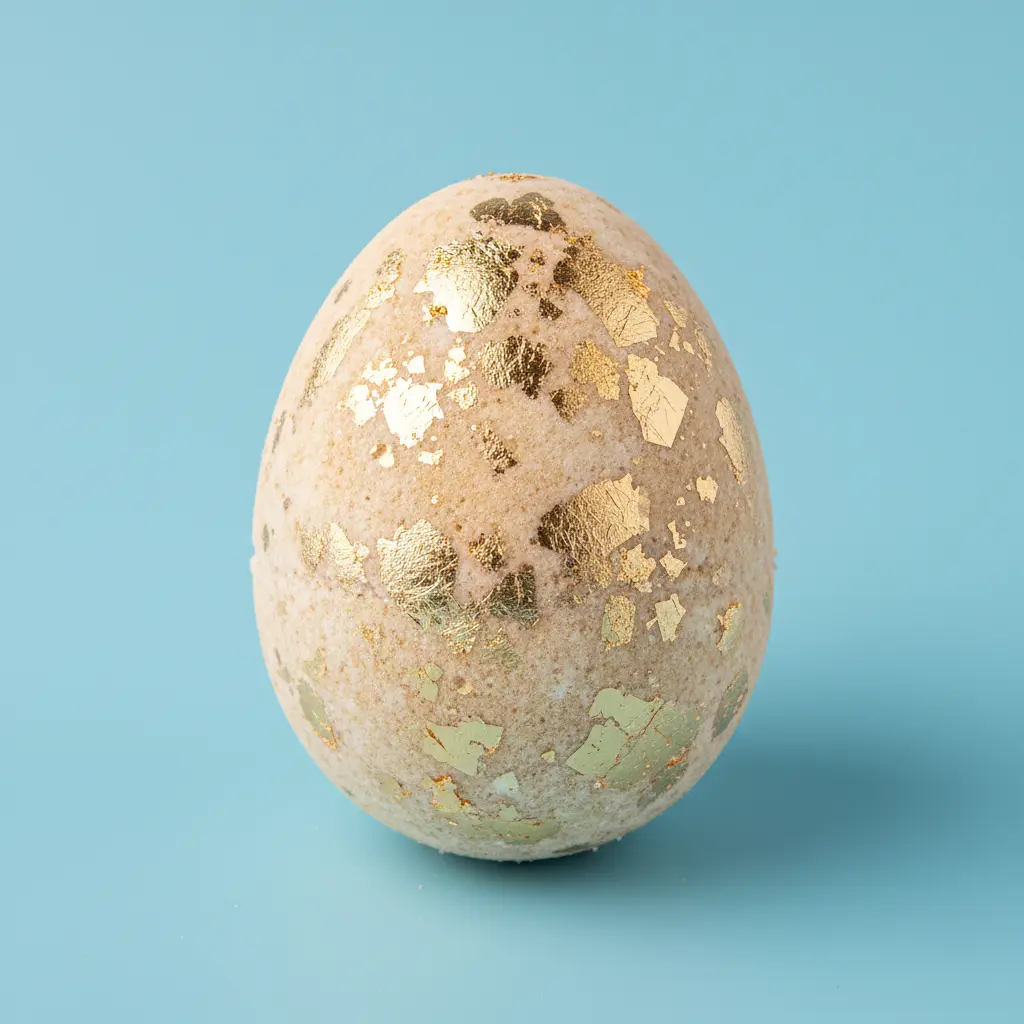
Ever wondered how to make a fizzy treat feel truly special for the holiday? This elegant version starts with a soft pastel or cream base, but the real magic is in the cosmetic-grade gold leaf flakes you gently fold in. The trick is to mix your dry ingredients first, then slowly whisk in your oils and fragrance. You want the texture of damp sand. Trust me, adding the wet mix too fast causes a fizzy mess.
I love how the gold leaf shimmers on the surface and then dances through the water as it dissolves. It turns a simple soak into a luxurious and enchanting experience. Your skin will feel soft and hydrated from the moisturizing oils and salts, and cleanup is easy if you use a bit of Polysorbate 80 to help everything disperse. It is a fantastic project to share with kids, especially when making easter egg bath bombs alongside festive treats for a full afternoon. Doesn’t that sound like a perfect spring ritual?
3. Dried Flower Petal Embedded Easter Egg Bath Bomb
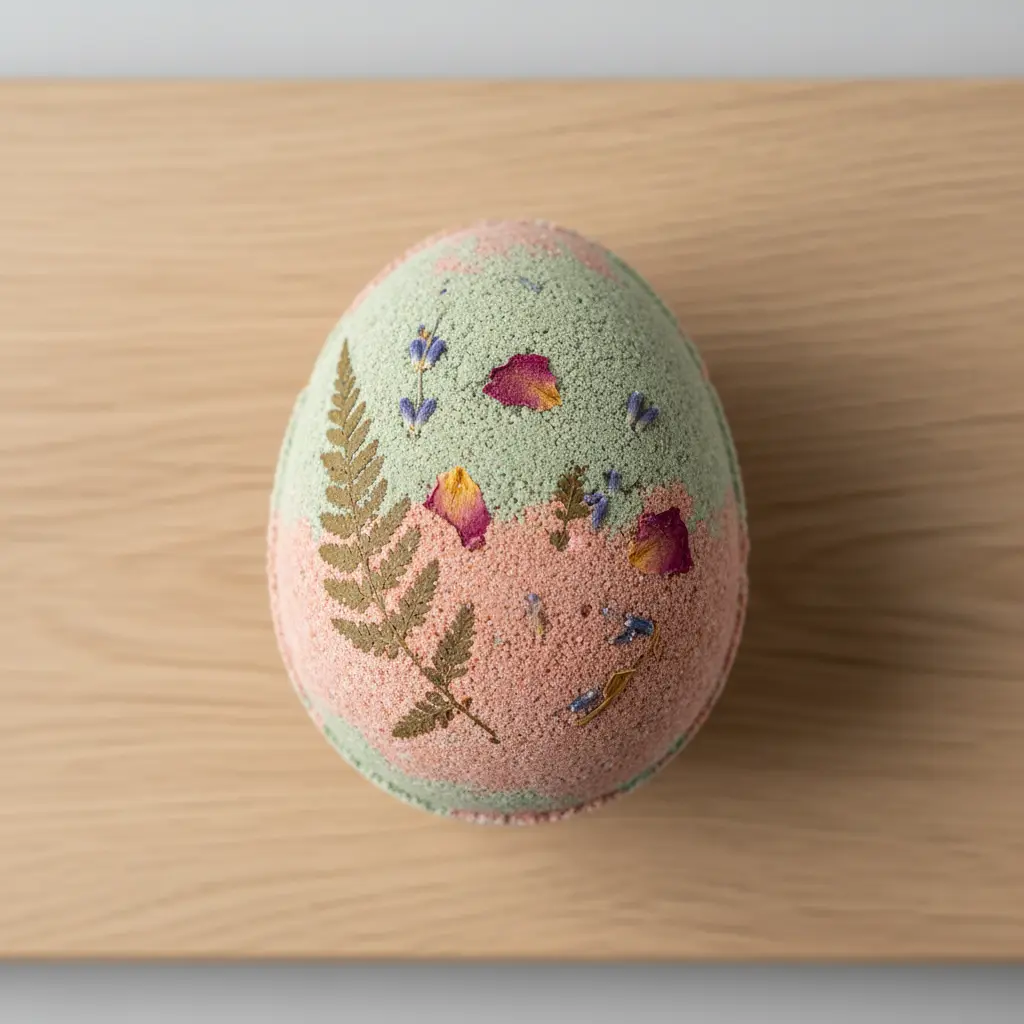
This one looks so much more delicate than it really is. You are essentially making a classic fizzy with a gorgeous, natural decoration pressed right in. The trick is to pack your Easter egg bath bomb molds with the damp mixture, then gently place your dried petals in the bottom half before pressing everything together firmly.
As it fizzes away, those little petals float free, turning your bath into a spring meadow. It works so well because the visual surprise makes easter egg bath bombs such a delight, and half the fun is watching the water change. I love using cosmetic-grade lavender buds for their scent and pretty purple color. Your finished pieces make wonderful handmade gifts. For another festive spring project, you can learn how to create golden Easter egg decorations as a lovely matching task.
4. Layered Neon Stripe Easter Bath Bomb
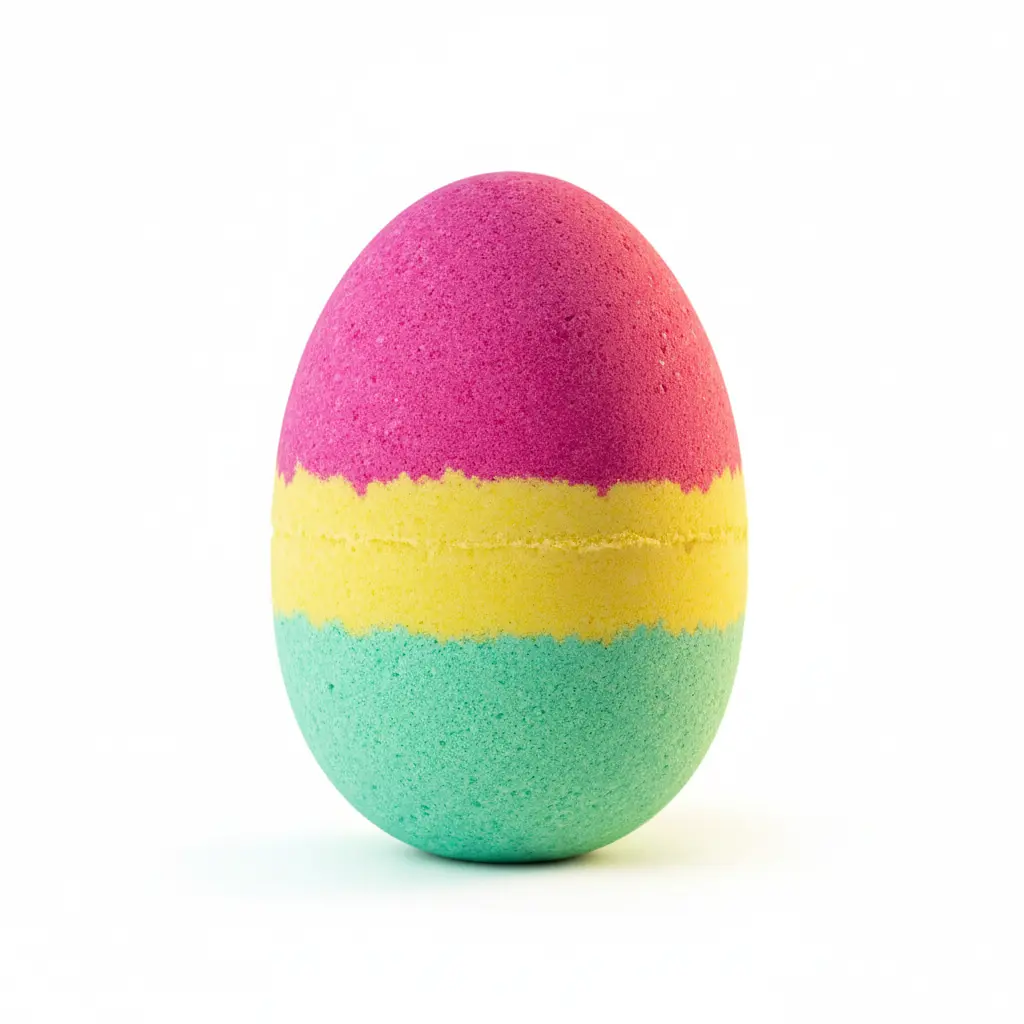
Does making a fizzy with perfect, bright stripes sound tricky? Trust me, it is easier than it looks. The key is working with a mixture that feels exactly like damp sand. You will press each neon colored layer firmly into your mold, creating those bold, defined lines that look so cool. I love how this design completely breaks from soft pastels.
Those vivid stripes create a fun, almost electric vibe in the water when your easter egg bath bombs begin to fizz. It is a total sensory party that feels fresh and modern. For a similarly hands-on and colorful Easter project, you could try making craft tissue paper Easter eggs with kids. The satisfaction of seeing those crisp neon layers hold their shape is absolutely unbeatable.
5. Biodegradable Glitter Coated Easter Egg Bath Bomb
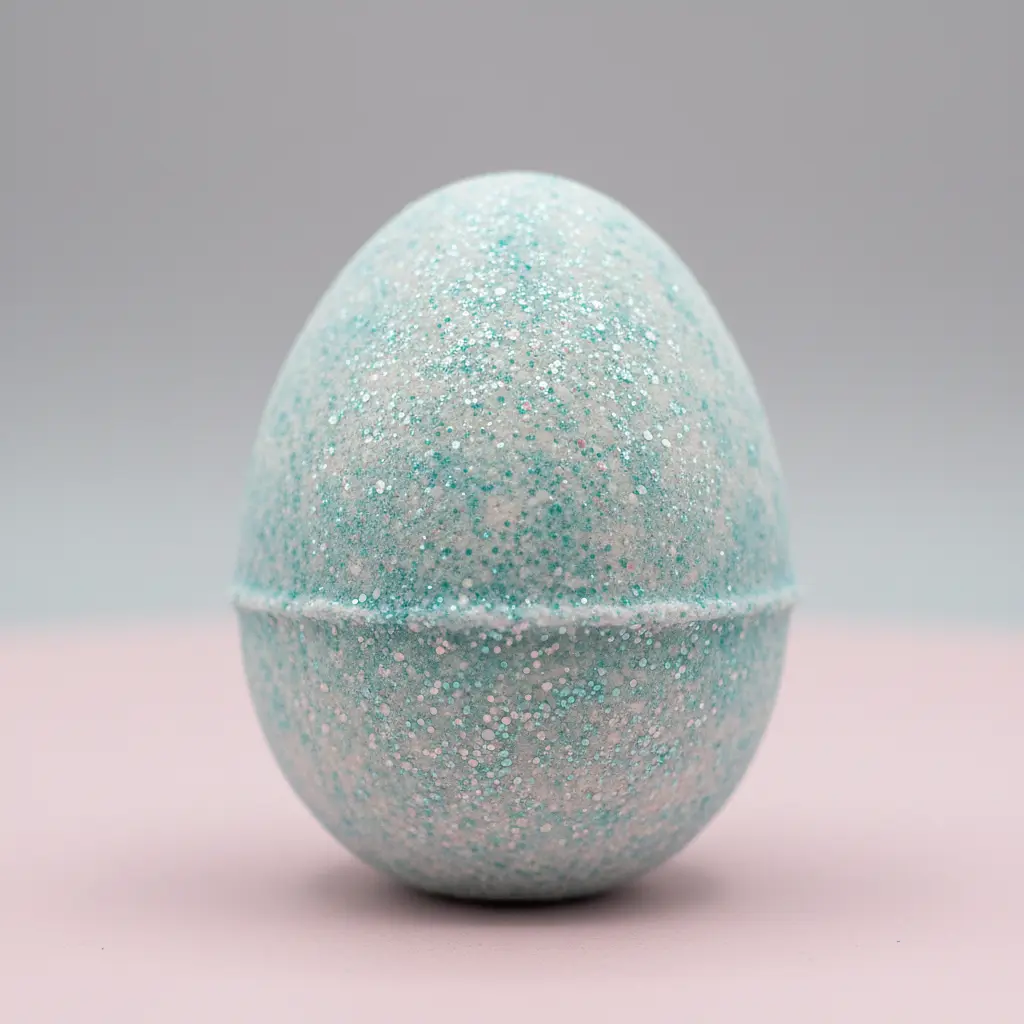
This one looks fancy, but trust me, it is a total crowd-pleaser. The key is that final roll in biodegradable glitter once your easter egg bath bombs are completely dry. I love how it adds a magical sparkle to the water without any guilt. Getting the glitter to stick is easy.
You just lightly mist the dry surface with isopropyl alcohol and then gently roll it in your glitter tray. The alcohol dries fast, locking all that shimmer in place. You can use iridescent or pastel glitters to match your color. This works so well because that final coat is pure visual joy, and using a certified biodegradable option means your tub stays beautiful. It is a perfect festive touch. For another creative Easter project that uses a similar coating technique, look at how to craft gold-dipped newspaper eggs.
6. White Polka Dot Patterned Easter Egg Bath Bomb

Ever wondered how to get those bright, perfect dots to pop on a base for easter egg bath bombs? The secret is all in the timing and your tools. Let your molded pieces dry for a few minutes before you start dotting. Then, mix your colorful mica powders with a tiny drop of rubbing alcohol to create a paint-like consistency. Use a fine-tipped brush or a dotting tool to place each polka dot with a confident dab.
This works so well because the quick-drying alcohol binder keeps the dots crisp and prevents smudging. Trust me, getting those defined dots is incredibly satisfying. For another fun and tactile Easter project, you can learn to craft sock yarn Easter eggs as a cute decoration. Feel the springtime joy when your cheerful piece comes together.
7. Hidden Color Core Surprise Easter Bath Bomb
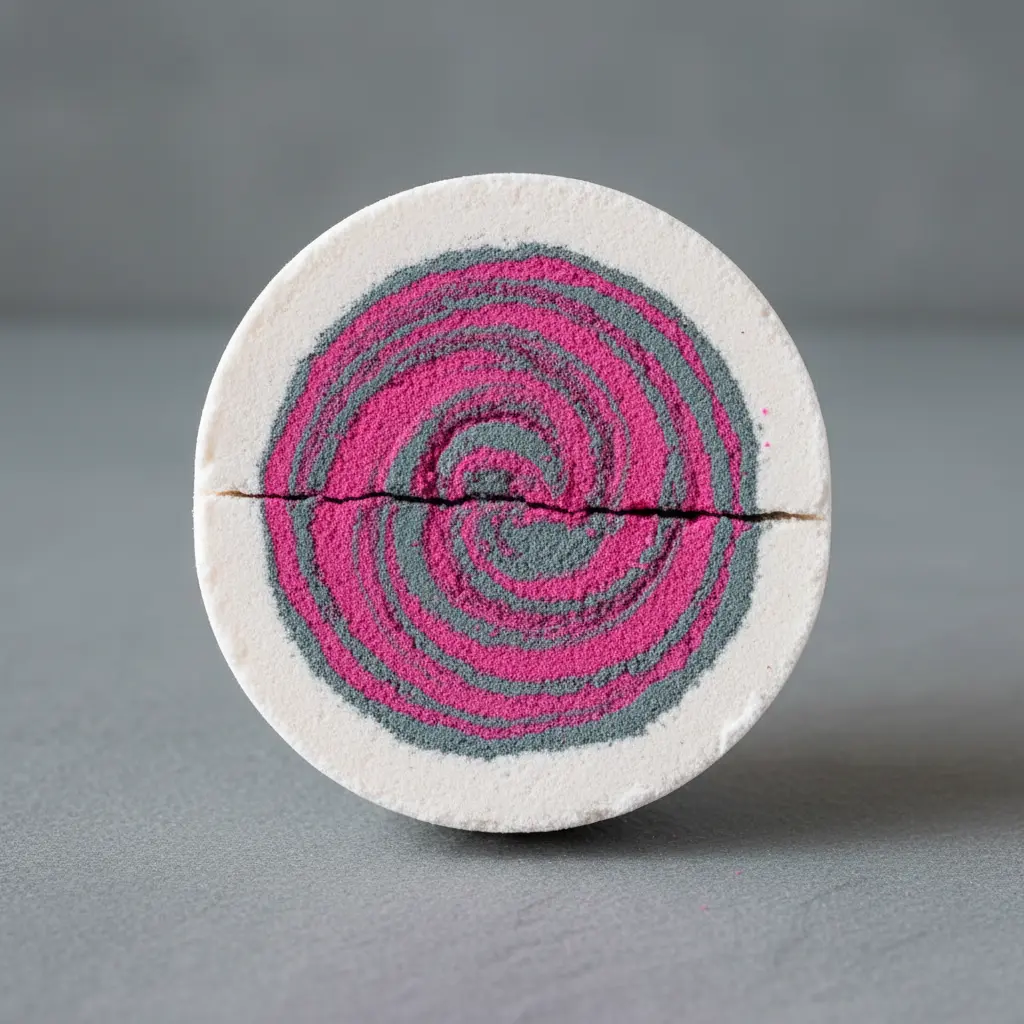
This one is pure magic. It looks like a simple, speckled pastel egg on the outside, but the real fun starts the moment it hits the water. You pack a super-concentrated vibrant mica powder into a tiny core, then encase it completely in a plain white or soft-colored shell when building easter egg bath bombs at home. As the outer layer fizzes away, that hidden burst of bright pink or electric blue comes rushing out like a secret.
I love how it turns a simple soak into a little treasure hunt. The key is making sure your core mixture is much more densely packed with color than the shell. It is a fantastic project to do with kids, and you can even reuse those ideas for plastic Easter eggs as fun molds for shaping the core. Trust me, seeing that surprise pop is the best feeling.
8. Ombre Shade Transition Easter Egg Bath Bomb
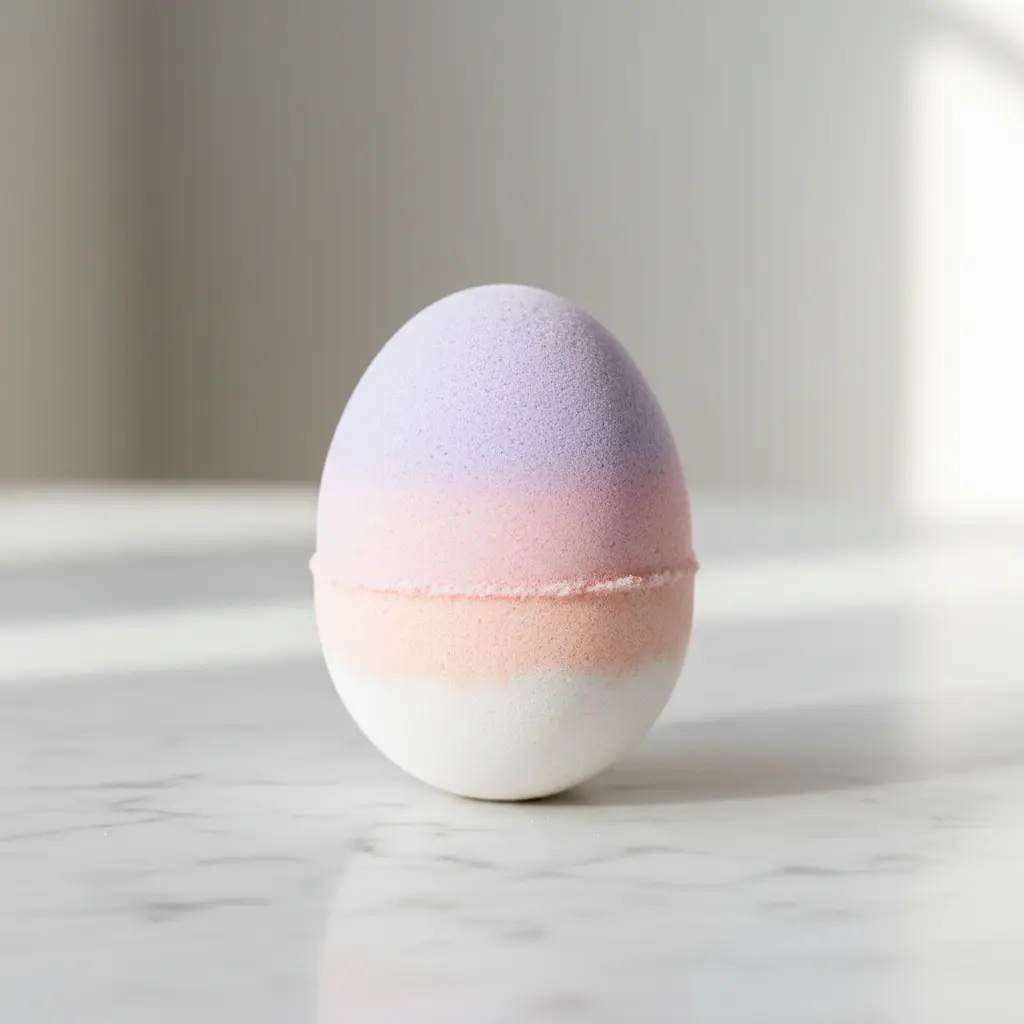
Ever wondered how they get those seamless color blends? This one looks complex but it is surprisingly doable. The secret is layering each colored mixture directly into your Easter egg mold one shade at a time, pressing gently to create a smooth gradient. You will divide your base mixture into separate bowls, tint each with your chosen skin-safe dyes, and then pack them into the mold in order.
I love using a spray bottle of isopropyl alcohol to lightly mist between layers for better adhesion. The result is a beautiful, multi-hued piece that transforms your bath into a swirling color show when your easter egg bath bombs finally dissolve. Trust me on this one, the ombre effect is incredibly satisfying to create. It is a fantastic project to pair with other seasonal craft ideas for Easter egg cups for a full springtime crafting session.
9. Botanical Herb Topped Spring Bath Bomb
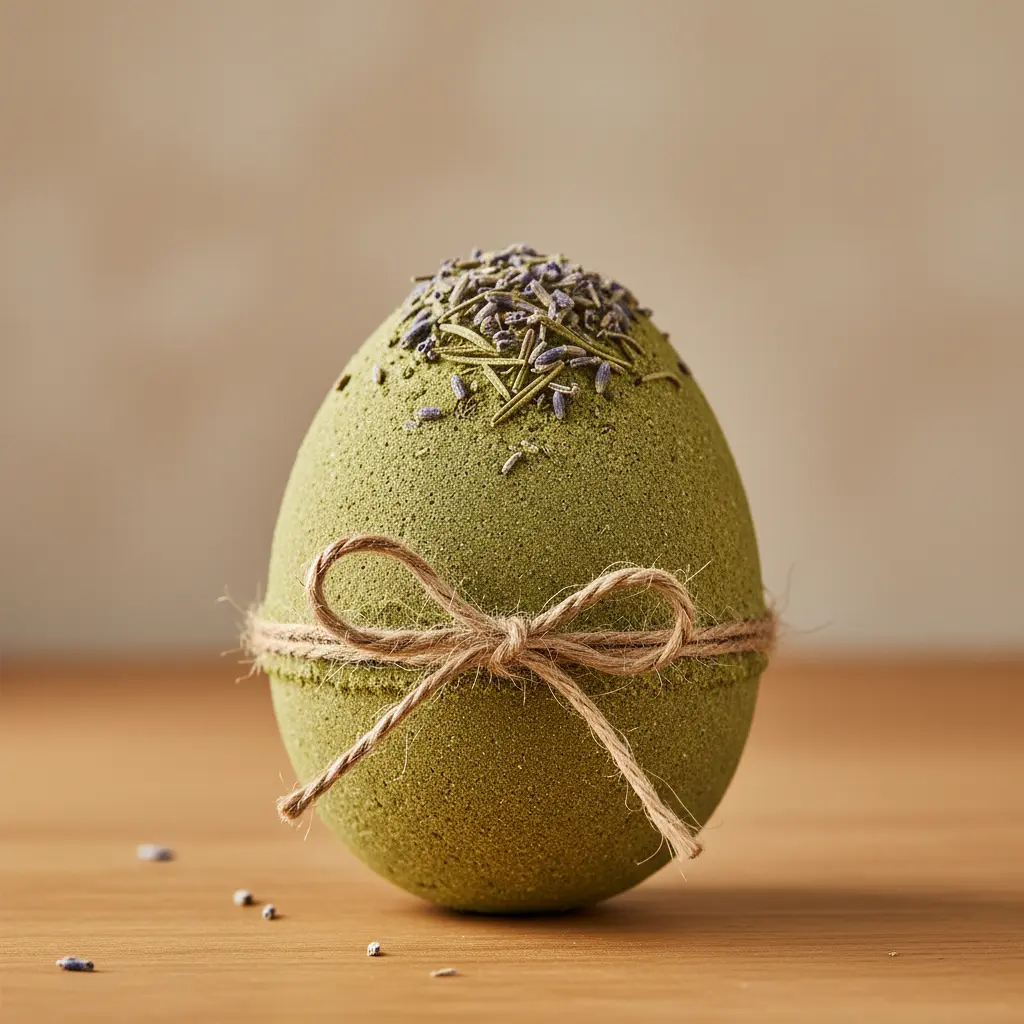
Ever wondered how those gorgeous, herb-speckled pieces are made? This one looks incredibly artisanal, but I promise the process is straightforward. You start by mixing your dry base ingredients and then gently whisking in your light carrier oil and a fresh, spring-inspired essential oil blend. The key step is sprinkling your chosen dried botanicals into the mold before you pack in the mixture.
This gives you that beautiful, natural topping and it works because it provides a full sensory experience. You get the fizzy fun plus the visual beauty and gentle aromatherapy from real lavender buds or calendula petals. Trust me, pressing the mixture firmly into the molds is the secret to a bomb that holds its shape. After you let it dry completely, you will have a stunning, homemade treat. For a fun, colorful project on another spring day, you can explore cute jelly bean craft ideas using similar bright, cheerful colors.
10. Metallic Silver Veined Easter Egg Bath Bomb
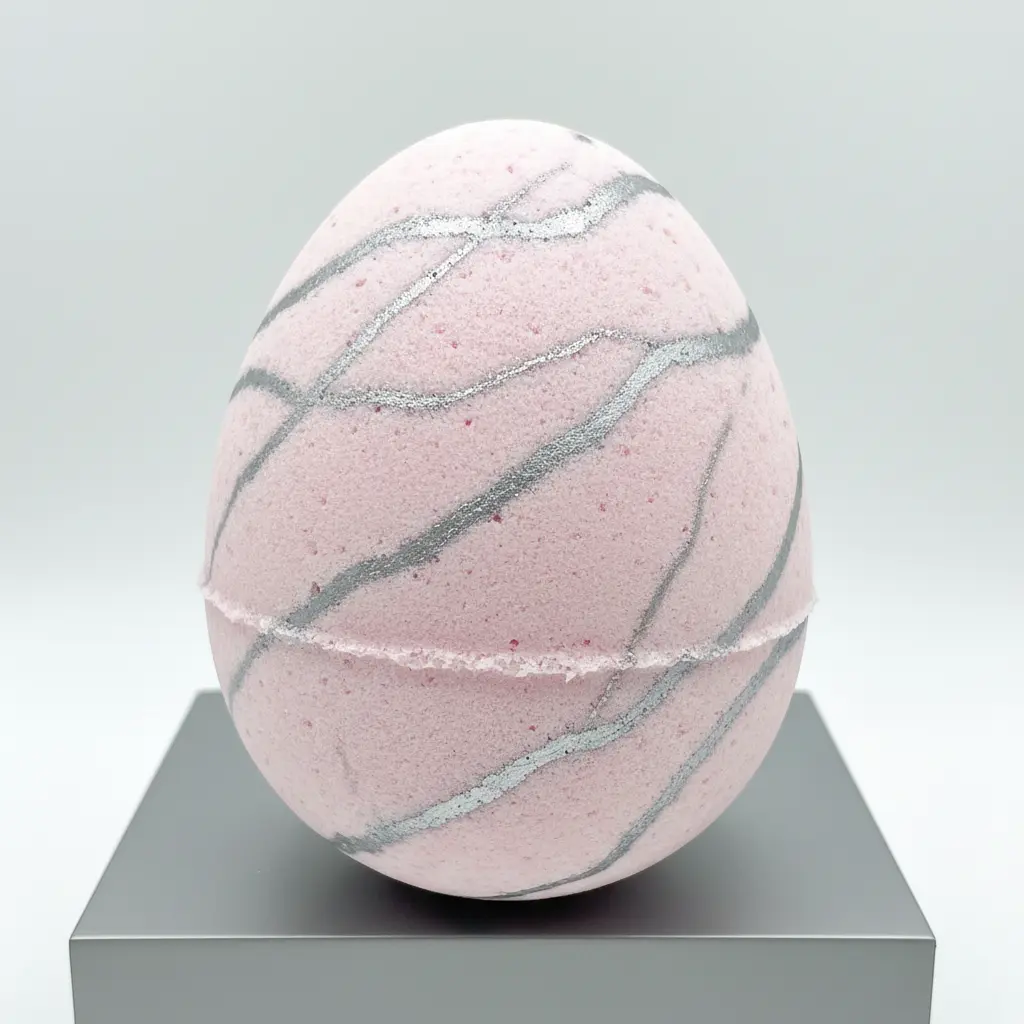
Ever wanted a fizzy that looks more like a piece of elegant marble than a cartoon? This one is for you. The trick is to start with a fully cured, solid-colored piece in a sophisticated shade like charcoal grey or muted teal. Once it is bone dry, you mix a little metallic silver mica powder with your binder to create a paint-like consistency. Using a small brush, you paint on irregular, thin lines that look like natural veins on your metallic easter egg bath bombs.
Let them vary in thickness and direction for that authentic, mineral-like look. This works because the metallic sheen adds a touch of understated glamour, making each piece feel like a unique treasure. Trust me, the key is a light hand and letting the base dry completely to prevent smudging. You will love the luxurious result, and it makes a stunning gift alongside a festive DIY shamrock wreath craft for a full seasonal setup.
Proper Storage for Maintaining Structural Integrity
Once your pieces are dry and solid, you must store them in an airtight container with a moisture-absorbing packet. I keep my batch in a large glass jar with a tight seal and a couple of silica gel packs tossed in the bottom. The ambient humidity in your bathroom or kitchen is enough to make a perfectly good creation start to soften and lose its fizz over a few days. You also want to avoid stacking them directly on top of each other without a barrier, as the pressure can cause cracks. Wrapping each finished piece in a bit of plastic cling wrap or tissue paper before placing them in the jar adds an extra layer of protection against moisture and physical damage.
Conclusion
So how did your mixing session go? Did you manage to capture that classic egg shape without cracks? Look at what you have made, that is real skill right there. Each one is a tiny piece of art ready to fizz and delight. The true beauty of making easter egg bath bombs is that you get to experiment endlessly with colors, scents, and sprinkles to match your mood. My advice is to start with one simple design and then build your confidence for the more intricate ones. Once you master the basic moisture level, you will be amazed at how professional they look. These little eggs hold so much joy, and sharing them with family makes them even more special. Remember, small imperfections add to the handmade charm, so do not stress over tiny details. The most important thing is that you enjoy the process and create something that brings a smile to your face. Pick your favorite from our list and start mixing, the only hard part is deciding which one to drop in first.
FAQs
Q: What ingredients do I need for easter egg bath bombs?
A: You need baking soda, citric acid, cornstarch, Epsom salt, coconut oil, and water or witch hazel for binding. Add mica powder or food coloring for color, and essential oils for fragrance. Use an egg-shaped mold to achieve the festive look.
Q: Are essential oils safe to add to bath bombs?
A: Essential oils work well, but use skin-safe ones like lavender or chamomile. Avoid oils that cause irritation, and always dilute them properly in a carrier oil before mixing into the dry ingredients.
Q: How do I prevent my bath bombs from cracking?
A: Cracking happens when the mixture is too dry. Lightly spritz with witch hazel until the mixture holds together when squeezed, but avoid over-wetting. Press the two mold halves firmly together and let the bomb set undisturbed for at least 24 hours.
Q: Are these bath bombs safe for kids?
A: These bath bombs use mild, non-toxic ingredients, making them safe for children when used under supervision. Skip glitter or small embellishments that could pose a choking hazard, and always patch test for skin sensitivity.
Q: How long do homemade bath bombs last?
A: Store them in an airtight container away from moisture and they stay fresh for up to six months. Exposure to humidity reduces fizz and shelf life, so keep them in a cool, dry place.








