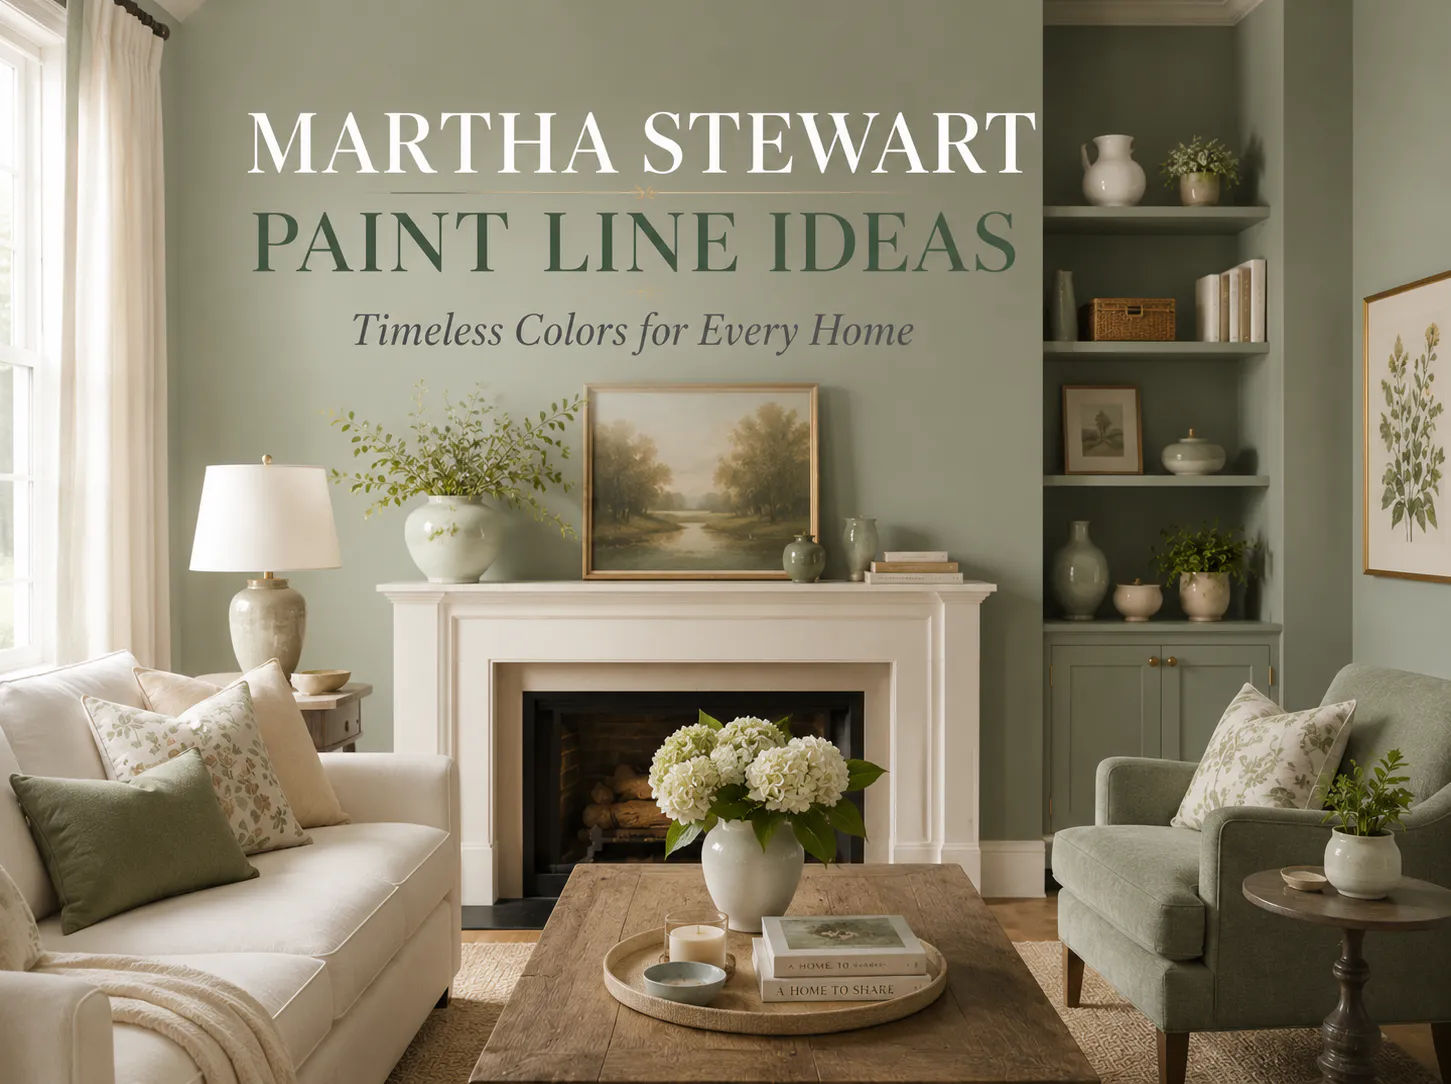
Identifying Complex Undertones in Paint Samples
The fastest way to choose the wrong shade involves picking a color chip under store lighting alone. These sophisticated hues align perfectly with top martha stewart paint line ideas, which are defined by subtle, complex undertones that shift dramatically in your home. You must view a large sample swatch in the exact room at different times of day.
Morning light reveals the fresher, cooler notes, while evening light warms everything toward the earthy base. This is why a color like ‘Dried Lavender’ often looks like a soft gray at noon and a dusty purple at dusk. Trust me on this, bringing home physical paint samples and living with them for a day saves you from a costly redo. The process also shows you the beautiful, multi-dimensional quality you paid for.
Applying Traditional Color Theory for Cohesive Rooms
When exploring popular martha stewart paint line ideas, you create a seamless flow between rooms by linking the undertones of your wall colors instead of matching them exactly. We all know the jarring feeling when a warm beige hallway opens into a cool blue room. Instead, choose a family of colors that share a dominant base.
Pair a soft, cool gray with a crisp white that features a faint blue undertone. Warm a space with a terracotta accent wall by pulling its underlying red note into a neighboring room creamy off-white. This approach builds a sophisticated, gallery-like serenity that feels intentional.
Your eye moves comfortably through the home because the color palette tells a cohesive story. It marks the difference between a collection of pretty colors and a truly designed home.
1. A Minimalist Cream Living Room Palette
Ever wondered how experts build their martha stewart paint line ideas into a serene space? The answer lies in a minimalist cream palette. This look relies on choosing a warm off-white like Benjamin Moore White Dove for your walls, then adding depth through texture.
A boucle sofa, a jute rug, and sheer linen curtains in slightly different cream tones create a layered, inviting space. It works because the subtle color variation highlights the beautiful forms and materials in your room. I love how this palette feels timeless and so easy to live with.
Your first step should be mastering some hand painting techniques to add personal, textural artwork to those creamy walls. Try it and feel the calm wash over you.
2. Botanical Sage Kitchen Cabinet Set
Does a kitchen feel more welcoming when it reminds you of a peaceful garden? Many successful martha stewart paint line ideas highlight a botanical sage cabinet set. The core relies on a soft, muted green shade applied to your cabinetry, which instantly brings a sense of calm and earthiness into the room.
I love how it creates a timeless backdrop that feels fresh and connected to nature. To build the full look, pair those sage cabinets with natural stone countertops in light colors. Then, bring in texture with woven baskets, wooden cutting boards, and a few potted herbs.
It works because this approach to Paint Color Integration in Decor remains inherently soothing and versatile, letting you layer in personality. Trust me on this one, always test your paint sample on a cabinet door in your actual kitchen lighting before you commit.
3. Serene Coastal Bedroom Neutral Tones
Ever wanted a bedroom that feels like a calming breath of fresh sea air without any obvious anchors or seashells? When designers study martha stewart paint line ideas, they recommend evoking that feeling through a palette of soft, natural colors. Start by painting your walls a soft off-white or light greige.
Then, bring in furniture made from light wood or upholstered in linen to build that airy, sophisticated base. The magic happens when you layer textures, like a chunky knit throw over a linen duvet and a jute rug on the floor.
I love this because it creates a restorative sanctuary that feels both elegant and effortlessly comfortable. For a truly cohesive look, think about how your wall color interacts with other elements in your space, much like the thoughtful layers in Mixed Media Painting Styles.
4. Sophisticated Library Deep Green Walls
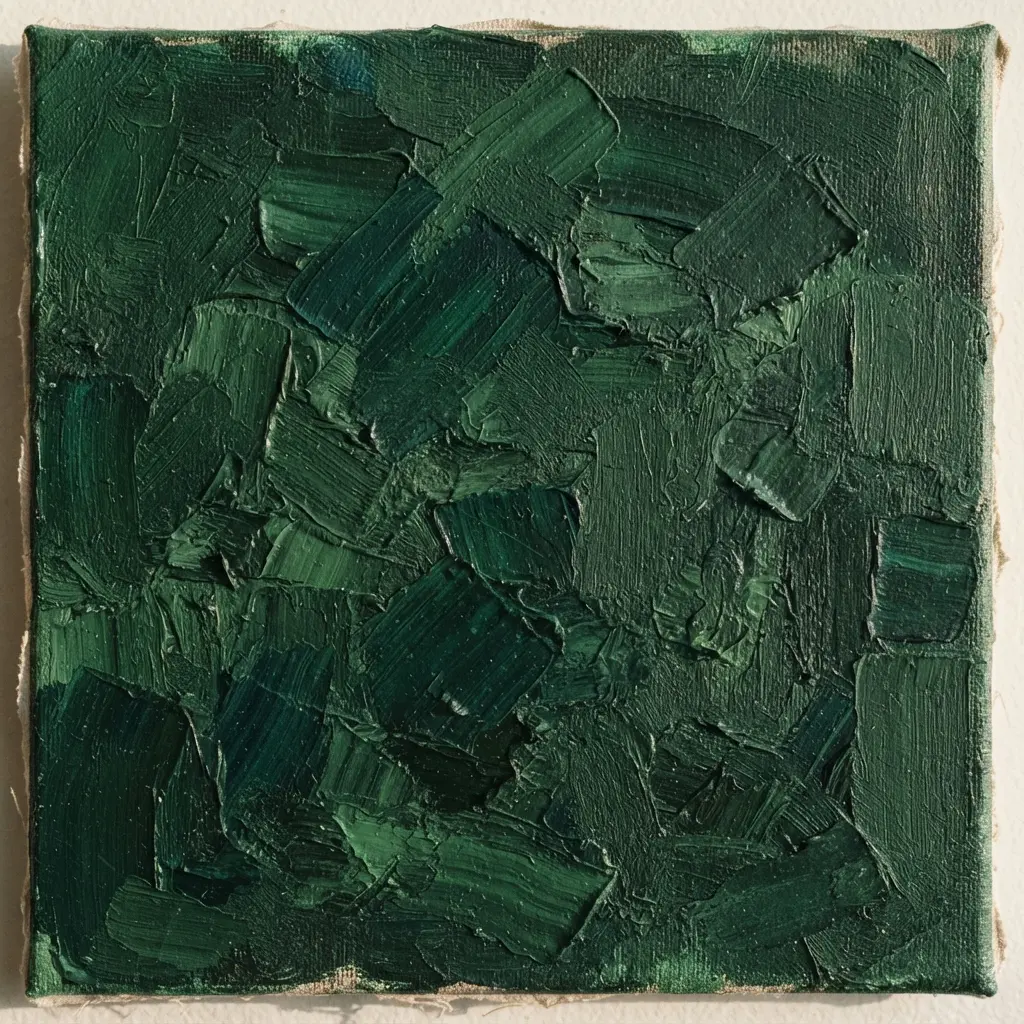
Ever feel like a room needs a touch of gravitas? You are Mixed Media Painting Styles in a deep, rich green, like a classic hunter or emerald shade. To achieve the sophistication found in martha stewart paint line ideas, let these dark tones create a space that feels both grounded and intellectually stimulating.
The setup proves perfect for quiet reading or study sessions. The magic happens when you pair that deep color with warm-toned lighting. I love using 2700K bulbs in lamps and sconces to make the green glow instead of feeling flat.
It remains crucial to layer your light sources to keep the room from feeling too dark. Deep green naturally feels calm and luxurious, wrapping you in a timeless, scholarly atmosphere. My go-to tip involves testing large paint swatches directly on your walls.
5. Warm Terracotta Dining Space Atmosphere
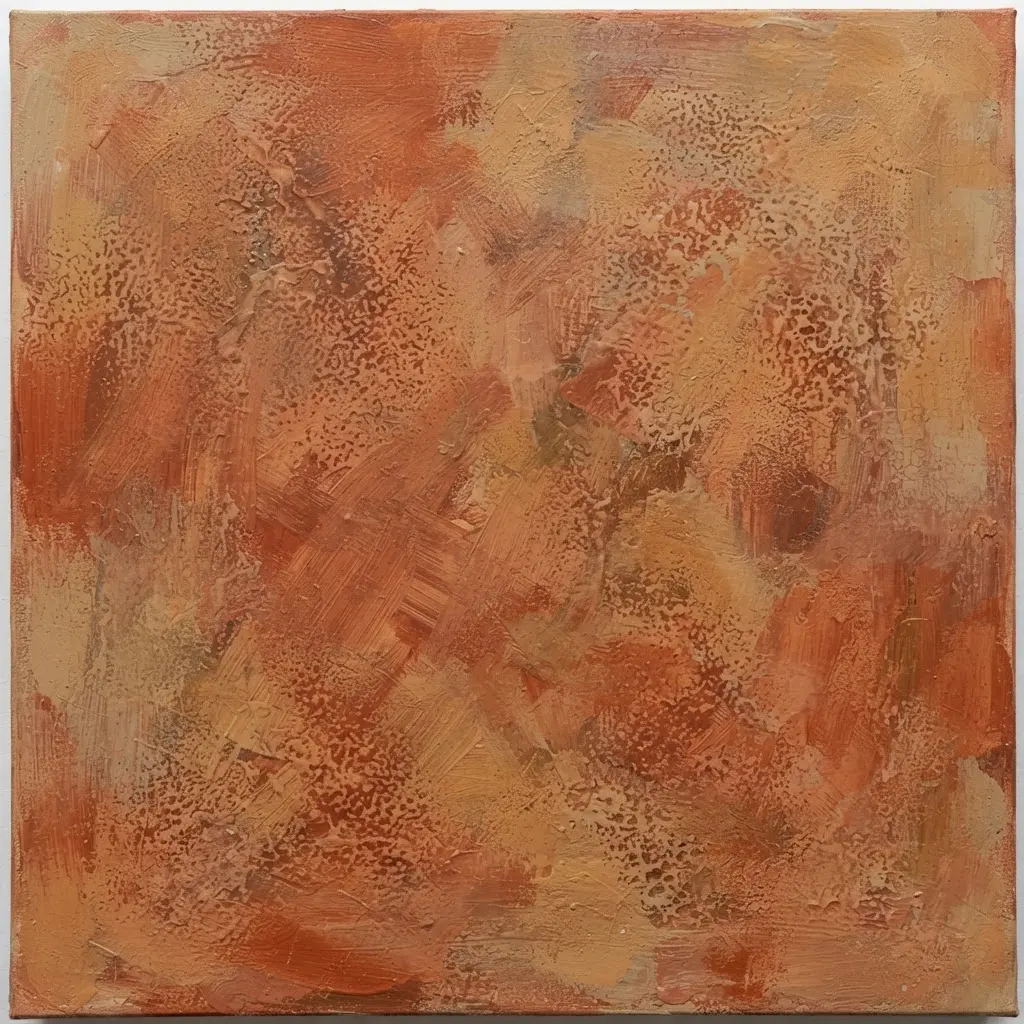
Ever crave a dining room that feels like a warm hug? This look delivers that grounded, welcoming feel perfectly. Several standout martha stewart paint line ideas rely on building a rich, earthy base with a terracotta paint on an accent wall.
Then, you layer in creamy neutrals and natural textures like a woven rug or a solid wood table. This balance keeps the space from feeling too heavy and adds so much visual depth. I love how the organic elements create a timeless, artisanal vibe that makes every meal feel special.
To add a crisp modern edge to this earthy base, look at some clean Geometric Painting Design Ideas. The contrast looks stunning. Feel that cozy, sun-drenched ambiance come to life.
6. Crisp Heirloom White Hallway Trim
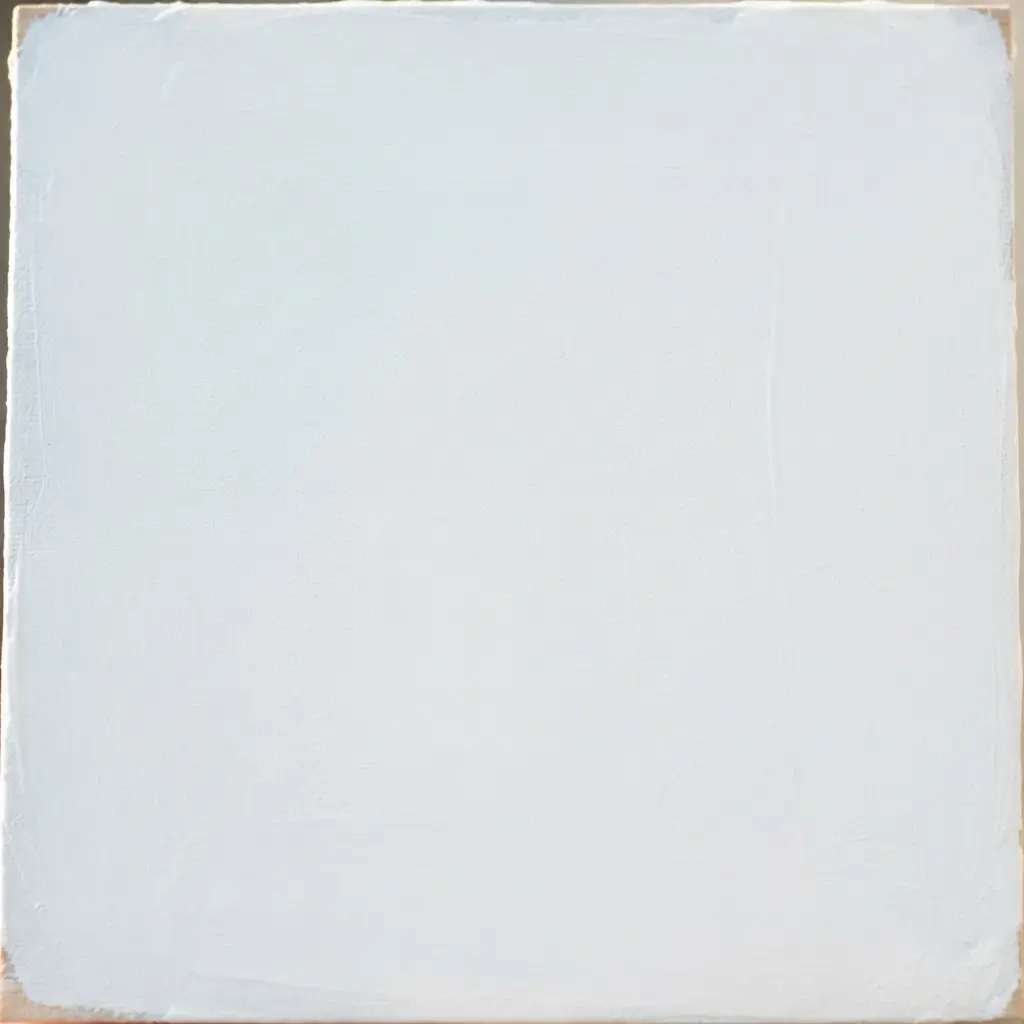
Ever feel like your hallway is simply a forgotten pass-through? One reliable strategy from martha stewart paint line ideas involves changing the trim to transform that feeling. You paint your baseboards, door frames, and any crown molding with a soft, warm white like Heirloom White.
Trust me, using a semi-gloss finish delivers that crisp, clean look that reflects light beautifully. This soft white brightens the space without the harshness of a pure white, making the whole area feel more open and intentional. It serves as a timeless choice that creates a cohesive flow.
The approach connects all your rooms with elegant architectural details. The payoff features a hallway that feels fresh, sophisticated, and anything but boring.
7. Muted Lavender Nursery Soft Tones
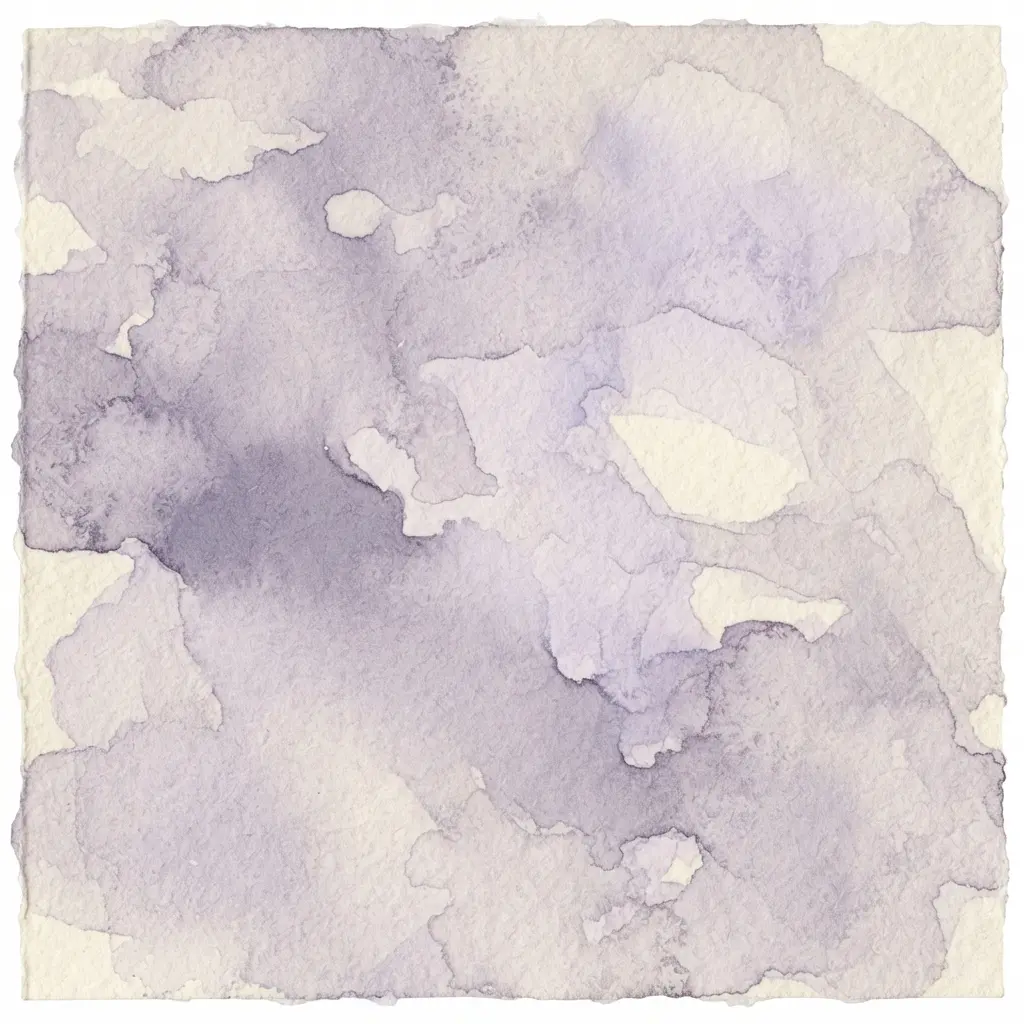
Ever wanted a nursery that feels like a serene cloud? When you review gentle martha stewart paint line ideas, a muted lavender palette becomes your secret. This is not about bright purple, but a soft, dusty shade with grey or white undertones.
I love pairing it with off-white trim and natural wood furniture for a gentle, airy feel. You build the room in soft layers of texture and color, which keeps it calm and elegant. Why does this work so well?
The subtle tones create a profoundly soothing environment that is perfect for sleep. A practical tip requires testing several paint swatches on the wall first. Lighting changes everything.
This careful approach ensures your peaceful haven feels just right. If you enjoy personalized projects, you might appreciate exploring Painted DIY Accessory Ideas for adding a handmade touch elsewhere in your home.
8. Weathered Driftwood Gray Entryway Paint
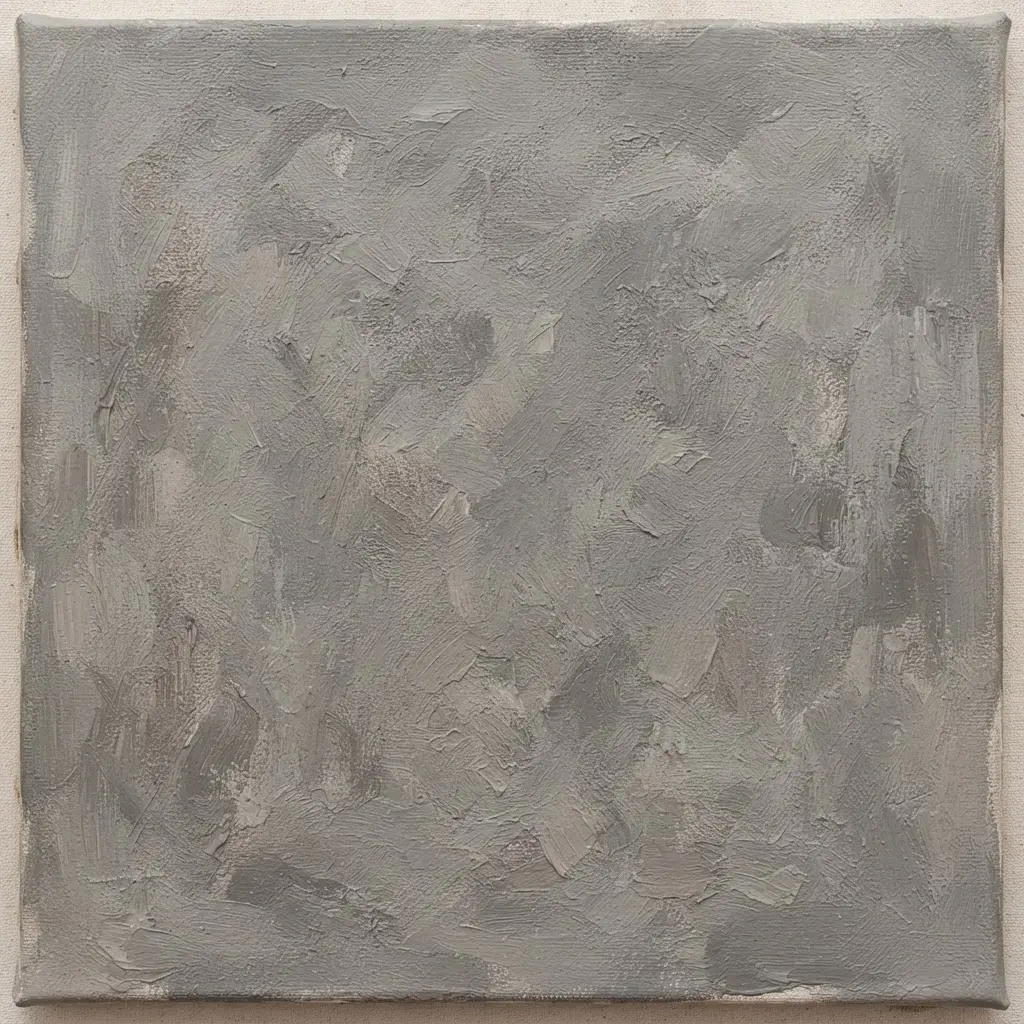
Weathered Driftwood Gray perfectly captures the coastal charm in these martha stewart paint line ideas. The earthy undertones make your entry feel cozy instead of cold. It is not a flat, modern gray but a soft, complex one that looks like sun-bleached wood.
You will love how this color handles real life. Its medium tone hides scuffs and dust from daily traffic. I always recommend testing a few paint swatches on your actual walls to see how the light changes the undertones throughout the day.
That test prevents a color that feels off. Once you find your perfect match, this gray becomes a versatile backdrop that makes your wood floor or stone tile pop. Feel that instant sense of calm every time you walk through the door.
9. Velvet Plum Accent Wall Design
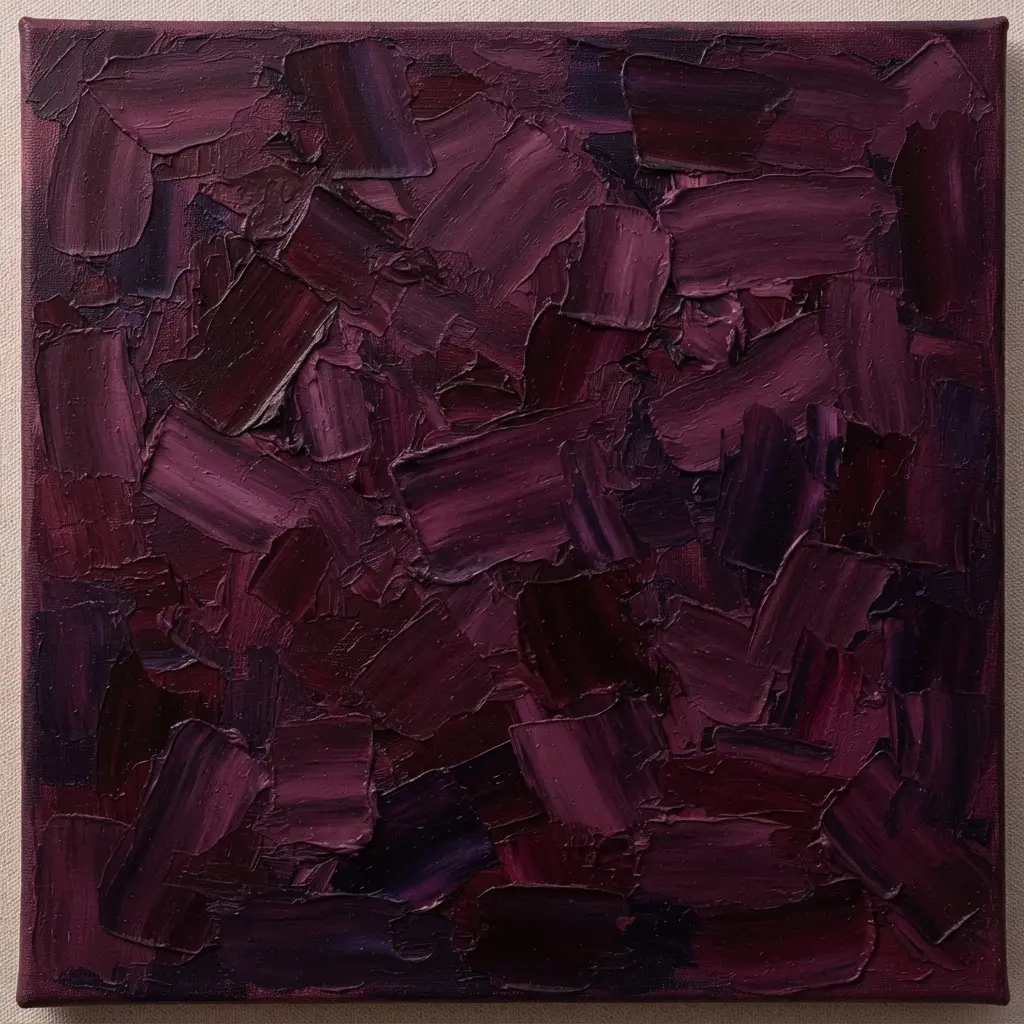
Who says luxury has to be complicated? The luxury described in martha stewart paint line ideas often features a velvet plum accent wall. It delivers that opulent, cozy feel instantly through two main paths.
One option relies on applying a plum flocked wallpaper, which gives you soft texture and straightforward installation. The other path involves upholstering panels with actual plum velvet fabric and mounting them for a truly tactile experience.
I love this because it creates such incredible depth and warmth in a room. The rich color and subtle sheen make the wall feel alive, like a piece of art you can touch. The key to making it work without overwhelming the space remains balance.
Pair that dramatic wall with lighter, neutral furnishings and decor. Your overall Paint Color Integration in Decor should feel intentional, letting the plum be the star.
10. Sunny Garden Yellow Breakfast Nook

Sunny mornings pair beautifully with these martha stewart paint line ideas because they bring pure, cheerful energy indoors. You start with a soft buttercup or daffodil yellow on your walls or a built-in bench. Then you layer in garden greens like sage and crisp whites to keep the airy, natural feel.
Maximize any natural light you have with sheer curtains. Add real potted herbs or a small flowering plant on the table. The key balances that happy color with plenty of neutral space, so it feels energizing, not overwhelming.
It works because it literally brings the optimism of a sunny garden indoors. This setup makes your breakfast a bright, cozy ritual. Feel that morning freshness every single day.
Coordinating Natural Textiles With Sophisticated Wall Colors
Your muted wall color needs the right fabric textures to feel warm and lived-in, not flat. Many martha stewart paint line ideas ground this aesthetic with organic, tactile materials. Layer a nubby linen throw over a sofa against a greige wall to add visual interest without competing.
Introduce light wood tones with a rattan basket or a pale oak side table to complement earthy clay accents. For a room with dusty blue walls, choose bedding in a crisp, undyed cotton or a washed hemp. These natural textures absorb and reflect light gently.
They enhance the soft feel of your eggshell finish while making the room inviting. Livability remains the true goal of this timeless style.
Conclusion
Bringing a cohesive color story into your home involves more than picking a shade. You are building an atmosphere that reflects your personal style. The martha stewart paint line ideas we shared are designed to eliminate that initial uncertainty, giving you a clear starting point grounded in timeless design.
A good next step gathers physical paint swatches to see how they change in your own light throughout the day. The right palette makes your space feel intentional and complete. It stands as a true reflection of the home you want to create.
FAQs
Q: What finish is best for achieving the Martha Stewart look?
A: Matte or eggshell finishes deliver ideal results. They absorb light softly and help create the layered, textured feel central to this aesthetic, avoiding any high-gloss shine.
Q: How do I choose the right shade from a paint strip?
A: Select the second or third lightest shade on the strip. These mid-tone hues often provide the most depth and versatility in different lighting conditions throughout your home.
Q: Should I paint my trim the same color as my walls?
A: For a modern, cohesive look, paint trim a slightly lighter shade of the wall color. For classic contrast, use a crisp, clean white that complements the wall undertones.
Q: How many colors should I use in one room?
A: Stick to a primary wall color, a complementary trim shade, and one accent color. This three-part palette maintains harmony and allows for visual interest without clutter.
Q: What is the best way to test a paint color at home?
A: Paint large swatches directly on the wall. Observe them at different times of day to see how natural and artificial light changes the color appearance before committing.


