That is why I gathered this list of ten distinct styles. Each design uses accessible materials like cardstock, felt, and fabric to create a focal point full of charm.
Let us look at concepts that mix soft textures with clear lettering, ensuring your message shines through. The final arrangements offer a starting point for a truly personalized celebration.
Establishing Cohesive Color Palettes For Floral Displays
The fastest way to create a professional display is to limit your palette to three main colors, with one acting as the dominant hue for your letters. Exploring various flower birthday banner ideas proves how soft organic shapes pop best against a rigid typographic structure when you use a neutral background.
I always advise you to pull inspiration from a single, beautiful focal bloom and match your secondary stems to its tones. This approach ensures visual harmony without any clutter, and trust me, it makes selecting your silk or paper elements much easier.
Selecting Durable Materials For Indoor And Outdoor Decor
The display lifespan depends entirely on matching your base material to the event setting. Reviewing different flower birthday banner ideas shows that indoor dessert tables handle delicate preserved stems and lightweight high-quality cardstock beautifully.
If your party is outside, you need sturdier fabric-based designs or thicker paper that withstand humidity. A precision cutting machine handles intricate leaf silhouettes on either material, giving you beautiful texture and dimension while keeping heavy central blooms from drooping.
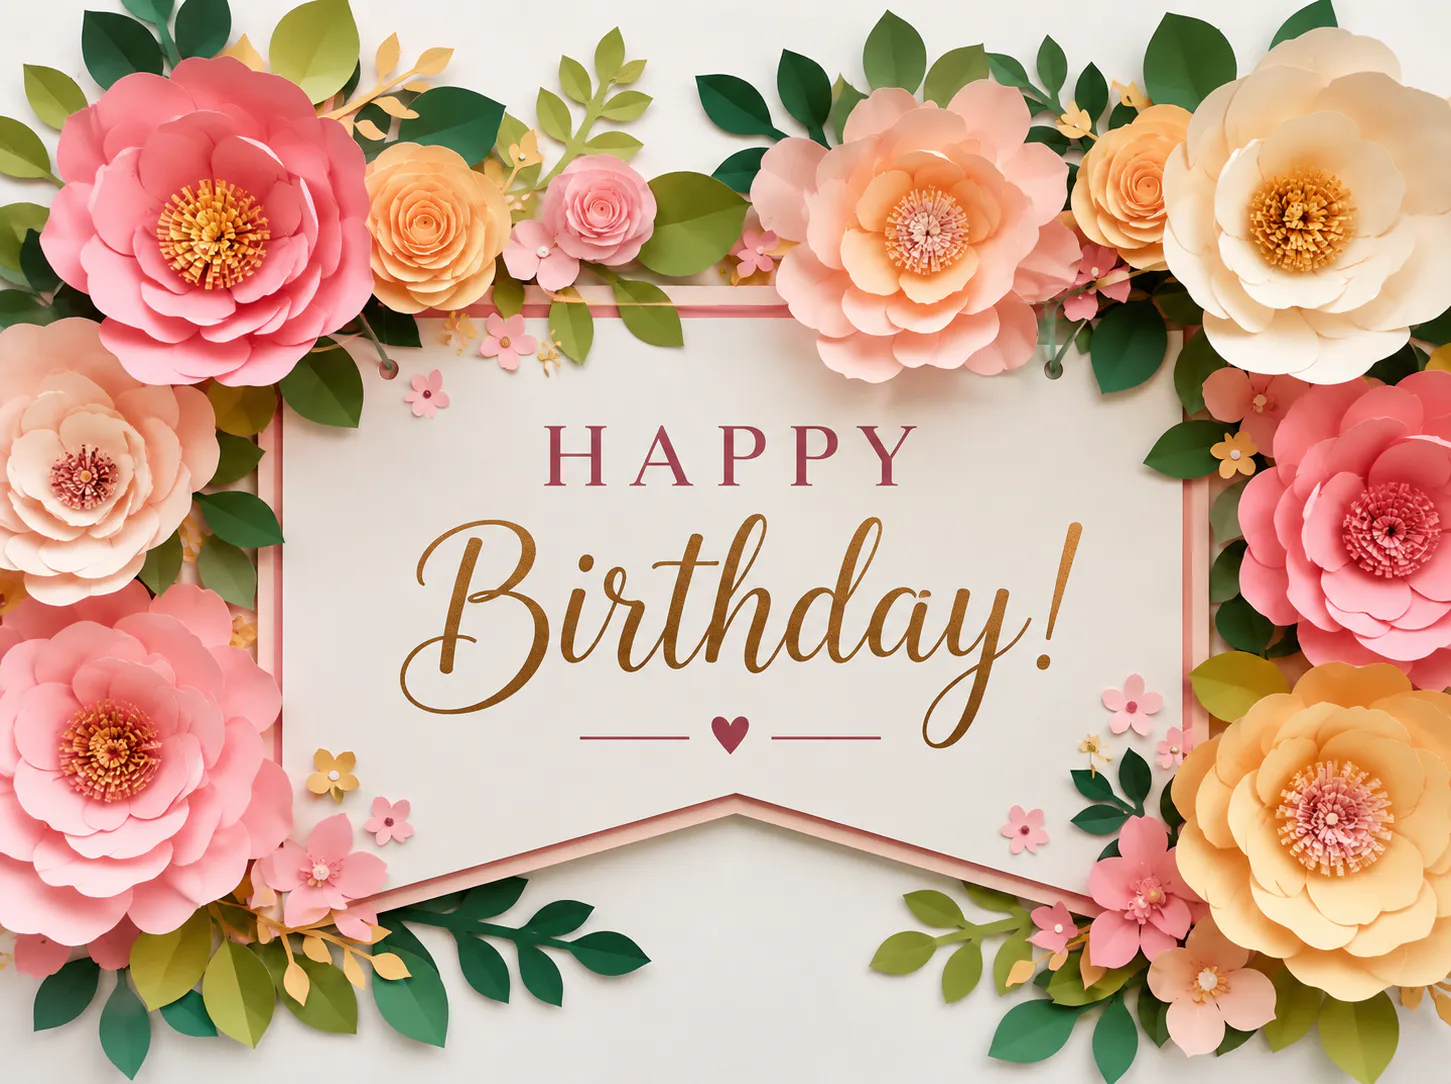
1. Gold Foil Script Floral Cardstock Banner — Elegant and Shimmering

This design surprised me. Searching through flower birthday banner ideas shows how this piece mimics a high-end boutique find, yet you create it yourself with the gold foil application on thick stock. The script font feels personal and the accents add a soft, natural touch that catches light.
For a project like this, you need a sturdy base to hold the reflective shimmer. Always go for thick heavy-duty cardstock to maintain shape when hung, because a flimsy background ruins the professional look. Trust me on this point.
Before cutting any shapes, it is a smart move to create an inspirational felt banner as a practice run. You will master layout and assembly without wasting premium materials, which sounds like a satisfying way to build your skills.
2. Rustic Burlap Pennant Dried Lavender Banner
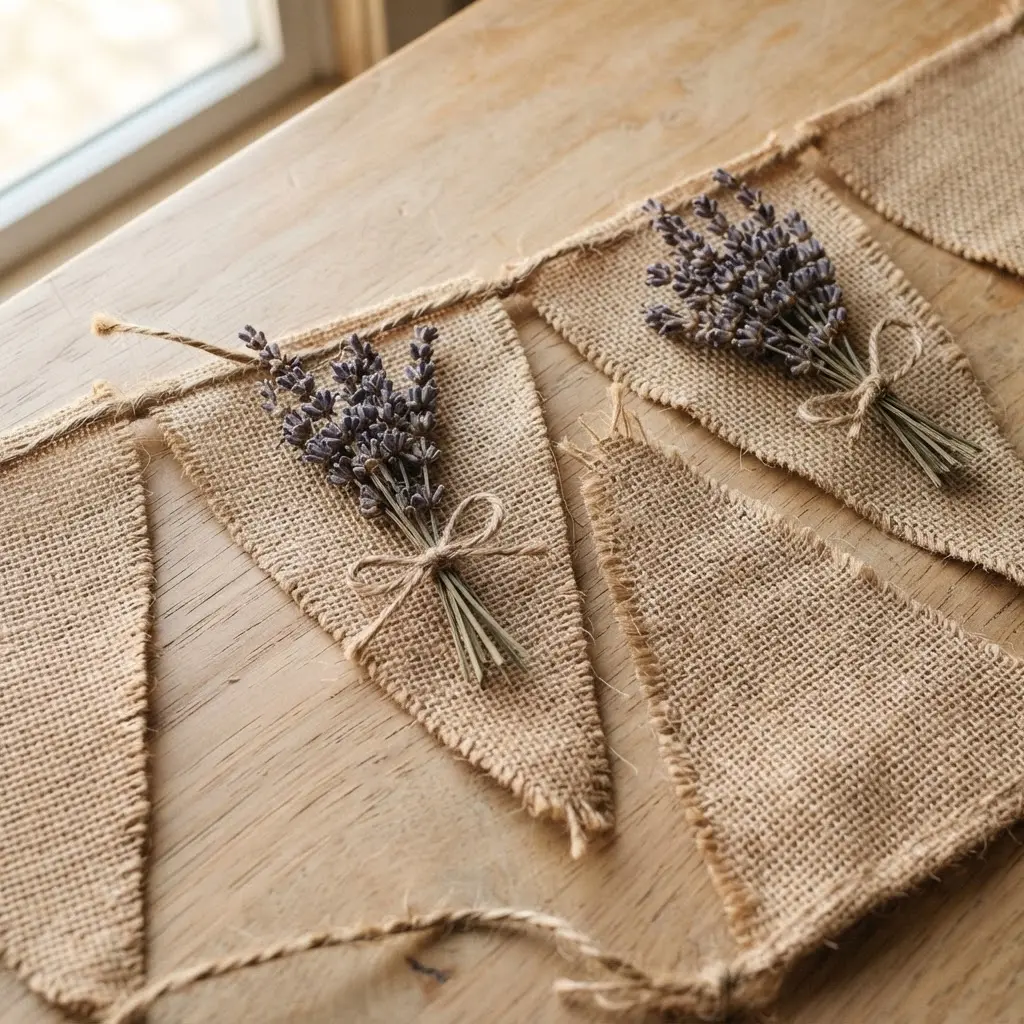
Does a birthday banner need to be loud and bright? Not at all, because testing flower birthday banner ideas reveals the charm of a warm hug with its rough texture and soft scent. You cut simple triangles from burlap and string them on twine, then tie on small dried bundles.
I love how earthy colors and natural materials create a calming vibe. The trick is finding the right balance with the botanical additions, laying pieces out on a table first to adjust spacing before tying anything down. Your finished display will smell amazing.
If natural textures appeal to you, consider mixing in additional handmade elements for a pop of soft color. Feel that wonderful rustic charm when you hang the finished piece.
3. Whimsical Felt Flower Multi-Colored Pom-Pom Banner: Playful Texture
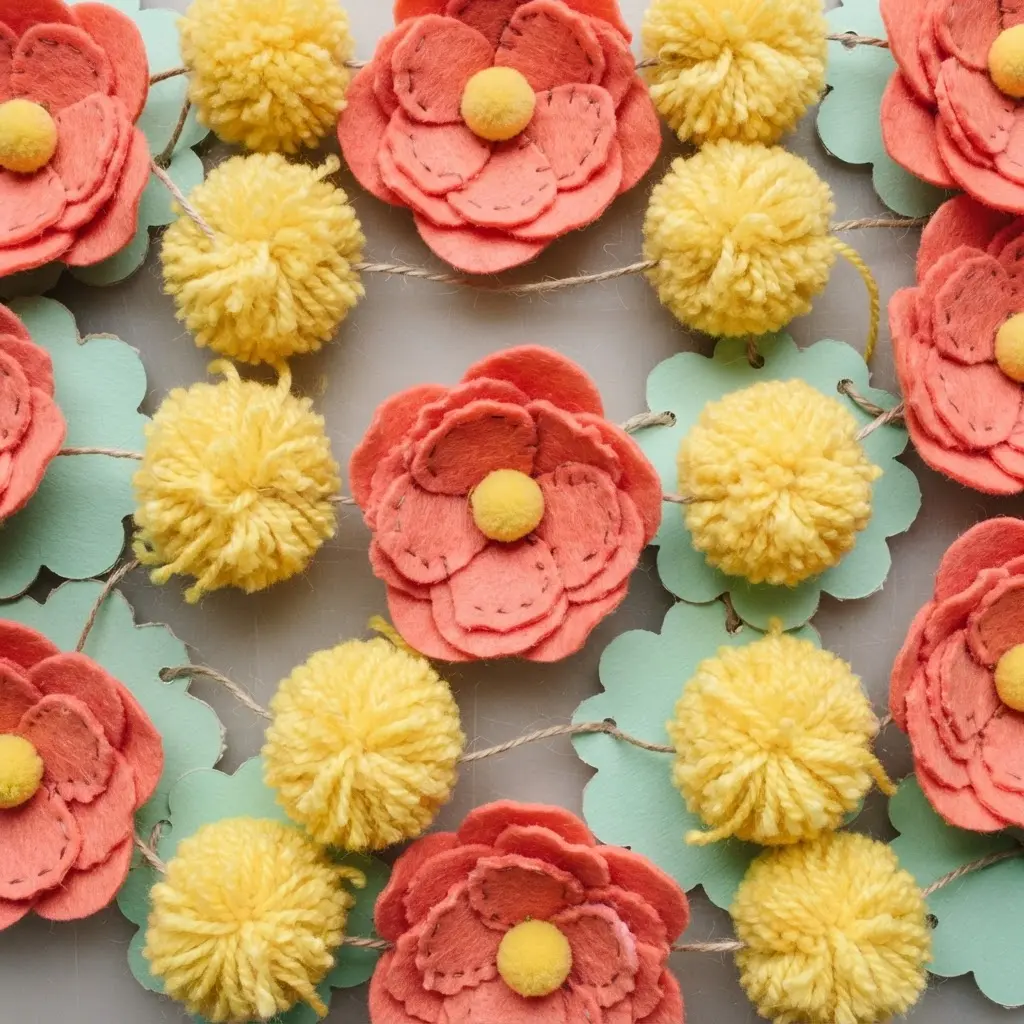
Ever wondered how to get that perfect, fluffy look in a handmade display? Studying various flower birthday banner ideas highlights the secret: wrapping yarn densely on your maker, tying it tight, and trimming carefully. Then stitch those puffs between felt flowers onto twine.
I love how the mix of smooth felt and fluffy materials creates a joyful piece. It works because that handcrafted texture adds warmth to any space, and the payoff is huge when you see those vibrant colors all strung together.
This project builds your cutting and assembly skills quickly. Creating diy charming flower pockets uses many of the same techniques for even more party decor.
4. Modern Minimalist Single Line-Art Rose Banner
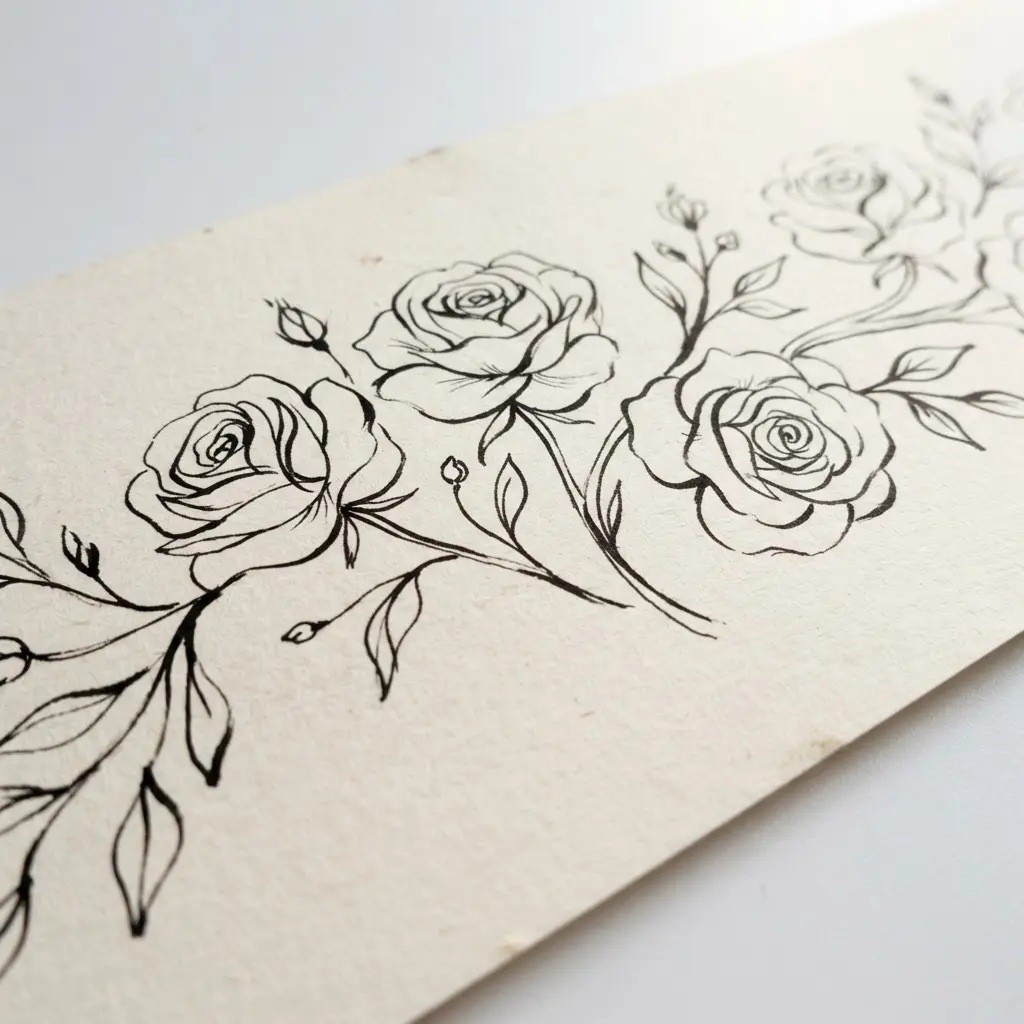
This style looks complex but remains deceptively simple. Creating flower birthday banner ideas using this method means you form a rose using one unbroken line in a program like Adobe Illustrator, setting it against a clean background.
The magic lies in the restraint. A single continuous line feels elegant and modern, giving your display a timeless, sophisticated look that makes a big impact with so little effort.
Your design will feel complete, but adding text requires a clean font kept light. For another project with a clean layout, you might later design a festive Easter banner using similar principles.
5. Vintage Chintz Patterned Fabric Scraps Banner
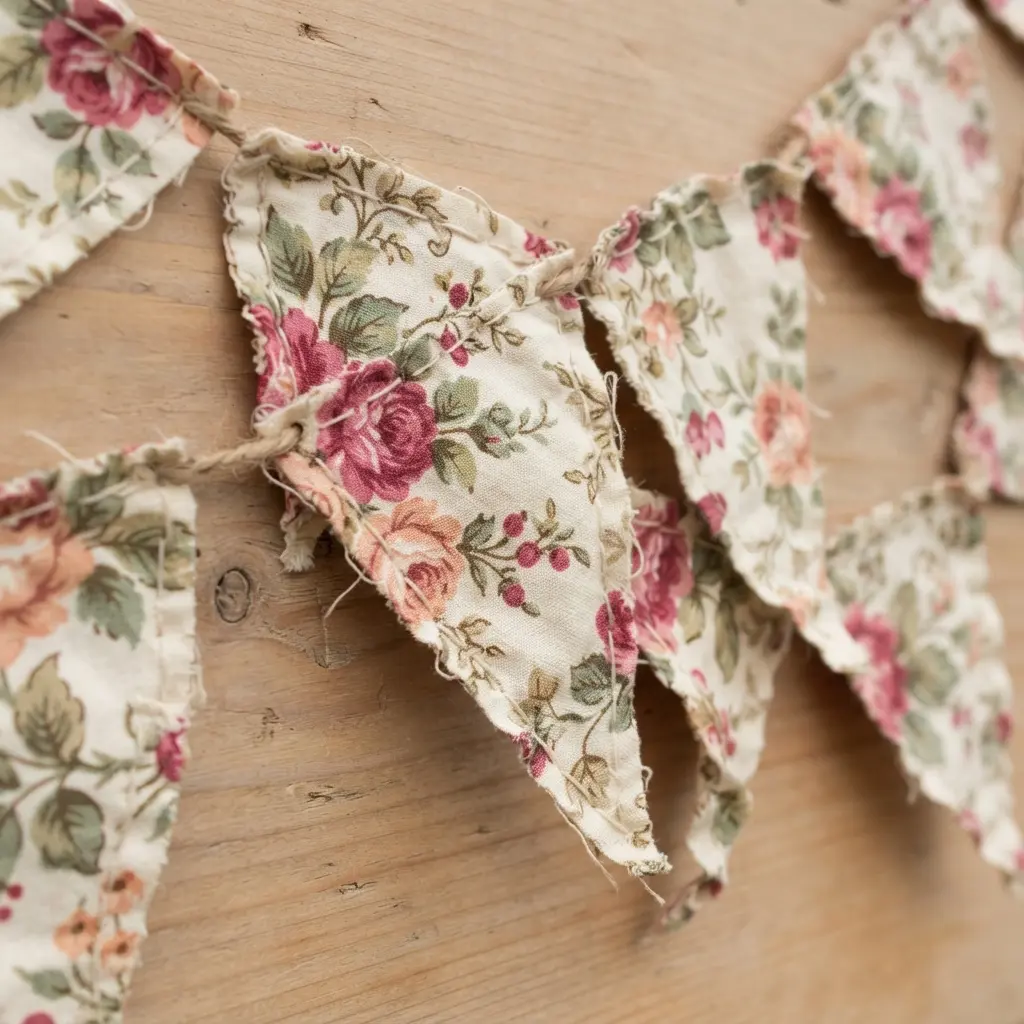
Ever feel like a project looks intimidating but is a breeze to put together? Gathering assorted vintage chintz fabric scraps for these flower birthday banner ideas brings a charming aesthetic to a string of flags. Fold the top edge over ribbon and stitch it down.
What makes this so effective is the visual interest from mixing different patterns. The glazed finish catches light beautifully, giving your decor a subtle sheen that turns forgotten fabric into a treasure.
Before sewing, take a moment to make a delightful flower pot card as a sweet birthday note to accompany your handmade banner. It ties your whole gift theme together.
6. 3D Layered Paper Peony Birthday Banner — A Lush Display
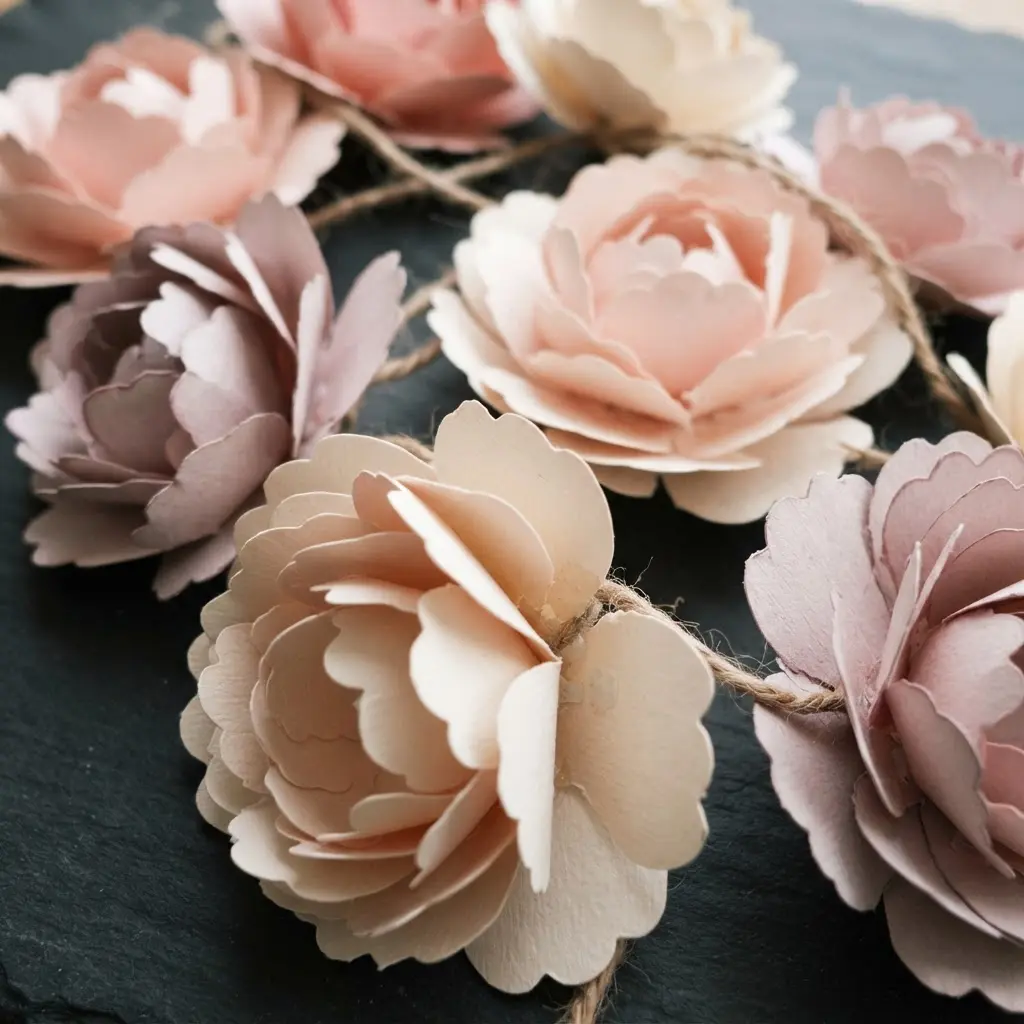
This piece looks complex, but the result rewards the effort. Building flower birthday banner ideas involves layering dozens of paper petals, attaching them to flags for a stunning dimensional display using a hot glue gun to stack each curled element.
This creates incredible depth and a lush texture that flat displays simply match. I love stepping back to see full blooms come together, bringing a blooming garden vibe to the celebration.
For another fun paper project, you might craft cheerful paper party horns as a playful companion piece. The entire setup looks absolutely stunning when it hangs up.
7. Boho Eucalyptus Greenery Twine Hanging Banner
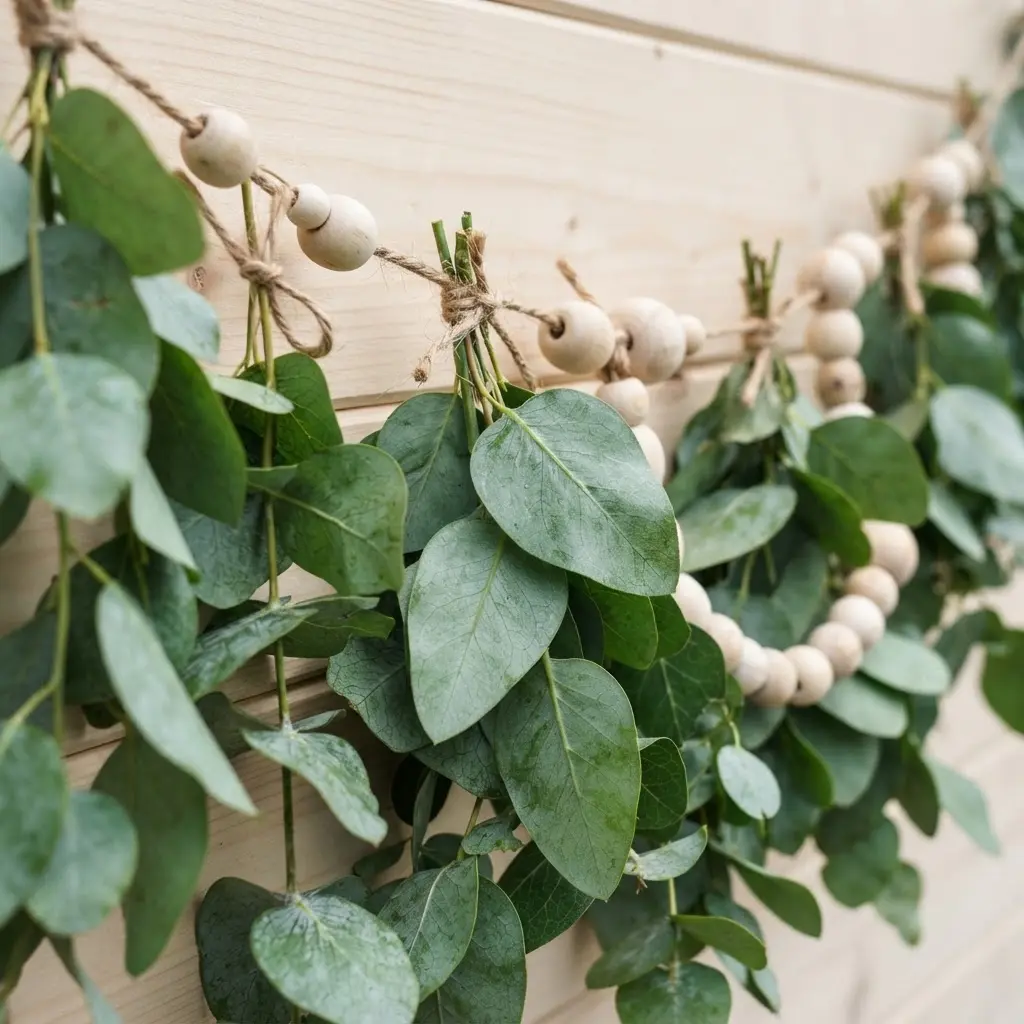
This style looks elegant but ranks among the simplest displays to assemble. Trying these flower birthday banner ideas starts by attaching artificial eucalyptus sprigs to natural jute or hemp twine, using floral wire for a clean hold.
The trick is varying sizes and directions as you work, so the arrangement looks naturally gathered instead of perfectly aligned. The silvery-green against rustic twine feels effortlessly chic and works for almost any theme.
For another personalized gift project, you might learn how to craft personalized money leis using similar simple techniques. The handmade touch feels wonderfully personal when hung.
8. Glittered Letter Tropical Hibiscus Paper Banner
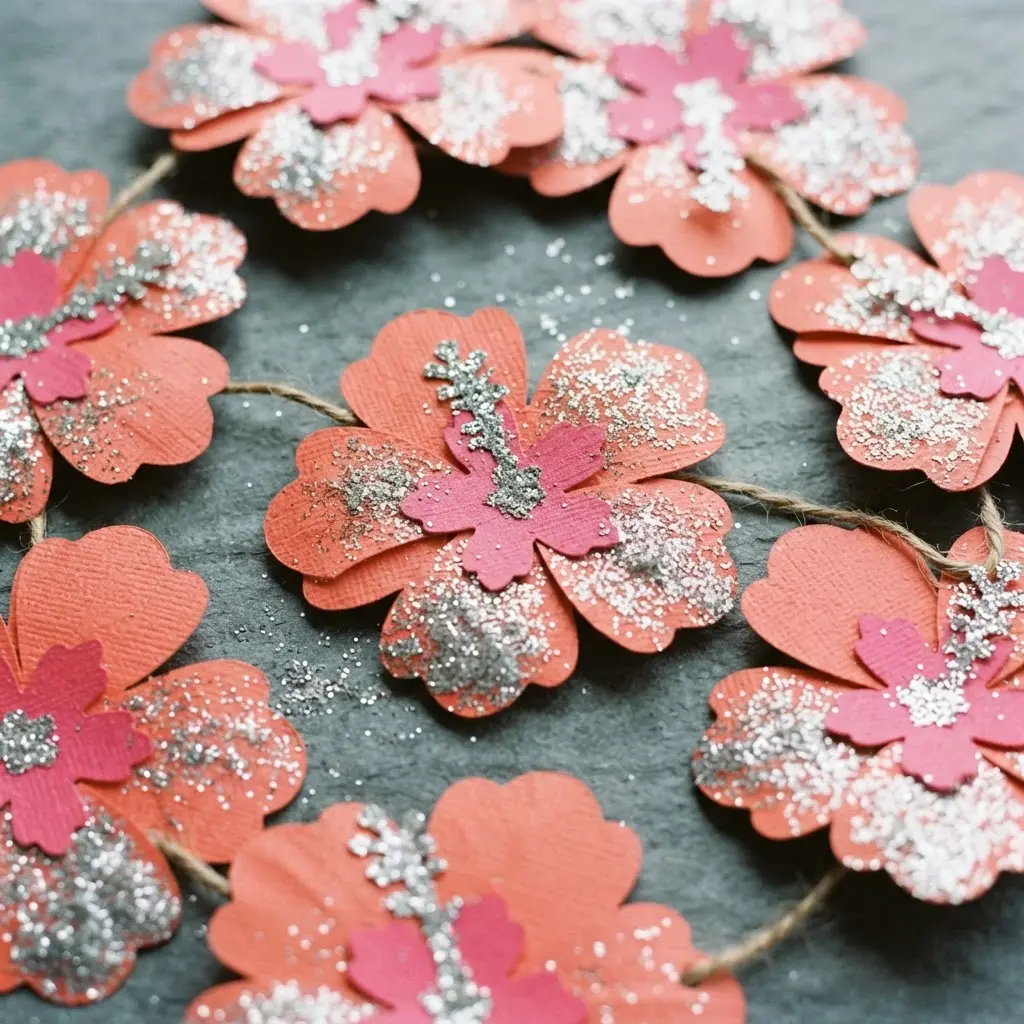
This banner looks like a professional party store find, yet you totally make it yourself. The trick with pre-glittered cardstock avoids a messy glitter step while you cut vibrant hibiscus flowers from patterned paper to string between letters.
The glitter catches every bit of light, and the bold hibiscus craft lovely pom-pom paper flowers. Planning your layout around flower birthday banner ideas instantly sets a joyful, tropical mood, and laying pieces out on a table to plan your spacing ensures a polished finish.
9. Soft Blush Pastel Hydrangea Ribbon Banner
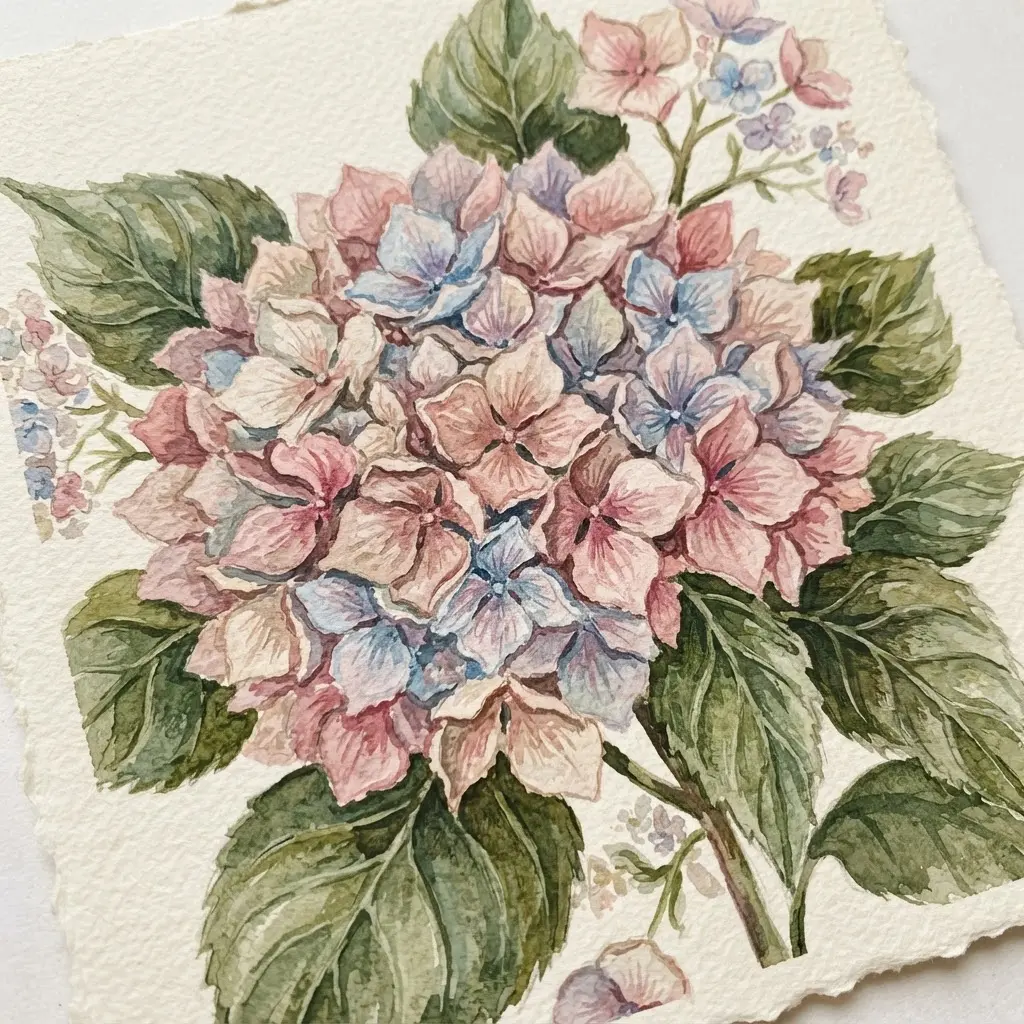
Ever wondered how to create a display that feels like a soft spring breeze? Reviewing flower birthday banner ideas reveals a delicate look achieved by cutting flags from cream heavyweight cardstock before adding printed hydrangea images.
I love layering die-cut shapes in blush and pale blue to create a gentle palette perfect for elegant celebrations. Your final step threads everything with a satin ribbon and adds trailing organza streamers to bring soft flowing charm to life. For a lovely autumn variation, you might create decorative Thanksgiving leaves using this same layered technique with warm colors. The soft pastel finish feels romantic and completely handmade.
10. Hand-Painted Watercolor Wildflower Kraft Paper Banner
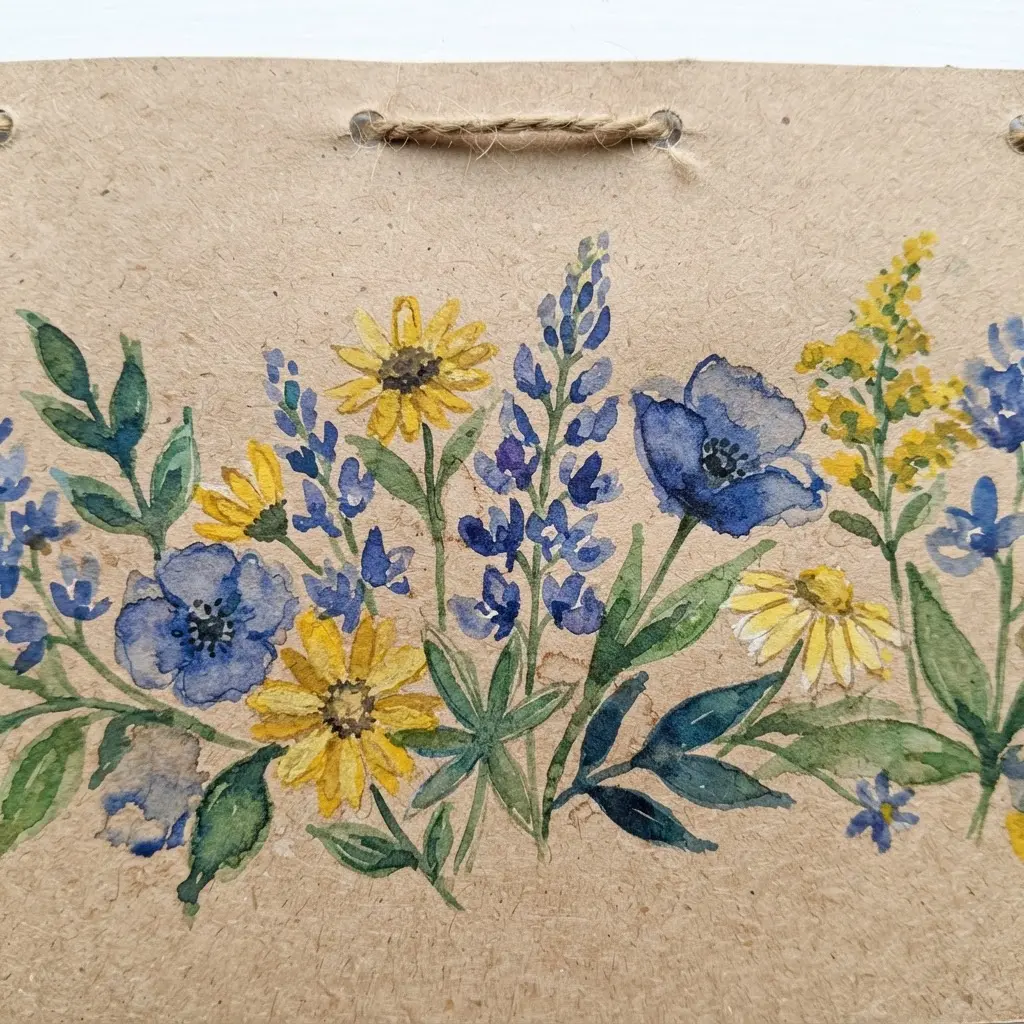
This piece looks complex, yet it remains genuinely beginner-friendly. You simply paint loose wildflowers onto natural kraft paper flags and string them up, making these flower birthday banner ideas stand out with rustic charm and soft earthy tones.
The process feels wonderfully organic, allowing you to paint simple daisies or lavender sprigs without strict planning. Use a light brush touch to avoid oversaturating the material, and enjoy watching soft watercolors blend on the textured surface.
Once flags dry, string them with jute for that perfect handmade look. For another rustic project using similar materials, you might learn how to assemble a festive shamrock wreath. The personal feel keeps the display from looking store-bought.
Techniques For Proper Mounting And Structural Support
The most common mistake I see is a beautiful display that sags because the mounting points were an afterthought. Applying these flower birthday banner ideas requires you to use reinforced ribbon or strong twine as your main support, threading it through pre-punched holes with a small knot behind each flag for stability.
Adhesive foam dots lift your floral accents off the base to create depth and prevent them from pulling letters down. Before hanging anything, check the contrast between your wall color and display palette to guarantee legibility while maintaining a polished look from start to finish.
Conclusion
The right flower birthday banner ideas turn a simple greeting into a meaningful part of your celebration. Capturing a feeling, whether rustic charm or modern elegance, starts with your own two hands.
My best advice is to pick a style that brings a smile to your face and gather your materials before cutting or gluing. Having everything ready makes the process smooth and lets you focus on bringing those beautiful elements to life. I hope these concepts give you the perfect starting point for a display that feels uniquely yours.
FAQs
Q: What is the best paper weight for a banner that will hold 3D flowers?
A: Use heavy-weight cardstock or poster board for the banner base. This material provides the necessary structure to support glued-on flowers without sagging. Lightweight paper will bend under the added weight.
Q: How do I keep my floral elements from obscuring the letters?
A: Plan your layout before attaching anything. Place your letters first, leaving clear space around them. Then add floral accents to the corners or between the letters, not directly on top. This maintains readability while adding decoration.
Q: Can I use real flowers on a birthday banner?
A: Fresh stems wilt quickly and drip water. For a similar look, use high-quality silk or dried botanicals. These materials last for the entire party and store well for future use without deterioration.
Q: What is a strong adhesive for felt flowers on fabric?
A: A hot glue gun creates a strong, immediate bond for felt on fabric or burlap. For a less permanent option, fabric glue works well but requires longer drying time. Test a small area first to ensure it does not bleed through.
Q: How long should the twine or ribbon be for a standard banner?
A: Measure your display area and add extra length for tying. A good rule is to cut your hanging cord two to three feet longer than your desired finished width. This allows ample room for draping and securing the ends.


