It’s forgiving enough for beginners and endlessly customizable for anyone who loves playing with color and texture. I’ve gathered 10 distinct ideas—each one a little different in palette, technique, and personality—so you can find the version that fits your style perfectly. Whether you crave rustic farmhouse charm, boho macrame flair, or a sleek monochromatic look, there’s a hoop here with your name on it. Let’s unroll the yarn and see what catches your eye.
Selecting Hoop Foundations for Structural Balance
Your metal or wooden embroidery hoop needs a surface that yarn can grip without slipping, so I always give mine a quick scuff with sandpaper before I start wrapping. This creates a tiny bit of texture for the yarn to cling to, which prevents those annoying gaps where the hoop peeks through after a few days. When building a DIY pumpkin yarn hoop wreath, starting with a thicker base gives your wrapped yarn a more substantial feel that balances its soft texture.
Balancing Yarn Texture with Seasonal Botanical Elements
A single sprig of faux eucalyptus tucked behind a cluster of yarn pumpkins instantly grounds your fiber art in a natural, seasonal vibe. This trick uses the greenery to create a visual anchor point, making the soft pom-poms feel intentional rather than floating on the hoop. The key is to attach your botanical elements with floral wire before you finalize the yarn placements, weaving it tightly around the hoop for a secure hold that lasts all season.
You will notice that positioning your foliage early really anchors the entire DIY pumpkin yarn hoop wreath, filling out the composition without the need to overcrowd the surface. We all know the temptation to add more, but sometimes a little restraint with your main material lets the supporting details shine.
1. Rustic Burlap Bow Pumpkin Wreath in Warm Autumn Hues
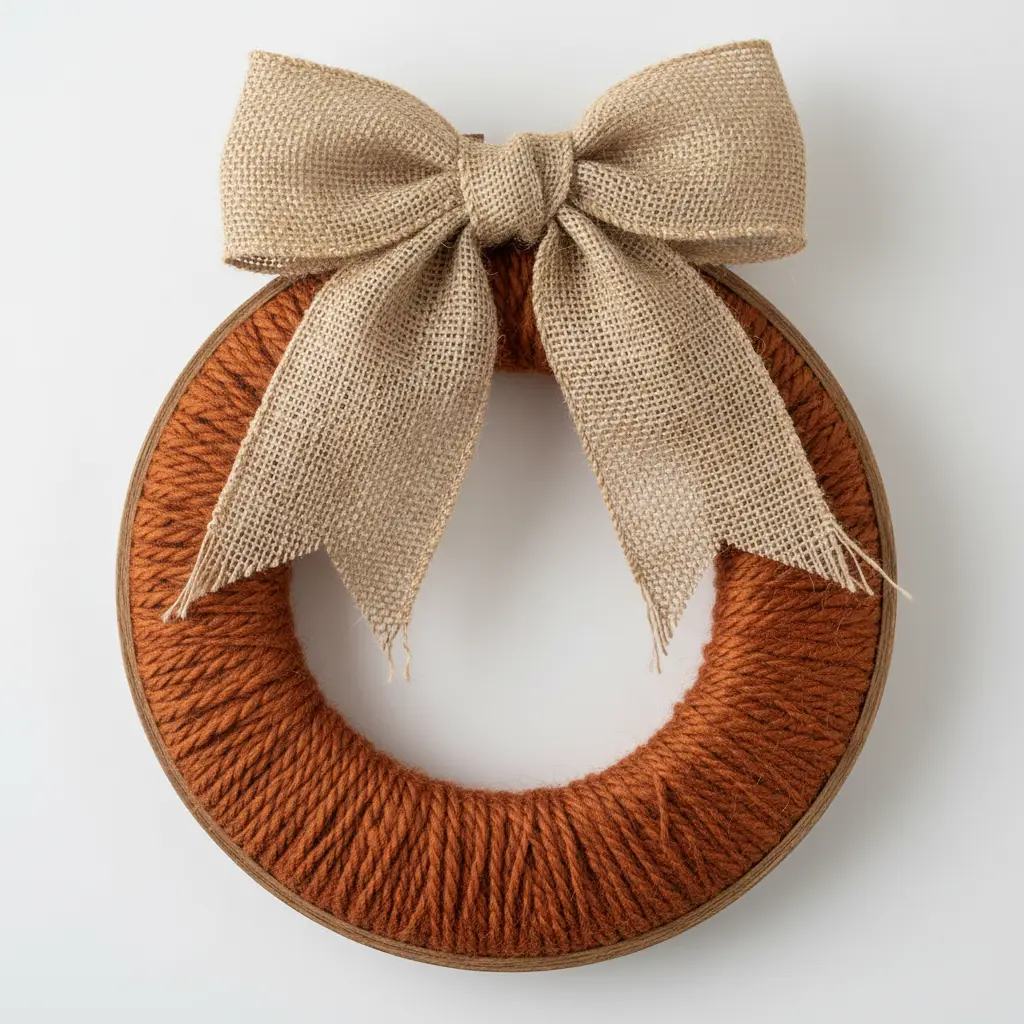
Ever wanted a wreath that feels like a hug from autumn itself? This design nails that cozy, welcoming vibe perfectly. You start with a grapevine wreath base and make a big, beautiful burlap bow your star player. The trick when assembling a DIY pumpkin yarn hoop wreath is securing the main pumpkin cluster first with a hot glue gun.
Next, tuck in autumn leaves, berry sprays, and some dried wheat to fill everything out. Varying the sizes and textures keeps it looking rich, not busy. I love how it captures that timeless, handcrafted feel.
Getting the spacing right means your door decor looks stunning, not stuffed. Once you master this particular DIY pumpkin yarn hoop wreath, you can find more ideas for Halloween wreaths for a fresh seasonal spin.
2. Monochromatic Cream Yarn Pumpkin Hoop with Soft Texture
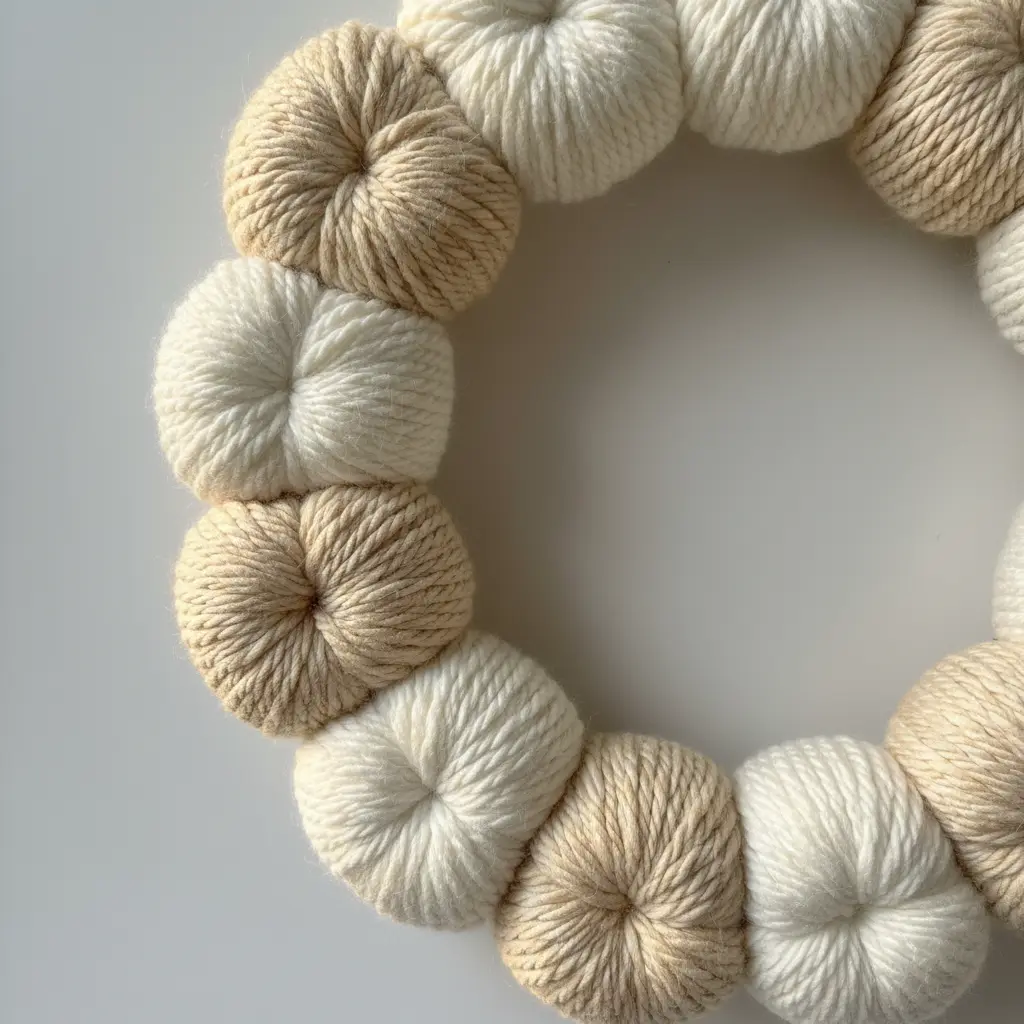
This one is a personal favorite because it looks so elegant but is secretly all about texture. You layer different shades and types of cream yarn, like a chunky chenille yarn next to a thin boucle, directly onto a felt pumpkin shape in an embroidery hoop. The magic happens when you mix textures on your DIY pumpkin yarn hoop wreath to build up a rich, touchable surface.
It works so well because the subtle color palette fits anywhere, but the varied textures make it a truly cozy piece of art. A great tip is to lay out your yarn combinations before gluing to see how the materials play together. If you love how this turns out, you will find plenty of other creative pumpkin crafts to keep the autumn fun going.
3. Deep Burgundy Velvet Yarn Wreath for a Luxe Fall Look
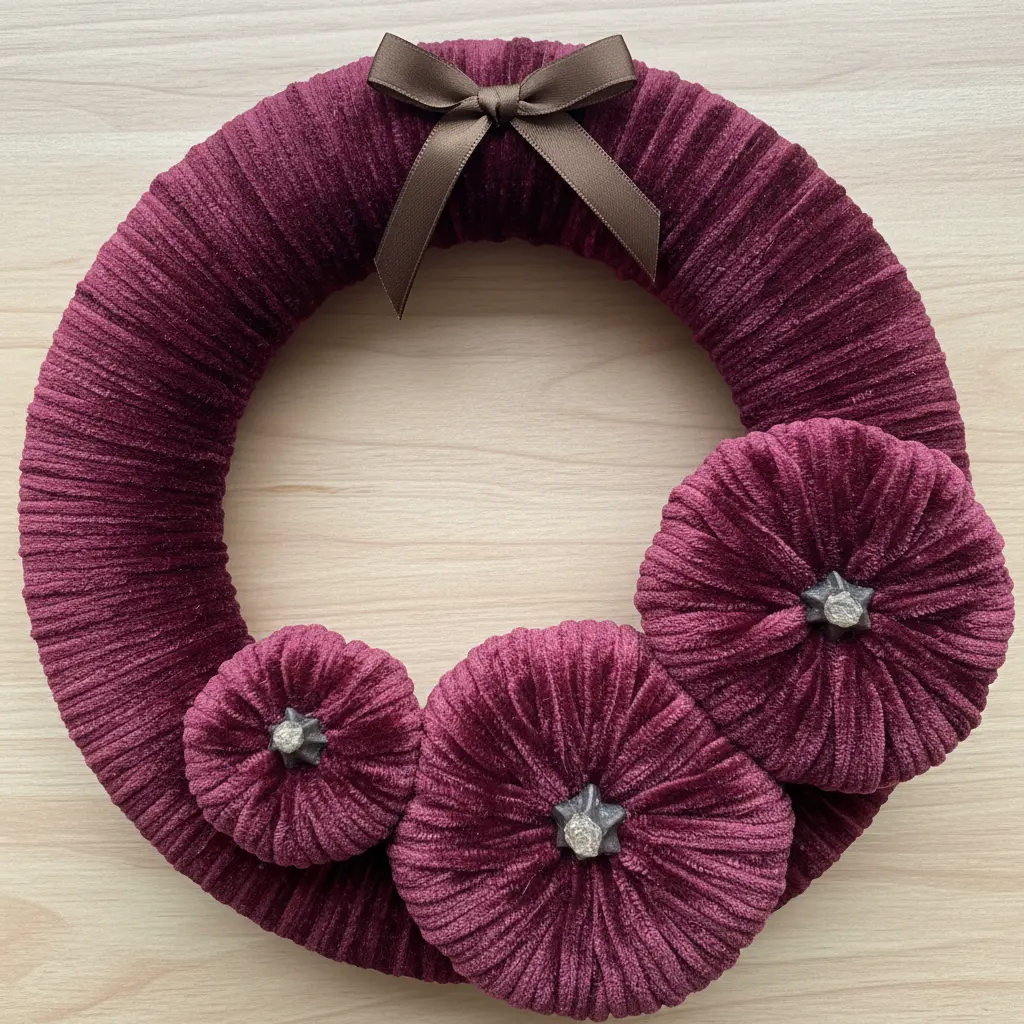
This one surprised me. It looks like a high-end decor store piece, but it’s made by simply wrapping a wreath form with yarn. You will need a styrofoam wreath form for a smooth base, then keep wrapping that deep burgundy velvet yarn around and around until it’s completely covered.
Why does it work so well? That plush velvet texture instantly feels luxurious, so your DIY pumpkin yarn hoop wreath looks truly high-end. The key is keeping your tension snug and even to avoid any gaps, and that deep burgundy color works with almost any room while still shouting autumn.
If your DIY pumpkin yarn hoop wreath feels a bit plain, you can always make a fall acorn wreath to pair with it on your door for a layered look. Trust me, you will feel so proud when you hang this up.
4. Boho Macrame Cord Pumpkin Wreath with Fringed Charm
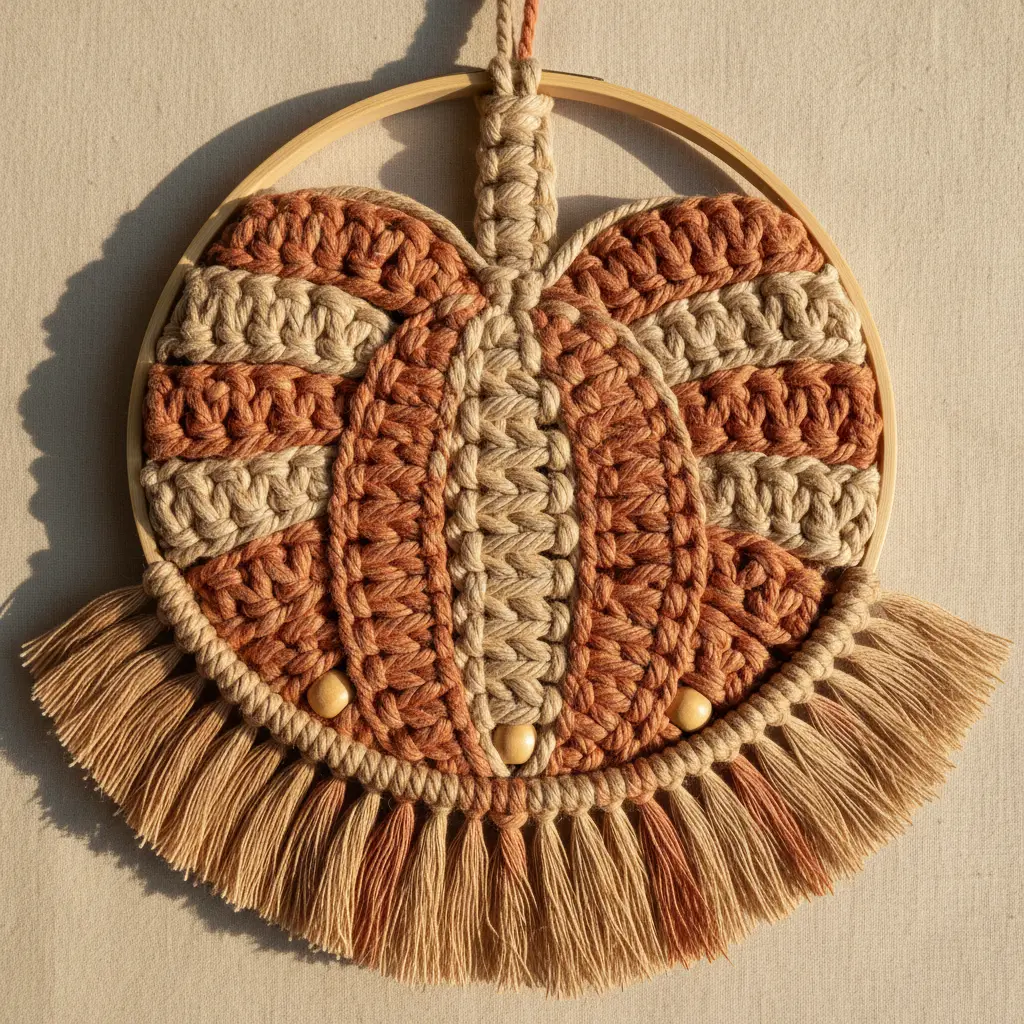
This one looks intricate, but the basic knots are surprisingly simple. You start by attaching your macrame cord to a metal hoop using lark’s head knots to build the base texture. Then, you form the pumpkins with a few square knots, adding a small twig for the stem.
The real boho magic in your DIY pumpkin yarn hoop wreath comes from that separate fringed charm hanging at the bottom. Brushing out the cord ends with a pet brush gives it that soft, whimsical movement I love.
It feels so satisfying to see the earthy textures come together into a cozy, handmade piece. If you enjoy making these, you will find lots of other easy fall pumpkin decorations to try next. Your door will look stunning.
5. Earthy Terracotta Yarn Wrapped Hoop with Natural Foliage
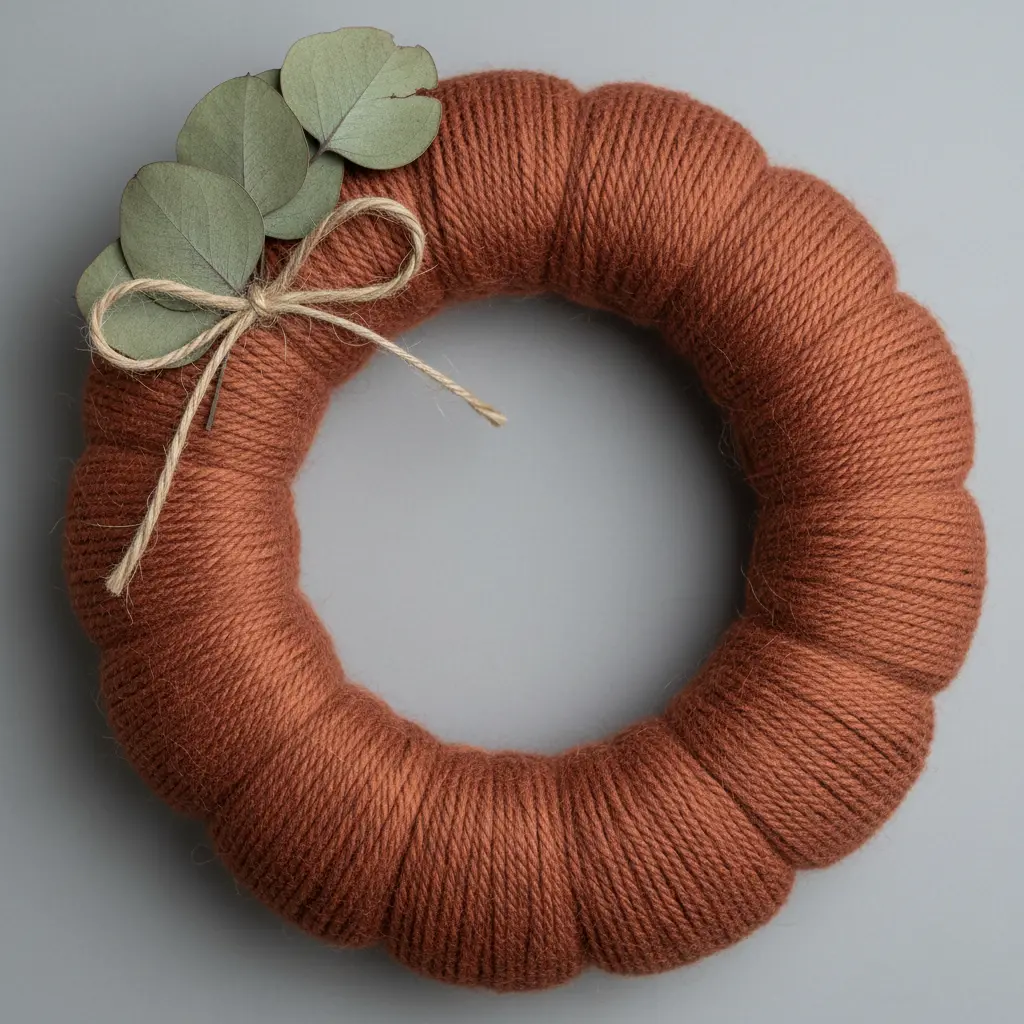
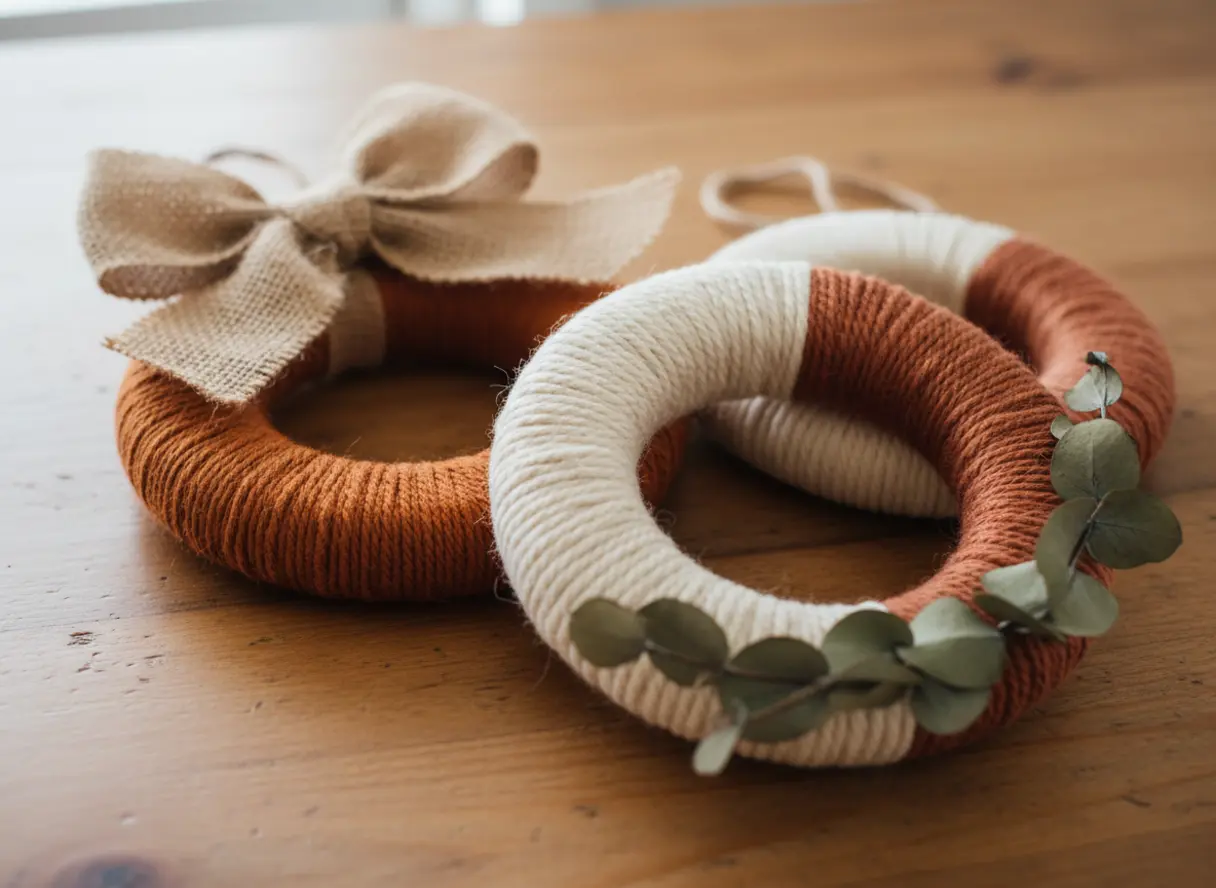
Who would have thought wrapping plain string could make a DIY pumpkin yarn hoop wreath look this elegant? You start by tightly wrapping your metal craft hoop with terracotta yarn until it is completely covered. Then, you hot glue on a selection of dried pampas grass and eucalyptus for a soft, natural look.
This works because the warm yarn base makes those organic textures pop with rustic charm. Trust me, the key is to push your yarn wraps close together to avoid any gaps. Once you hang it up, you will feel that cozy, autumnal vibe instantly.
This is a fantastic project to learn before you attempt a more complex make your own fall wreath for your front door. It teaches you the essential wrapping and arranging skills in a smaller, forgiving format.
6. Miniature Green Velvet Pumpkin Hoop Display
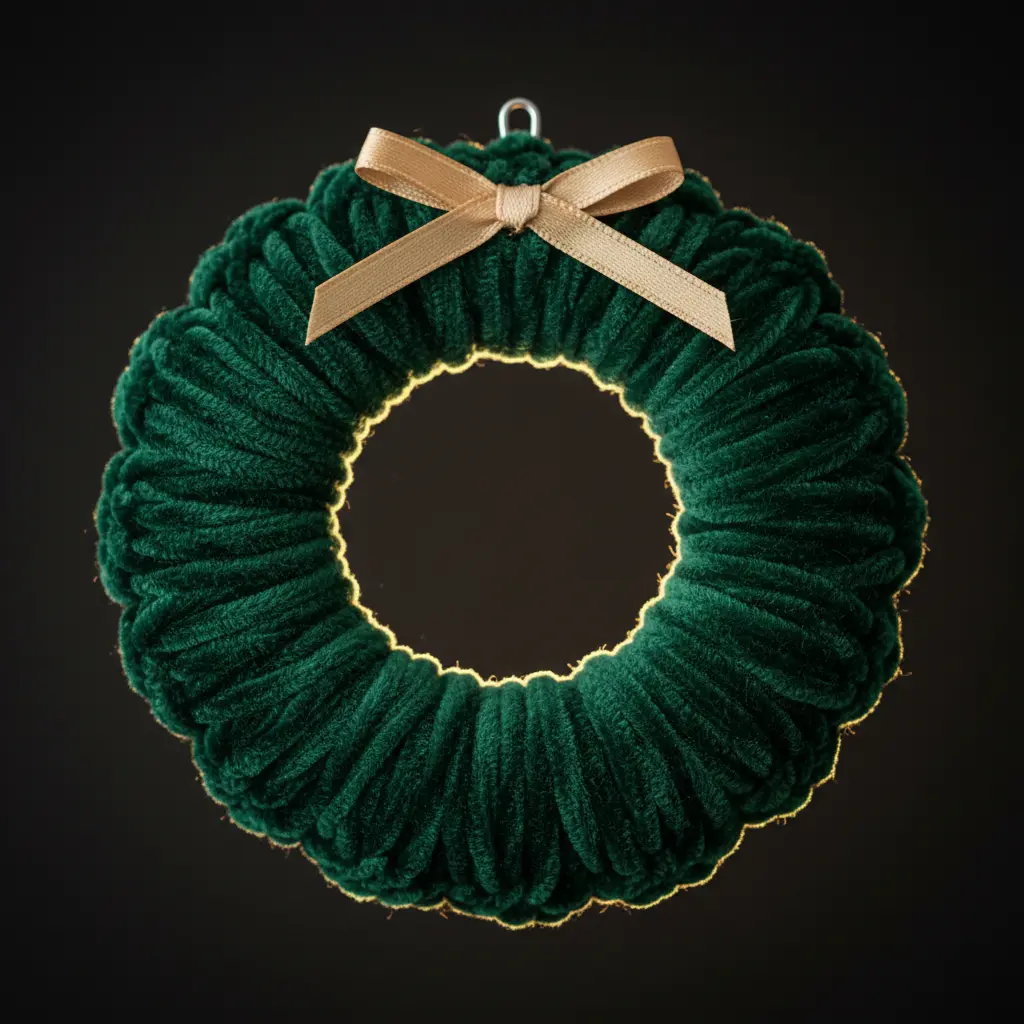
This project looks so elegant, but the process is wonderfully simple. You start by making those plush little pumpkins from circles of green velvet fabric. Sew a running stitch, stuff them, and pull the thread tight to form a perfect sphere.
Then comes the fun part. Use a long needle and strong thread to wrap around each pumpkin, creating those classic segmented indentations. Hot glue a tiny twig or cinnamon stick to the top for a natural stem. The combination of soft velvet and a hoop is exactly what makes a DIY pumpkin yarn hoop wreath so charming.
This display works because it mixes cozy texture with minimalist style. It is a subtle, personal touch for your autumn decor. Once your pumpkins are ready, you can arrange them on the hoop and even craft a pumpkin pillow for a perfectly coordinated seasonal look. Does that not sound satisfying?
7. Gold Hoop Sage Yarn Pumpkin Wreath with Elegant Contrast
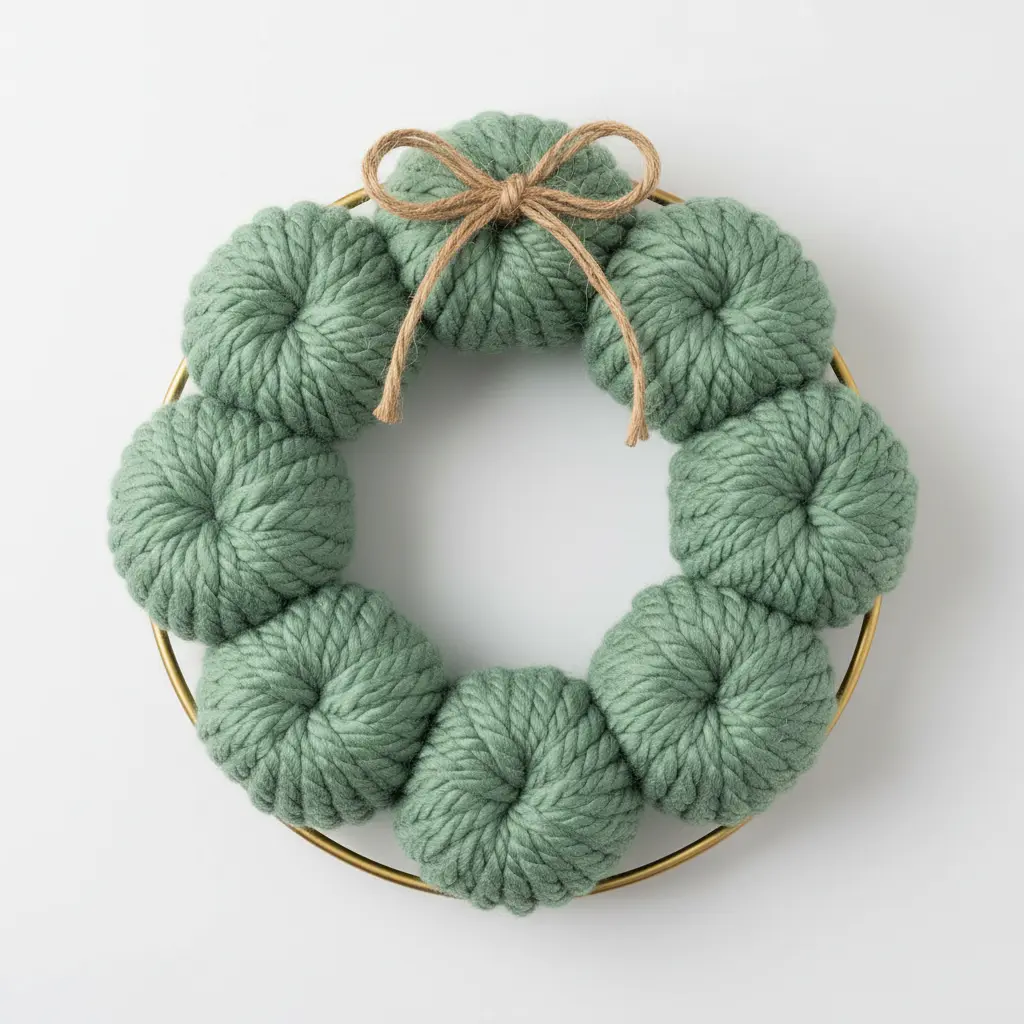
Who says fall wreaths have to be orange? This one swaps the classic brights for a chic, muted palette. You will wrap sage green yarn around small pumpkin forms, then use a hot glue gun to attach them to a gold metal hoop. The real magic happens when you add a single, well-chosen contrasting element.
The sage and gold combo feels modern and elegant, while the yarn adds a cozy, handmade texture. It works because that one pop of contrast gives the whole piece depth without making it look busy. My go-to tip for any DIY pumpkin yarn hoop wreath? Stick to just one type of accent and use it sparingly for a truly refined look.
This design is a wonderful companion piece to other modern fall projects, like decorating with mini pumpkin trees. Both share that clean, intentional aesthetic that moves beyond traditional autumn colors.
8. Felt Leaf Accent Pumpkin Wreath with Playful Details
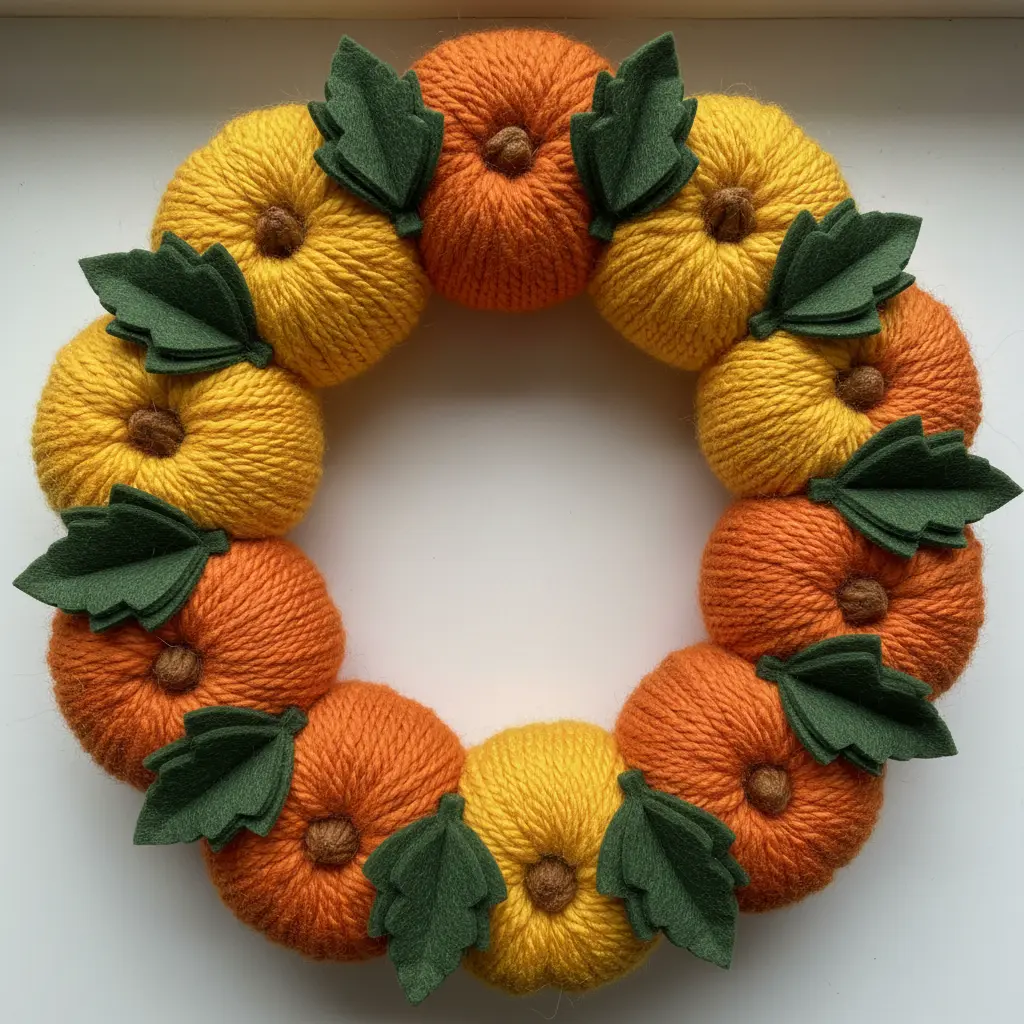
Ever want a wreath that makes you smile every time you walk past your door? This one is pure whimsy. The magic truly blooms in a DIY pumpkin yarn hoop wreath when you tuck in playful felt details after creating a lush backdrop of autumn leaves. I love adding tiny felt critters, like a friendly fox or a wise owl, into the foliage alongside little berries and acorns.
It works because it feels like a storybook came to life on your front door. The soft texture of the felt is so inviting, and those special touches make it uniquely yours. For a fun twist on the Halloween season, you could even incorporate a spooky mummy wreath craft into your autumn display lineup.
My go-to tip is to cut your leaves in several different shapes and layer them generously for amazing depth. Feel that burst of creative joy when you place the final piece.
9. Multi-Textured Chunky Knit Pumpkin Hoop Wreath Idea
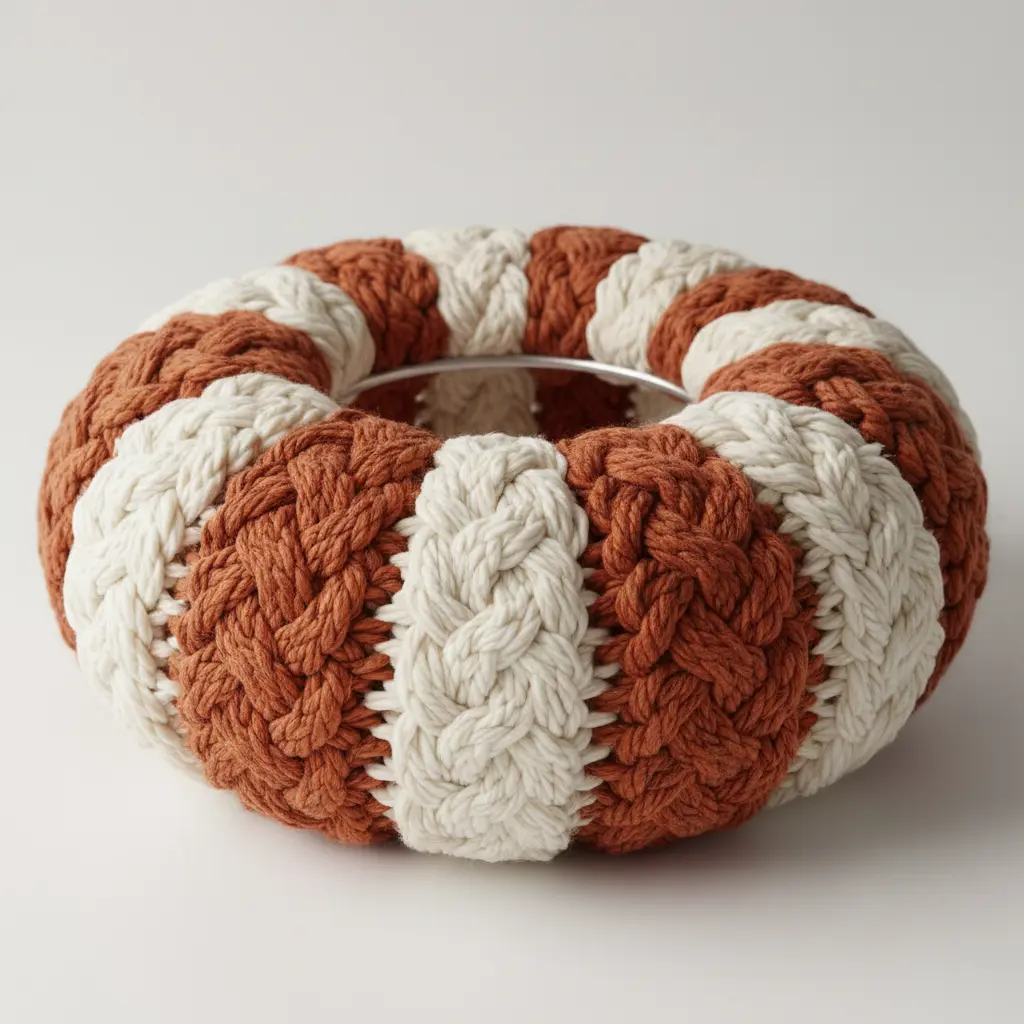
This one looks so intricate, but the trick is in the textures. You create a small cluster of chunky knit pumpkins, each using a different yarn like boucle or velvet for a cozy, handcrafted feel. Arrange them on a simple hoop with some faux eucalyptus and berry sprigs for a rustic-chic look.
Your biggest win here is choosing a tight color palette. Stick to two or three earthy tones like cream, rust, and sage to keep all those wonderful textures from looking messy. Blending soft yarns with natural stems gives your DIY pumpkin yarn hoop wreath a sophisticated depth that feels so inviting. Trust me on this, lay everything out on the hoop before you glue a single piece.
That dry fit lets you balance the chunky pumpkins with the delicate fillers perfectly. I love how you can explore various hoop art crafts to find the perfect base for your seasonal projects. Does that not feel satisfying?
10. Dried Wheat Bundle Pumpkin Wreath with Rustic Simplicity
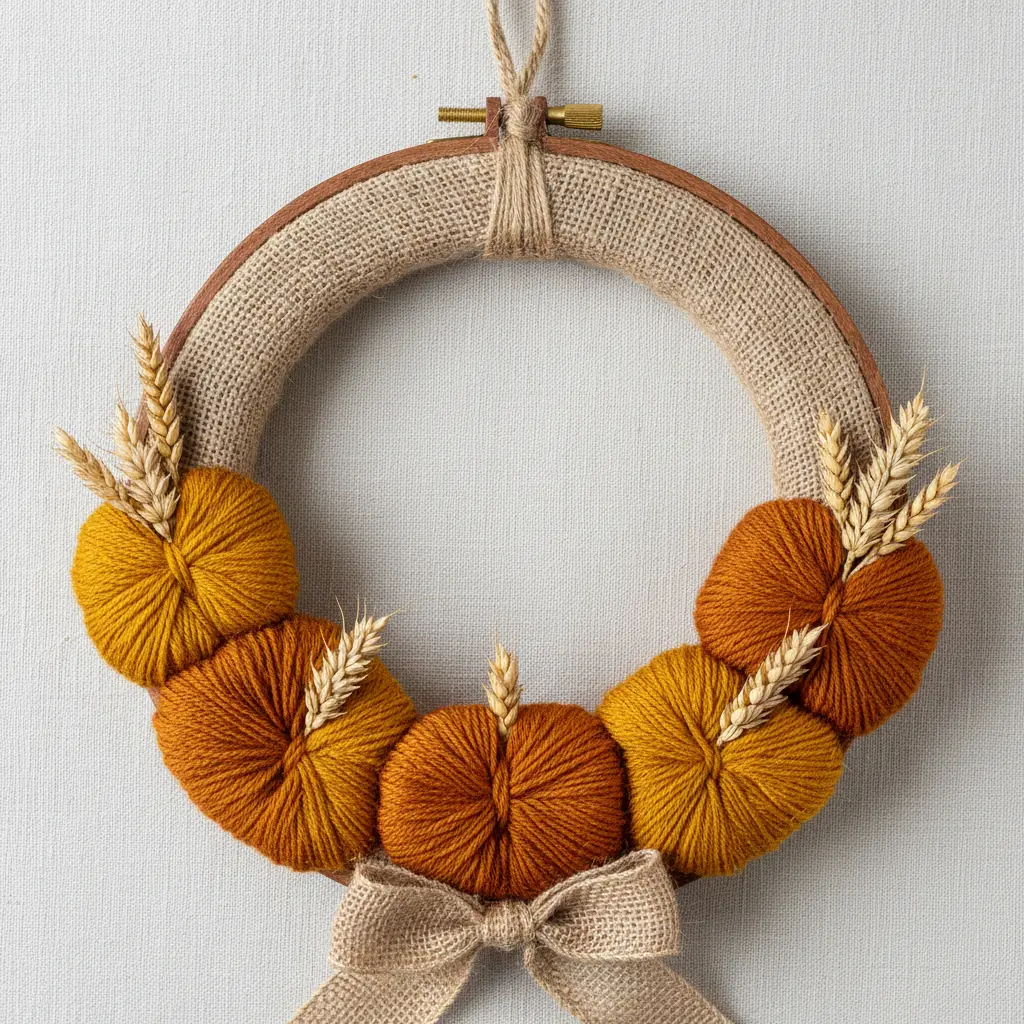
Who says autumn decor needs to be loud? This design proves that understated charm can be the most welcoming. You will attach small bundles of dried wheat to a grapevine wreath base, then tuck in a few muted faux pumpkins. The magic is in the natural textures and those warm, golden tones.
For a secure hold, use a hot glue gun to anchor your pumpkins and any delicate dried accents like eucalyptus. This keeps everything looking full and intentional for the whole season. It is a wonderfully simple project that creates a cozy, farmhouse feel.
That rustic simplicity is so satisfying to achieve. I love how it feels like bringing a piece of the harvest right to your door. Once your main display is done, you can easily create matching spooky DIY cheesecloth ghosts for a full porch display.
Displaying and Storing Fiber Art Decor
Hang your finished piece with a loop of ribbon instead of the hoop’s built-in hardware to keep the focus on your beautiful yarn work. This simple switch lets the decorative tension screw become part of the rustic charm instead of a distraction. For long-term storage, place the item flat in a sturdy box with acid-free tissue paper between any layered elements to prevent the pom-poms from getting crushed.
You need a matte acrylic varnish lightly sprayed over any non-fabric additions, like dried berries or painted accents, to lock them in place and protect against dust. A quick puff of compressed air before you pack it away each spring will keep your seasonal creation looking fresh for years of cozy displays.
Conclusion
So, which of these yarn-wrapped beauties spoke to your heart? By now you might already be imagining pumpkins hanging in your entryway or clustered on a gallery wall. That’s the magic of a well-made project—it doesn’t just decorate, it shares a little piece of your personality. My hope is that one of these 10 DIY pumpkin yarn hoop wreath concepts sparked an itch to create, whether you’re pulling out cream yarn for a serene monochromatic look or digging through remnants for a multi-textured statement piece. The best part is, once you start wrapping, you’ll find your own rhythm and even invent a twist that’s uniquely yours. So grab that embroidery hoop and a skein of your softest yarn—your autumn story is ready to begin. I’m eager to see the cozy charm you bring to life.
FAQs
Q: What is the best yarn to use for a pumpkin hoop wreath?
A: Bulky or super bulky yarn works wonderfully because it wraps quickly and gives a plush, cozy texture. Acrylic yarns hold their shape well and come in endless autumn colors, while wool blends add extra softness. Steer clear of thin, slippery yarns that might slide on the hoop.
Q: How do I prevent my yarn wreath from sagging?
A: Secure the first few wraps and the tail end with a dab of hot glue or clear fabric glue. Keep heavier embellishments like dried stems or large bows balanced around the hoop so no single spot bears too much weight. A quick check every few rows helps catch any shift early.
Q: Can I make this without a hot glue gun?
A: Strong craft glue or double-sided fabric tape works as an alternative, though rapid-setting adhesive sets quickly and is easier for attaching items like burlap bows or felt leaves securely. If you prefer no-heat methods, opt for a thick tacky glue and allow extra drying time.
Q: What size embroidery hoop works best for a pumpkin display?
A: A 10- to 12-inch hoop gives a nice, visible shape without being too heavy. Smaller hoops, like 7 or 8 inches, are adorable for a mini gallery wall arrangement. Ensure your metal or wood base is sturdy enough to support the wrap and any added accents.
Q: Is this project beginner friendly?
A: Wrapping yarn around a hoop is simple and relaxing, and messy spots hide easily under a well-placed bow or leaf. Start with a basic single-color version, then add layers of detail as your confidence grows. Most crafters find their first piece so satisfying they immediately start a second.