

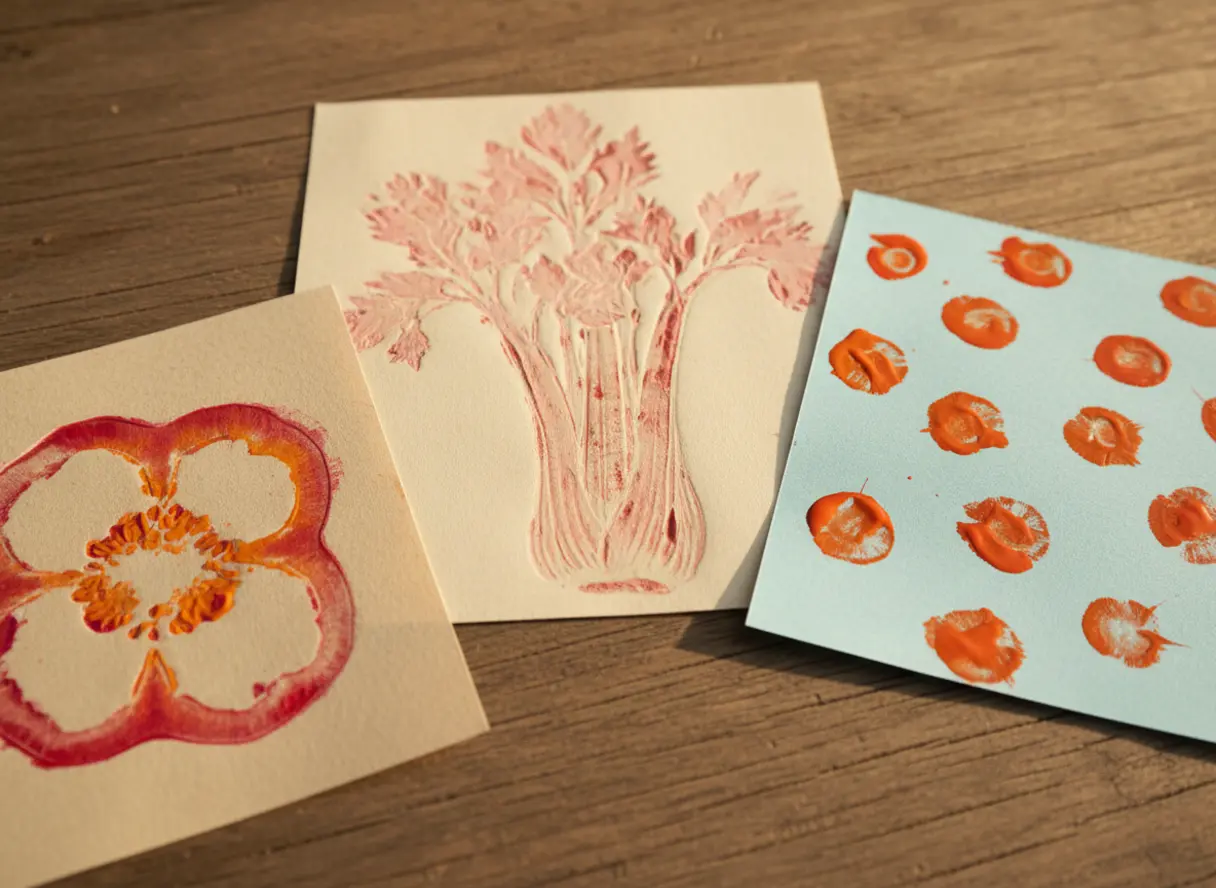
The charm lies in the surprise — little ones see a bell pepper half and then watch it become a flower on paper. These ten printing ideas focus on bold shapes and bright colors, with no special tools required. Grab some washable tempera and cardstock, and you will be ready to turn a rainy afternoon into a mini art studio so you pick the one that fits your group best.
Preparing Produce For Consistent Stamp Impressions
You will get the cleanest print by cutting your vegetables on a flat, even plane. That single slice reveals the natural pattern, like the star shape inside an okra pod or the radial lines of a bell pepper. Trust me on this, you want to blot the cut surface thoroughly with a paper towel before any paint touches it.
Excess moisture ruins vegetable printings for preschoolers, so diluting your tempera paint causes it to pool into a muddy mess that loses detail. The good news is, a quick pat-down takes seconds and makes all the difference for those crisp, high-contrast impressions your preschoolers will love. I always keep a roll of paper towels right on the craft table for this exact purpose.
Selecting Washable Paint For Early Childhood Projects
Non-toxic, washable tempera paint is your only safe bet for little hands that explore with every sense. This specific paint type has a creamy consistency that adheres well to the vegetable surface without running, and it washes off skin and tables with plain water. You want to avoid anything labeled as acrylic or poster paint, as those formulas tend to stain clothes and require soap for cleanup.
Pour a thin layer into a shallow tray or spread it on a damp sponge to act as an ink pad. This method prevents the common beginner mistake with vegetable printings for preschoolers of loading too much paint onto the produce, which obscures the natural texture. Your finished prints will show clear color separation and those wonderful repetitive patterns we all love.
1. Bell Pepper Flower Impression: A Simple Bloom Shape
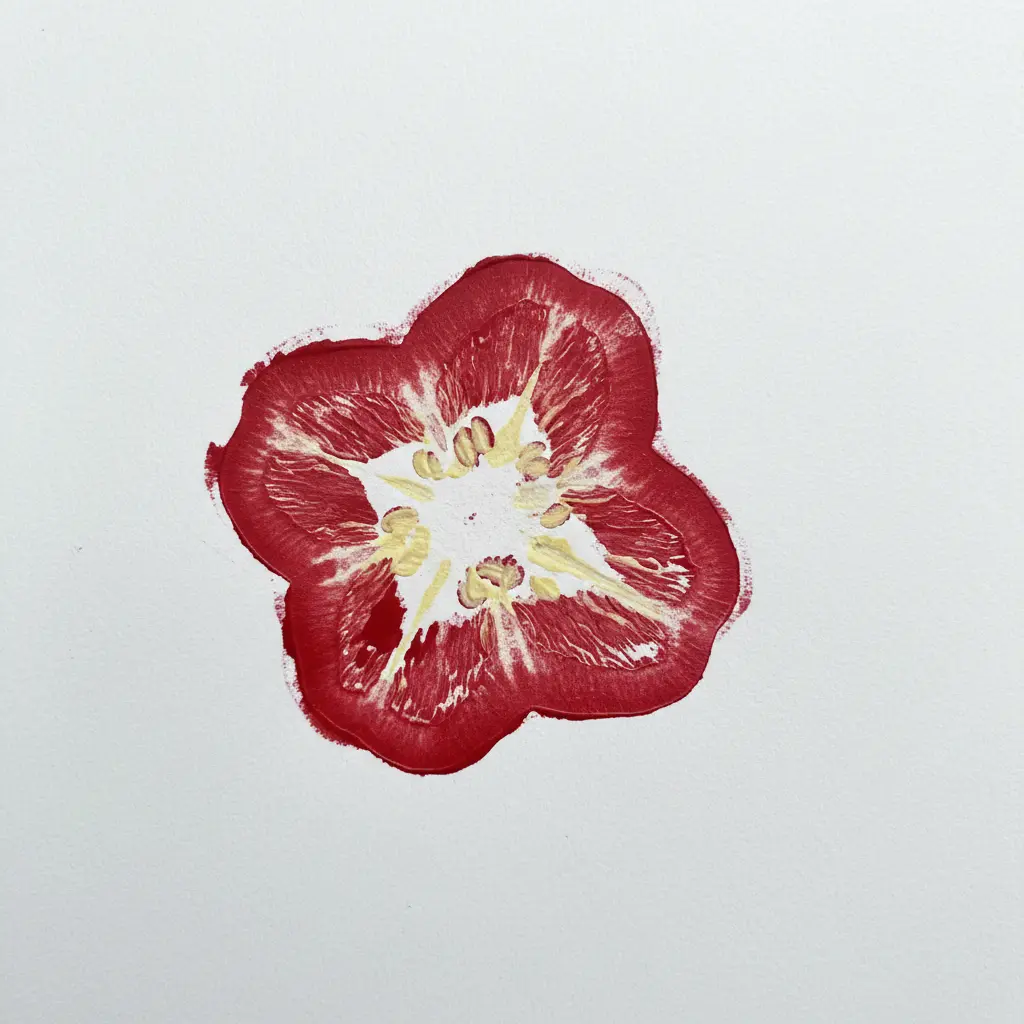
Who would have thought your crisper drawer held a perfect flower stamp? I love this one for its instant, magical reveal. You start by washing a bell pepper for your vegetable printings for preschoolers and making a clean, horizontal cut across its middle with a sharp kitchen knife.
Press that flat, cut end straight down into a thin layer of tempera paint on a paper plate, then lift and stamp it firmly onto your paper. It is so satisfying to see that natural, lobed shape transform into a bright, cheerful bloom right before your eyes.
This works because the pepper’s internal structure is already a flower waiting to be printed. The key relies on applying a measured amount of paint and pressing straight down without any wiggle for crisp impressions that hold shape. For a lovely seasonal extension, this simple stamping pairs perfectly with other fun spring craft ideas for kids to create a whole garden scene. Trust me, your preschooler will be so proud of their floral artwork.
2. Celery Stalk Rose Pattern Stamp — A Classic Rolled Petal Design
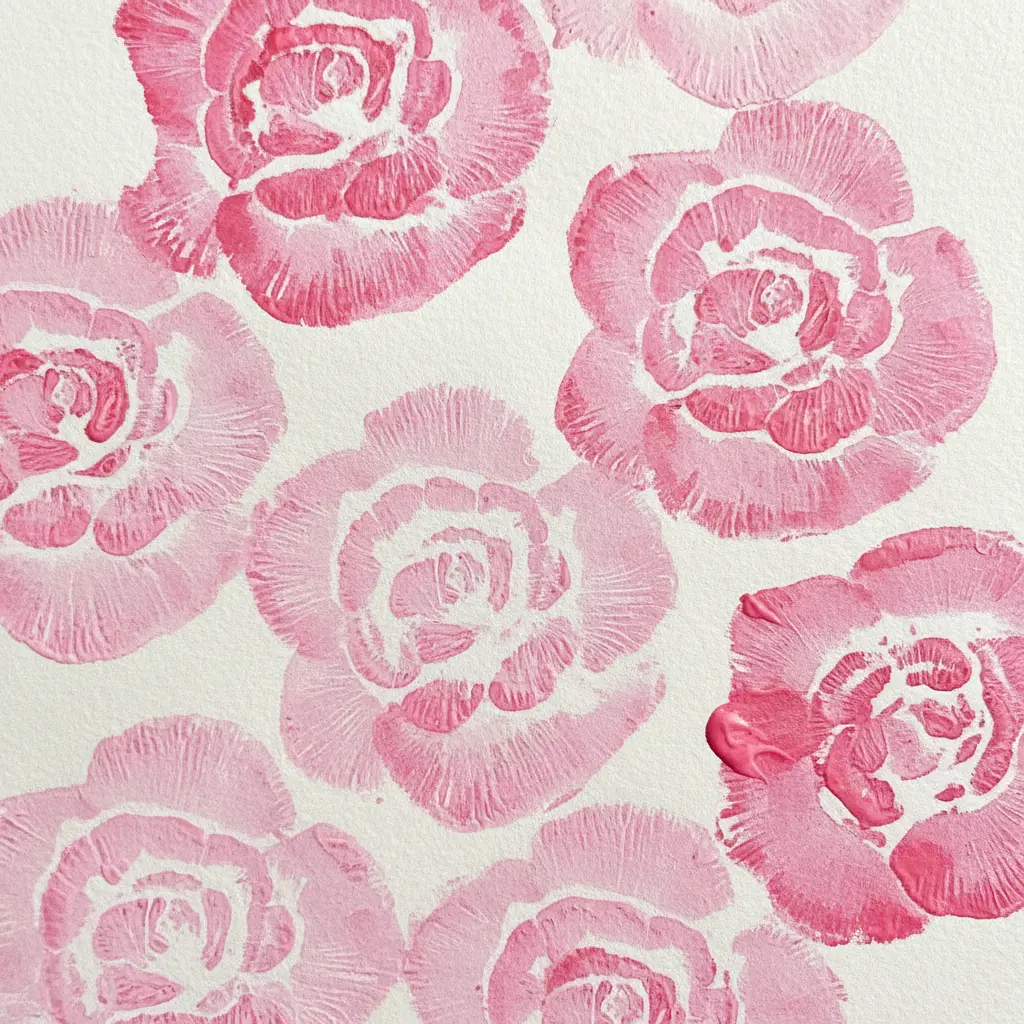
This one surprised me – it looks complex but it is one of the easiest vegetable printings for preschoolers. You simply cut a fresh celery bunch to create a flat stamp, then press it into paint and onto your paper. The natural curve of each stalk leaves a perfect petal shape, and together they form a gorgeous, layered rose. It works so well because nature already designed the perfect rose shape in that celery base.
My go-to tip is to use a sharp knife for a perfectly flat cut. An uneven base is the main reason stamps turn out messy. Press the celery lightly into a thin layer of paint so the petal details stay crisp. Isn’t it satisfying to see that beautiful pattern appear?
This is a fantastic first stamping project. If your little artist loves seasonal projects, they might enjoy our roundup of creative pumpkin crafts for children next. Feel proud of your garden of painted roses.
3. Carrot Circle Polka Dot Print with Crisp Circular Impressions
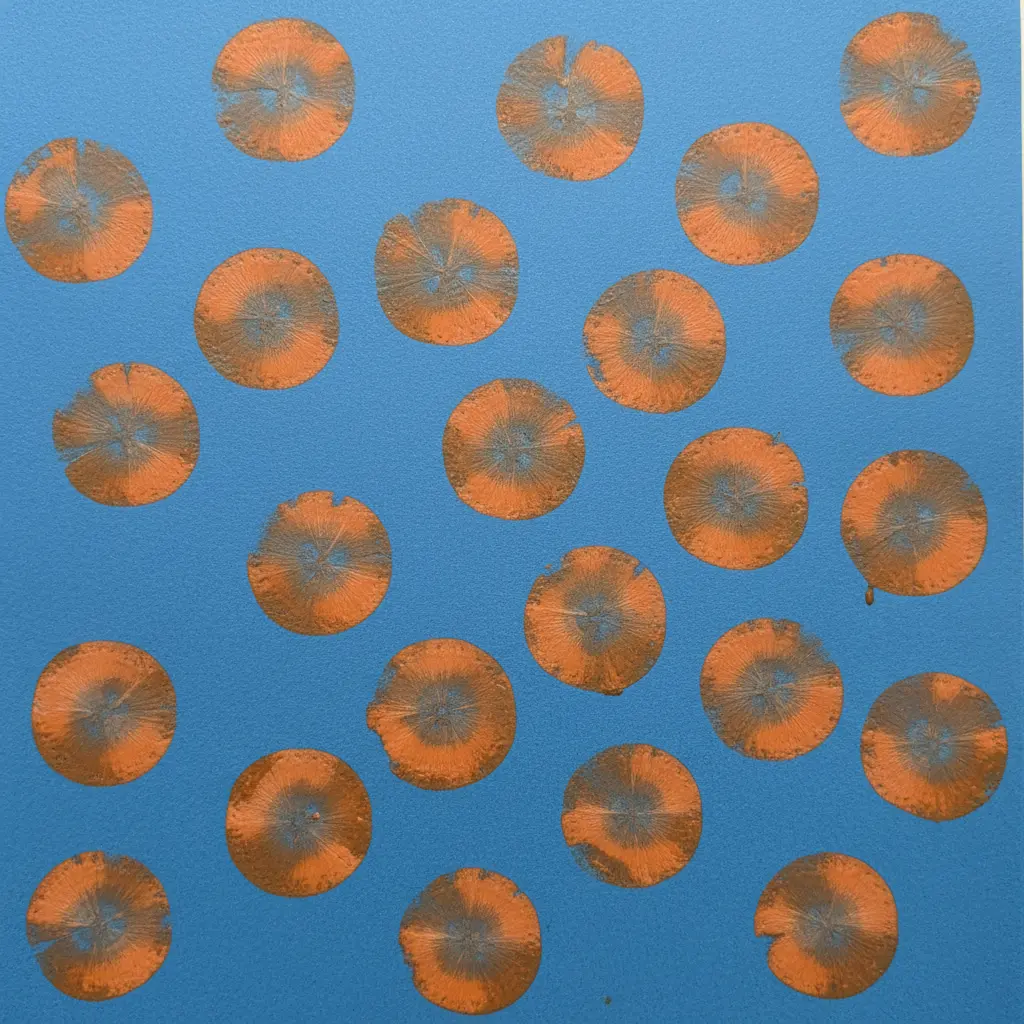
Ever wondered how to achieve consistent results for vegetable printings for preschoolers? This one surprised me. You simply slice a thick carrot to create a flat stamping surface.
For those super crisp edges, I love pressing a small cookie cutter into the carrot end before slicing it off. It yields a perfectly round stamp that makes the most satisfying impressions. Press your carrot stamp into some vibrant orange paint, then gently press it straight down onto your paper.
The key is even pressure and lifting straight up. The repetitive nature of creating a polka dot pattern is fantastic for developing fine motor skills and pattern recognition. It is a wonderfully simple, tactile activity.
For a fun extension, combine this project with other nature-inspired leaf art projects to create a whole garden scene. Your little one will be so proud of their cheerful, dotted artwork.
4. Potato Star Shape Stamp: A Hand-Cut Stamp for Bold Shapes
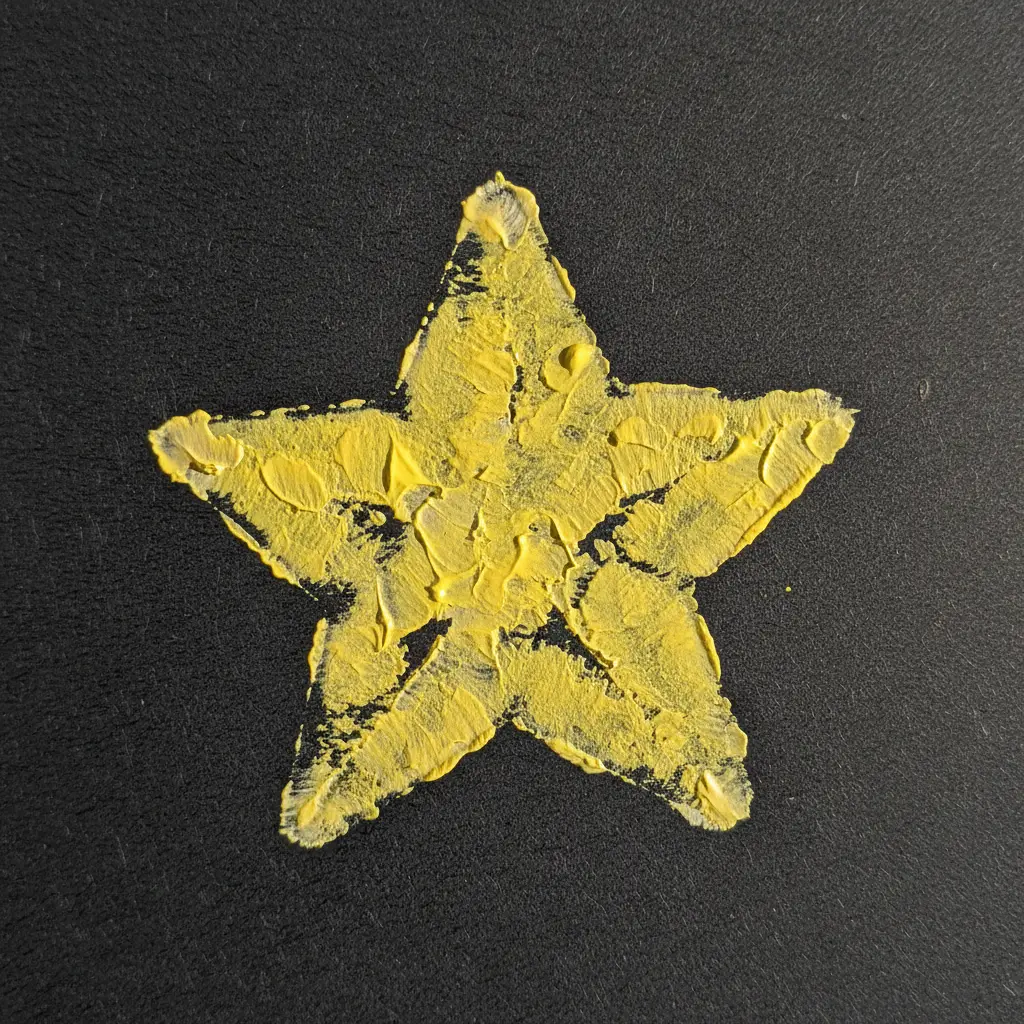
Who would have thought a potato brings perfect star shapes? This one is a preschool favorite for vegetable printings for preschoolers because it yields a bold, graphic stamp every single time.
You simply cut a potato in half, press a star-shaped cookie cutter into the flat surface, and carve away the excess potato around it. The magic is in that crisp, raised star edge. When you press it onto an ink pad and then onto paper, you get a clean, defined impression that little hands adore.
I love how satisfying it is to see that perfect shape appear with a firm, straight press. It is a fantastic, tactile project for little ones, and the results look great on everything from cards to wrapping paper.
For a perfect autumn project, these bold potato stars pair wonderfully with festive fall leaf craft ideas to decorate seasonal banners. Feel the joy of making something so simple look professional!
5. Corn Kernel Textured Roller Print — A Natural Rolling Pattern Tool
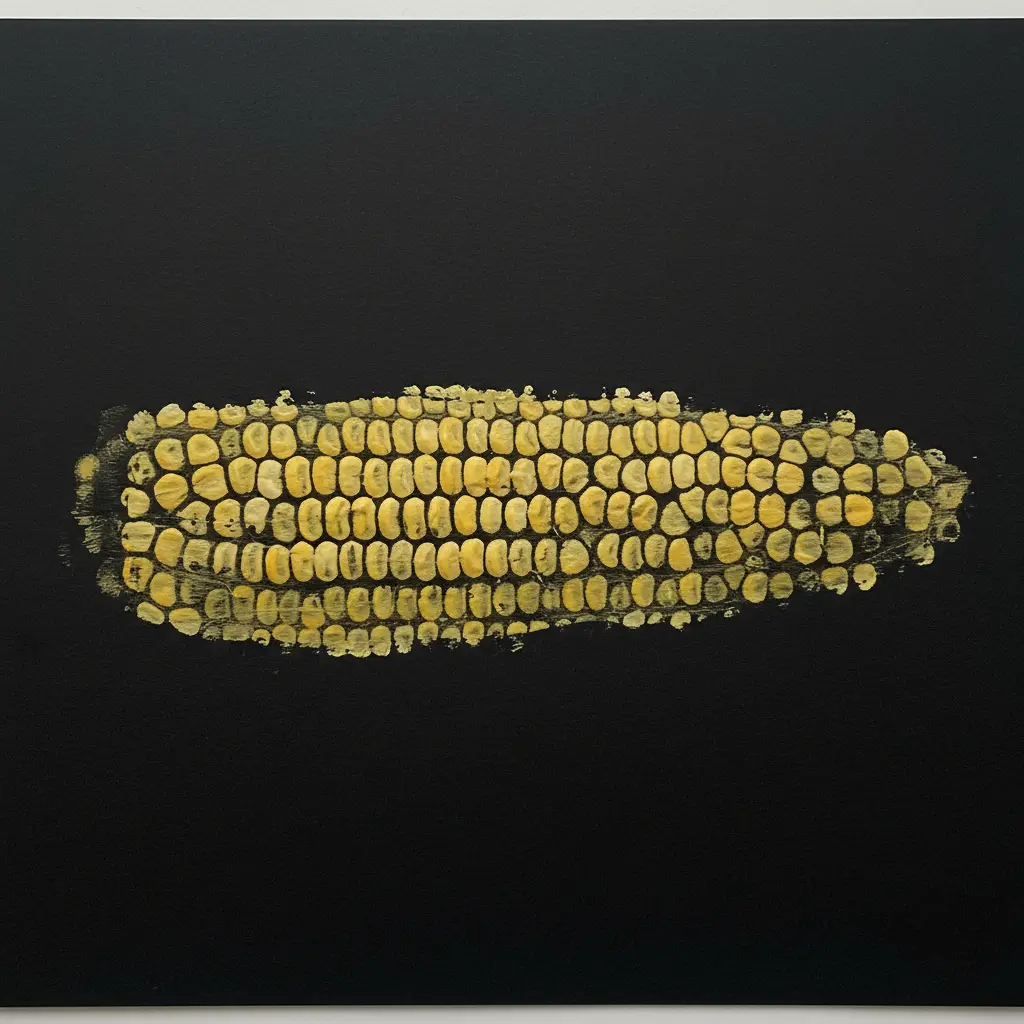
This one surprised me. It looks like a fancy tool, but you make it with a simple PVC pipe and dried corn kernels. You press the kernels into a soft clay base or glue them onto your roller, then it is ready to roll. The magic happens when you press it into a slab of clay or a sheet of dough, leaving behind a bumpy, organic pattern.
I love this technique because it gives you a texture that no plastic tool ever provides. The natural variation in the kernels means every print looks slightly different. Isn’t that more fun than uniform results? Be sure to use a strong adhesive so your kernels do not pop off mid-roll. For a fun color connection, this technique pairs perfectly with vibrant Holi art activities that also celebrate texture.
Try it on some salt dough with your little one. You will both love the unique, tactile results you build together.
6. Cabbage Leaf Vein Texture Design with Intricate Organic Lines
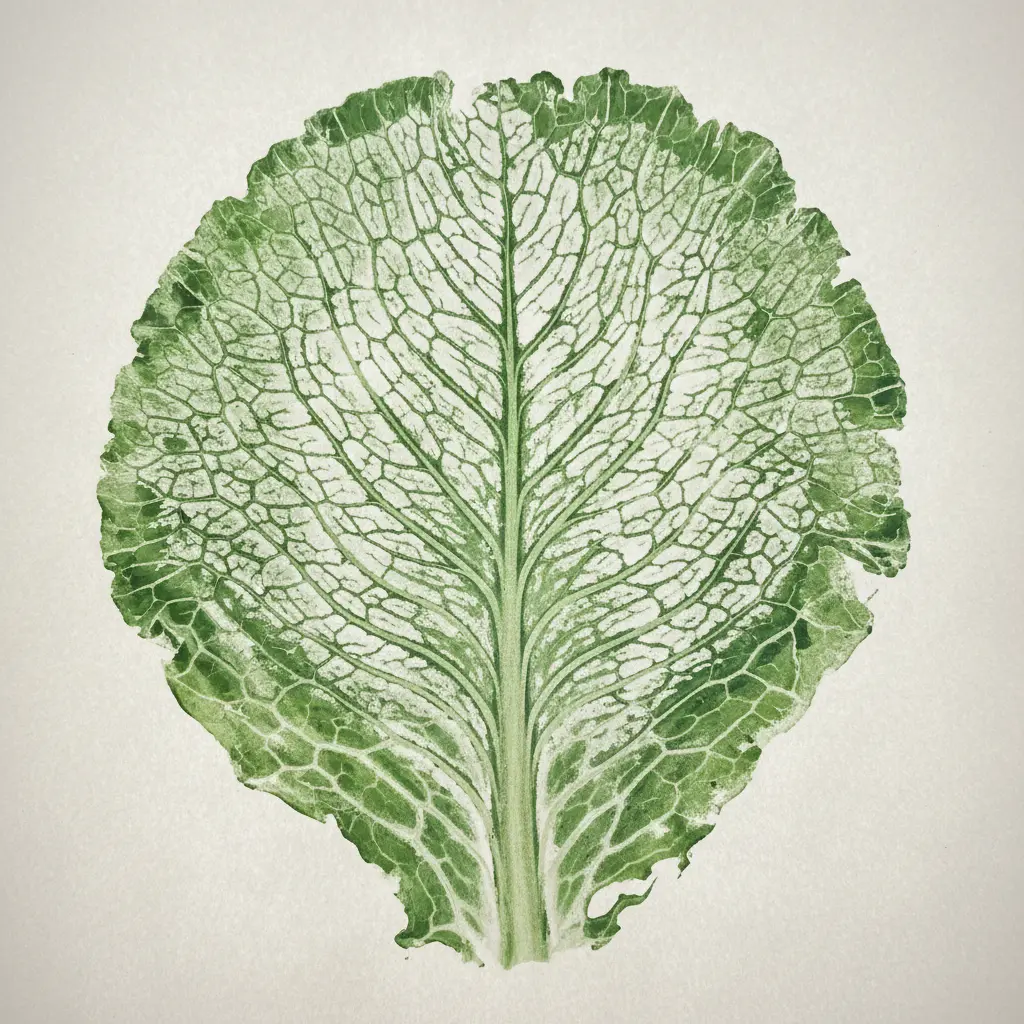
This technique guarantees vibrant vegetable printings for preschoolers, so apply a thin layer of washable tempera paint to the back of a fresh leaf. Press it firmly onto your paper and lift it away. The magic happens when you see the network of veins, from the thick central rib to the finest connecting lines, perfectly transferred.
It works so well because nature is the ultimate artist, providing a detailed template. The element of surprise when you reveal the print is pure joy for little ones. Trust me, use less paint than you think you need for the clearest lines, and feel the delight when that organic pattern appears.
7. Okra Slice Star Pattern Stamp: A Tiny Stamped Star Motif
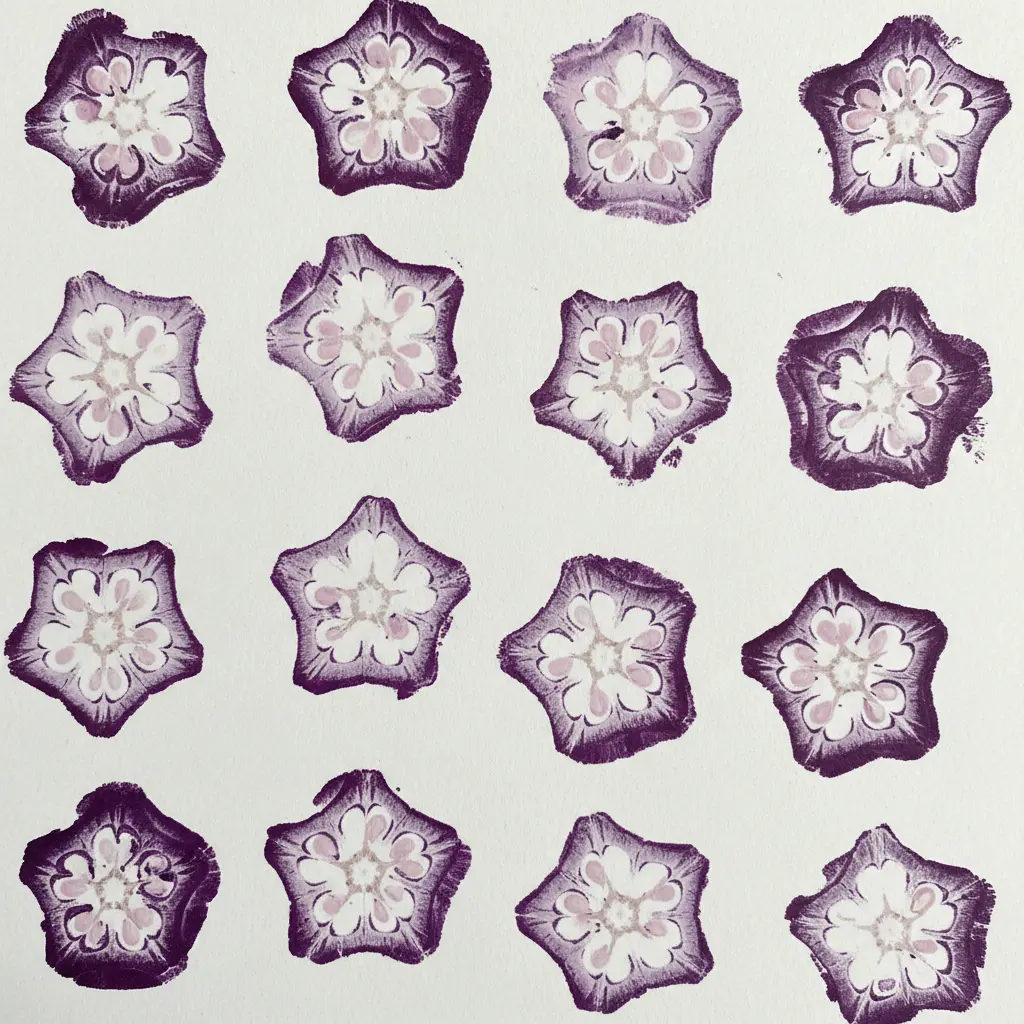
Planning vegetable printings for preschoolers becomes easy when you slice a fresh okra pod crosswise to reveal its star-shaped center. Blot it dry, and press it onto an ink pad or a dab of paint. Then stamp it onto paper or fabric for a charming, rustic pattern.
Each okra stamp is unique, which I love, because it gives your project a lovely handmade feel. Isn’t it wonderful how nature provides the perfect tool? For even more creative fun, you combine these tiny star prints with other engaging shape learning activities to make a complete art session. Feel the magic of making stars grow from your garden.
8. Onion Ring Concentric Circle Print — Layered Ring Impressions
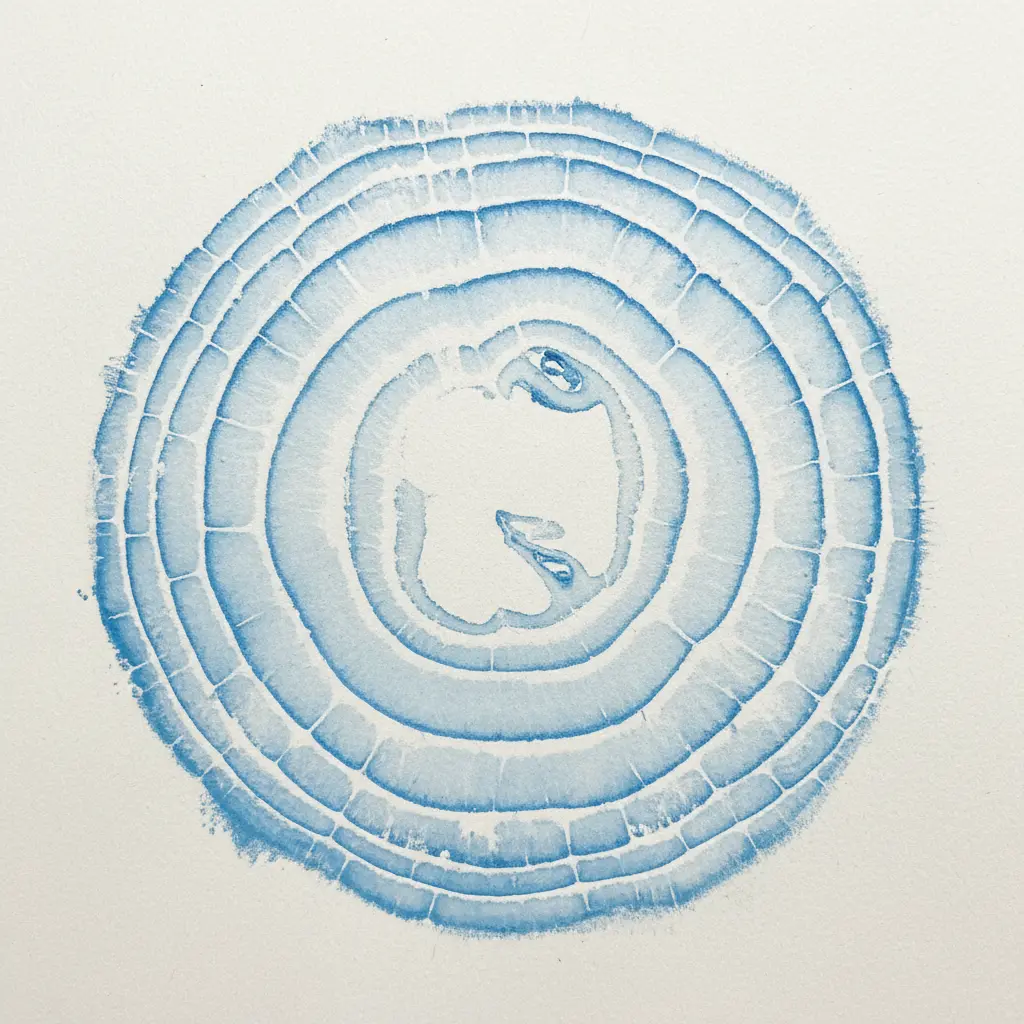
Designing successful vegetable printings for preschoolers means you cut an onion in half and find that natural pattern of rings inside, ready to be your stamp. Press the painted side onto paper, lift it up, and you get a perfect, slightly irregular circle print. I love how each onion gives you a unique design you cannot replicate.
For the best results, always blot the cut surface with a paper towel before you add paint. Too much moisture makes a blurry mess. Let your first layer of prints dry, then stamp over them with a second color to create depth. Isn’t it amazing how layering simple shapes builds such a complex picture?
This is a fantastic, hands-on activity for little ones, and you find more inspiration for seasonal projects with easy DIY witch crafts for kids using similar stamping fun. Feel the joy of making art from your kitchen scraps.
9. Broccoli Floret Tree Texture Stamp for Branching Print Art
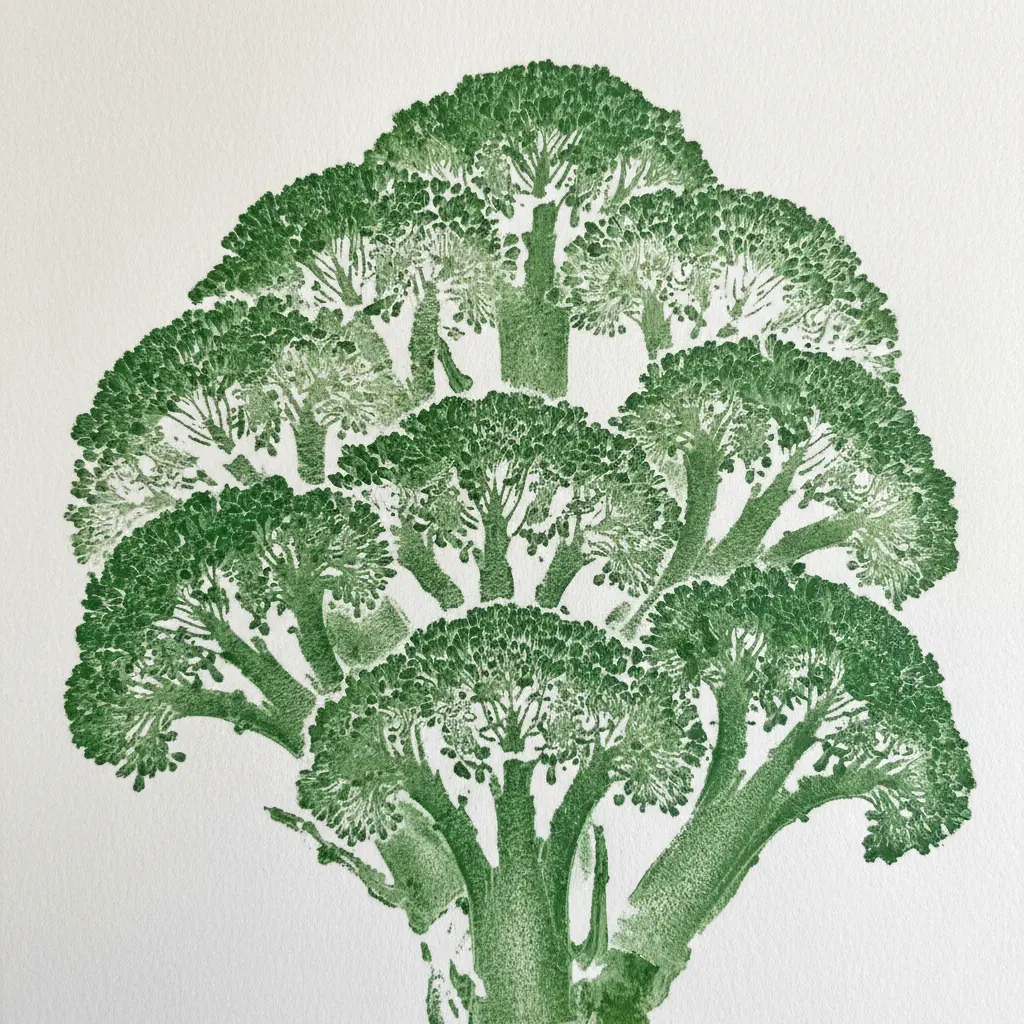
Who would think your dinner vegetable doubles as a perfect tree stamp? It looks detailed, but this one is simple. You cut a firm broccoli floret to create a flat stamping base, then press it onto an inked surface before transferring it to paper. The natural, bumpy texture of the floret creates beautifully irregular patterns that look like bark or foliage.
I love this technique because it delivers instant, organic texture without carving. A common mistake is using too much paint, which fills in all those lovely details. For a crisp print, use a thin, even coat of ink. This method creates a whole forest scene, and you use it for simple Halloween craft ideas like spooky silhouette trees. Feel how satisfying it is to make art from everyday objects.
10. Mushroom Cap Silhouette Texture Print: A Soft, Rounded Impression
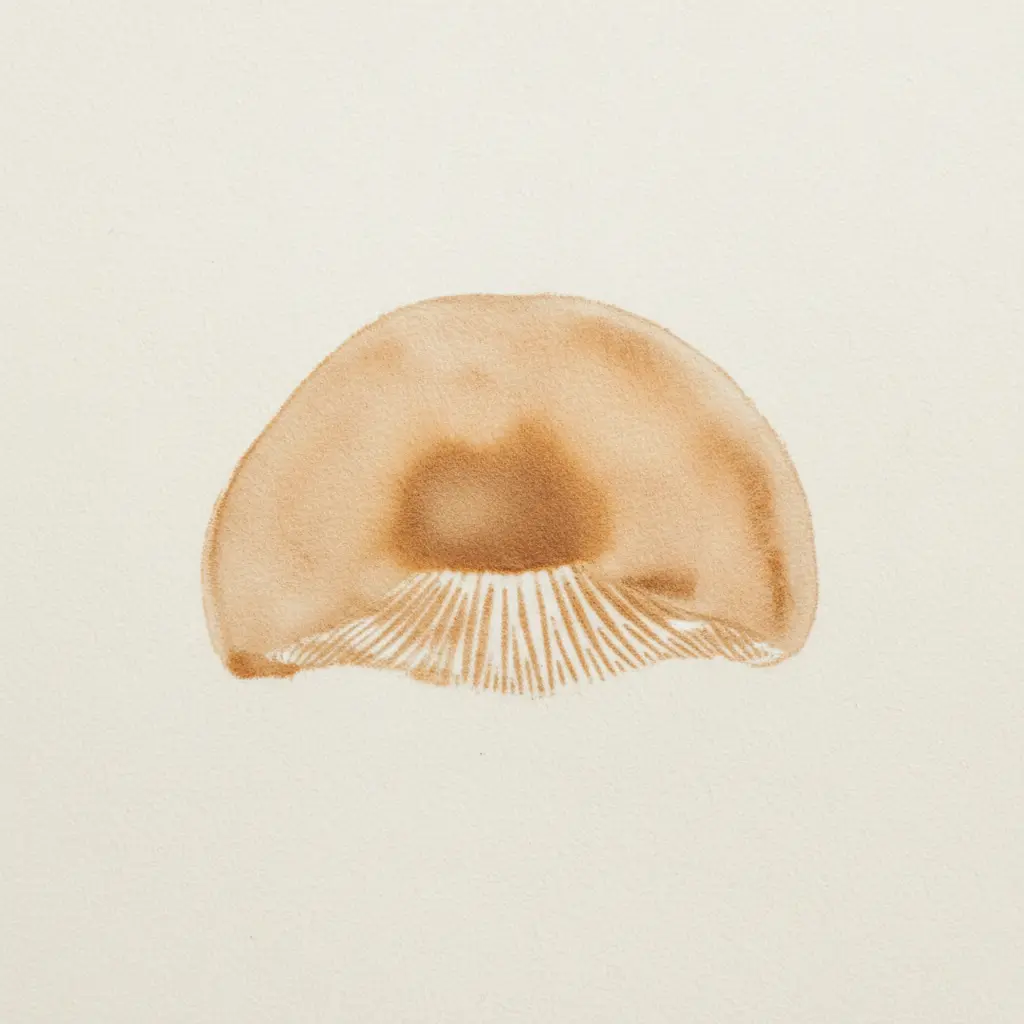
This project highlights successful vegetable printings for preschoolers, as you gently press a fresh mushroom cap into earth-toned paint. Blot off the excess, then stamp it onto thick paper. The magic is in that light, textured application, capturing the cap’s natural curves and a hint of its gill pattern underneath.
Why does it work so well? It lets kids explore organic shapes and subtle textures without pressure for a specific result. The soft, rounded silhouette they create feels gentle and natural. Once your prints dry, pair them with other simple spring craft ideas for a lovely seasonal display.
Preserving Artworks With Drying And Mounting Techniques
Let tempera paintings dry flat on a high-absorbency surface like construction paper or a butcher paper roll for at least an hour. These papers soak up excess moisture to finish your vegetable printings for preschoolers, helping prevent smudging and keeping colors bright. Once dry, mount their favorite prints on a heavy-duty cardstock background using a glue stick for a finished look.
The artwork gains structural integrity this way and is less likely to curl or tear during proud displays. For a permanent keepsake, slip the mounted piece into a clear plastic sleeve. This protects it from little fingerprints and allows easy gallery rotation on your fridge or classroom wall.
Conclusion
Seeing a child’s face light up when a simple carrot stump makes perfect polka dots is what makes these vegetable printings for preschoolers so memorable. The best part is that every print looks different, so there is no wrong way to do it. If you plan a group activity, keep extra paper towels handy for blotting, as a quick pat on a cut vegetable makes a huge difference in getting a clear impression.
Let the kids pick their own veggie shapes and watch how they naturally start experimenting with color mixing. Over time, you build a little collection of prints that show growing coordination and imagination. When you are ready for another session, grab a fresh head of cabbage or a new potato and start again. Simple materials, real process art, and a whole lot of smiles.
FAQs
Q: What type of paint works best for vegetable printing?
A: Washable tempera paint is the top choice. It is thick enough to coat the vegetable surface without dripping and cleans up easily from skin and tables. Use it directly on cardstock for bright, lasting prints.
Q: How do I keep the vegetable from slipping?
A: Blot the cut surface with a paper towel before painting to remove excess moisture. Apply a thin, even layer of paint rather than a thick glob. Hold the vegetable steady with one hand and press straight down without wiggling.
Q: Can I use vegetables that are starting to go soft?
A: Firm, fresh vegetables create the crispest impressions. Soft or overripe produce tends to mush and blur the print, so pick the freshest ones available. If a piece gets too slick, blot it again before re-inking.
Q: What paper works best for crisp prints?
A: Cardstock or heavy construction paper works best because it absorbs paint well without buckling. Avoid thin printer paper, which tears or wrinkles when wet. A smooth surface gives cleaner edges, but slightly textured paper adds an interesting effect.
Q: How do I store the vegetable stamps for reuse?
A: Vegetable stamps are generally meant for one session since they dry out or get soggy. If you must reuse them within an hour or two, wrap them in a damp paper towel and store them in a sealed container in the fridge. For a new day, start with fresh produce.








