

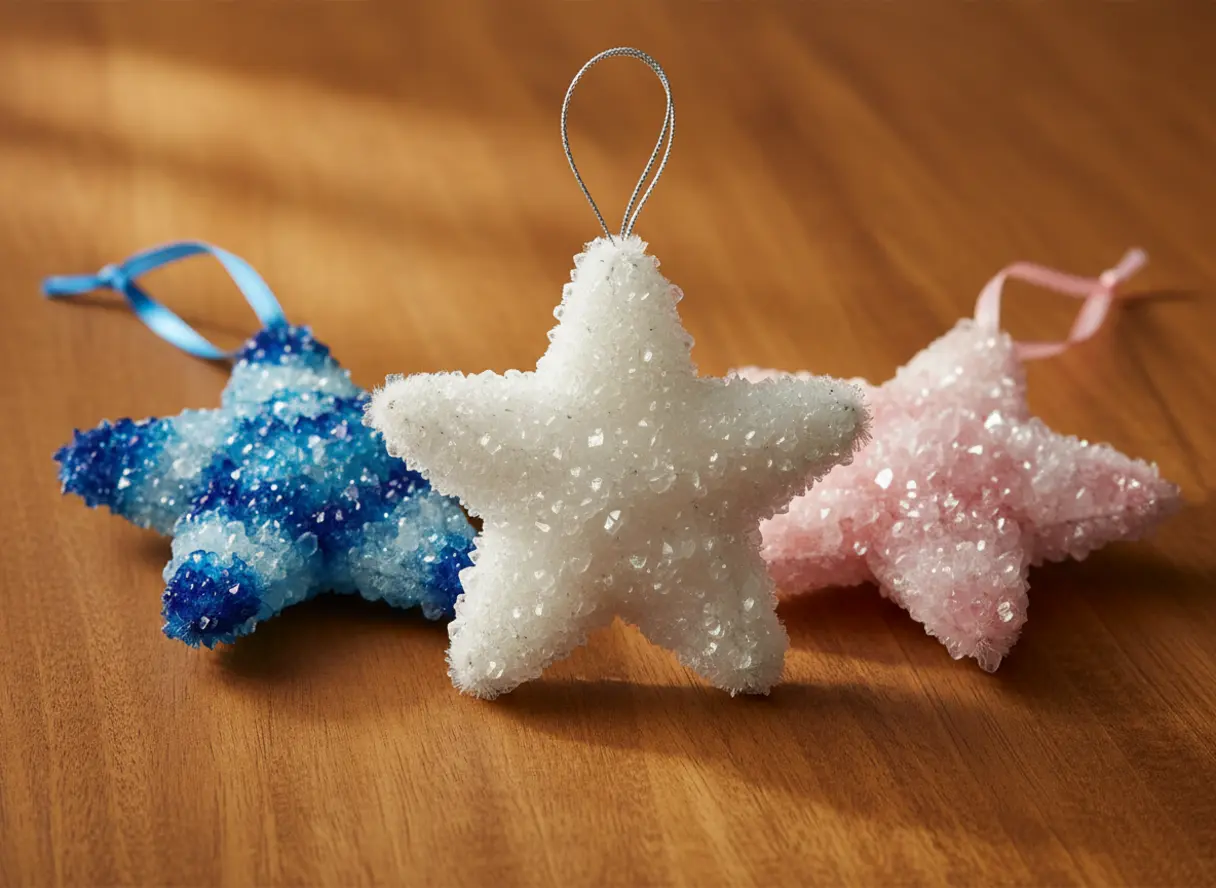
Achieving Supersaturated Solutions for Maximum Growth
The fastest way to ruin your borax star ornaments is using too much water, which prevents the supersaturation you need for dense crystal growth. Trust me on this, the ratio is everything. You want to dissolve as much sodium tetraborate decahydrate as possible in boiling water until you see a fine powder settle at the bottom of the jar.
That settled powder is your visual cue that the solution is truly saturated and ready to support strong nucleation. The good news is you control the environment by wrapping the hot container in a towel to slow the cooling rate. This slow temperature gradient gives the crystal lattice time to stabilize properly on your pipe cleaner, resulting in those thick, glass-like facets instead of a thin, flaky mess.
Armature Shaping Techniques for Structural Stability
A loosely shaped pipe cleaner will sag under the weight of the crystals, so you need to twist the ends together tightly at every joint. Beginners working on borax star ornaments often make the mistake of using synthetic fibers that are too smooth, preventing the crystalline adhesion needed for a solid ornament.
Stick with standard pipe cleaners made from fuzzy, porous fibers that give the chemical solution something to grip. For the best aesthetic result, choose a high-contrast color like white, red, or metallic to complement the clear, prismatic structures that form. Your finished piece will have a much more dramatic visual impact when the base color peeks through those translucent facets.
1. Classic White Glitter Pipe Cleaner Star
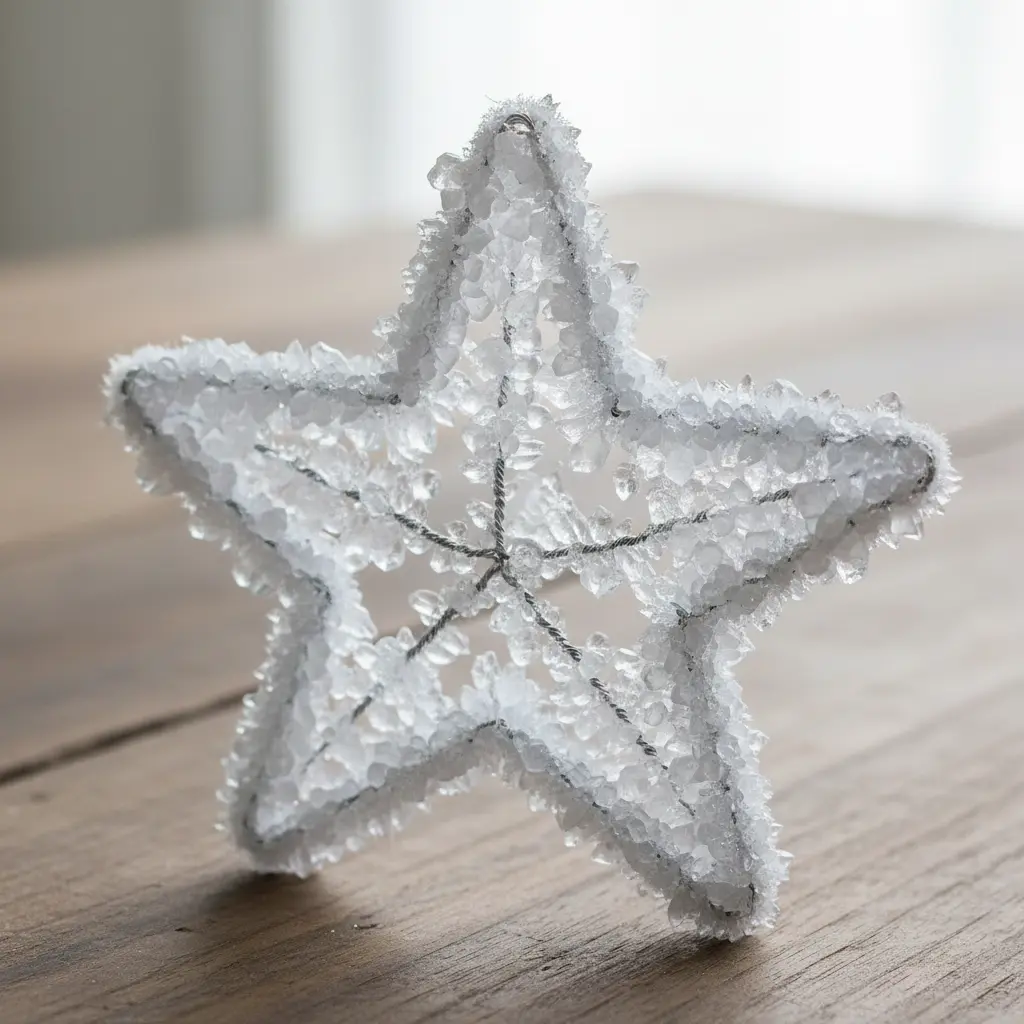
Ever wondered how to make a sparkling star in under five minutes? When planning borax star ornaments, this one serves as a perfect starting point. You take a single white glitter pipe cleaner and bend it into a classic five-pointed shape. The glitter is already embedded in the material, so you get instant shimmer with no messy glue.
It works so well because the wire holds its shape beautifully once you twist it. I love how forgiving it is; you gently adjust each point until your star looks symmetrical. For a rustic, cozy variation, you can learn how to create rustic flannel star ornaments for a different holiday texture. My go-to tip is to avoid sharp bends at first. Form the overall shape gently, then tighten it up. Does that not look stunning when you hold it up to the light?
2. Variegated Blue Gradient Crystal Star Ornament

Ever wondered how to capture the look of a nebula in borax star ornaments? This one is my absolute favorite. You are aiming for a blend of blues that shift from a pale, icy sky blue down to a deep, mysterious midnight hue. The magic is in the irregular swirling pattern, not perfect stripes, so let the colors flow and marble together naturally. It creates an organic, gem-like look that feels like holding a piece of the night sky.
You achieve this effect by carefully controlling crystal growth in a specialized solution. The key is patience for the color to develop those beautiful, unpredictable veins. That transparent quality lets light dance through it, making the shape shimmer from every angle. If you love the vintage aesthetic, learning how to make vintage looking ornaments will give you more ideas for patinas and finishes that complement this celestial style. Does that not look stunning?
3. Metallic Gold Wire Core Snowflake Star

Who would have thought wire could look so elegant on borax star ornaments? This design creates a beautiful, sturdy ornament that catches the light wonderfully. You start by shaping a basic five-pointed star with your pliers as the foundation. Then, you add intricate snowflake branches and spirals to each point, twisting the wire to create those delicate crystalline details.
I love how the metallic gold finish makes it shine from every angle. It works so well because the metal core holds those complex shapes perfectly, giving you both intricate beauty and real durability. For another festive, handcrafted idea, you can learn to construct a washi tape star using a completely different technique and material set. Trust me, using the right pliers makes all the difference for clean bends.
4. Food Dyed Pastel Pink Crystal Star
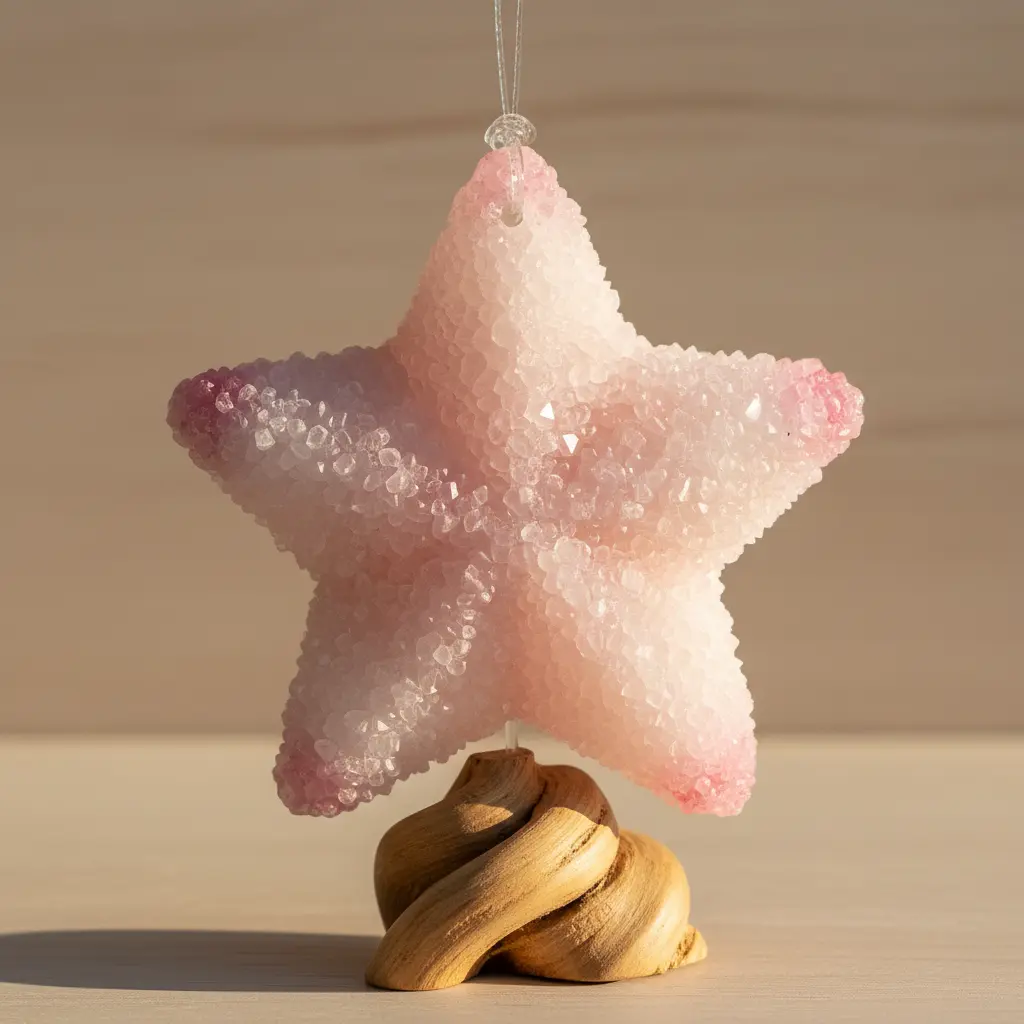
Who would have thought rock candy science could create such delicate borax star ornaments? You start by making a supersaturated sugar solution and stirring in a drop or two of pink food coloring for that soft, ethereal shade. Then you suspend a star-shaped pipe cleaner in the jar and wait for the transformation to happen over several days.
I love how the crystals slowly build on the form, creating that shimmering, translucent look. The key is keeping the jar perfectly still, so those molecules have a calm place to latch on and grow. Isn’t it satisfying to watch science and sweetness combine? Once your crystal piece is dry, it makes a perfect edible decoration for a cake or a sweet gift. You could even use it as a charming holiday accent by adding a loop of string, much like you would when you design an elegant star wreath for your door.
5. Nested Double Geometric Star Ornament Design
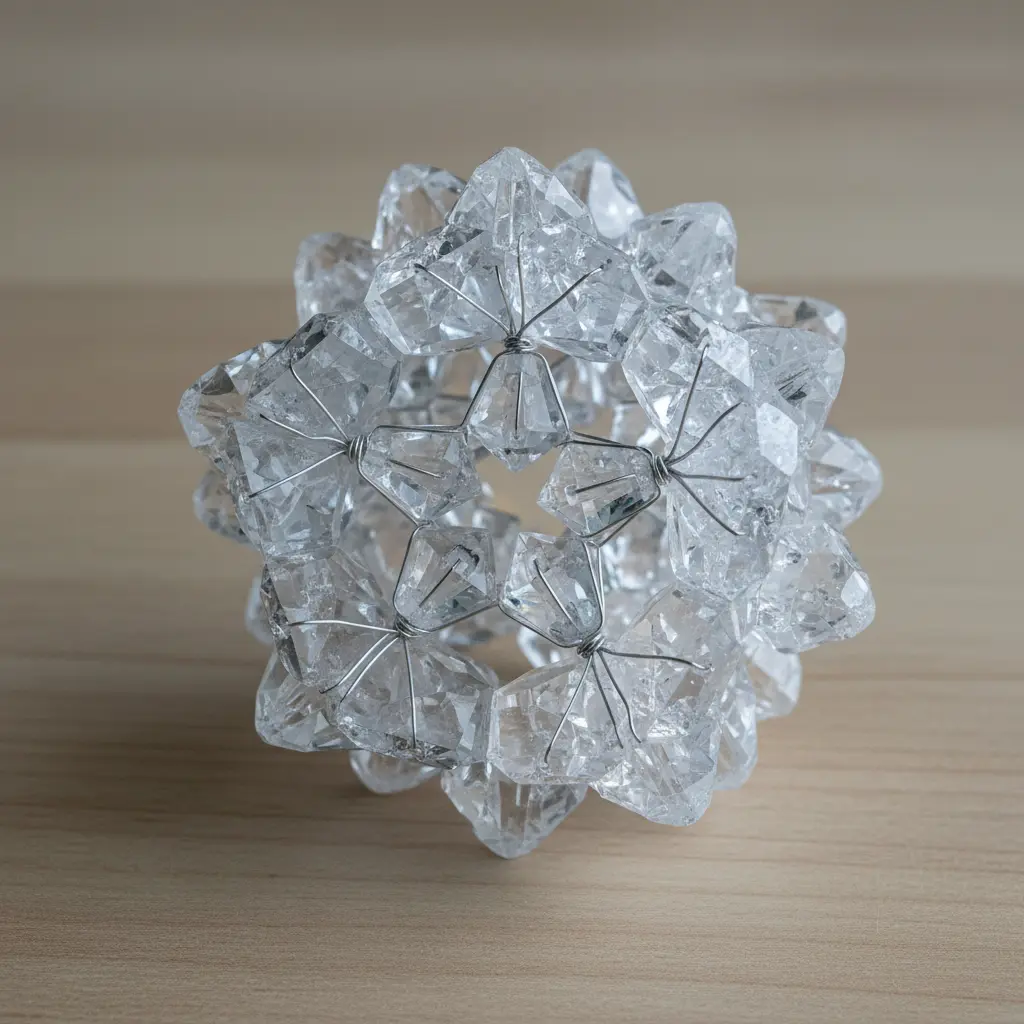
Who would have thought a geometric shape could look so magical when building borax star ornaments? This design builds a larger outline and a smaller one perfectly inside it using pipe cleaners. You twist them together to make a single, sturdy frame before submerging it in the solution. The crystal growth clings to every line, highlighting that clean, layered shape.
I love how the precise angles create such elegant shadows and depth. The result is a sparkling accent with real visual interest, far beyond a simple cutout. For an extra personal touch, you could always personalize state-shaped ornaments using this same crystal method on different wire forms. Does that not look stunning when it catches the light?
6. Iridescent Silver Pipe Cleaner Star Ornament
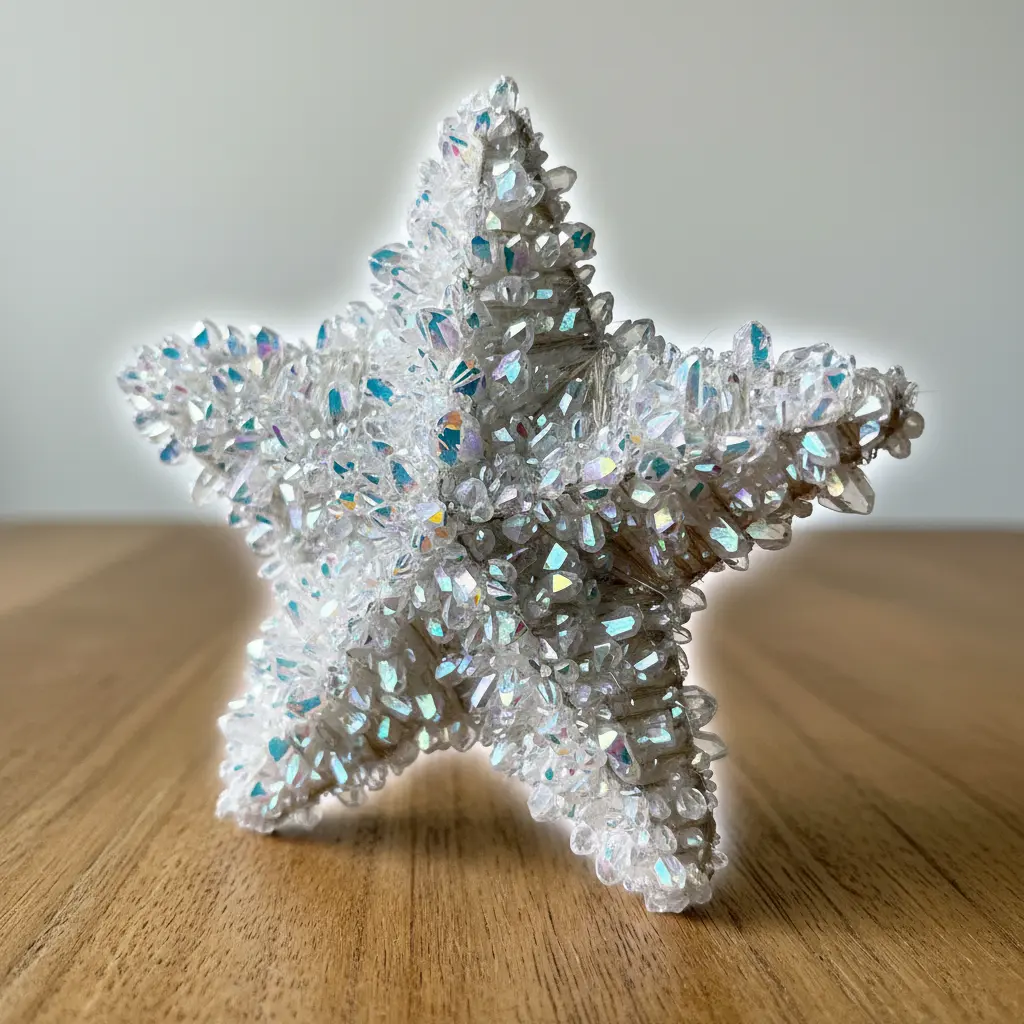
Ever wondered how to get that gorgeous, sparkling look without any glitter mess for borax star ornaments? This shape is your answer. Grab three to five iridescent silver pipe cleaners and hold them together at their centers. Give that middle section a good, tight twist to form the core, then bend each end out and back in to create five distinct points. It is shockingly simple and the result has a beautiful, slightly organic charm.
This project works so well because it gives you maximum sparkle with minimal effort. It is a perfect, quick activity for all ages. For a fun twist, you can pair your finished accent with a printable Christmas ornament page for a full afternoon of creative holiday fun.
7. Deep Emerald Green Tinted Crystal Star
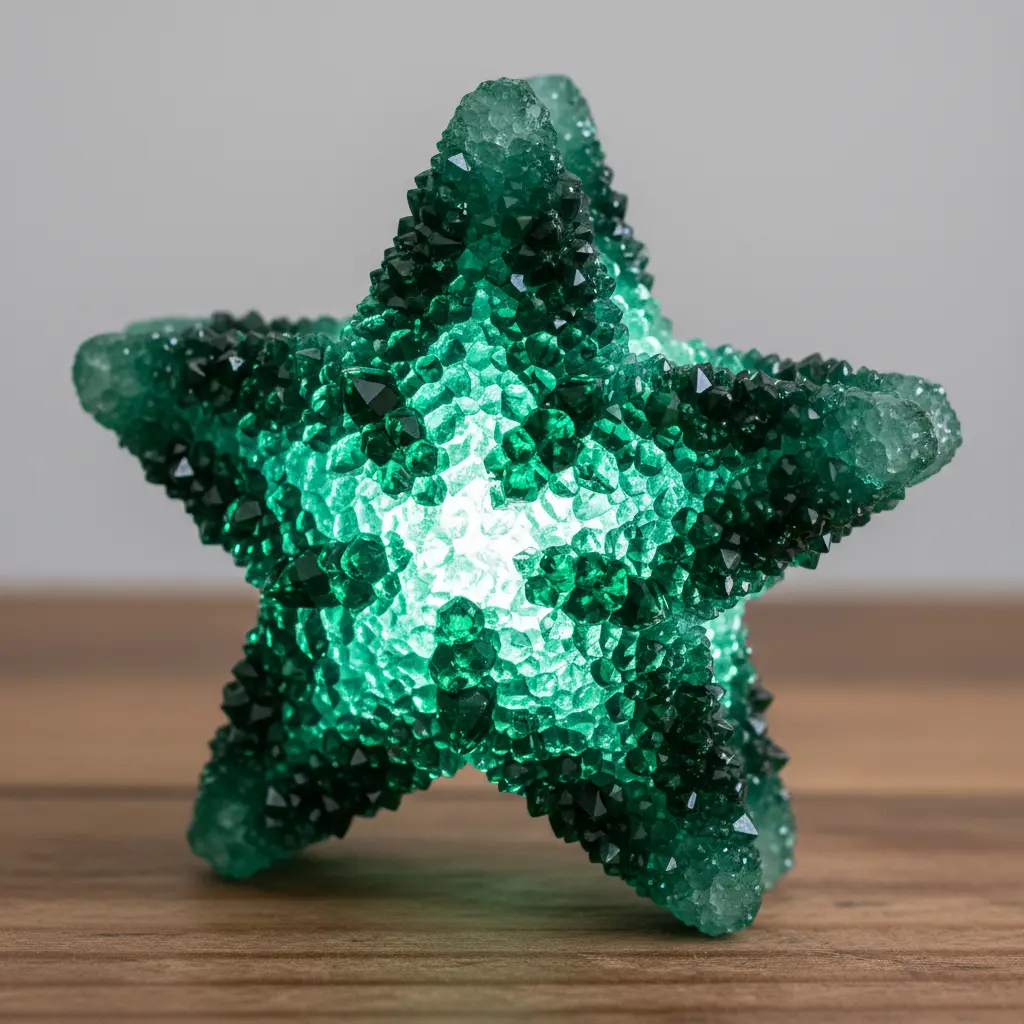
This is the one that always makes people gasp when making borax star ornaments. It looks like a magical artifact, but the process is wonderfully simple science. You start by bending a pipe cleaner into a sturdy shape and suspending it in a jar of hot, saturated solution you have tinted a rich emerald green.
As it sits undisturbed overnight, those beautiful formations grow all over the frame, capturing the color and creating that deep, jewel-like sparkle. I love how the final piece catches the light, flashing brilliant green and casting lovely shadows. The result is so satisfyingly substantial and gorgeous. Once your piece is dry and sparkling, you can hang it on its own or decorate with washi tape ornaments for a fun, colorful display on your tree or in a window. Does that not look stunning?
8. Multi Pointed Fuzzy Neon Star Ornament
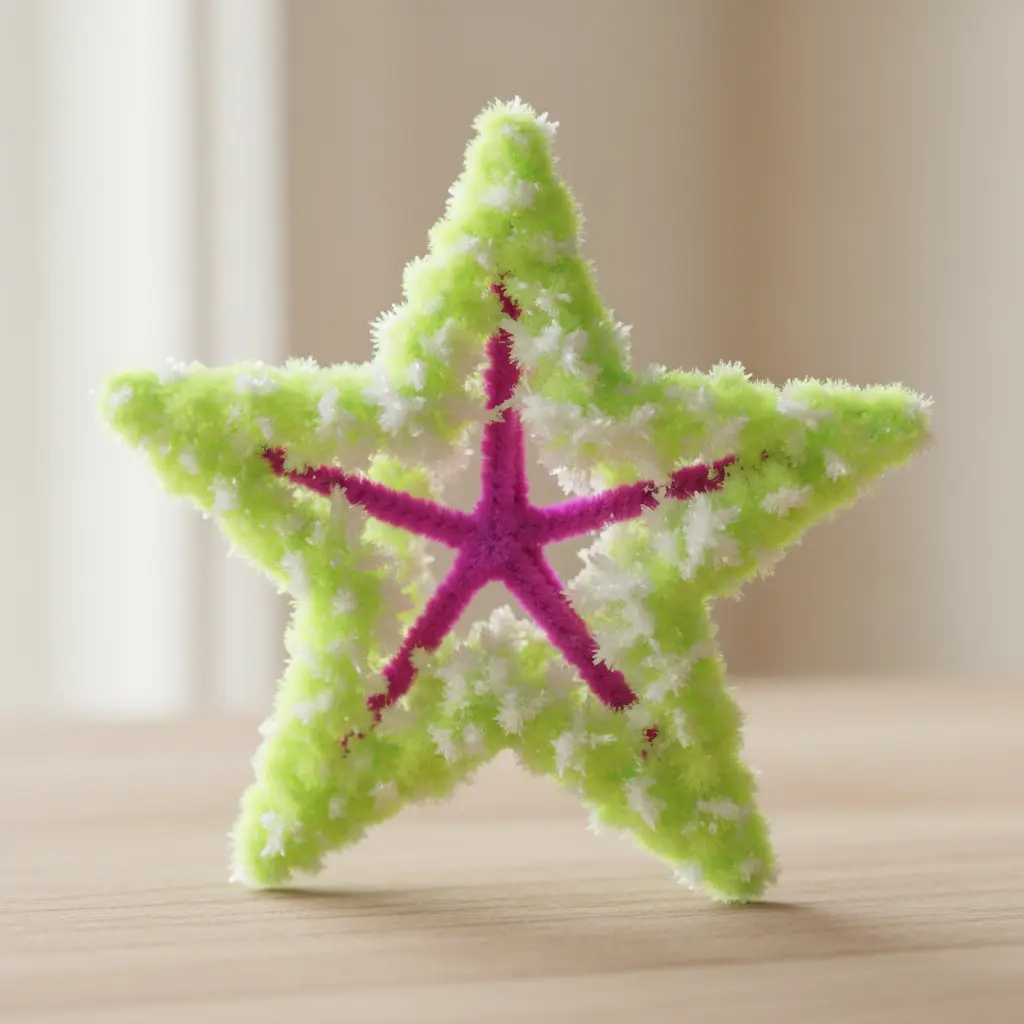
Who says a shape needs just five points when planning borax star ornaments? This fuzzy neon version explodes with extra points for a truly dynamic silhouette. You will cut your base from a sturdy material like cardboard or foam board first. Then, wrap each point with your chosen electric pink or lime green fuzzy fabric, securing it with a strong craft a cross stitch Christmas tree. The soft texture is so inviting, and those bright colors practically glow on your tree.
It is a fantastic tactile project to do with kids, and the payoff is huge. For another cozy, detailed holiday project you tackle at home, you should learn how to make a cross stitch Christmas tree.
9. Clear Crystal Coated Red Star Shape
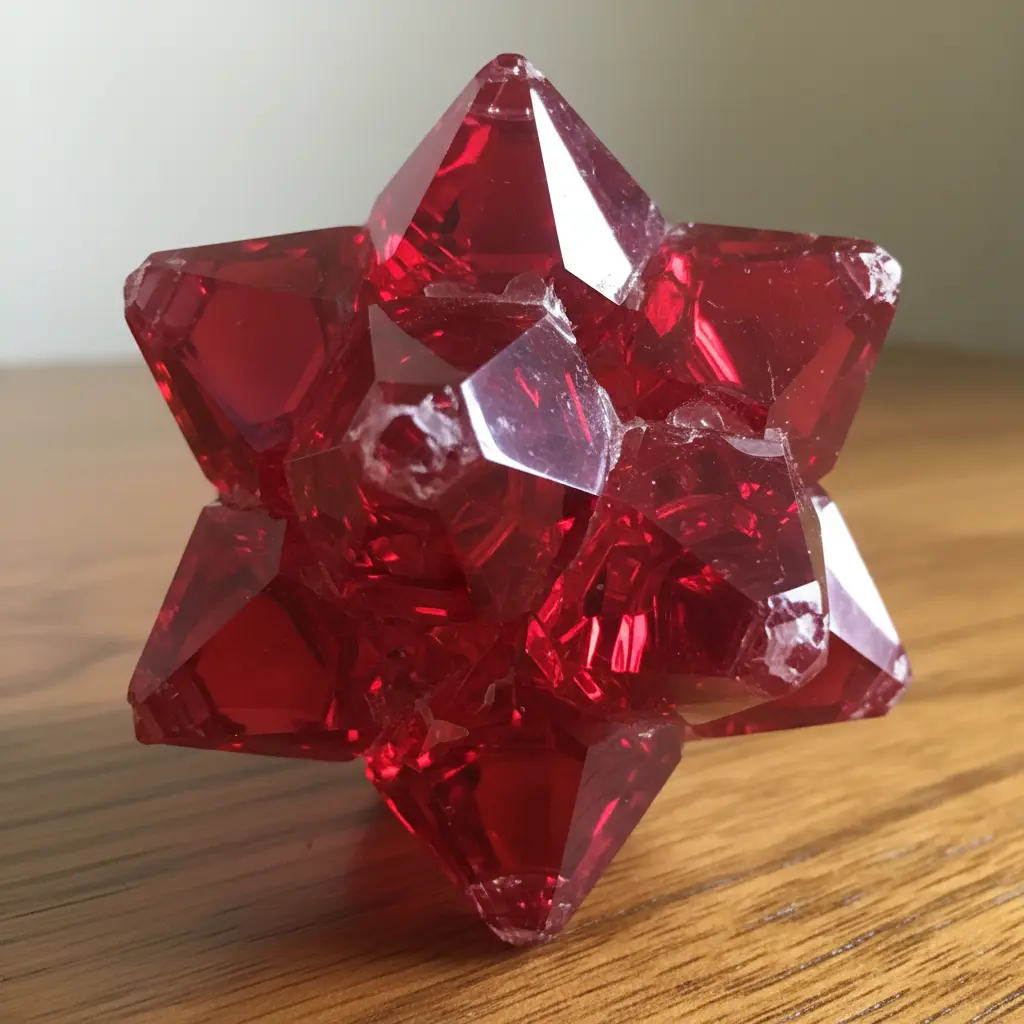
This one looks so luxurious compared to standard borax star ornaments. You start with a vibrant red star base, which could be plastic, metal, or resin. Then you apply a clear, sparkling layer over the entire surface to capture the light. The trick is in the coating method. You carefully place dozens of individual clear rhinestones, or pour a smooth layer of clear medium to create that glossy, dimensional finish.
I love how the red glows through, making it perfect for holiday decor. Trust me, working in a clean, dust-free space is key to avoiding bubbles or trapped particles. It is a fantastic project if you want to learn more about applying dimensional finishes, similar to when you create festive Halloween wreaths. That satisfying moment when the coating sets and everything sparkles? Pure magic.
10. Textured Ombre Effect Crystal Star Ornament
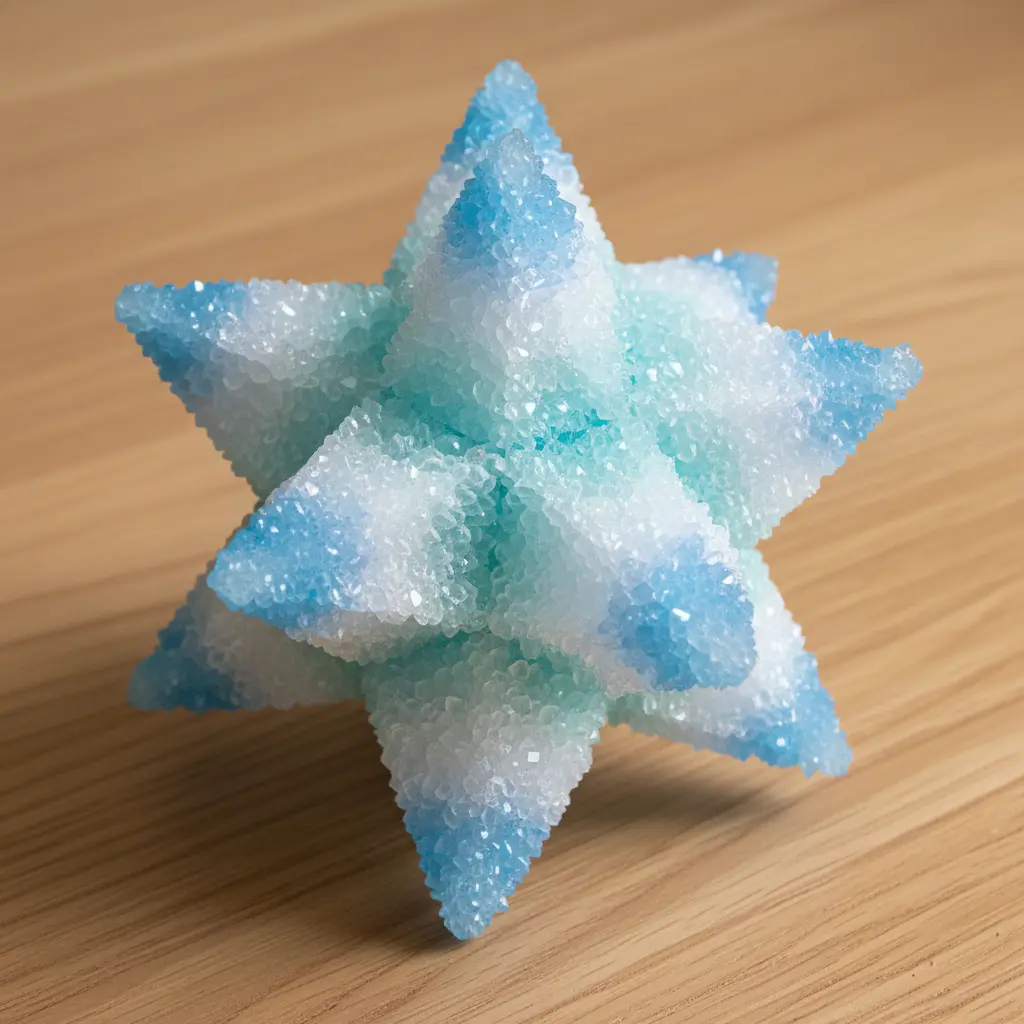
This one looks like it belongs in a gallery, proving what is possible with borax star ornaments. You start with a clear base, then gently etch a subtle surface texture with a fine tool. The magic happens when you apply a tinting solution, blending from a deep hue at one point to a whisper of color at another.
The textured facets catch and scatter light in a million tiny directions, making the color shift feel alive as it moves. I love how this transforms a simple shape into a piece that feels like a captured sunset. After your accent is complete, you might want to assemble a DIY crayon wreath as a colorful companion project for your display. Does that not look stunning?
Proper Preservation and Humidity Resistant Display Methods
These borax star ornaments will slowly dissolve in humid air, so you must keep them in a dry display location away from steamy kitchens or bathrooms. Your beautiful crystal formations are surprisingly fragile and also very lightweight, making them perfect for hanging on a holiday tree indoors. The key is to avoid any contact with moisture, which means never displaying them outside or in a window where condensation forms. If you live in a particularly damp climate, consider placing a small packet of silica gel inside your storage box during the off-season. This simple step absorbs ambient moisture and protects your work from gradual dissolution, ensuring those geometric shapes stay sharp and refractive for seasons to come.
Conclusion
The best part about making these holiday accents is that each one tells a little story about the day you built it—the colors you chose, the shape you bent, and the patience you practiced while those crystals slowly formed. It’s a wonderful reminder that some of the most beautiful things come from simple ingredients and a bit of curiosity. My advice for your next project is to let everyone pick their own color and see how differently each piece turns out, even when they hang in the same jar. Watching those unique borax star ornaments sparkle on the tree is a special kind of satisfaction, a quiet celebration of a day spent creating together. I hope this gallery gives you that spark of inspiration for your own kitchen-table science.
FAQs
Q: How long does it take to grow crystals on a star?
A: The process usually takes overnight, around 12 to 24 hours. You will see formations start to appear within a few hours, but leaving it longer ensures a thick, complete coating.
Q: Can I reuse the solution for multiple ornaments?
A: Yes, you can reuse the saturated liquid. Reheat it gently to dissolve any crystals that formed on the jar, then let it cool before adding your next shape.
Q: Why did my piece come out with sparse or small formations?
A: This often happens if the mixture was not fully saturated or if it cooled too quickly. Ensure the water is hot enough to dissolve all the powder and let the jar cool undisturbed.
Q: What is the best type of material for the base?
A: Standard fuzzy chenille stems work perfectly. They provide texture for the formations to grip. For a metallic look, choose ones with a shiny finish.
Q: How do I prevent my shapes from sticking together in the container?
A: Make sure pieces do not touch each other or the sides of the vessel. Use a large enough container and suspend each one from its own pencil or skewer across the top.








