

Burnishing Techniques for Adhesion and Smooth Finishes
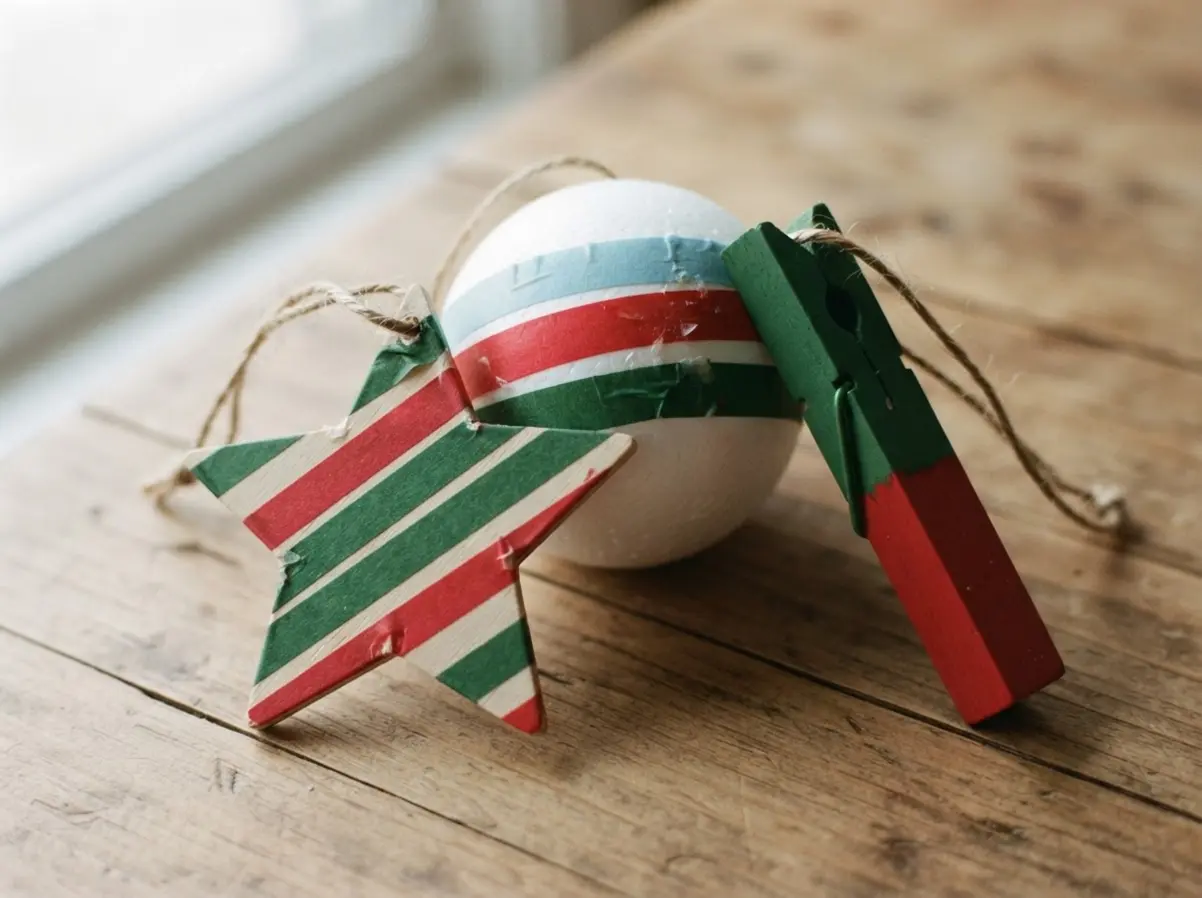
The fastest way to ruin your design is not burnishing each strip of tape from the center outwards. We all know that bubbling happens when you rush this step, but trust me, taking ten extra seconds makes all the difference. Use a bone folder or the flat edge of a credit card to press the tape down firmly, working out any tiny air pockets that will lift later. This pressure-sensitive adhesive needs firm contact to ensure your DIY washi tape ornaments bond correctly to the clean base.
You will notice the finish looks seamless and professional, not homemade, when you smooth every edge. It is the one habit that separates a crisp geometric design from a messy one.
Selecting Ornament Bases for Optimal Pattern Placement
Your ornament base determines the entire visual appeal of your finished piece. The good news is a simple clear plastic sphere lets you focus on clean transitions between tape strips without fighting a complex shape. You want to avoid small wooden shapes if your tape pattern is large or busy, as the design will look chaotic. A smooth foam ball offers a forgiving surface for practicing your geometric layering. The key is matching the scale of your tape to the size of the base when designing DIY washi tape ornaments. Start with a basic sphere to master pattern placement before moving to more intricate bases.
1. Striped Geometric Wooden Star Ornament
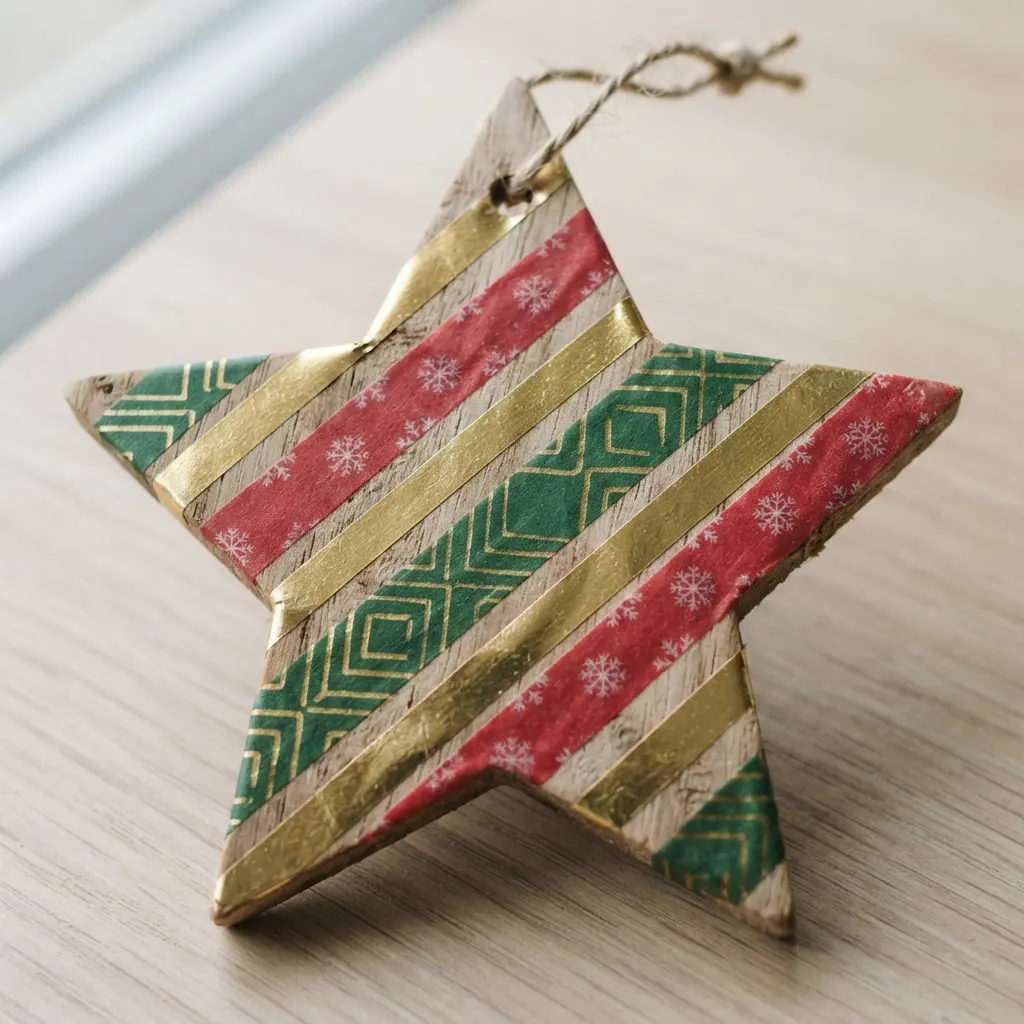
Who would have thought that combining wood and tape could look so polished? This is my go-to project when I need a quick, beautiful gift. You start with a simple wooden star blank, then lay down strips of colorful washi tape to create your own geometric pattern. Use a sharp craft knife to trim the tape perfectly along the edges for those clean lines. It looks intricate, but the whole process of creating these DIY washi tape ornaments is wonderfully forgiving.
That forgiving nature is exactly why it works so well. The tape’s low tack lets you reposition it until your stripes are just right. For a cohesive look, stick to two or three coordinating tape patterns. A coat of clear sealant will protect your design and give it a finished feel. Try this one and feel that spark of creative pride when you hang it up.
If you love the look of handmade ornaments but want a vintage feel, you can easily adapt this technique. Explore some DIY vintage Christmas ornament ideas for inspiration on colors and distressing methods to age your star perfectly.
2. Vertical Pattern Clear Ball Ornament
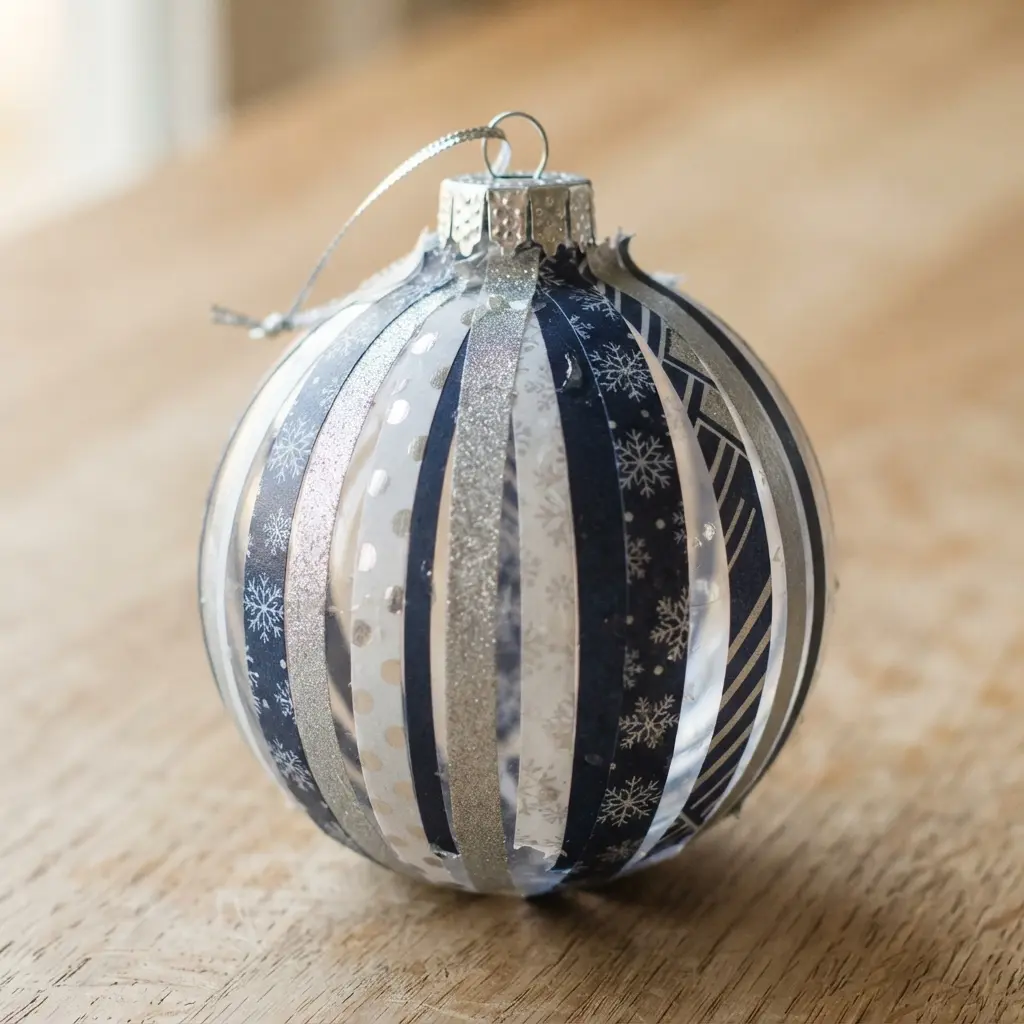
This one looks so elegant, but the process is wonderfully simple. You just cut long strips of your favorite washi tape and apply them straight up and down the clear ball. The trick is keeping them evenly spaced and perfectly vertical, which is easier if you use a soft cloth to clean the surface first. Why does making these DIY washi tape ornaments work so well?
The clear glass or plastic catches the light, and those clean vertical lines make the ornament feel taller and more refined. It is a great first project if you are new to making your own washi tape stars, as it teaches you precision without any mess. Trust me, smoothing each strip carefully as you go is the secret to a flawless, bubble-free finish. Does that not look stunning on the tree?
3. Diagonal Patchwork Cardboard Tree Silhouette
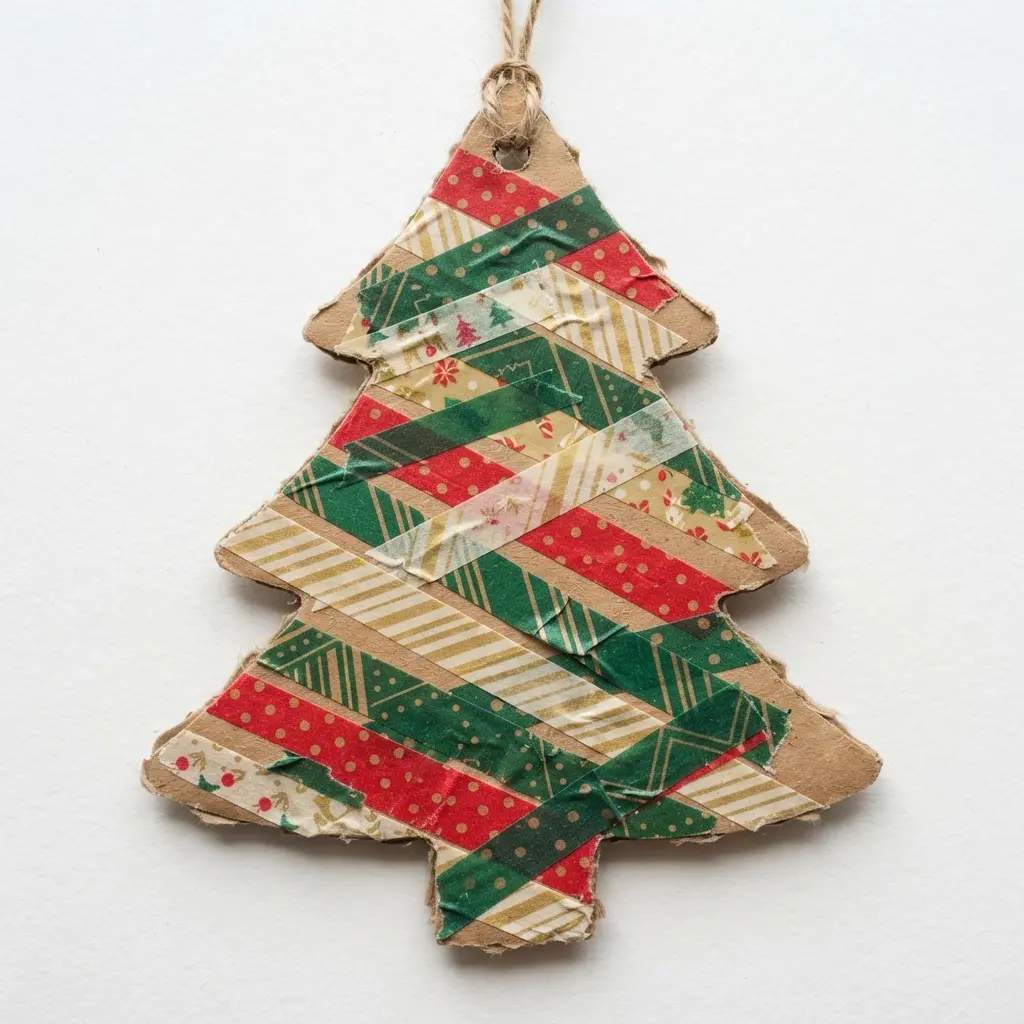
Who would have thought cardboard could look so modern and chic? This project transforms your scrap box into a textured, geometric tree that catches the light beautifully. Start by cutting a simple tree shape from a sturdy cardboard sheet. Then, raid your recycling for scraps in different shades and textures. Cut them into uniform diagonal strips, like little diamonds, and begin gluing them onto your silhouette in rows. The key is keeping those angles consistent for a clean, patchwork effect.
It is so satisfying because you are literally building texture and pattern with pieces most people toss while making DIY washi tape ornaments. For another festive project that uses found materials in a cozy way, you can craft fabric pinecone ornaments as a lovely companion piece. Try this tree and feel proud of your upcycled masterpiece.
4. Horizontal Ringed Styrofoam Sphere Ornament
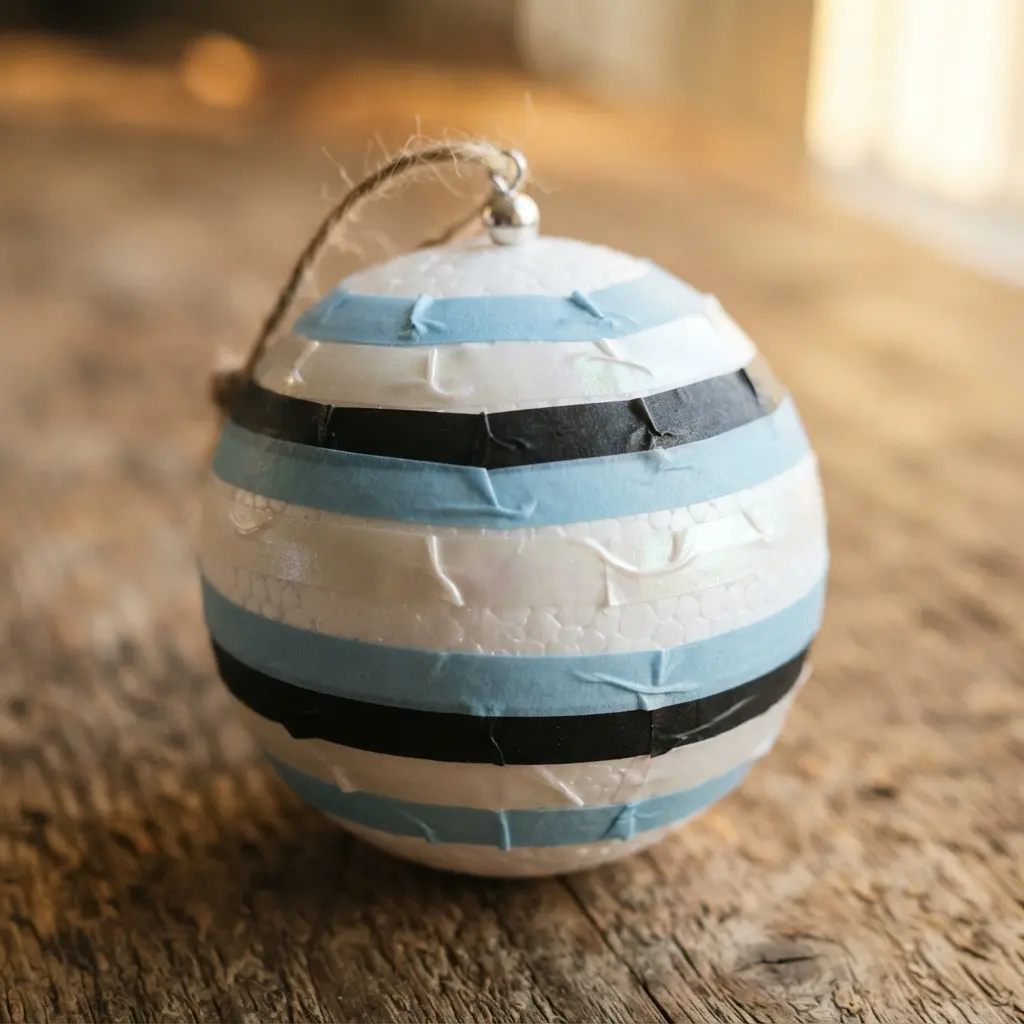
This one looks so professional, but the secret is simply careful measuring. You mark a central “equator” line around your Styrofoam sphere with a pencil and ruler, then add parallel lines above and below it. I love how this creates a perfect guide for wrapping your washi tape or ribbon in crisp, even bands. Applying the rings is the satisfying part when assembling your DIY washi tape ornaments.
Press your chosen material firmly along a marked line, using a dab of Styrofoam-safe glue to secure the ends. Does that layered, Saturn-ring effect look stunning when you’re done? It’s such a clean, modern take on a classic ornament shape. If you enjoy this rustic, layered look, you’ll find more detailed steps in my rustic flannel star ornament tutorial. The same careful construction principles apply perfectly.
5. Woven Grid Pattern Popsicle Stick Ornament
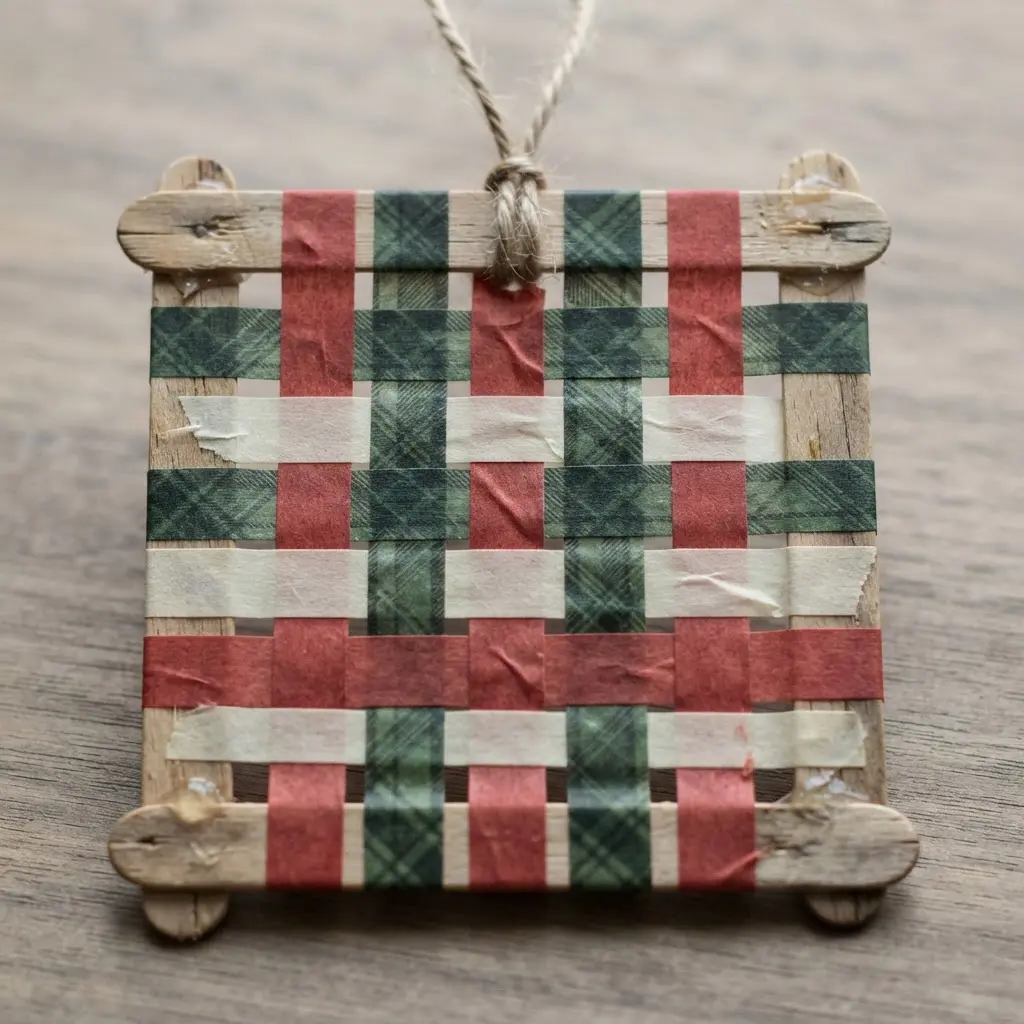
This one looks intricate, but the weaving technique is wonderfully simple. You lay down your base sticks with even gaps and then weave new sticks over and under them, alternating the pattern each time. I love how the over-under pattern creates that textured, grid-like surface right before your eyes. It works so well because you get to see a flat pattern emerge from individual pieces, which is incredibly satisfying.
A stable start is key when you begin weaving materials for your DIY washi tape ornaments. Let your base frame dry completely with clothespins before you start. Once your ornament is assembled and dry, it makes a perfect blank canvas for your holiday colors. Letting kids decorate their finished grid with paint or markers is a fantastic activity, and you can find some great Christmas ornament coloring pages for more festive inspiration. Does that not look charming?
6. Criss-Cross Layered Cardstock Snowflake Ornament
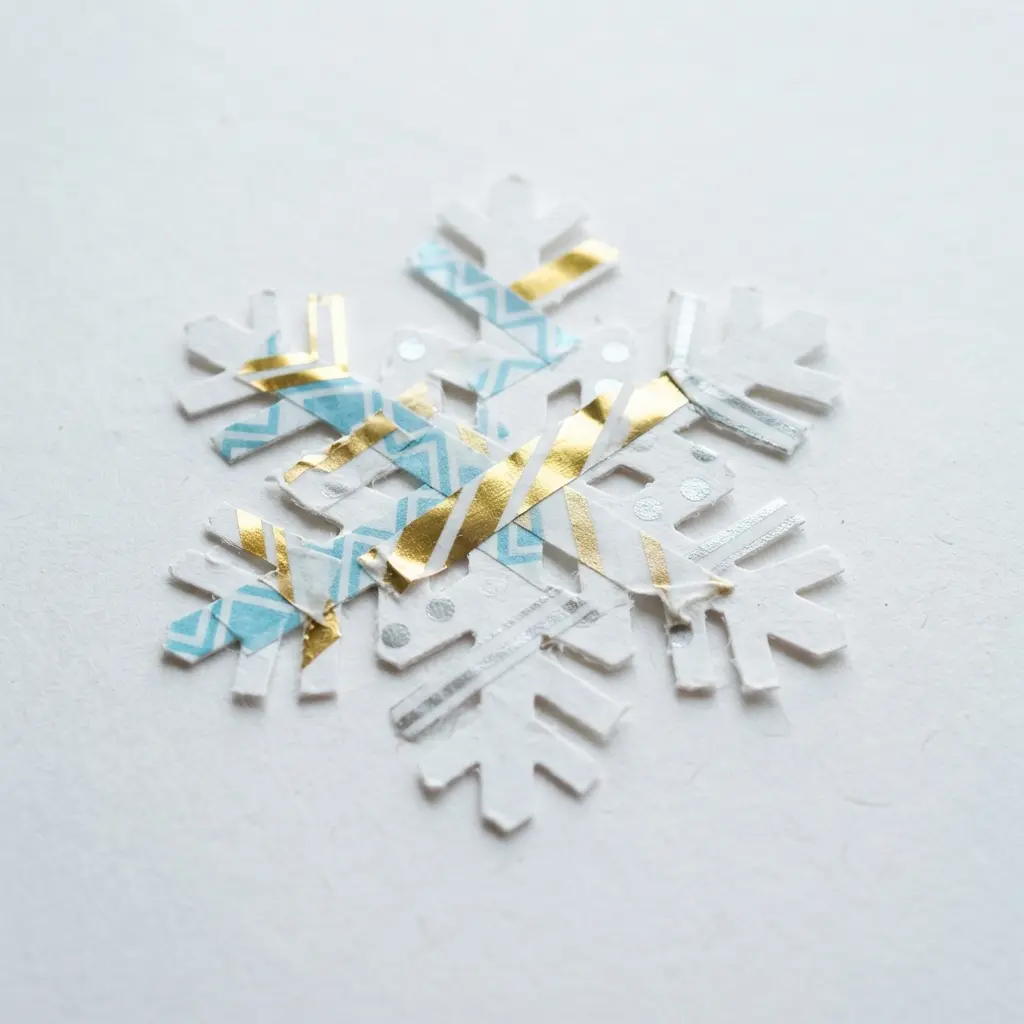
Does this look intimidating? I promise it is not. The magic is in the layers when you start building these DIY washi tape ornaments. You cut identical petal shapes from cardstock, score a crisp fold down the center of each one, and then weave them together.
That crisp fold is what gives each arm its sharp, dimensional look as you build the snowflake outward. I love how the interlocking pattern creates such satisfying depth. It feels like building a tiny paper sculpture. Your finished piece has a wonderful, spiky texture that catches the light beautifully.
My go-to tip? Use a low-temp hot glue gun for the center. It gives you a strong, instant bond so you can hold the shape as you work. Does that not look stunning hanging on the tree?
7. Solid Color Blocked Clothespin Ornament
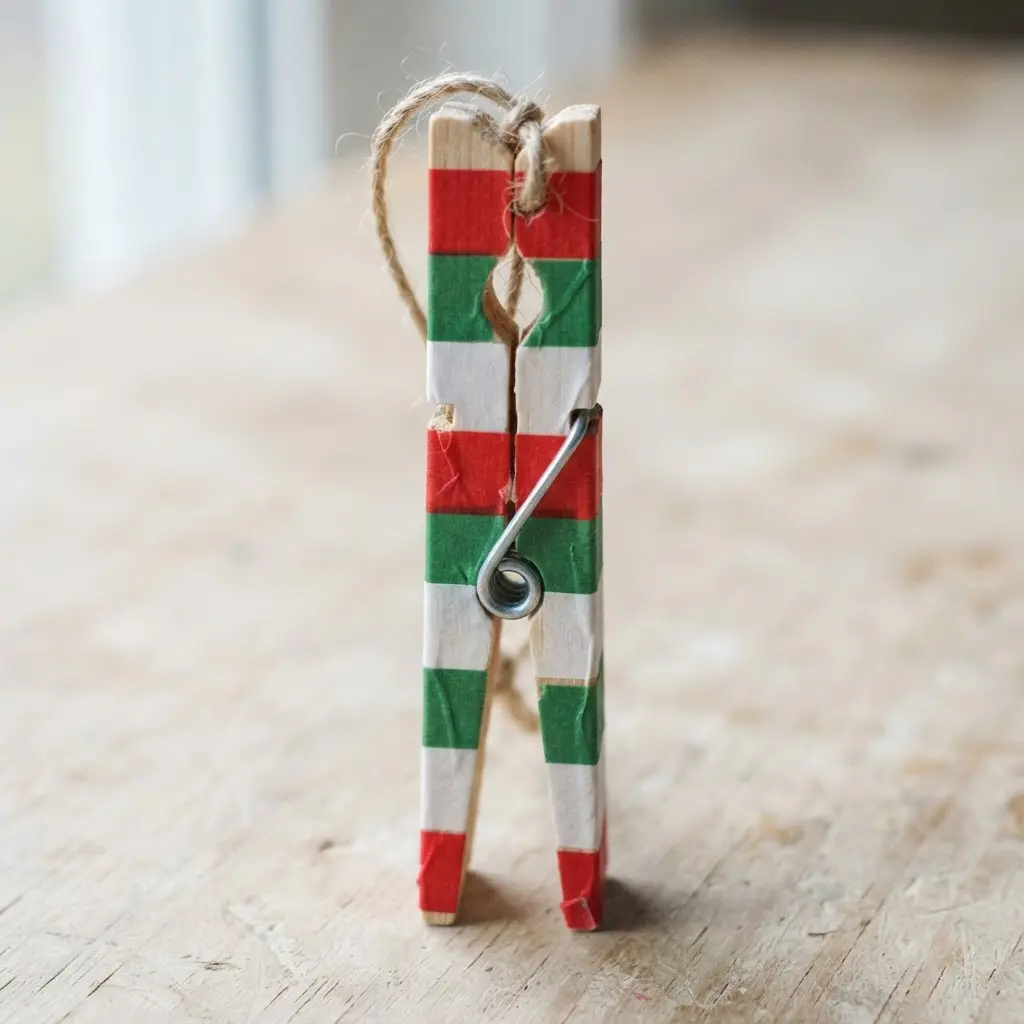
This is the perfect project for using up tiny yarn scraps, and the result looks so modern. You simply crochet a short strip, alternating colors to create clean blocks, then wrap it around a standard wooden clothespin. The key is a clean color change.
Finish the last stitch of your main color with the new yarn, and pull it through to lock it in. This gives you those sharp, satisfying transitions between blocks. Because it is so simple, this technique is a fantastic first project for beginners exploring DIY washi tape ornaments. Once you have made a few, you will have a beautiful set of minimalist decorations. For a different dimensional look, you can learn how to make a shadow box ornament to add variety to your tree.
8. Torn Texture Rustic Cardboard Heart
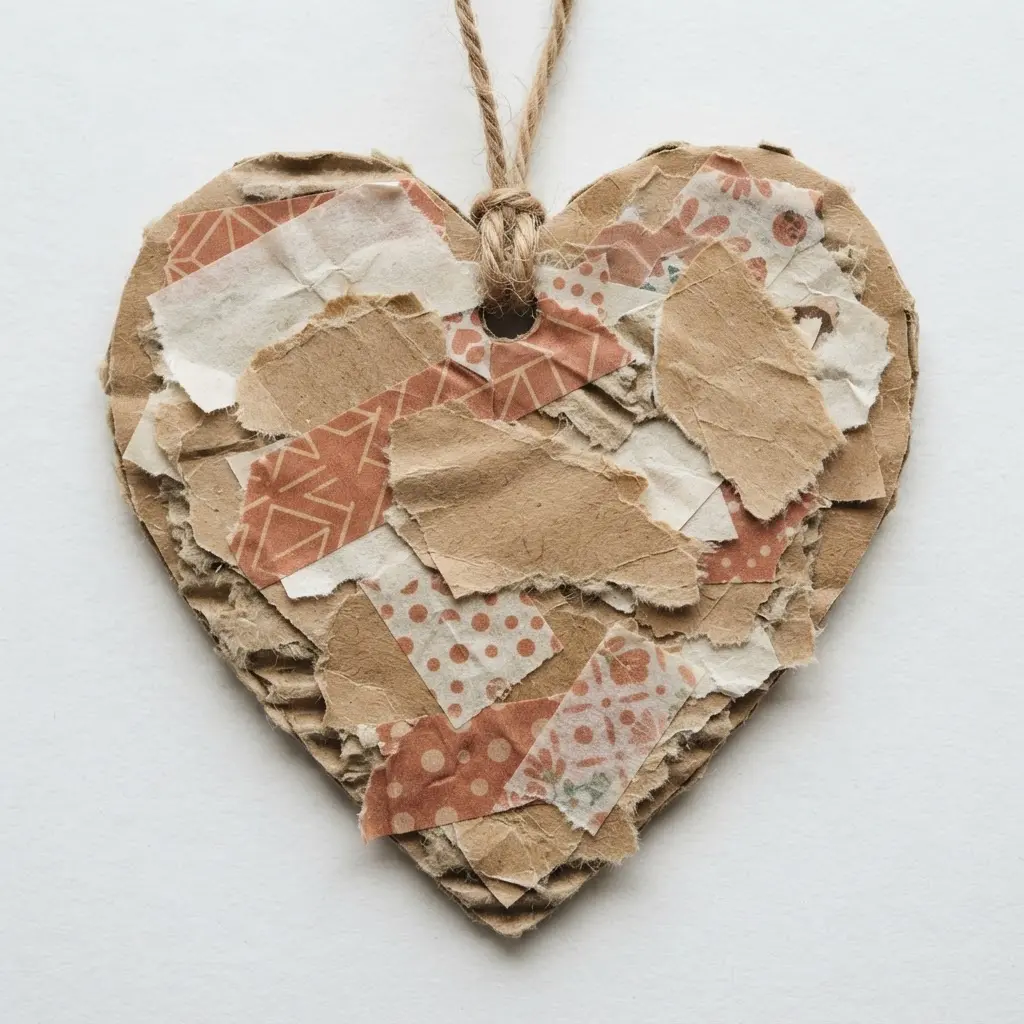
This is the one I always recommend for a perfectly imperfect look. You start with corrugated cardboard, lightly draw your heart, and then slowly tear towards the line. The magic is in that intentional tearing, which creates soft, fibrous edges full of character. You can then enhance the rustic finish of your DIY washi tape ornaments with a wash of brown paint or a coffee stain.
This project works so well because it turns a simple material into something with wonderful, organic texture. For a matching rustic touch on your gifts, you will need some creative tape gift tag ideas to complete the handmade theme. My best tip is to work in small sections and let the cardboard rip naturally. The result is a heart that feels wonderfully warm and handmade.
9. Concentric Circle Pattern Flat Disc Ornament
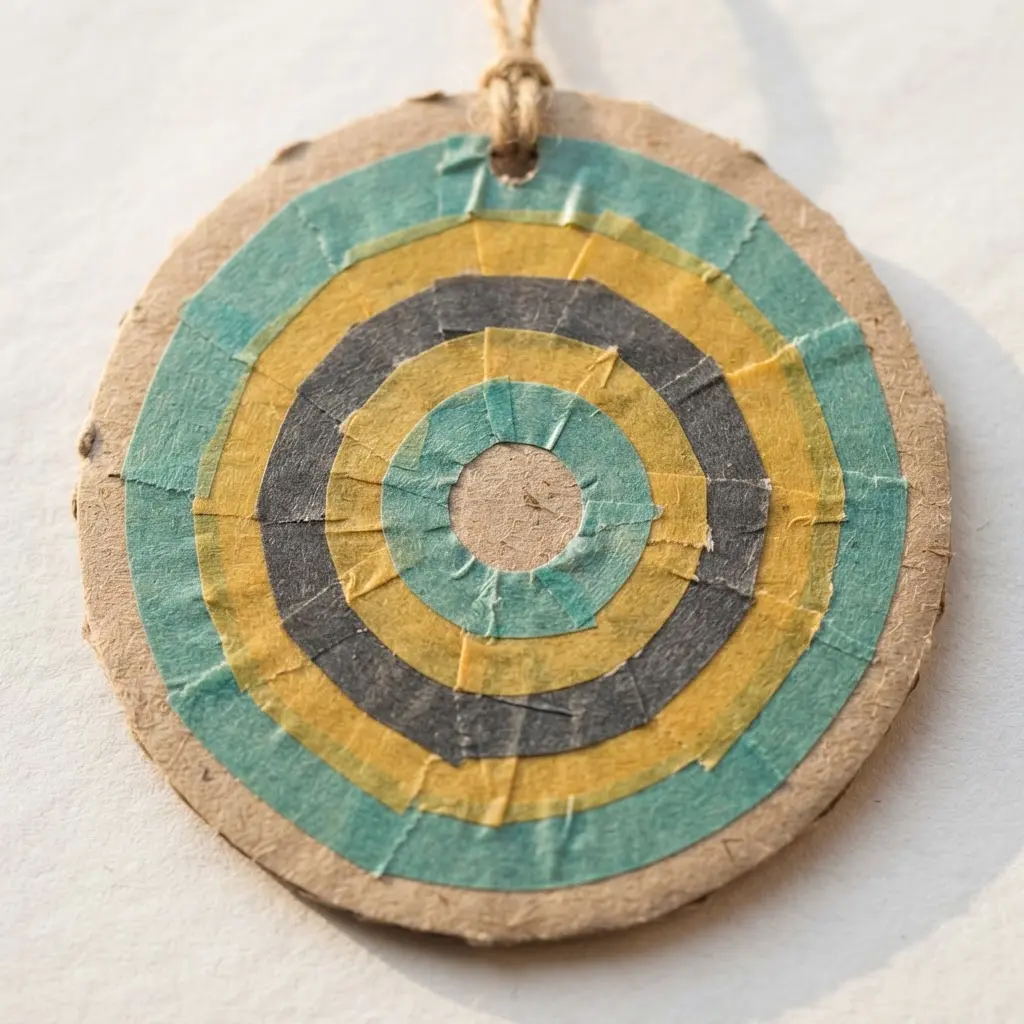
This design looks so intricate but trust me, it is one of the simplest to pull off. You start from the very center of your wood or cardboard disc and work outward, applying rings of washi tape. The key is using a compass or circular template to draw light pencil guides first so your circles stay perfectly even.
Why does it work so well? The geometric pattern feels orderly and modern when arranging DIY washi tape ornaments on a tree. I always add a final coat of clear glue over the top to seal everything in place. This makes a wonderful, lightweight decoration, and the flat shape is perfect if you want to create a personalized state ornament craft using the same technique on a different base. Does that not look stunning on the tree?
10. Precision Cut Scalloped Edge Bauble
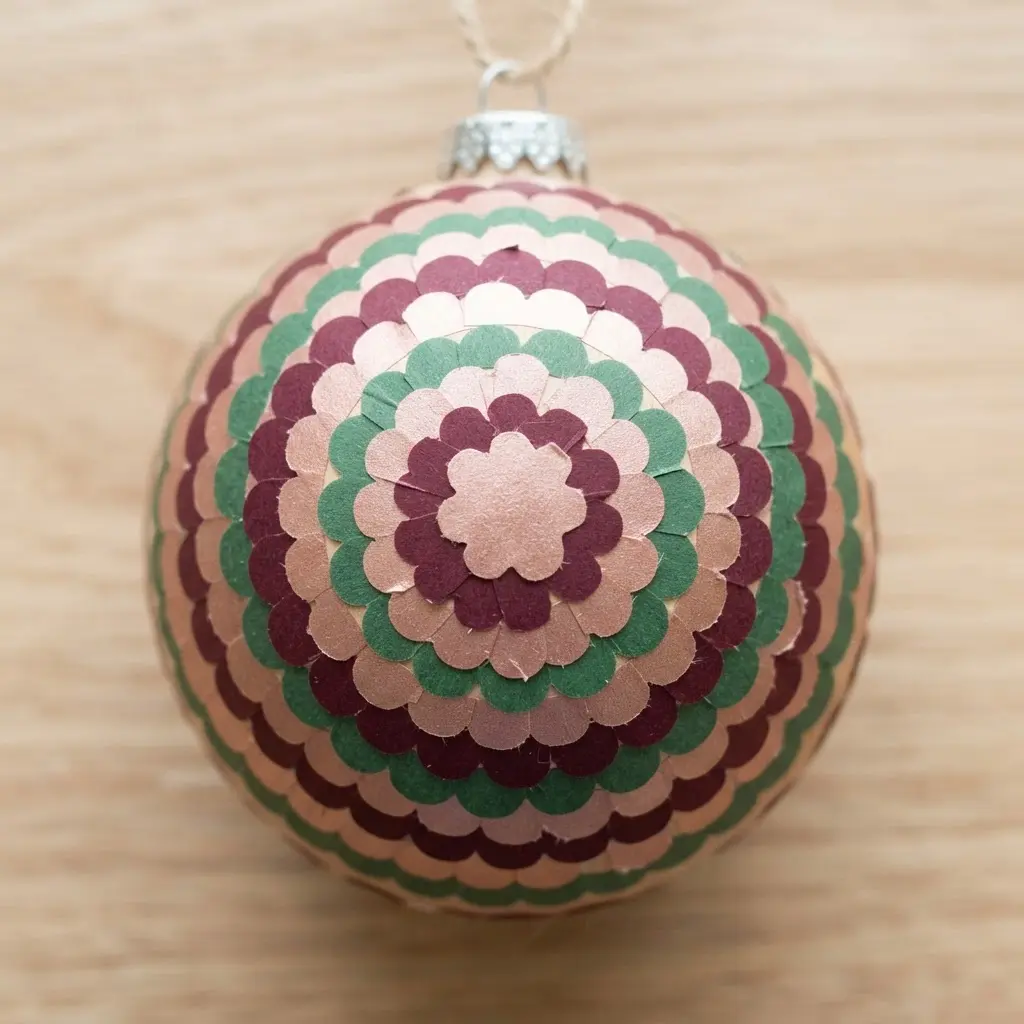
Ever wonder how to get that perfect, delicate edge on a flat ornament? The secret is in the precision cut. You will use a sharp craft knife to follow a printed scallop template on your washi tape-covered cardstock. I love how this transforms a simple circle into something so elegant.
Press firmly and move slowly to avoid jagged edges. That crisp, clean line is what makes this design feel special and handmade. It is the kind of detail that makes your whole tree look more polished. Once you have mastered this clean cut, you might want to try your hand at other detailed projects while perfecting your DIY washi tape ornaments. The satisfaction of seeing those perfect curves come together is absolutely worth the extra care.
Preserving Tape Edges With Acid Free Sealants
A single layer of clear decoupage medium applied with a soft brush locks in weeks of work in two minutes flat. This sealant is the trick to preventing frayed edges and protecting those beautiful finishes on all your DIY washi tape ornaments. Brush it on in one thin, even coat, making sure to cover every taped surface and crisp transition.
The acid-free formula will not yellow your tape over time, keeping your Scandinavian reds bright and your monochrome metallics sharp. Let it dry completely before handling the ornament again. This final step gives your handmade piece a professional-looking durability that lasts for seasons.
Conclusion
The best part of making these DIY washi tape ornaments is seeing your family’s unique style reflected on the tree. Each piece tells a small story of the afternoon you spent creating together. My advice is to not worry about perfection; the charm comes from the handmade touch and the joy of the process.
Mixing patterns and trying different bases, like wood or cardboard, leads to wonderful surprises. I hope this collection of washi tape ornament ideas gives you a starting point for many cozy crafting sessions. Your tree will be full of color and memories before you know it.
FAQs
Q: Will washi tape stick to ornaments permanently?
Washi tape has a gentle adhesive perfect for lightweight decorations. It holds well on smooth surfaces like plastic or sealed wood for the holiday season. For extra security on curved surfaces, you can apply a thin layer of clear-drying glue.
Q: What is the best type of ornament base to use?
Smooth, flat surfaces work best for beginners. Craft wood cutouts, cardboard, and clear plastic balls are excellent choices. They provide a stable base for applying tape without wrinkles.
Q: Can kids help make these ornaments?
Absolutely. These projects are ideal for family crafting. Tearing tape, sticking on simple shapes, and choosing colors are all great tasks for little hands. Supervision is helpful with scissors for cutting precise shapes.
Q: How do I prevent wrinkles when applying tape to a round ornament?
Use narrow strips of tape and apply them slowly, smoothing from the center outward. Overlapping small strips often looks better than trying to wrap one wide piece around a sphere.
Q: How can I make my washi tape ornaments look more polished?
Focus on color coordination. Choose a palette of two or three tapes that work together. Clean, straight edges and thoughtful pattern mixing, like stripes next to florals, create a professional look.








