

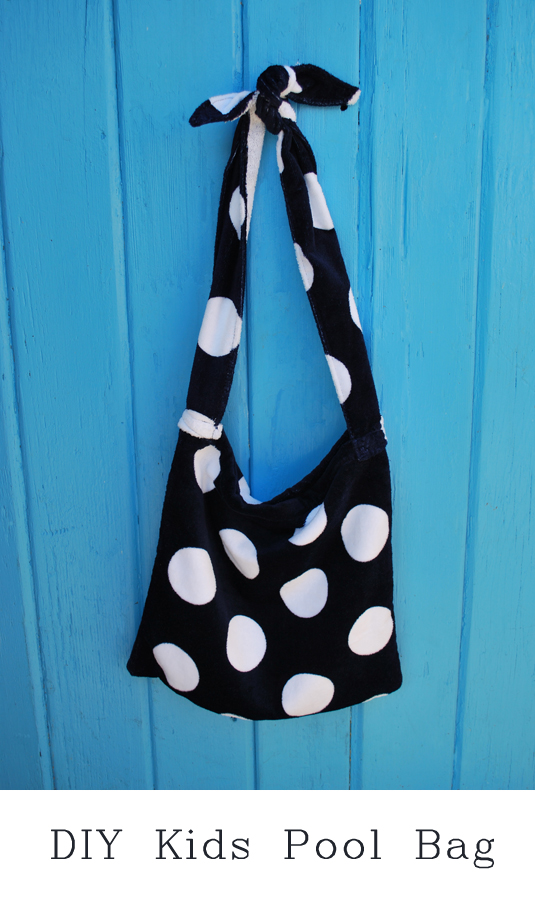
This idea all came about because my kids love the pool. I thought it would be a cute and easy idea if the girls had their own bags left in the lining. tote. So, here’s a really easy tutorial to make a kids bag perfect for the pool. It’s never too soon to get ready for summer weather. I took a trip to TJ Maxx and found a beach towel for $12.00. I wanted one that wasn’t a really light color because my girls are so hard on things.
Kids DIY Pool Bag Tutorial
This project is a great way to repurpose a towel into a beach tote. It’s sturdy enough to hold wet swimsuits, sunscreen, and sunglass cases.
Here’s what you need for the DIY pool bag:
- Large Beach Towel (or sturdy canvas or vinyl fabric)
- Scissors and a ruler
- Matching Thread
- Pins to align edges
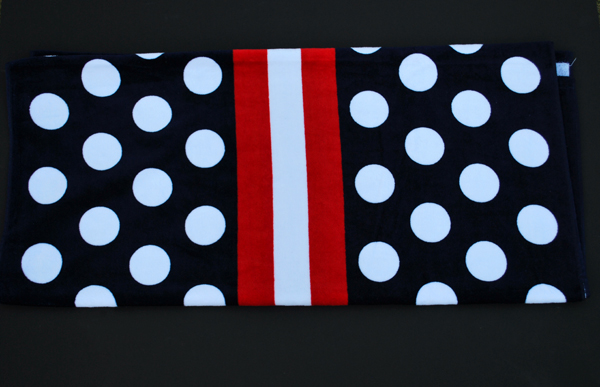
Step 1: Cut the Fabric
Start by measuring the towel to cut two rectangle pieces at 14 1/2″ x 14 1/2″ inside of the bag. I located the finished edges of the towel so they formed the top lip of the bag. That way the top edge was already nicely finished.
Here’s another time saving hint: If you carefully select a towel with a pattern that follows the direction of the finished edge, you can cut one piece that measures 14 1/2″ x 28 1/2″. Then fold it in half. Sew the bottom and one side. This leaves only one seam on the side.
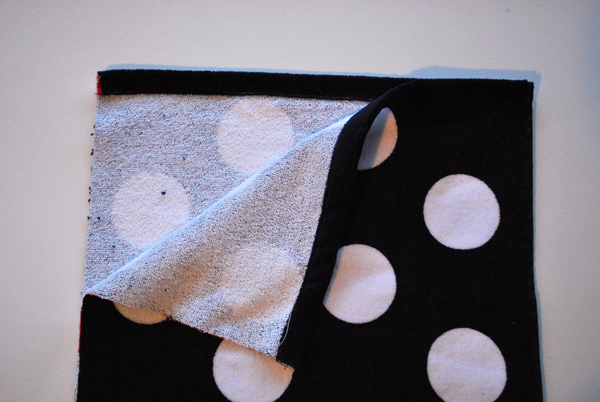
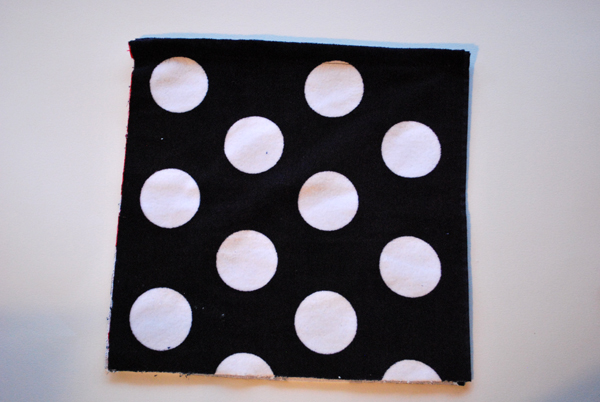
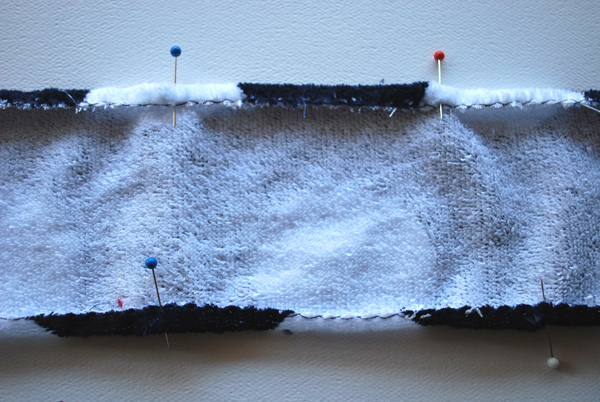
Step 2: Sew the Body
Put the right sides together (with the fabric facing inward) and sew along the 3 edges with a 1/4″ seam allowance. If you used the fold method, just sew the side seams. Be sure to reinforce the corner areas.
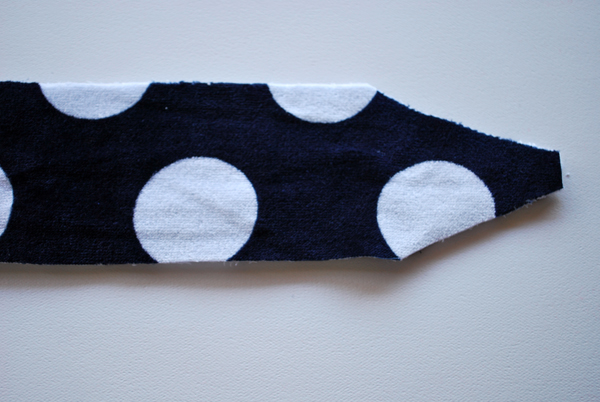
Step 3: Make the Handles
For the handle, cut two strips at 4″ x 24″ and taper them at the end. You can also use webbing if you prefer. Run a zigzag stitch along the edge of the straps or serge them.
Fold in roughly 1/4″ along the edges to hem. Use an iron to press it flat if needed. Top stitch the edges for a clean look.
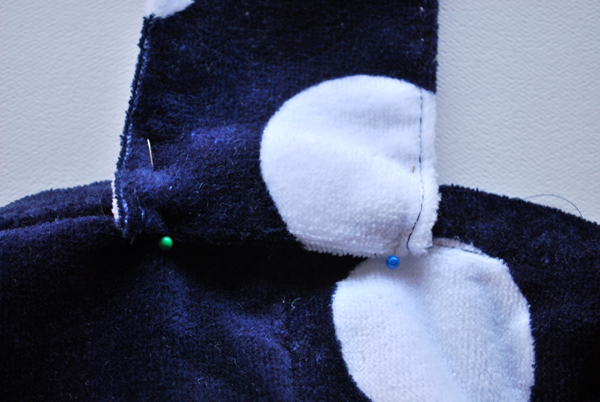
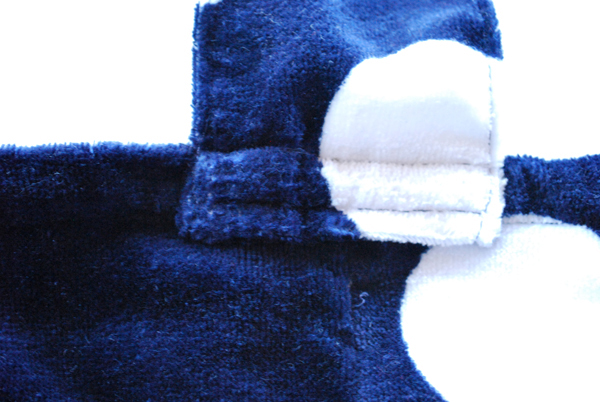
Step 4: Attach Handles
Next, attach the strap to the side of the bag. Fold the edge under twice for strength inside of the bag. Pin into place about an inch from the edge. Sew this onto the bag securely.
Once sewn, turn the bag right side out. There you have it! It’s so simple and easy. Plus, you get a couple of bags out of one towel.

Conclusion
Here’s Emma with her pool bag all ready to go! She loved it! This DIY pool bag is perfect for you and your kids. You can also use this tote bag to keep toys organized at home or when you are on a trip. The finished product is adorable and durable. Now you are ready to hit the pool!
FAQs
Q: How do I start a diy beach bag project with only one yard of fabric?
A: Begin by selecting two coordinating layers of fabric — an outer and a lining — and cut pieces so the combined height accounts for the top of the bag and bottom edge; with one yard you can make a simple diy beach tote by folding fabric and using a pattern that minimizes waste. Leave a hole in the lining for turning the bag inside out after sewing the right sides facing each other, and plan to reinforce the edge of the bag and bottom edge with extra fabric or interfacing if you need more structure.
Q: How do I align right sides facing and sew the lining to the outer bag?
A: Place the outer fabric and lining with right sides facing, pin along the top of the bag and sides, and stitch leaving a gap in the lining so you can turn the bag inside out. After you flip the bag so the right side of the fabric shows, press the seam and hand-sew the unsewn hole in the lining closed or topstitch around the top for a clean finish.
Q: What instruction should I follow to reinforce the bottom edge so it holds snacks and supplies?
A: To reinforce the bottom edge, add a boxed corner by folding the corner so the side seam meets the bottom seam and sewing across to create a flat base; you can also adhere fusible interfacing or a fusible fleece to the inside of the outer fabric before constructing the bag. This gives the diy beach bag extra structure to carry snacks, towels, and essentials without sagging.
Q: Can I fuse layers of fabric using fusible interfacing from Michael’s or a craft store?
A: Yes — many makers buy fusible interfacing at Michael’s or similar stores; cut it to size, iron it onto the inside of your outer fabric following the manufacturer’s instruction to fuse layers of fabric together. Allow it to cool fully before sewing; ensure the adhesive is fully adhered and that you’ve protected your iron and surface according to the product directions.
Q: How do I turn the bag inside out properly and finish the top of the bag?
A: After sewing the outer bag and lining with right sides facing and leaving a small unsewn portion in the lining, reach through that hole to flip the bag right-side-out. Push out corners and the bottom edge for a crisp shape. Fold in the seam allowance of the hole in the lining, tuck the lining inside the outer bag, and edgestitch or topstitch the top of the bag to secure the lining and create a neat finish inside of the bag.


