Safety Protocols For Handling Latex Balloons
Immediate cleanup of any broken pieces is nonnegotiable because those small bits of latex are a serious choking hazard for young children. We all know how quickly a latex tube can pop during the twisting process, so have a dedicated trash bag right at your workspace. Trust me on this, you want to avoid letting any uninflated ends or popped fragments fall to the floor where a toddler might find them. This proactive safety step takes seconds and protects weeks of happy memories.
Focusing on balloon animals for kids safety makes the whole activity far more relaxed and enjoyable for everyone involved. The careful handling protocols give parents peace of mind. You only need a moment to check your surroundings. That quick habit transforms a simple craft session into a worry-free event.
Essential Hand Pump Techniques For Consistent Inflation
A professional-grade hand pump is your secret weapon for preventing oral fatigue and achieving the perfect air pressure every single time. The good news is, using one gives you complete control over the inflation, which is critical for avoiding the beginner mistake of over-inflating the balloon. You will notice that a properly inflated 260Q tube has a nice, firm stretch but still leaves that essential uninflated tail at the end for the air to travel into during twists.
This consistent starting point is what allows your lock twists to hold their shape without bursting from internal pressure. Mastering this one tool setup for making balloon animals for kids makes all the difference between frustration and fun. Your confidence grows with every perfectly stretched latex tube. Soon, inflation becomes second nature.
1. The Simple Single Balloon Dog Sculpture
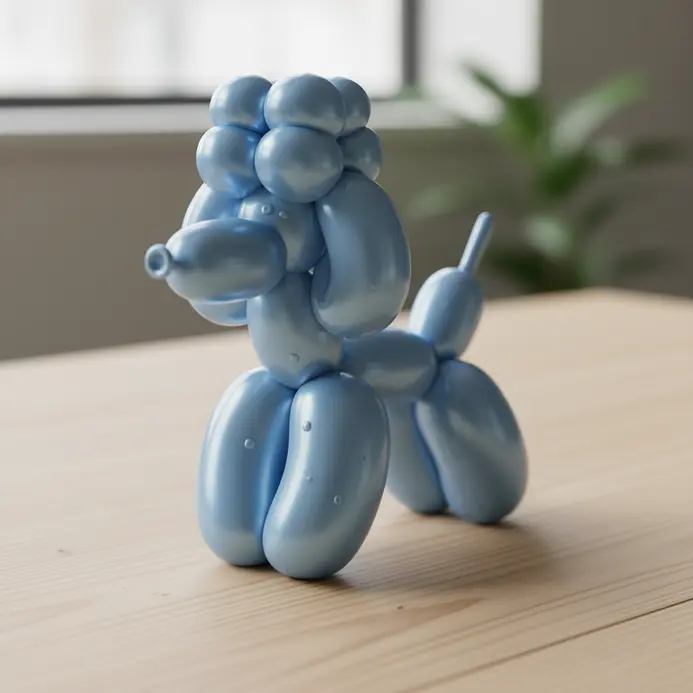
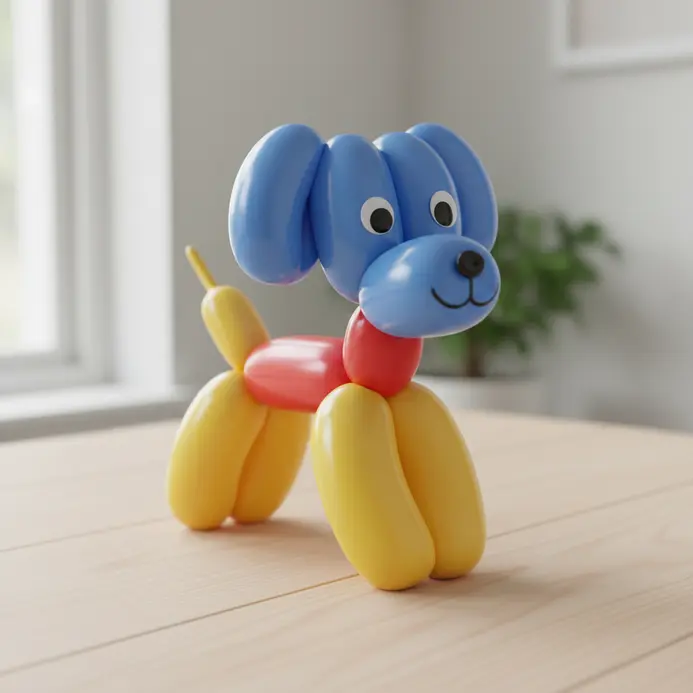
This classic figure is the perfect place to start. It looks like a party trick, but the technique is wonderfully straightforward. You begin by inflating your tube, leaving a nice long tail at the end. Then, you make a series of basic twists to form the head, ears, neck, legs, and body.
I love how the simple three-bubble twist instantly gives those balloon animals for kids their perfect shape. Before you try this, a solid understanding of basic balloon twisting makes everything click into place. Trust me, the first time you hold up a finished pup, you will feel a real sense of accomplishment.
2. Long Eared Balloon Bunny Figure — A Hopping Favorite
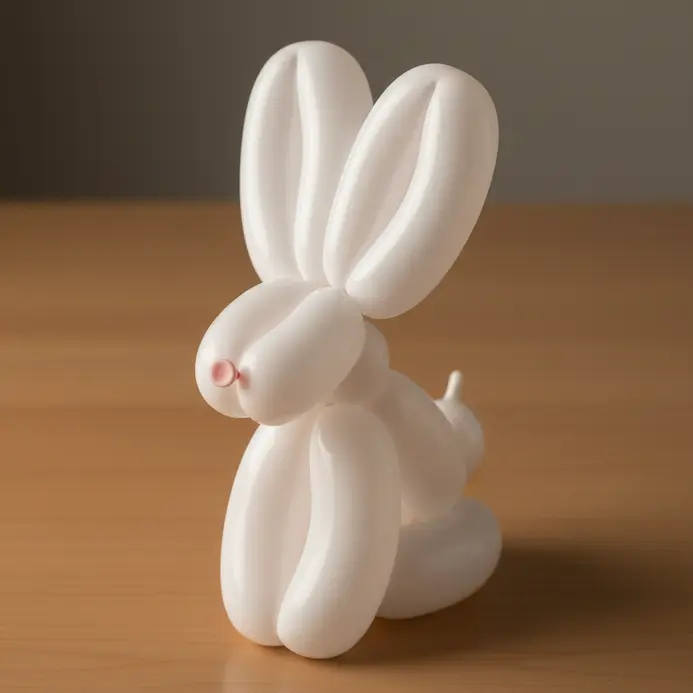
Ever wondered how to twist those adorable figures you see at parties? This one is a classic for a reason. You start with a single long tube, inflating it but leaving a good tail at the end. The magic is in the first twist to create the head, followed by two long, matching bubbles for those iconic floppy ears.
Pinch and twist those ear segments carefully, then lock them together with a simple lock twist to secure your balloon animals for kids. This secures the shape and keeps everything from unraveling. Isn’t it satisfying when the face and ears pop into place? The rest of the tube becomes the body, and you can even add little feet with tiny bubbles if you are feeling fancy.
3. A Vibrant Balloon Sword for Playful Adventures
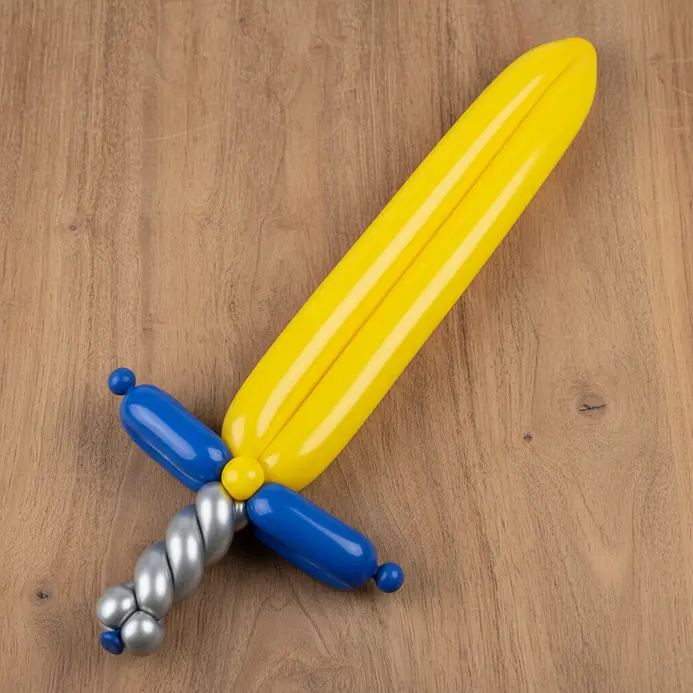
Ever watched a kid’s eyes light up when you hand them balloon animals for kids shaped like weapons? This is my absolute favorite twist to make because it turns any kid into a swashbuckling hero in seconds. It starts with a classic long tube you inflate, leaving a good four inches of tail for the handle. You will make a series of simple lock twists to form the crossguard and blade, which sounds complicated but is only a matter of pinching and turning.
The magic is in that final step where you curve the blade slightly. It gives the sword a dynamic, action-ready look instead of being a straight stick. Trust me, that little bend makes all the difference for sparking imaginative play. Your young knight or pirate will feel ready for any backyard adventure.
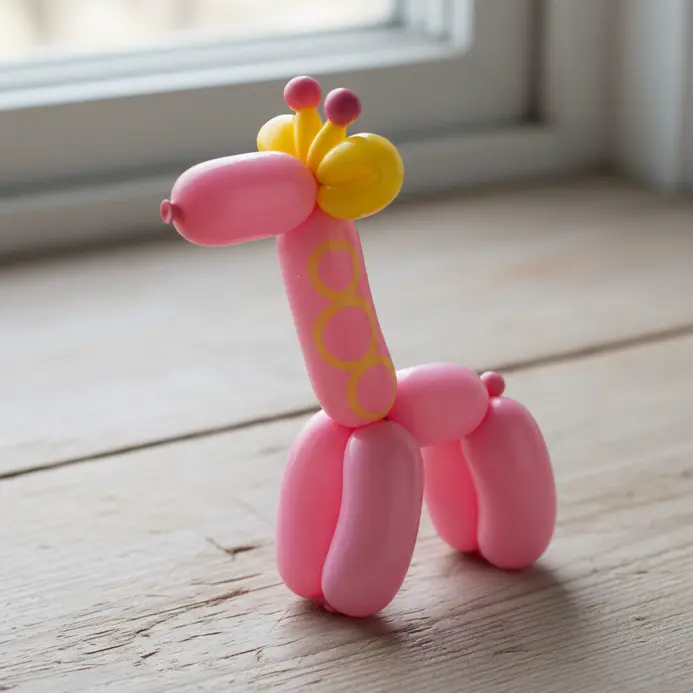
4. Friendly Balloon Giraffe with Hand-Drawn Spots
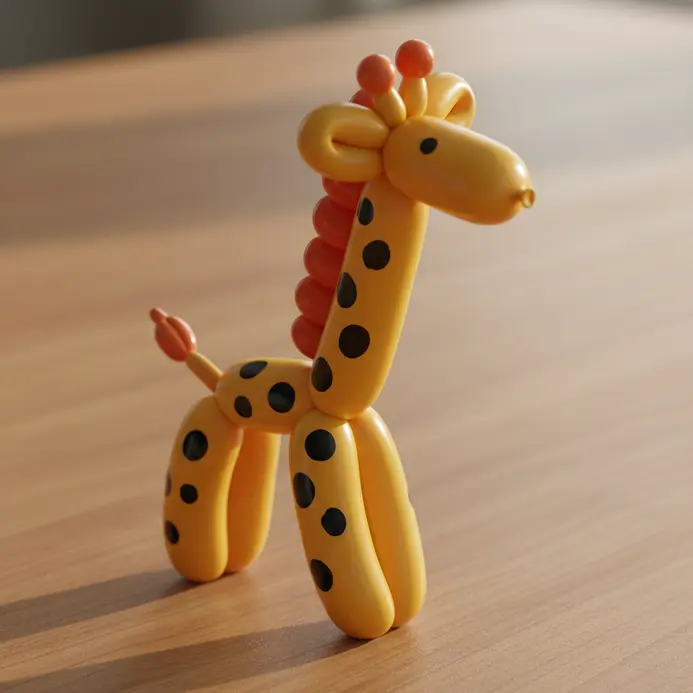
This is my absolute favorite because the hand-drawn spots make each giraffe unique. You start by twisting the classic long neck shape, but the fun begins once you have that basic form. Grab a permanent marker and let the children go wild adding their own oval and circle patterns all over the body. It turns a simple twisting project into a personal art piece.
Why does this work so well? It combines a straightforward balloon skill with an open-ended creative activity for balloon animals for kids. This is a fantastic project for a group, and it pairs perfectly if you want to create festive confetti tubes for the same party backdrop. You will love seeing all the different spotty designs your little artists come up with.
5. Cute Balloon Mouse with Twisted Whiskers
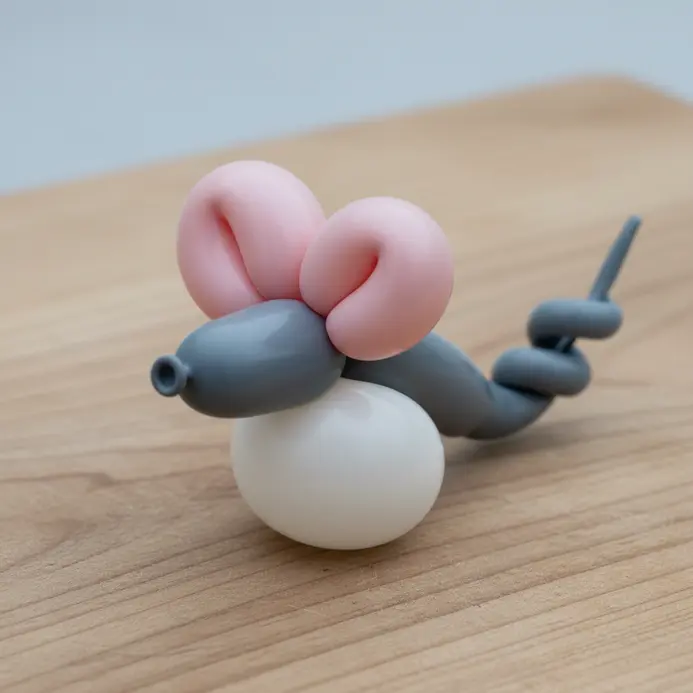
Who would have thought a mouse could be one of the easiest figures to make? It looks detailed, but the whole thing comes from one long tube and a few simple movements. Start by inflating your latex, leaving a good few inches at the end for the tail. Your first pinch creates the mouse head, and then you make a small bubble right behind it for the snout.
This is my go-to tip: use a locking twist here to keep the head shape nice and round while building balloon animals for kids. Now for the signature feature. Those adorable whiskers are two tiny bubbles you twist separately, right on the front of the snout. You twist them, then gently pull and wrap them around each other once to give them that cute, curled look. The key is keeping your bubbles small and your movements firm.
6. Sturdy Balloon Flower Wand Design
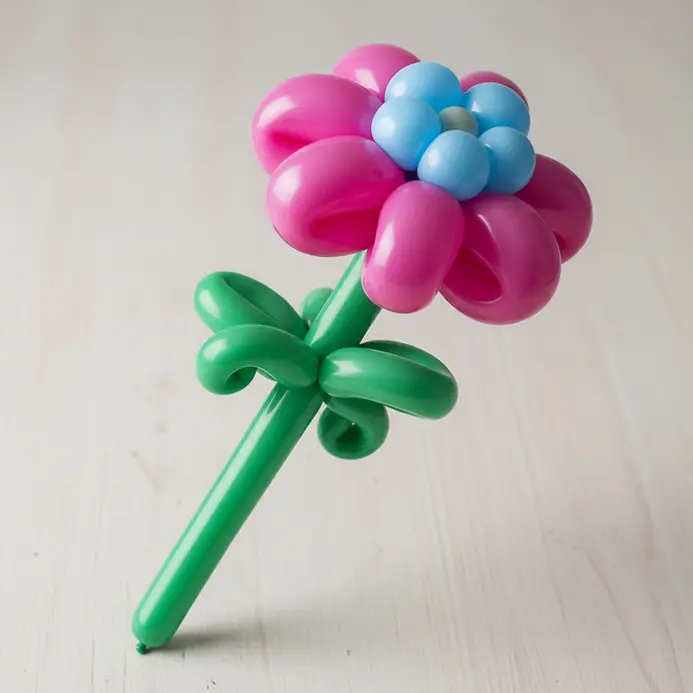
Ever wished your balloon flowers stayed held up high without drooping? This design solves that with a sturdy core. You will build the flower head first using a cluster of small, round tubes. Then, you attach it to a long, straight stem and add a few leaf shapes. The secret is to twist the connecting points extra tight to lock the balloon animals for kids in place.
I love how this gives children a proper wand to wave around. It feels much more substantial than a single piece of latex. If you are making a whole bouquet, this technique is a must. It is also a perfect project if you want to make your own interactive toys for an outdoor party, using the same durable approach. Your creation will last all afternoon.
7. Compact Balloon Octopus Tentacle Creature
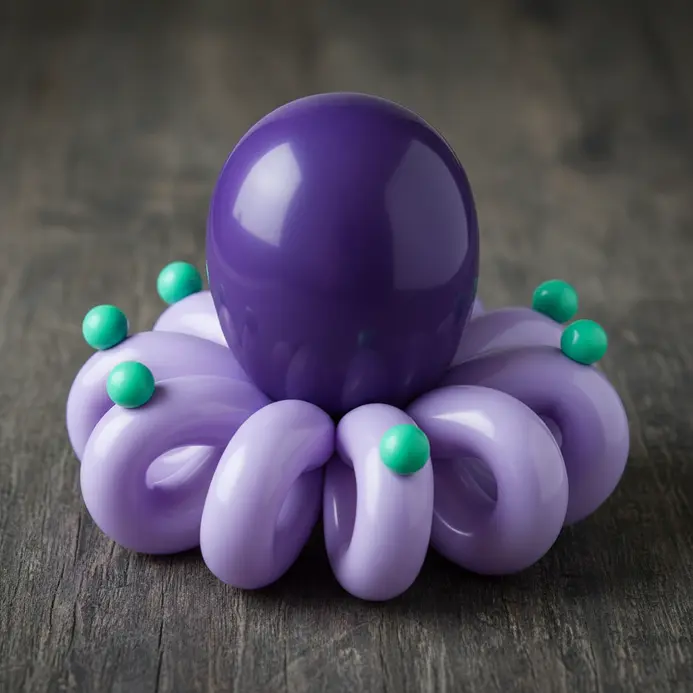
Who would have thought eight legs could be so simple? This is my go-to design when I need a quick, impressive figure that uses one tube. You start by making a series of small bubbles for the head, then twist eight long, identical bubbles for the tentacles all at once.
It looks complicated, but the identical bubble technique keeps making balloon animals for kids manageable across multiple designs. You hold all those legs together and twist the base to lock them in place. Trust me, seeing all those tentacles fan out from a single point is pure magic for a young audience. Isn’t it satisfying when a single movement brings a whole creature to life?
8. Playful Balloon Monkey on a Branch
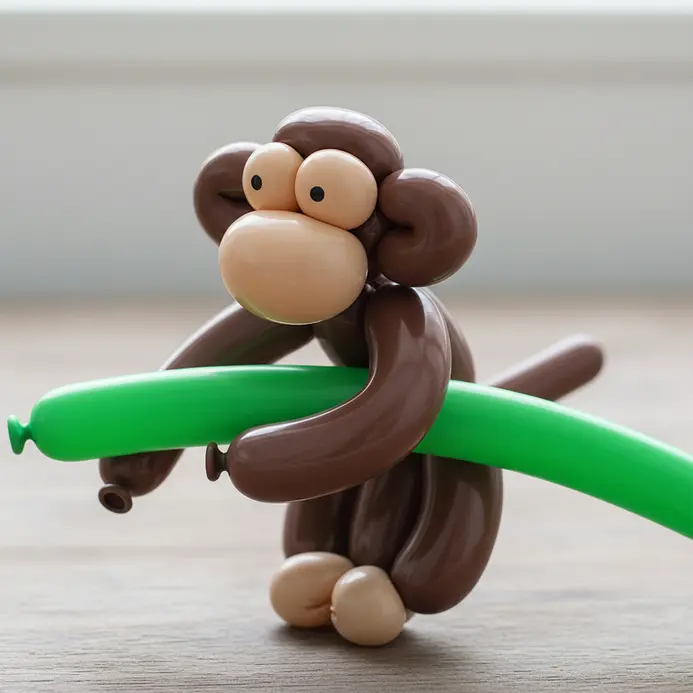
This one surprised me. It looks complex but uses a few basic movements. You start with a long tube for the monkey body and a separate green one for the branch. The key is a series of small bubble twists to form the head, arms, and legs. You attach the completed monkey to the branch with a simple loop twist for stable balloon animals for kids.
Why does it work so well? The pose feels alive and playful, like the primate is actually swinging. Your little one will love how it turns out. Trust me, watching their face light up is the best payoff. The branch adds necessary context that transforms a standard shape into a story.
9. Easy Balloon Butterfly Wing Art
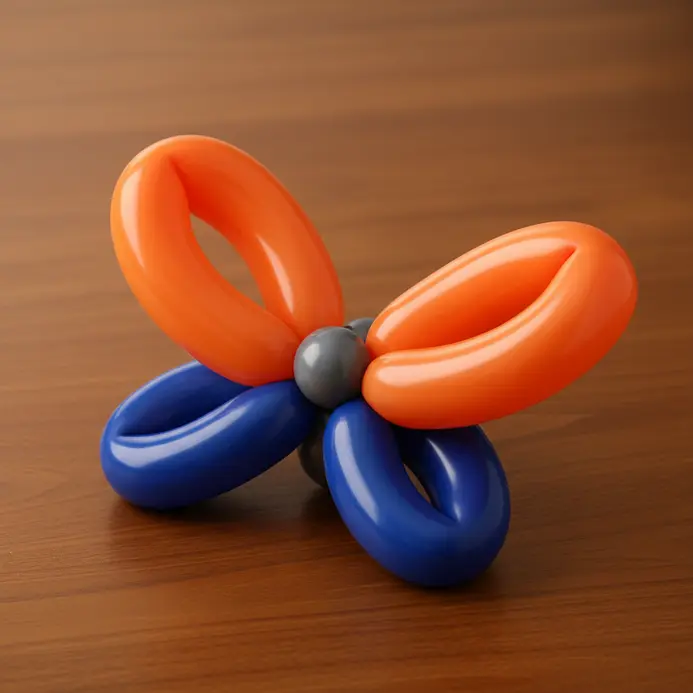
Who knew you could make a whole insect from just a single tube? It looks delicate, but this is one of the easiest figures to master. The trick is all in the first pinch. You make a small bubble for the head, then two much larger, matching bubbles for the wings. Pinch and twist those two big loops together in the middle, and you have your basic shape.
I love using a long, skinny balloon for this craft. It gives you plenty of material to work with for those wide, fluttery wings. After you lock the wings in place, you can gently curve the ends to look more natural on balloon animals for kids. Isn’t it satisfying to see it take shape so quickly? For a magical garden party activity, try making these insects and then whip up some easy homemade bubble recipes.
10. Small Round Balloon Bee Toy
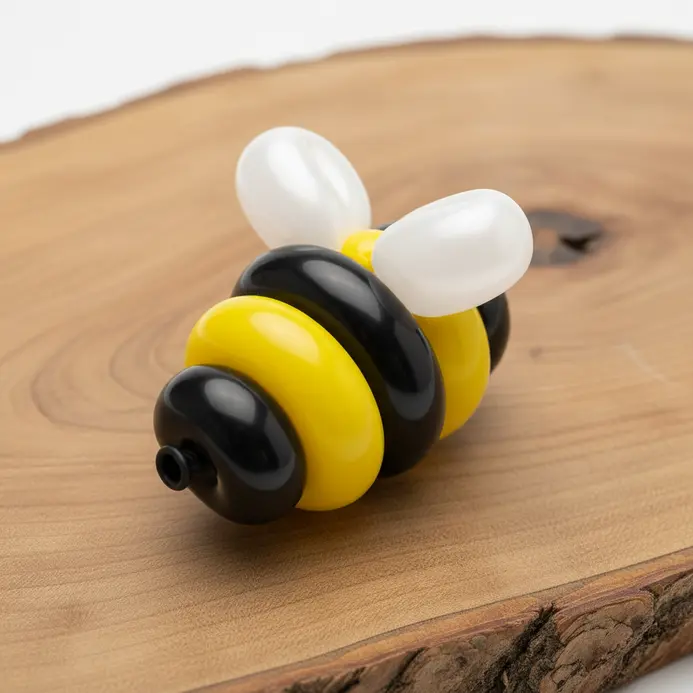
Who knew a simple bee would become one of the most requested party decorations? This little guy uses two tubes and is a fantastic first project for beginners. You start with a small round tube for the head and body, then add a long skinny one for the stripes and antennae. Twist the second tube around the center of the first to create the iconic black and yellow stripes.
Isn’t that clever? I love how this technique instantly makes it recognizable for younger guests. The final touch is pinching two small bubbles for wings on the back. Try it and watch your child’s face light up when their buzzy friend comes to life while making balloon animals for kids. It is pure magic.
11. Graceful Balloon Swan Neck Sculpture
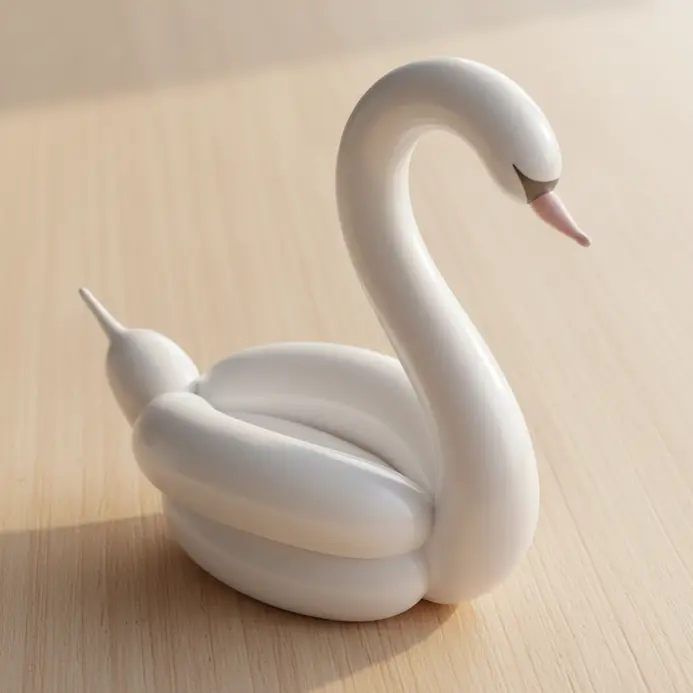
This one looks so elegant, but the graceful curve is easier than you might think. You will start by making a basic body shape, then focus on that long, beautiful neck. The key is to hold the tube firmly and twist it slowly, letting the air inside form a smooth, natural arc instead of a sharp bend. I love how this simple adjustment transforms a basic figure into something truly special.
Your main goal is to create a long, unbroken segment for the neck and head. Use a single, slow twist at the top to form the head, leaving a nice sized bubble. Then, gently curve the entire length back towards the body to create that signature S-shape while crafting balloon animals for kids. Isn’t it satisfying when the neck holds its pose? To complete the royal look, pair your swan with some diy paper party horns for a table setting that feels festive and handmade.
12. Spotted Balloon Dalmatian Puppy Creation
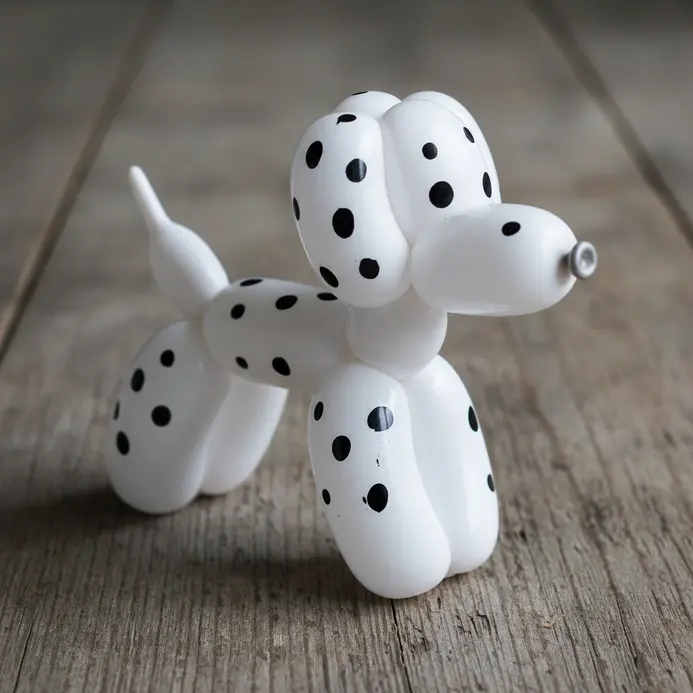
This one surprised me – the spotted pattern is a simple twist away. You will start with a standard white shape, which is a classic for a reason. Then, take a smaller black tube and twist it into a series of tiny bubbles to create the dots. Attach each one by pinching it onto the body and securing it with a gentle wrap.
The key is to use a smaller black balloon for the dots so they look proportional to the body. Press each spot firmly into place as you wrap, and do not worry about perfect symmetry on balloon animals for kids. Isn’t that satisfying? The random placement makes it look playful and real. Your kids will adore how this spotted friend turns out.
13. Classic Balloon Crown Royal Headpiece
You know that feeling when a kid puts on a crown and instantly stands up a little taller? This classic headpiece delivers that exact magic. It is a simple design built on a looped chain of twisted balloon segments, but the royal transformation is instant. You start with a long tube, inflate it, and then twist it into a series of small bubbles. Connect the ends to form a circle that fits their head, adding a few decorative puffs for jewels.
It looks detailed, but your hands are only making the same basic twist over and over for balloon animals for kids. I love this one because it is pure, instant play. They put it on and the game begins. Sound complicated? It is really not. Try it and watch their whole posture change.
14. Flexible Balloon Snake Coiled Form
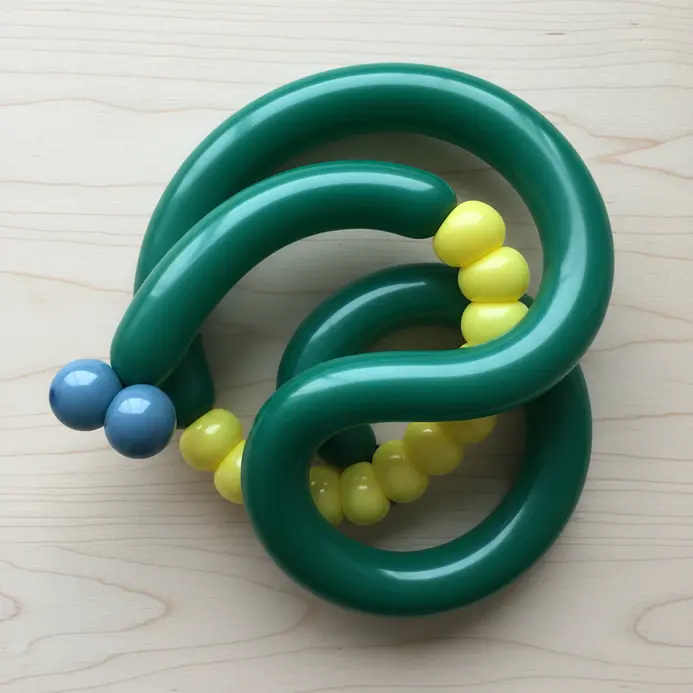
This is the design that looks much harder than it is. You start with your basic snake twist, but instead of leaving it straight, you gently bend and curve the body as you work. I love this because it instantly looks more like a real reptile resting on a branch or the ground. Your kids will get a kick out of how lifelike it feels.
The key is to use a single long balloon and not over-inflate it. Leave a good four inches uninflated at the end so you have plenty of room to maneuver for balloon animals for kids. As you make your twists for the head and body, simply curve the segments instead of keeping them rigid. You can even add a little flick at the end for a tail. A pro tip is to hold the coiled shape for a few seconds after you finish to let it set.
15. Miniature Balloon Heart Keepsake Gift
This one is my favorite for its sweet, sentimental twist. You are not only making a shape, you are creating a tiny, personal treasure that lasts. Start with two small, pastel pink balloons, twist them into matching loops, and pinch them together to form the classic silhouette. The magic happens when you add a tiny tag or photo with a bit of string.
It sounds like a lot, but you can finish the whole thing in about five minutes when practicing balloon animals for kids regularly. I love how this transforms a simple twist into a gift a child can hold onto. Isn’t that more special than a toy that pops? Try it and watch their face light up when they receive it.
Methods For Improving Balloon Creation Longevity
Applying a thin layer of balloon shine or a similar protective coating right after twisting seals the surface and helps your animal last for weeks. This quick finish locks in the structural integrity of your twists and prevents the latex from becoming dull from handling. Here is the thing, a protected design maintains its vibrant color and playful bounce for balloon animals for kids. The process adds minimal time but maximizes the enjoyment children get from their new twisted friend.
Your finished piece will look professional and hold up to gentle play. Store them in a cool, shaded area to prevent heat degradation. The glossy coating also makes fingerprints less visible during parties. You get a polished result without needing expensive materials.
Conclusion
The real magic of these balloon animals for kids is not simply in the finished shape, but in the shared moment of making them. You are giving your child a toy and a memory of creating something together. That feeling of watching their eyes light up when a simple tube becomes a dog is what this is all about. For your next project, pick one design and twist it a few times until your hands remember the moves. The confidence you build with that one figure makes all the others feel possible. We hope this collection gives you a great place to start your twisting adventure.
FAQs
Q: What type of balloon is best for beginners?
A: Start with size 260Q twisting balloons. They are long, flexible, and designed specifically for making animal shapes. Their size gives you plenty of material to work with for basic designs.
Q: How full should I inflate the balloon?
A: Leave about four inches uninflated at the end of the tube. This tail gives the air somewhere to go as you twist, which prevents bursting under pressure.
Q: What is the most important basic twist to learn?
A: Master the lock twist first. This movement secures sections of the latex so your figure holds its shape. It is the fundamental technique used in almost every design.
Q: How can I make faces on the balloon animals?
A: Use safety markers designed for children. Draw simple dots for eyes and a curved line for a smile after you finish twisting. Let the ink dry completely before handing the toy to a child.
Q: My balloons keep popping. What am I doing wrong?
A: This often happens from over-inflation or twisting too close to the fully inflated end. Use a hand pump for consistent pressure and always leave that uninflated tail. Keep your nails short to avoid punctures.