Fabric Preparation and Prewashing Best Practices
The fastest way to ruin a painted piece is skipping the cardboard insert inside the shirt before you start. Trust me on this, you need to pause before diving into the fun part, because that simple step stops paint or bleach from bleeding straight through to the back panel.
You also need to wash that new shirt once with a bit of detergent, even if it looks clean. This removes the factory sizing that makes fabric feel stiff, and without that step, your transfers will peel and your paint will crack after one wear.
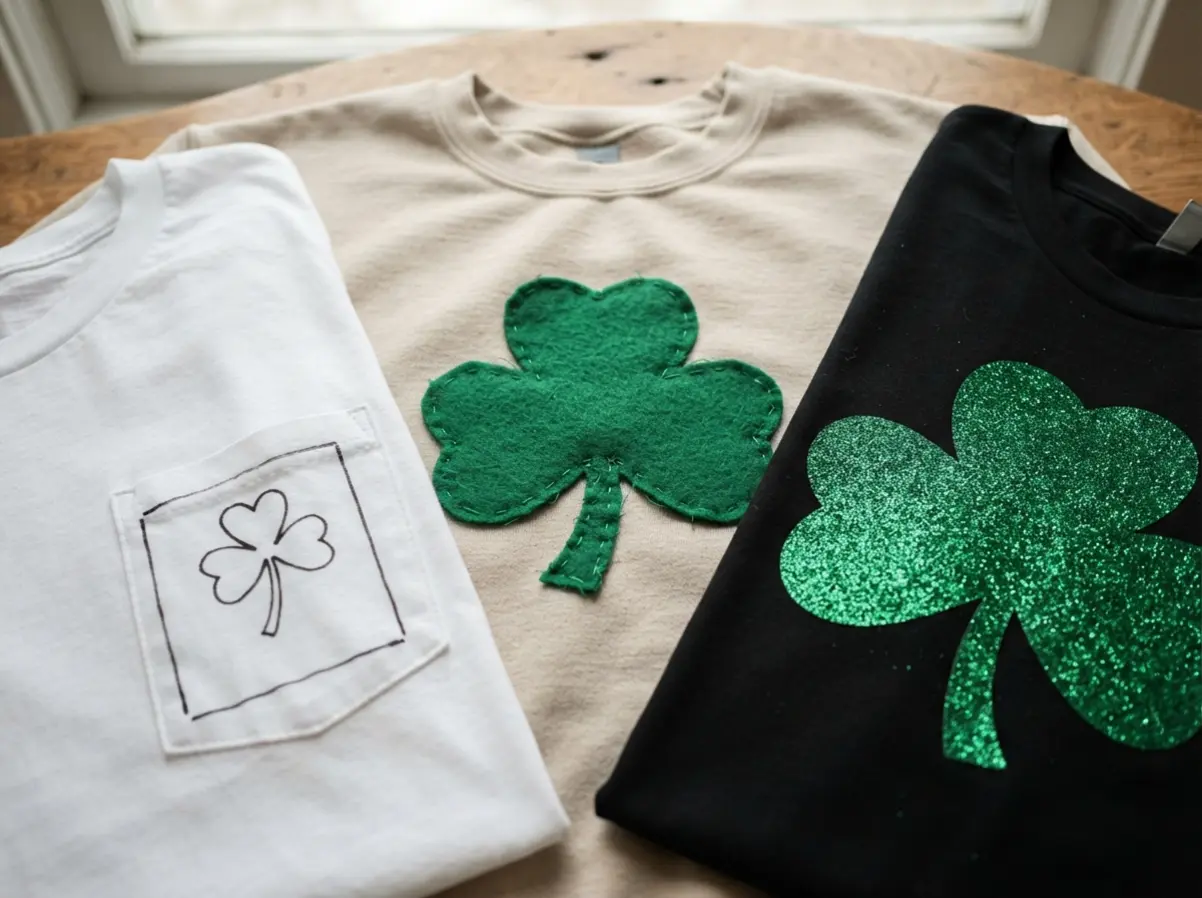
A tight-weave cotton tee gives you the crispest surface for any of your diy shamrock shirt ideas, so choose that over a slinky synthetic blend for your best results.
Color Palette Selection for Festive Green Themes
Your design will pop when you pair a deep forest green with a bright kelly or lime for contrast. Here is the thing, you tend to grab one shade of green and call it done, but the most eye-catching shirts use two or three tones to create dimension.
Think about using a rich emerald for your main clover shape and a lighter mint for the tiny stem. This kind of intentional placement makes your graphic look professional across diy shamrock shirt ideas, not like a flat sticker.
For a genuinely clean look, balance those vibrant greens with plenty of negative space, letting the shirt color itself become part of the festive theme.
1. Minimalist Line Art Shamrock Chest Pocket
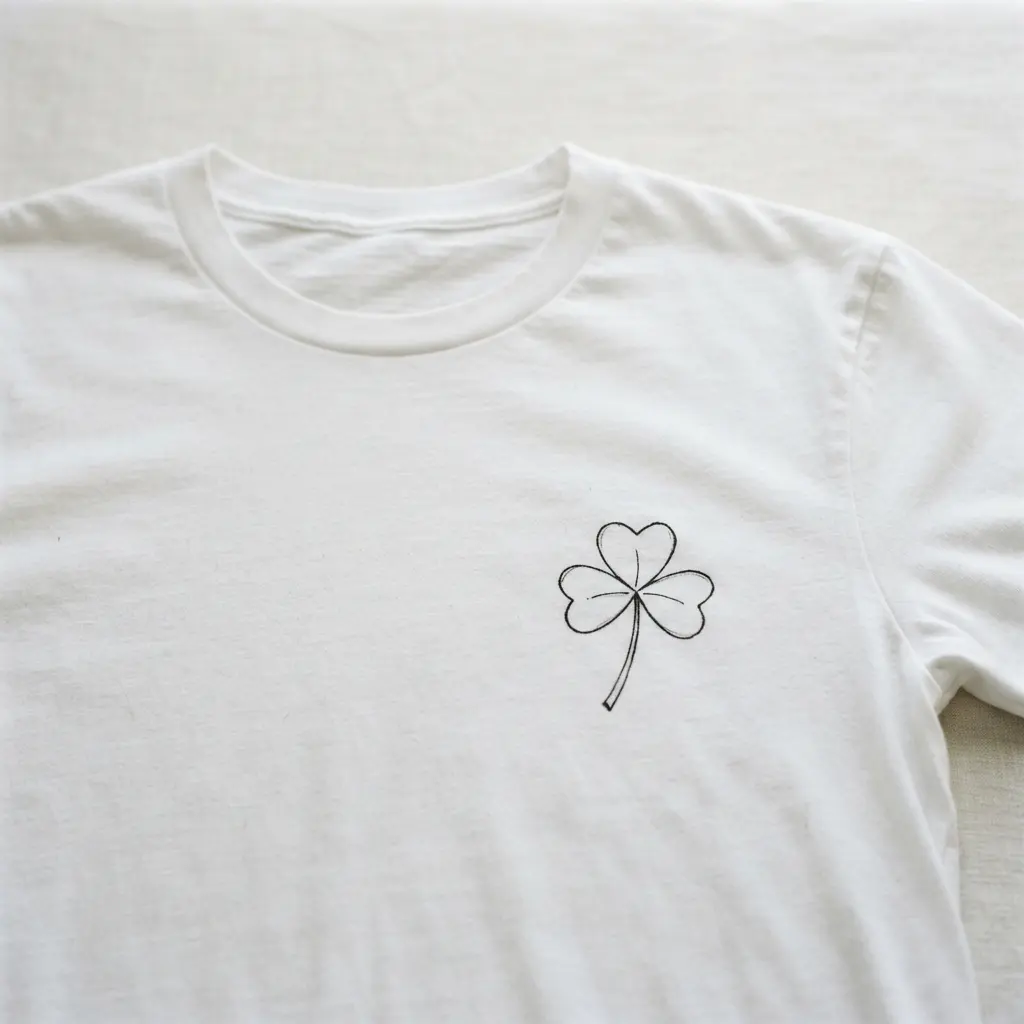
Ever want a touch of Irish spirit that feels more like a classic shirt detail than a bold statement? This design nails it. You use a simple line drawing and position it exactly where a chest pocket would go on your tee.
I love how a single-line shamrock in black or muted green fits perfectly into your diy shamrock shirt ideas, looking elegant on a solid top or sweatshirt.
The key is perfect placement. Measure from the shoulder seam down to find the natural spot for that implied pocket. For a crisp finish, heat transfer vinyl applied with an iron works beautifully and is beginner-friendly.
Does that not feel rewarding when a simple idea looks so intentional? If you enjoy this kind of subtle, symbolic design, you might find the process for a DIY wreath equally satisfying.
2. Textured Green Felt Applique Shamrock Design
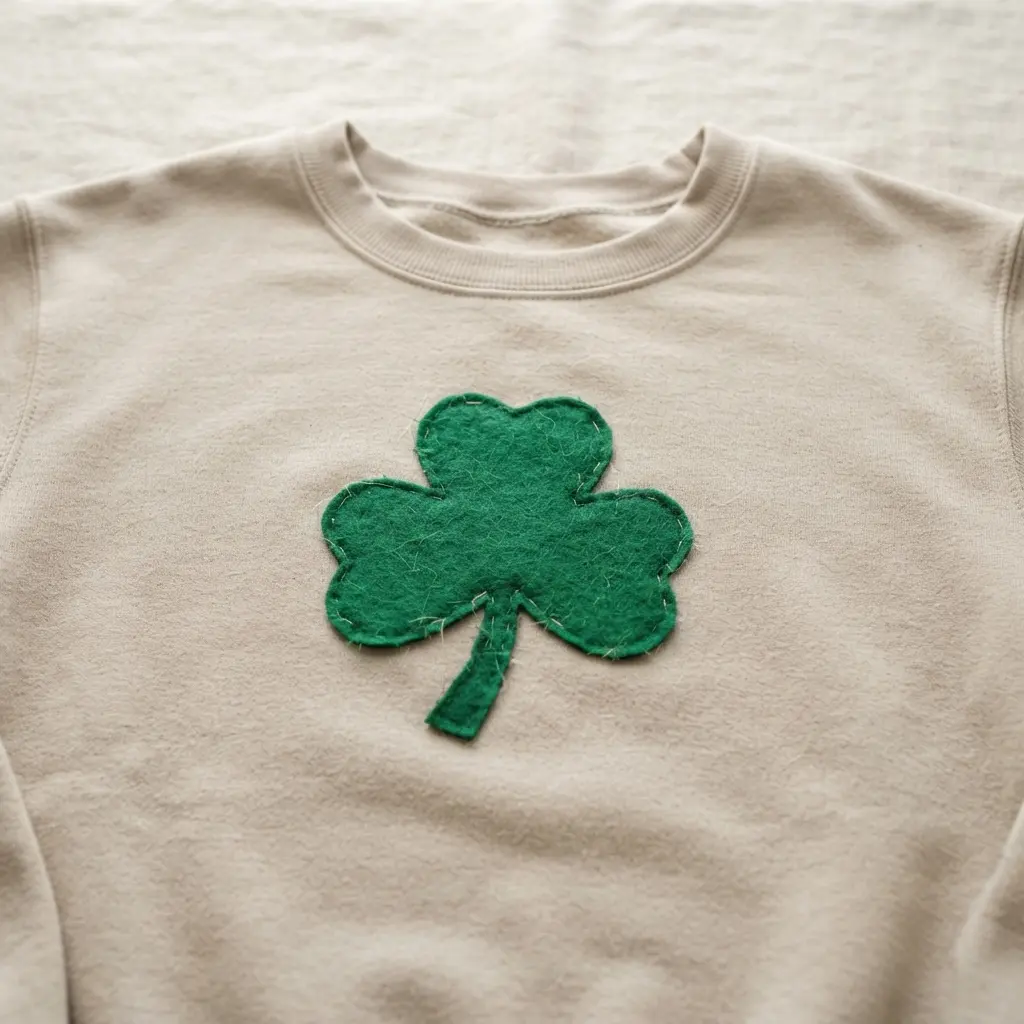
Does an applique sound tricky? This method is wonderfully forgiving. You trace a clover shape onto your chosen textured green felt, cut it out, and attach it to your shirt.
The felt surface gives the design a dimensional look that separates standout diy shamrock shirt ideas from basic prints. I love this approach because felt does not fray, so you get a clean edge without any extra finishing work.
You can bond it with fabric glue or an iron-on adhesive for a quick result. Your finished symbol will have a charming, handmade texture that pops right off the material.
Trust me on this one, using a thin layer of fusible web is my go-to tip for a neat, strong hold without any mess. Feel that festive pride when you see your unique creation!
3. Oversized Glitter Vinyl Shamrock Graphic Tee
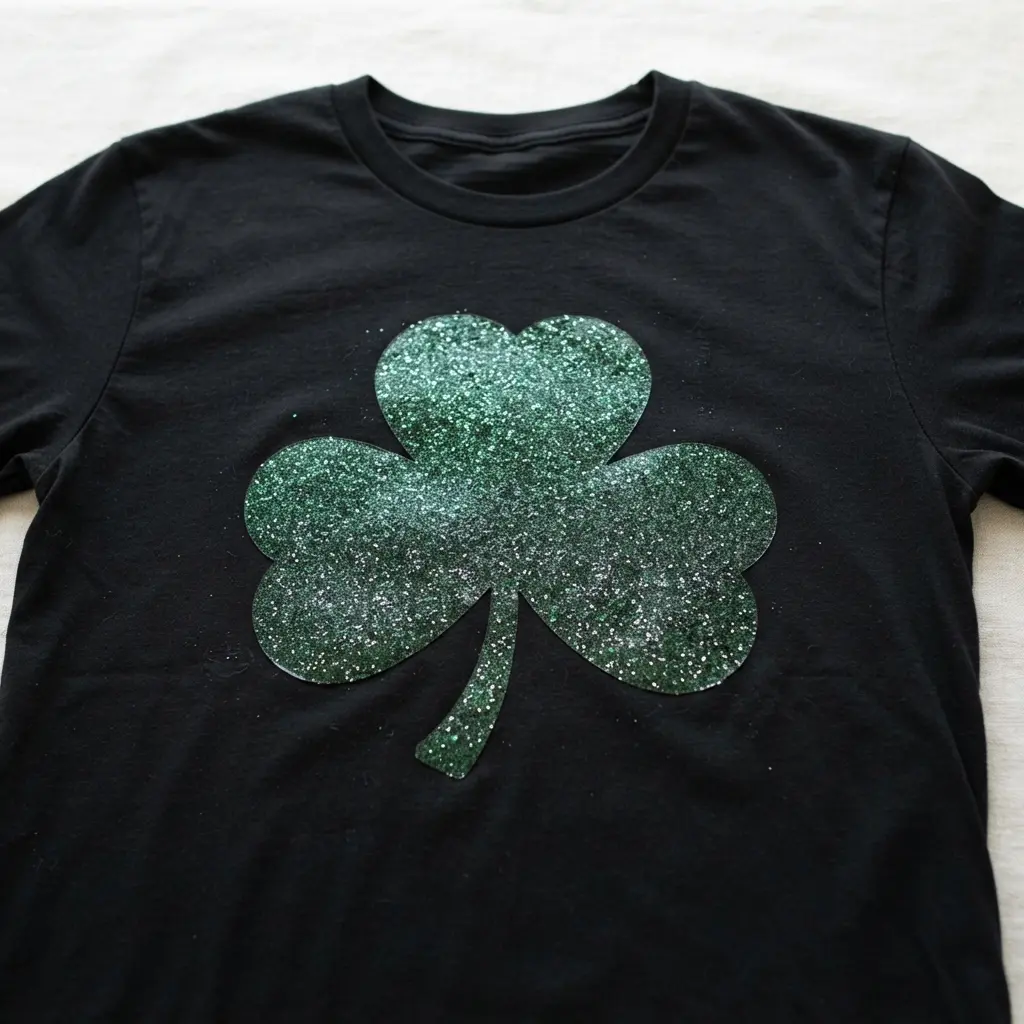
Who says a festive tee cannot be comfortable and chic? This oversized shirt gets its sparkle from a clover cut from glitter heat transfer vinyl. You will load your design into a cutting machine, weed away the excess, and press it onto the fabric.
The result is a dazzling graphic that does not shed and shows how diy shamrock shirt ideas feel amazing to wear all day. I love how this balances a laid-back fit with serious holiday spirit.
The key is following the specific heat and time settings for your glitter HTV to make sure it sticks perfectly. Let the material cool completely before you peel the carrier sheet for a crisp, permanent shape.
This makes a fantastic statement piece you can dress up or down. For another way to add texture and dimension to your holiday wardrobe, look at some creative puffy paint project ideas. Trust me, you will get so many compliments on this sparkling tee.
4. Boho Gold Metallic Thread Embroidered Shamrock
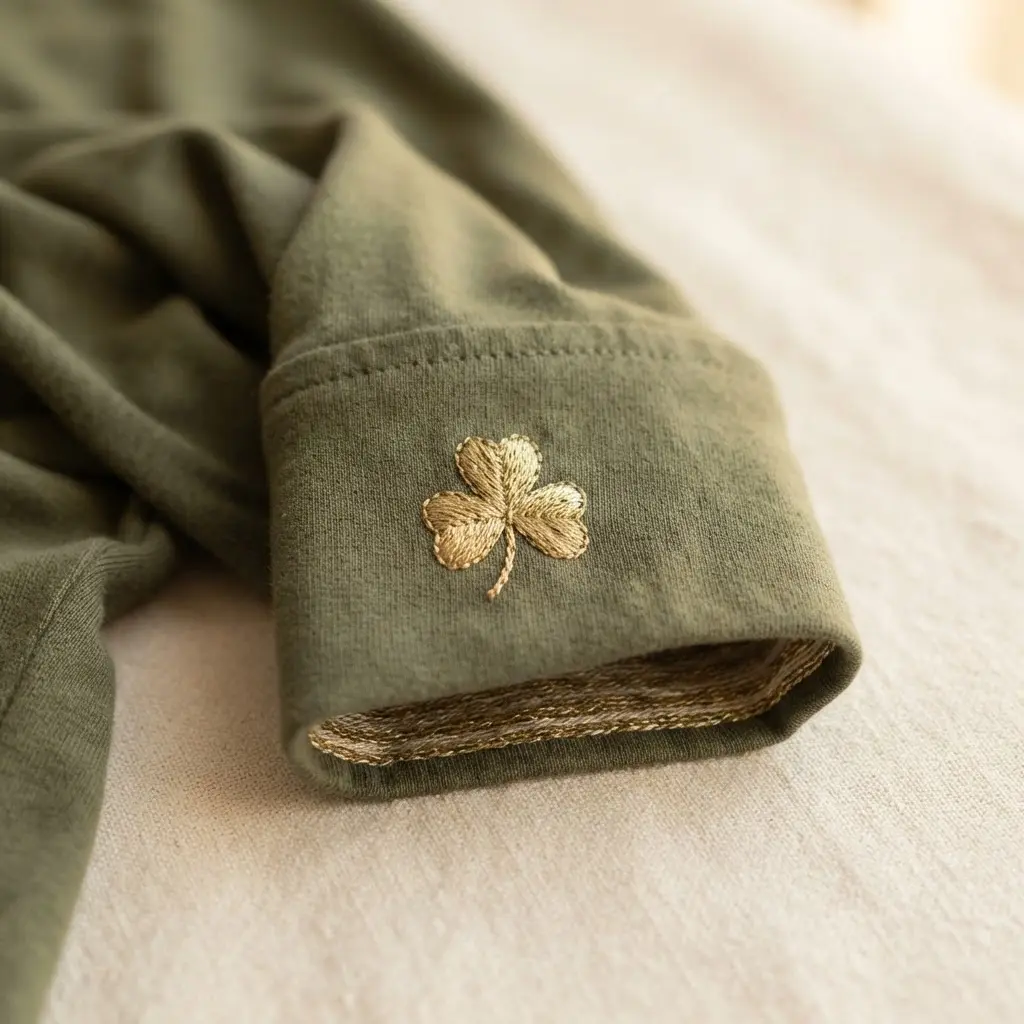
Ever wondered how to add a touch of festival-ready glam to your St. Patrick’s Day look? This boho gold embroidered piece is your answer. It is all about stitching that classic three-leaf shape with shimmering gold metallic thread.
You will transfer a simple outline onto a natural material like linen or denim, then fill it in using a smooth satin stitch. The metallic strand catches the light beautifully, making your design look like a little piece of jewelry.
I love this technique because it feels luxe and handmade at the same time. It works so well because the gold thread instantly elevates the simple shape into a statement across diy shamrock shirt ideas.
Trust me on this one, using shorter lengths of thread and a metallic embroidery needle makes the whole process way smoother and prevents frustrating breaks. Your finished piece will have that perfect mix of earthy vibe and festive sparkle.
5. Dainty Hand Painted Shamrock Sleeve Accent
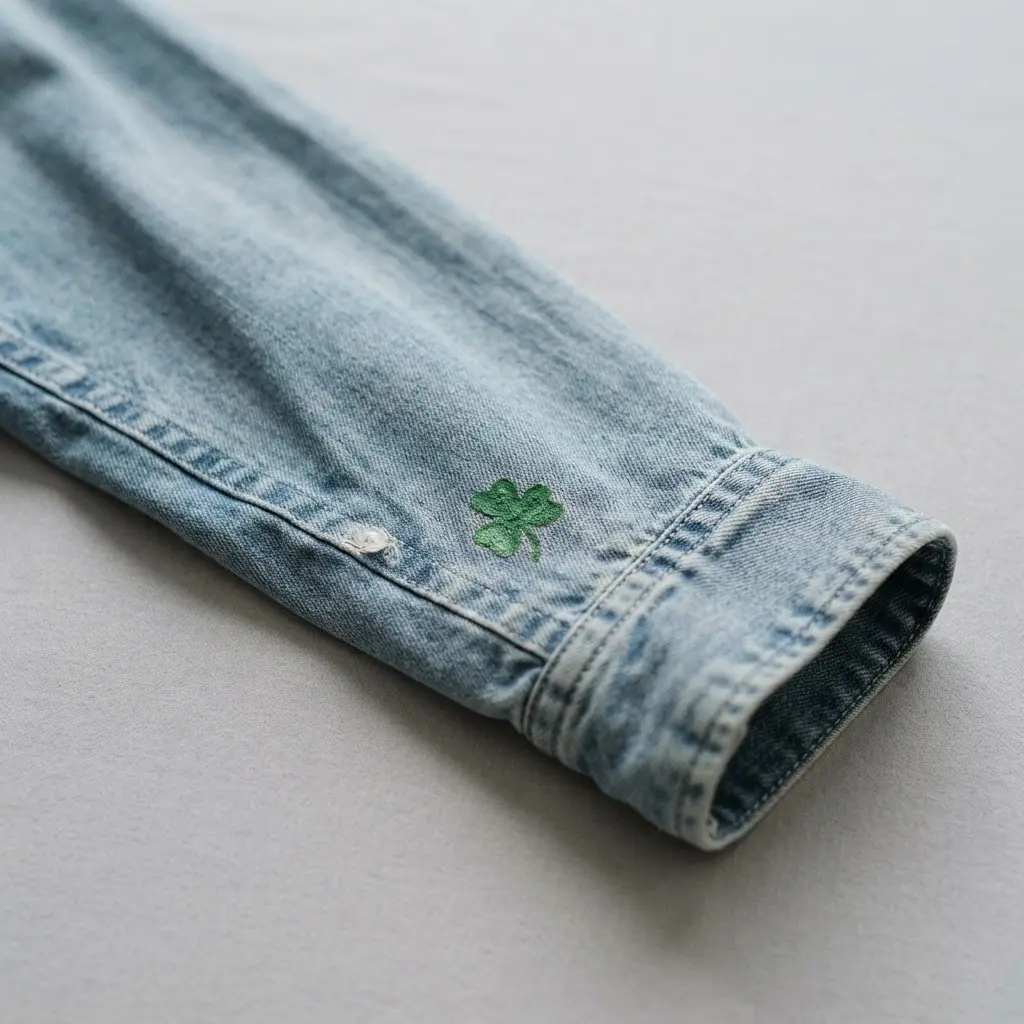
Ever wanted a touch of Irish spirit that feels personal and not too loud? This design is all about placing a small, delicate clover or two on your sleeve.
You use fabric paint and a fine brush to place it, and I love how you can add subtle shading with different greens. It works because the layout is versatile and feels like a secret, artistic nod to tradition.
Pick a spot like the cuff or upper sleeve, and practice your brush control to perfect one of the sleekest diy shamrock shirt ideas. Trust me, curing the pigment properly with heat makes a noticeable difference for washability. You will feel so proud wearing your one-of-a-kind creation.
6. Layered Plaid Fabric Shamrock Patch Tee
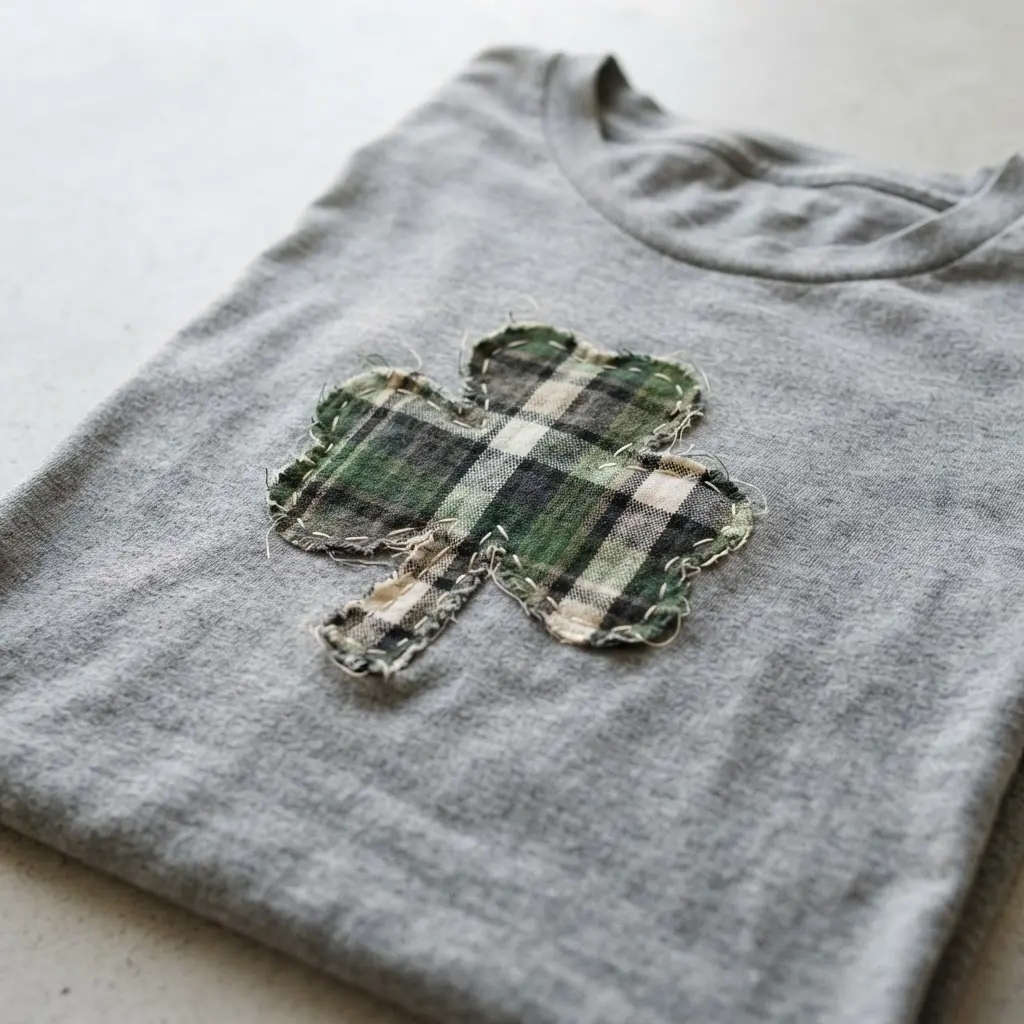
This tee looks complex, but the layered effect is easier to achieve than you think. You will cut different clover shapes from various green plaid fabrics and stack them for that cozy, textured look. Pin them to a blank tee, then secure everything with a simple machine stitch around the edges.
The magic is in the mix of patterns. Buffalo, tartan, and gingham scraps all work together to create a charming, rustic emblem. I love how this project turns basic scraps into something festive for any of your diy shamrock shirt ideas.
For a clean finish, use a piece of tear-away stabilizer behind the shirt fabric before you sew. This prevents the knit from stretching and puckering under your needle. It is a fantastic handmade alternative to a basic print.
You will feel proud wearing your unique creation, and it makes a great project to try before making a pretty shamrock suncatcher craft with any leftover fabric. Does that not sound like a fun creative day?
7. Multifaceted Sequin Shamrock Shoulder Statement Piece
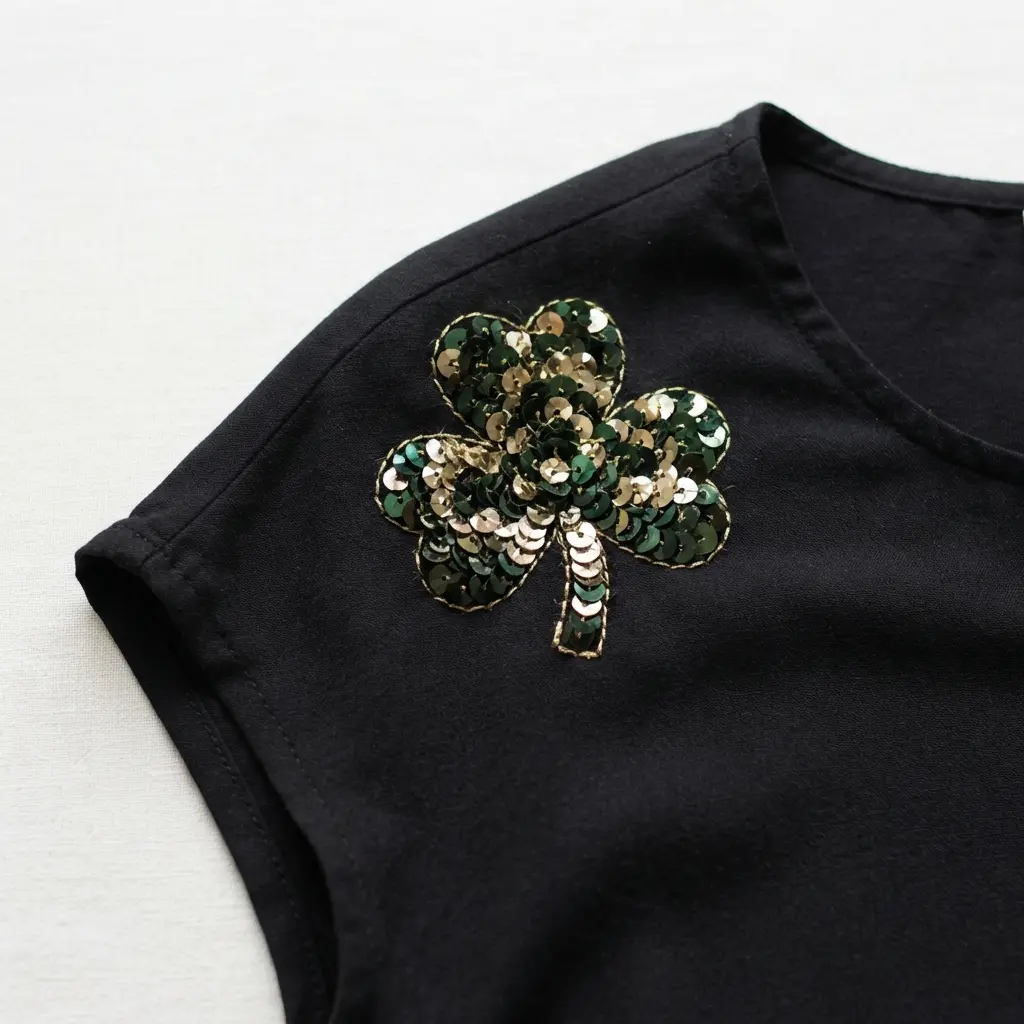
Ever wondered how to turn a simple clover into a true showstopper? This piece is all about creating a three-dimensional ornament that sits on your shoulder. You will build a sturdy base from felt or buckram shaped to fit your shoulder, then layer and hand-stitch a symbol form.
The magic happens when you add a variety of iridescent, matte, and cup-shaped sequins, mixing in beads and metallic thread for incredible texture. It works because it elevates a classic motif into high-fashion glamour, making diy shamrock shirt ideas bold statements that celebrate heritage.
I love how the mix of sequin types catches light from every angle. Trust me, starting with a strong, padded base is the key to getting that luxurious, professional look you will be so proud to wear.
8. Retro Puffy Paint Shamrock Graphic Motif
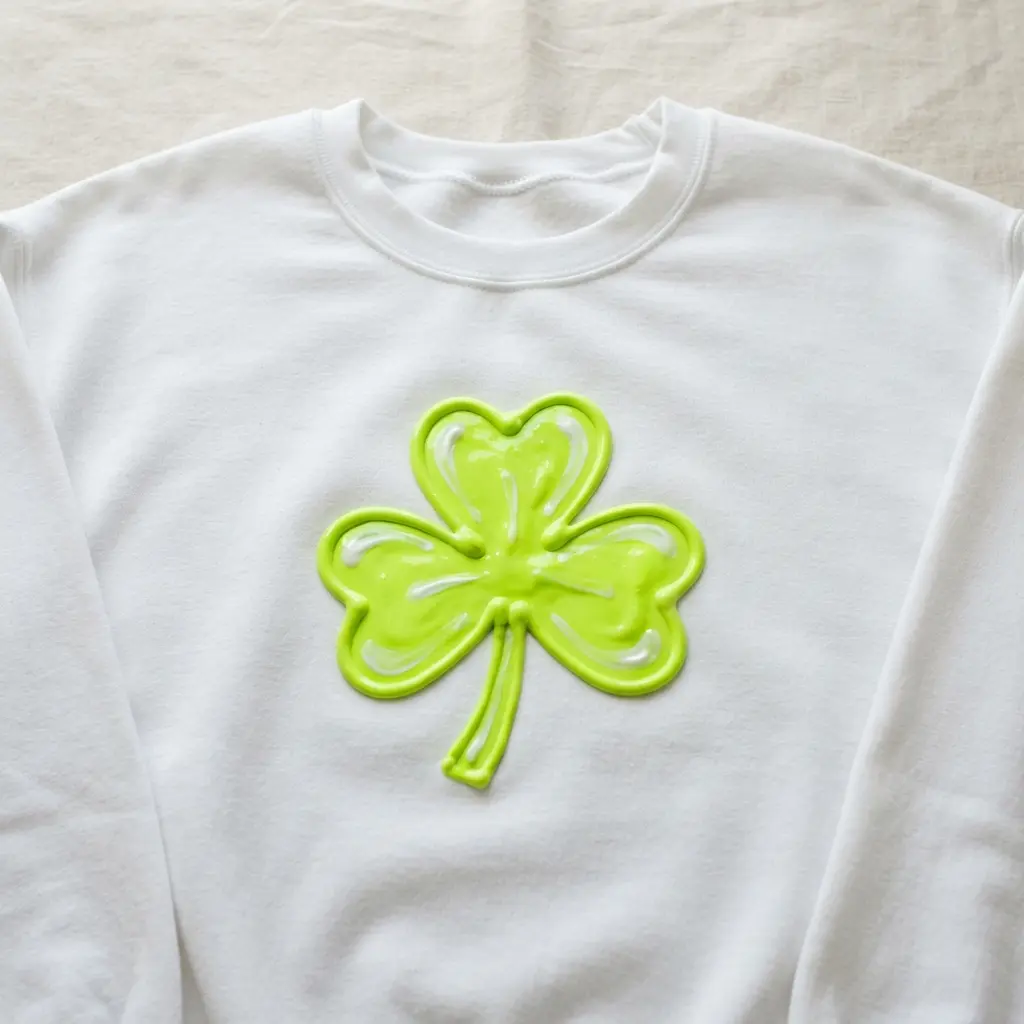
Who would have thought a digital graphic could feel so wonderfully handmade and nostalgic? This design is all about recreating that classic, slightly irregular look of paint squeezed straight from the bottle. You start with a simple three-leaf clover shape, then use digital texture brushes to build up a soft, raised effect.
The key is in the color and sheen, so stick to bright or lime greens and add a subtle glossy highlight. It works because it taps directly into that fun, playful vibe you remember from creative projects, keeping diy shamrock shirt ideas wonderfully nostalgic.
I love how forgiving this style is, as perfect symmetry would ruin the charm. For a different kind of handmade textile art, the process of creating a creative hand-painted skirt uses a similar embrace of organic, brushstroke texture.
9. Distressed Bleached Shamrock Silhouette Pattern
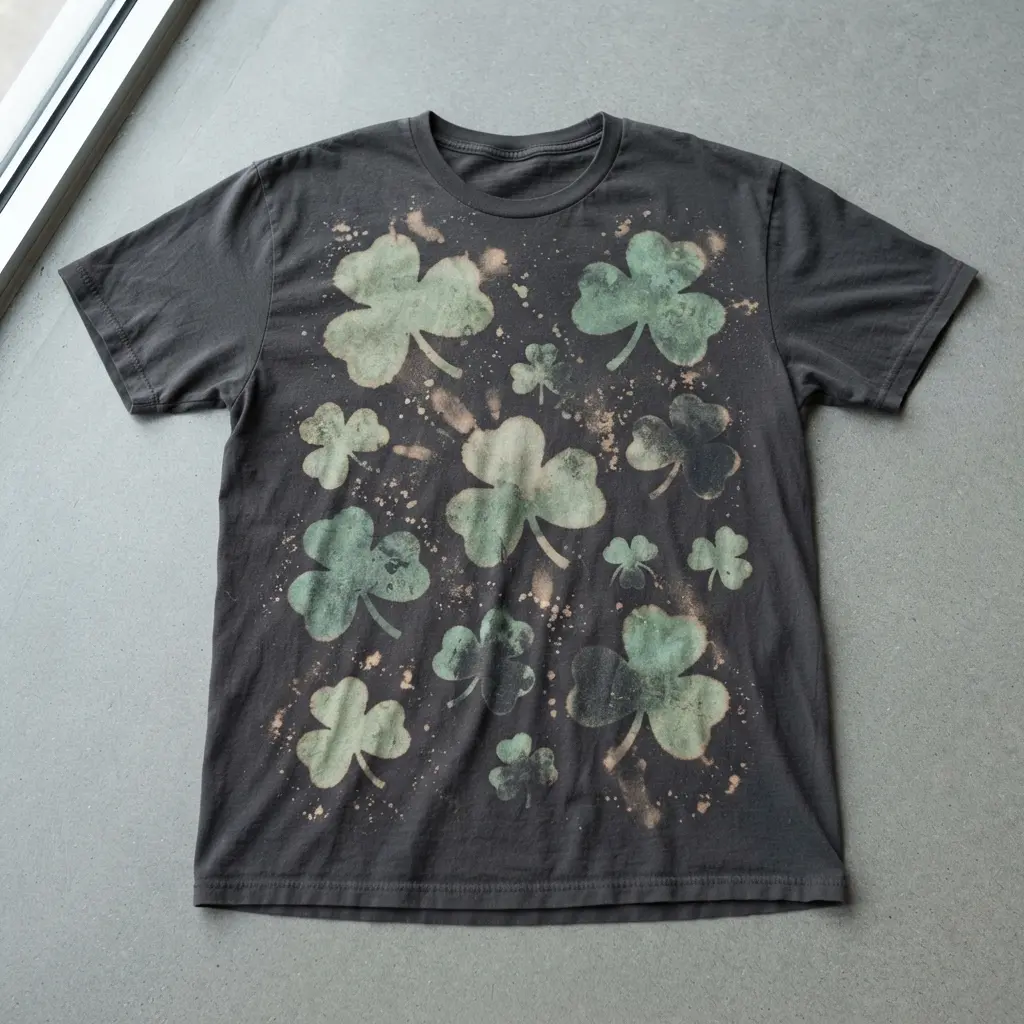
This one looks complex, but the magic is in how simple the technique is. You start with a dark shirt and a shamrock stencil, then apply diluted bleach over it. The bleach lifts the color away, leaving behind those ghostly, faded shapes with wonderfully imperfect edges.
It works because it feels vintage and stylish, proving diy shamrock shirt ideas look better with washed-out patterns. I love how each piece turns out a little different. For a fun, colorful companion project, try making some bright rainbow handprint art with the kids.
Your finished shirt will have that cool, worn-in look everyone wants. Does that not sound rewarding?
10. Watercolor Fabric Ink Splatter Shamrock Design
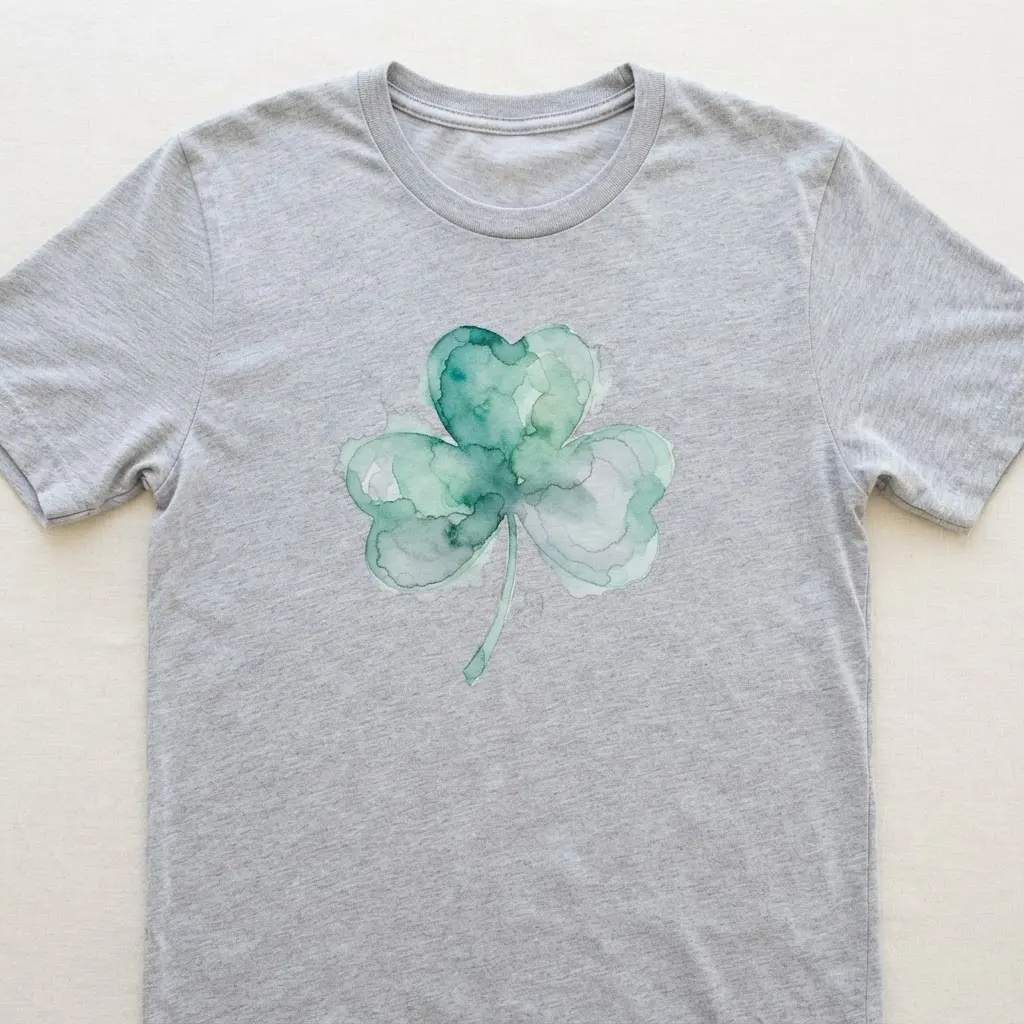
Ever wanted a clover shirt that looks more like a piece of art than a quick project? This one is for you. You start by painting your shape with watered-down fabric inks on a natural material like cotton, letting the colors blend softly.
Then, while it is still a bit damp, you get to flick and tap your brush to create those energetic splatters around it. I love how this technique gives you the best of both worlds, which explains why diy shamrock shirt ideas often feature soft blends.
The watercolor piece feels delicate and elegant, while the spontaneous splatters add a burst of playful energy. Trust me, practicing your splatter technique on some scrap material first is a useful test. It lets you control the layout so your final piece looks intentional, not messy.
Once your masterpiece is dry, do not forget the crucial last step. You must heat-set the ink with an iron to lock in all that color permanently. Then you are left with a unique, wearable painting. Does that not feel fantastic?
Garment Care and Long Term Graphic Maintenance
Turn your finished shirt inside out before you toss it in the washing machine every single time. This one habit protects your hard work from rubbing against other clothes and the drum itself.
Use cool water and a gentle cycle, and skip the dryer altogether by laying the garment flat to air dry. Heat is the enemy of both adhesive transfers and set fabric paint, and a hot dryer will make your design fade and crack much faster.
Turning your shirt inside out extends the life of all diy shamrock shirt ideas and prevents damage from washing. For painted designs, a quick pass with a warm iron on the reverse side before the first wash helps further set the colors for the long haul.
Conclusion
So, did any of these diy shamrock shirt ideas spark that creative itch? I find that the best projects are the ones you keep reaching for long after the holiday passes because they simply fit your personal style. Look at what you make, that is real skill right there.
My best advice is to pick the concept that feels most ‘you,’ gather your supplies, and give yourself space to enjoy the process without pressure. The goal is to end up with a piece you are genuinely excited to wear, whether you are celebrating St. Patrick’s Day or adding a touch of green to your everyday look. Your perfect festive shirt is waiting to be created.
FAQs
Q: What is the easiest method for a beginner to try?
A: Using iron-on vinyl or a simple fabric marker is the most beginner-friendly approach. Both methods require minimal tools and dry quickly, offering a clean result with little room for error.
Q: How do I make sure my design stays on after washing?
A: Always follow the specific instructions for your medium. For paints and inks, heat-set them with an iron. For iron-on vinyl, ensure you apply enough heat and pressure. Pre-washing your shirt helps adhesion.
Q: Do I use a regular t-shirt or does it need special fabric?
A: A standard cotton or cotton-blend tee works for most techniques. Testing a small area first with bleach or dyes keeps results predictable and protects your final garment.
Q: What if I lack a cutting machine for vinyl designs?
A: You cut vinyl shapes by hand using sharp scissors. Choose simpler, larger silhouettes and rely on transfer tape to position them neatly on your shirt.
Q: How do I make my design look more professional?
A: Take your time with preparation. Use stencils or templates for clean edges, press your shirt fabric flat before starting, and work in a clean, well-lit area. Good tools make a noticeable difference in the final look.