

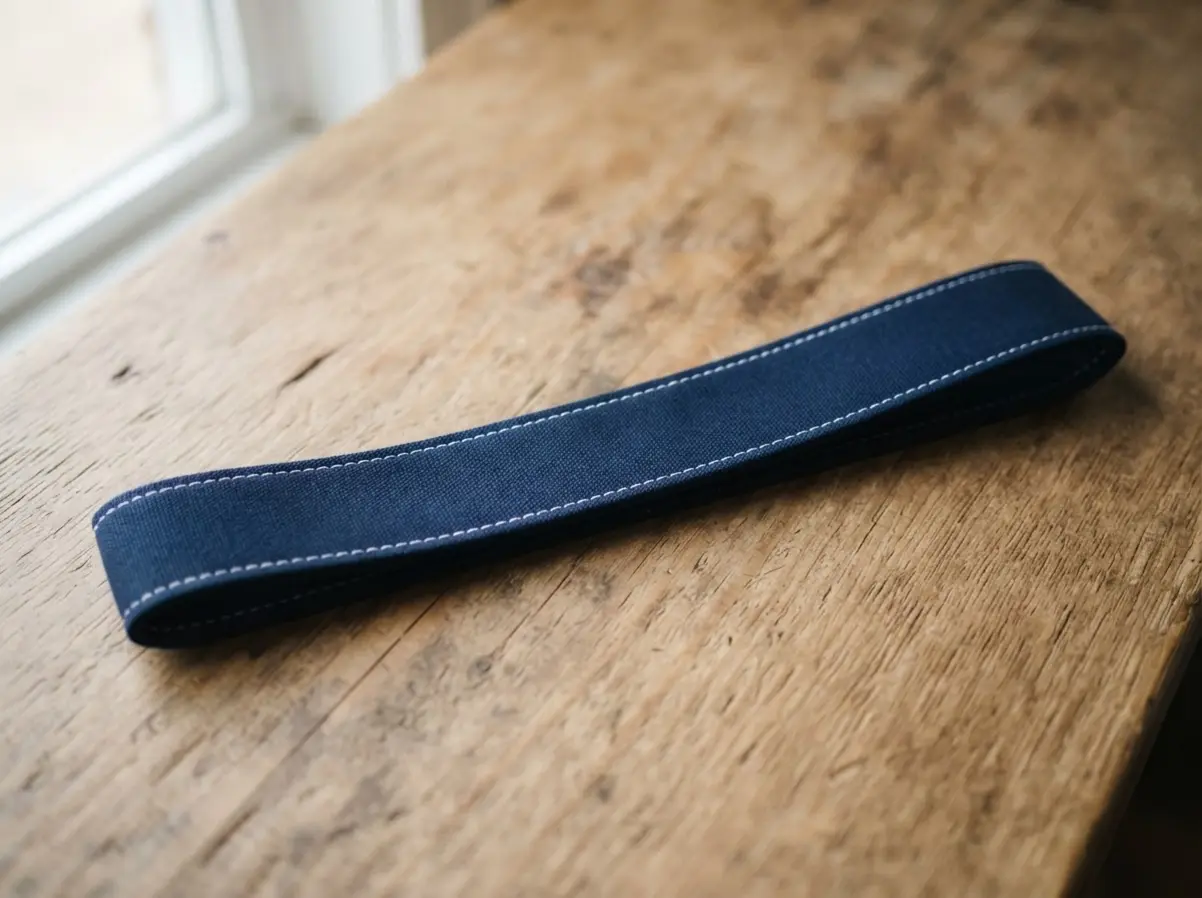
Selecting Durable Fabrics for Frequent Folding
Your folding strap absolutely needs a medium-weight canvas or cotton twill to survive constant flexing without cracking along the grain. You probably know that thin quilting cotton will fray and wear out incredibly fast under heavy tension. The research consistently shows that a woven textile like tight ripstop nylon serves as a fantastic choice for a bag you plan to use and compress daily. You want to avoid any loosely woven materials because the warp and weft will distort along the crease lines over time. Trust me on this, spending a little more on a solid fabric now saves you from a snapped carrier later. Your finished piece will look crisp and professional for years when you follow the foundation laid by this roll up tote strap tutorial.
Optimal Structural Interface Weight for Stability
The right fusible backing prevents your carrier from feeling floppy or twisting awkwardly as you compress it into a coil. You will quickly notice that a light-weight stabilizer simply does not provide enough body for this specific load-bearing application. I recommend a medium-weight woven stabilizer like Pellon Shape-Flex for the best balance of flexibility and rigid structure. This extra layer gives the handle the gentle memory it needs to hold its original shape when unrolled after a trip to the store. It also makes sewing those consistent seam edges much easier because the fabric does not shift under the presser foot. Every successful project starts with this material choice before a single cut is made.
1. Measure and Cut Your Fabric Strips Accurately
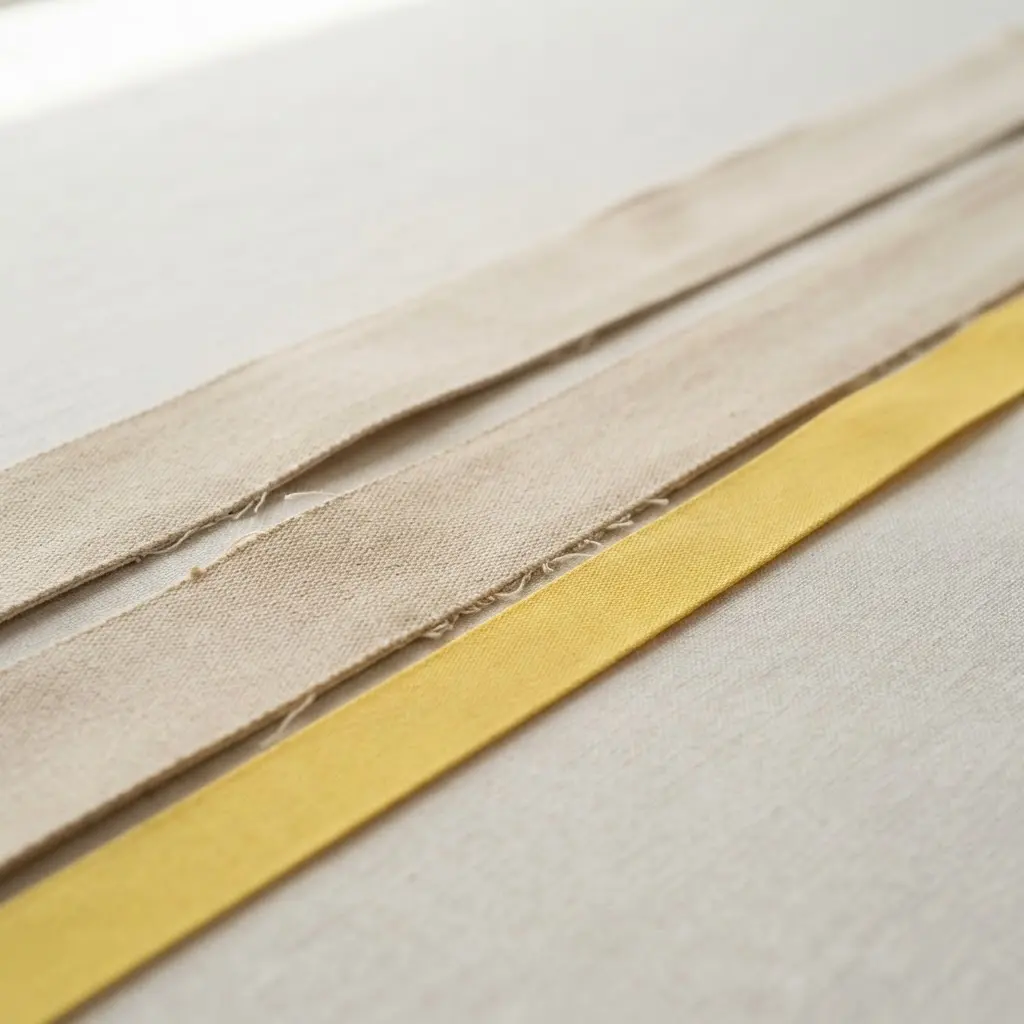
Ever feel like your projects get a little wobbly right from the start? You probably know it often comes down to this first preparation step. Lay your pre-washed and pressed material flat on a self-healing rotary cutting mat. Align a clear acrylic quilting ruler with the fabric grain, then roll a sharp rotary cutter along the marked line for a clean, straight cut.
Why does this precision matter so much for your final result? Accurate strips mean your seam intersections will match up perfectly, giving your handle that polished, even look from top to bottom. It also saves you hours of time and wasted yardage by preventing wonky edges you have to trim later. When you treat this measuring phase as the core of any roll up tote strap tutorial, accuracy quickly becomes your natural default habit.
This careful groundwork builds the perfect foundation for any DIY canvas tote bag projects you have planned for the weekend. Now, doesn’t that measured precision feel like a solid start to your morning sewing session?
2. Apply Fusible Interfacing for Essential Structure
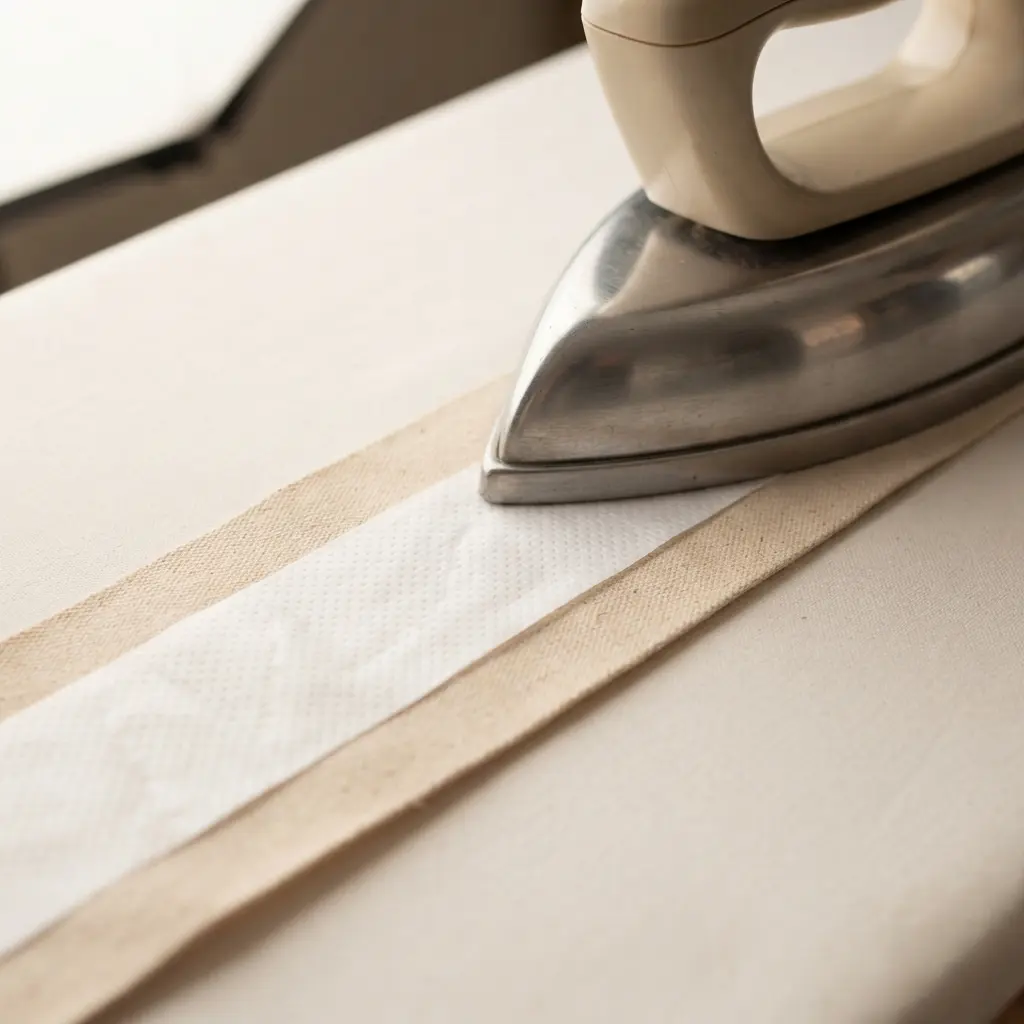
Ever wondered why store-bought handles look so crisp and maintain their shape under heavy groceries? This bonding stage holds the real secret. Cut your fusible interfacing to match your fabric piece exactly, adhesive side facing down onto the wrong side of the textile. Cover the assembly with a damp press cloth and apply firm, steady heat with a hot iron for roughly fifteen seconds per section.
Let the bonded piece cool completely on your ironing board before you attempt to move it. This cooling period gives the adhesive resin time to crystallize and form a permanent, unyielding bond with your fibers. I love this quiet waiting moment because it transforms floppy cotton into something sturdy and ready for heavy lifting.
Trust me, taking this brief pause to let it cool completely changes everything during assembly. Mastering this stage guarantees your handle maintains its intended shape through every daily commute.
3. Pin Your Fabric Strips Right Sides Together
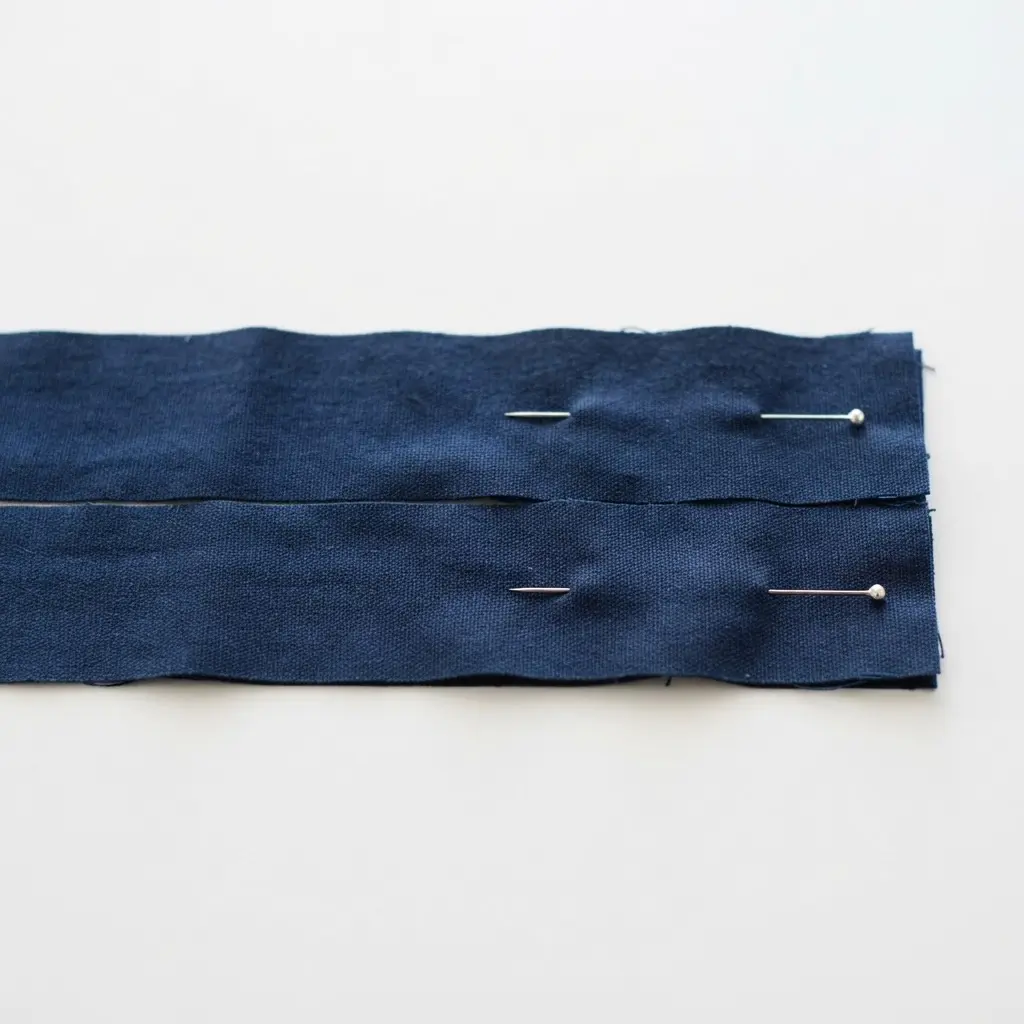
Does pinning sound like an unnecessary step to you? You really should not skip it, because it remains the absolute secret to a hidden, flat seam. Take your two long fabric rectangles and place them so their pretty sides are facing inward. The printed faces kiss on the inside, while the plain wrong sides face outward toward you. Align those raw cut edges perfectly and slide pins through both layers every four to five inches.
I prefer placing my pins perpendicular to the raw edge, which allows the presser foot to glide right over without catching. This simple orientation keeps everything from drifting during stitching, which proves absolutely crucial for slippery satin linings. Have you ever watched a seam get wavy because the fabric shifted halfway down the strip? Proper pinning stands as your strongest defense against that frustrating outcome.
Get this alignment right from the beginning, and when you finally flip your handle outward, you will feel that satisfying pop of a clean finish. Precise preparation turns a standard sewing guide into a truly reliable technique for everyday bags.
4. Stitch Along Both Long Edges with a Consistent Seam
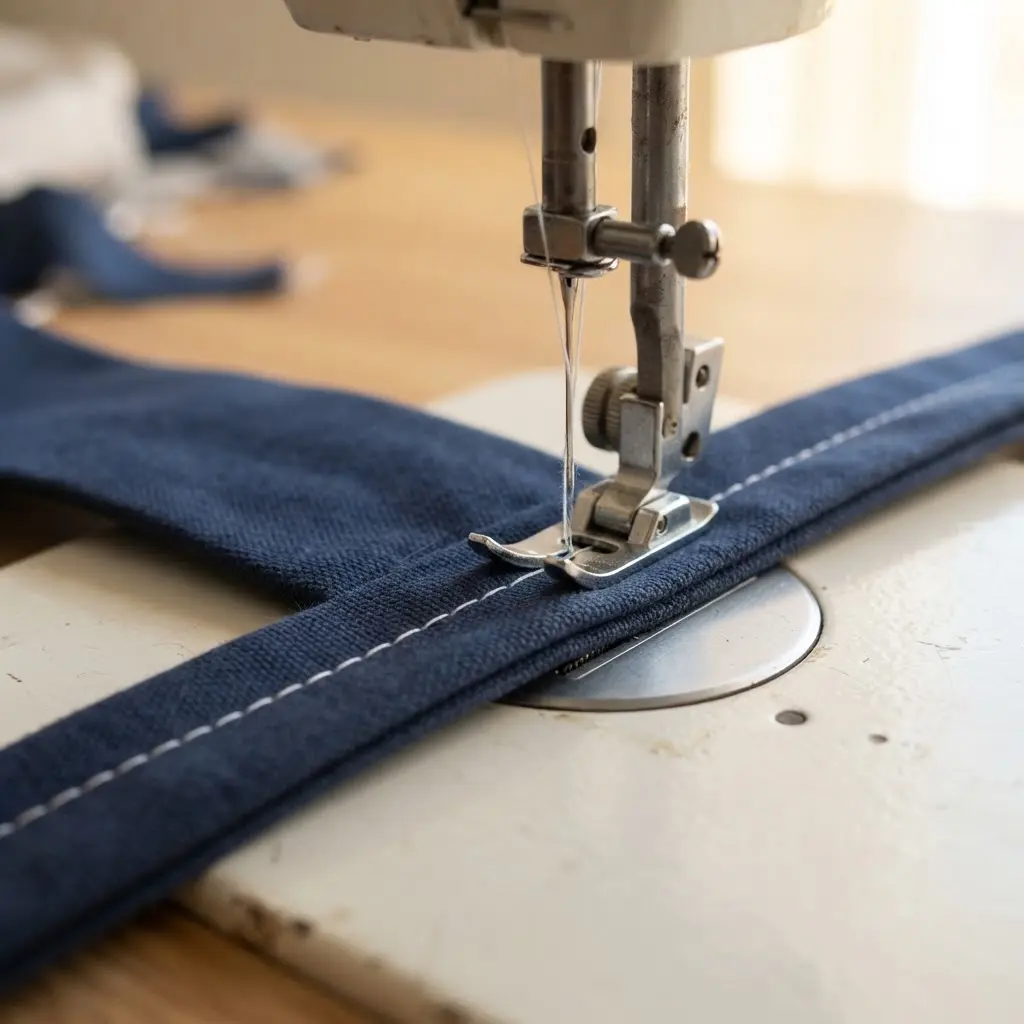
Ever wondered why some homemade carriers look so tidy while others seem uneven along the edges? The answer lives entirely in this simple stitching routine. You will feed your pinned layers right sides together, align the long edges under the needle, and run a steady straight stitch down both sides. Keep the raw textile edge pressed firmly against your machine’s seam allowance guide for the entire length of the tube.
This consistent feeding creates a strong, durable foundation that withstands heavy lifting without pulling apart at weak points. Following the exact stitching pace of every roll up tote strap tutorial keeps your edges perfectly straight and entirely secure. I love that quiet moment when you snip the final thread and see two parallel lines running perfectly straight down the tube.
If you plan on tackling a separate water bottle holder next month, you will quickly discover that the exact same principle of steady, even stitching guarantees its durability. That steady rhythm builds true confidence with every pass through the machine.
5. Press Your Seam Allowances Open Flat
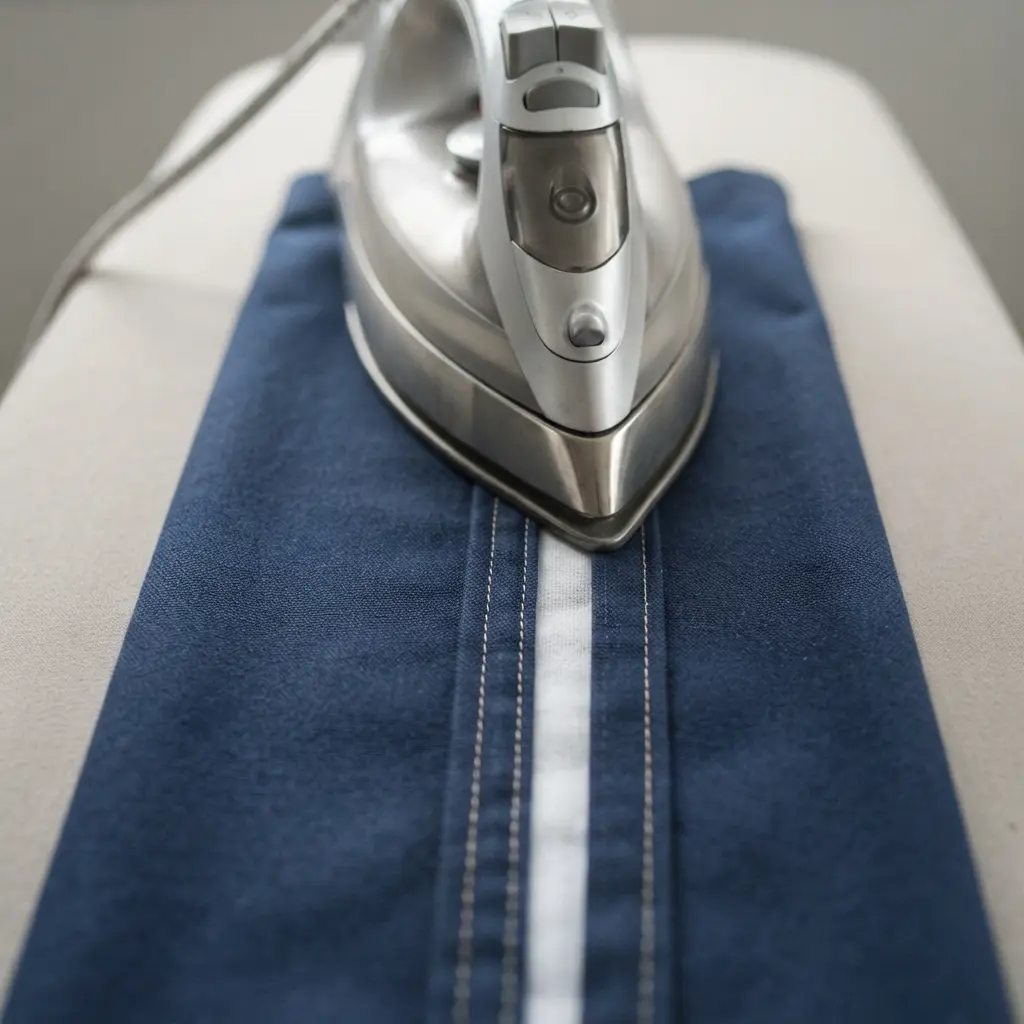
Ever noticed how some handmade bags show lumpy, raised seams while others appear perfectly smooth from every angle? The difference comes down to this crucial pressing stage. After you finish your stitch lines, use the tip of your iron to gently coax the seam allowances flat on either side of the needle track. I always feel a rush of satisfaction because this step instantly elevates amateur work into professional territory.
Start by pressing the seam exactly as it was stitched on the wrong side to set the thread. Then, carefully use the iron edge to nudge each allowance outward and press them completely flat. Always lay a thin cotton pressing cloth over delicate prints to prevent permanent shiny scorch marks. Reducing this internal thickness guarantees your finished handles will lie perfectly flat against the shoulder.
This routine works flawlessly because it removes all that layered bulk right at the seam line itself. Committing to this heat-setting phase during any construction process ensures a smooth, polished foundation for the rest of the build.
6. Turn Your Fabric Tube Right Side Out Cleanly
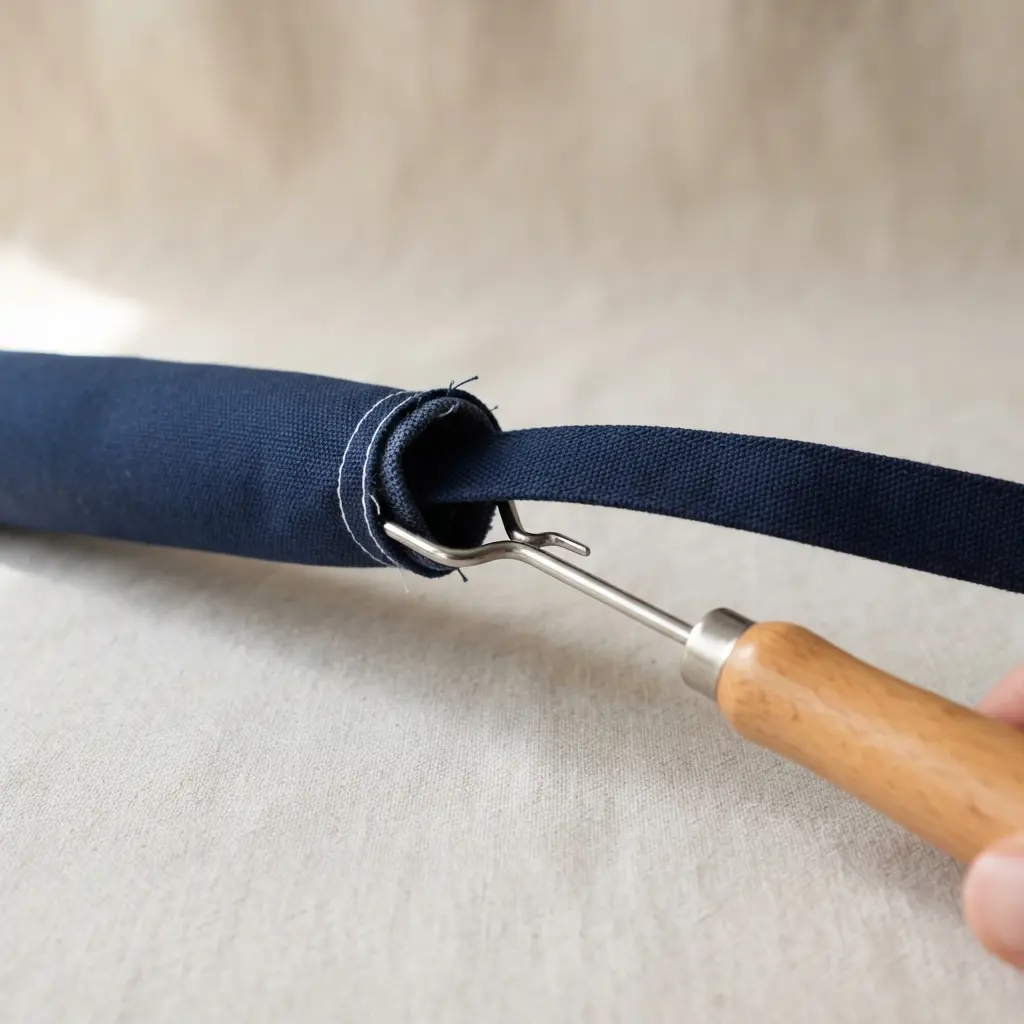
Ever wonder how commercial carriers achieve those impossibly smooth, seamless exteriors? This turning step looks intimidating, but it only requires steady hands and patience. After closing one end of your tube, use small scissors to trim the excess seam allowances down to an eighth of an inch. Then attach a loop turner to the inner fabric and gently pull the textile through itself from the opposite opening.
I absolutely love my metal loop turner for narrow channels, though a safety pin clamped onto the end works perfectly for wider tubes. The absolute key is guiding the material slowly through the narrow cylinder to avoid stretching the weave or tearing the stitches. This gentle extraction works because it neatly tucks every single raw edge inside for a flawless finish. Practicing careful handling separates a rushed demo from a refined construction guide.
Once flipped completely, press the entire length flat with plenty of steam. This same patient flipping method works beautifully for projects like making a dollhouse backpack where every tiny corner demands perfect attention. Feel that deep satisfaction when your new handle looks like it came straight from a department store shelf.
7. Insert Your Batting Strip into the Center
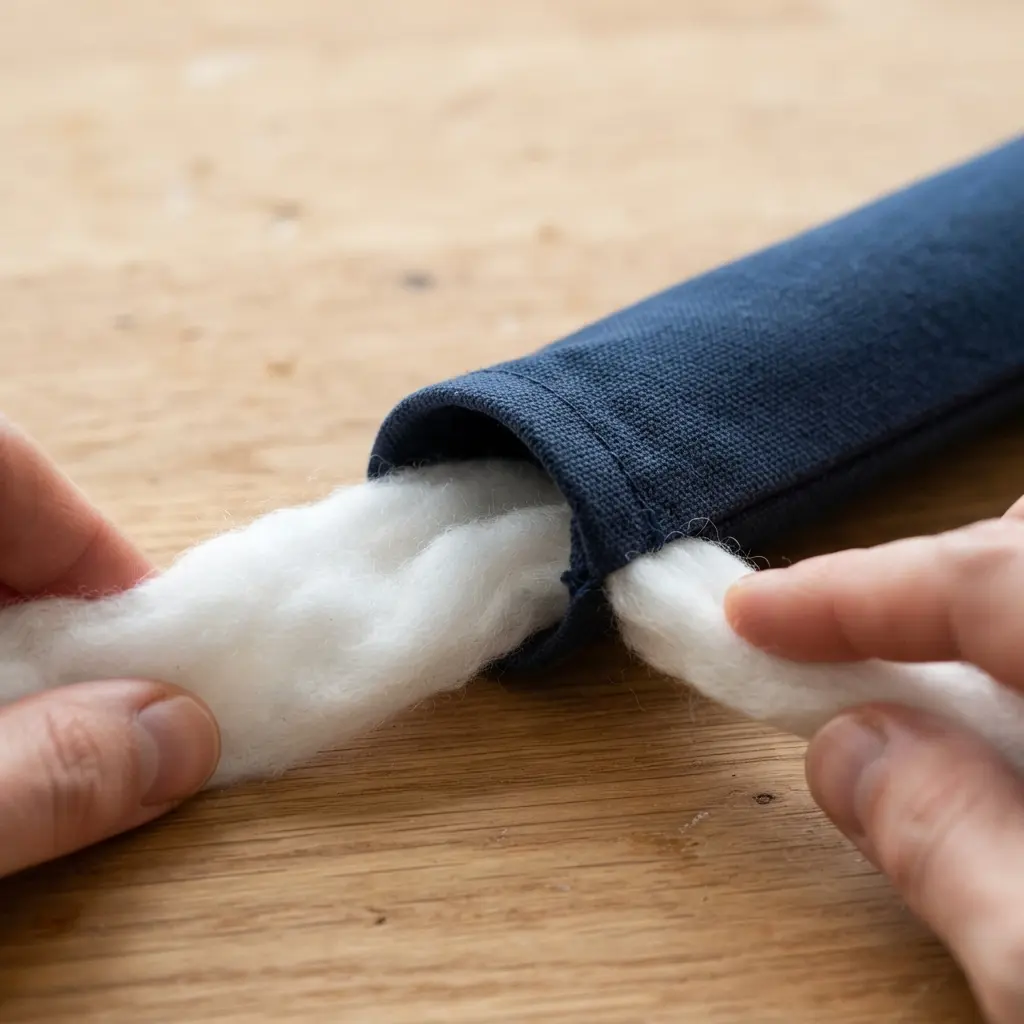
Does sliding padding into a narrow tube sound frustrating to you? I promise it takes less than a minute, and the result brings incredible comfort. Simply trim your long polyester batting strip slightly narrower than your fabric tube width. Lay it down the center channel, gently coaxing it flat so it sits evenly without twisting.
I watch closely as this careful insertion creates a perfect, even cushion right where your shoulder will rest. It completely prevents any awkward, hard ridges from pressing against the seam line during heavy lifting. Your main task here involves gentle coaxing to center the fluffy material before you secure it permanently. Use a few straight pins along the top edge to anchor everything in place for the next stitch line.
Adding proper cushioning sits quietly behind the scenes in every reliable construction guide. Take that extra moment for careful positioning, and you will absolutely love the soft, padded feel against your collarbone.
8. Topstitch Along Both Edges for a Polished Look
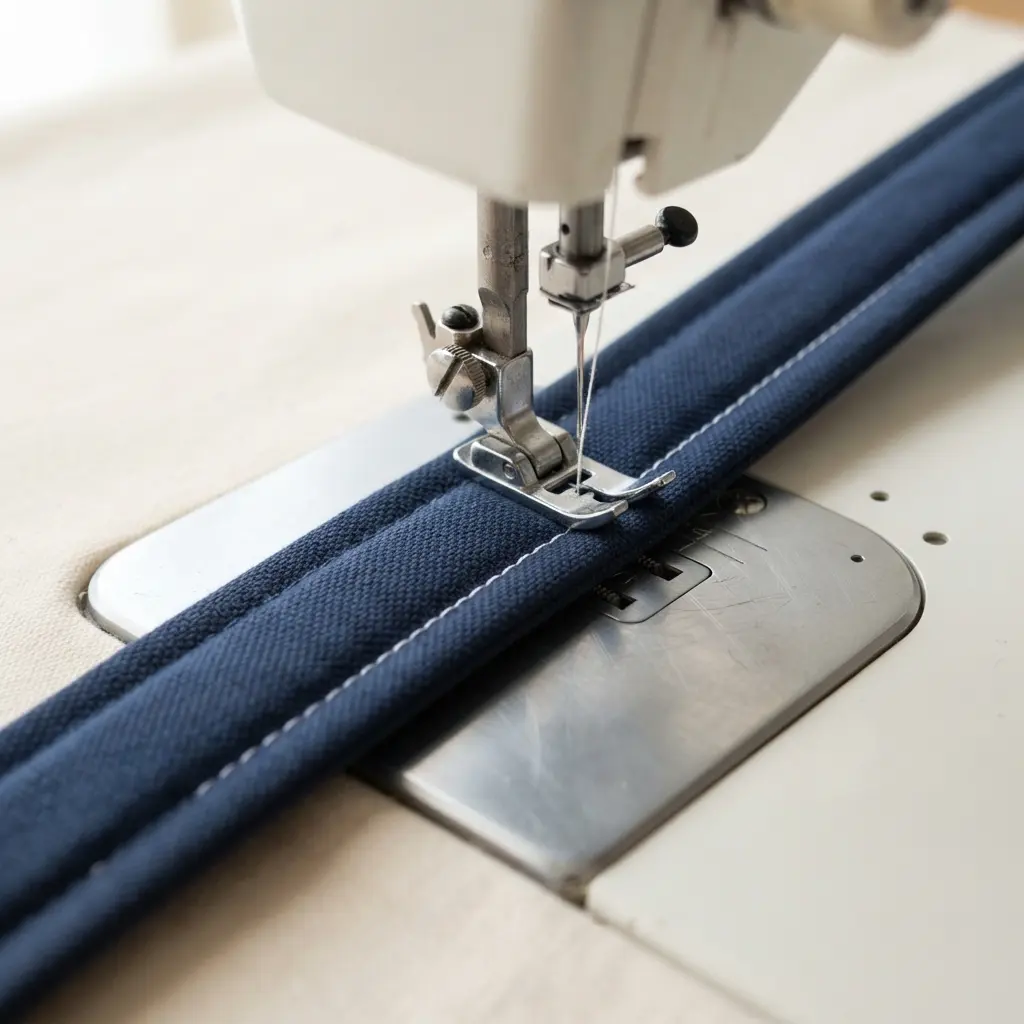
Ever noticed what gives a retail bag that sharp, tailored appearance along the borders? It almost always comes from this visible reinforcement pass. After padding your tube, you will run two parallel stitch lines along the outer edges, anchoring the inner batting directly to the fabric walls. This dual pass locks everything together and keeps the internal layers from shifting during movement.
I always switch to a slightly longer stitch length for these visible passes, usually around three millimeters, because the longer loops lay flat and prevent fabric puckering. You can choose matching thread to keep it subtle or pick a bright contrasting color to highlight the craftsmanship. Selecting the proper thread tension and needle size guarantees your roll up tote strap tutorial delivers a flawless, retail-grade result. These extra decorative lines also add massive durability right where friction concentrates most frequently.
Spending those few extra minutes at the machine creates an undeniable difference in the final piece. Feel that quiet pride watching the needle glide smoothly along the thick edge.
9. Fold the Raw Ends Inward for a Neat Finish
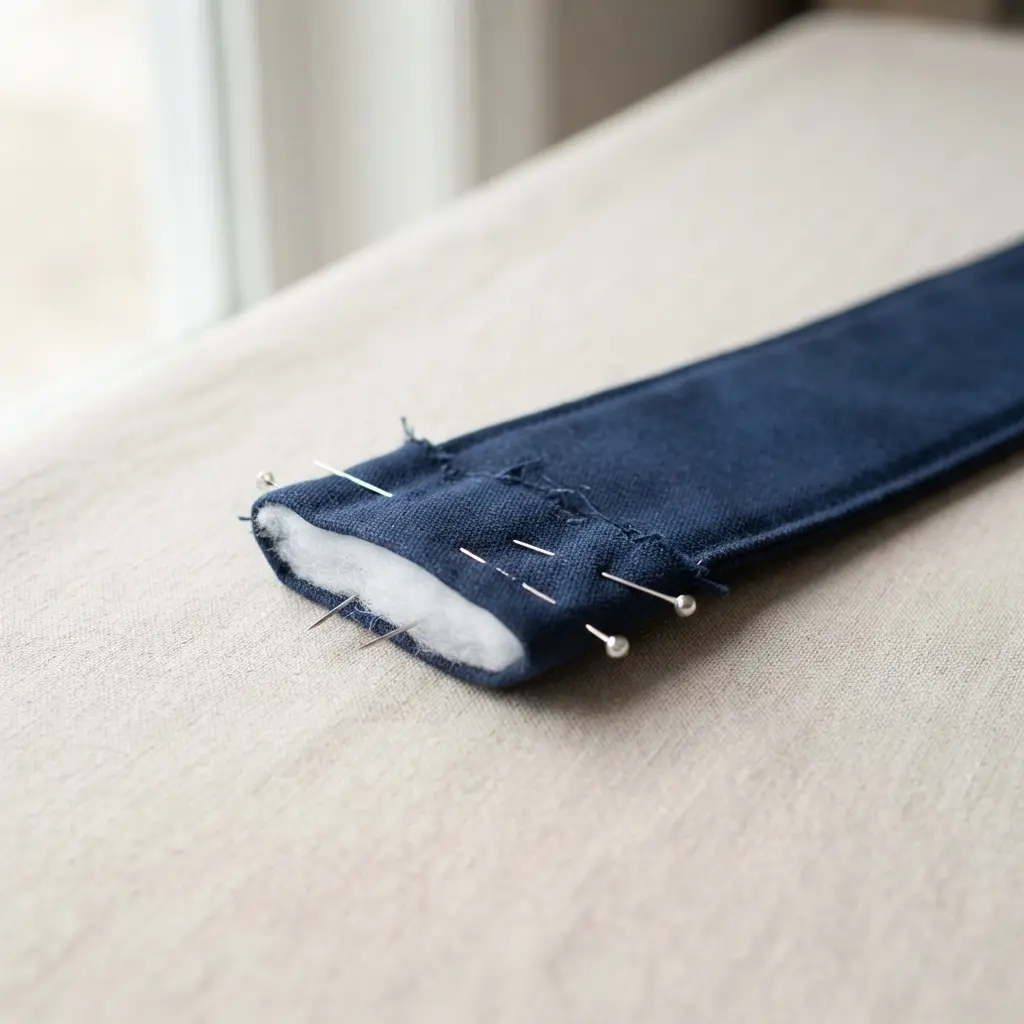
Ever wondered how handmade straps look completely sealed with zero visible edges? The magic hides entirely inside the double fold hem. You will press one short end inward by exactly a quarter inch, then fold it over once more by another half inch to completely hide that cut edge. This layered pocket creates a crisp, heavy border that feels incredibly smooth against your skin. I love watching this simple fold transform a fraying cut into something polished and ready for hardware installation.
Never skip the heat application here! Firmly pressing each fold in place provides the rigid template that guides your needle straight. This folding method serves as a foundational skill across dozens of different sewing applications, delivering that high-end boutique finish every single time. Paying close attention to iron temperature during any construction guide ensures your corners stay razor sharp through daily wear. Trust me completely, you will smile when you see that perfectly enclosed edge.
10. Secure the Ends with Decorative Cross Stitching
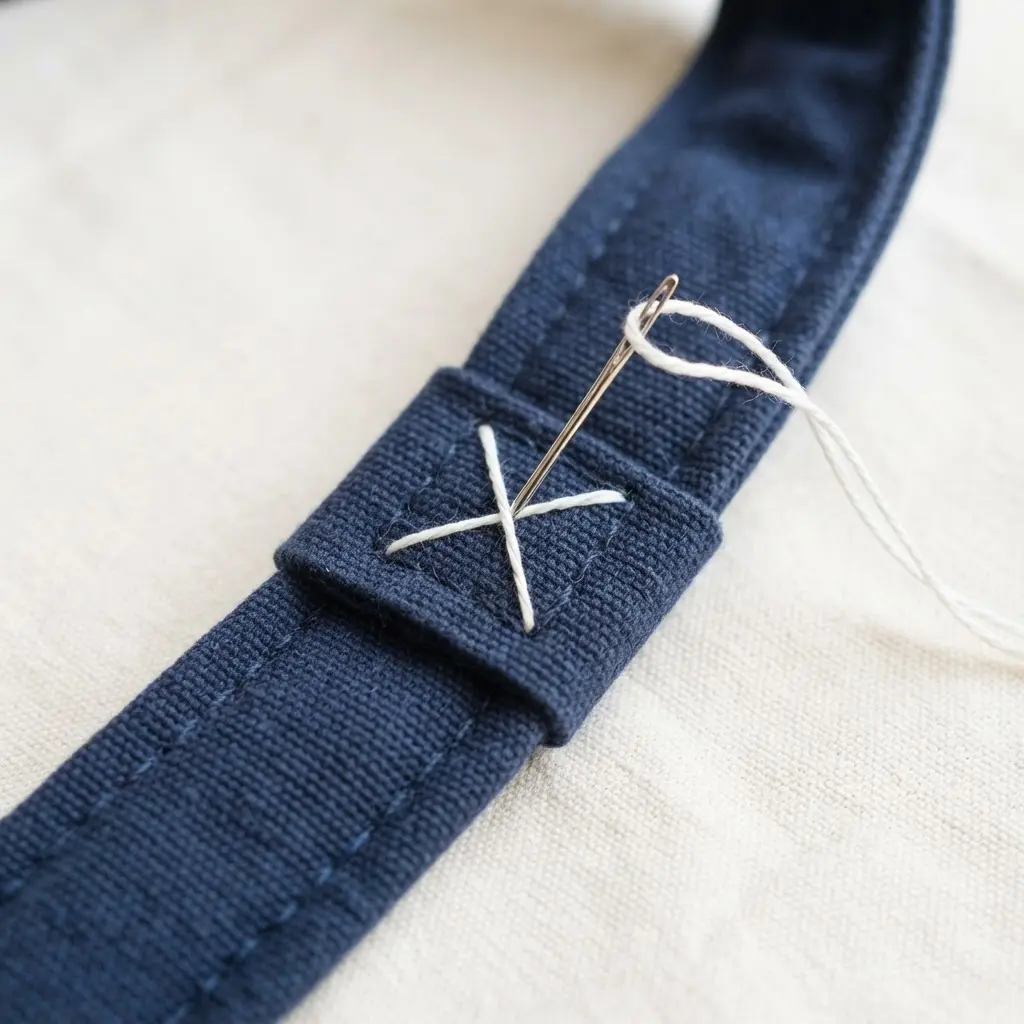
This hand-sewn finale feels like placing a beautiful signature on months of careful preparation. It might look intimidating, but the rhythm of creating those little X’s quickly becomes second nature. Grab a sharp embroidery needle and run a continuous whipstitch along the folded edge, crossing your thread on every third stitch to lock the fabric tightly in place.
I absolutely love this manual finish because it handles two crucial jobs simultaneously. Each tiny knot locks the hem to prevent any future unraveling, while the visible thread pattern adds a beautiful, handcrafted accent to the hardware point. The absolute trick lies in maintaining consistent hand tension throughout the entire row, avoiding both loose loops and puckered gathers. Practicing steady needle movements quietly reinforces the craftsmanship of any construction guide.
Isn’t it wonderful when a purely decorative technique also provides serious reinforcement for your daily carry? Tuck your final thread knots securely behind the hem, then admire that glowing, fully finished edge.
Integrating Snap Closures for Compact Storage
Adding a metal closure provides the cleanest method for keeping your compressed handle securely coiled, but you must calculate the added material thickness before drilling. Beginners frequently make the mistake of positioning the hardware through too many overlapping layers, which makes it physically impossible to close properly. Here is the thing, you always need to drive the prongs through only the main outer fabric and its interior lining, completely avoiding the bulky folded hem edges. Installing those metal teeth requires steady pressure, and using a heavy-duty installation tool helps your setup glide smoothly over sudden hardware humps without bending. A reinforced bar-tack stitch placed exactly half an inch above the closure anchors the surrounding textile and prevents permanent stretching under heavy load. Applying hardware correctly within this roll up tote strap tutorial prevents bulky stress points near the attachment area. That tiny reinforcement detail separates a casual craft project from a truly durable everyday accessory.
Conclusion
How did your new handle turn out after following these steps? That solid weight resting in your palm proves every careful decision paid off beautifully. Look at the beautiful piece sitting on your cutting mat, ready to carry your weekend market finds or library books. Understanding the exact purpose behind each layer transforms a simple sewing guide into a lifelong reference for sturdy accessories. The real magic behind a great roll up tote strap tutorial lives in knowing why each press and stitch matters for long-term structure. Try experimenting with a walking foot attachment for your next heavy project to feed thick batting layers without shifting. Your future creations absolutely deserve this careful attention, and now you possess every skill needed to deliver it.
FAQs
Q: What is the best fabric for a roll up tote strap?
A: Choose a sturdy, medium to heavy-weight woven textile like cotton canvas, duck cloth, or sturdy denim. These tightly woven materials hold their intended shape exceptionally well and fully support the internal stabilizer layers.
Q: Can I skip the fusible interfacing?
A: I strongly advise against leaving it out. That thin stabilizer sheet adds crucial structural body and stops the carrier from stretching or going limp during heavy grocery trips. It truly remains the hidden secret behind that professional, rigid feel.
Q: My strap feels too bulky after turning it. What went wrong?
A: This usually occurs when the internal seam allowances were pressed unevenly before the flip. Always spend extra time with a hot iron to compress every single fold flat, and double-check your starting measurements against the cutting guidelines to ensure your strips were not cut too wide initially.
Q: What needle and thread should I use for topstitching?
A: Install a sharp denim or heavy topstitching needle, size 90/14 or 100/16, to cleanly punch through multiple thick textile layers without jamming. Pair it with a strong, all-purpose polyester core thread or a dedicated topstitching weight for a bold, weather-resistant exterior finish.
Q: How do I attach the finished strap to my bag?
A: The most secure attachment method relies on a reinforced box stitch. Tuck the folded handle end securely between the bag outer shell and the interior lining, then machine a tight square with a diagonal X stitched directly through the center. This geometric pattern evenly distributes shoulder weight across the entire seam line and completely stops tearing under sudden loads.








