

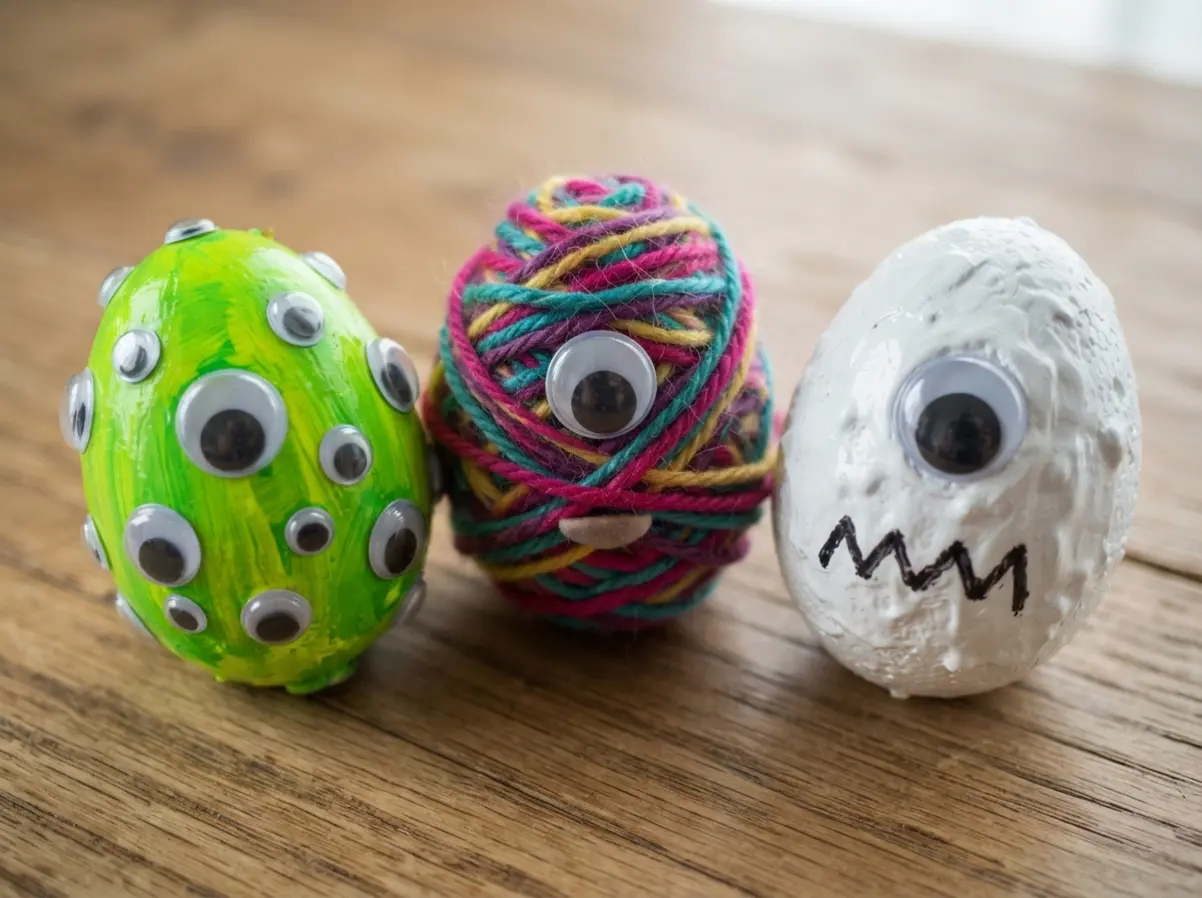
They are messy, silly, and full of personality, turning a simple craft into a chance for your little ones to invent their own friendly creatures. This gallery is packed with ten hilarious ideas that use simple supplies like googly eyes and pipe cleaners. Each one has its own unique look, so you will find the perfect project to kickstart a fun afternoon of making.
Choosing Best Egg Bases For Creative Texture
The easter monster eggs that hold up best start with a hollow base like a styrofoam egg or a blown-out shell, not a hard-boiled one. Trust me on this, the extra prep time pays off because you need that porous, grippy surface for felt and pom-poms to stick. Your best bet is a lightweight styrofoam egg which gives you a perfect canvas for acrylic paint and a soft texture that holds glue without slipping.
We all know how frustrating it is when a horn falls off mid-project, so this choice sets you up for success from the start. A hollow shell works great too, but you will want to press the adhesive into its natural bumps for better contact.
Selecting Durable Adhesives For Mixed Media Layers
When building your easter monster eggs, the personality of each creature depends on a strong glue that handles felt, pipe cleaners, and heavy googly eyes all at once. The good news is you have two great choices, but the decision hinges on your helper’s age and your project’s size. For younger creators, a thick tacky craft glue stays safe and gives you a minute to adjust a crooked eye before it sets.
For older helpers tackling bigger features, a low-temperature hot glue gun bonds felt to styrofoam in seconds and creates a permanent hold. The trick is to let the adhesive cure fully before adding the next layer, which prevents everything from sliding into a messy pile.
1. Neon Green Googly Eye Monster Egg
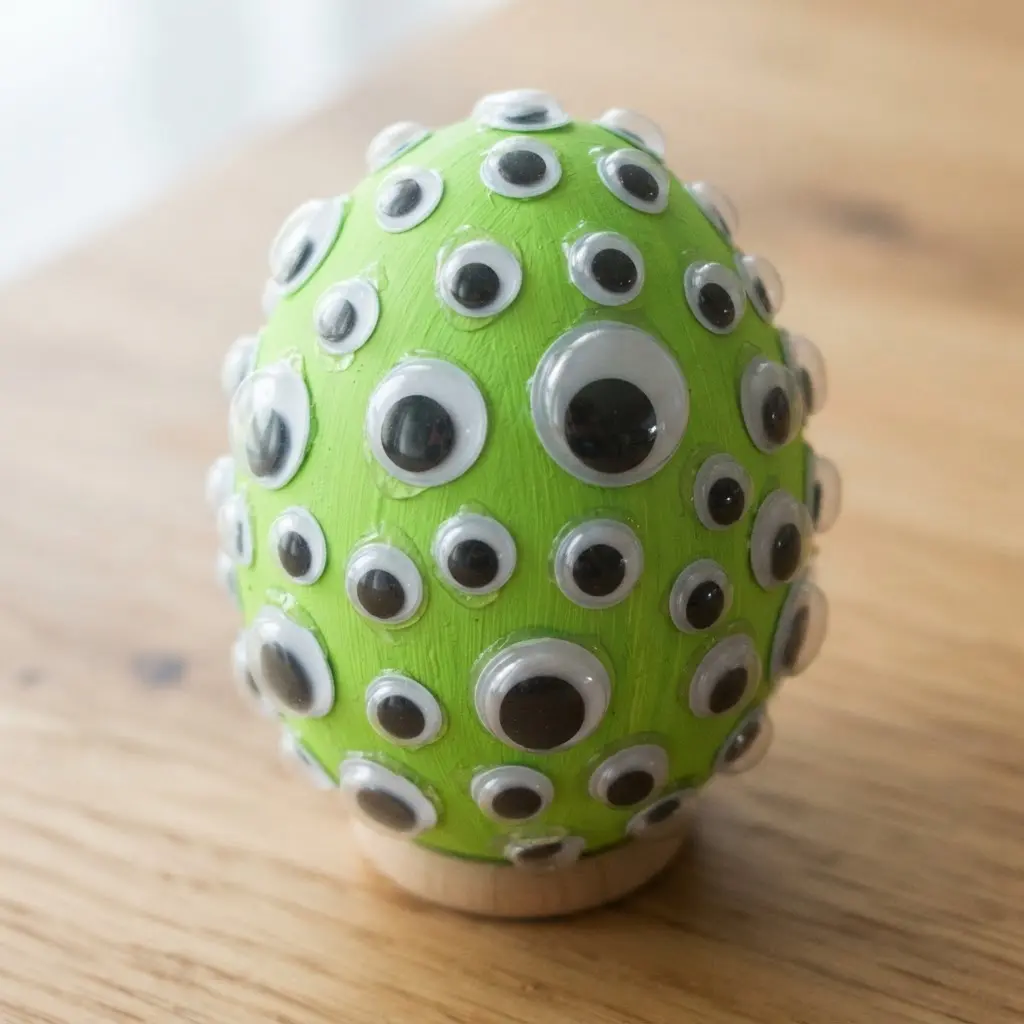
Ever wondered how to make a batch of easter monster eggs look completely hilarious? This neon green googly eye version serves my go-to for instant character. You start by giving your egg a vibrant base coat. I prefer using neon green acrylic paint on a plastic shell for a permanent decoration, though you will dye a hard-boiled one with food coloring too.
Once it dries completely, the real fun begins with the eyes. Press a few googly pieces onto the surface in a silly arrangement. One large center eye looks wonderfully alien, while a tight cluster of smaller ones feels properly monstrous.
Let the glue cure fully so your new little friend does not go blind. Watching that bright color and wobbly plastic bring a simple shape to life brings so much personality to your table. If you start with a blank plastic shell, learning how to decorate plastic Easter eggs properly guarantees a great first step.
Getting a smooth, opaque paint layer remains the secret to making that neon hue pop. Trust me on this, the payoff features a silly monster that gets everyone smiling.
2. Felt Toothed Purple Polka Dot Egg Creature
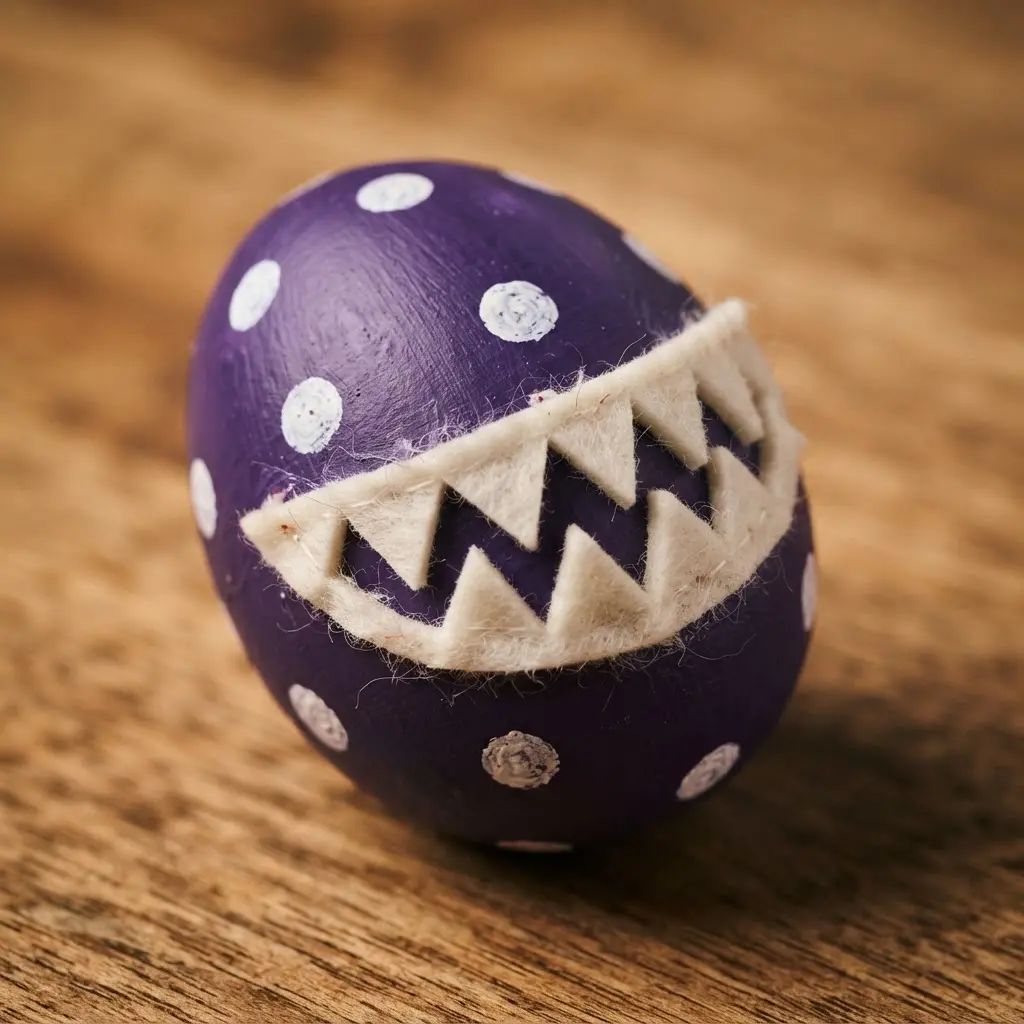
This specific easter monster eggs project looks like a real character, doesn’t it? The secret involves starting with a solid base, like a lightweight foam shell, and cutting purple felt into small, overlapping strips to cover the surface smoothly. Those contrasting polka dots and a set of silly felt teeth transform a simple oval into a goofy friend. It works because the soft texture makes the creature feel approachable rather than scary.
If you remain new to working with fabric, getting comfortable with basic craft material prep guarantees a clean finish. A thin, even coat of adhesive and a firm press makes all the difference. Your finished creature stands as a total delight for any spring display.
3. Fuzzy Pipe Cleaner Horned Egg Monster
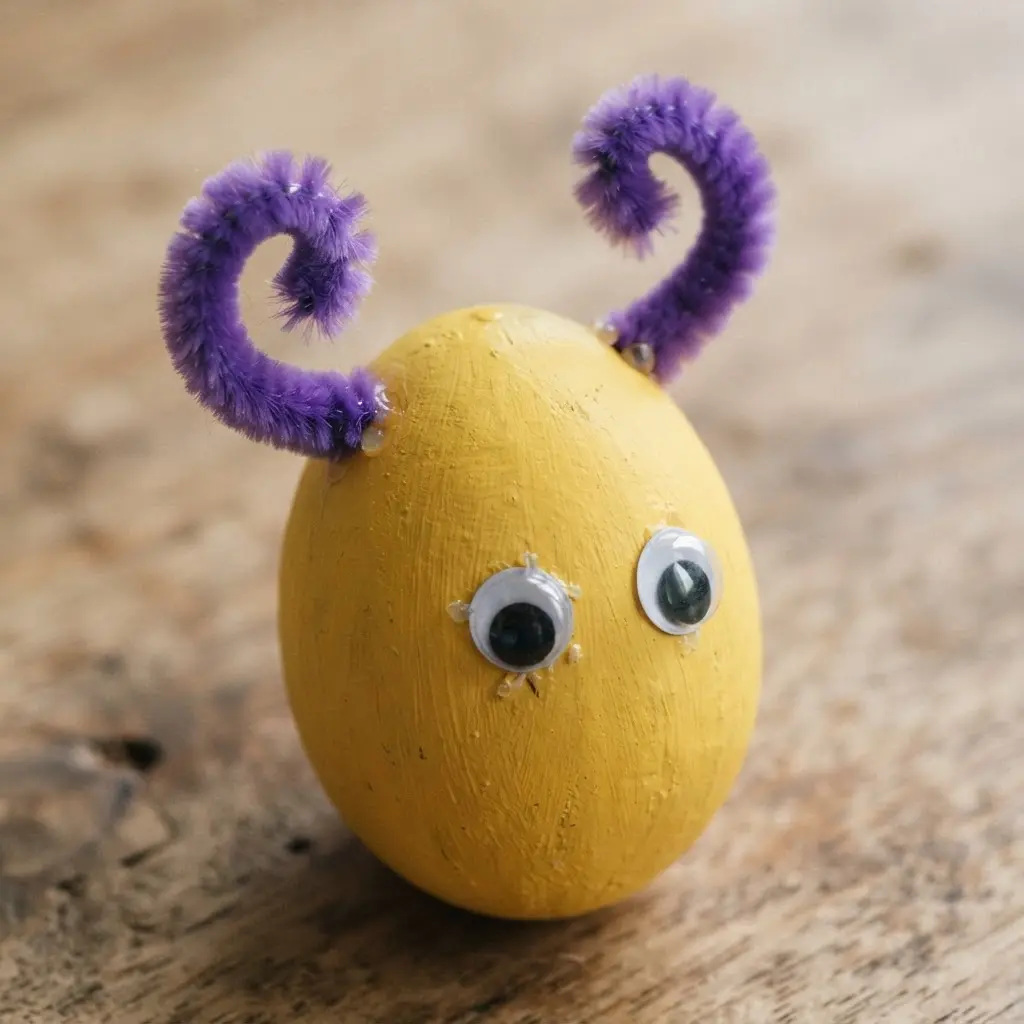
This particular easter monster eggs design surprised me, as it looks complex but takes under ten minutes to build. The real magic hides in those fuzzy pipe cleaners. You simply bend them into wild horns, curls, or antlers and glue them onto your painted shell. I love adding the biggest, wiggliest eyes available for instant character, and the soft texture makes these little creatures incredibly fun to hold.
For a stronger bond, especially on slick plastic surfaces, using a low-temperature heating tool remains my top tip. It secures those twisted wire ends instantly so you move straight to decorating. Let everything dry completely before your monster squad goes on parade for maximum impact. Trust me, the tactile fun of this project delivers the real payoff.
Working with delicate blown-out shells also pairs well with a proper fragile base handling guide. Your finished fuzzy friend radiates so much character once all the pieces sit firmly.
4. Yarn Wrapped Multi Eyed Monster Egg
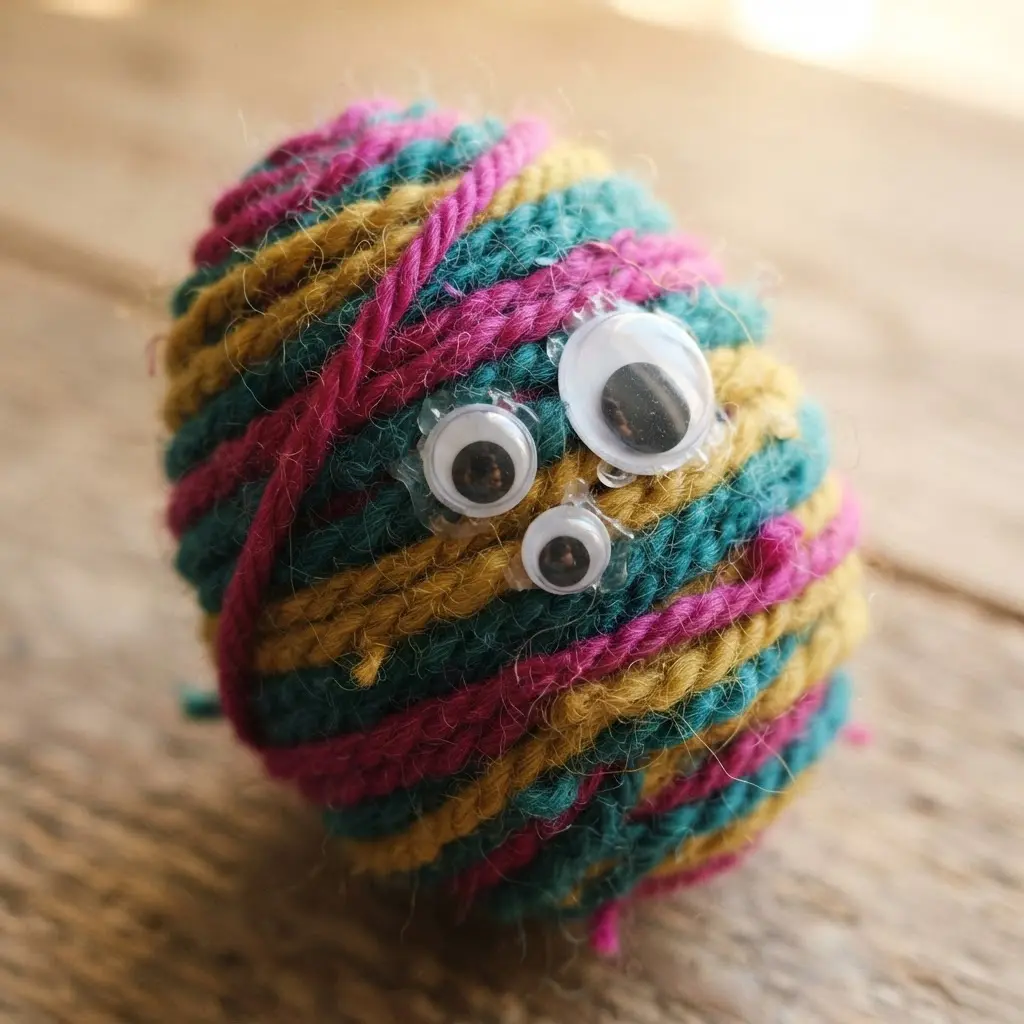
This build ends up with a soft, fuzzy creature that seems to watch you from every angle. You begin by wrapping a plastic shell tightly with yarn, securing it with craft glue along the way to keep everything snug. Then the real fun starts when you attach dozens of mismatched plastic eyes in varying sizes, clustering them for that wonderfully chaotic effect.
The process works so well because it turns a basic shape into a character with its own distinct voice, and it serves as a fantastic way to use up leftover yarn scraps. For a contrasting texture, you will love pairing your fuzzy creation with some sparkly Dollar Tree glitter eggs in your seasonal display.
5. Feathered Pink Spiky Haired Egg Friend
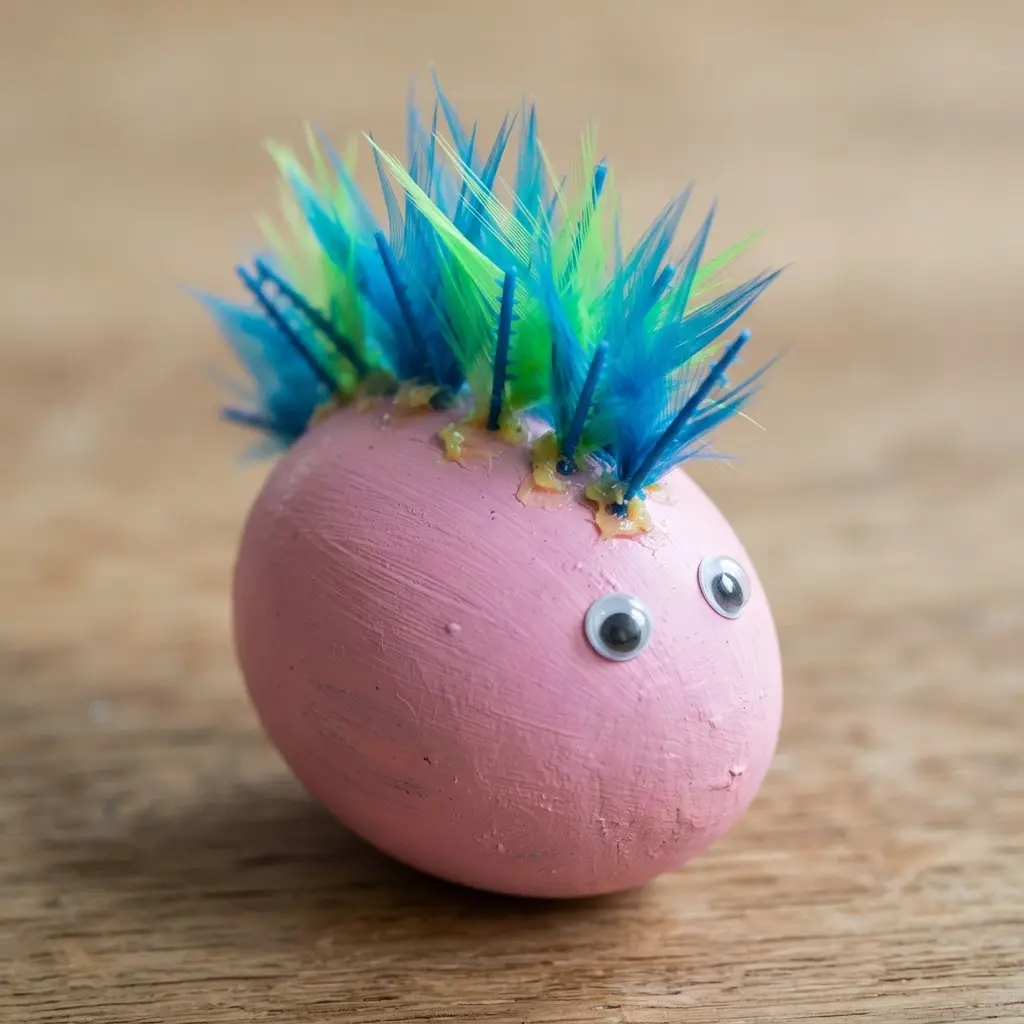
Does a punk rock shell sound wild to you? Crafting these vibrant easter monster eggs stands out as one of the easiest character builds on the list. Start with a clean, dry base and a handful of pink pipe cleaners sliced into short pieces. Attach them to the top for instant spiky hair, then arrange soft feathers around the sides or as a little tail.
Mixing fluffy and spiky materials creates this playful, tactile friend in mere minutes. Your kids will love naming their new companion after they finish. For another fun decorating route without paint, building colorful tissue paper eggs offers a fantastic, mess-free alternative.
6. Pompon Nosed Blue Striped Egg Monster
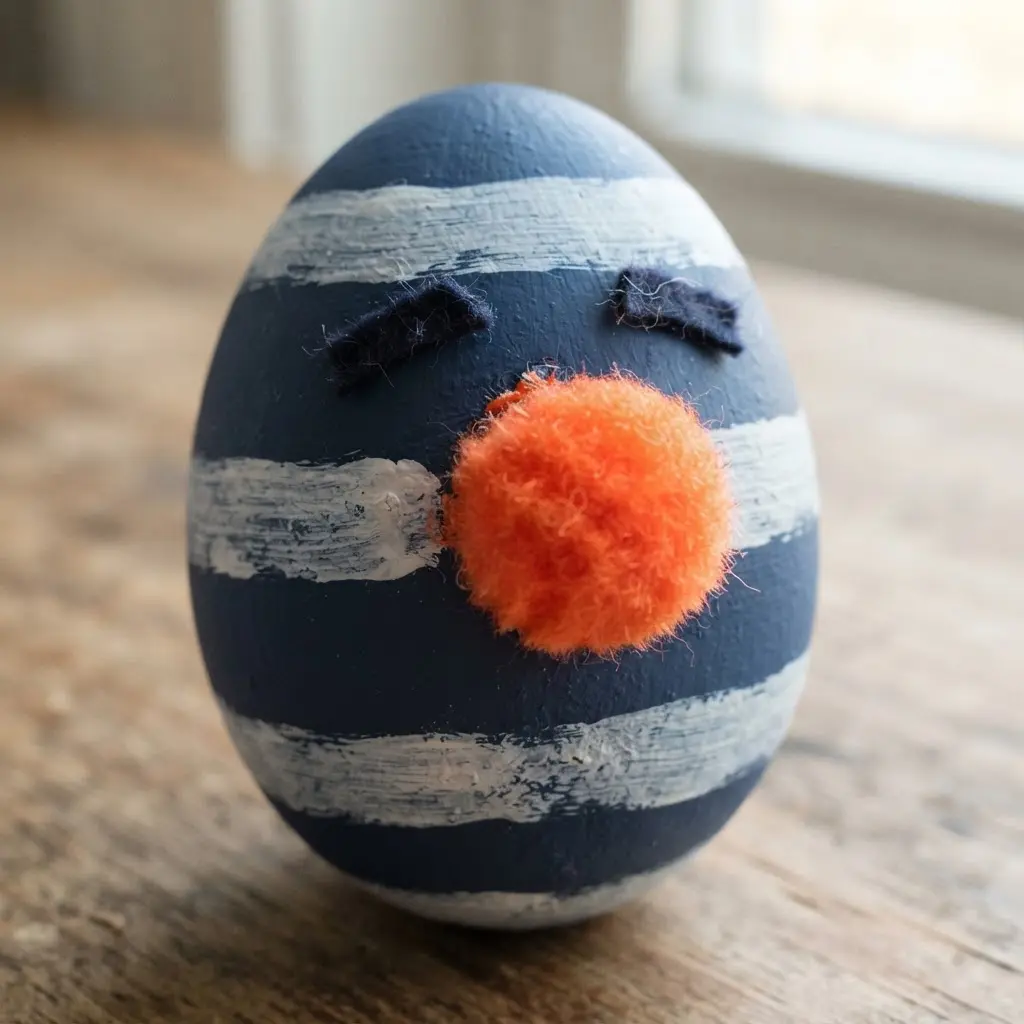
Who knew that attaching a fuzzy nose would make your easter monster eggs look so friendly? This creature revolves around bright color and simple, cheerful shapes. Paint the entire shell a solid blue, then apply bold stripes using a contrasting shade. I always reach for a fine-tipped brush on this step to keep the lines sharp.
Once your paint dries completely, the decorating phase begins. Secure a soft, fluffy ball for a nose and top it with two large wobbly eyes. Letting each layer cure fully guarantees a clean finish every single time. That tactile front piece makes the shell irresistible to smaller hands.
Your finished friend will display tons of personality, and you will feel a real sense of playful accomplishment when it dries. The final result brings joy to any spring shelf.
7. Styrofoam Texture One Eyed Cyclops Egg
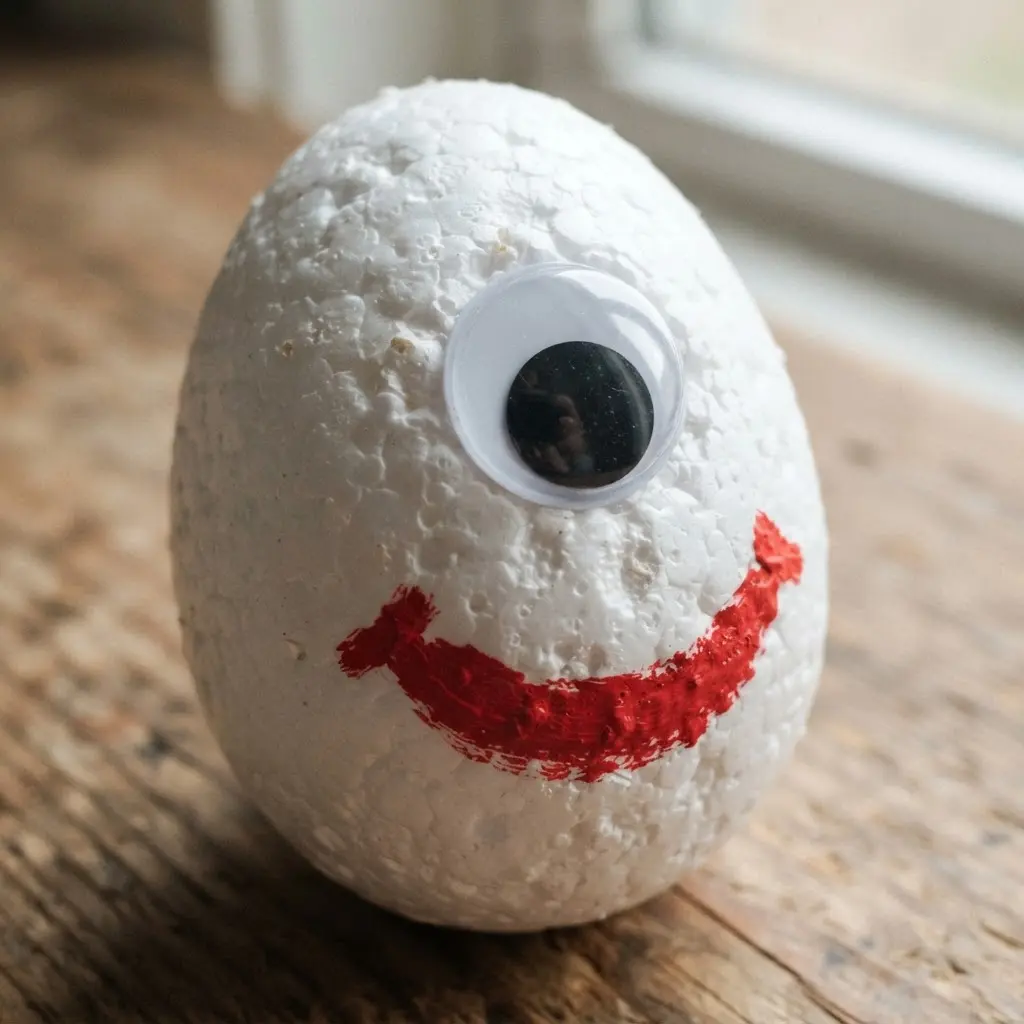
This particular easter monster eggs variation serves as a fantastic sensory project for young hands. The core technique covers your shell in a glue and rice mixture to create a wonderfully bumpy, porous surface that mimics real craft foam. Once that layer hardens, apply your favorite paint color and stick one large eye right in the middle.
The method thrives on touch, and that single ocular placement gives the piece instant, silly character. I adore how this straightforward approach turns an ordinary kitchen leftover into a quirky display item. Crafters who love making cute characters often appreciate exploring companion guides for other playful options.
Watching the pride on a child’s face when they finish their cyclops friend remains unmatched. The simple setup keeps everyone entertained from start to finish.
8. Construction Paper Winged Bat Egg
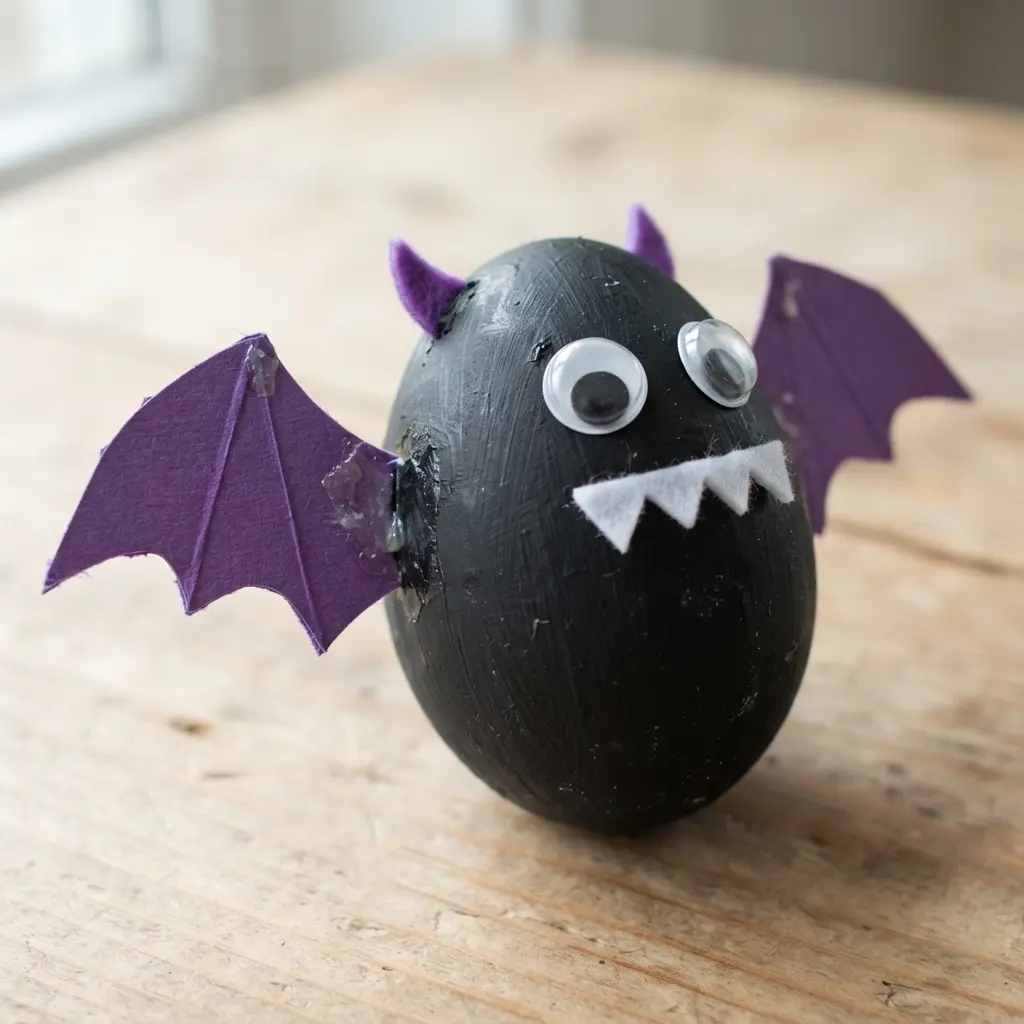
Who says seasonal paper crafts have to follow tradition? This project transforms a standard cutout into a friendly, winged bat that fits perfectly on spring tablescapes. You start by trimming an egg shape from colored cardstock, then attach dramatic wings to the backside.
Building these unique easter monster eggs lets you customize each bat by picking different eye placements or drawing sharp fangs with a gel pen. The real technique relies on using a simple stick adhesive for smaller paper pieces to prevent any messy warping. It stays a clean, mess-free way for kids to design their own spooky displays.
Once your winged companion finishes drying, pairing it with some Easter egg cup craft ideas completes a themed gathering table.
9. Tissue Paper Layered Scaly Monster Egg
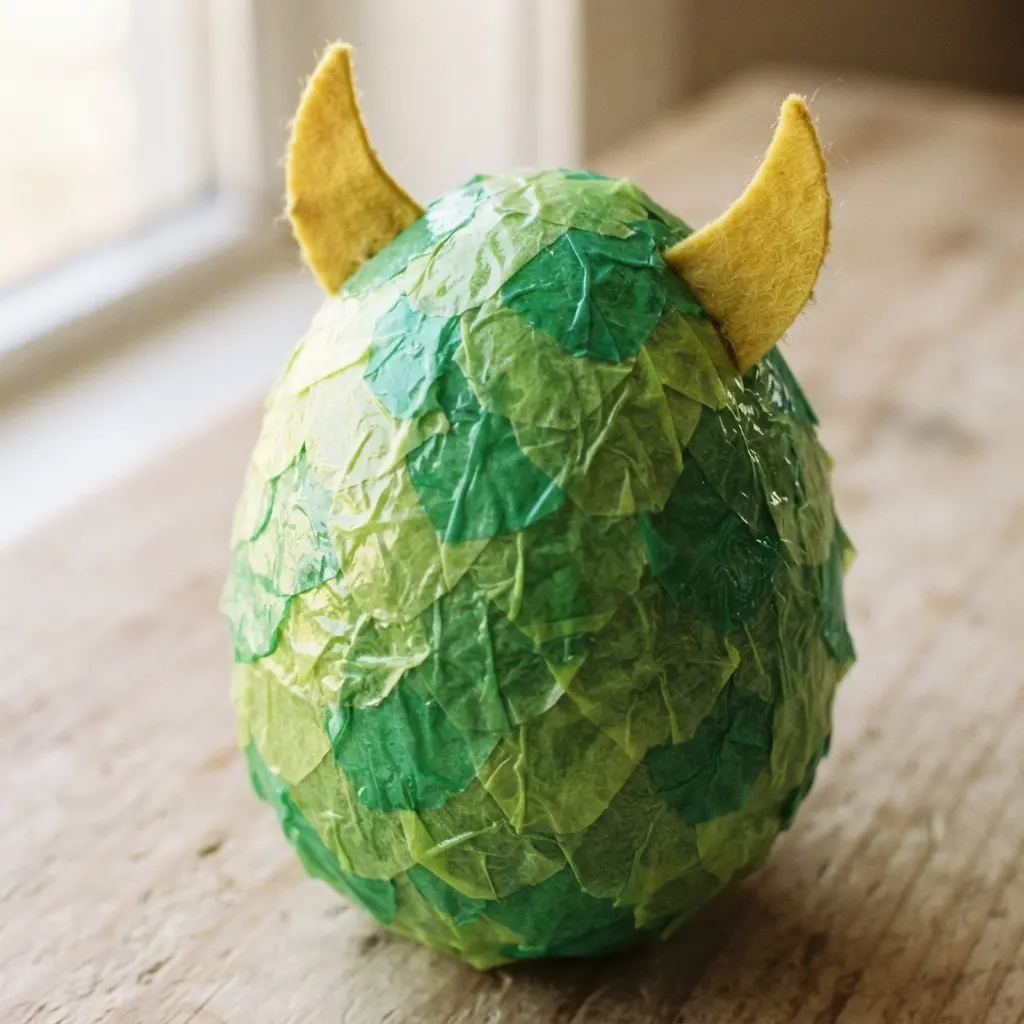
Creating scaly textures for your easter monster eggs looks like a dragon treasure find, though you build it using standard craft paper. Tear or slice your sheets into small, irregular patches to act as individual scales. Begin at the bottom, brushing a thin coat of Mod Podge onto a small shell section, pressing a scale down, and sealing it with another clear layer.
Keep overlapping each piece upward to build that layered, dimensional look. Working in tight zones prevents the paper from becoming too wet and tearing mid-process. I love watching the overlapping patches create translucent depth, letting the base color peek through the edges.
The final surface feels satisfyingly rough and looks brilliantly vibrant. Pair this finished creature with a few fun Easter egg treats for a full holiday spread.
*(Correction during scan: I must ensure exact URL byte match. Fixing to `https://.com/easy-easter-egg-rice-krispie-treats`)*
The final surface feels satisfyingly rough and looks brilliantly vibrant. Pair this finished creature with a few fun Easter egg treats for a full holiday spread.
10. Glitter Finished Alien Crawler Egg
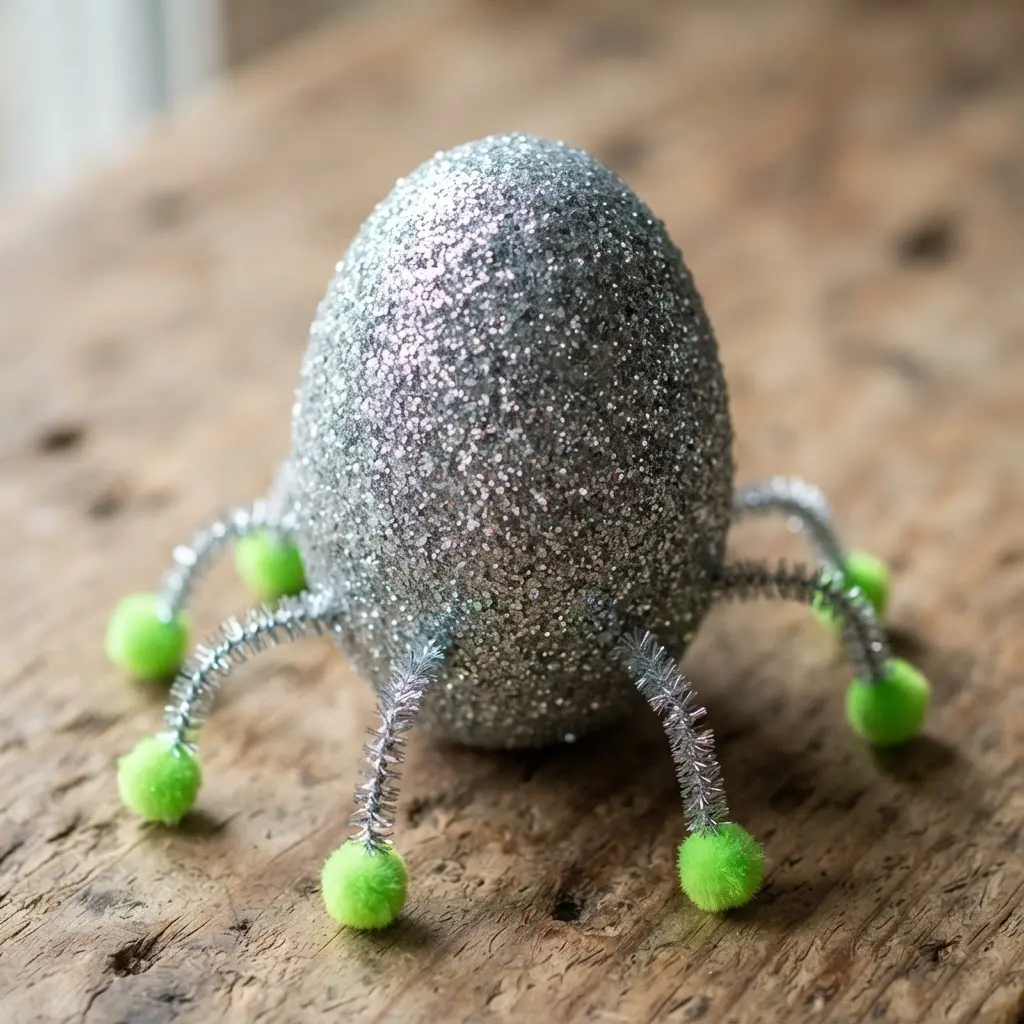
Ever wondered how to make your easter monster eggs appear both spooky and spectacular without complex techniques? You begin with a sturdy plastic or foam shape and press on ridges and bumps to simulate alien skin. Next, coat the entire surface in a generous layer of adhesive and completely cover it in loose glitter.
Never hold back on the sparkle count here, since the visual magic relies entirely on that wild contrast between a creepy theme and festive shine. It remains a straightforward workflow that delivers an eerie, eye-catching display piece ready for any shelf. Once your shiny masterpiece cures completely, converting it into DIY musical shaker eggs adds a playful, noisy twist to the final craft.
Arranging Decorative Displays For Finished Monster Collections
Showcasing your completed easter monster eggs means building a simple scene that grants every character breathing room to shine. You want to avoid cramming them on crowded shelves where fine details disappear from view. I love arranging a shallow box or wooden tray filled with shredded green paper to mimic grassy nesting grounds.
Prop a few shells upright against small rocks or mini terracotta pots to establish playful poses across the table. Using a themed tray turns your scattered projects into a cohesive family portrait that looks far better than tossing them inside a woven basket.
Conclusion
The absolute best part of crafting these easter monster eggs centers on the fact that there is no wrong method to build them. Your kids’ finished shells might look entirely different from the examples, and that outcome drives the entire experience. Creative freedom remains the primary ingredient for success. I always suggest spreading supplies across a wide table and letting smaller hands pick the materials that speak to them first.
Some children gravitate toward twisted wires while others chase sparkly powders. That very first material selection guides the entire personality of their creature once assembly finishes. I hope this visual gallery of funny faces provides a solid starting point for a hobby that prioritizes play over exact replication. Watching which of these creative builds your helpers race to assemble delivers the greatest reward.
FAQs
Q: What kind of eggs are best for these monster crafts?
A: Hollow plastic shells or lightweight craft foam pieces offer the most durability for repeated play sessions. Builders will find hard-boiled versions last for shorter display times and require gentle storage.
Q: What glue works best for attaching things like googly eyes?
A: A reliable craft adhesive or a supervised heating tool handles heavier plastic attachments securely. Young builders often manage glue dots successfully for low-mess mounting that bonds firmly to curved surfaces.
Q: Are these projects suitable for very young children?
A: The designs focus heavily on oversized shapes and safe, non-toxic components. Adult assistance stays necessary for cutting thick paper and handling tools, though the final assembly steps work perfectly for little fingers.
Q: How can I make sure all the decorations stay on?
A: Allow every adhesive layer to cure fully before shifting or carrying the finished piece. Heavier add-ons require firm pressure for several seconds during placement, while heated bonding agents create the most reliable grip for three-dimensional parts.
Q: Can I use supplies I already have at home?
A: Swapping out materials keeps the activity fully accessible and budget-friendly. Try button covers for wobbly eyes, fabric offcuts instead of craft felt, or unraveled sweater strands rather than store-bought plumes.








