

Critical Hardened Steel Cutting Tool Requirements
Your standard jewelry pliers will be ruined if you try to cut memory wire with them. This high-carbon stainless steel is exceptionally rigid and requires a specialized tool. Exploring various memory wire bracelet ideas requires hardened memory wire cutters designed to shear through this tough material without damaging the tool’s blades. Trust me on this, it is the single non-negotiable purchase for working with this medium.
The good news is one quality pair lasts for years and protects your investment in other tools. Trying to force regular cutters will leave a jagged edge on the wire and a permanent dent in your pliers. This specific tool ensures a clean cut every time, making it essential for executing memory wire bracelet ideas with precision. Always make this your first step before you even open your bead box.
Selecting Bead Hole Sizes For Rigid Wire
Beads with holes smaller than 0.8mm will simply not slide onto standard memory wire. You must check this specification before you buy. The typical gauge for bracelet coils ranges from 0.6mm to 0.8mm, so your beads need a hole diameter larger than that to move freely.
I recommend looking for beads labeled with a 1mm or larger hole size to avoid frustration. When planning your memory wire bracelet ideas around accurate bead measurements, you prevent mid-project stalls. You will notice glass seed beads and many metal spacer beads work perfectly for this reason. The repetition of motifs becomes impossible if your beads get stuck halfway down the coil. Always test one bead from a new strand on a scrap piece of your wire first.
1. Monochromatic Matte Glass Bead Stack
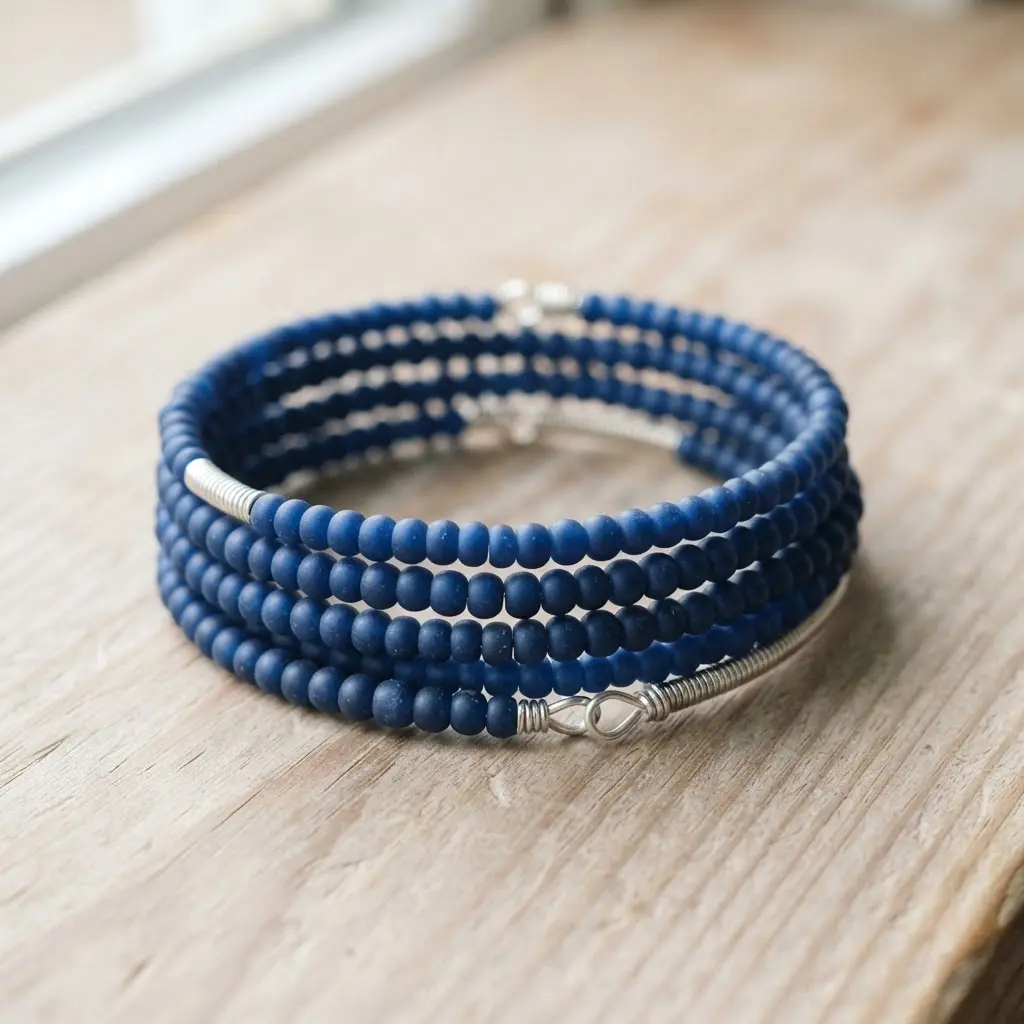
Ever wondered how to make a statement without a lot of flash? This stack is your answer. When mapping out new memory wire bracelet ideas, you simply thread a collection of beads in different sizes and shapes, all in varying tones of a single matte color. I love how the frosted finish gives everything a soft, modern look.
The single-color palette makes these bracelets incredibly versatile. They go with everything in your wardrobe, and the subtle variations in the beads create interest without any effort. It is a sophisticated look that feels both intentional and easy.
Your key to success is making sure the end loops are tight. Use your round nose pliers to create neat, secure closures so your beautiful beads stay put. For a sweet, personal touch, you can add a charm or two into the mix, like an easy heart bracelet crafts charm for a bit of whimsy. Try this stack and feel that quiet satisfaction of a perfectly coordinated accessory.
2. Metallic Gold Spacer Seed Bead Coil
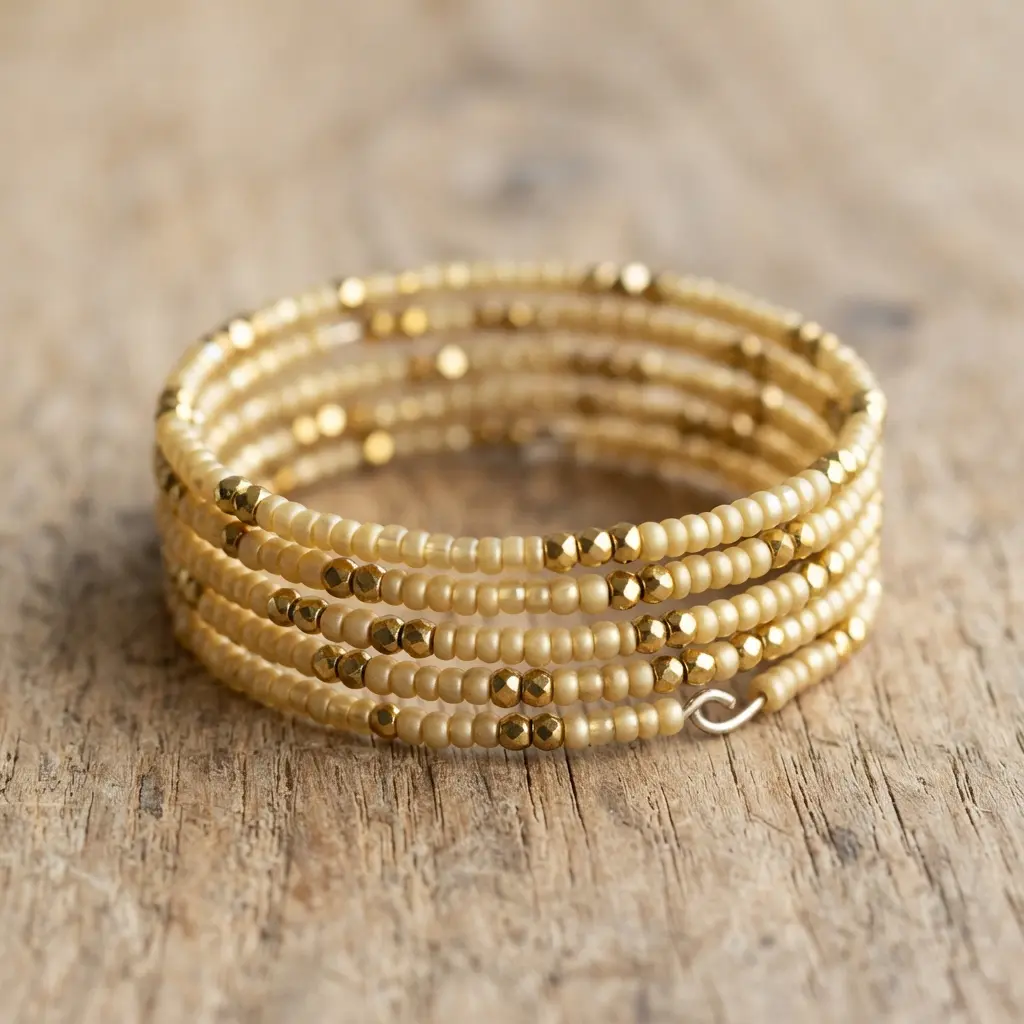
Ever wondered how those sleek, shimmering gold accents get woven into a bracelet so perfectly? This is my favorite trick for adding a touch of elegance without any fuss. You simply cut off the length you need from a pre-made coil of tiny metallic gold seed beads and slide it onto your memory wire as a spacer. It creates a beautiful, continuous line of gold between your larger focal beads.
I love how this works because it saves you from the tedious job of threading hundreds of tiny beads yourself. One of my top memory wire bracelet ideas involves pairing this metallic coil with some chunky stones and earthy tones. For a fantastic textural contrast, try mixing it with unique DIY Navajo bracelet designs. Doesn’t that combination sound stunning?
3. Opaque Pastel Round Bead Pattern
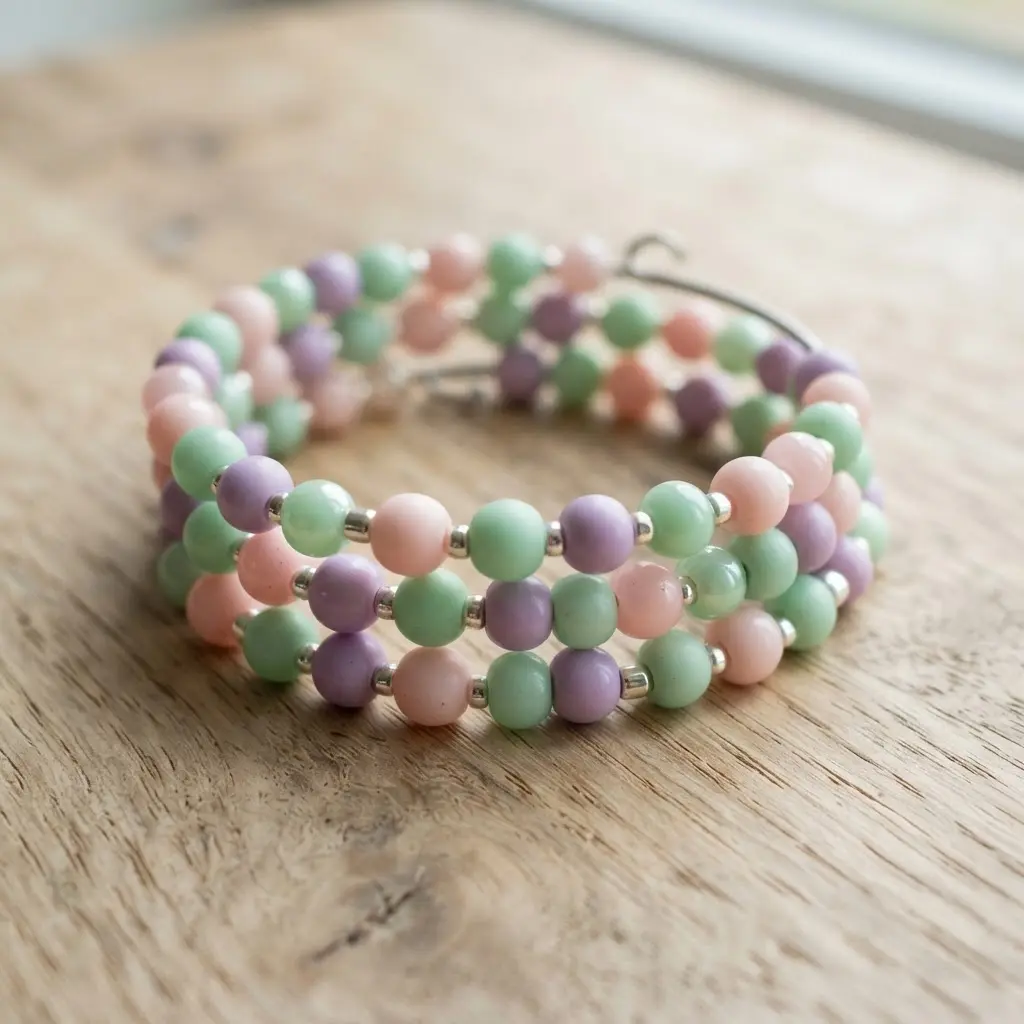
Doesn’t the thought of a soft, pretty bracelet sound lovely? This pattern is one of my favorites for a quick, satisfying project. You simply thread a series of opaque pastel beads onto a pre-coiled memory wire, creating a loop that holds its shape perfectly. The uniform round beads sit so comfortably and give the bracelet a polished, professional look with almost no effort.
It works so well because memory wire is incredibly forgiving—no clasp needed! Many creators share memory wire bracelet ideas that look boutique-bought but only take minutes to finish. I love how this project is perfect for beginners but still yields stunning results.
My go-to tip is to always use heavy-duty wire cutters for a clean cut. Trust me, regular jewelry cutters will not make it through that stiff wire. Give it a try and feel how rewarding it is to make something so wearable in minutes.
4. Clear Crystal Bicone Bead Wrap
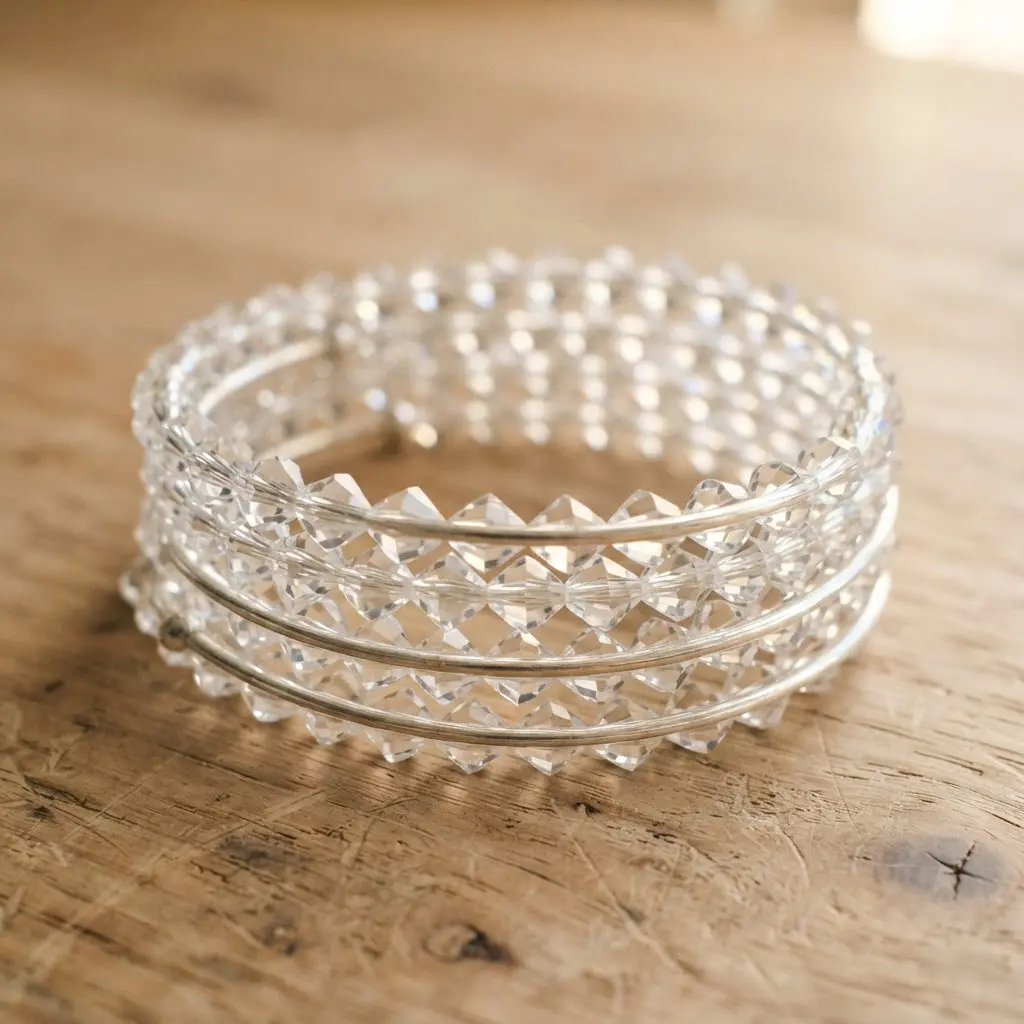
Ever wanted a bracelet that looks like a million bucks but only takes a few minutes to make? This is it. You start by cutting a piece of memory wire with heavy-duty cutters, then form a small loop at one end to stop the beads. String on those brilliant clear crystal bicone beads until the wire is full, and finish with another secure loop.
I love this one because the neutral sparkle goes with absolutely everything in your wardrobe. Among popular memory wire bracelet ideas, this multi-strand wrap always delivers effortlessly chic style. For another fun project that uses a different technique, you need to see these creative straw weaving bracelet DIYs. It is the perfect accessory for adding a touch of elegance to a casual outfit.
Trust me on this tip: always test the fit as you go to get that perfect, comfortable wrap. Doesn’t that final sparkle just feel so satisfying?
5. Multi Colored Earth Tone Seed Beads
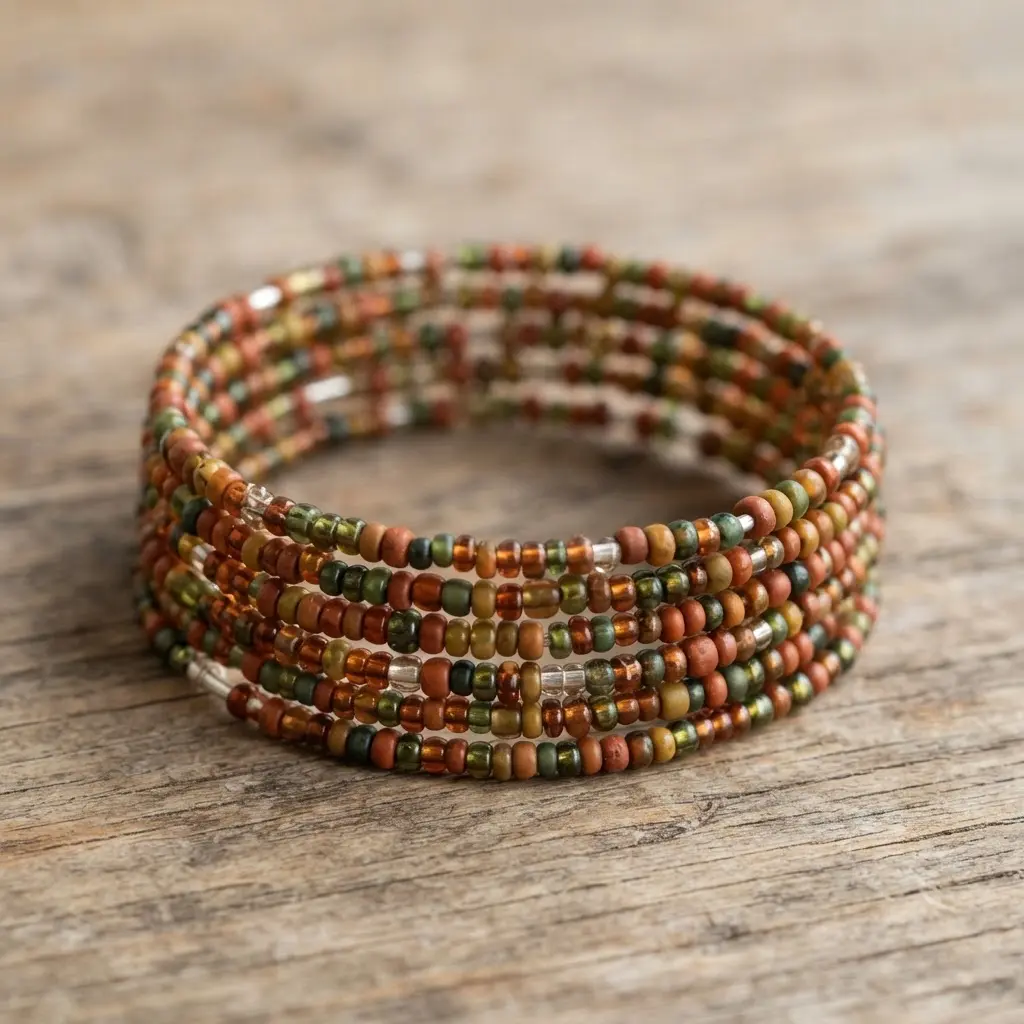
Ever feel like you want a bracelet that looks like it grew from the ground? That is the magic of a multi-colored earth tone seed bead mix. Designers who specialize in memory wire bracelet ideas know stringing these tiny muted beads creates a natural, organic look without any guesswork. The mix does all the color work for you, creating shades of sand, clay, and moss onto your memory wire.
I love that this approach is so forgiving. You can grab a handful of beads and start stringing without worrying about clashing colors. The earthy palette naturally harmonizes, which makes the whole process feel relaxing and intuitive. Your finished piece has a subtle sophistication that works with everything in your wardrobe.
Before you begin a project like this, it is smart to get comfortable with the basics of stringing classic Chinese ladder bracelets. That foundational skill gives you the even tension and secure endings you need for a professional-looking memory wire piece. Trust me, it makes all the difference.
6. Freshwater Pearl and Silver Accent Bracelet
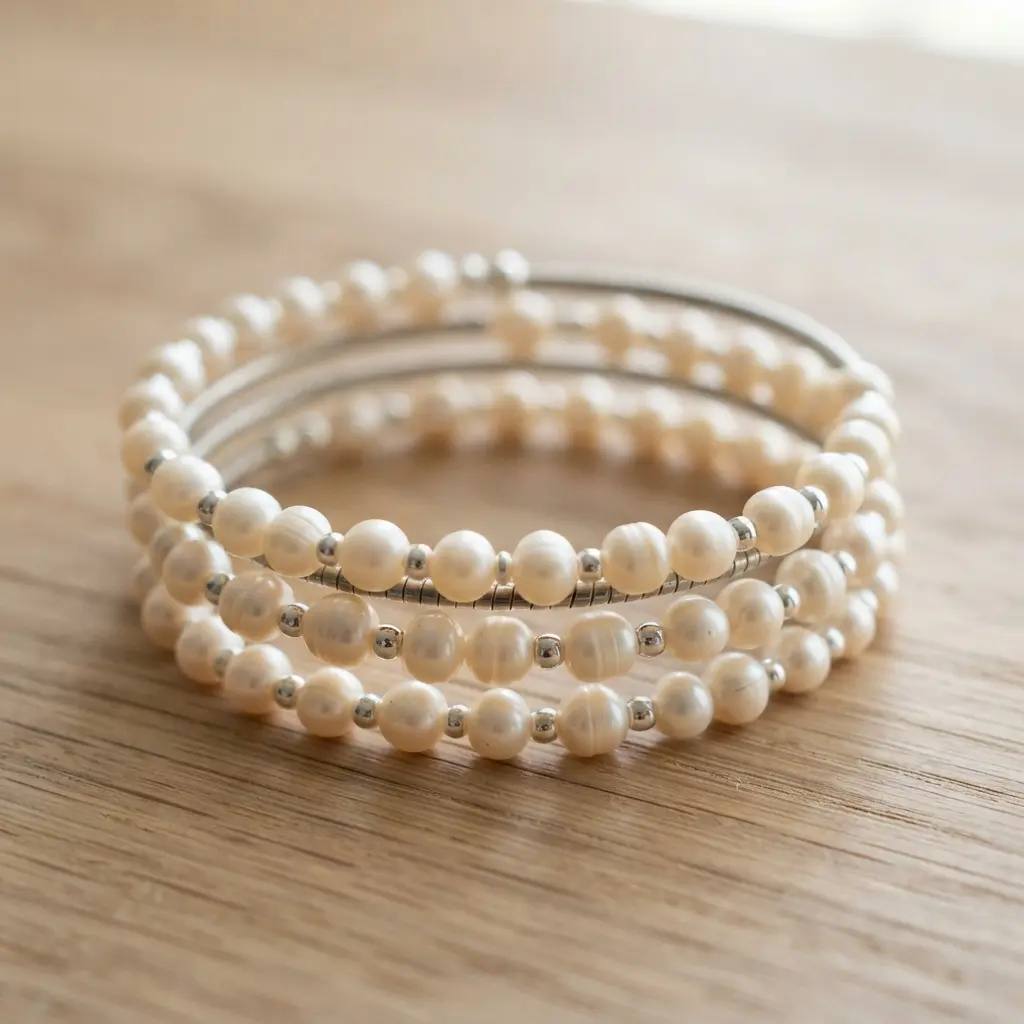
This one looks so elegant, but the construction is wonderfully simple. You are basically just stringing gorgeous freshwater pearls with sterling silver beads or spacers onto a coil of memory wire. I love how the cool silver makes the pearls’ luster pop. Once you finish the loops at each end, the bracelet naturally wraps your wrist without needing a clasp.
This project is perfect for beginners because the memory wire does all the shaping work for you. Your focus is purely on creating a beautiful pattern. If you want fresh memory wire bracelet ideas for special evenings, this pearl combination never fails to impress. Trust me, you will feel so accomplished when you see the finished piece.
My go-to tip? Always cut your memory wire a little longer than you think you need. It gives you plenty of room to form secure loops without the beads feeling cramped. If you enjoy working with different materials, you might find inspiration in different fabric bracelet tutorials for mixing textures in future projects. Does that not look stunning?
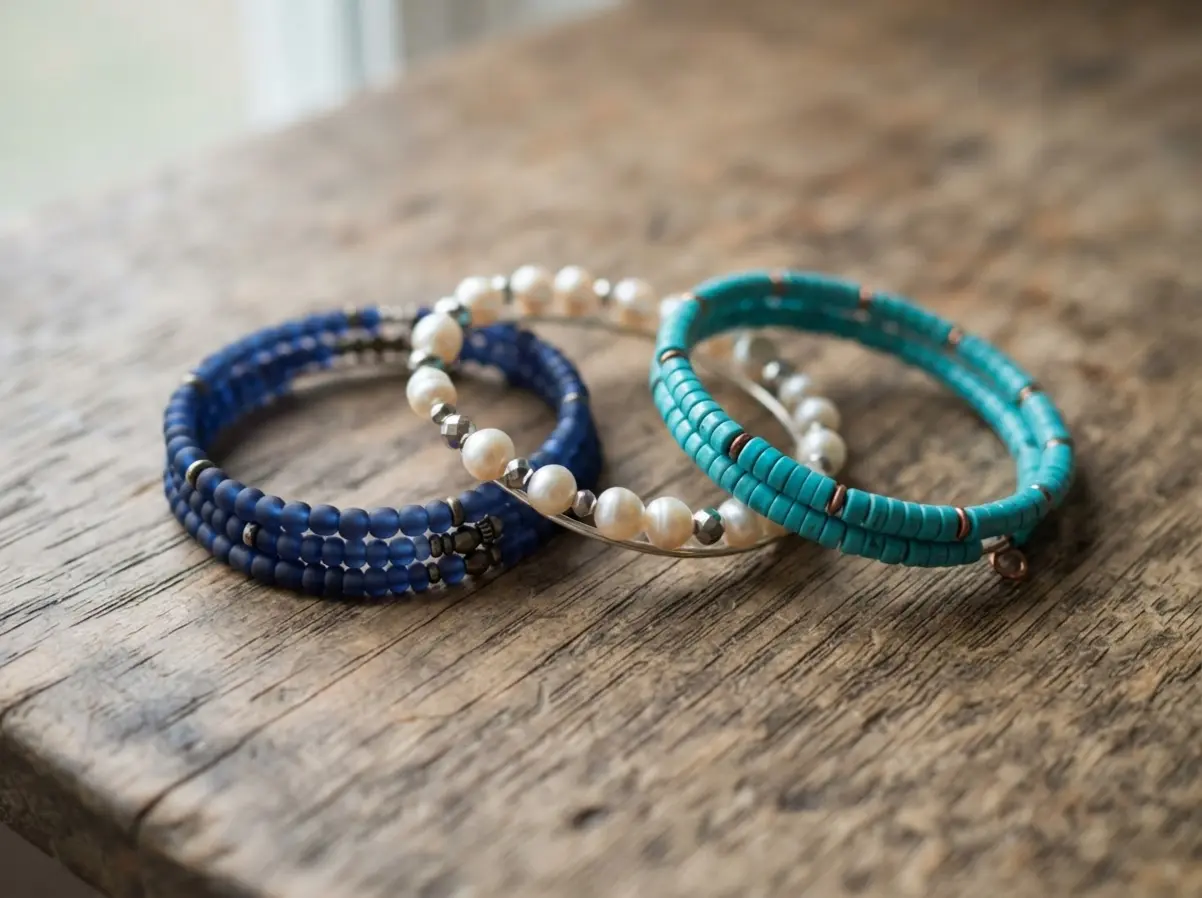
7. Turquoise and Copper Heishi Design
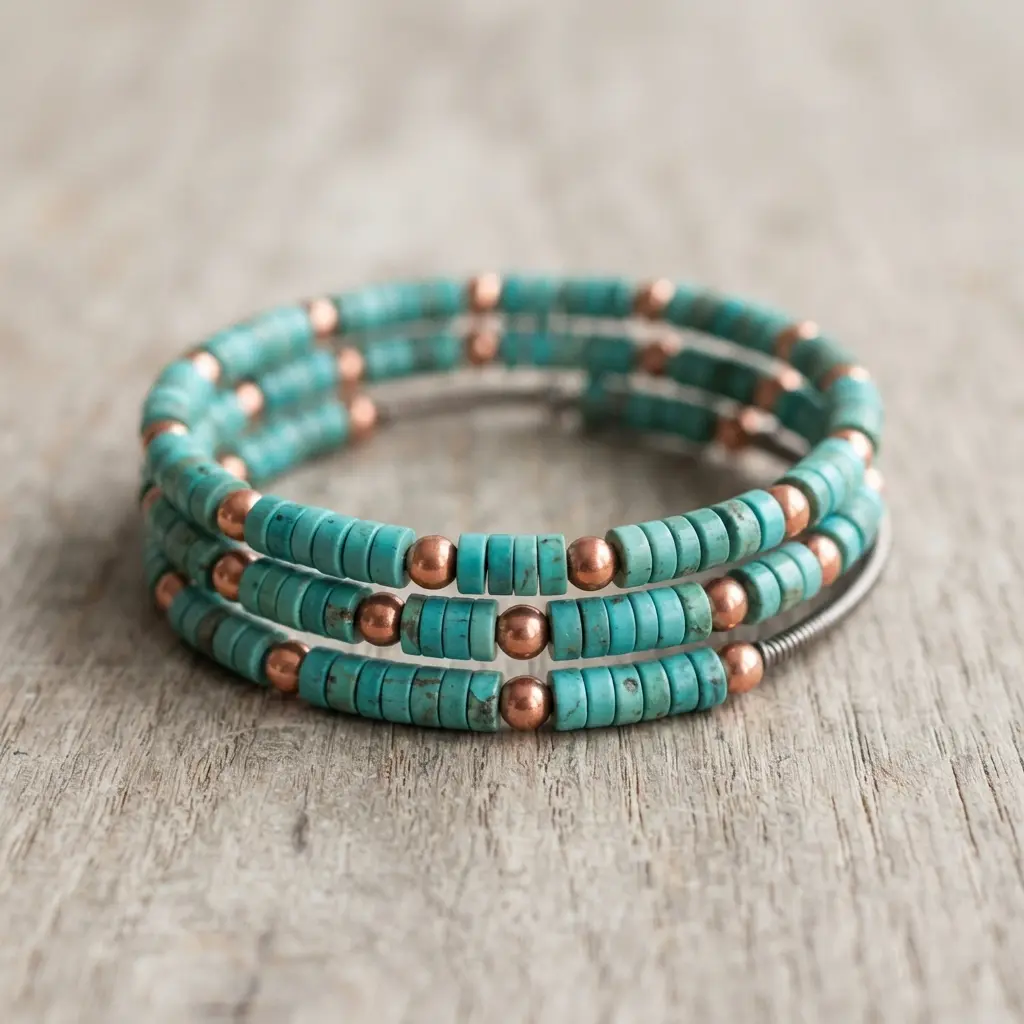
This bracelet looks intricate, but trust me, the construction is wonderfully straightforward. Another stunning set of memory wire bracelet ideas focuses on pairing cool blue-green stones with warm copper to create an earthy contrast that feels timeless. You will string alternating turquoise heishi beads and copper components onto a pre-coiled memory wire, which eliminates the need for a clasp. It is a satisfying project because the uniform disc beads glide on easily and create a comfortable, flexible finish.
Before you start, make sure you have the right tools for creating a DIY cuff bracelet, like heavy-duty wire cutters, to handle the tough memory wire cleanly. A common beginner mistake is not leaving enough extra wire at the ends to form secure loops. Always cut at least half an inch extra on each side.
Also, avoid packing the beads too tightly; a little bit of play lets the bracelet drape nicely on your wrist. Give it a try and feel that pride when you slip on your finished piece.
8. Frosted Sea Glass Bead Strand
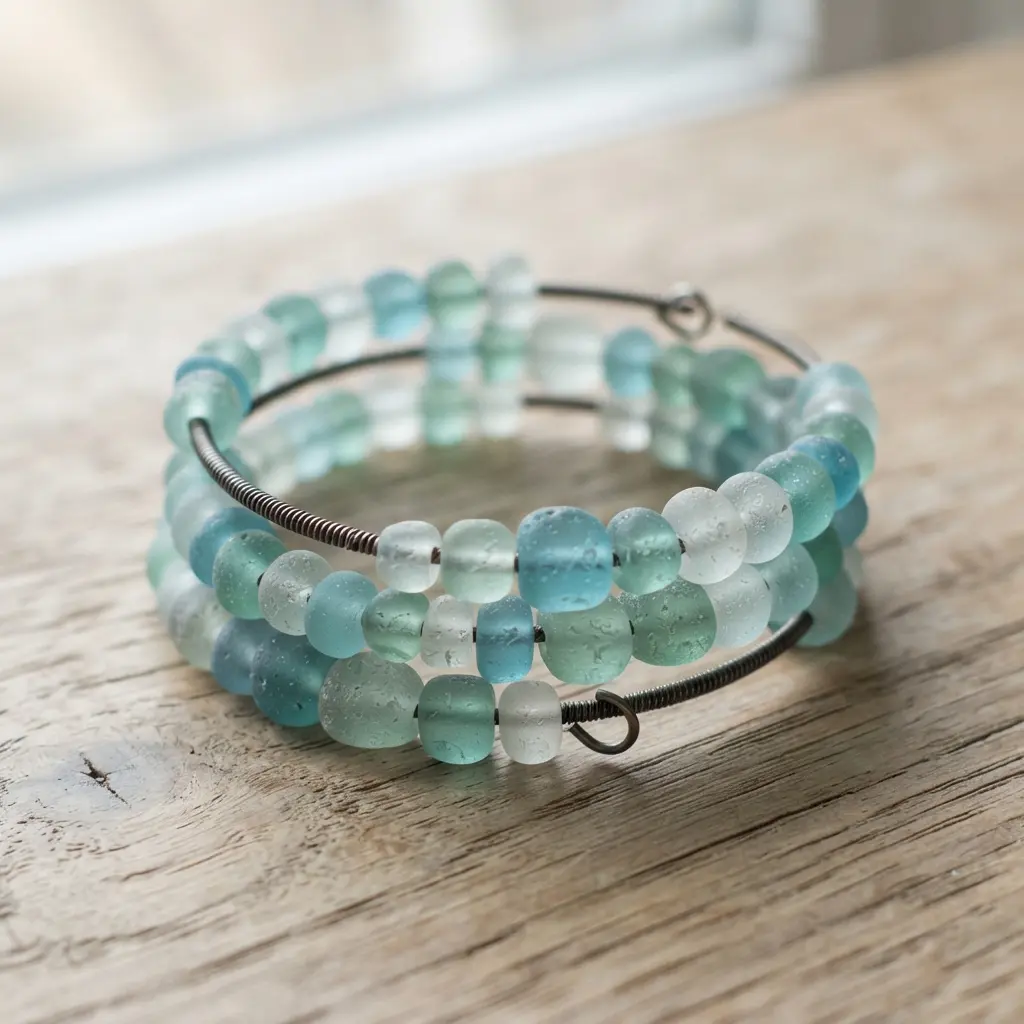
Ever wanted a piece of the beach that feels as soft as it looks? Frosted sea glass beads give you exactly that with their gorgeous matte finish. They diffuse light beautifully, creating a soft, coastal glow that polished beads just can’t match. I love how they feel smooth and almost velvety in your hand, not slick or cold.
When browsing memory wire bracelet ideas, the frosted texture helps the beads stay put without sliding around, which is a huge plus. For a memory wire bracelet, you simply string them in your favorite ocean-inspired colors. Use a sturdy nylon beading cord or elastic, depending on your design. Your finished piece will have that effortless, collected-over-time look that feels so personal.
This style pairs wonderfully with other natural elements, like adding a few candy-themed jelly bean bracelets to a mixed stack for a playful, colorful contrast. It’s a fantastic way to blend serene beach vibes with a pop of fun. Doesn’t that sound like a satisfying combination to wear?
9. Dichroic Glass Accent Bead Coil
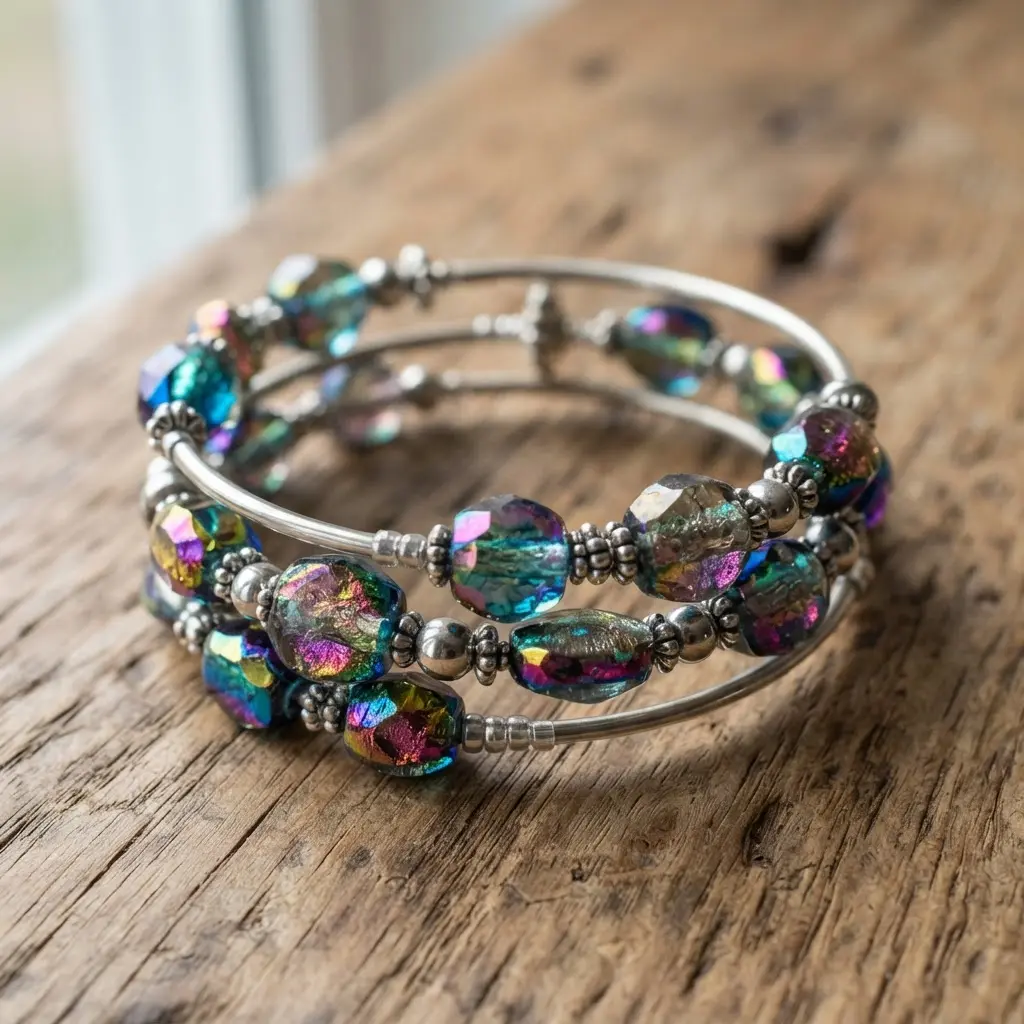
Exploring innovative memory wire bracelet ideas often leads to wrapping fine wire around a small piece of dichroic glass that shifts colors as it moves. The process is all about anchoring the wire to the glass and forming tight, consistent spirals that hug its shape. Doesn’t that sound like a fun challenge?
The result is a stunning focal bead with incredible depth. You get the smooth, iridescent surface of the glass playing against the textured gleam of the metal wire. It works so well because the two materials enhance each other, creating a piece that constantly catches the light from every angle. Your bracelet will have a gorgeous, handmade centerpiece.
Pro tip: practice your wire tension on a spare mandrel first to get those coils even. This kind of detailed work pairs beautifully with simpler elements, like a clean stitched leather bracelet as the band. Feel that pride when you see it all come together.
10. Black and White Striped Pattern
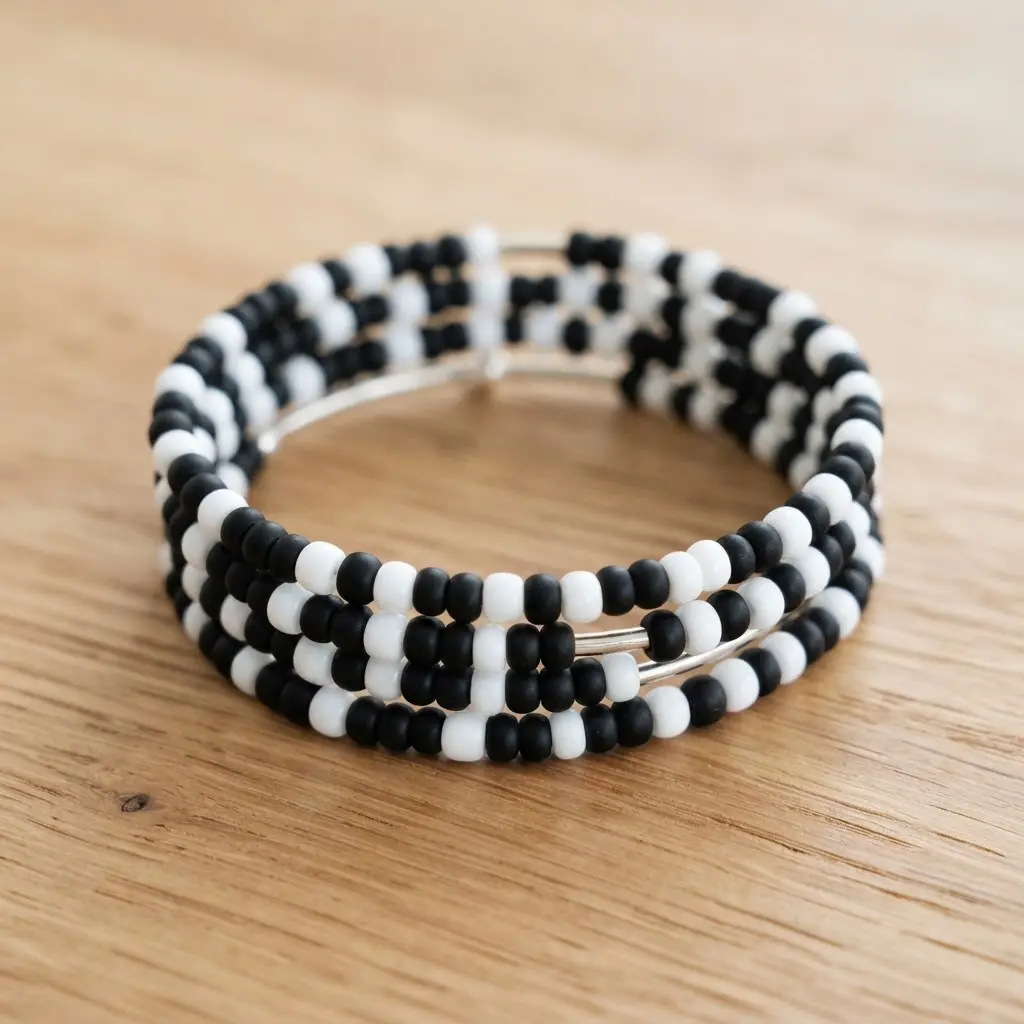
This pattern looks so much more complex than it actually is. You simply alternate sections of black and white beads on the memory wire. I love how you can make each stripe as wide or as thin as you want. Three beads of each color creates a classic look, but feel free to experiment.
Classic memory wire bracelet ideas rarely go unnoticed when you use this high-contrast design. It feels bold and graphic, but because it is only black and white, it goes with absolutely everything in your wardrobe. Isn’t that the perfect kind of versatile? For an extra touch of sparkle, you could weave in some beautiful crystal beaded jewelry as a single accent in the center.
My go to tip is to use memory wire cutters for a clean cut. Regular cutters will get damaged. Count your beads for each stripe to keep the pattern crisp and even. You will feel so polished when you finish this one.
Securing Final Wire Loops For Wearable Safety
A simple bend at the end of your wire is not enough to keep your beads from sliding off. You need to form a closed loop that physically blocks the first and last bead. Applying these techniques to your memory wire bracelet ideas ensures they stay intact through daily wear. Use your round-nose pliers to create a small, tight circle in the wire, then use your chain-nose pliers to press that circle completely shut against itself.
This creates a permanent secure end loop that locks everything in place. We all know the heartbreak of a beautiful bracelet coming apart, and this is the step that prevents it. Apply firm, even pressure until no gap remains for a bead to escape. Once this loop is closed, your bracelet is truly finished and ready for wear without worry. It takes two minutes but protects weeks of careful work.
Conclusion
So, how did your creative brainstorming go? I hope reviewing these memory wire bracelet ideas sparked that wonderful feeling of possibility, where you can almost hear the gentle clink of beads waiting to be strung. Look at the variety you have to play with—that’s real creative fuel right there.
My best piece of advice is to start with the design that makes your fingers itch to begin, whether it’s the soft pastels or the bold black and white. The beauty of memory wire is in its forgiving, coiled simplicity. Pick your favorite project, gather your beads, and make something uniquely yours today.
FAQs
Q: What tools do I absolutely need to start?
A: You need memory wire cutters. Standard jewelry pliers can be damaged by the hardened steel. A good pair of cutters and round-nose pliers for making the end loops are essential.
Q: How do I stop my bracelet from sagging?
A: Balance your bead weight. Avoid using too many heavy glass beads in one section. Mix lighter seed beads or spacers between heavier focal beads to keep the coil’s shape.
Q: What size beads work best with memory wire?
A: Check the hole size. The wire is thick, so beads need a large enough opening. Most 6/0 seed beads, glass pearls, and beads labeled for memory wire work perfectly.
Q: How do I finish the ends neatly?
A: Create a simple loop. After adding your beads, use round-nose pliers to bend the wire end into a small circle. This loop is both the closure and a professional-looking finish.
Q: Can I reuse memory wire if I make a mistake?
A: It is possible but not ideal. The wire retains its coil, but bending it back and forth can weaken it. It is better to cut a new piece for the cleanest, most durable result.








