You have the clear balloons and the party plans, but staring at a bag of plain confetti leaves you wondering how to make your decorations feel special. You know exactly how it feels. The magic of a diy confetti balloon lies in that perfect mix of texture, color, and light, creating a focal point that feels both personal and polished. Let us move past basic paper bits and explore the materials that truly catch the eye—from shimmering sequins to soft feathers and organic petals. This collection of ten diy confetti balloon ideas is designed to spark your creativity with combinations that are beautiful and surprisingly easy to assemble. I will show you how to achieve that dreamy, evenly dispersed look that makes every arrangement a tiny, celebratory world.
Selecting Optimal Clear Latex Quality For Transparency
When gathering supplies for diy confetti balloon ideas, you must skip cloudy latex because cheap materials will completely mute your visual effects. You need to source high-quality transparent latex, the kind that looks crystal clear when inflated, to get that stunning contrast. Think of it as the frame for your art.
A cloudy balloon acts like a foggy window, dulling all the color and light reflection you worked so hard to create inside. Trust me on this, investing in premium balloons makes the difference between a professional-looking centerpiece and a sad, murky orb. The good news is that once you find a reliable supplier, you can stock up and your decorations will always retain that crisp, polished look.
Achieving Static Cling Through Surface Friction Techniques
A standard pump might introduce moisture that ruins static cling, leaving your fillers piled sadly at the bottom. The trick to successful diy confetti balloon ideas lies in creating surface friction directly on the latex once inflation finishes.
I always use a piece of soft, dry microfiber cloth and rub it vigorously all over the outside. This action builds up the exact charge that makes lightweight pieces magically stick to the interior walls. You will notice the decorations start to dance and climb as you work.
Avoid using anything damp or your careful prep will be ruined completely. This little routine takes seconds but serves as the secret to that perfect, evenly dispersed look we all love.
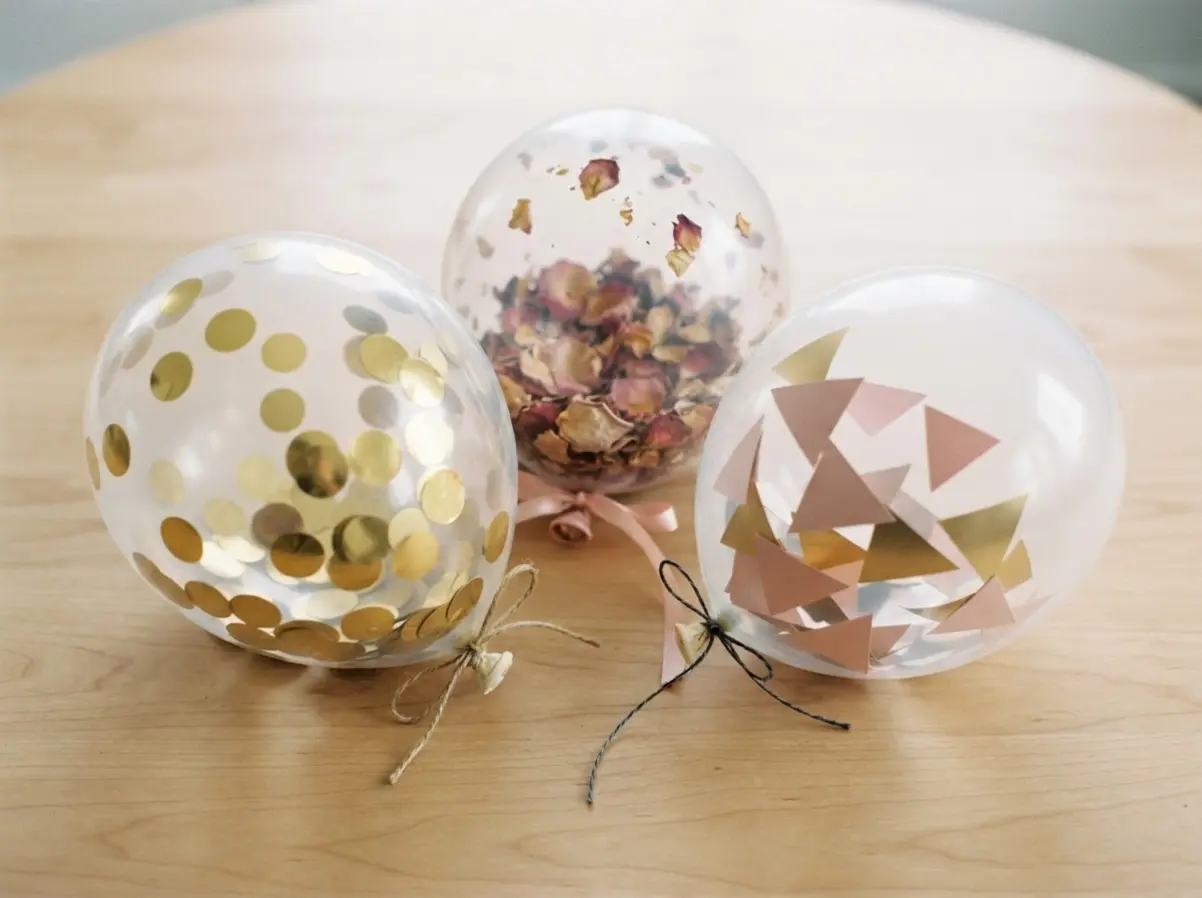
1. Metallic Gold Circle Paper Balloons

This specific design often ranks highly among diy confetti balloon ideas because the folded paper catches light beautifully. You start with a flat, pre-creased piece of sturdy gold cardstock. Gently pull the sections apart along the folds to fan it out into a full sphere, then secure the ends with the built-in adhesive strip or a bit of ribbon.
The result brings instant elegance without requiring helium for lift. I appreciate how the metallic sheen feels celebratory and sophisticated, making it perfect for a grown-up party setup.
Your biggest takeaway should be handling the paper gently during assembly to avoid accidental tears. Once you see that perfect round shape come together, you will feel incredibly proud of your chic decor. And if you are also planning some fun balloon animal ideas for the kids, these paper designs make a lovely, more refined counterpoint.
2. Pastel Rainbow Tissue Tassel Balloons
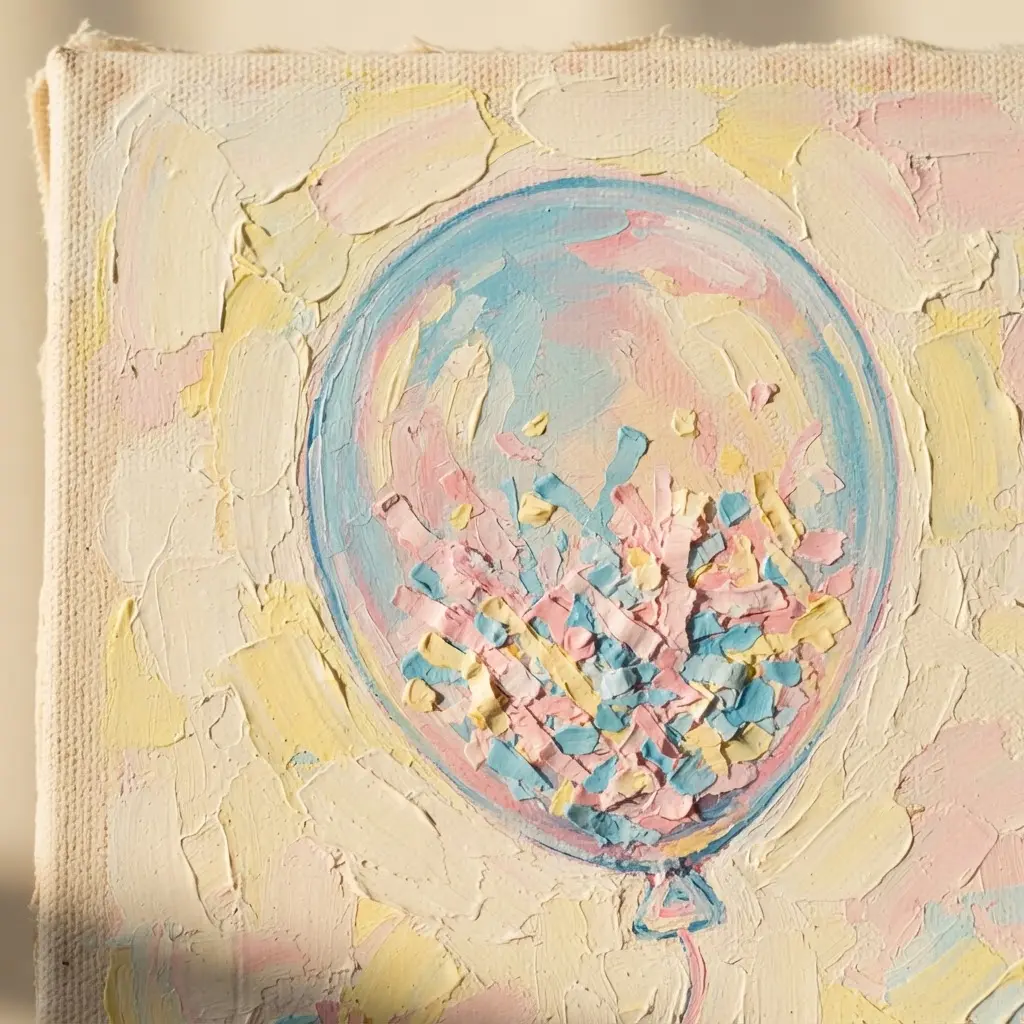
Ever wondered how to get that soft, dreamy look without overpowering the room? This setup delivers exactly that result. The magic truly lives in the pastel tissue paper tassels.
You cut sheets into fringe, roll the tops into loops, and string them onto twine in a gentle rainbow sequence to master most diy confetti balloon ideas. Then, simply tie that gorgeous, crinkly garland to the knot of a white or clear balloon.
I love this one because it adds so much elegant texture and movement to the display. Just make sure your tassels are cut evenly for a neat look, and always double-check those knots so nothing comes loose.
This project pairs beautifully with other handmade decorations around the house. For a cohesive party setup, you can easily incorporate some creative bubble wand crafts for extra fun. Does that not sound like the perfect festive touch?
3. Iridescent Chunky Sequin Filled Balloons
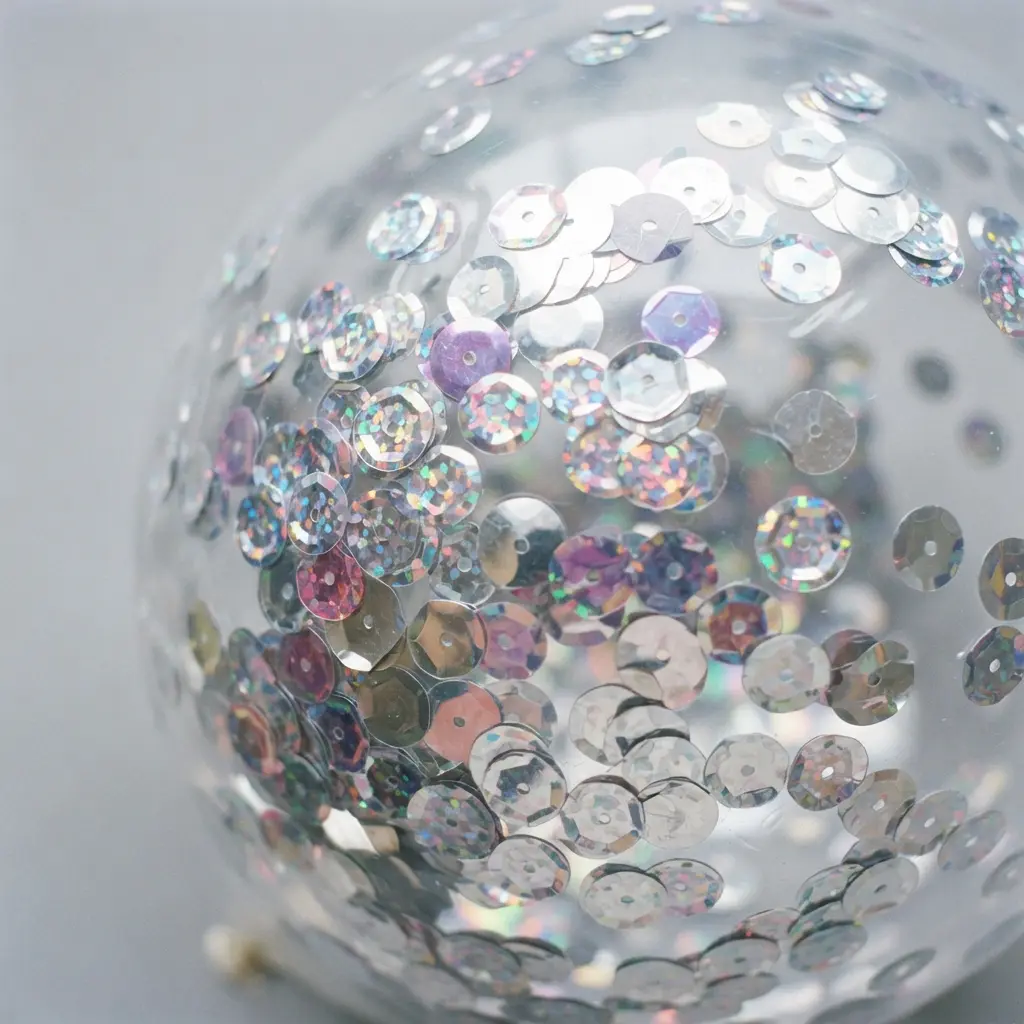
Ever wanted a balloon that feels like a living kaleidoscope? You accomplish this by filling a clear latex balloon with chunky, iridescent sequins before inflating it completely. The magic trick? Gently rubbing the exterior against your hair or a carpet creates static electricity, making the sequins cling and spread out inside for maximum sparkle.
I love how the sequins do not just glitter under standard room lighting. They shimmer with a whole rainbow of colors as the arrangement moves, creating a truly magical effect for your diy confetti balloon ideas collection.
These balloons make fantastic photo props, but they also pair beautifully with solid colors in larger garlands. For a cohesive look, choose a latex shade that matches one of the iridescent hues you see inside. And if you are planning a formal event like a prom, this style adds a touch of whimsy to your elegant decor theme.
4. Romantic Dried Rose Petal Balloons
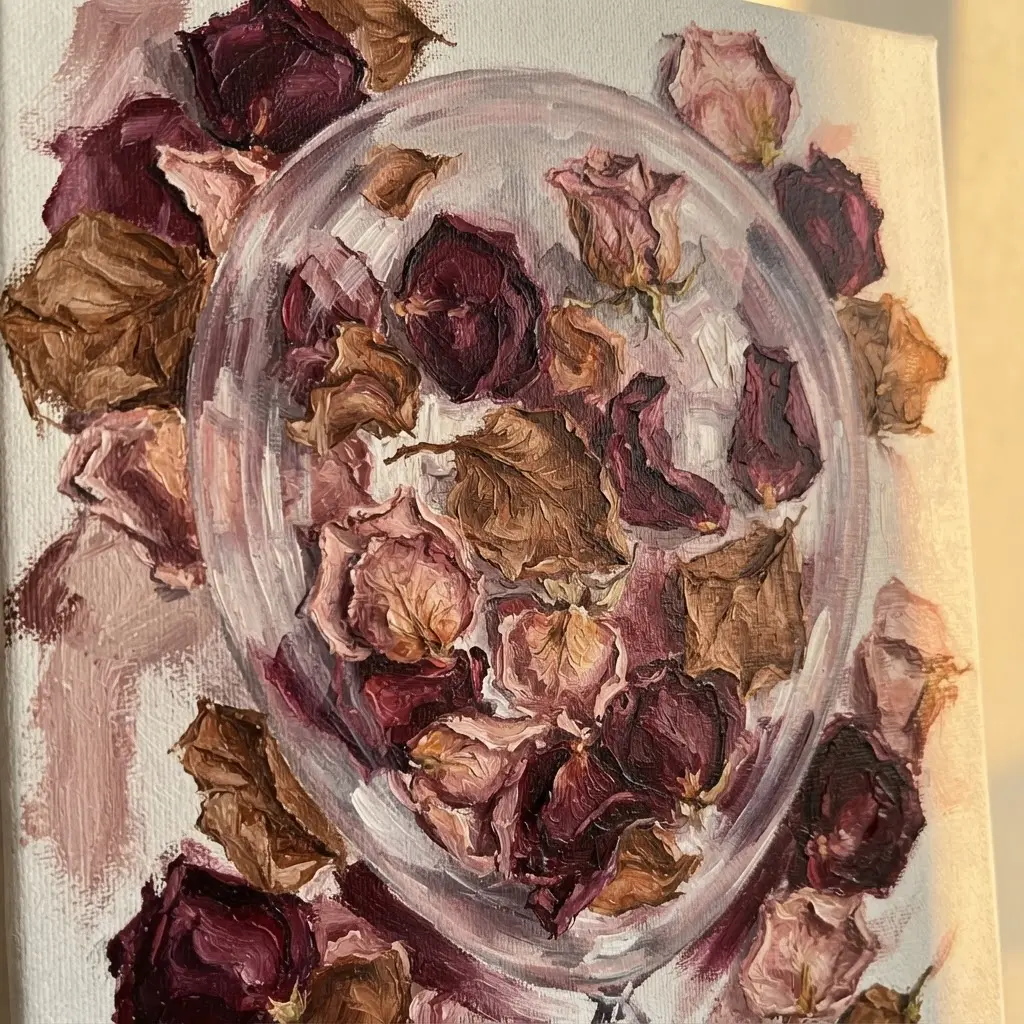
Who says confetti has to be shiny? I love the soft, timeless romance of dried rose petals floating inside a clear bubble to explore romantic diy confetti balloon ideas. You will need a handful of fragrant petals and a special clear stuffing balloon designed to stretch without popping.
Gently guide the petals inside, inflate it slowly with a pump or helium, and tie it off carefully. The result is an elegant, ethereal decoration perfect for a wedding or anniversary celebration.
This approach works so well because the organic materials last for ages and you can prepare everything ahead of time. It serves as a sophisticated twist on a classic party staple. For another thoughtful touch, you could pair these arrangements with a cute birthday gift idea to make the whole celebration feel extra personal. Does that not look stunning?
5. Whimsical Craft Pom Pom Balloons
This setup represents the ultimate tactile upgrade for a plain latex shape. I love how you can create any pattern you want using colorful pom-poms and a low-temperature hot glue gun, whether you prefer random clusters or neat geometric rows.
It works so effectively because the soft texture feels inviting and playful, making it a fantastic focal point when you review diy confetti balloon ideas for a kid party. A hot tip is to inflate your base only about three-quarters full so it retains some give when pressing the pom-poms on securely.
For a similar handmade touch that lasts beyond the weekend festivities, you could hang your finished creation near a festive Halloween wreath on your front door. The visual contrast really helps both pieces stand out beautifully.
6. Elegant White Feather Filled Balloons
Ever wanted a display that feels more like a dreamy art piece than a standard party prop? This specific style starts with a crystal-clear PVC balloon filled with soft white feathers before inflation, creating an ethereal, floating cloud effect.
The feathers drift gently inside, adding a soft, dynamic texture that catches natural light beautifully. It swaps out loud pieces for pure, sophisticated elegance, instantly elevating the whole room atmosphere for diy confetti balloon ideas galleries.
The key to getting that perfect visual is avoiding over-inflation and gently shaking the finished piece so the feathers distribute evenly. Trust me, taking a minute to prep your materials makes all the difference in the final presentation.
You will love the result, especially when paired with other delicate elements like sheer fabrics or soft string lighting. For a cohesive look across your home, you might want to explore some creative bedroom decor accents that share that same airy, dreamy vibe.
7. Shimmering Silver Star Shaped Balloons
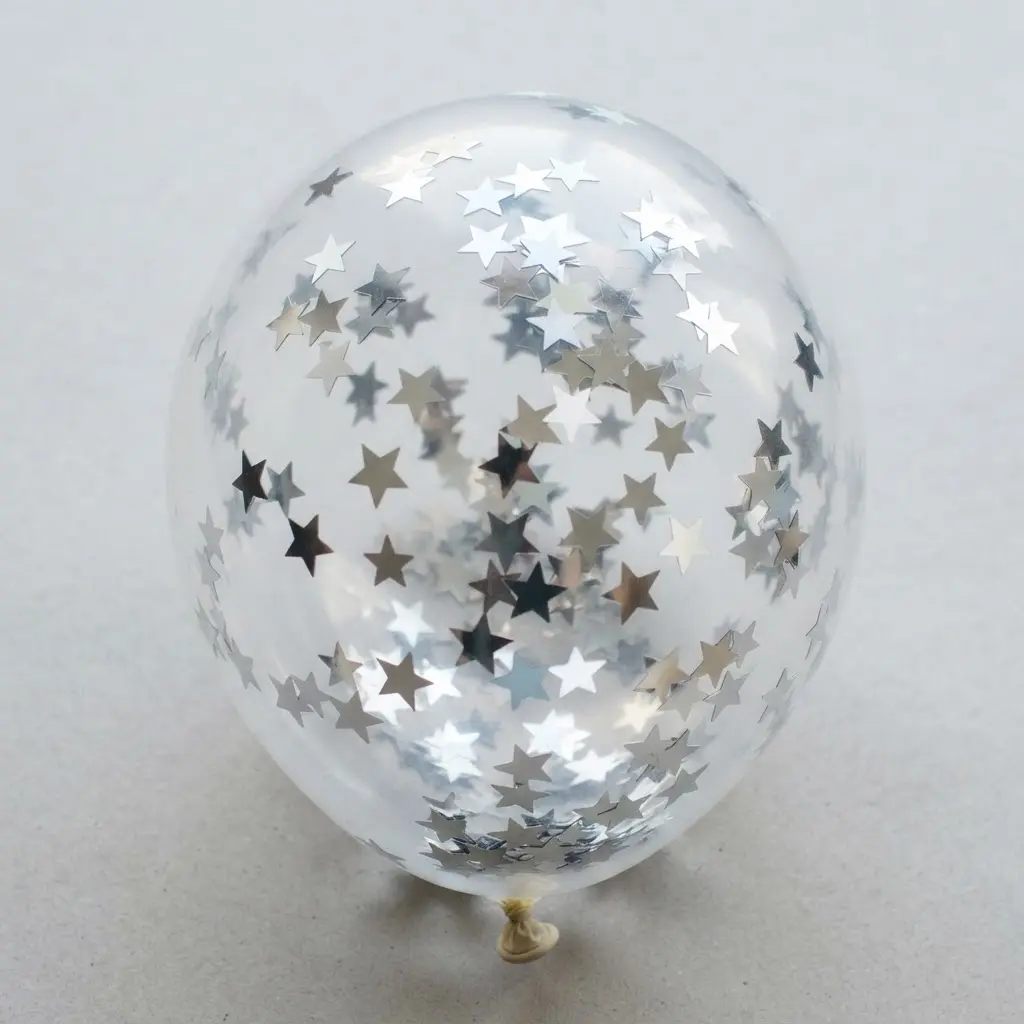
Who would have thought a simple geometric shape could feel so elegant? These Mylar foil balloons are specifically engineered to catch and bounce light, creating a dazzling shimmer that photographs incredibly well.
You can fill them with helium for floating bouquets or use air for grounded centerpieces and table displays. Mastering diy confetti balloon ideas requires understanding their limits, so avoid overinflation since foil shapes do not stretch like standard latex ones.
Stop filling as soon as the surface feels firm but still maintains a slight amount of give when you press it gently. For a cohesive tablescape, combine them with other festive elements or even some decorative doily crafts to soften the metallic shine. Is not that a stunning combination?
8. Vibrant Neon Confetti Dot Balloons
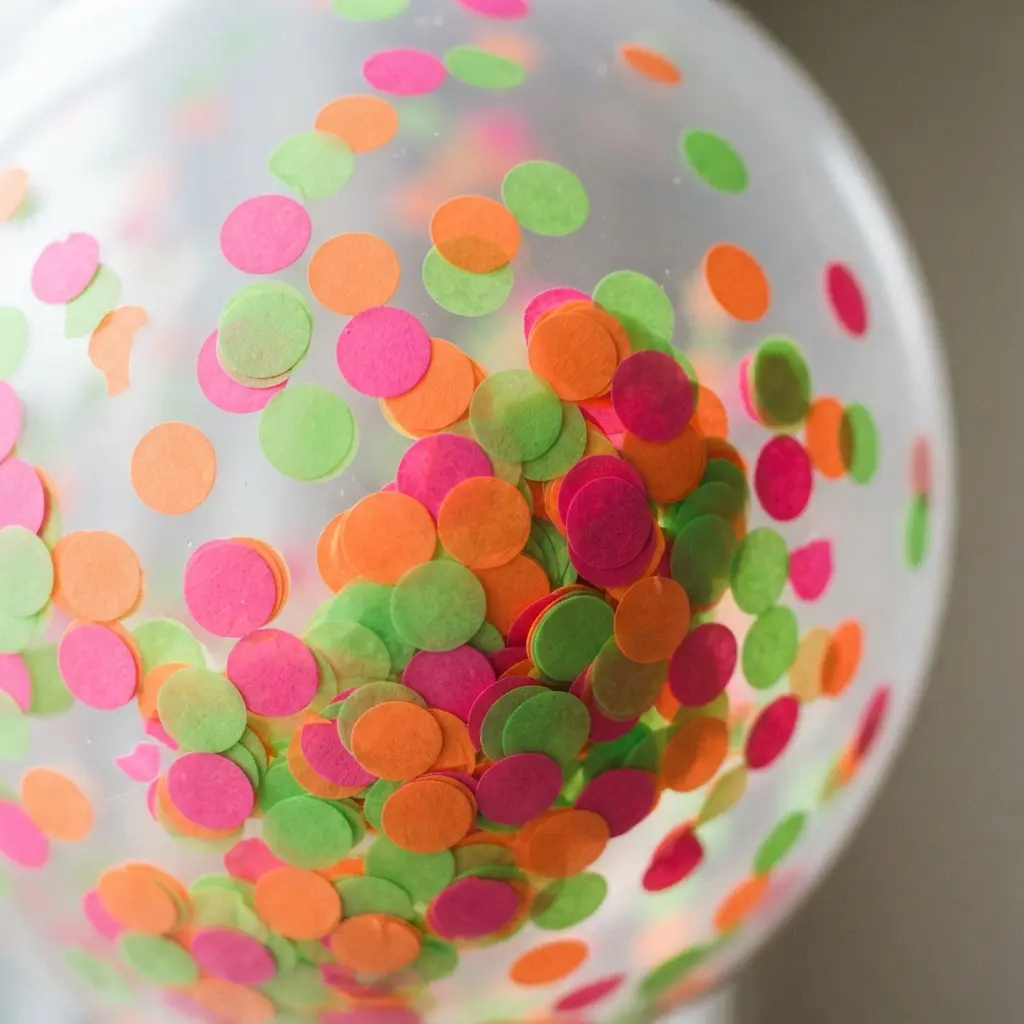
This particular design looks incredibly complex on camera, but the execution process remains incredibly straightforward. You fill a standard latex globe with a handful of bright neon dots, then inflate it fully for a vibrant display.
The real magic happens when you rub the exterior on a wool sweater to build up that necessary static charge, which is why this step dominates most diy confetti balloon ideas tutorials online. That sudden cling forces every single dot to stick to the interior walls instead of sinking into a sad pile at the base.
I love how this technique creates instant party energy with almost zero preparation time. The bright punch of color pops against almost any background, and the arrangement looks absolutely electric under black lights.
For a coordinated dessert station, you can easily match those vibrant tones with your own DIY cupcake container ideas to tie the entire table together. Does that not look stunning under the party lights?
9. Geometric Cardstock Triangle Shaped Balloons
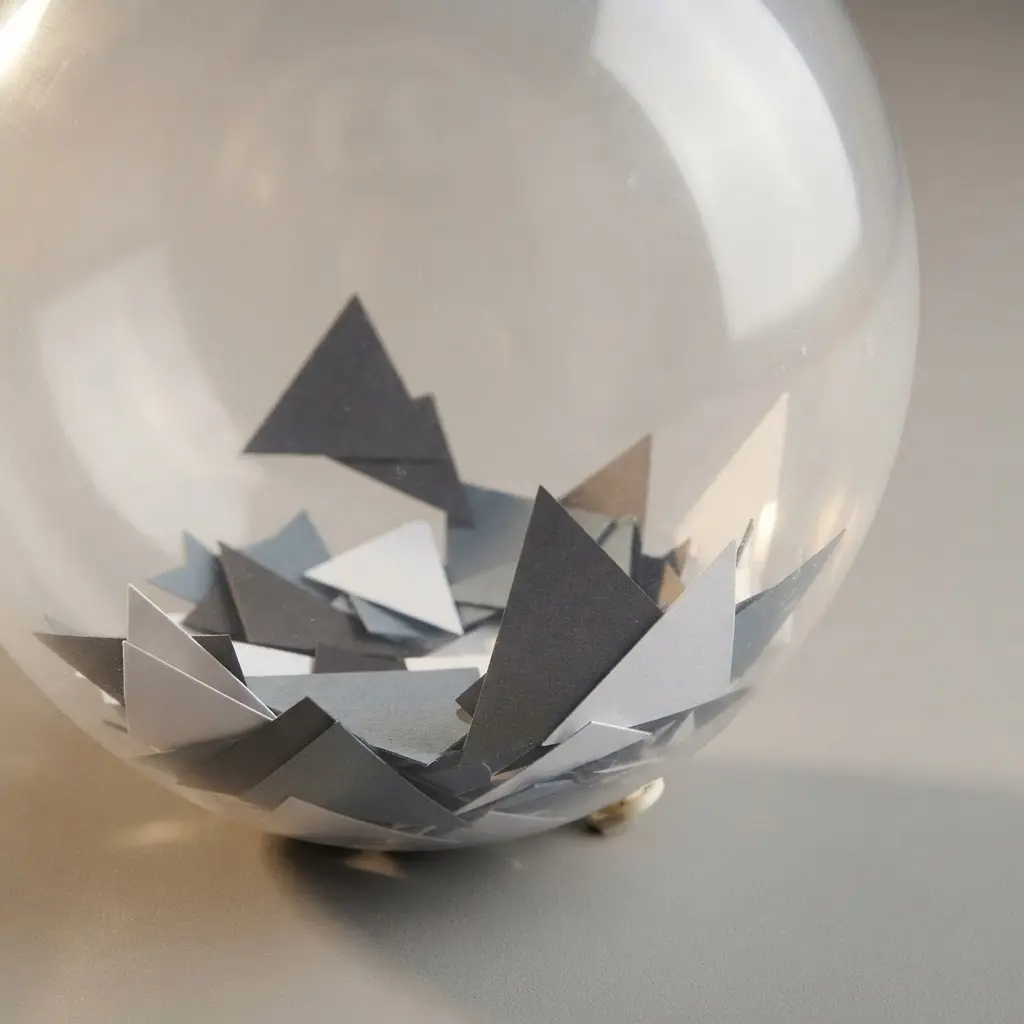
This method serves as my absolute favorite approach when I want a modern aesthetic without relying on expensive helium tanks. You essentially cut sharp, graphic triangles from sturdy colored cardstock, then fold them into little 3D pyramids if you desire extra depth.
Adding a thin string through the top corner transforms them into hanging pieces that anchor most modern diy confetti balloon ideas effortlessly. These decorations work wonderfully because they remain completely reusable and absolutely refuse to pop during the event.
For a festive cluster, mix in some classic Christmas ornament crafts to introduce a completely different paper texture. Your finished garland will look incredibly stylish and sharply tailored to your room color palette.
10. Minimalist Clear Glitter Filled Balloons

Ever wondered how to achieve that soft, elegant shimmer that looks like captured starlight trapped in glass? This final entry relies on pouring a small amount of loose glitter into a clear shell before inflation begins.
For latex materials specifically, you must apply a Hi-Float treatment first so the fine particles adhere to the sides instead of pooling heavily at the bottom. I love this approach because it adds festive energy without looking chaotic or messy.
The transparent shell allows the sparkling dust to do all the heavy lifting visually, creating a subtle shimmer that shifts dynamically with the room lighting and completes your diy confetti balloon ideas portfolio beautifully. Your centerpiece displays will look absolutely stunning when paired alongside other festive decor, so remember to plan your timeline ahead and complete these sensitive assemblies a few days before guests arrive.
Just remember to prepare everything early and complete these sensitive assemblies a couple days before guests arrive so every piece feels polished and ready. Does that not bring you immense satisfaction when the party lights finally hit them?
Safely Popping And Disposing Of Decorative Balloons
Never use scissors or a sharp knife to dismantle your display, because that sudden force might scatter filler everywhere and risk minor injuries. Implementing responsible disposal habits protects both your home and your diy confetti balloon ideas legacy.
The absolute safest method involves gently pressing a pin into the thickest rubber section near the knot, which lets trapped air escape slowly. This controlled release stops any loud popping noises and keeps all internal pieces securely trapped during deflation.
Once the latex lies flat against the floor, you can simply sweep it into a trash bag without leaving a single speck behind on the carpet. This tidy routine guarantees quick cleanup and saves you from hunting for rogue glitter in furniture cushions.
Conclusion
Your gathering deserves centerpieces that feel as special as the reason you invited everyone, and these carefully selected designs exist to bring that personal touch to life. I truly hope seeing these material combinations—the softness of organic feathers against clear latex, the sharp sparkle of metallic sequins—gives you the creative confidence to mix textures you already own.
Remember to apply a quick static rub before loading lighter fillers, since that simple trick achieves the suspended floating effect everyone admires. You will consistently find the most satisfying displays emerge when you pair a base color with one completely unexpected material mix. Trust me, your finished diy confetti balloon ideas will absolutely capture every eye in the room.
FAQs
Q: How do I get the confetti to stick to the sides of the balloon?
A: Create static electricity by rubbing the inflated balloon on a wool sweater or your hair for a few seconds. Then, add your lighter paper or foil confetti through the neck. The static charge helps the pieces cling to the latex instead of falling straight to the bottom.
Q: What is the best way to fill a balloon with confetti?
A: Use a small funnel or roll a piece of stiff paper into a cone. Insert the narrow end into the balloon neck and pour your filler materials through it. This method gives you more control and helps prevent spills, especially with fine materials like glitter.
Q: Can I use real glitter inside a balloon?
A: Yes, but use ultra-fine, biodegradable glitter designed for crafts. Standard craft glitter can be used, but be cautious as the static charge can make it difficult to work with. A small amount goes a long way to create a shimmering effect without overloading the balloon.
Q: How full should I make the balloon?
A: Do not overfill it. You want enough filler to create visual interest, but not so much that it blocks light or weighs down the balloon. A good rule is to fill the balloon so the contents take up no more than one-third of the total volume when settled.
Q: What type of balloon works best for these ideas?
A: Clear latex balloons are ideal because they showcase the internal fillers perfectly. Look for balloons labeled as clear or crystal rather than opaque colors. Ensure they are good quality to hold the air well and provide a smooth, transparent surface for your decorations.


