

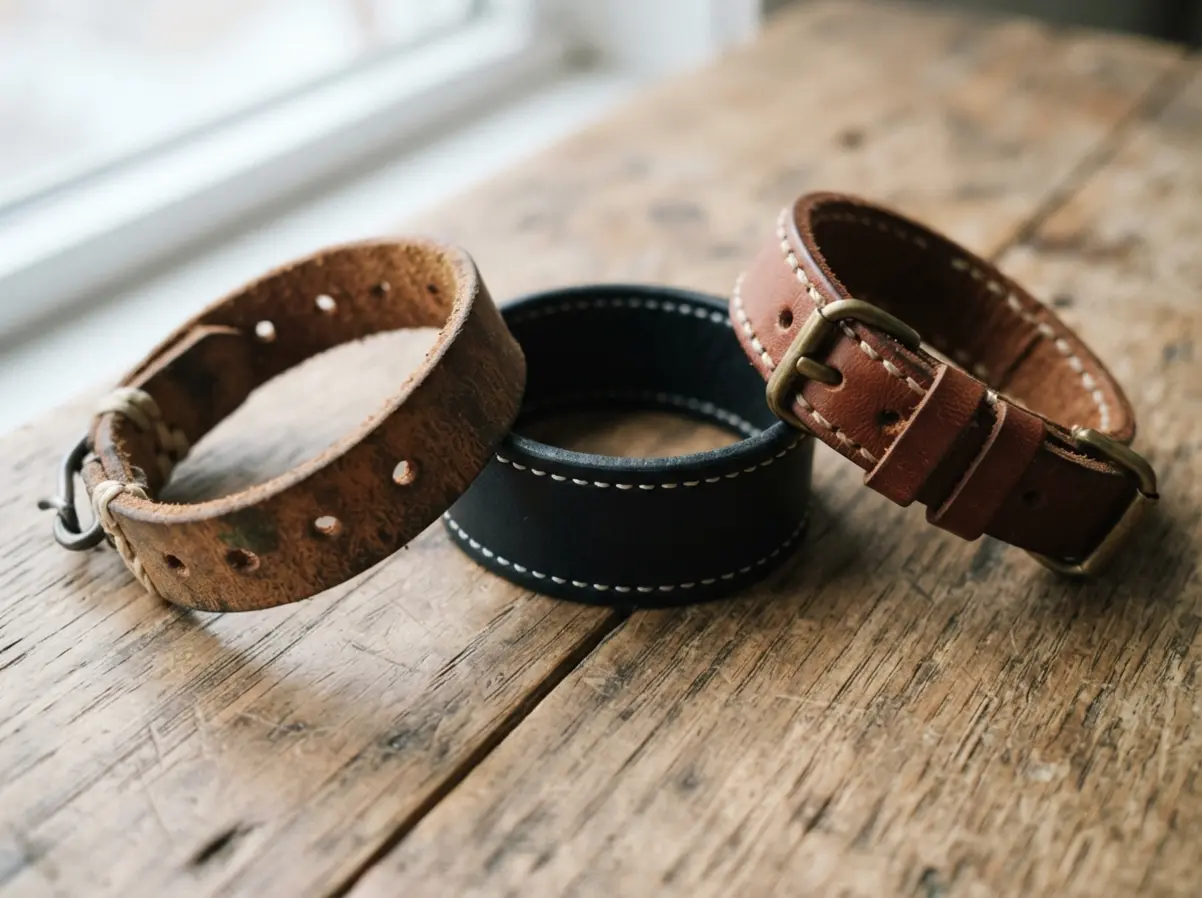
These projects bridge that gap between raw materials and a beautiful, wearable piece you will be proud to show off. They focus on simple cuts, clear stitching, and accessible hardware that lets your personal style shine through. This collection of 10 ideas is here to spark your creativity and show you just how approachable and rewarding making your own leather accessories can be.
Measuring Wrist Circumference and Leather Overlap Requirements
The fastest way to guarantee a comfortable fit is adding two inches to your exact wrist measurement before you cut your leather strap for a diy stitched leather bracelet. Here is the thing, a 4-6 oz leather is thick enough to hold its shape beautifully, but that stiffness means you need extra length for the overlap where the snap attaches. Beginners often forget this and end up with a bracelet that pinches or gaps.
Your finished piece should wrap around your wrist with about an inch of excess leather for the hardware section, giving you room to adjust and ensuring the snap sits flush without biting into your skin. Trust me on this, taking thirty seconds with a soft measuring tape now prevents the heartbreak of a finished bracelet you cannot wear.
Selecting Vegetable Tanned Leather Thickness for Stitching
Your choice of leather thickness directly determines how clean your edges will look and how smoothly your pricking irons will punch through. We all know that soft chrome-tanned leathers are tempting, but for a diy stitched leather bracelet, you want the firm, forgiving surface of a 4-6 oz vegetable-tanned leather. This specific weight gives you the perfect balance; it is thick enough to create those crisp, burnished edges we love, yet thin enough for your needles to pass through without a fight.
The good news is, this leather also accepts dye beautifully if you want a modern look, and its natural grain provides a subtle texture that makes your saddle stitch pop. You will notice the difference immediately when you start working.
1. Rustic Vegetable-Tanned Wrap Bracelet
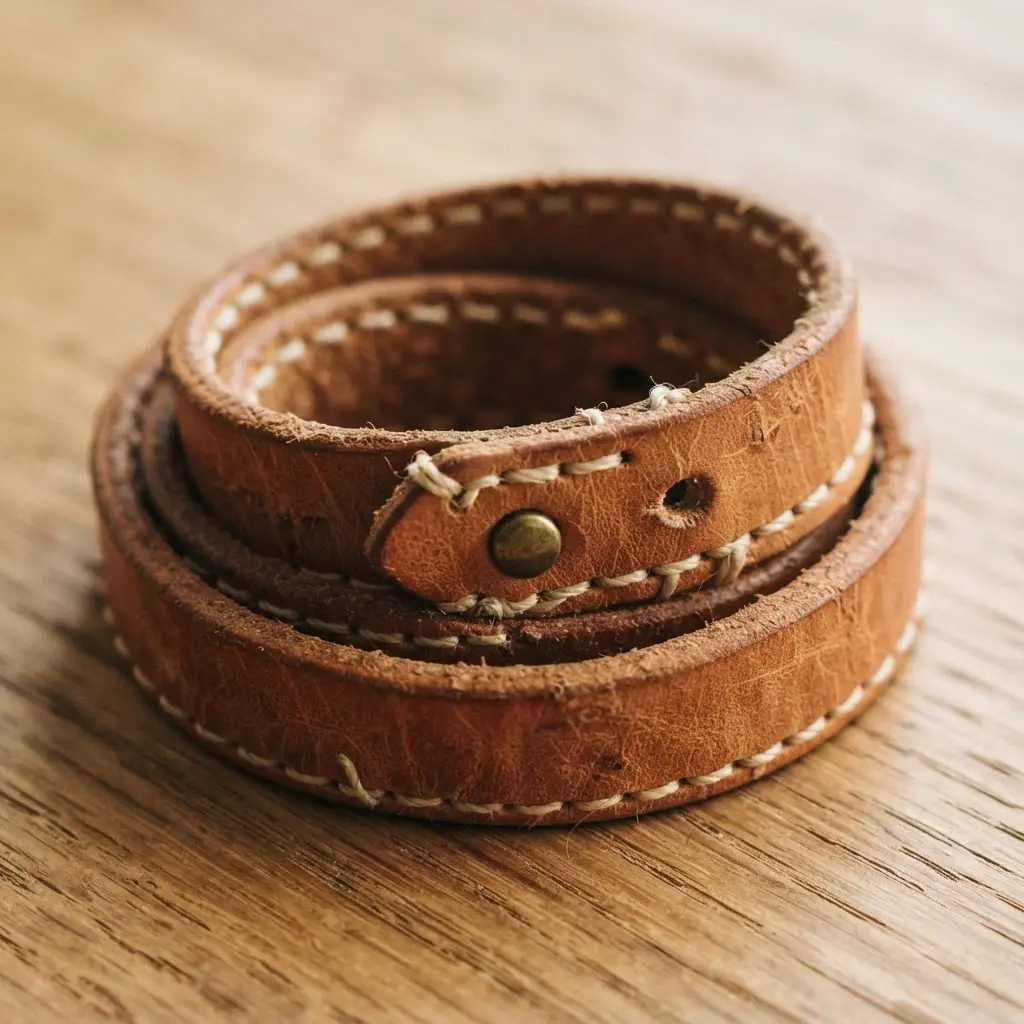
Ever wondered how to make a piece of jewelry that feels like it has a story? This rustic wrap bracelet is your answer. You start with a long, supple strip of vegetable-tanned leather. The process is simple: cut your length, finish the edges, and attach a small buckle or snap closure.
What I love is how this bracelet changes with you. The leather develops a rich, personal patina over time, darkening and softening with wear. Seeing that beautiful aging on a diy stitched leather bracelet is incredibly satisfying.
Before you begin, a bit of planning goes a long way. I always suggest browsing some DIY leather cuff bracelet ideas for inspiration on sizing and simple closure styles. Getting the length right is crucial for a perfect fit. Does that not sound like a wonderfully personal project?
2. Contrast Stitched Minimalist Cuff Bracelet
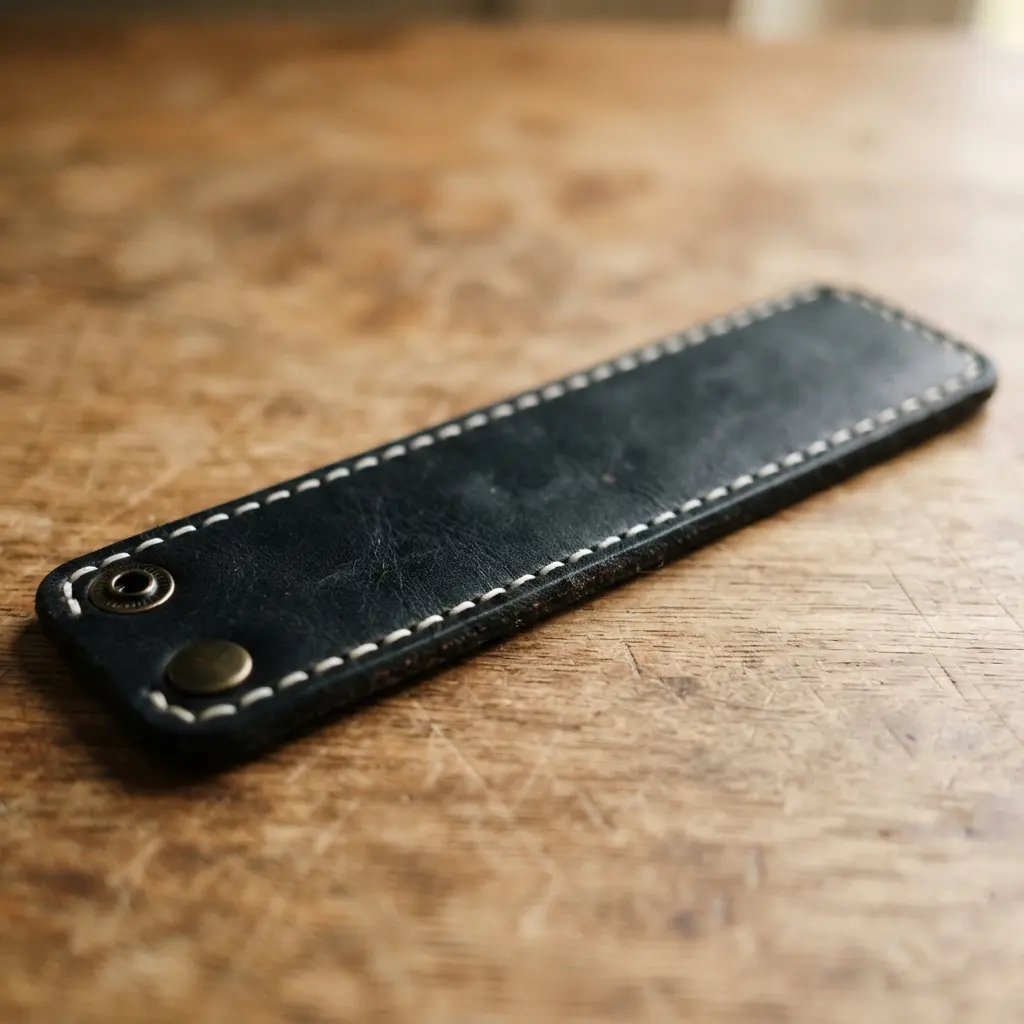
Ever think a metal cuff needs to be plain? This one proves that wrong because the magic lies in the subtle stitching detail, which gives your diy stitched leather bracelet a quiet contrast you can feel. You shape a simple, open band first, then add that precise row of marks. I love how this keeps the design clean while giving your eye a little path to follow.
That texture makes the piece feel personal and intentional. It works because the contrast is quiet but undeniable, guiding your attention exactly where it should be. Try it and feel the satisfaction when those perfectly spaced lines come together.
I also find this style incredibly useful when you need to organize handcrafted jewelry pieces. The clean design keeps everything focused and elegant.
3. Braided Edge Two-Tone Leather Bracelet
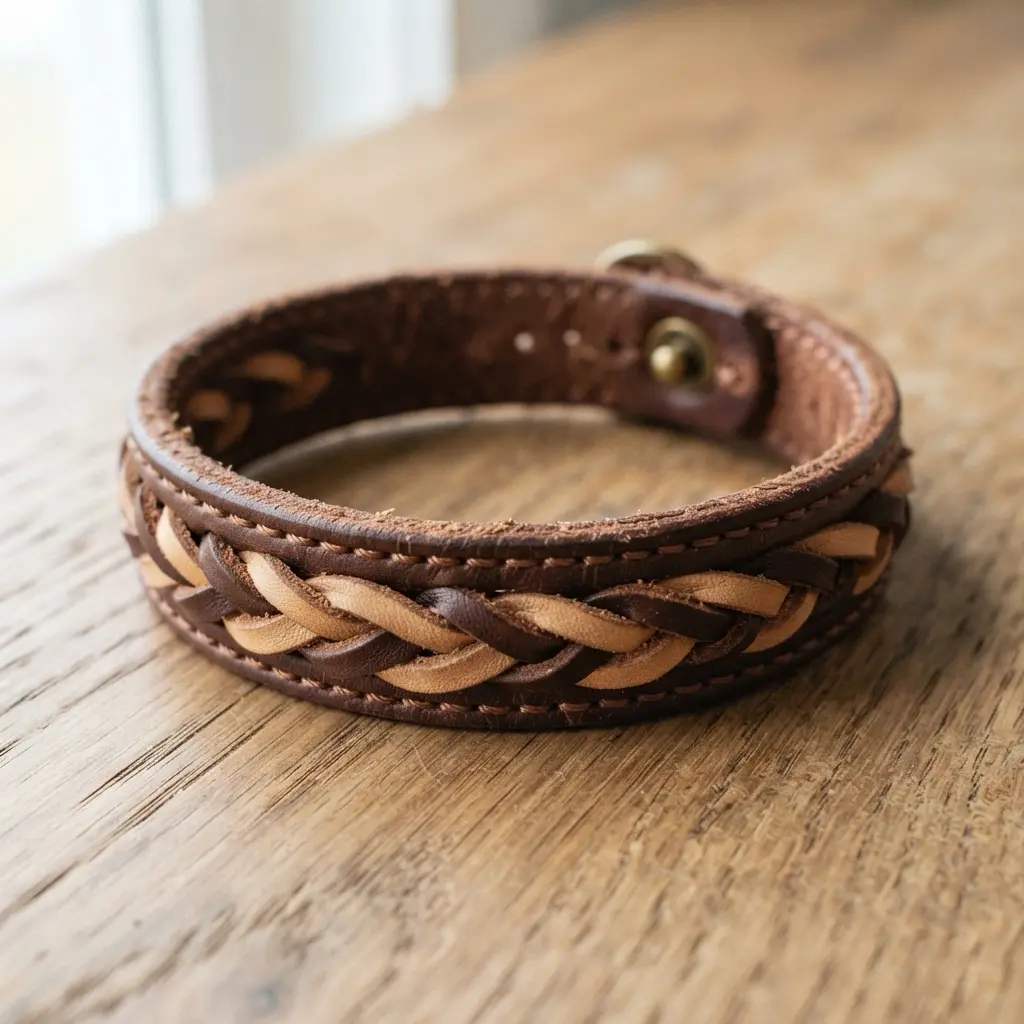
This is the one that looks way more intricate than it is. You take your main leather strip and weave thinner strips of a second color right along its edges. The braiding adds a ton of texture to a diy stitched leather bracelet, making your work look incredibly intentional and professional.
The trick is all in the braiding tension. You want it tight and even so the whole piece lies flat. I love using a contrasting color for the braided edge because it makes the whole design pop.
Try it and you will feel a real sense of accomplishment when you finish. It is a fantastic style for a statement cuff bracelet, giving you that artisan look with a simple technique.
4. Double-Wrap Leather Snap Bracelet
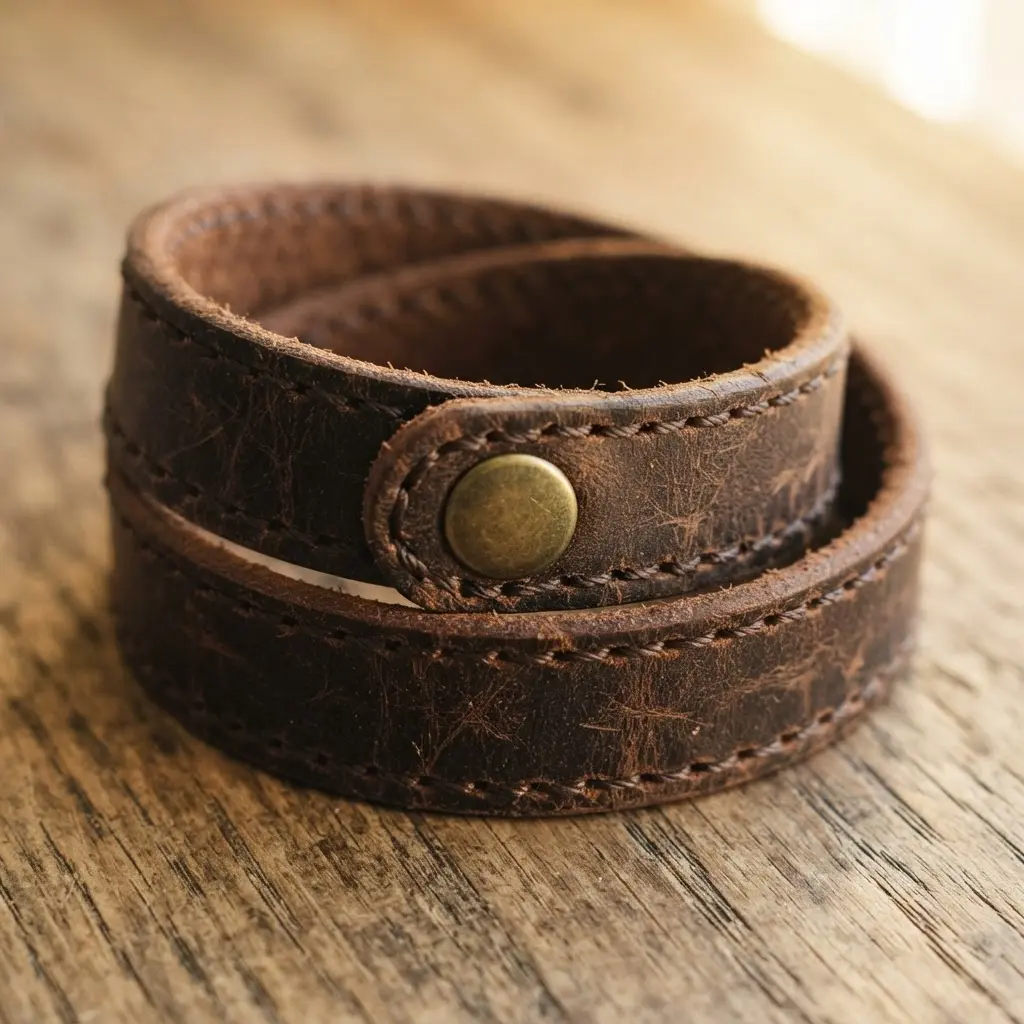
Who would have thought a bracelet that wraps twice could be so simple to wear? This design uses a single strip of leather that loops around your wrist two times, giving that layered, intentional look to a diy stitched leather bracelet without any fuss. You secure it with a snap closure, which is just a satisfying click away from being on or off.
I love how versatile this style is. You can go minimalist with a plain strip of suede or make a statement with an embossed or brightly colored piece. The key is getting your measurement right before you cut. You need enough length to wrap comfortably twice, plus a little extra for the snap to overlap.
Trust me on this one, the ease of the snap combined with the rich look of leather makes this a go-to accessory. Feel how polished you look with just one piece.
5. Hand-Stitched Geometric Pattern Cuff

Ever think a complex geometric pattern is only for advanced crafters? It is really not. This one is my favorite because it lets you create a stunning, textured diy stitched leather bracelet with simple stitches. You start with a leather cuff base and mark your design.
Then, use a running stitch or a backstitch to trace the lines. I love how the hand-stitched texture gives it a unique, artisanal feel that machine-made pieces just do not have. Keep your stitch tension even to avoid puckering. A pro tip is to practice your pattern on a scrap piece first.
This is a fantastic project to learn on before tackling more complex handmade faux leather keychain projects. Try it and feel the satisfaction when your crisp lines come together.
6. Brass Buckle Leather Strap Bracelet
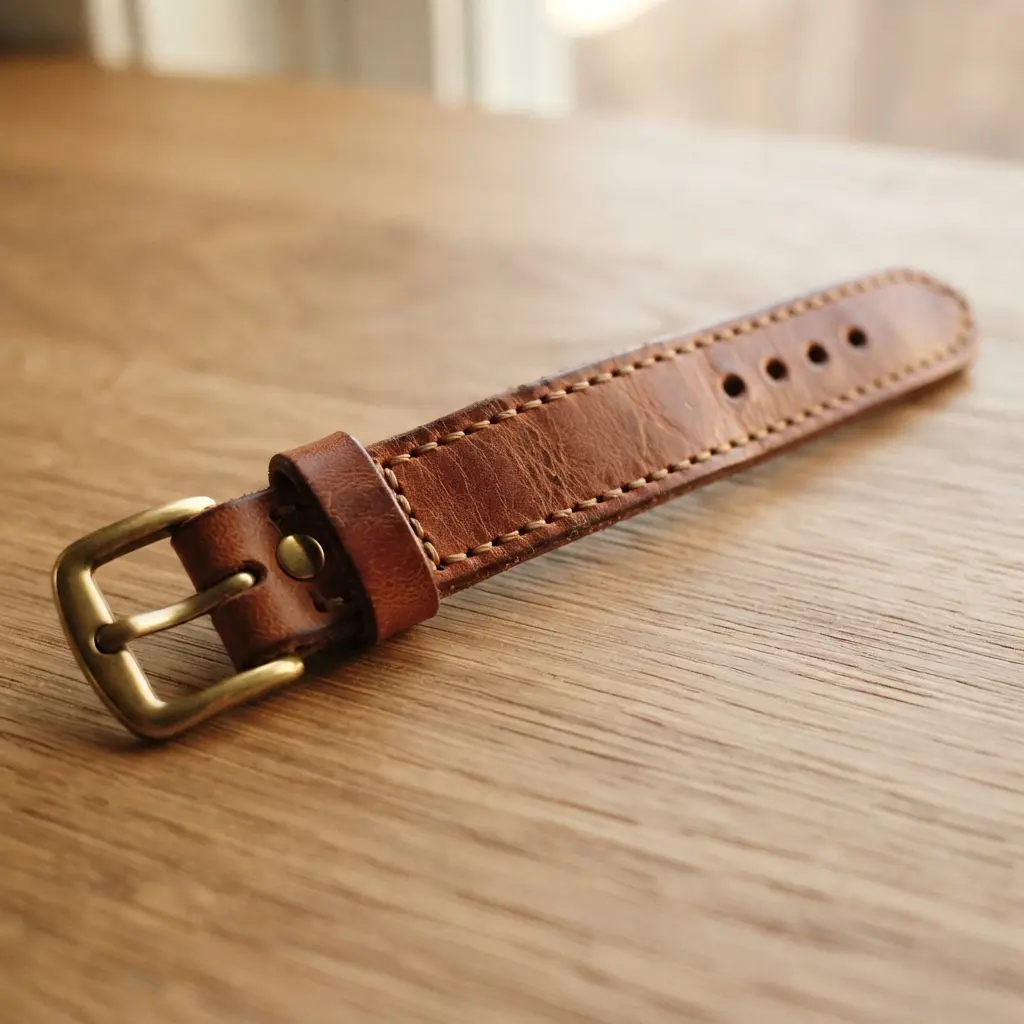
Doesn’t a classic leather strap bracelet just feel like a forever piece? This version pairs a durable leather band with a solid brass buckle for that rugged, timeless look on a diy stitched leather bracelet. You will cut your strap to length, punch your adjustment holes, and attach the buckle, often by folding and stitching the leather end.
The magic is in how both materials age beautifully together, developing a rich patina that makes the bracelet uniquely yours. I love how versatile this style is, easily swinging from a weekend hike to a casual dinner. A common pitfall is using low-quality materials that will crack or tarnish quickly.
Instead, invest in good vegetable-tanned cowhide and a proper brass buckle from the start. Trust me, you will feel that satisfying weight on your wrist for years to come.
7. Embossed Initial Leather Band Bracelet
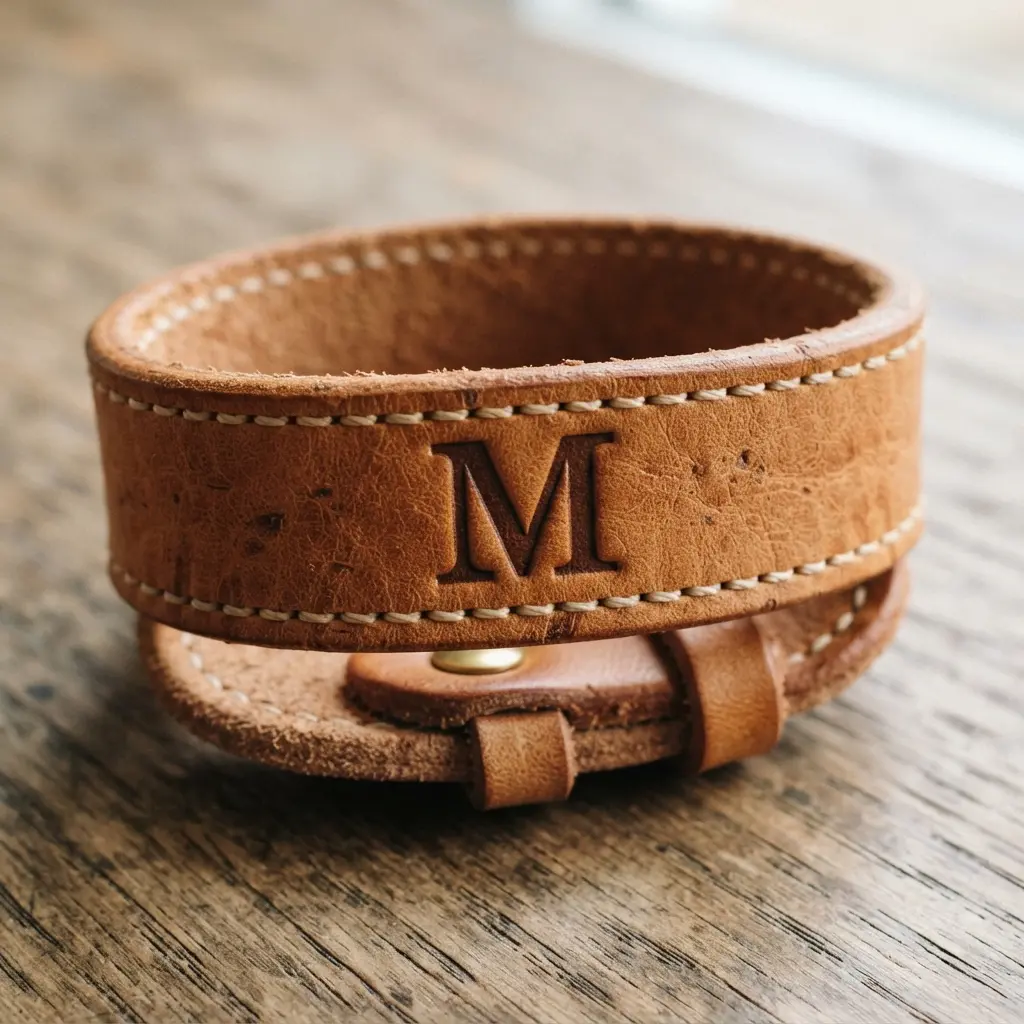
This one feels like a classic for a reason when you design a diy stitched leather bracelet. You take a simple leather band and press a single letter into it using an embossing machine or a set of hand stamps. The result is a personal, elegant piece that looks far more sophisticated than the simple process suggests.
I love how the blind embossing creates a subtle, three-dimensional effect without any added color. It is all about getting the pressure just right on your first try. A quick tip is to always practice on a scrap piece first to nail the depth and clarity.
Once your initial is perfectly set, attaching the buckle is straightforward. You end up with a timeless accessory that only gets better as the leather develops its own character. It is a fantastic way to organize handcrafted jewelry pieces you want to keep safe, and it makes for an incredibly thoughtful gift.
8. Suede Lined Stitched Leather Cuff
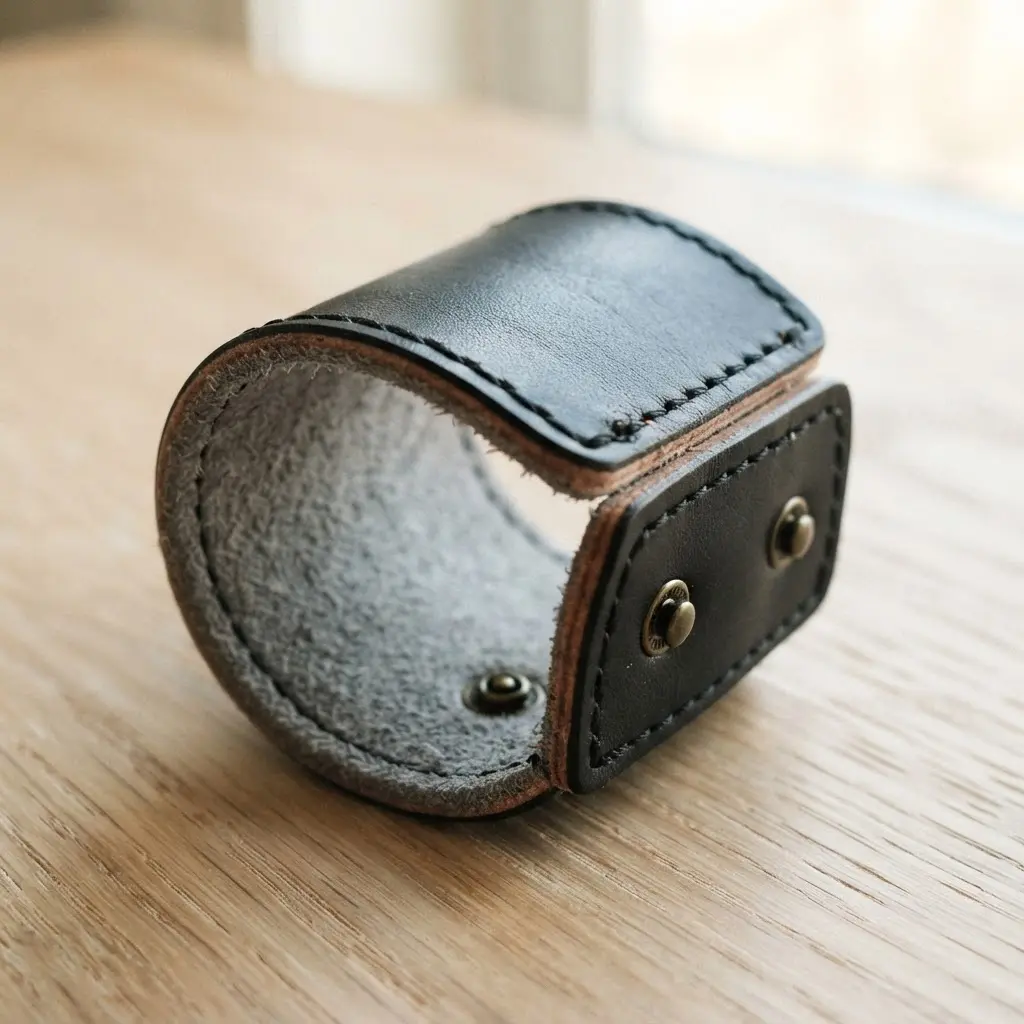
Ever feel like a bracelet should be both tough and cozy? This project nails that balance perfectly by combining two distinct materials on a diy stitched leather bracelet. You start with a sturdy outer piece of vegetable-tanned leather and back it with a soft, pliable piece of suede.
The real magic happens when you stitch the two layers together around the edges, creating a beautiful, durable bond. I love how the saddle stitch technique gives it such a handcrafted, professional finish. Why does this work so well?
The suede lining is the secret because it makes the cuff incredibly comfortable to wear, preventing any chafing from the stiffer leather exterior. Your wrist gets a soft hug while the outside develops a rich patina over time. Isn’t that the best of both worlds?
Pro tip is to use snap fasteners for your closure. They are easy to install and give you multiple adjustment points for a perfect fit. Trust me on this one, you will love the finished look.
9. Tapered Leather Button Closure Bracelet
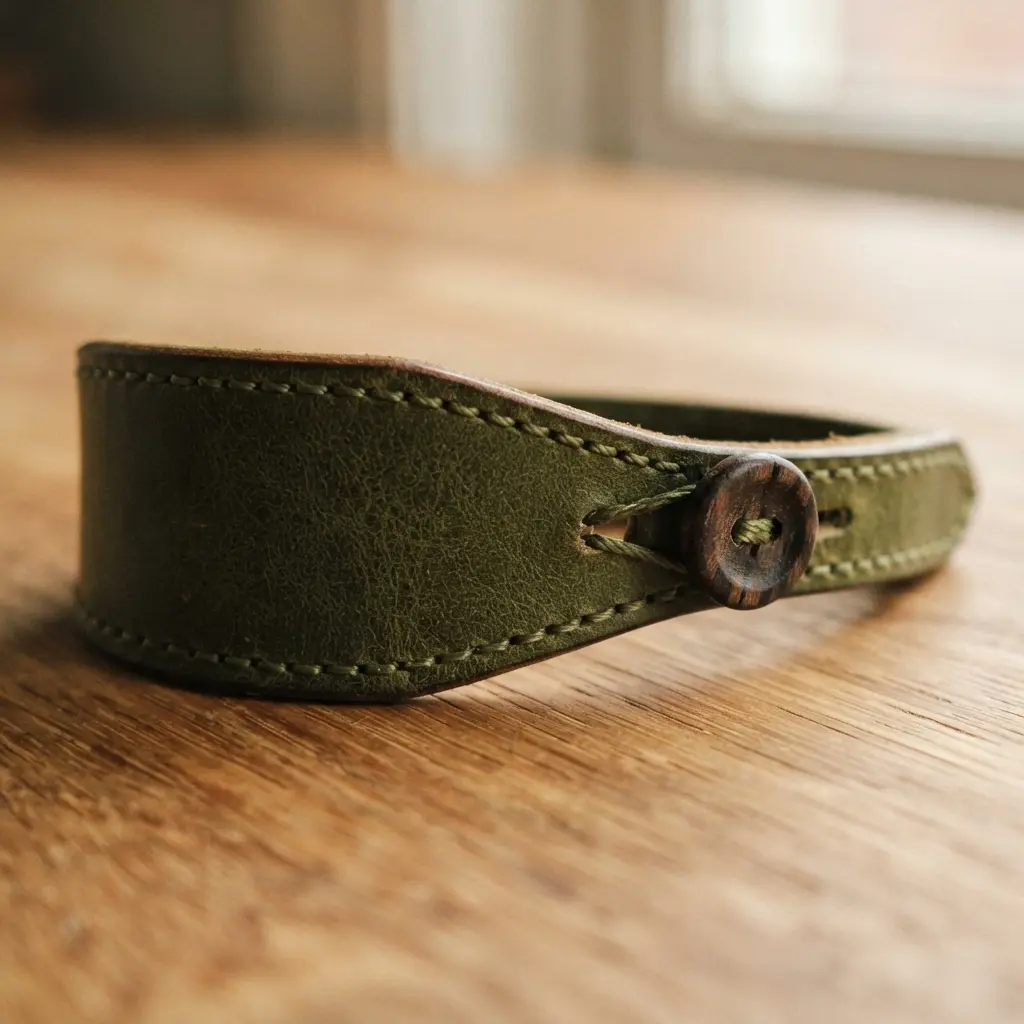
I love the tailored look of a tapered diy stitched leather bracelet. You start by cutting your leather strip so it narrows from one end to the other, which is simpler than it sounds. Then, you stitch the edges for a clean finish before attaching a button stud or concho on one end and cutting a matching hole on the other.
This shape is not just for looks. It sits more comfortably on your wrist and makes the button closure feel secure. Getting that perfect fit is so satisfying.
My go-to tip is to burnish your edges thoroughly. This prevents fraying and gives your piece a professional feel. If you enjoy this kind of hand-stitched project, you will find plenty of new ideas in our fabric bracelet and jewelry tutorials to expand your skills.
10. Riveted Industrial Style Leather Bracelet
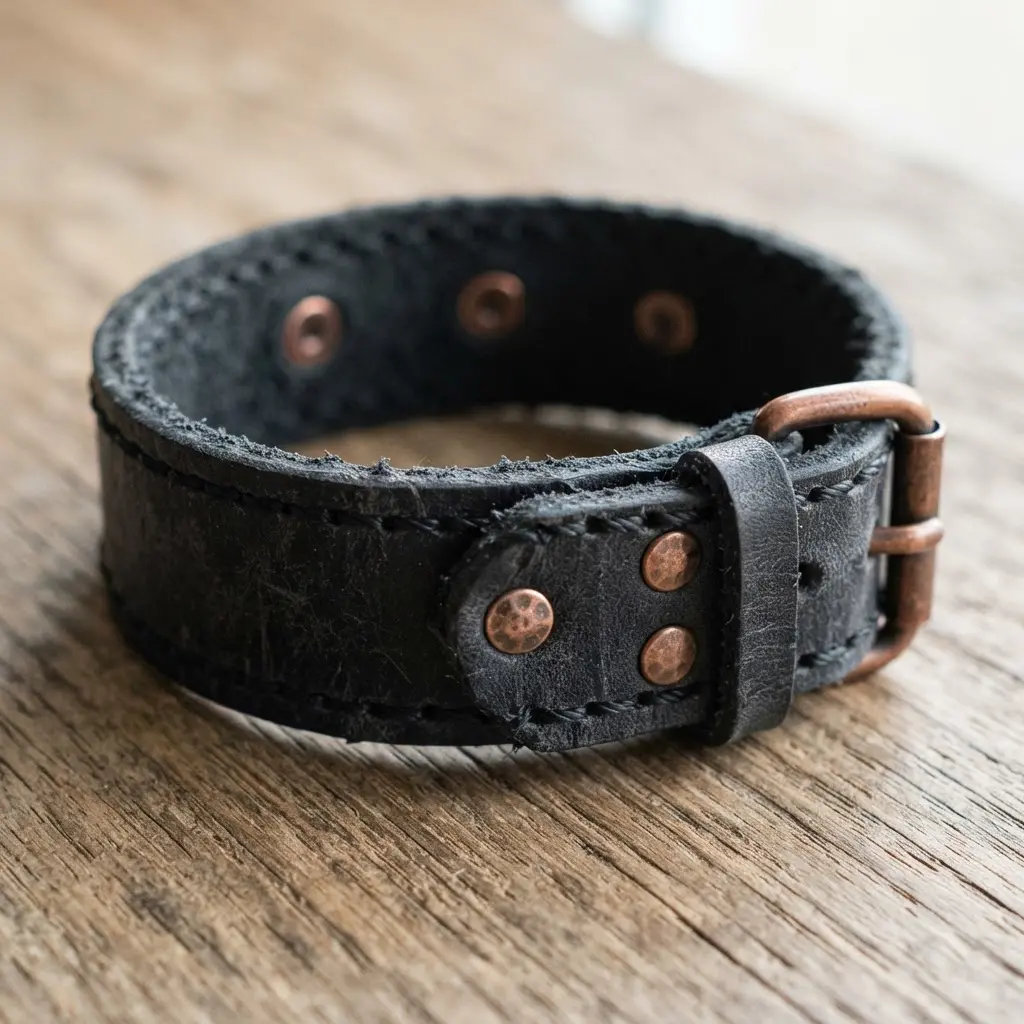
This one looks like it came straight from a steampunk workshop, doesn’t it? The core idea is simple: take a thick, rugged strap of leather and secure it with exposed metal rivets for a standout diy stitched leather bracelet. You will choose a full-grain vegetable-tanned leather for that perfect patina, and then decide on your rivet pattern.
Maybe a clean line along the edges or a bold grid right down the center works best. I love how the rivets do double duty, acting as both a super secure fastener and the main decorative element. It works because that combination of raw leather and cold, hard metal creates an instant statement of strength and utilitarian style.
Trust me, the first time you hear that satisfying click of a heavy-duty snap or buckle, you will feel like you built something truly substantial.
Burnishing Edges and Applying Protective Leather Conditioner
A smooth, polished edge is the true mark of a well-made diy stitched leather bracelet, and achieving it starts with a proper beveling tool to round off the raw cut. Once you have beveled, a few minutes of friction with a wooden slicker and a drop of water will fuse those leather fibers into a glossy, professional finish.
This step locks out moisture and prevents the fraying you sometimes see on beginner projects. After burnishing, a light coat of a natural leather conditioner protects your work from daily wear and brings out a rich, warm patina over time. This final touch ensures your bracelet not only looks handmade but feels durable and cared for, ready for years of use.
Conclusion
Choosing your first diy stitched leather bracelet project is really about listening to what style speaks to you, whether it is the clean lines of a minimalist cuff or the personal touch of an embossed initial. The best part is that each of these ideas uses the same core skills, so once you master the saddle stitch and feel confident with your tools, a whole world of leather crafting opens up. My advice is to pick the design that makes you most excited to start, gather your materials, and give yourself the space to learn as you go. The beauty of handmade leather is that every stitch tells the story of your effort, resulting in a piece you will love to wear and share.
FAQs
Q: What type of leather is best for a beginner’s stitched bracelet?
A: Vegetable-tanned leather in a 3 to 5 ounce weight is ideal. It is firm enough to hold its shape but still easy to puncture with stitching chisels. Avoid very thick or stiff leathers for your first project.
Q: What thread should I use for hand stitching leather?
A: Use a strong, waxed polyester or linen thread. The wax coating helps the thread glide through the leather, prevents fraying, and locks your stitches in place for a durable finish.
Q: Do I need special tools to make a stitched leather bracelet?
A: A few basic tools make the process much easier. A stitching chisel or pricking iron creates even holes, a rotary punch works for hardware holes, and a simple burnisher gives your edges a smooth, professional look.
Q: How do I keep my stitching straight and even?
A: Mark your stitch line lightly with a wing divider or ruler before you punch holes. Using a stitching chisel ensures consistent spacing. Go slowly and pull each stitch with the same tension for a uniform appearance.
Q: Can I add color to my leather bracelet?
A: Absolutely. You can dye vegetable-tanned leather before you stitch it, or use brightly colored waxed thread for a bold contrast. Experimenting with color is a great way to personalize your DIY stitched leather bracelet.








