

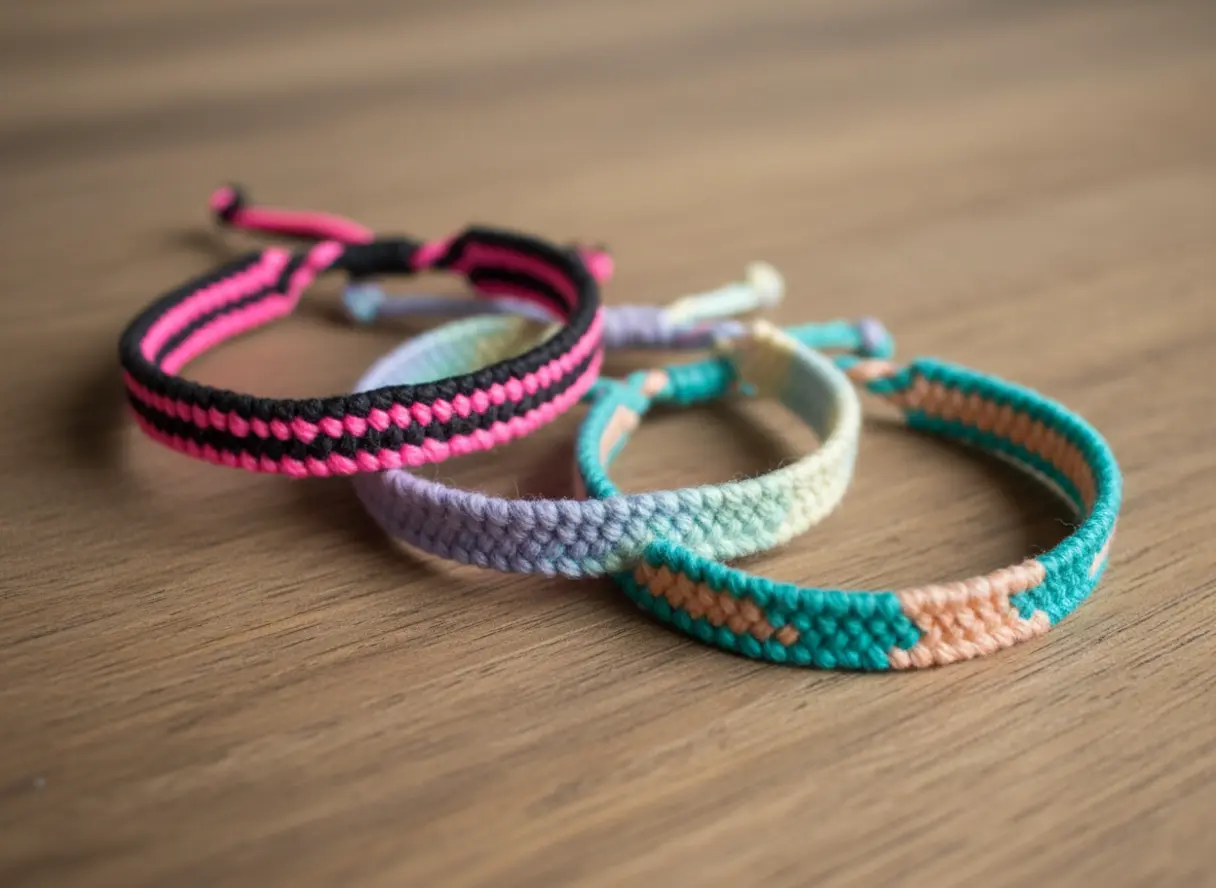
Remember that moment when you first held a finished bracelet, feeling the tight knots and seeing the perfect pattern you created? The chinese ladder friendship bracelet offers a small, personal victory that captures exactly how special weaving feels. Its clean, architectural look is all about consistency and high-contrast colors.
If you have been looking for fresh inspiration beyond the basic tutorials, you are in the right place. I have gathered a collection of designs that focus on the final look—stylish, personal, and totally achievable. Whether you love bold neons or soft pastels, there is a pattern here waiting for your thread.
Grab your embroidery floss and let us find your next favorite project. Trust me, you are going to love seeing your hands build something beautiful.
Choosing Thread Combinations For Consistent Spiral Tension
When making a chinese ladder friendship bracelet, the perfect spiral shape depends entirely on pairing threads with identical thickness and texture. You need two working strands and a stationary core, but if your threads differ in size, your knots will pull unevenly and the ladder will twist. For the most reliable results, stick with a single brand and type of six-strand embroidery floss for all your threads. This ensures each square knot tightens with the same resistance, building that beautiful, uniform rope texture.
I always cut my working threads from the same skein and my core threads from another matching one to guarantee consistency. Trust me, this small step makes the difference between a lumpy mess and a smooth, professional spiral.
Preparing Stable Workspace For Even Knot Spacing
Securing a chinese ladder friendship bracelet to a clipboard with a bulldog clip holds your core threads at a consistent, gentle tension, which is the secret to even knot spacing. We tend to hold the threads in our hands, but our grip always changes and the bracelet gets loose in spots.
Pin your starting knot to the top of the clipboard with the clip, letting the core threads hang straight down. This setup leaves both hands free to focus on pulling each half-hitch knot with the same firm pressure. You will notice your knots line up in a perfect, tight spiral when the base strings cannot move. That uniform pull is what creates the bracelet’s structured, durable shape from finish to start.
1. Neon Pink and Black Pattern
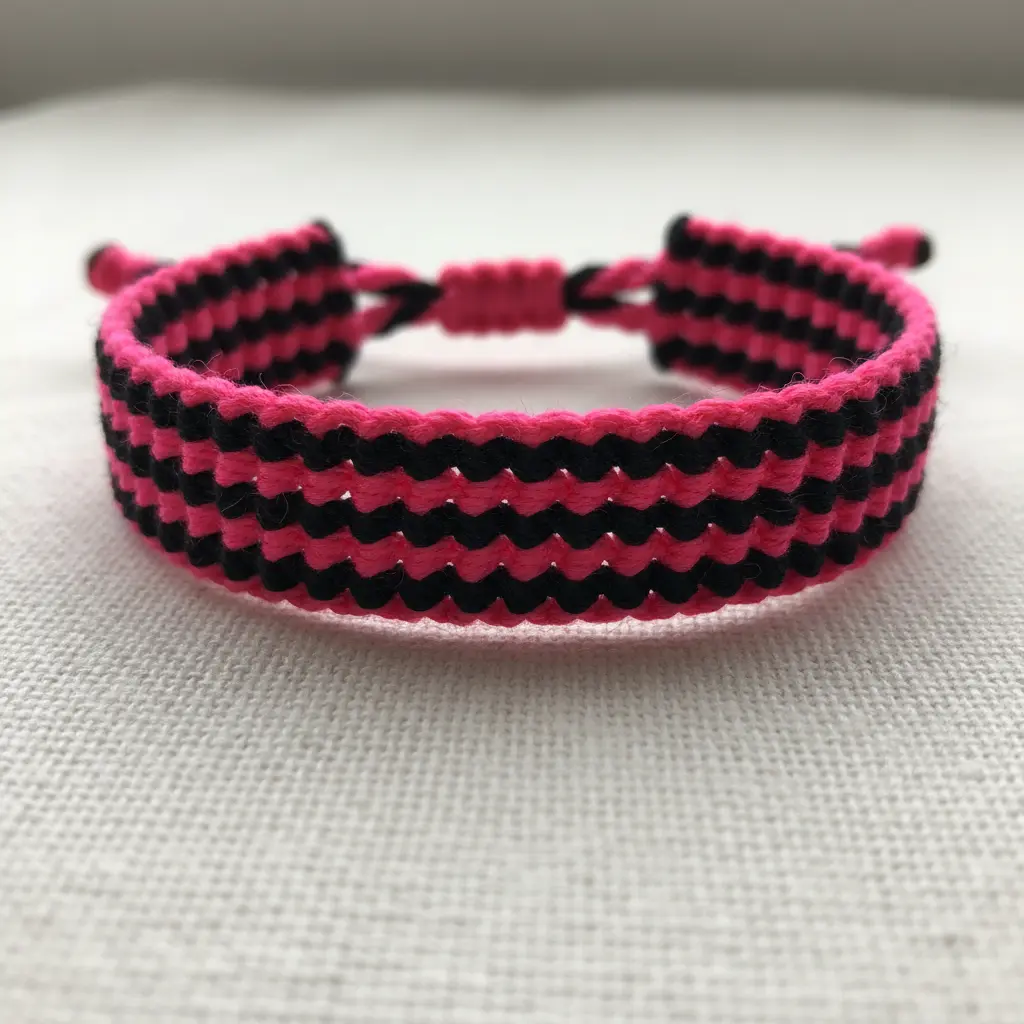
This chinese ladder friendship bracelet design surprised me – it looks complex but takes under 10 minutes. You will create a series of forward knots with neon pink embroidery floss, wrapping it tightly around a central black strand to form the bracelet’s ‘rungs’. The high contrast makes every knot pop, giving you a bold, modern look that is super eye-catching.
It works so well because that vibrant pink against the deep black creates a dynamic, playful energy in any chinese ladder friendship bracelet. I love how the simple knotting technique builds such a cool texture. Your bracelet will have that edgy, tactile feel everyone loves.
Before you start knotting a chinese ladder friendship bracelet, get comfortable with a creative fabric bracelet tutorial to master the basic hand motions. Trust me, consistent tension is your secret weapon for a perfect, flat finish. Feel proud when you see that striking pattern come together.
2. Metallic Gold and White Accents
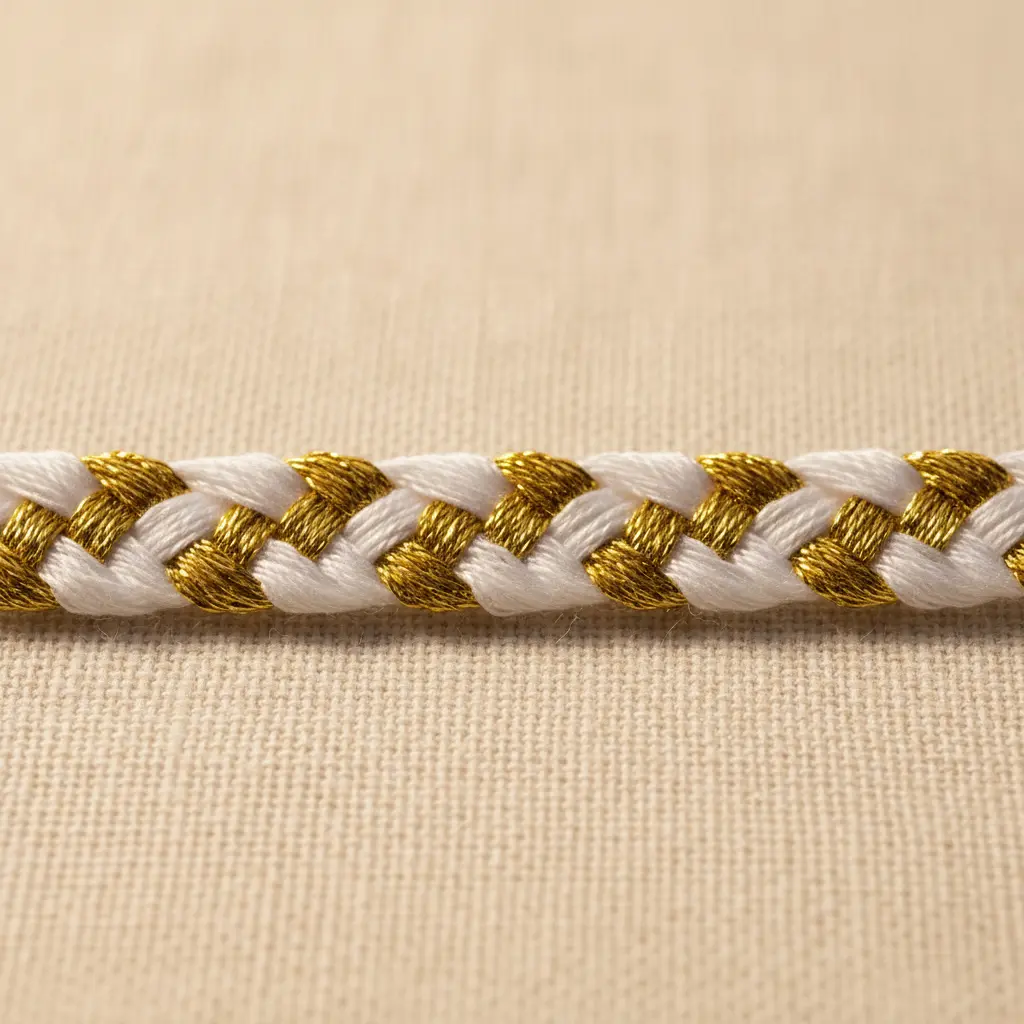
Ever wondered how a simple chinese ladder friendship bracelet can look so elegant and expensive? The secret is using metallic gold floss as your accent color against a clean white base. You create the main ladder pattern with white threads, then weave in the gold for just a few key knots that catch the light.
This combination works because the crisp white makes that warm, rich gold truly pop on any chinese ladder friendship bracelet without feeling flashy. I love how this elevates your finished piece into a chic accessory you will be proud to wear. For a fun, colorful alternative, you could pair this metallic look with some fun jelly bean bracelets for a different vibe.
Just remember to keep your knot tension super consistent when weaving a chinese ladder friendship bracelet for a neat, professional finish. Feel that sophisticated sparkle!
3. Bright Rainbow Pastel Gradient Style
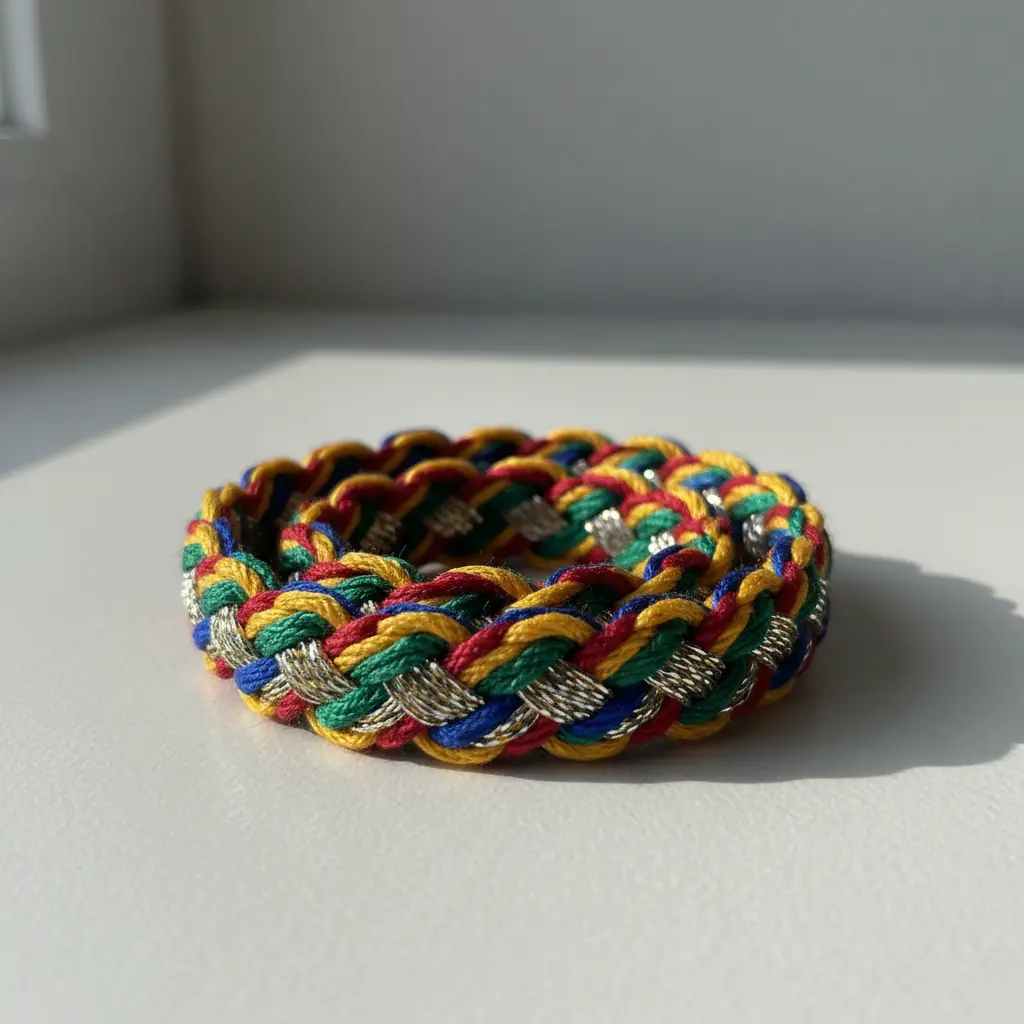
Who would have thought a chinese ladder friendship bracelet could feature a rainbow that looks so soft and dreamy? This style takes those classic vibrant colors and washes them into soft pastels like pale rose and sky blue, then blends them together so seamlessly you cannot tell where one ends and the next begins.
The magic in a chinese ladder friendship bracelet is in that smooth color transition. You will pick three to seven luminous pastel hues and blend them gently, avoiding any harsh lines. It creates a soft, ethereal look that feels both cheerful and calm.
I love how this technique turns a bold concept into something gentle and modern. Your biggest challenge when finishing a chinese ladder friendship bracelet is keeping the colors bright and candy-like, not washed out. Focus on smoothness over speed, and feel that wonderful sense of calm when your gradient flows perfectly from one delicate shade to the next.
4. Dark Navy and Silver Ombre
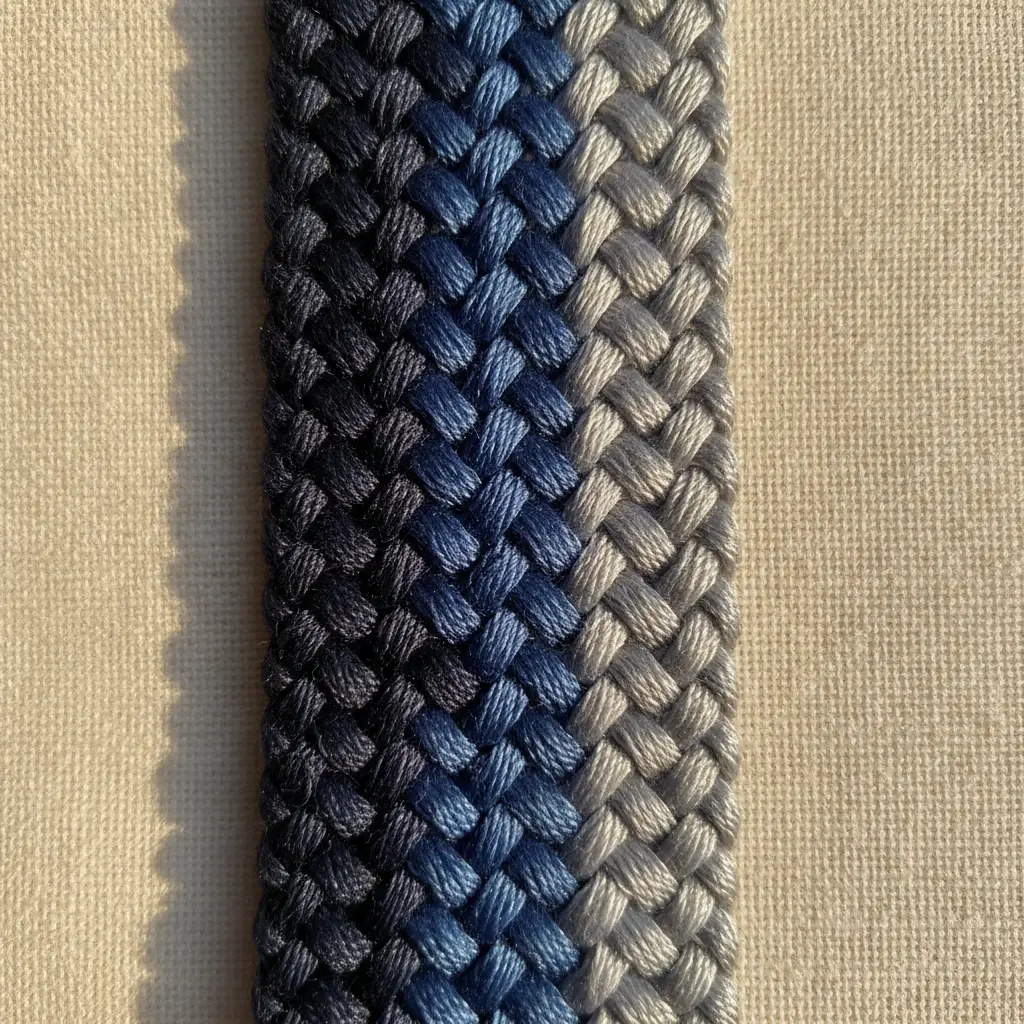
This color combo looks so elegant on a chinese ladder friendship bracelet that you might think it is tricky, but the process is quite straightforward. You will start by weaving with your dark navy strands to form the bracelet’s deep base. Then, over several rows, you slowly introduce your intermediate blue and gray shades, one or two strands at a time, to create that seamless gradient before finishing with the shimmering silver.
I love how the metallic sheen plays against the solid navy, giving it a modern yet classic feel. That smooth transition from rich color to light is what makes an ombre so satisfying to create and wear.
For a polished chinese ladder friendship bracelet look that works with almost any outfit, this gradient pairs perfectly with more structured accessories like a stylish leather bracelet.
5. Beaded Center Accented Knot Design
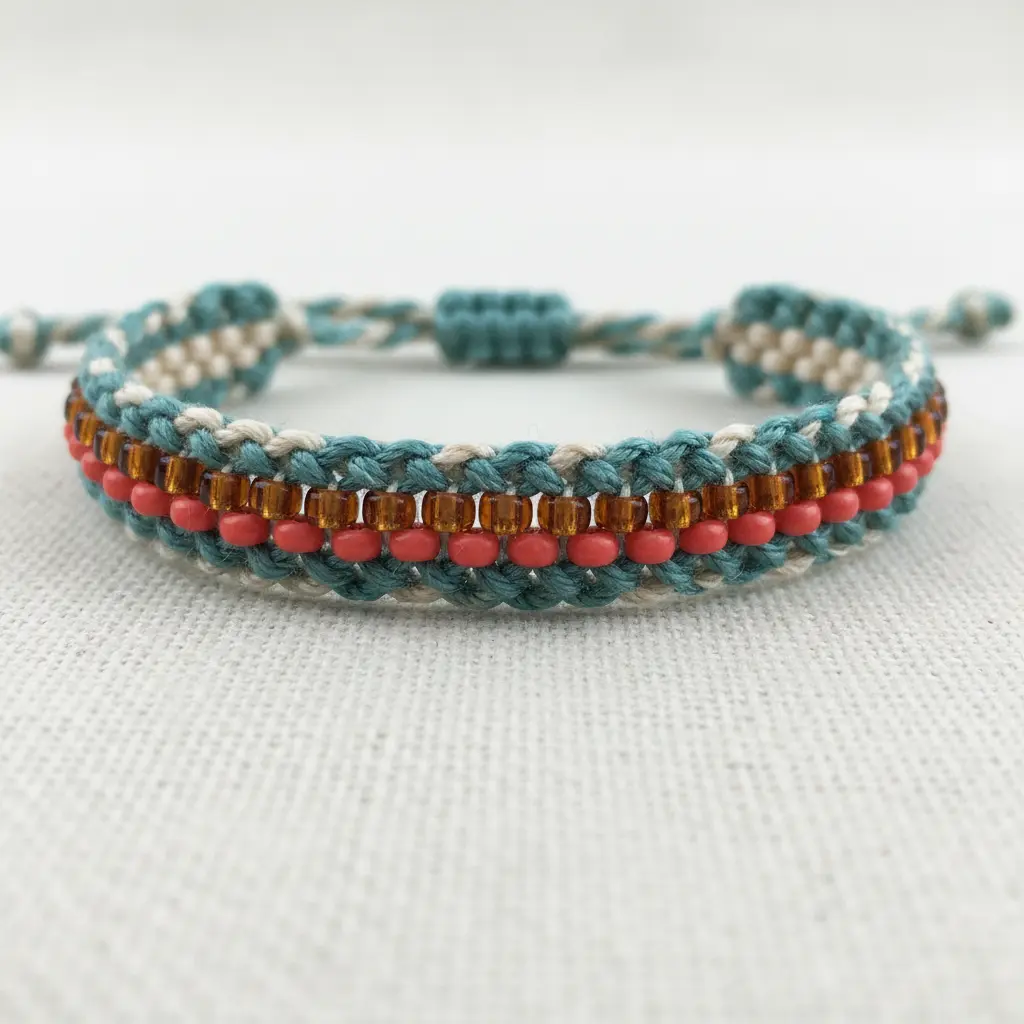
This chinese ladder friendship bracelet design looks intricate, but it is a fantastic way to add a personal touch. You will tie a knot, like a square or Josephine knot, but the magic happens when you integrate a seed bead or small gemstone right into its center during the knotting process.
The bead is not stuck on top; it becomes a secure part of the knot’s structure, giving you a beautiful focal point. Why does it work so well in a chinese ladder friendship bracelet? The knot provides a sturdy, textured frame that perfectly showcases the bead’s color and sparkle.
It is a great way to use up a single special bead you have been saving. I love how this technique turns a simple cord into something eye-catching. Getting the placement right is key, so practice your knot tension on scrap cord first.
If you are planning a structured chinese ladder friendship bracelet piece, reading up on memory wire bracelet ideas can give you great inspiration for how to finish the ends. Your finished bracelet will feel so satisfying to wear.
6. Tropical Teal and Peach Blend
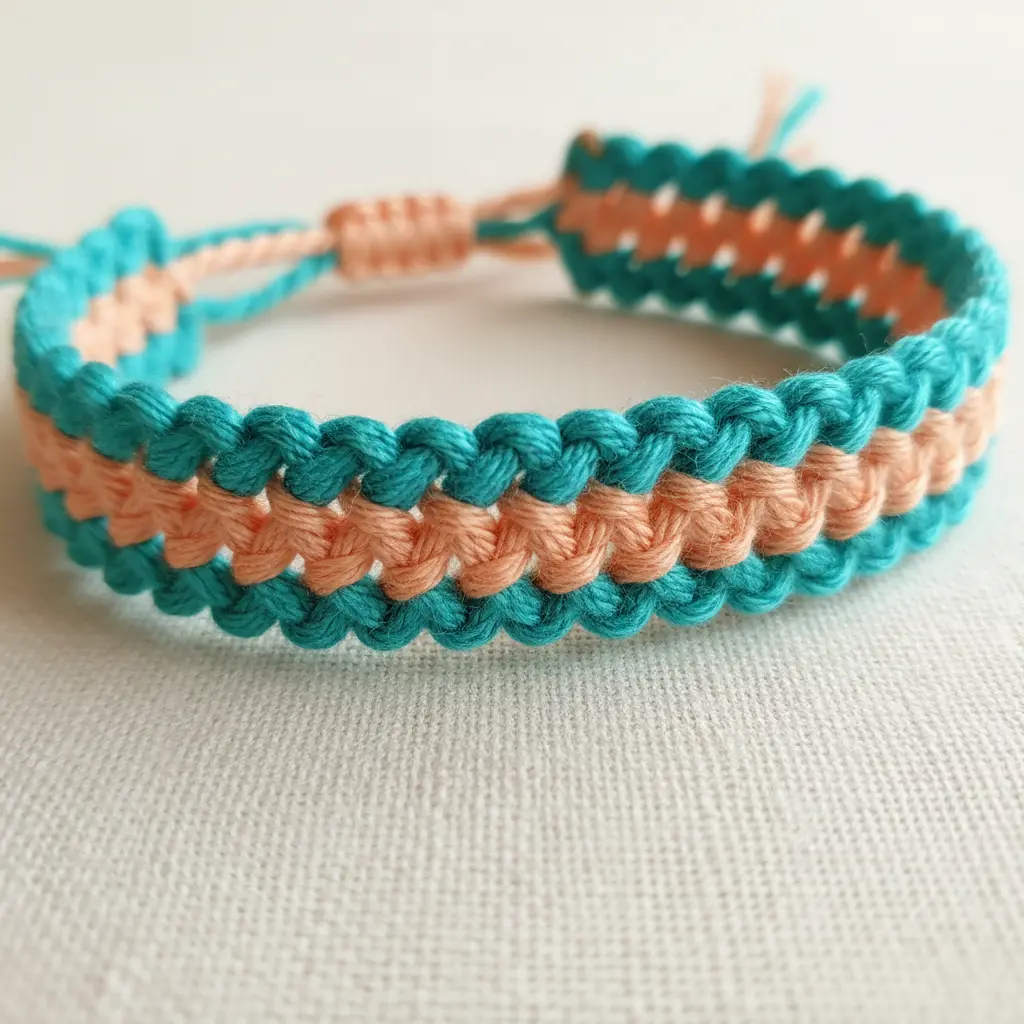
Ever feel like your chinese ladder friendship bracelet could use a splash of vacation energy? This color combo is exactly that. It works because the cool, ocean-like teal embroidery floss plays perfectly against the warm, sunny peach. I love how this blend feels both refreshing and cheerful on your wrist.
For a true tropical look, try using equal amounts of each color in your knotting pattern. This keeps the chinese ladder friendship bracelet vibrant and prevents one tone from dominating. You will get a beautiful, striped ladder effect that looks far more complex than it is.
It is a fantastic choice if you are looking to practice your consistent tension while making something you will actually want to wear. Once you master this blend, you will see how versatile it is for other patterns, like a cute heart bracelet. Feel that instant mood lift every time you glance at your wrist.
7. Black and White Zebra Stripe
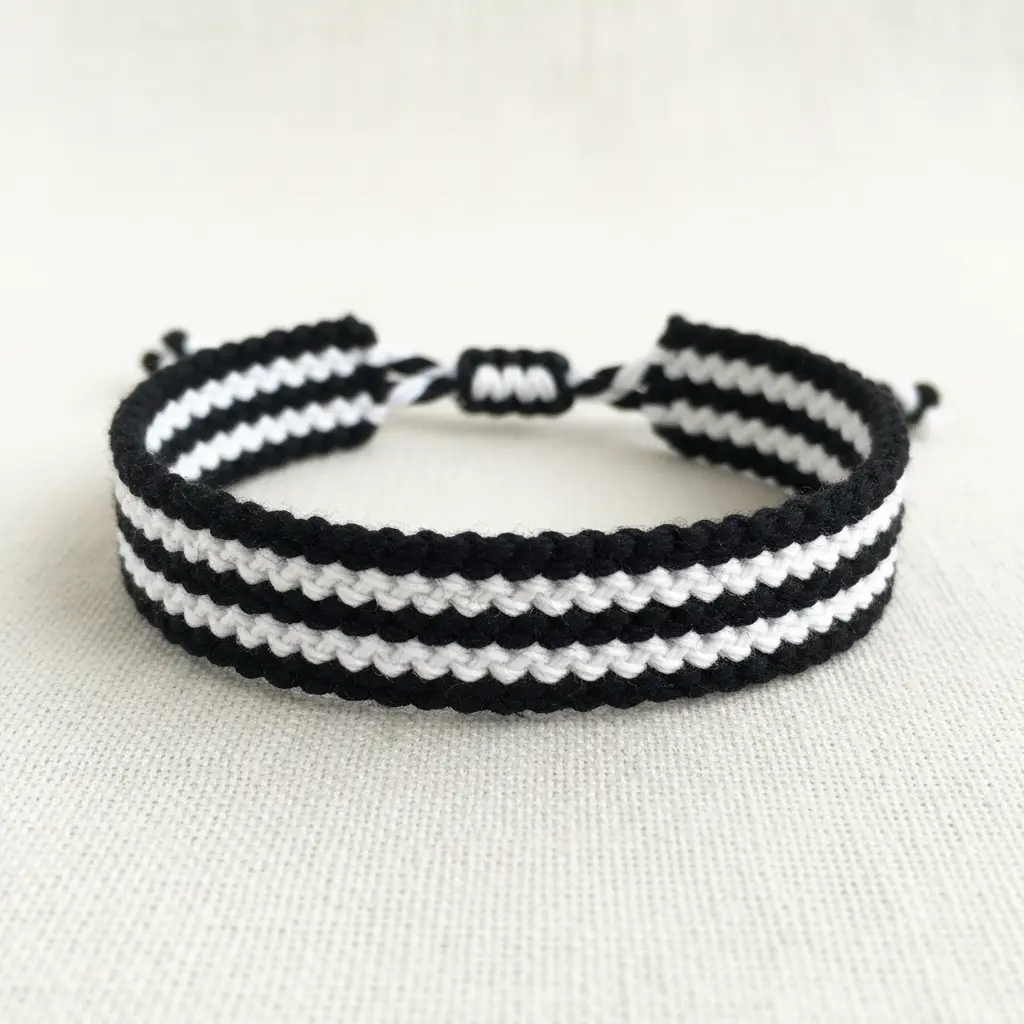
Ever wonder how to get that sharp, graphic look? This black and white zebra stripe pattern is your answer. It uses alternating bands of black and white floss to mimic the bold, dynamic stripes of a zebra’s coat. You will create it by making half-hitch knots with your long working strands over the central filler strands, alternating sides to build the stripes.
I love this one because the high contrast makes the design pop instantly. It is a timeless, sophisticated look that feels playful and modern. Your finished bracelet will have that eye-catching, graphic quality everyone notices.
Keep your stripes even by pulling each knot firmly and consistently in the same direction. Trust me, consistent tension is the secret to a flat, professional-looking piece. Does that not look stunning?
8. Multicolor Neon Speckled Strand Look
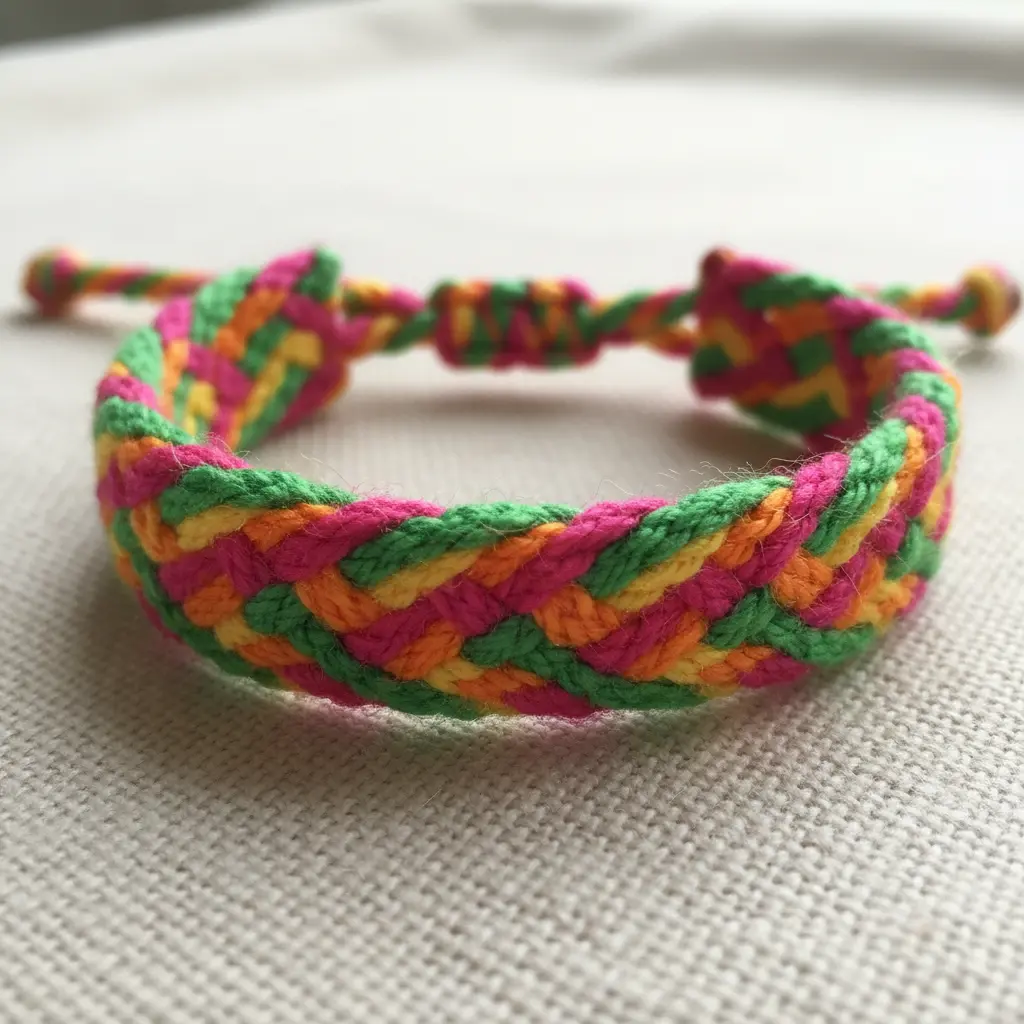
Ever wanted to add a playful pop of color without going full-on rainbow? This look is like a starry night sky, but with tiny, glowing neon stars scattered through your hair. You will pre-lighten a few strands to a pale yellow, then use a toothbrush or small sponge to tap on specks of electric pink, lime green, and shocking blue. The scattered dots create a fun, painterly effect that is surprisingly easy to control.
It works because the contrast between your natural hair and those bright specks adds instant depth and dimension. For a clean result, always do a strand test first and keep your sections isolated to prevent color bleeding. This technique is a fantastic way to practice freehand color placement, and it pairs perfectly with the skills you use to create your own cuff bracelet where precise, artistic application is key. Does that not look stunning?
9. Red and Royal Blue Combo
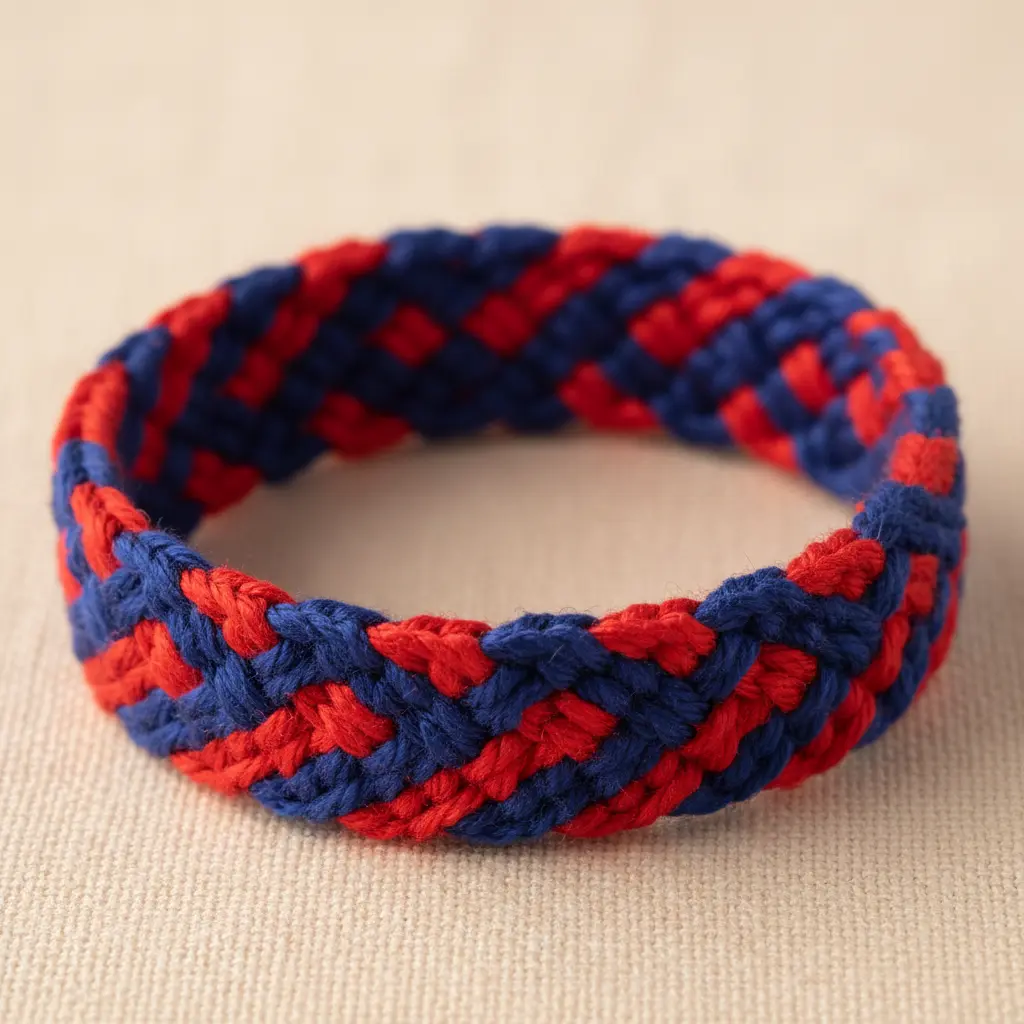
Ever feel like you want a bracelet that’s both fun and a little bit fancy? This red and royal blue duo nails that perfectly. Start with your four strands of each color, all gathered and secured. You’ll make a series of knots with the red thread to create your first ladder section, then switch to the royal blue for the next one.
The bold contrast makes every knot pop visually, and alternating the colors keeps the pattern dynamic. I love how the energy of the red balances the sophisticated depth of the blue. Keeping your knot tension consistent is the secret to a smooth, professional look.
It’s a fantastic first project if you want to learn navajo bracelet crafting later, as the knotting skills directly translate. Doesn’t that final look feel so confident and complete?
10. Forest Green and Sand Texture
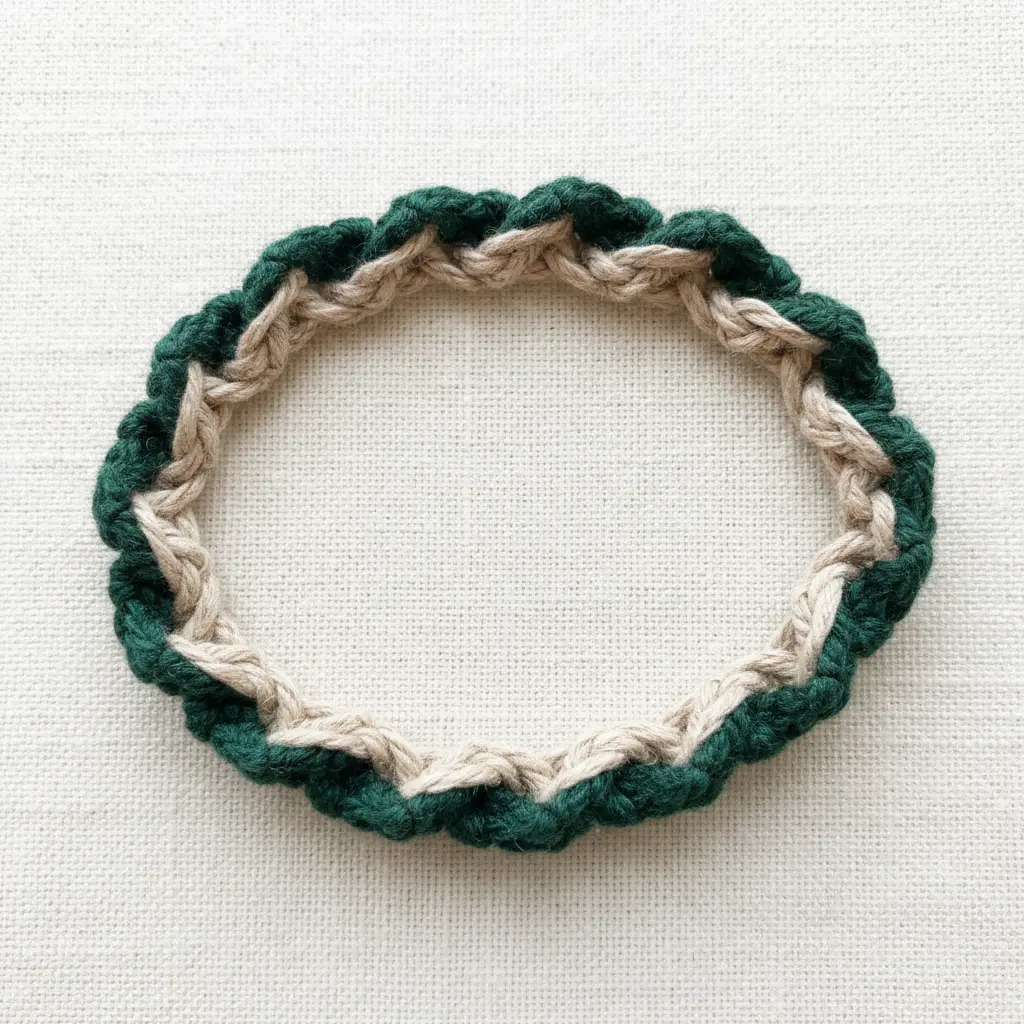
This earthy combo gives me instant forest floor vibes. You will weave deep green threads with a light, sandy beige to mimic that perfect spot where moss meets the shore. Start by cutting your embroidery floss and arranging the colors in your chosen pattern. I love using a simple chevron or candy stripe knot to let these natural tones shine side by side.
The key is keeping your knot tension even so the texture feels organic, not lumpy. It works because the cool green and warm sand balance each other so beautifully. Try it and feel that grounded, peaceful satisfaction when you finish. The earthy tones naturally complement everyday outfits.
11. Lavender and Cream Soft Aesthetic
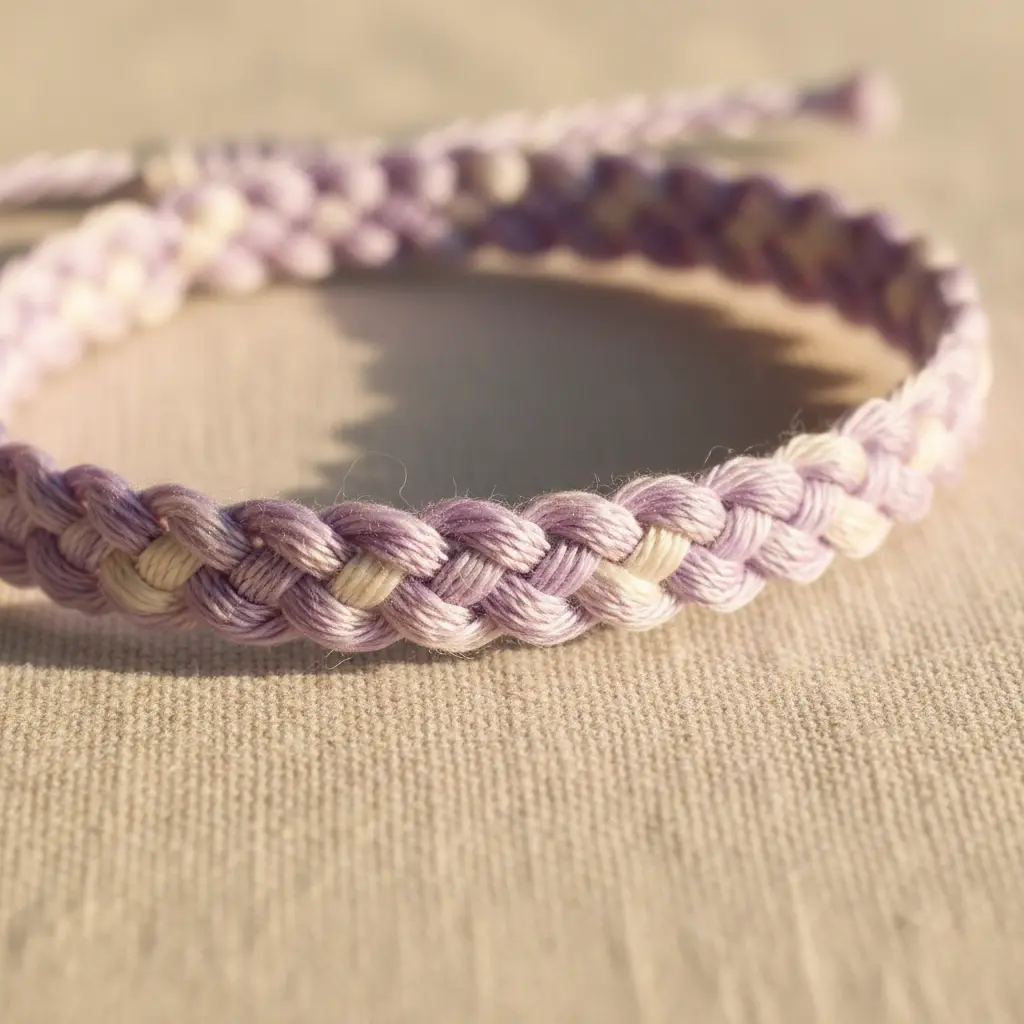
Ever feel like you need a little gentle elegance in your day? This color combo brings a calm, sophisticated vibe to a classic style that feels like a quiet hug. It is all about choosing those perfect, muted threads.
You will work with a simple knotting pattern, but the magic is in the palette. Stick to a soft pastel lavender and a warm, off-white cream floss. I love holding the strands together first to see how they blend. Avoid any harsh whites or dark purples to keep that dreamy, airy look.
Isn’t it satisfying when colors just melt together? Before you start any detailed color-focused project like this, it helps to master the basics of a simple structure. Getting comfortable with easy straw weaving bracelets builds the even tension you need here. Then you can focus entirely on that beautiful, soft gradient without fighting the knots.
Trust me on this one. When you finish, you will have a piece that is versatile, thoughtful, and quite pretty. Feel that serene pride.
12. Bold Primary Color Block Arrangement
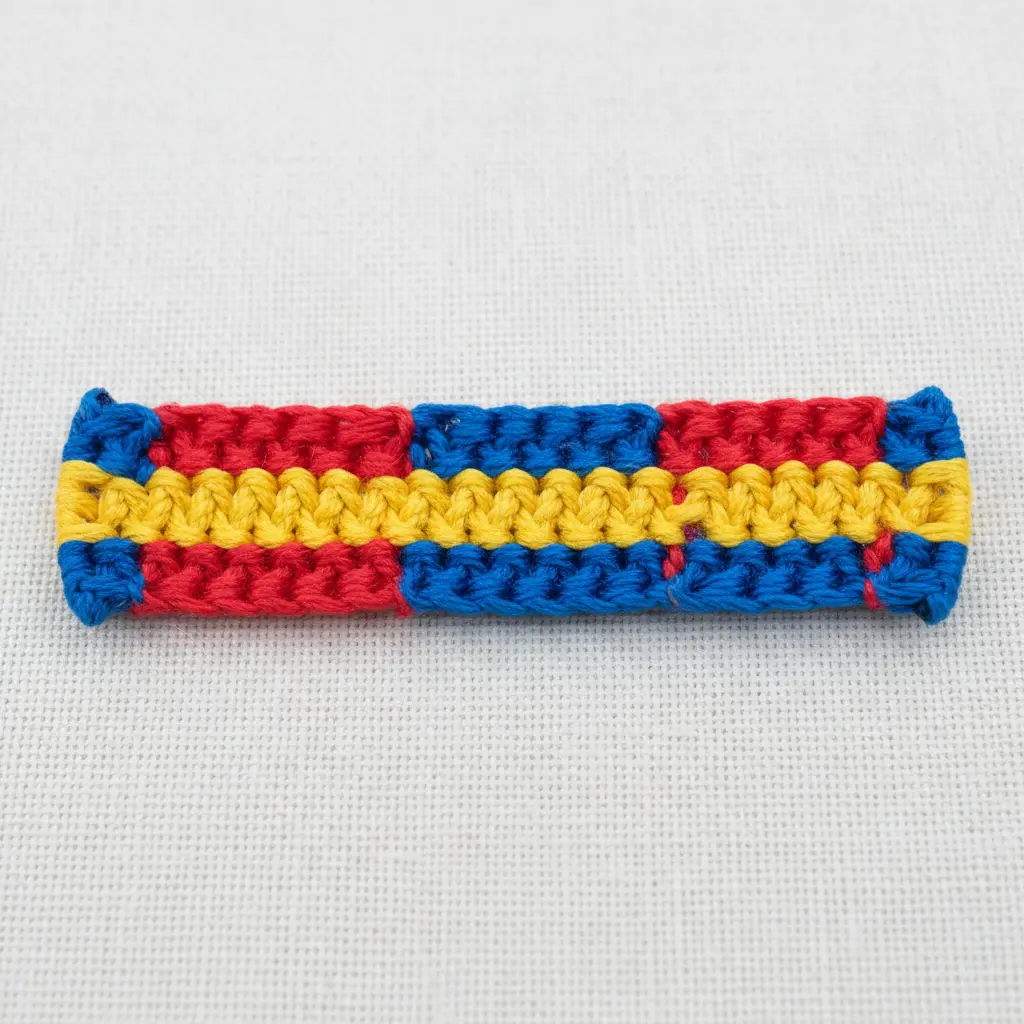
Ever feel like your bracelet needs a jolt of pure, electric energy? This look is all about big, confident blocks of color. You work with clean, sharp sections of pure red, blue, and yellow, placing them side-by-side or in simple geometric shapes. The boundaries stay crisp, letting each color shout without blending into the next.
It feels so modern and graphic, doesn’t it? That’s because the high contrast does all the work for you. I love how this simple approach creates such a strong, playful statement. For even more vibrant ideas, planning your next project with some colorful rainbow loom bracelet patterns can spark tons of inspiration. Feel that bold, happy pop when you finish.
13. Silver Charm Embellished Ladder Style
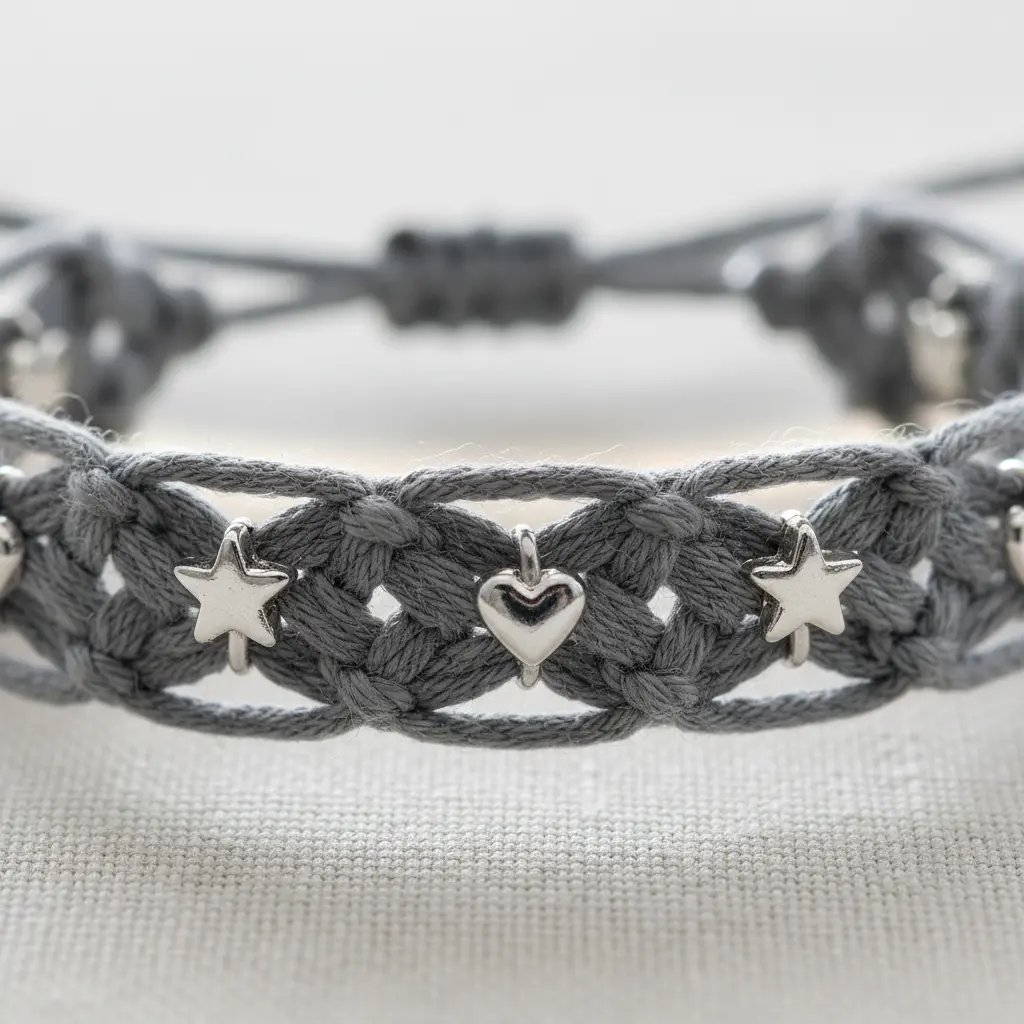
Who says charm bracelets have to be delicate single strands? This design gives you a broader, more luxurious canvas to play with. You start with a base of parallel silver strands connected by horizontal bars, creating that signature ladder structure. Then, you get to the fun part, attaching your favorite engraved or gemstone charms to those rungs using jump rings.
I love how this lets you tell a bigger story with your jewelry. The result feels substantial yet detailed, perfect for someone who appreciates both structure and sentiment. Your biggest success tip here is using two pairs of pliers to close those jump rings completely, so your precious charms stay put.
For another look that plays with structure and statement-making metal, you might enjoy seeing some anthropologie inspired cuff designs for inspiration on bold wristwear. Isn’t that final layered look stunning?
14. Sunset Inspired Orange Yellow Fade
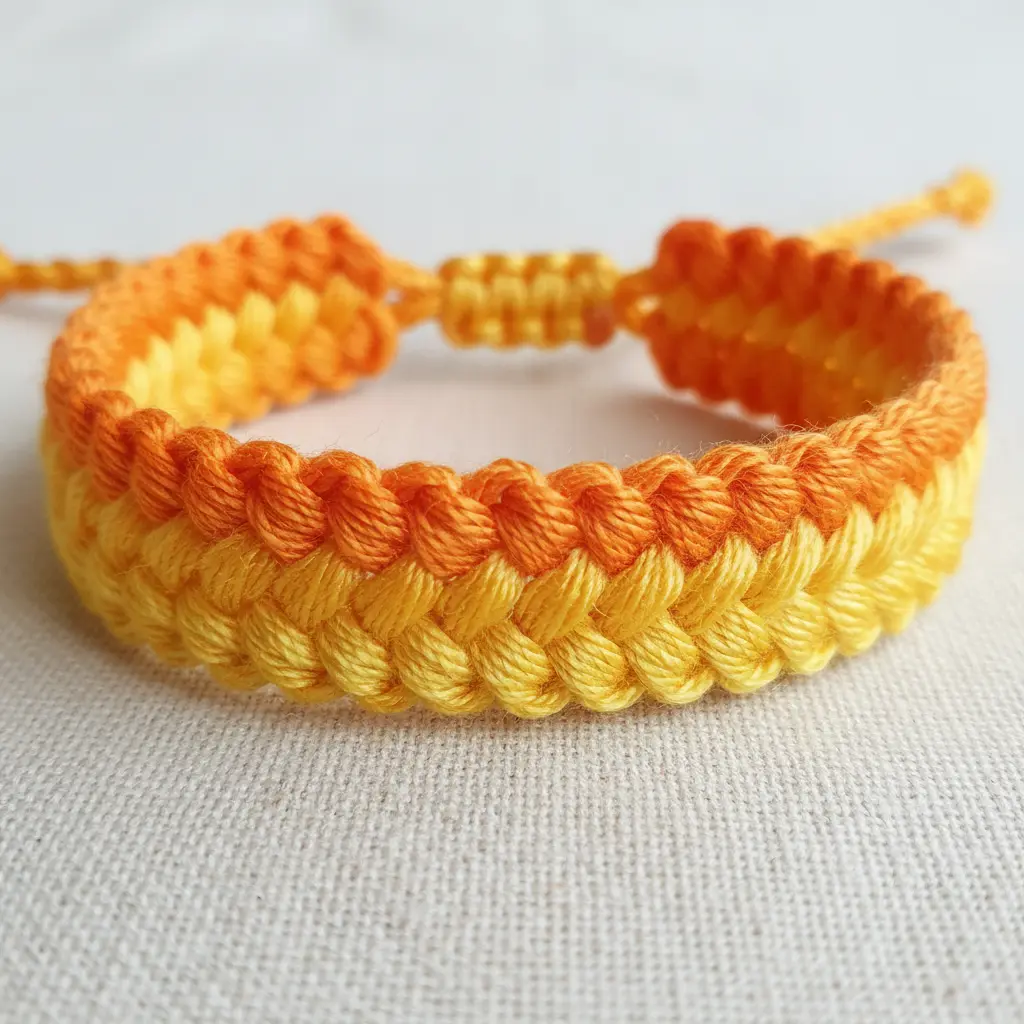
Ever tried capturing a sunset in a bracelet? This orange to yellow fade does exactly that, and it is surprisingly simple to pull off. The trick is all in your floss color selection. You need to pick at least three or four shades that move from a bright yellow through to a deep orange, arranging them in that order on your knotting board.
As you work your knots, those colors will blend into a beautiful, warm gradient. I love how this technique turns basic string into something that feels like a little piece of the sky. Your finished piece will have that seamless, glowing look that is so satisfying to wear.
My go-to tip is to keep your strands organized with a clipboard or tape so you do not accidentally mix up the order mid-project. Trust me, maintaining that perfect fade is worth the extra minute of setup. Does that not look stunning?
15. Deep Purple Metallic Thread Design
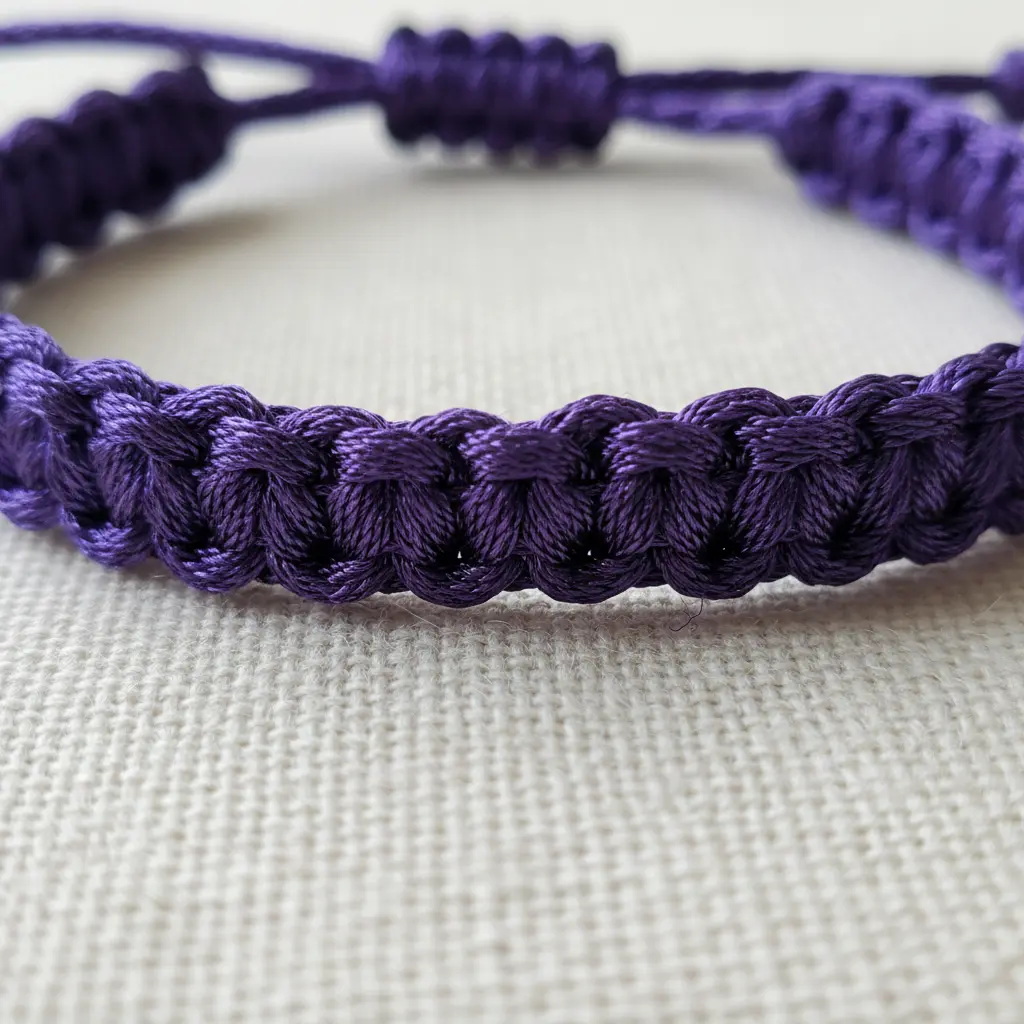
Ever wanted a bracelet that looks like it came from a fancy boutique? This deep purple metallic thread design is your ticket. The rich color feels elegant, and the metallic sheen adds a sparkle that catches the light with every movement. You still get that classic woven texture, but now it has a glamorous upgrade.
Working with this thread is a bit different than regular floss. I love the look, but you must be gentle to avoid splitting the fibers. Keep your thread lengths shorter and pull knots firmly but slowly. A little tip from me? Running the thread over some beeswax conditioner first makes it much easier to handle and reduces fraying.
It is a fantastic project for making a special gift. Once you finish the bracelet, you could even pair it with a simple heart necklace tutorial for a complete, handmade jewelry set. Does that not sound like a perfect present?
Securing Finished Ends For Durable Everyday Wear
A simple square knot using all the bracelet threads, followed by a drop of clear fabric glue, creates a secure end that lasts. After you finish the final knot of your ladder pattern, gather all the threads together and tie them in a tight square knot, exactly as you would tie your shoes.
Then, apply a tiny dot to the knot itself and let it dry completely before you trim the excess tails about a centimeter away. This method locks the threads in place so the end cannot unravel, even with daily wear. The glue soaks into the cotton fibers, making the knot hard and durable without leaving a visible residue on your finished piece.
Conclusion
So, which of these designs for your next chinese ladder friendship bracelet caught your eye? I love how each one has its own personality, from the bold neons to the soft metallic sheens. Look at what you have explored—a whole gallery of inspiration ready for your hands to bring to life. The best part about this hobby is that your personal touch, your choice of colors, is what makes each piece truly special.
My advice? Pick the pattern that made you smile the most, gather those threads, and focus on keeping your knots nice and even. That consistent tension is the secret to that perfect, architectural look. Now you have a whole list of ideas to keep your creativity flowing.
FAQs
Q: What is the best thread for making a Chinese ladder bracelet?
A: Six-strand embroidery floss is the standard and works perfectly. It comes in every color imaginable and knots cleanly. For a shiny look, you can incorporate metallic embroidery thread or even thin satin cord.
Q: How do I keep my knots even and the bracelet from twisting?
A: Consistent tension is key. Pull each knot with the same amount of firm pressure. Secure your starting end tightly to a clipboard or tape it to a table to prevent the core threads from twisting as you work.
Q: Can I add beads to a Chinese ladder bracelet?
A: Absolutely. Small seed beads work great. Simply string them onto your core threads before you start knotting, or add them individually as you go for an accented look.
Q: How much thread do I need for one bracelet?
A: For a standard two-color bracelet, cut about 36 inches of each color. It is always better to have a little extra than to run short. The core threads can be shorter, around 24 inches.
Q: My bracelet looks loose or wavy. What did I do wrong?
A: This usually means your knotting tension was too loose. Do not worry, it is a common beginner mistake. On your next try, focus on pulling each square knot firmly and consistently against the core threads.








