Selecting Compatible Adhesives And Transfer Foils
The biggest mistake you make is grabbing a foil meant for a toner printer when you are using a glue pen. Toner-reactive foils need that specific heat-activated bond, while adhesive-bonding foils are designed to stick to tacky surfaces like double-sided tape or slow-drying glue. If you mismatch them, you end up with a patchy, incomplete transfer that flakes right off. Trust me on this, matching the adhesive type to your chosen foil craft techniques and ideas saves so much frustration.
For your best results, always let your adhesive, whether it is a liquid glue or a sticky tape sheet, cure to its full tackiness before you apply the foil. This extra minute makes the difference between a crisp, full-coverage silhouette and a disappointing mess. For a strong example of perfect adhesion, look for a glossy liquid glue that dries clear and tacky.
Optimal Surface Preparation For Maximum Luster
Your foil will only shine as brightly as the surface it is pressed against. That means the paper stock you choose is everything. A smooth, hot-press paper gives you that flawless, mirror-like finish because the foil has a completely flat plane to adhere to. Textured or cold-press papers can look beautiful, but you will notice the metallic pigment might skip over the deepest valleys, creating an intentionally speckled effect.
We all know the temptation to work on whatever cardstock is handy, but for that high-contrast metallic luster you love, take the extra step. Give your chosen paper a quick rub with a soft cloth to remove any dust or fibers that could get trapped under the foil layer. This simple prep ensures your burnishing tool can apply even pressure across the entire design, locking in the foundation for successful foil craft techniques and ideas. The key to a professional finish is starting with a hot-press paper surface.
1. Elegant Gold Foil Hand-Lettered Cardstock Gift Tag
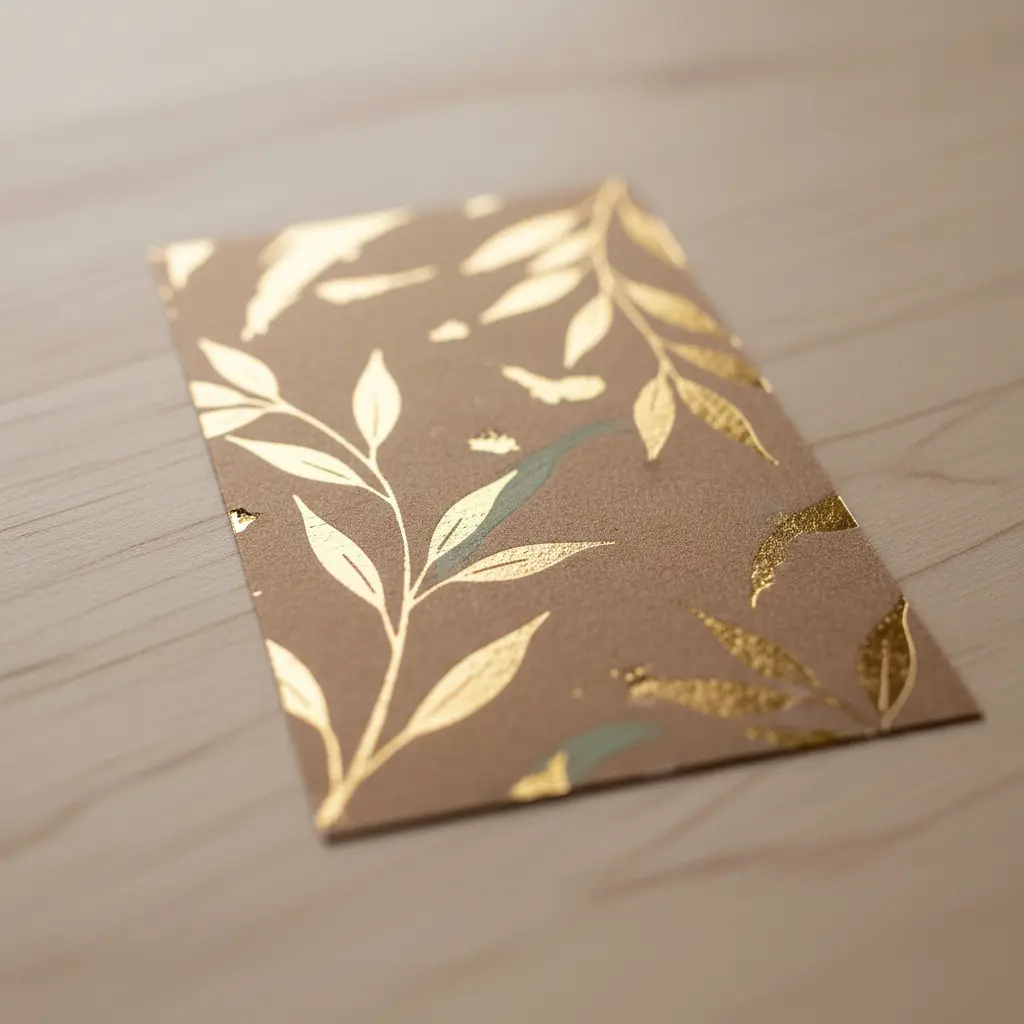
Ever wanted a gift tag that looks like it came from a high-end boutique? This is the one for you. It is all about that stunning gold foil catching the light, paired with the personal touch of hand-lettering. You start with a sturdy piece of cardstock, add your design with a heat foiling machine, and finish it with a hole punch and ribbon.
I love how this instantly makes any gift feel more thoughtful and luxurious. The metallic sheen is pure magic and the custom lettering means no two tags are ever the same. Getting a crisp result hinges on mastering your heat and pressure settings, which is a fundamental step when exploring foil craft techniques and ideas. Trust me, once you try it, you will be hooked on creating these beautiful, personalized accessories.
2. Holographic Adhesive Foil Geometric Wall Art: A Modern Statement Piece
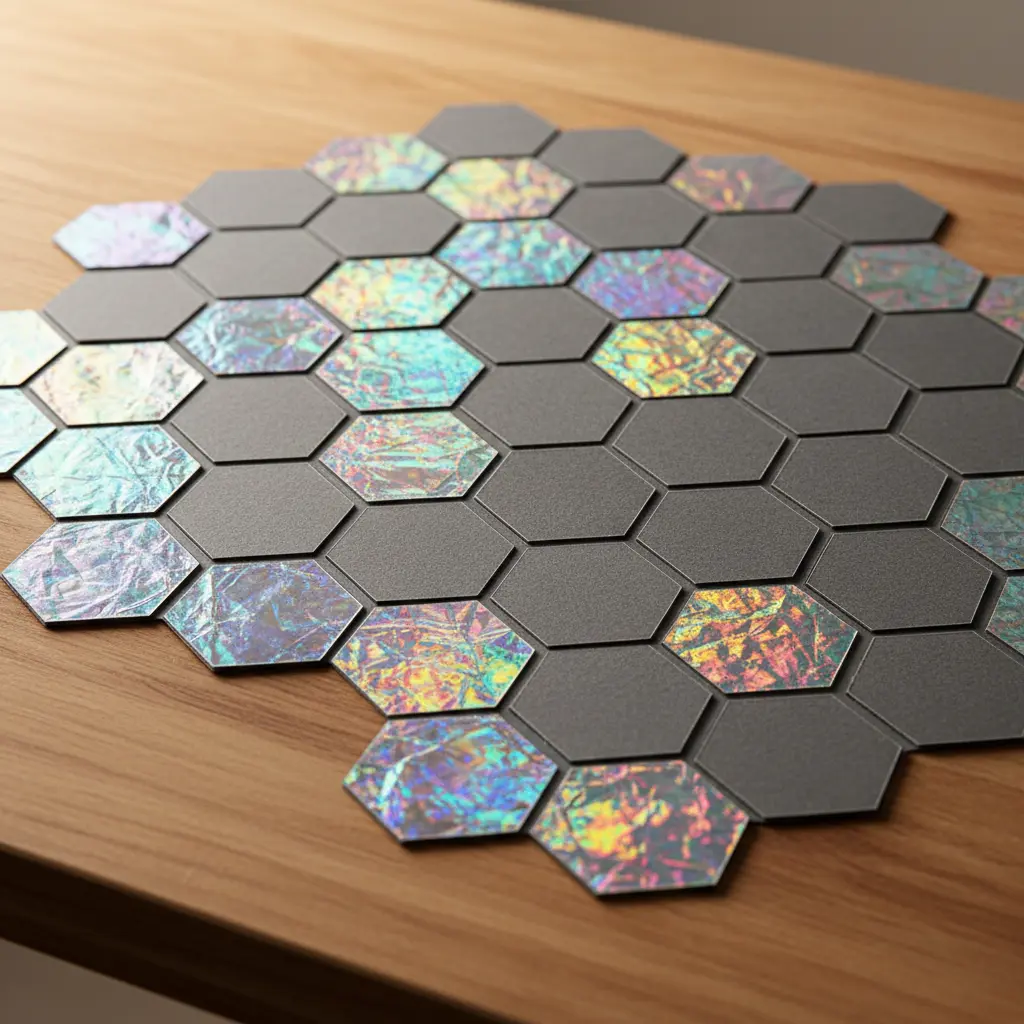
This one surprised me. It looks like a high-end installation, but you can create it yourself with a few key supplies. The magic is in the holographic adhesive foil. You cut it into shapes like triangles or hexagons and apply them to a clean wall.
It works because the light-reactive surface adds dynamic movement to a minimalist design. You will love how it transforms a plain wall into a focal point, demonstrating how bold foil craft techniques and ideas can elevate modern interiors. I always recommend using a vinyl cutting machine for the cleanest, most precise shapes.
Getting the texture and layout right is similar to planning texture-rich puffy paint creations. Both projects rely on thoughtful surface composition to make a bold visual impact. Feel that modern, futuristic vibe come alive in your space.
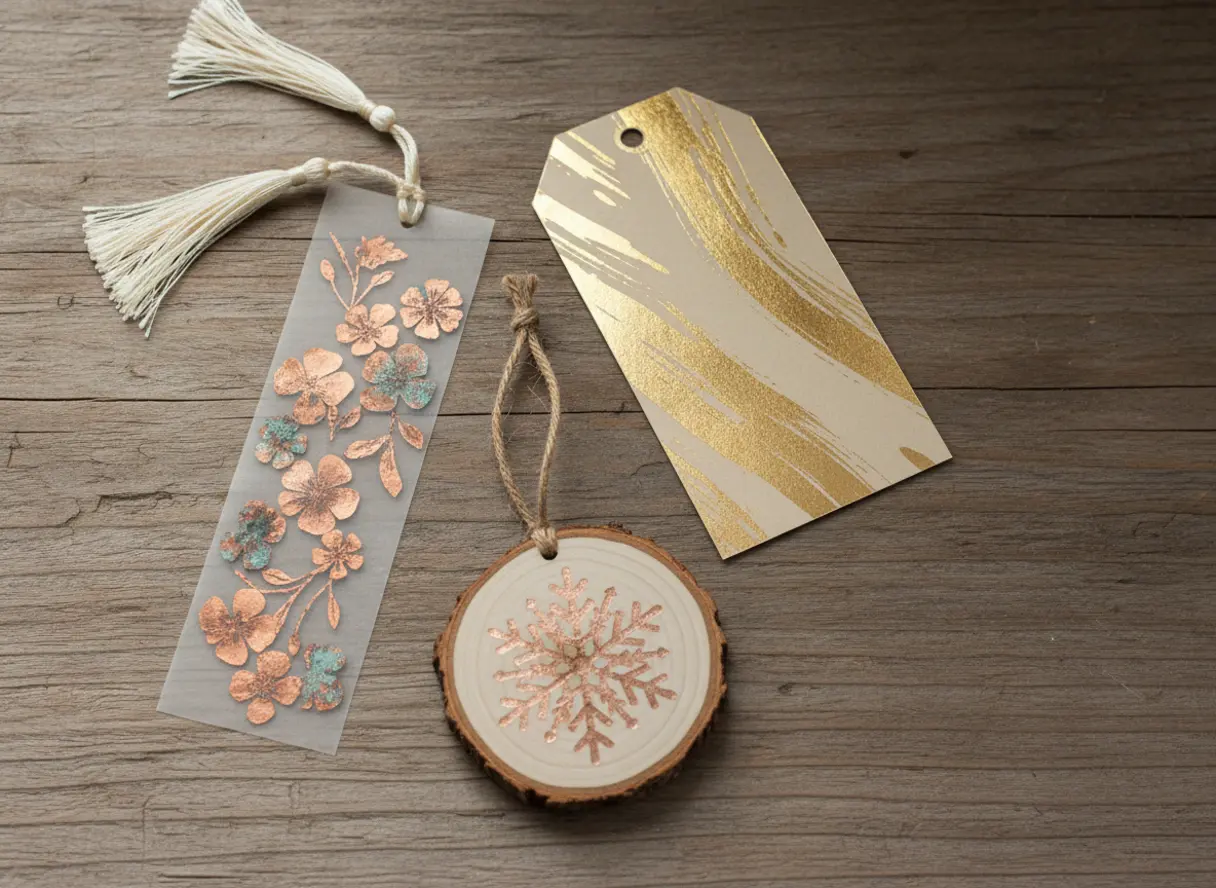
3. Luminous Copper Foil Pressed Vellum Bookmark Set
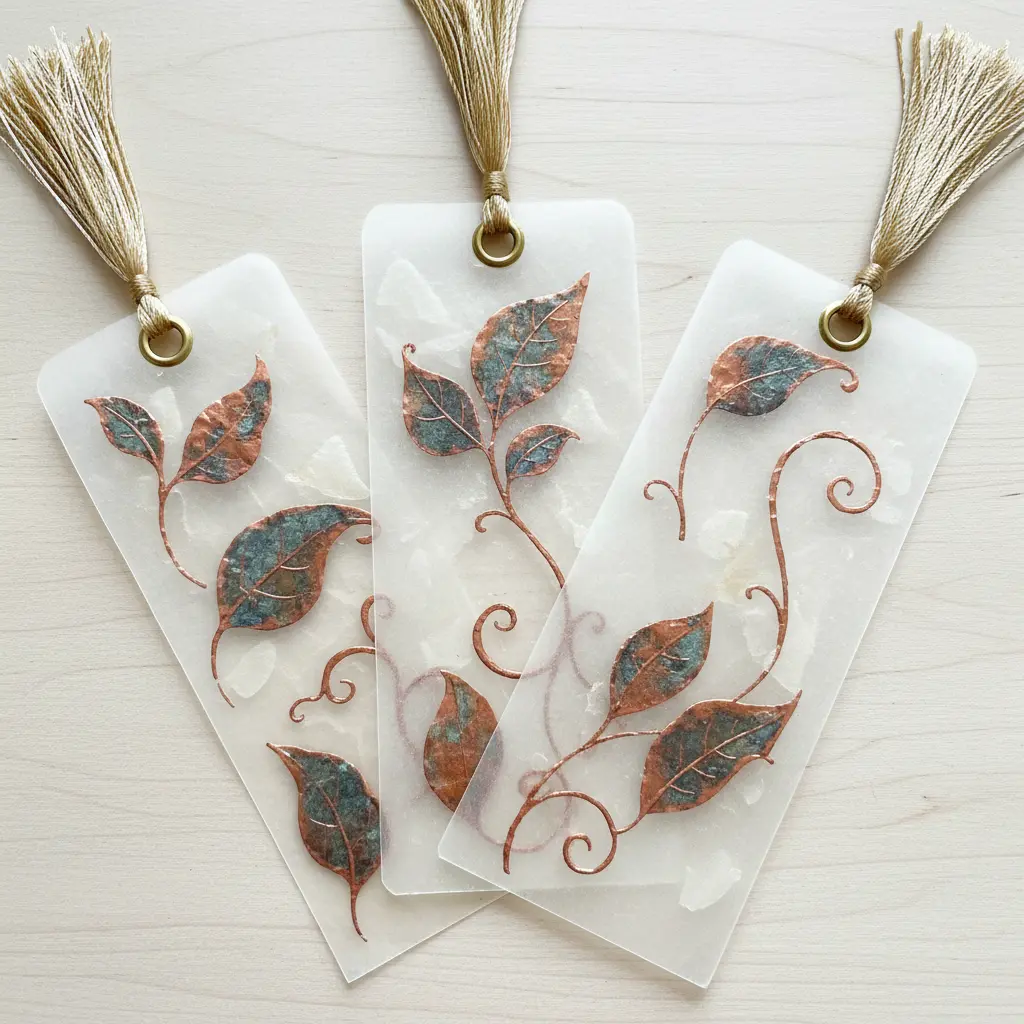
This one looks so elegant, but the process is surprisingly direct. You start with a beautiful design, like a botanical leaf or a simple geometric pattern. The magic happens when you place copper foil between that design and a sheet of translucent vellum. A hot foil stamping machine applies just the right heat and pressure to permanently press that shimmering metallic pattern onto the delicate paper.
Why does this work so well? The warm, luminous copper catches the light against the frosted vellum, creating a bookmark that feels both sophisticated and personal. That crisp, pressed application means the foil won’t flake, making this one of the most reliable foil craft techniques and ideas for beginners. Your beautiful creation lasts a long time.
My top tip is to always test your settings on a scrap piece first. Getting the perfect, clean transfer hinges on mastering the dynamic splatter painting methods of controlled pressure, similar to detailed art projects. Trust me, when you pull that first perfect bookmark off the press, you will feel so proud.
4. Heat-Reactive Foil Floral Stationery Design — Soft Blooms with Metallic Shine
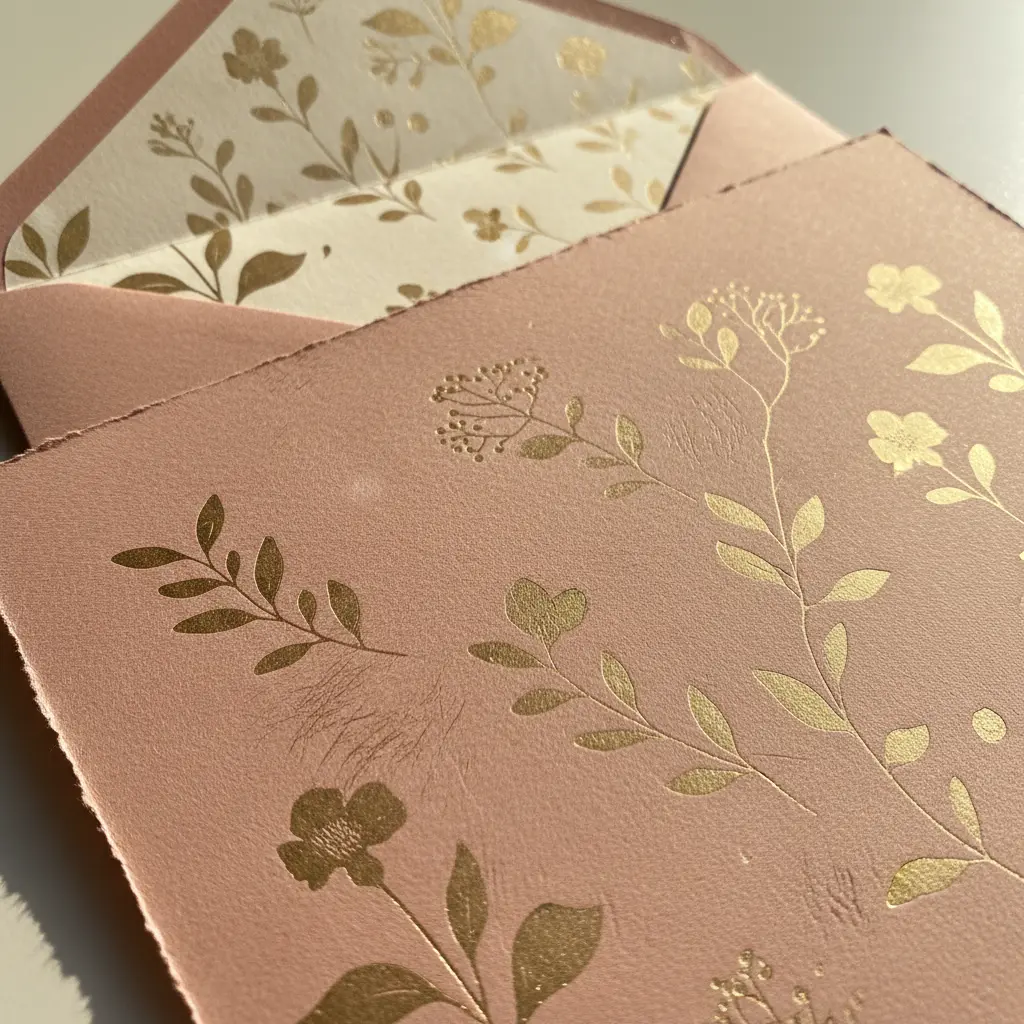
This one looks so elegant, doesn’t it? It’s all about pairing delicate, watercolor-style florals with a precise, shiny foil accent. You print your soft floral design on cardstock, then layer a sheet of heat-reactive foil over the parts you want to shimmer. Running it through a laminator fuses the foil to the toner, and peeling it back reveals that gorgeous metallic outline or fill.
The magic is in that beautiful contrast—the gentle, organic blooms get a modern touch of luxury, proving why toner-reactive methods dominate popular foil craft techniques and ideas. I love how this technique elevates simple stationery into something truly special. For the soft floral part, you can get inspiration from many creative watercolor painting concepts to build your botanical sketches.
Just remember to do a test run first to nail the heat and pressure settings. Feel that satisfaction when you peel back the foil and see your perfect, shiny blooms.
5. Textured Silver Foil Embossed Leather Journal Cover
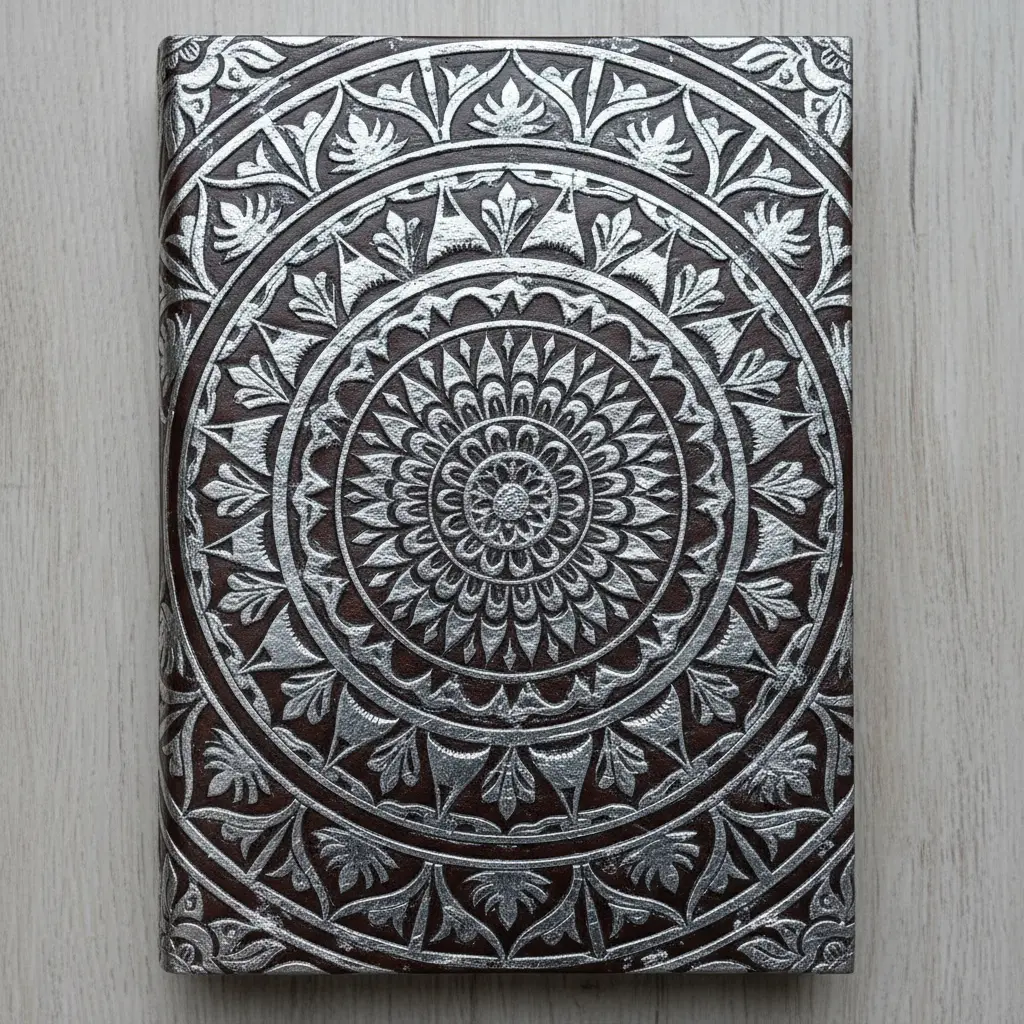
Who says leather journals need to be plain? This project is a perfect blend of classic and glam. You start with a piece of quality textured leather, like pebbled or Saffiano. A hot stamping machine uses a custom metal die to press your design into the surface, creating a raised pattern.
Then comes the magic moment. You lay silver foil over the embossed areas and apply heat again. The foil sticks only to the raised parts, leaving you with crisp, shimmering metallic lines against that rich leather background, which perfectly illustrates how versatile foil craft techniques and ideas become. Trust me, that first reveal is incredibly satisfying.
It feels substantial and luxurious in your hands. Since this is a bigger project, I always recommend practicing your hot stamping technique on scrap leather first. It is also a great project to try after you have mastered simpler foil applications, like the swirling marble painting fun that uses a similar principle of transferring color to a surface.
6. Rose Gold Foil Stamped Wood Ornament — A Warm Holiday Accent
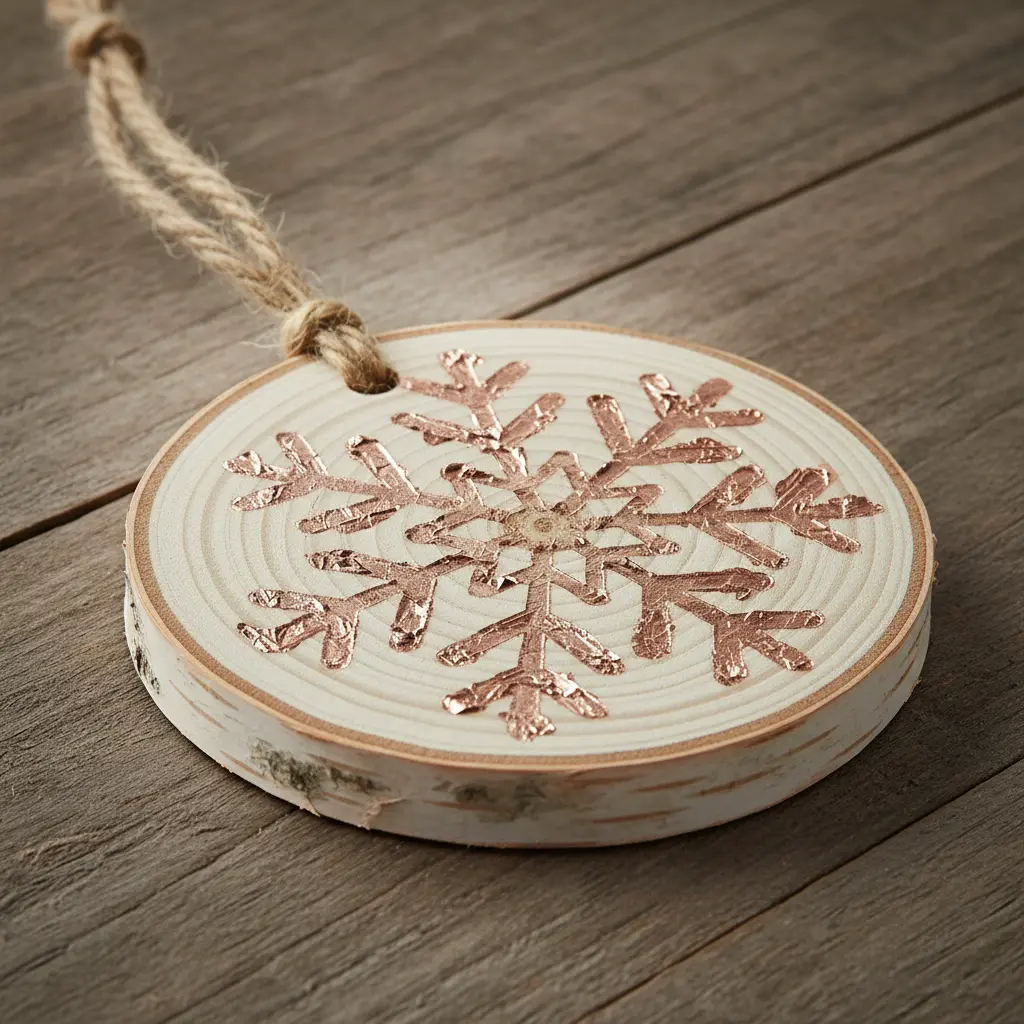
Who would have thought a little wood circle could feel so luxurious? This ornament is my favorite example of rustic charm meeting modern sparkle. You start with a smooth birch blank, place your rose gold foil sheet over it, and press it with a heated die that has your snowflake or holiday word etched into it.
The heat press or foiling machine bonds that shimmering metal to the wood grain in one satisfying moment. I love how the warm, natural wood base makes the metallic shine feel cozy instead of cold. It is a perfect balance that works with almost any holiday decor style. A common pitfall is uneven pressure, so do a test run on a scrap piece first to get your timing right, because accurate heat distribution matters across all foil craft techniques and ideas.
That way, you ensure a crisp, full transfer every time. Feel proud when you tie on the twine and see your elegant, handmade accent ready to shine.
7. Multi-Color Foil Acrylic Wedding Signage: Personalized and Vibrant
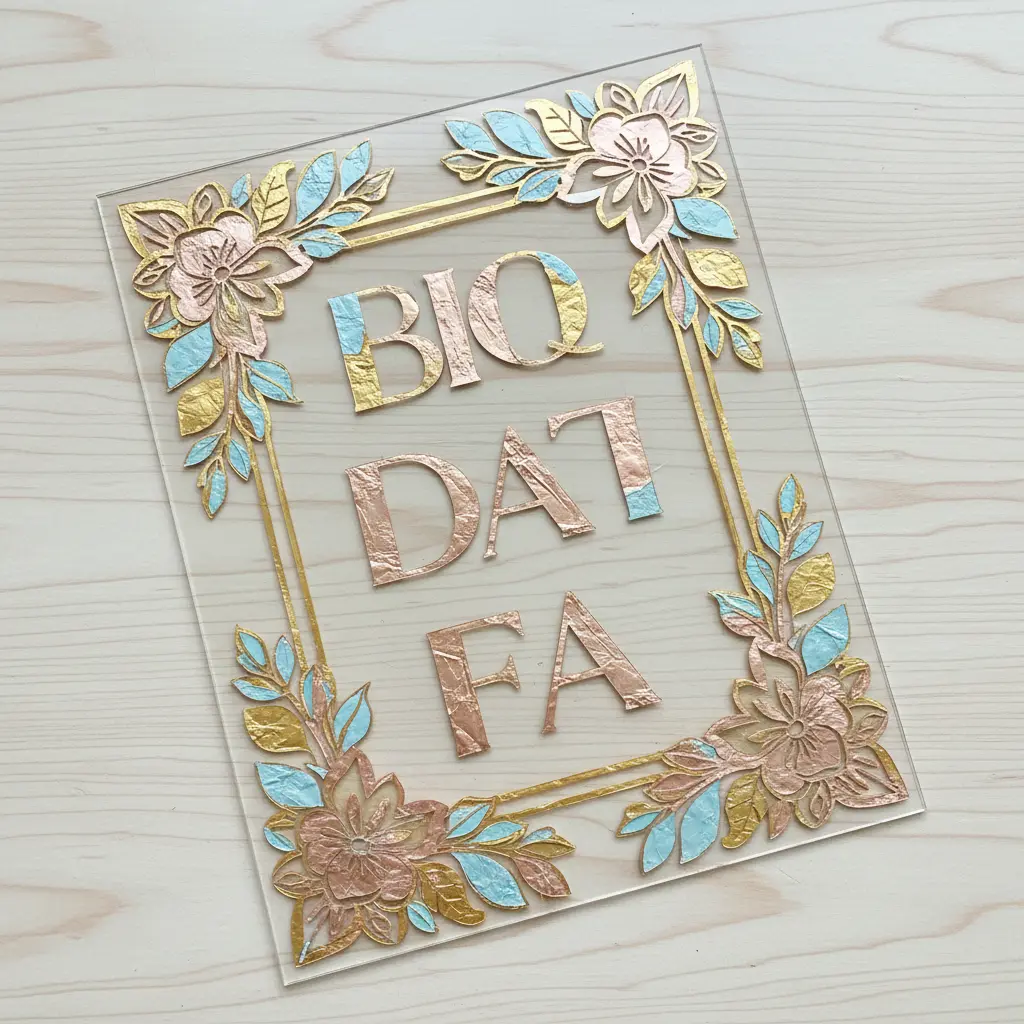
Ever wondered how to make a wedding sign that looks both modern and luxe? Multi-color foil on clear acrylic is your answer. The process starts with a digital design, then you use a heat press to apply each vibrant metallic color. You have to mask off sections carefully to keep the different foils from overlapping, which requires patience but ranks high among essential foil craft techniques and ideas. I find the layering process tricky but incredibly rewarding.
It works because the light catches the foil from every angle, creating a dynamic shimmer you cannot get with paint. For a flawless result, always do a test run on scrap acrylic with your exact settings. This is a perfect project if you have kids who love colorful handprint art projects, as the same joyful, vibrant energy translates beautifully to a wedding day.
8. Shimmering Metallic Foil Accented Pressed Flower Art
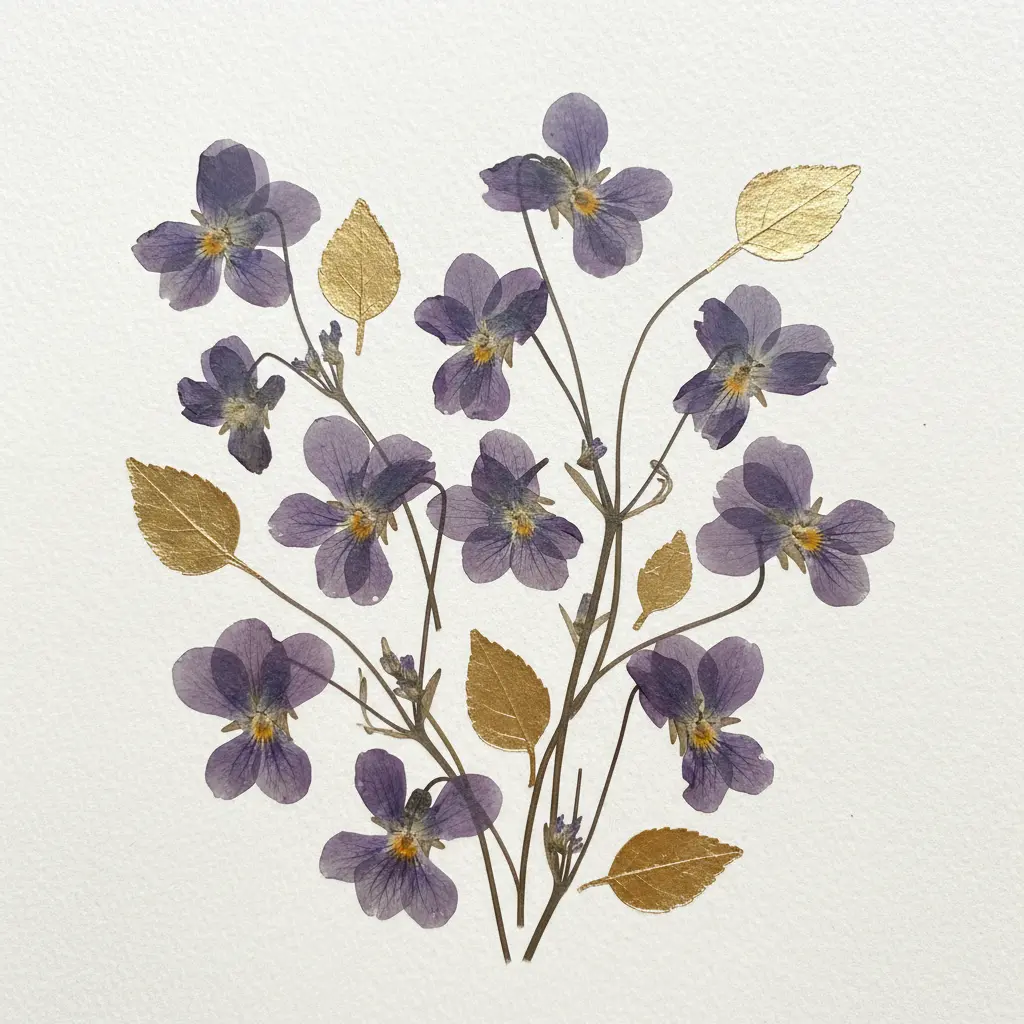
Ever thought pressed flower art could use a bit of modern glamour? This technique elevates those delicate petals by adding shimmering metallic foil as an accent. You arrange your dried flowers first, then carefully apply a special adhesive to outline or highlight parts of the design.
When you press the foil onto that tacky glue and peel it back, you get these brilliant, reflective lines that make the natural textures pop. I love this one because it creates such a sophisticated contrast. The foil catches the light and adds a layer of opulence that feels both elegant and contemporary, showcasing why archival bonding tops many foil craft techniques and ideas. It is a fantastic way to preserve a special bouquet with a unique twist.
My go-to tip is to practice your foil application on scrap paper first. Trust me, getting the adhesive just right makes all the difference. Does that not look stunning?
9. Intricate Gold Foil Die-Cut Paper Lantern — Ethereal Illumination
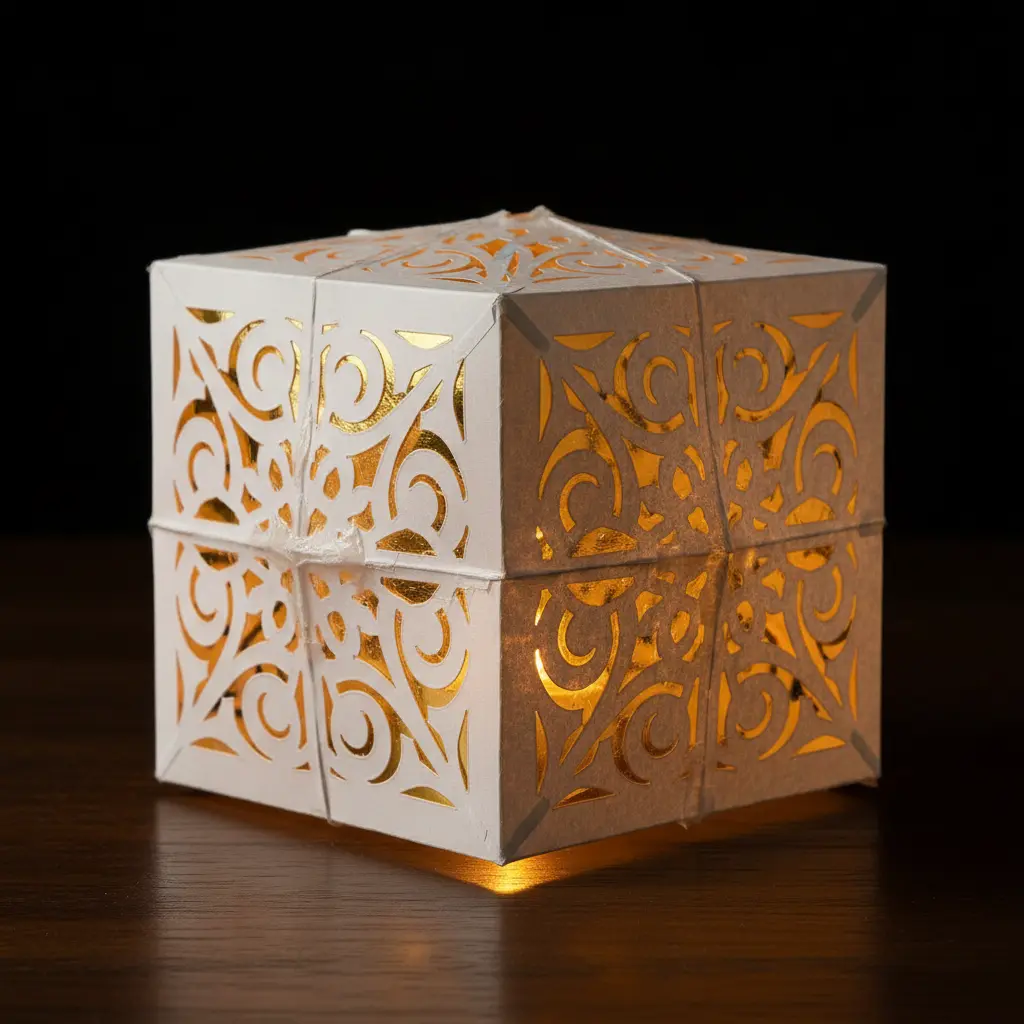
Who would have thought a paper lantern could feel so luxurious? The secret is in the combination of a detailed die-cut pattern and warm gold foil. You start with a high-quality, semi-translucent paper and feed it into a machine that cuts an intricate design, like a floral filigree or a geometric mandala.
Then, you carefully apply gold foil to the interior or the edges of those cut-outs. When you place an LED light inside, the whole piece transforms. The light filters through the delicate paper and bounces off the metallic surface, casting the most beautiful, intricate golden shadows all around the room. It is not just a light source, it is an atmosphere.
Always opt for a sturdy, craft-specific paper that can handle those tiny, detailed cuts without tearing, since sheet stability supports precise foil craft techniques and ideas. Trust me, it makes assembly so much smoother. Seeing those golden patterns dance on your walls for the first time is a stunning payoff. For a different take on structured, pattern-based decor, the principles behind modern geometric painting designs share a similar love for precise, repeating shapes and bold visual impact.
10. Rub-On Foil Whimsical Planner Stickers: Add Personality to Your Pages
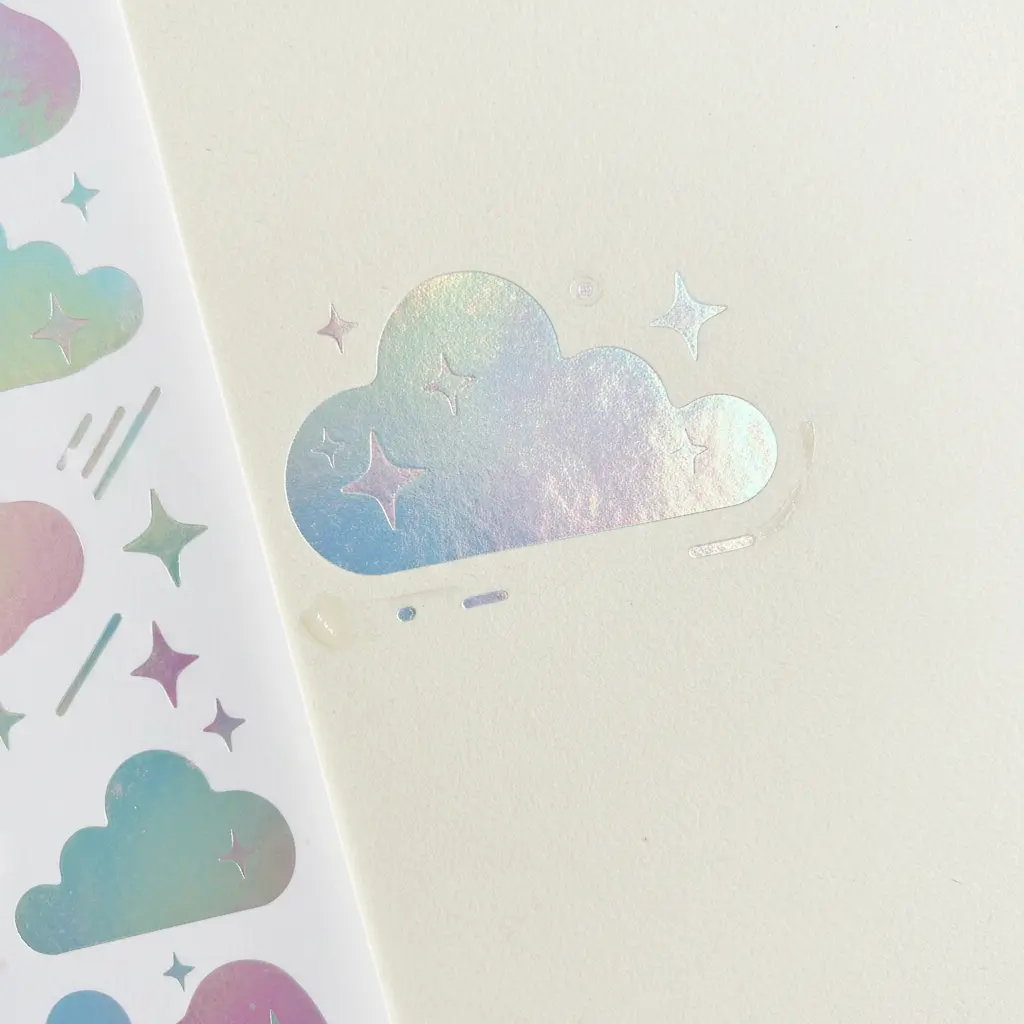
Ever wondered how those stunning, seamless metallic designs get onto a planner page? Rub-on foil stickers are your answer. You simply cut out your chosen whimsical design, position it face down, and apply firm pressure with a craft stick or spoon. Peel the backing slowly to reveal a thin, edge-free transfer that looks printed right onto the paper.
I love this method because the foil adds instant, luxurious sparkle without any bulk. Your pages feel more special and personal with these playful touches, demonstrating how quick transfers rank high in beginner-friendly foil craft techniques and ideas. For a cohesive look that extends beyond your planner, take inspiration from stylish hand-painted apparel designs to build a matching artistic theme across your projects. Doesn’t that final, shimmering page feel like a little victory?
Preservation Methods For Long Term Metallic Brilliance
A single layer of matte varnish spray is the fastest way to protect weeks of detailed work from surface abrasions. The good news is, this final step takes two minutes and locks your metallic brilliance in place permanently. You want to avoid any varnish labeled as ‘archival’ or ‘non-yellowing’ to ensure the clear coat never dulls the foil’s reflective quality over time.
Hold the can about ten inches from your project and use light, even passes to build a thin, protective shield. This barrier prevents the foil from rubbing off on other surfaces or losing its luster from skin oils if the piece is handled. Let the spray cure fully for twenty-four hours before you frame the work or use it in a mixed-media project. This final seal is what transforms a lovely project into a lasting piece of art, ensuring your foil craft techniques and ideas withstand daily handling. For the best protection, use a matte acrylic spray designed for paper crafts.
Conclusion
Adding foil to your projects feels like giving a treasured piece its own spotlight. Whether you are pressing gold onto a lantern or rubbing silver onto planner stickers, the moment that metallic layer bonds is always a little bit magical. The best part is you do not need a Minc or a Foil Quill to get started — a simple laminator, double-sided adhesive, and your laser-printed designs open up a world of possibilities. I hope these foil craft techniques and ideas have sparked something you are excited to try. Pick one project, like the pressed flower art or the holographic wall panels, and let yourself experiment with whatever scraps you have on hand. Keep your workstation well-lit so you can see every reflection, and do not worry about perfection. Foil crafting is forgiving, and even the little imperfections often catch the light in the most beautiful ways. Which technique will you bring to your next craft night?
FAQs
Q: Do I need a laser printer for foil transfer, or will an inkjet work?
A: Foil transfer relies on toner because it becomes tacky when heated. Inkjet prints stay wet and cannot bond with foil, so a laser printer or photocopy is essential for heat-reactive techniques. If you only have an inkjet, use adhesive sheets or a glue pen to apply foil instead.
Q: What is the difference between heat-reactive foil and adhesive foil?
A: Heat-reactive foil bonds to laser-printed toner when heat and pressure are applied. Adhesive foil, on the other hand, sticks to any surface coated with a double-sided adhesive or glue. Choose heat-reactive for crisp, detailed lines and adhesive for covering larger areas or non-porous materials like wood and acrylic.
Q: Can I use a regular household iron instead of a laminator?
A: Yes, a household iron set to a low, dry heat can work for small projects. Place parchment paper between the iron and your project to prevent overheating. Still, a laminator provides consistent pressure and temperature, reducing the chance of patchy results.
Q: How do I avoid wasting foil and use up those leftover scraps?
A: Keep your foil scraps sorted by color in a small envelope. You can patch small pieces together on an adhesive sheet to cover a larger area, creating a mosaic look. Leftover bits are also ideal for tiny accents like dots, stars, or lettering touch-ups on cards and tags.
Q: Which cardstock weight handles foil best without warping?
A: A heavyweight cardstock between 80 lb and 110 lb is ideal. Lighter paper may curl from the heat, while anything above 110 lb can be too thick for a laminator to feed smoothly. Always test a scrap first, especially when using a heat tool.