

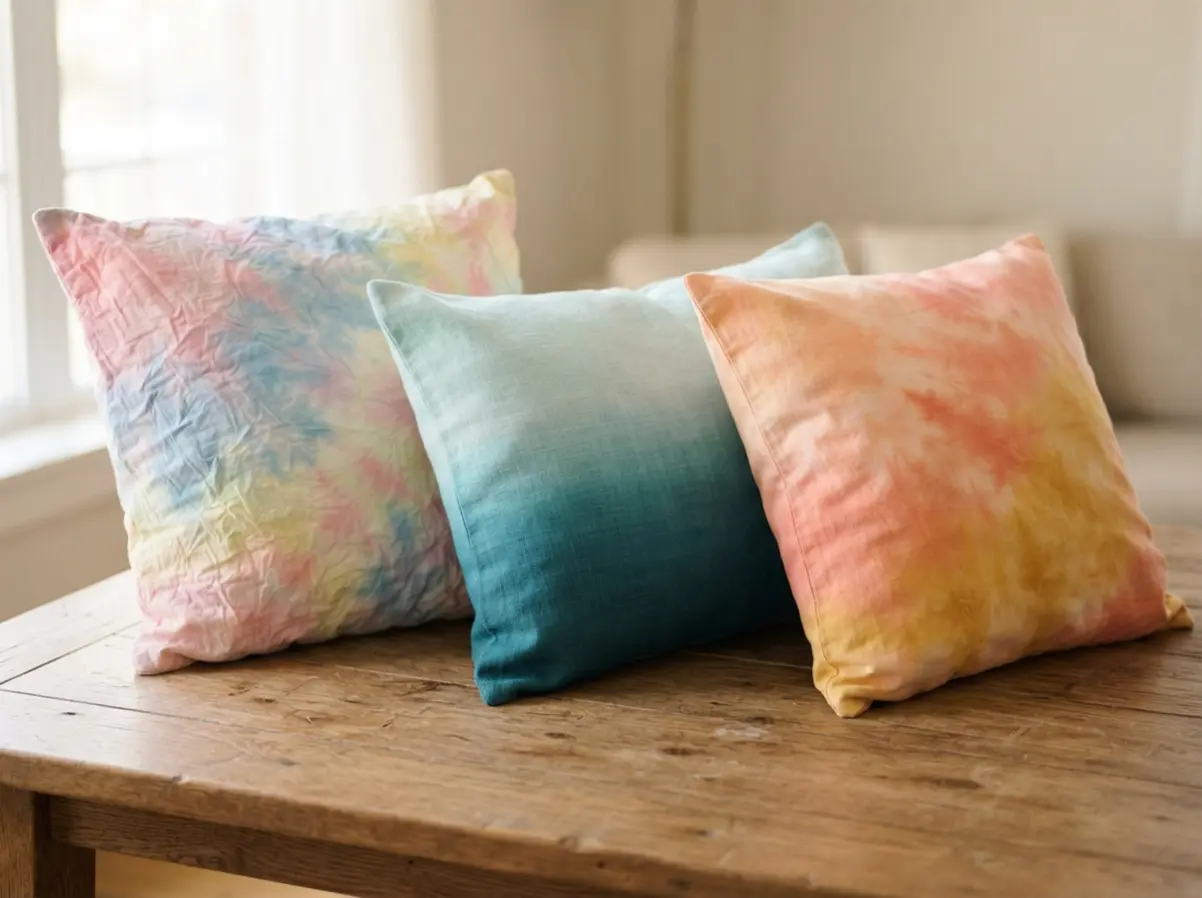
There’s a special kind of satisfaction in seeing a splash of color bloom across a blank canvas, isn’t there? We’ve all felt that pull to create something beautiful and uniquely ours. While I love traditional tie-dye, the soft, dreamy look of watercolor art makes a space feel both artistic and serene. I adore how this style turns a simple pillow into a gallery-worthy piece. I’ve gathered the best tie dye pillow ideas to capture that painterly effect on fabric, focusing on gentle gradients and organic bleeds. Grab your supplies and let’s make something gorgeous.
Fiber Selection For Optimal Dye Absorption
Your pillow cover must be 100% cotton to get those permanent, vibrant colors you love, which remains the golden rule for successful tie dye pillow ideas. Fiber-reactive dye needs the natural cellulose in cotton to form a permanent chemical bond, and synthetics like polyester refuse that bond entirely. You must avoid fabric blends listed on the tag, since they create weak, washed-out results.
Pre-washing that fabric stands as a non-negotiable first step. It removes factory sizing or finishes that block your dye absorption. Trust me on this. Skipping the wash leaves beginners with splotchy patterns where the dye beads up and refuses to soak in properly.
Prepping The Soda Ash Bath Solution
Soaking your fabric in a soda ash solution locks the color into the fibers, a mandatory step for every set of tie dye pillow ideas. Without this soak, your watercolor design will rinse right down the drain. The process remains straightforward. Dissolve one cup of soda ash per gallon of warm water until perfectly clear.
Submerge your damp fabric for twenty minutes, making sure every inch absorbs fully. Wring it gently until it stays damp but stops dripping. This state helps the dye flow and blend for soft gradients. That chemical bonding creates your foundation.
1. Pastel Dream Scrunched Cotton Cushion — A Soft, Textured Masterpiece
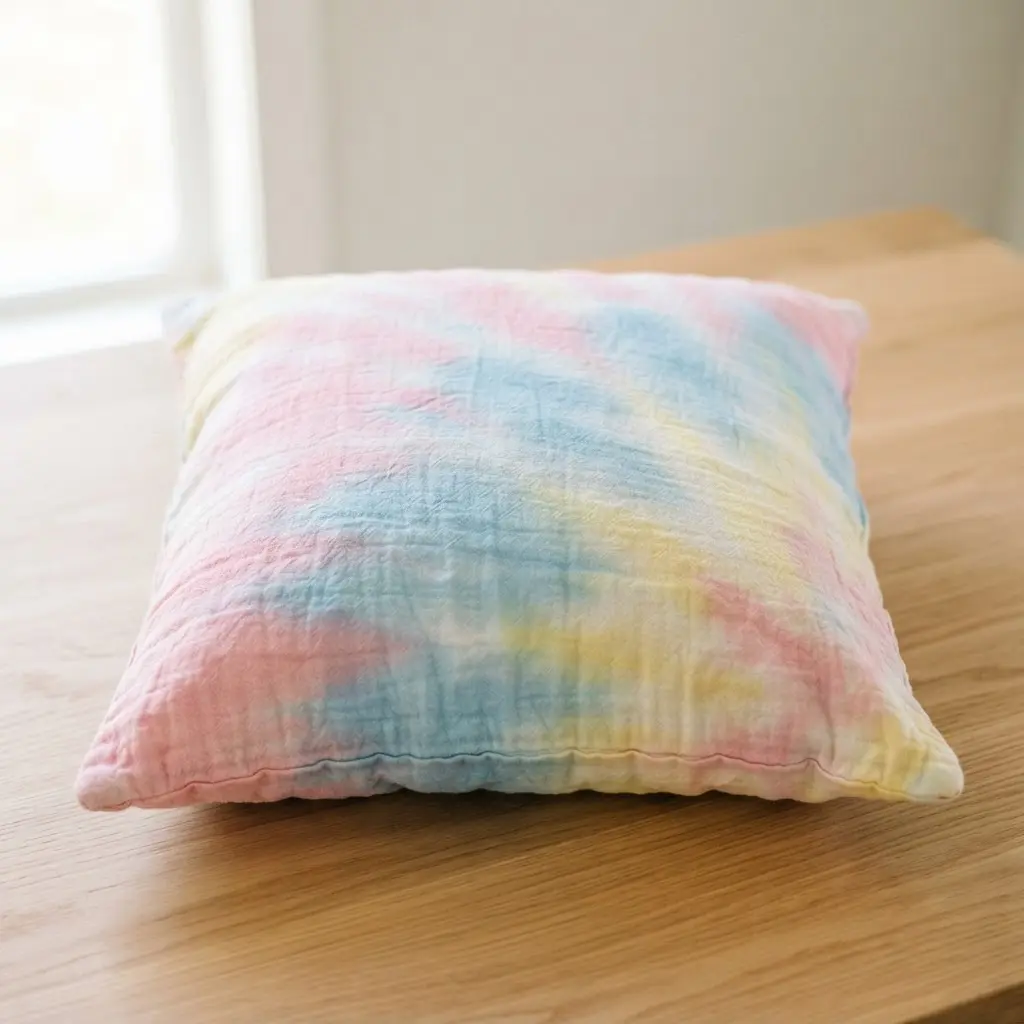
The secret lives in the scrunching technique. You take damp cotton and gather it into a tight, random bundle, securing it with rubber bands before applying pastel dyes. The process looks complex, but it feels wonderfully tactile and forgiving.
I love this project because the texture does all the talking. The gentle colors and deep folds create a cozy, cloud-like feel. It adds a sophisticated, handmade touch to any room. Your key to success relies on thorough dye saturation, so make sure you push fabric-safe dye into every single crease. For a whole collection of soft, textural looks, exploring new tie dye pillow ideas will spark your next project. Doesn’t that sound satisfying?
2. Ocean Teal Ombre Linen Pillow: A Gradual Deep Sea Dive
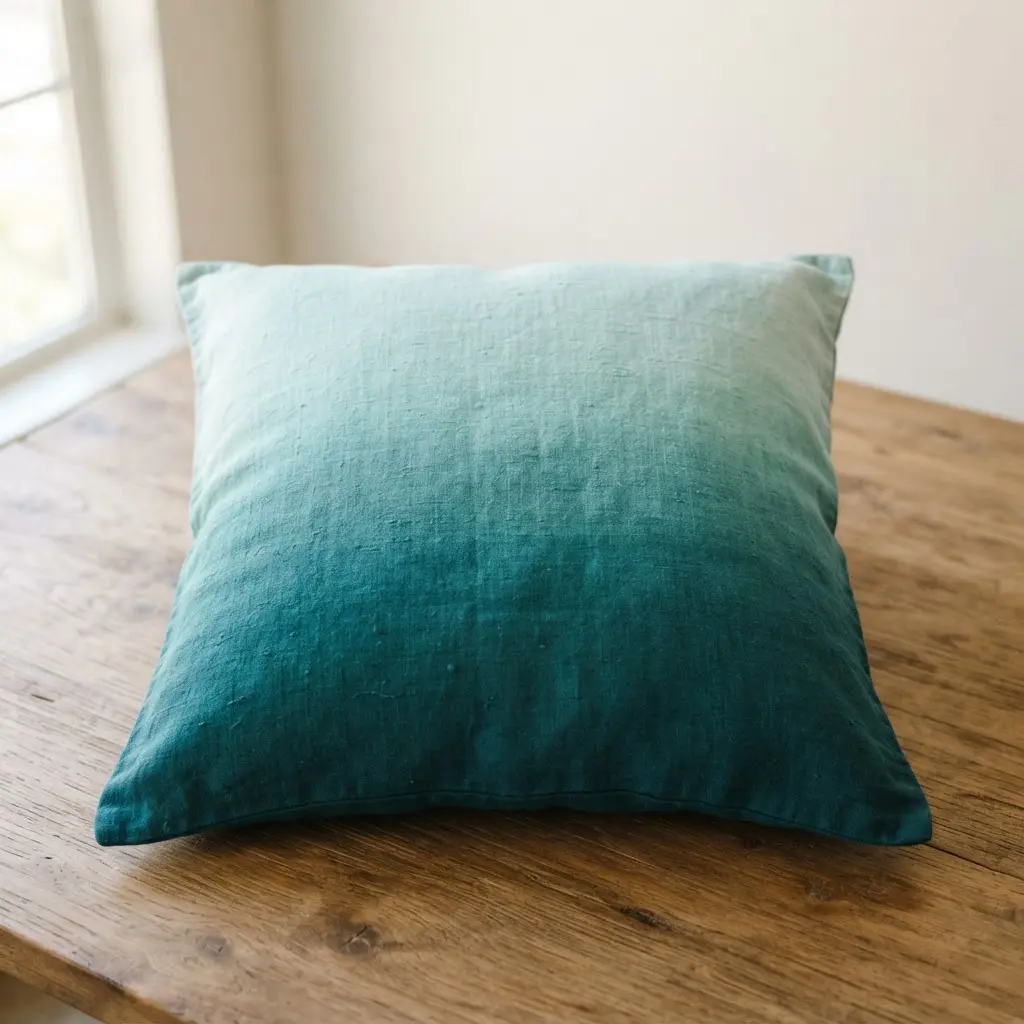
It’s all about the blend. You’ll apply your lightest teal at the top of your linen fabric, then slowly work in progressively darker shades. You must blend each color carefully into the last. The trick keeps the dye wet so the tones bleed together softly, creating that gorgeous gradient from shallow aqua to inky teal.
Getting a smooth result hinges on practicing your wet-on-wet blending technique first. Many tie dye pillow ideas rely on this method to avoid harsh lines, so try a scrap piece first to nail the water ratio. This pillow stands as a fantastic project when you have already completed simpler accent pillows. Trust me, the final look rewards your patience.
3. Sunset Coral Gradient Throw Cover — Warm and Inviting Hues
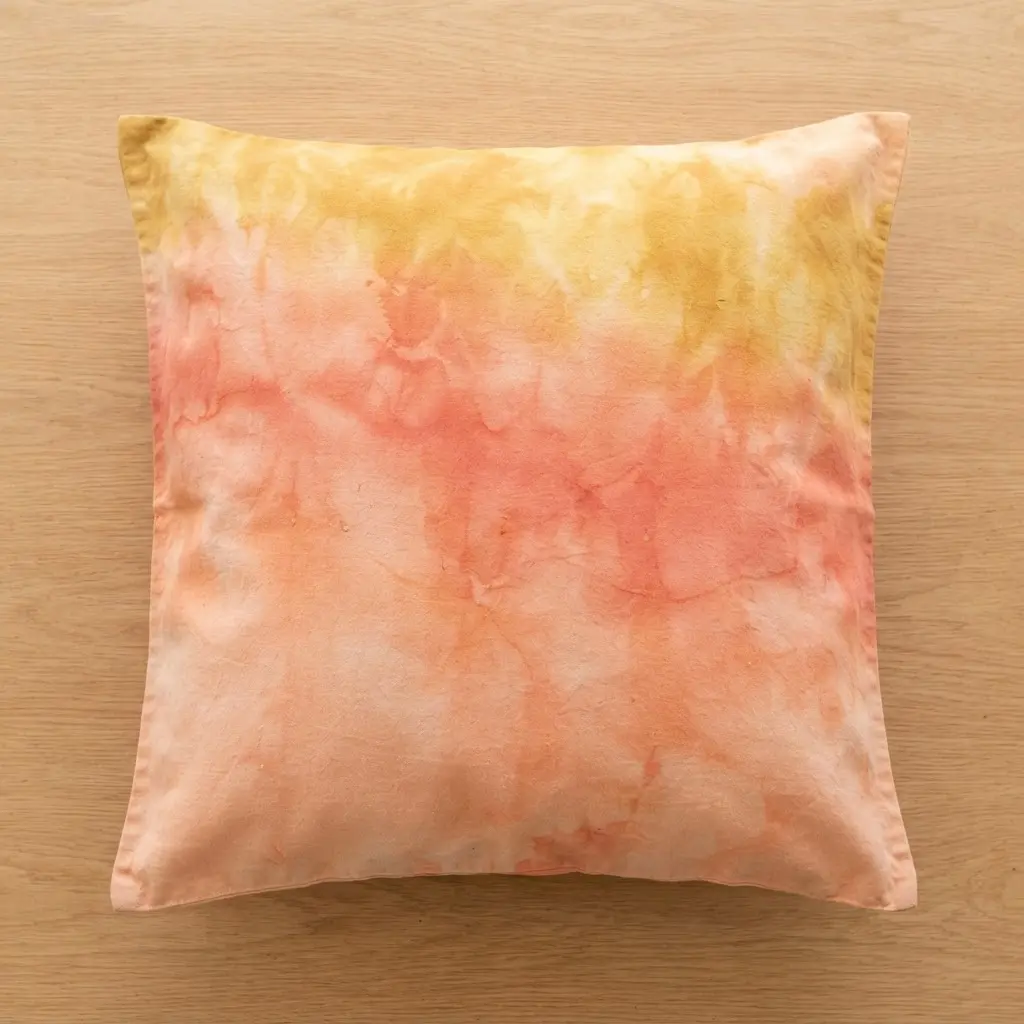
This one focuses on creating a soft, painterly transition. You will dip one end of a damp, light-colored throw into deep orange dye, then slowly pull it through progressively lighter coral and pink baths. This technique produces one of the most popular tie dye pillow ideas because the warm coral gradient naturally feels cozy and serene. The trick lets each section absorb the dye fully for a smooth blend.
Why does it work so well? The warm tones act as an instant mood lifter for any room. Your biggest ally here is patience. Work slowly and let gravity help the colors flow into each other. The result is a luxuriously soft cover begging for your couch.
4. Midnight Indigo Ink Wash Design for Dramatic Depth
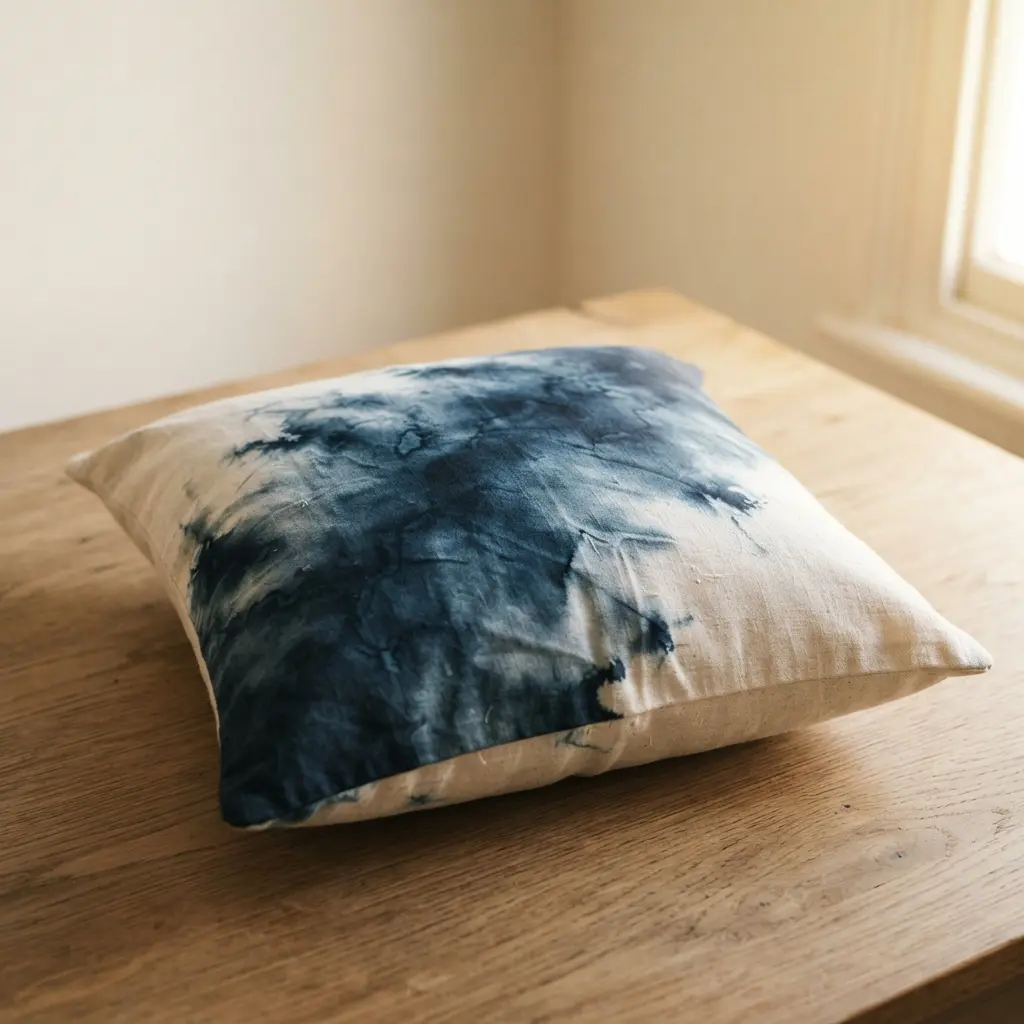
Who says dye work must stay bright? You work with liquid indigo dye, diluting it into shades from deep midnight to pale wash. Apply the darkest color first in bold areas, then layer lighter washes over it with a sponge or large brush. The magic is in the contrast between saturated dark spots and soft watery transitions, making this design a standout among tie dye pillow ideas.
The result feels like watercolor art instead of a simple craft project. My go-to tip tells you to start with your lightest wash and build slowly. Rushing with too much dark dye flattens the entire effect. Getting comfortable with watercolor painting techniques for blending will make this process feel intuitive. The payoff delivers a pillow with incredible depth you will stare at for hours.
5. Forest Moss Watercolor Blot Pillow — An Organic, Earthy Feel
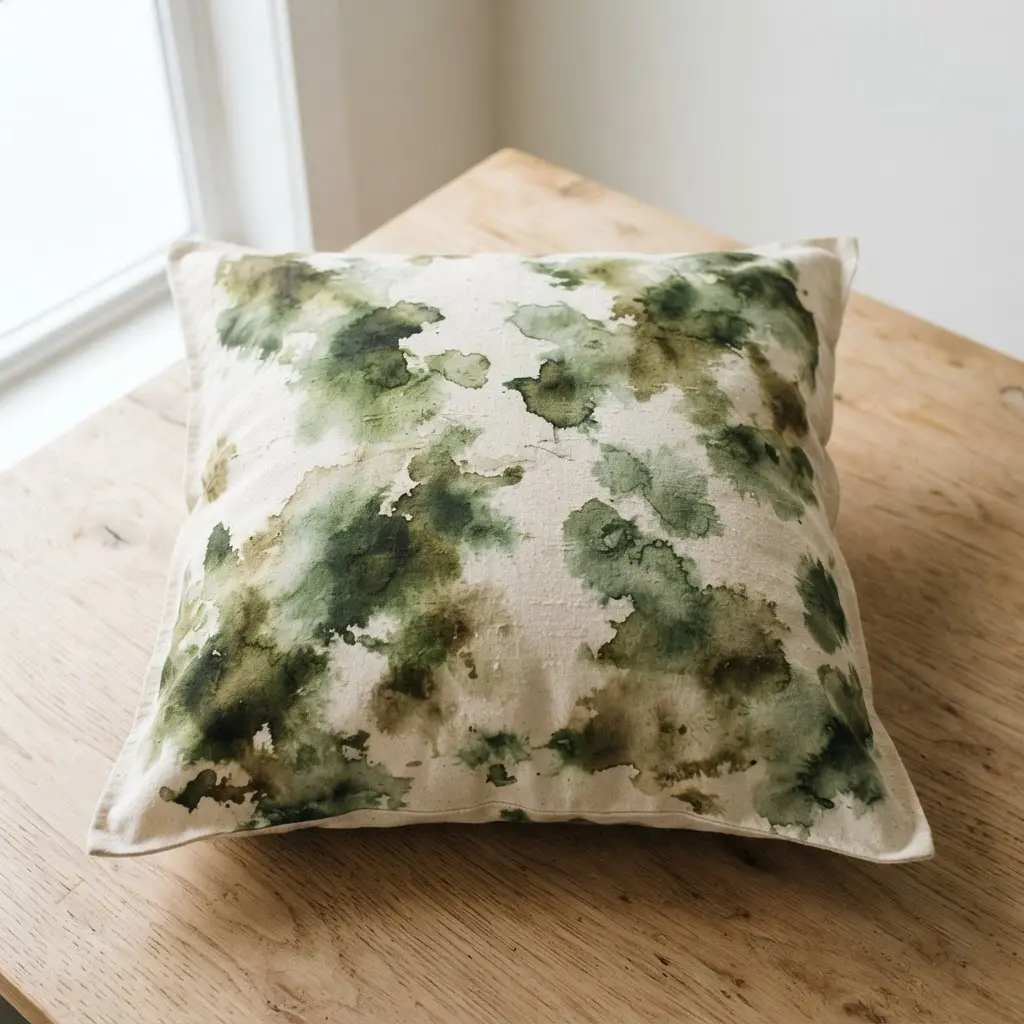
Ever wanted a pillow resembling a quiet woodland walk? This blot technique remains your entry point. You start with diluted fabric dyes in mossy green shades, applying them with brushes or sponges in irregular shapes. My go-to tip embraces randomness and starts with weak dye solutions, a reliable strategy when testing tie dye pillow ideas for your living room.
Build up the color slowly to avoid muddiness. The colors bleed together at the edges, creating beautiful, feathered depth. For a similar hands-on approach to adding color to textiles, you might explore fabric marker applications. The payoff delivers a unique, earthy accent that brings a serene vibe to your seating area.
6. Lavender Mist Pleated Square Cushion with Delicate Folds
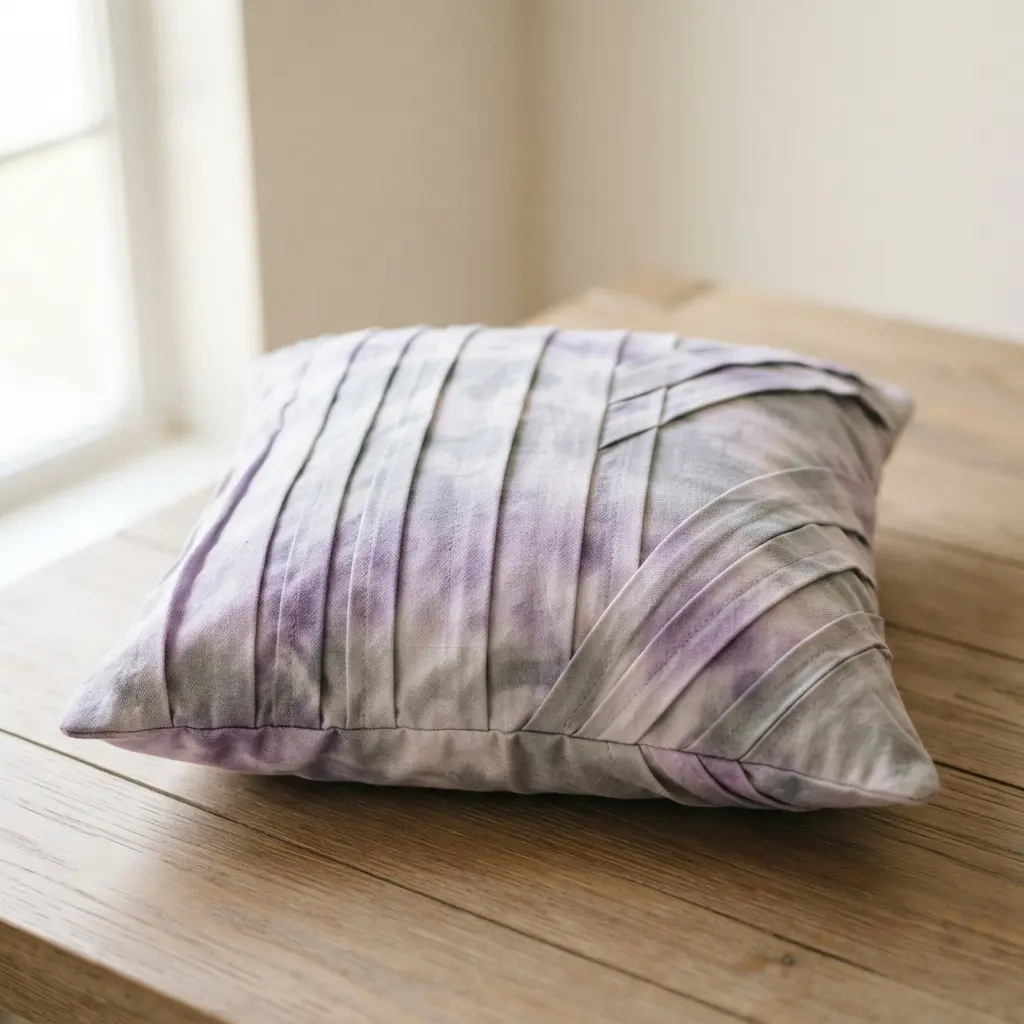
Does a pleated cushion sound intimidating? You only need the right fabric and a hot press. You require a soft velvet or fine linen with great drape, a detail that elevates these tie dye pillow ideas beyond standard cotton projects. Then, you create uniform folds with a pleater board and press each one firmly with heat.
Why does this work so well? The soft lavender color calms the room, while the delicate texture adds quiet luxury. I love how a single cushion becomes a sophisticated focal point. Try this method and feel that sense of bespoke accomplishment when you place it on your sofa.
7. Golden Hour Ochre Bleed Pillow — Capturing Warm Light
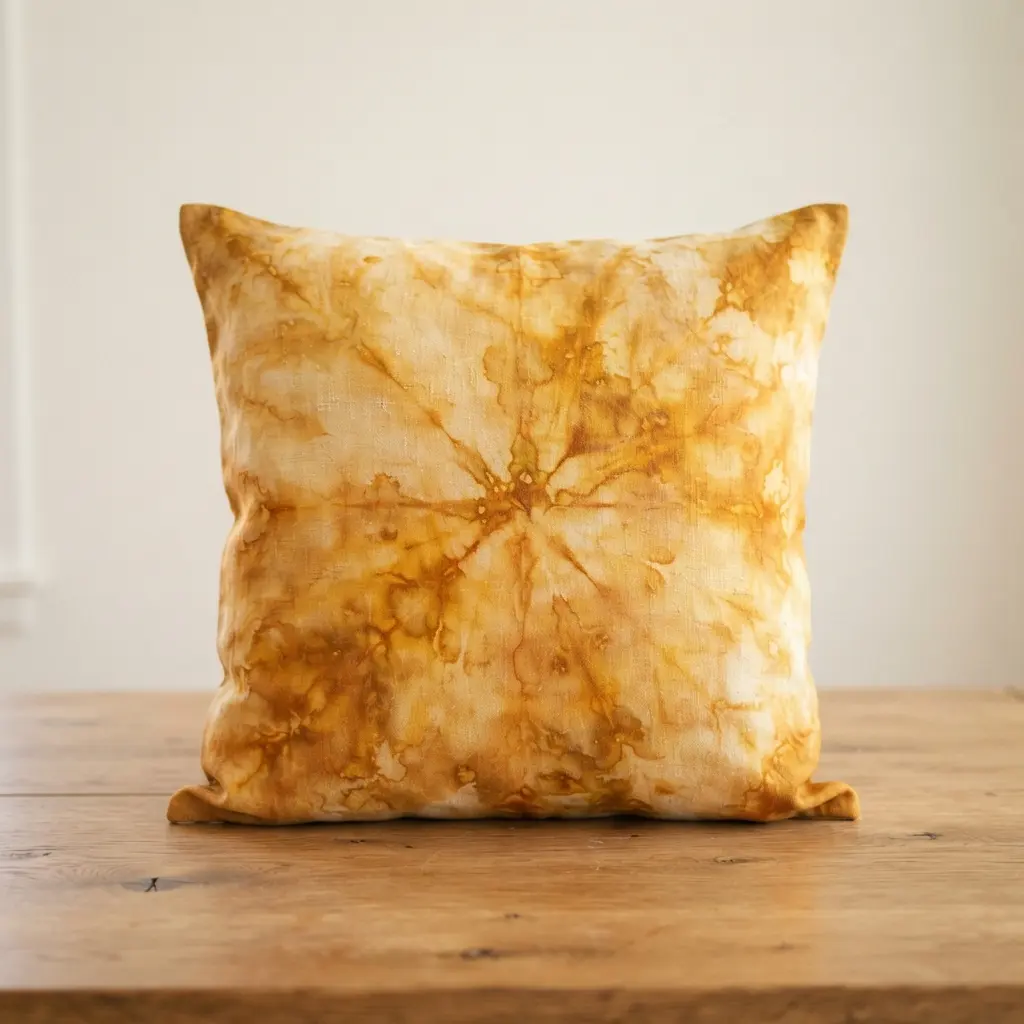
This technique focuses on a gentle gradient where rich ochre seems to melt into the base material. I love using a moderately damp cotton for this, a simple trick that anchors most tie dye pillow ideas to a smooth, organic bleed effect. The magic happens when you brush on your ochre dye and watch it wick outward, layering subtle hints of burnt orange.
Getting perfect watercolor-like diffusion depends on dye consistency. If you have enjoyed blended paper crafts, you will find that approach helpful here. Trust me, practicing application on scrap fabric makes all the difference. You will end up with a cover radiating cozy, golden-hour warmth.
8. Soft Berry Abstract Painted Cover for a Sweet Accent
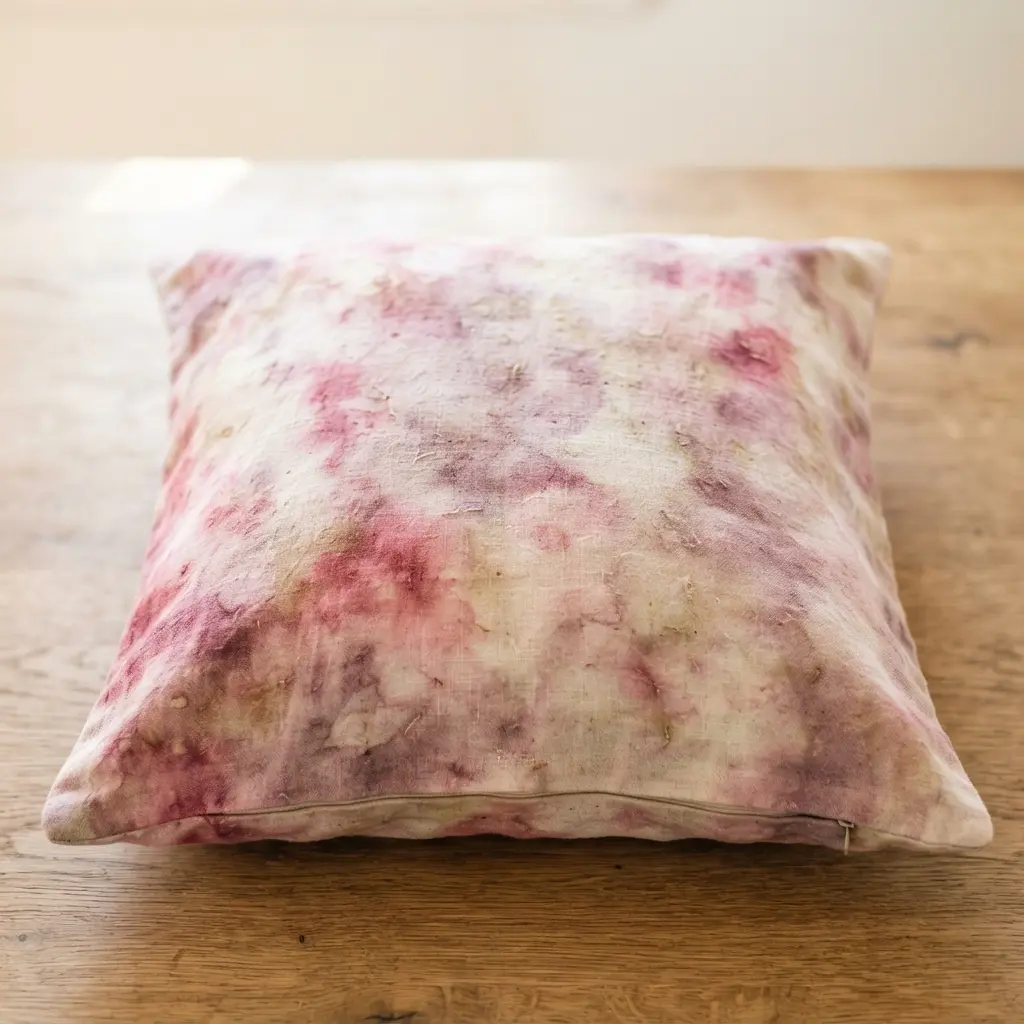
You achieve that painted look by applying diluted berry tones to a damp cover with a wide, soft brush. I love letting the pigments bleed into abstract, organic shapes. Those muted raspberry and lavender shades feel sweet and cozy instead of loud. Your biggest friend here remains patience.
Start with light washes and build color slowly to keep it soft. Rinse thoroughly until the water runs clear to prevent future bleeding. This rinse ensures your final piece ranks among the finest tie dye pillow ideas you will ever own. The piece makes a perfect DIY bedroom decor accent adding gentle, personal warmth.
9. Sky Blue Stippled Cotton Pillow — A Light, Airy Texture
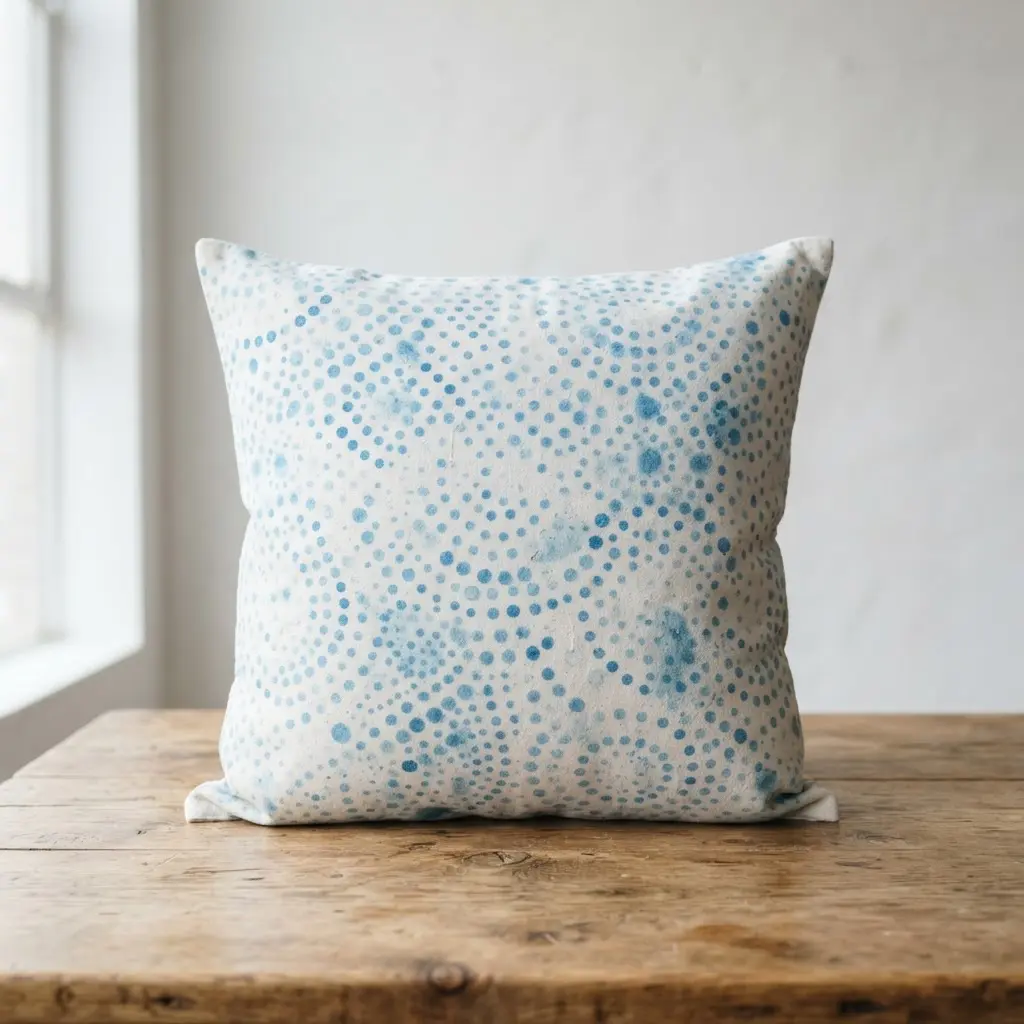
The secret lives in the stippled texture. You achieve it by dabbing sky blue pigment onto cotton with a sponge or stiff brush. This creates tiny, soft dots instead of a solid wash. The natural fabric peeks through, delivering an organic, breezy aesthetic.
The subtle color variation adds visual depth without heaviness. My advice tells you to practice dabbing pressure on a scrap piece first to get that airy speckle before exploring more tie dye pillow ideas. That simple preparation keeps your covers looking fresh and full of movement.
10. Springtime Sage Ripple Effect Cushion with Gentle Movement
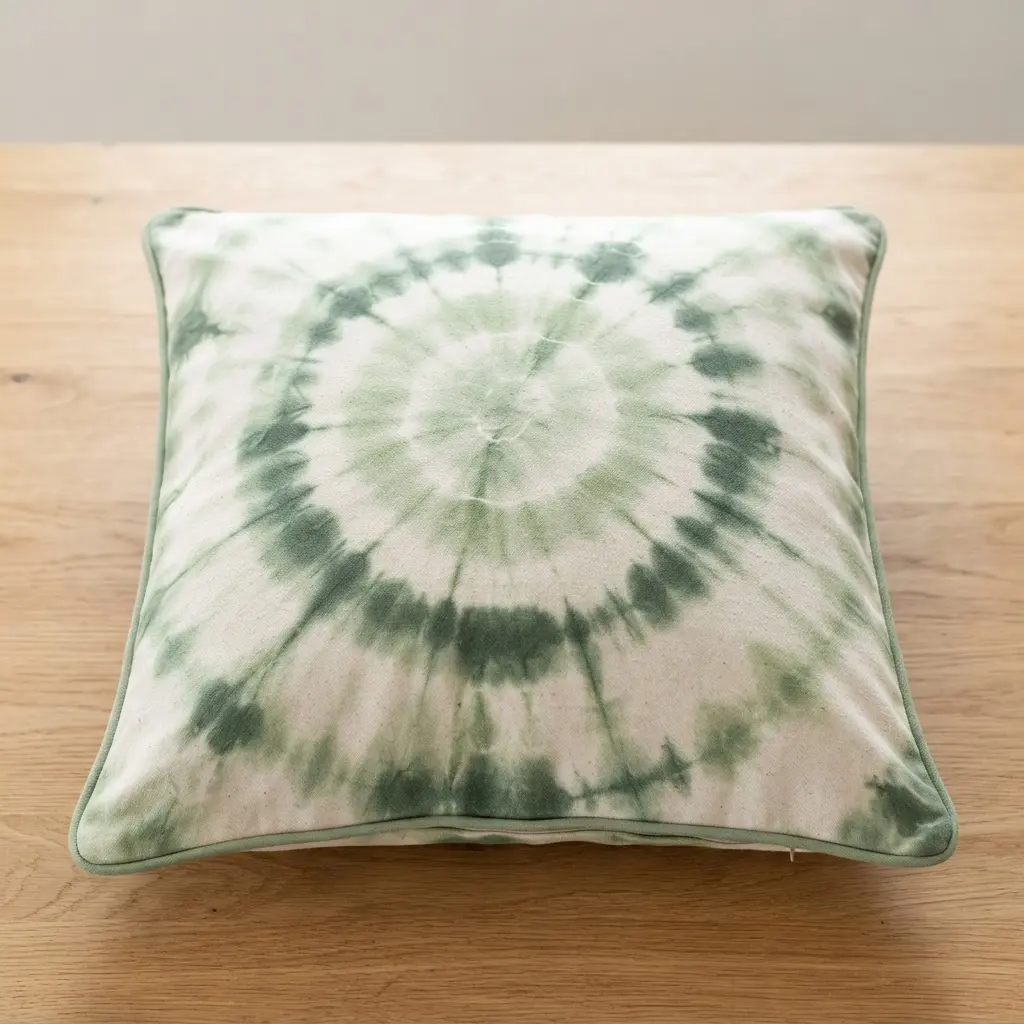
You create a soft, spreading ripple with sage green as the main tone, blending into cream and light grey. Carrying old dye across edges prevents harsh lines during application. I love how using a simple front post stitch in a staggered pattern delivers that subtle, undulating texture across the surface.
The magic lives in the soft color transitions, proving that gentle tie dye pillow ideas belong in every calm bedroom. For another beautiful project using similar soft dyeing steps, explore guides on dyeing textiles like tablecloths. Trust me, blending colors slowly rewards your patience. You will feel completely serene once the piece dries.
Fixing Colors With Proper Rinsing Cycles
Let your dyed cover batch for a full 24 hours before considering any rinsing. This waiting period allows the chemical reaction between the dye and soda ash-soaked fabric to finish completely. You will secure the deepest, most permanent shades.
Wear gloves and start by rinsing under cool, running water until the runoff clears. Then wash the piece alone in your machine with mild detergent on a warm cycle. Run a second rinse to remove excess pigment. That guaranteed finish ensures lasting vibrancy across all your tie dye pillow ideas, keeping your inserts clean and your colors bright.
Conclusion
So, which watercolor style captured your creative spirit? You possess the tools to bring a soft, artistic touch directly into your home. The best part about these tie dye pillow ideas is that each piece tells its own story through color and flow. My friendly advice suggests starting with a palette you truly adore. Remember that more water in your mixture often produces those beautiful, soft transitions. Your home serves as your canvas, and a single cover offers the perfect starting point for painting it with personality.
FAQs
Q: What type of fabric works best for watercolor tie dye?
A: Use white natural fibers like cotton, linen, or rayon. These materials absorb diluted pigments effectively and allow for the soft, bleeding effects characteristic of artistic textile work.
Q: How do I keep my colors from turning muddy?
A: Plan your palette carefully before touching wet cloth. Avoid placing complementary shades next to each other while the fabric remains extremely saturated. Allowing sections to dry slightly between hue applications prevents unwanted mixing.
Q: Do I need special dye for this technique?
A: Fiber-reactive formulations remain ideal for plant-based textiles. You achieve the soft look by thinning the mixture with extra water, which creates transparent, layered washes instead of harsh blocks of pigment.
Q: How can I get more blending and less defined lines?
A: Apply pigment to pre-damped fabric, never dry material. Using a spray bottle to mist the cloth first encourages colors to bleed together. Gently manipulating the folds after application further softens the edges.
Q: How long should the dye set for the best results?
A: Wrap your damp, dyed textile in plastic and leave it alone for 6-8 hours. Leaving it overnight guarantees maximum color penetration and produces lasting vibrancy without fading during future washes.








