Preparing Glass Surfaces for Optimal Paint Adhesion
The fastest way to ruin a patriotic jar is paint that slides right off the slick glass. You need a porous surface for your acrylic or chalk paint to grip, and that starts with properly washing your diy rustic mason jars before application. Even with thicker formulas, you want to lightly scuff the entire area you plan to cover with high-grit sandpaper first.
This creates a tooth for the paint to grab onto. Skip the primer if you use chalk paint, but if you only have standard acrylics on hand, a coat of bonding primer is non-negotiable. Let that base layer cure completely before you add any stencils or decorative elements for a finish that lasts.
Color Palettes for Authentic Heritage Americana Decor
Choosing the right red and blue makes the difference between a jar that feels historic and one that looks like a party supply. You want deep, muted tones, not bright neons. Look for a navy or slate blue and a rich, almost brick red, which remains essential when designing diy rustic mason jars.
Pair these with a creamy antique white, not a stark bright white. This specific combination echoes vintage flags and farmhouse decor. We tend to grab the brightest colors, but those lack the worn, timeless character you need.
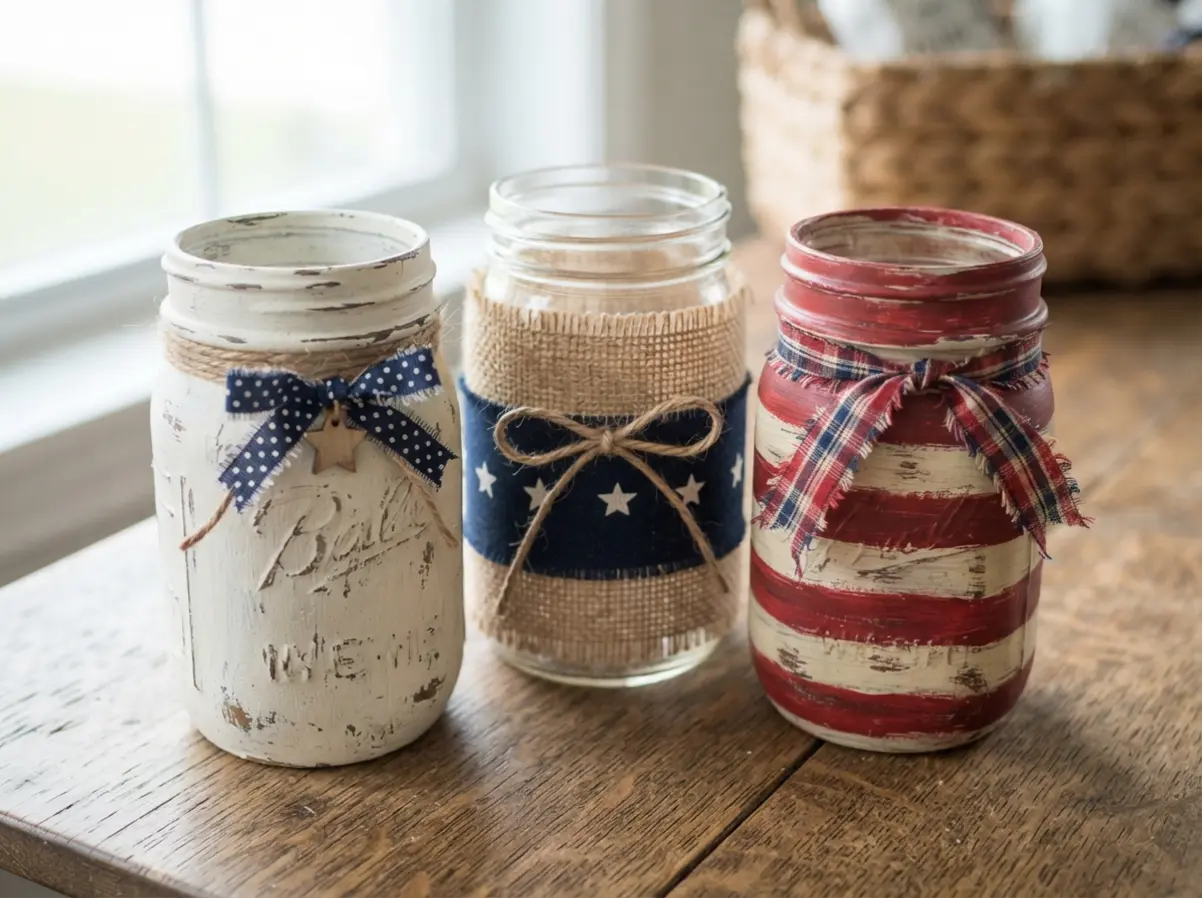
1. Distressed White Chalk Painted Star Jar

Ever wondered how those perfectly worn, vintage-looking diy rustic mason jars are made? This one is a fantastic starting point because it looks so intentional. You start with a clean jar and apply a couple of thin coats of white chalk paint.
Once that’s dry, you add your star with a stencil or decal. The magic happens when you lightly sand the edges and raised areas to let the glass peek through, creating that lovely shabby chic character. It works because the matte finish and distressed details feel handmade and full of story.
Begin with light pressure on your sandpaper and build up to the look you want. Finding the perfect base jar is half the fun, so I always recommend browsing some antique mason jar ideas for inspiration before you start painting.
2. Red Band Burlap Wrapped Patriotic Jar
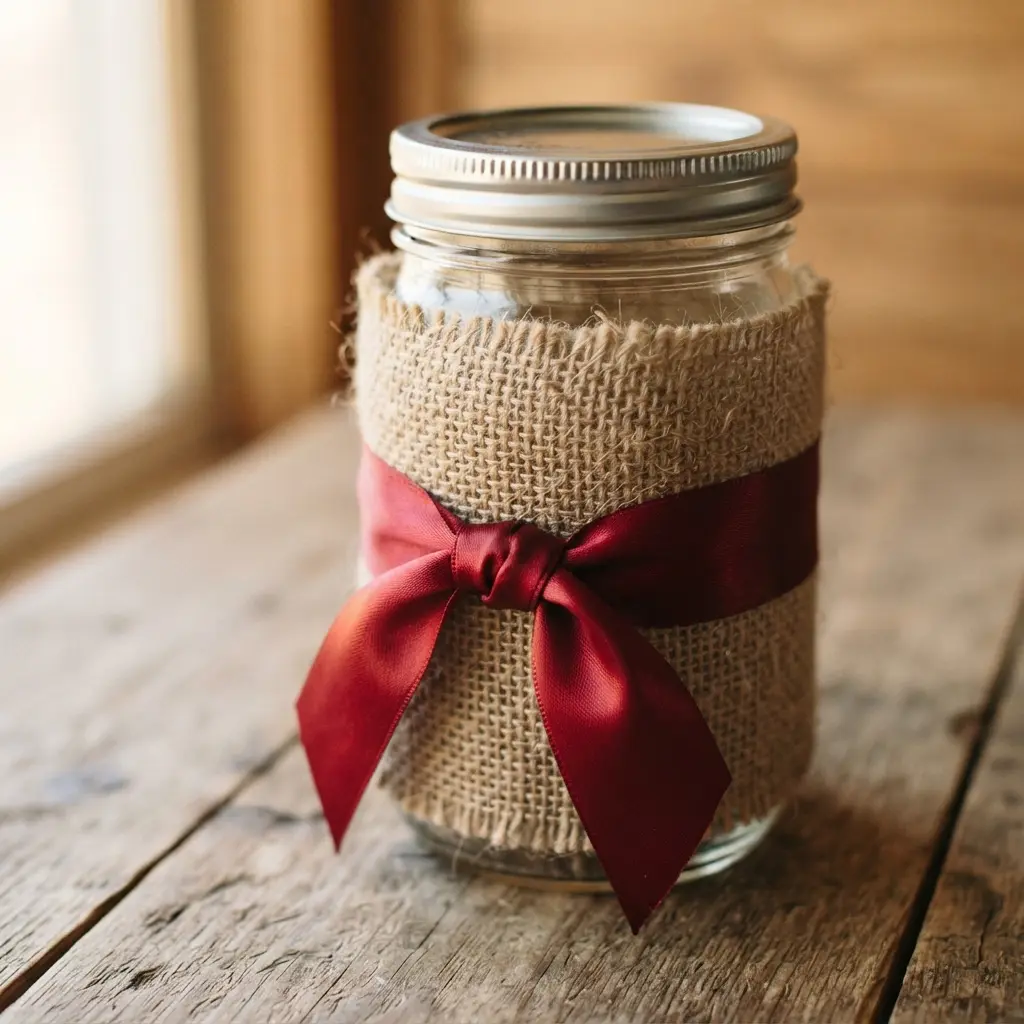
This one is a classic for a reason, making it a beloved staple among diy rustic mason jars. You start by wrapping your clean jar in natural burlap, securing it with a hot glue gun. Then, you add that signature pop by gluing on a wide red band made from burlap or ribbon around the middle.
Isn’t it amazing how one stripe transforms the whole piece? The rustic texture mixed with that bold red gives you instant Americana charm. I love how you can add a simple wooden star or a tiny flag for extra flair.
Trust me on this, the result is incredibly versatile. You will feel proud using it as a vase or a centerpiece, knowing you created that cozy, patriotic look yourself.
3. Navy Blue Mason Jar with Stenciled Stars
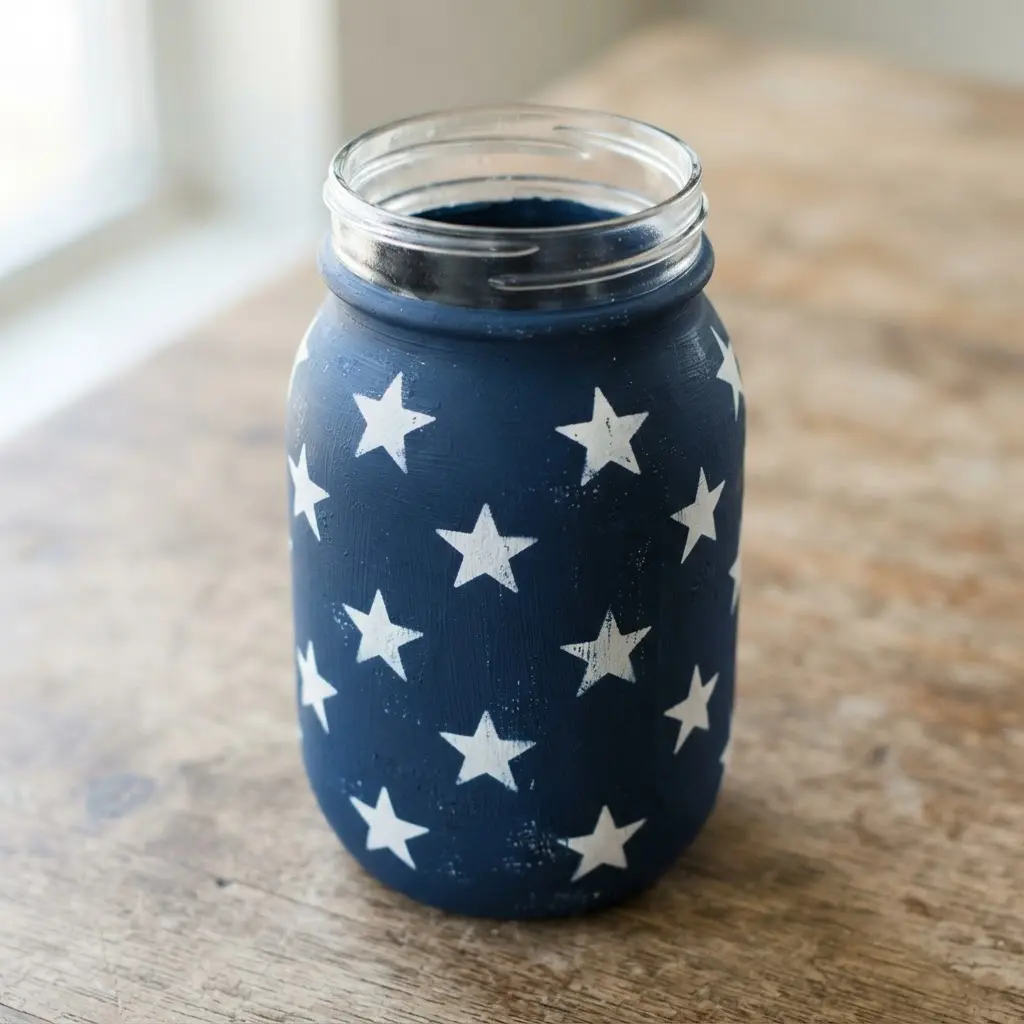
You start with a clean jar and give it a solid coat of navy blue paint, which creates a beautiful, deep background. Once that’s dry, you secure your star stencils and use a dabbing motion to fill them in with white or metallic paint. This setup guarantees a premium look for your diy rustic mason jars.
It works so well because the contrast is instantly striking and feels so patriotic. Trust me, the key is to use a sponge dauber with minimal paint to get those sharp, clean edges on every star.
4. Gingham Ribbon Accented Americana Lantern Jar
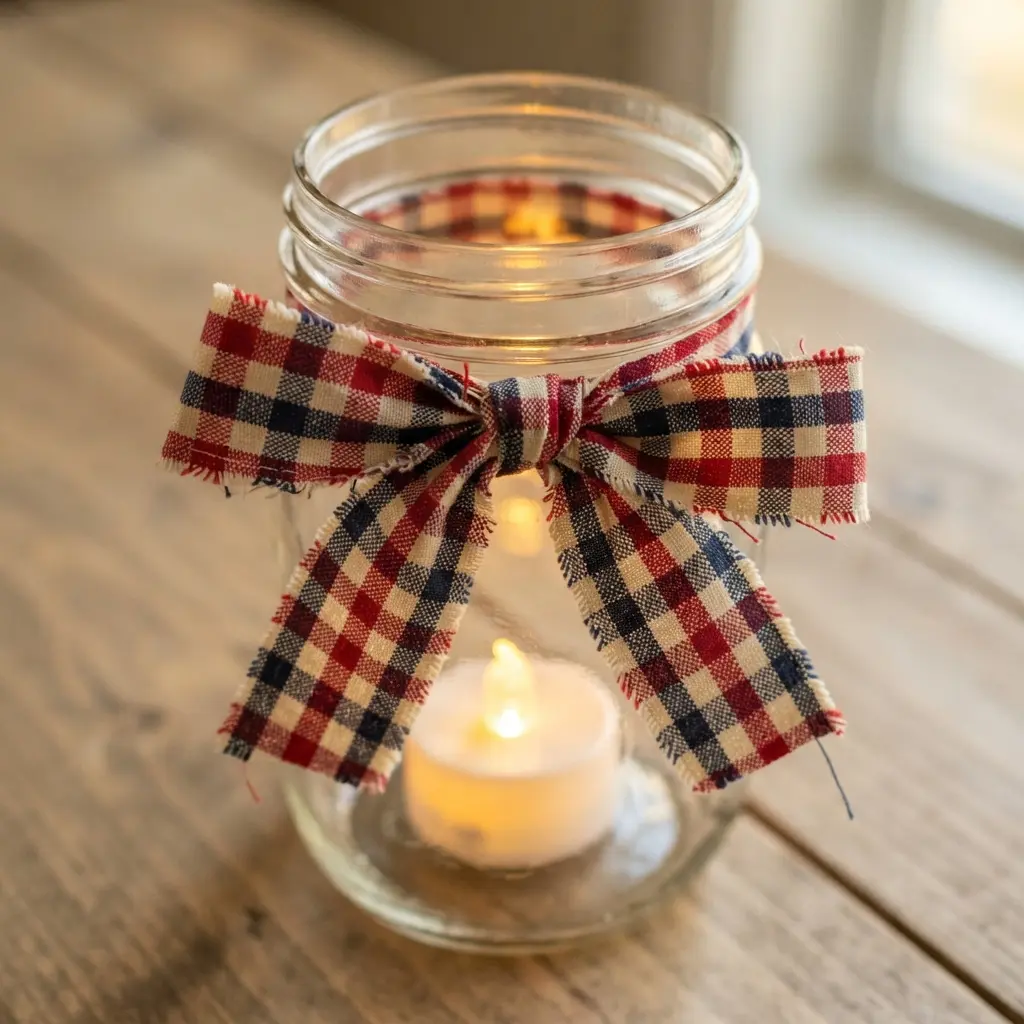
You start with a clean, dry glass jar and wrap a strip of red and white gingham ribbon around its neck, securing it with a dab of hot glue. Then, you get to play with the fun part, adding mini flags or patriotic charms to elevate your diy rustic mason jars.
I love how the ribbon instantly gives it that classic picnic vibe. The magic happens when you pop a battery-operated tea light inside. It works so well because the soft glow through the glass creates a warm, welcoming feel that’s perfect for summer nights, making you want to gather outside and enjoy the evening.
5. Rustic Distressed Striped Farmhouse Table Jar

Ever wondered how to get that perfectly worn, vintage look? Start with a clean jar and apply your base color of chalk paint for a soft, matte finish. After it dries, use painter’s tape to map out your stripes before brushing on the contrasting color.
The magic happens when you gently sand the edges and raised areas, letting that base coat peek through to create the artful, aged character. It works because the stripes bring a tidy structure, while the distressing adds that cozy, lived-in warmth we all love. This reliable distressing method defines top-quality diy rustic mason jars.
Remove the tape while the stripe paint is still slightly damp for crisp lines. You will be pleased with the charming result, as it brings a polished yet effortless vibe to your holiday table.
6. Lace and Twine Wrapped Flag Vase
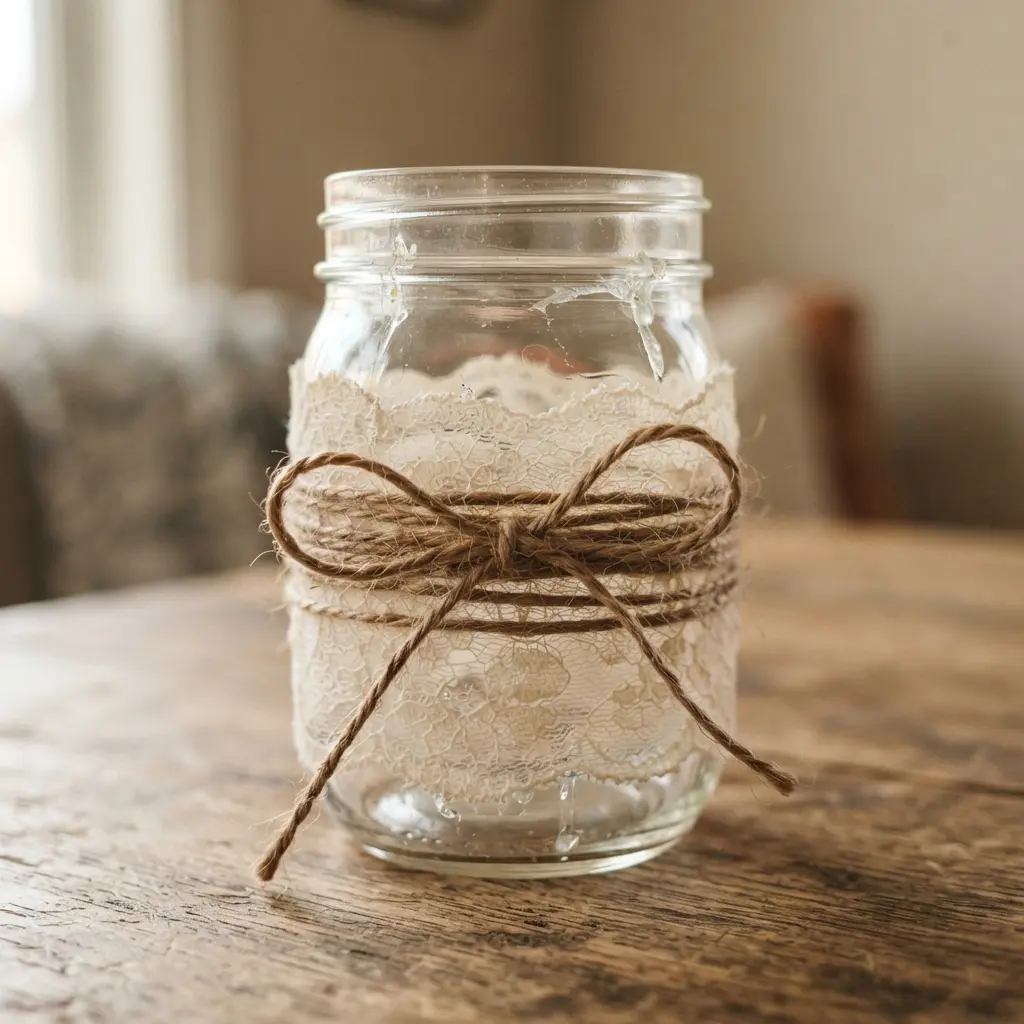
Who would have thought you could make such a charming flag design without any paint, even when tackling tricky diy rustic mason jars? You wrap alternating rows of white lace and natural jute twine around a clean vase to form the stripes. Then you attach a small square of blue fabric to the corner and add your white stars.
I love this one because the mix of delicate and rustic materials creates so much visual interest. It feels handmade and full of heart. Your finished piece has that perfect Americana vibe for your Fourth of July table.
Use small dots of clear drying craft glue as you wrap to keep everything flat and secure. Doesn’t that look wonderfully festive and ready to display?
7. Matte Red White Blue Color Block Jar
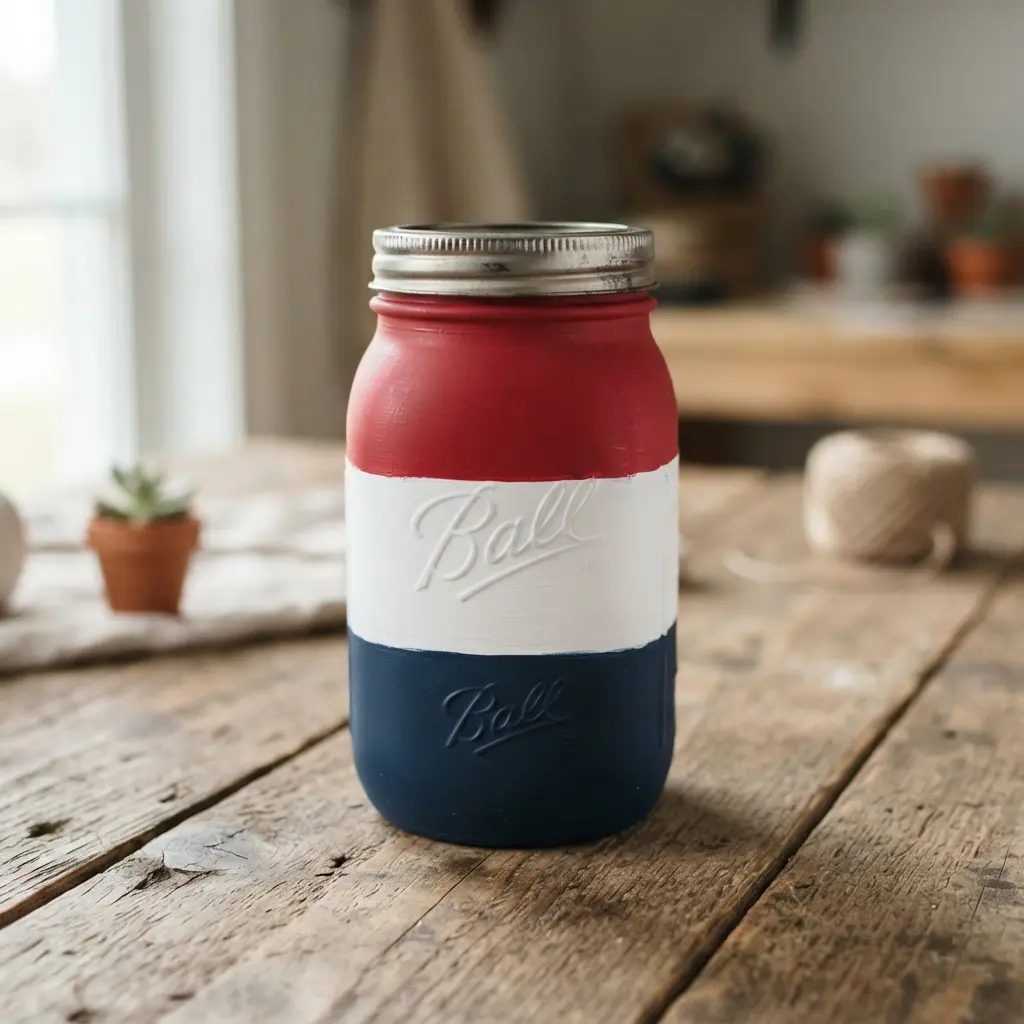
You start with a clean jar and use high-quality painter’s tape to section off stripes or blocks. Then you apply thin, even coats of your matte paints, letting each color dry completely before taping for the next. This approach naturally highlights the best features of modern diy rustic mason jars.
The secret is that matte finish. It gives the classic colors a soft, sophisticated feel that works in any room. I love how this turns a simple jar into a graphic statement piece.
Use that seal the tape trick with a little base color first to prevent any bleed. You will be thrilled with your sharp, clean lines and the modern aesthetic they deliver.
8. Jute Wrapped Jar with Metal Star Tag
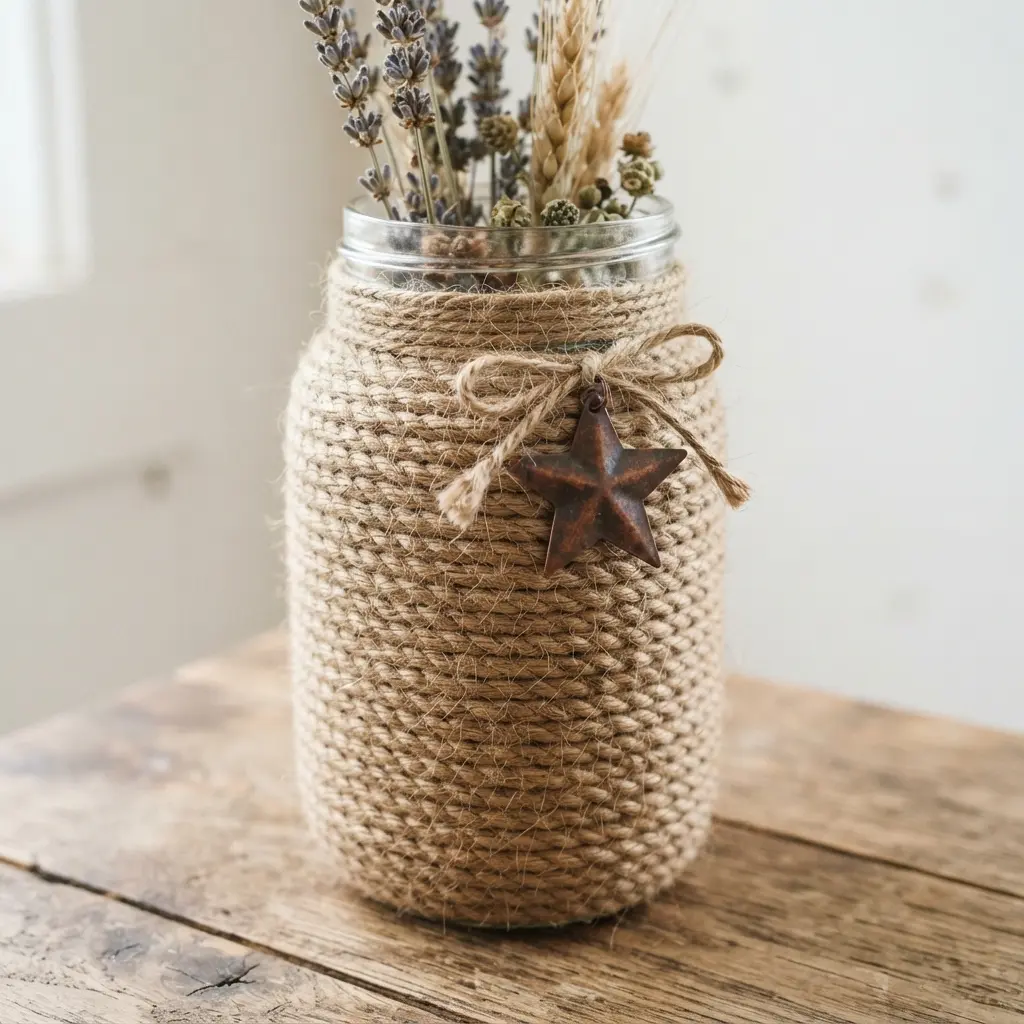
Doesn’t this project look like it took ages, despite how quickly you finish most diy rustic mason jars? You will anchor your jute twine with a dot of glue at the jar’s base, then wrap it tightly and evenly upward, securing the cord every few rows.
The trick is to keep the wraps snug against each other for a neat, textured finish. I love how the natural, earthy jute gets a little pop from that metallic star tag tied on with a simple string.
It creates a perfect blend of rustic charm and a subtle patriotic accent. Hold it in your hands and feel that satisfying, textured weight when you are done.
9. Galvanized Lid Patriotic Fairy Light Jar
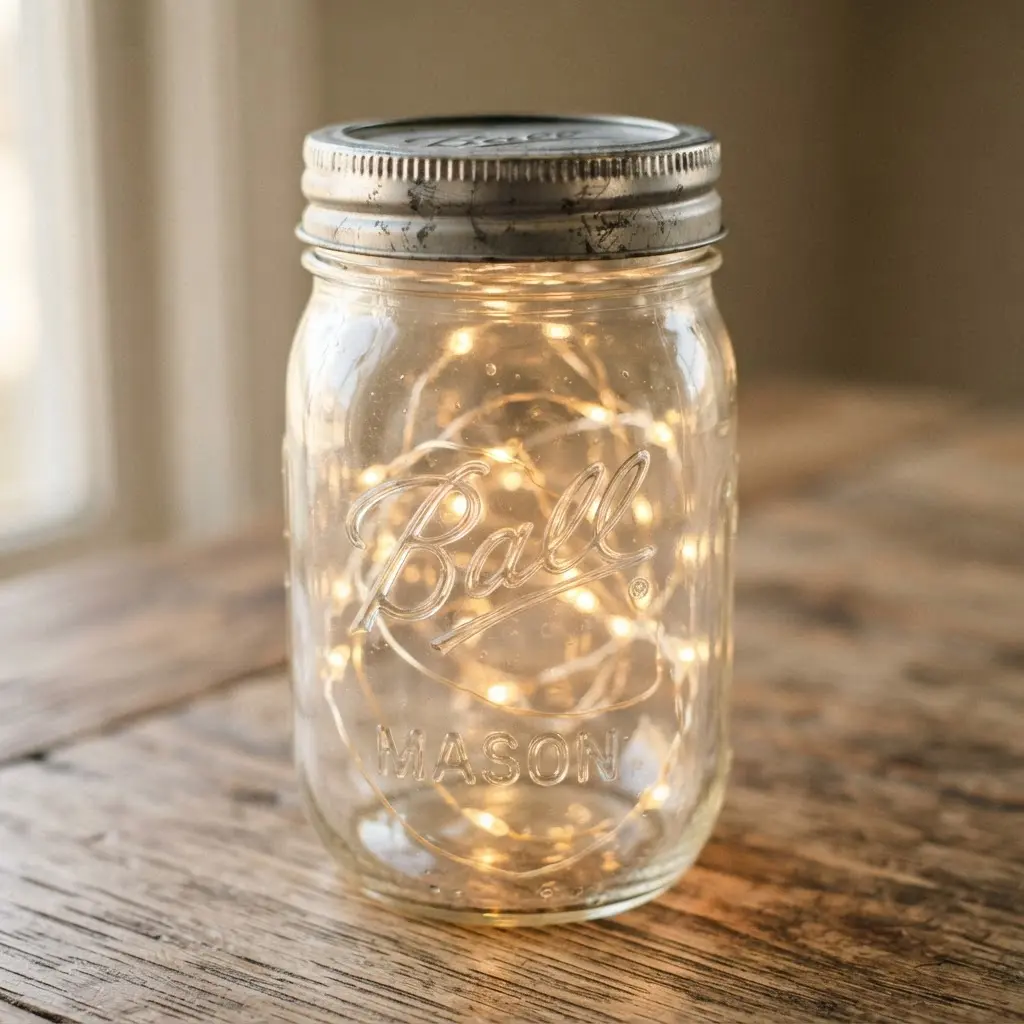
This project looks so professional, but trust me, it is one of the easiest ways to add a festive glow to diy rustic mason jars. You start by threading your battery-operated fairy lights through a hole in a rustic galvanized lid and into a clean jar.
Coil the lights inside, then secure the lid. The fun part is wrapping the neck with patriotic ribbon and adding little star charms. It works so well because the soft light creates a cozy atmosphere that feels magical on summer nights.
Always test your lights first and secure the battery pack with a tiny dab of hot glue. You will love how it turns out, especially when the whole porch lights up at dusk.
10. Denim Fabric Trimmed Stars Stripes Jar

This jar has such a friendly, lived-in feel, showcasing exactly how versatile diy rustic mason jars truly are. You start by wrapping your clean jar with a piece of denim fabric, securing it with a thin layer of fabric glue.
Cut out simple star shapes from red and white fabric, or use pre-made ribbon stripes. I love mixing in a few star-shaped buttons for extra texture. Glue everything down in a casual, overlapping arrangement.
The blend of rugged denim and classic Americana motifs creates a piece full of heart. It is perfect for holding summer wildflowers or glowing with a tea light inside. Try it and feel that proud, homemade charm.
Preserving Painted Finishes with Protective Matte Sealants
One layer of matte varnish takes two minutes and protects weeks of your careful distressing work on diy rustic mason jars. A glossy sealant will make your jar look modern and plastic, completely undoing the rustic texture you created.
You need a matte acrylic sealer in a spray can for the most even, professional finish. Hold the can about ten inches away and use light, sweeping passes to avoid drips.
Let this first coat dry fully, then add a second. This double layer locks in your paint and any chalky finishes, making the jar safe to handle and gently wipe clean.
The sealant also unifies the final look, blending your layered paints and sanded edges into one cohesive piece. Your finished jar will have a durable, soft-touch finish perfect for years of holiday displays.
Conclusion
What I love most about diy rustic mason jars is how they start a conversation. A jar on your table isn’t just a decoration; it’s a little piece of your creativity, a sign of the time you took to make something meaningful for your home. That personal touch turns a house into a home, especially during the holidays. My best advice is to pick the idea that speaks to you first, gather your materials, and don’t worry about perfection, because the charm lives in the handmade details. Once you finish your first piece, you will probably find yourself looking at all your empty glass in a whole new, wonderfully creative light.
FAQs
Q: What kind of paint works best on mason jars?
A: Chalk-style paint or matte acrylic craft paint adheres well to glass and gives a nice, opaque finish. For a distressed look, chalk paint sands easily after it dries.
Q: How do I get fabric or ribbon to stick to the jar securely?
A: Use a strong craft glue or a hot glue gun. Apply the adhesive in small sections, smoothing the material as you go to avoid wrinkles and ensure a tight bond.
Q: Can I use these jars for holding drinks or flowers?
A: For dry decor or fairy lights, they are perfect. If you plan to hold water or beverages, seal the painted interior with a food-safe sealant and avoid submerging glued decorations.
Q: What is the easiest way to create clean stripes or patterns?
A: Painter’s tape is your best friend. Apply it firmly over your base coat, paint your second color, and peel the tape off while the paint is still slightly tacky for sharp lines.
Q: Where can I find rustic materials like burlap and jute twine?
A: Most craft stores carry a wide selection. You can also check local fabric shops for remnants, which are often perfect for smaller projects like these.


