


You have a beautiful roll of washi tape and a stack of blank tags, but you are not sure where to start. The joy of a handmade gift tag is in its simplicity and personal touch, something that feels special without taking hours. The trick is finding designs that look polished but are genuinely quick to put together, letting your creativity flow without the pressure of perfection. These easy tape gift tags are all about that balance. I have gathered ten of my favorite looks, from clean geometric patterns to soft floral accents, each one perfect for dressing up a present in a way that feels uniquely yours.
Choosing High Density Cardstock For Structural Integrity
A tag made from 80lb to 110lb cardstock holds its shape perfectly under the weight of tape and ribbon. This heavier paper gives your easy tape gift tags a sturdy foundation that prevents your design from flopping over on a package, which is the exact problem flimsy scrapbooking paper creates. You want a nice, crisp feel when someone picks up your tag.
The good news is this weight is easy to find in any craft store. Look for textural finishes like linen or cotton rag, as these surfaces create a beautiful contrast against the smooth, semi-translucent nature of the washi tape. This textural difference makes your easy tape gift tags pop, giving them a professional, intentional look from the start.
Precision Trimming And Adhesive Edge Preparation Techniques
A sharp precision craft knife is your secret weapon for clean lines on easy tape gift tags. Trust me, scissors will leave a ragged or fuzzy cut that undermines your whole design. The goal is a crisp, geometric block segment or a perfect frame around your tag.
For overlapping layers on your easy tape gift tags, which create wonderful new color combinations, a clean cut with your knife at the overlap point avoids bulky, messy seams. This attention to adhesive edge preparation makes all the difference between a homemade look and a handcrafted one.
1. Minimalist Vertical Strip Kraft Tag
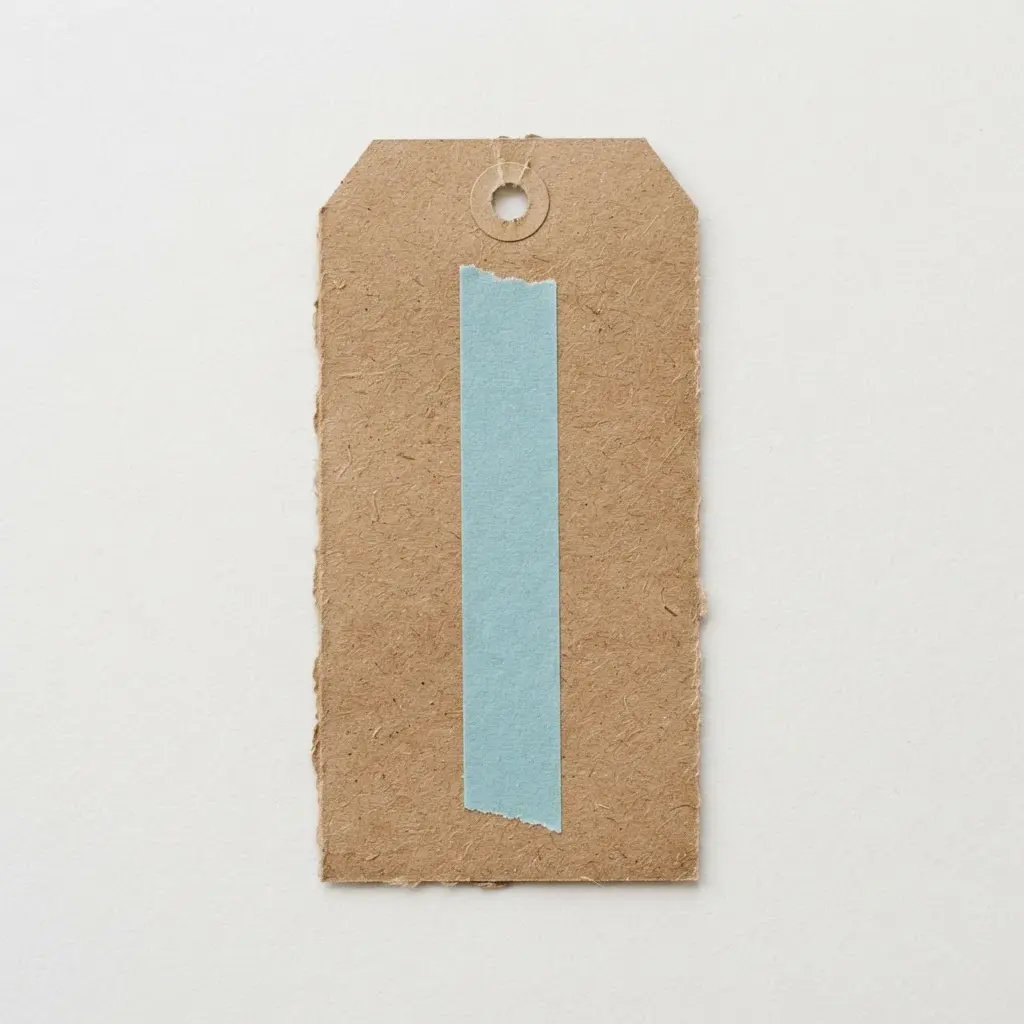
Ever feel like a gift tag should be simple and natural? This one is my go-to for an exact feeling. You start with an elongated piece of kraft paper and keep your design to a line or two of text. The key is leaving plenty of empty space around your words to let the earthy texture of the paper shine through.
I love how this style looks with dark ink on that natural brown background. You can print it yourself or even hand-letter it for a personal touch on your easy tape gift tags. Then punch a clean hole at the top and thread it with some jute twine.
It works because it feels handmade and thoughtful without any fuss. Try keeping your text minimal and you will see how elegant a simple tag can be.
2. Diagonal Geometric Color Block Tag
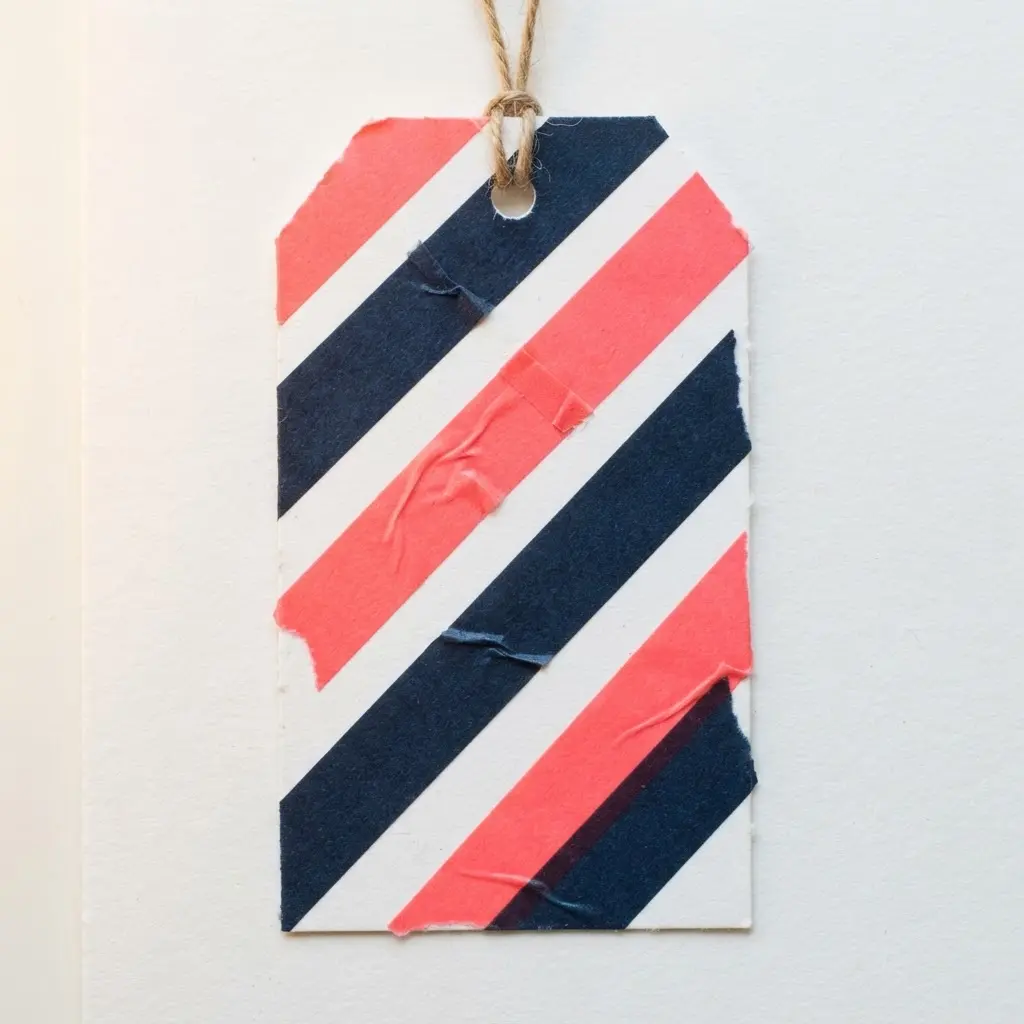
This one surprised me, it looks so modern and sharp, but it is built from simple strips of tape. You will create a tag base, then use a metal ruler to guide your craft knife for perfect diagonal cuts between blocks of color. The result is a dynamic, graphic tag that feels fresh and contemporary.
It works because that diagonal line adds instant movement and energy. Trust me on this one: getting those crisp lines for easy tape gift tags is incredibly satisfying. A great way to expand your tape skills is by trying some creative washi tape star crafts for more geometric fun.
3. Woven Washi Tape Checkerboard Design
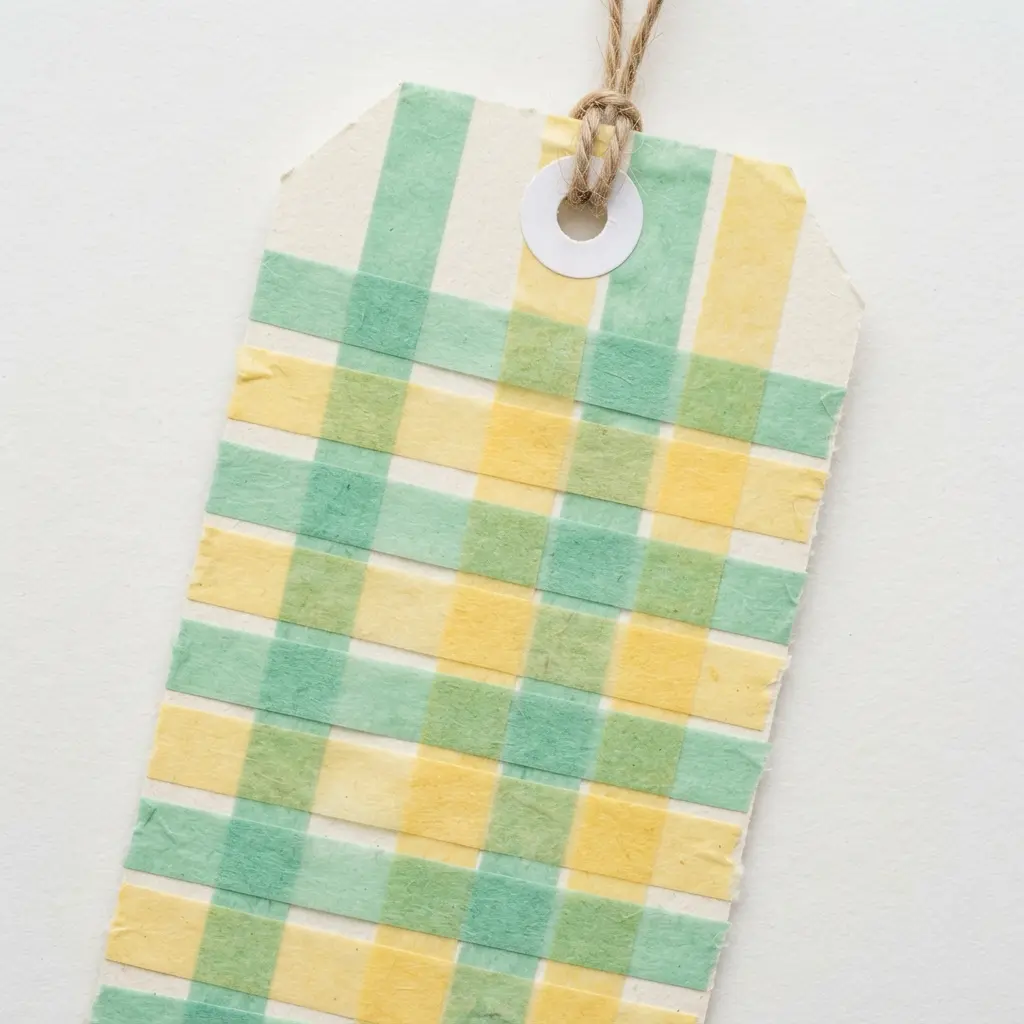
This one looks intricate, but trust me, the weaving process is surprisingly simple and meditative. You start by laying down parallel strips of your first tape color as the base, leaving a tiny, consistent gap between each. Then, you cut strips of your second color and weave them through in an alternating under-over pattern. I love how the metal ruler and craft knife make this so precise.
Why does it work so well? The interlaced strips create a neat, tactile texture that flat tape simply cannot match. You will find loads of other creative ideas for washi tape ornaments to use on your easy tape gift tags once you get the hang of it.
4. Delicate Floral Print Border Tag
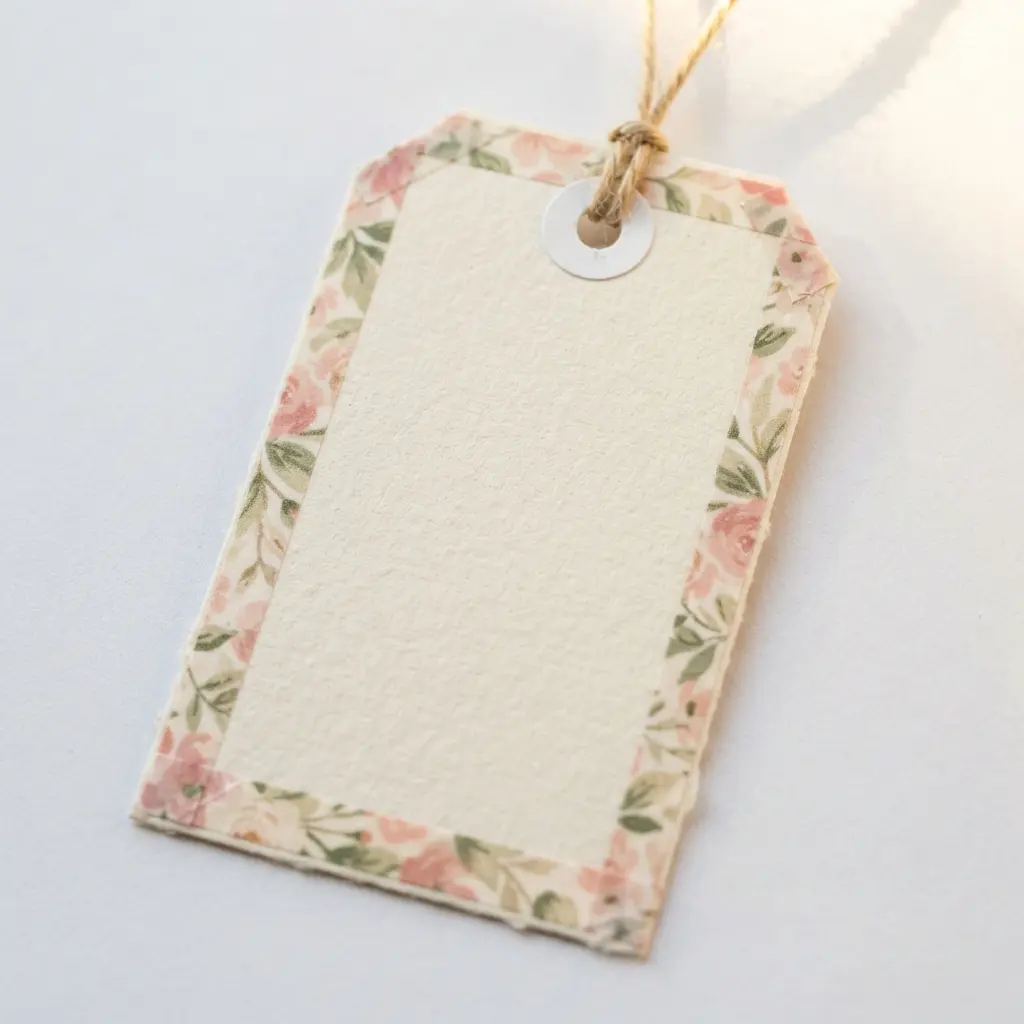
This one looks so elegant, but it is all about a simple border. You start with a plain tag in a light color. The magic comes from carefully applying a delicate floral washi tape right along the edges.
Work slowly to keep it straight and smooth, then trim any excess tape for a clean finish on your easy tape gift tags.
That soft, intricate border adds a touch of natural charm without overwhelming your present. It leaves the center perfectly clear for your handwritten note.
5. Multi-Width Layered Stripe Pattern
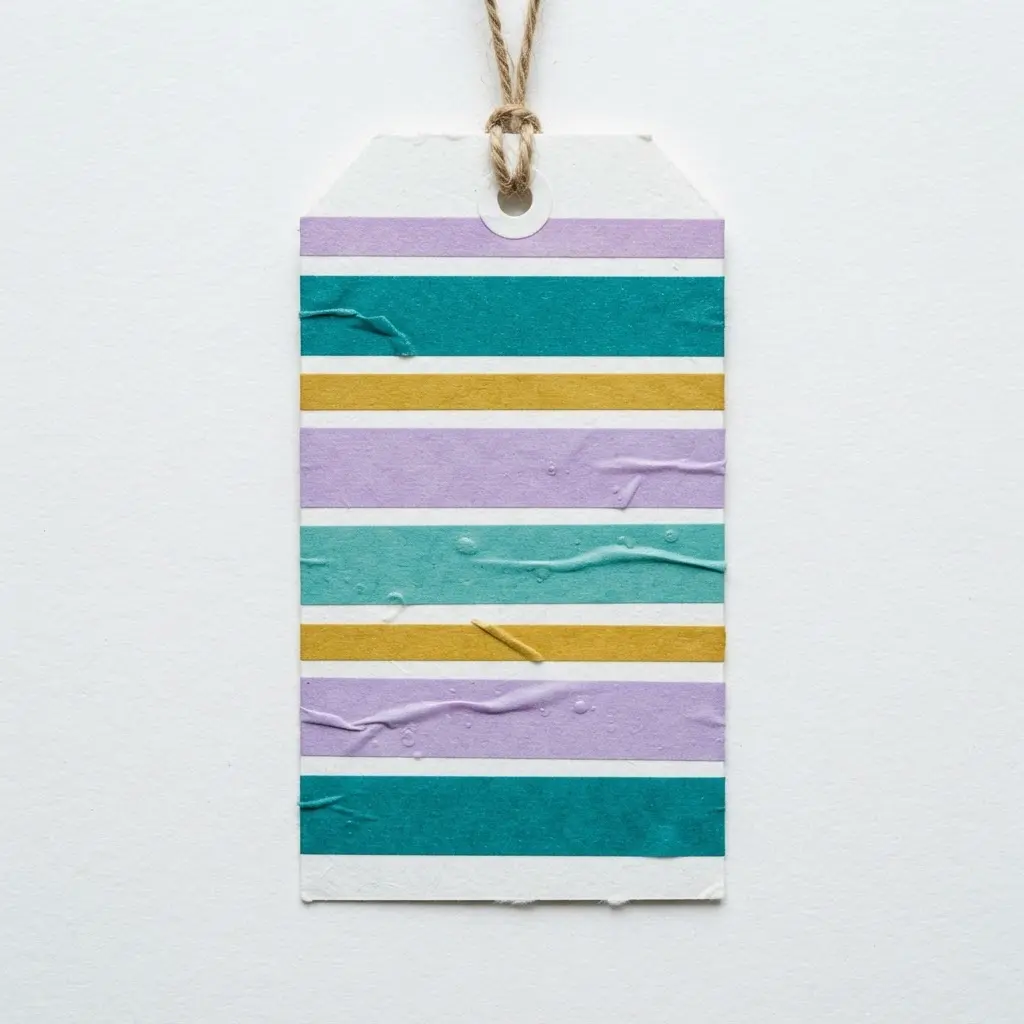
This pattern looks so much more complex than it actually is. You simply alternate strips of different colored washi tapes in varying thicknesses. Think a wide gold stripe, then a thin silver one, then a medium-width copper strip. The key is to keep the sequence repeating so your eye finds a rhythm.
I love how this creates instant depth without physical layering. It works because the contrast in widths draws your eye across the tag, making it feel dynamic and interesting. Just balance your widths to avoid a chaotic look on your easy tape gift tags. A great next step is to use these patterned tags for larger tape art wall decor projects.
6. Scalloped Edge Taped Banner Tag
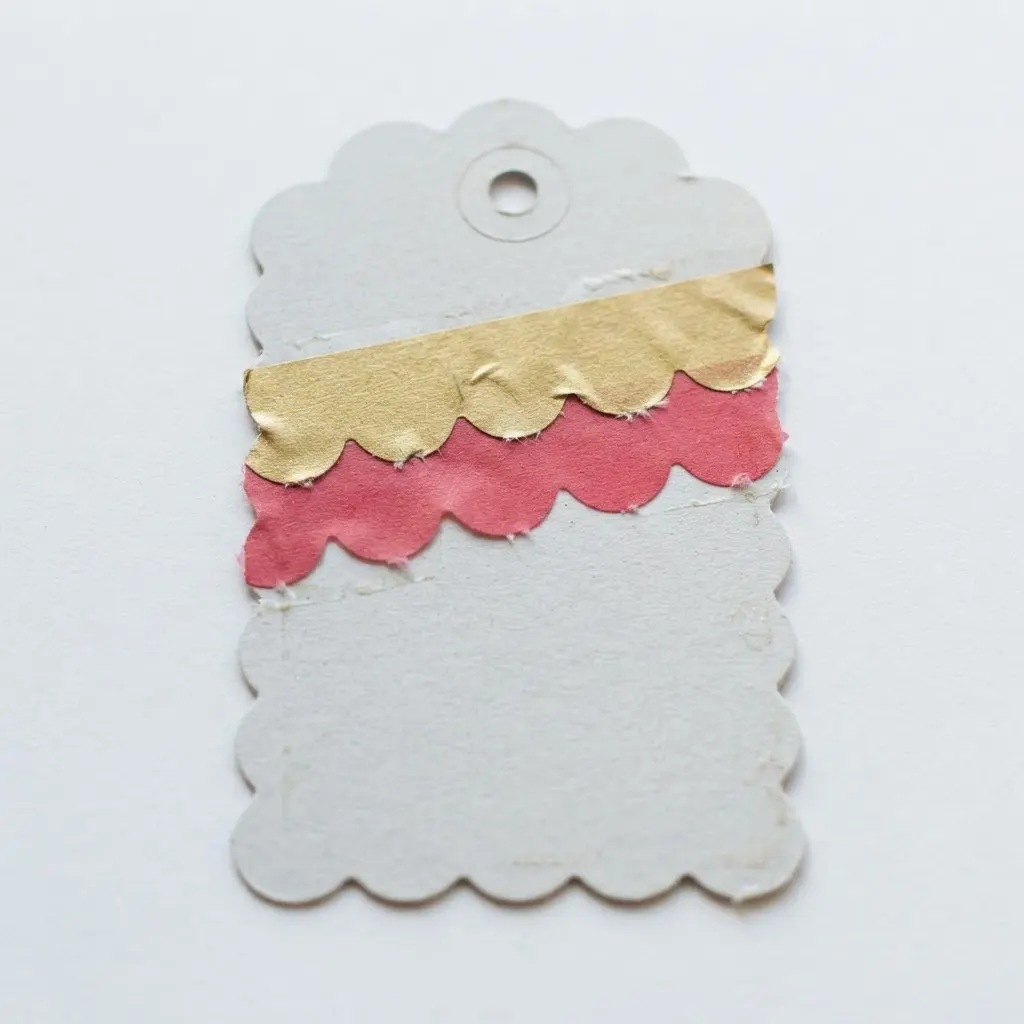
This one looks so elegant, but trust me, it is a fantastic beginner project. You start by cutting your tag into that classic banner shape with the V-cut ends. Then, you run scalloped edge scissors around the entire perimeter to get those lovely, soft curves.
The real fun begins when you add your washi tape strips. I love laying them down diagonally or creating a neat border for easy tape gift tags to frame a handwritten note. It works because the banner shape naturally draws the eye, and the scalloped edge gives it that special, handmade touch. Plan your tape layout on the table first to see how the patterns play together.
7. Confetti Style Washi Dot Tag
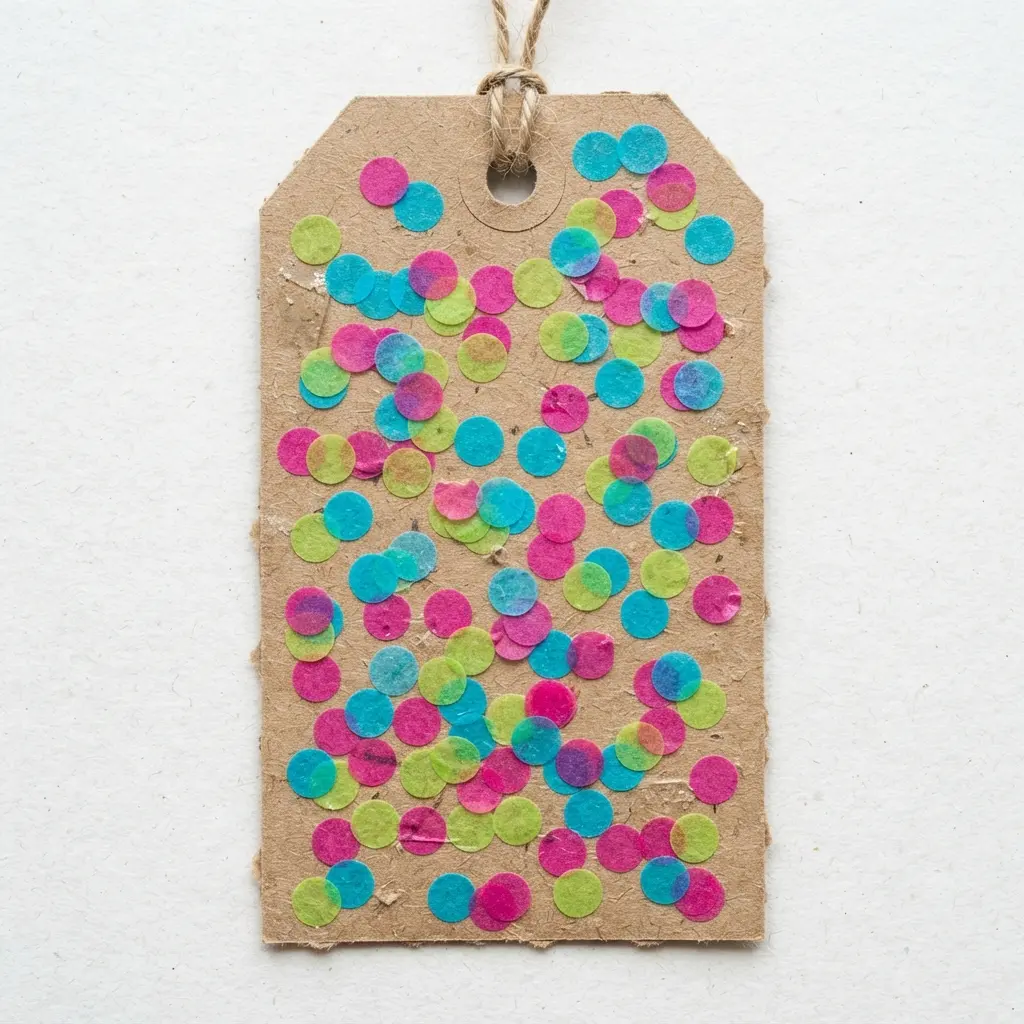
Ever felt like you needed a burst of instant celebration on a gift? This tag delivers exactly that. You simply punch out dozens of tiny, colorful circles from different rolls of washi tape and scatter them across a blank tag to decorate your easy tape gift tags.
The magic is in the random, layered placement. It works because the cheerful, spontaneous look feels so festive and personal. Punch a huge pile of dots first, it feels like sprinkling real confetti.
8. Intersecting Cross Pattern Tag Design

This one looks so intricate, but it is simply about overlapping tape in two directions. You start by laying strips of washi tape across your tag blank to design easy tape gift tags. Then, you pick a second tape and apply strips in the opposite direction, letting them cross over the first layer to create that woven grid or diamond pattern.
The magic is in the layers. Using a semi-transparent washi tape for one direction lets the color underneath peek through, which gives you instant depth. Trust me, that little trick makes your design pop without extra effort. It is a fantastic way to add a custom touch to your personalized craft projects.
Does that not look stunning? Feel the satisfaction of creating something so polished with simple lines.
9. Rustic Twine Wrapped Tape Accent
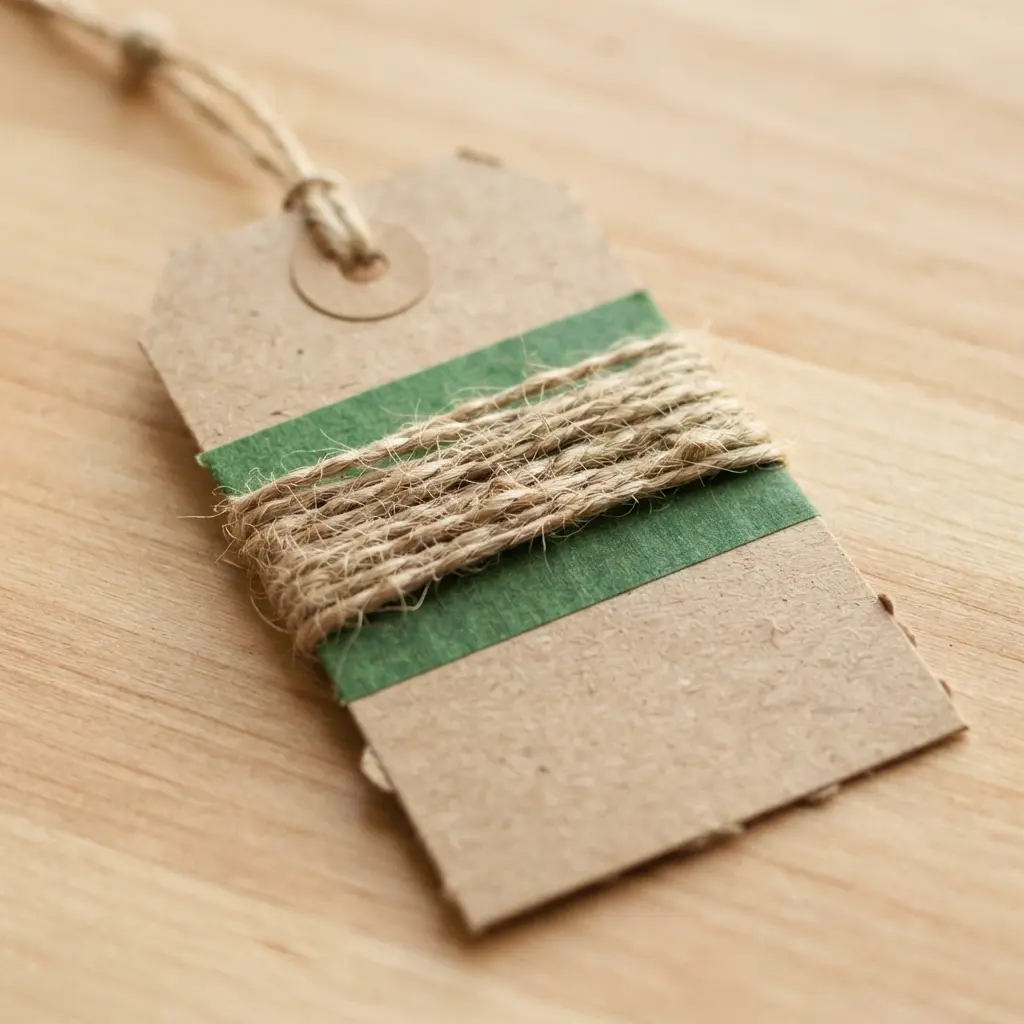
This little trick is my secret weapon for adding instant charm to your easy tape gift tags. It looks like you spent hours, but you wrap jute twine tightly around a strip of masking tape. Keep your tension even and use a dab of glue at each end to secure it. The texture gives a lovely, homespun feel to any plain surface.
Why does it work so well? It adds a warm, natural touch that feels handmade and personal. You will love how it transforms a simple tag into something special. A tag with this accent would look perfect tied onto one of those handmade Valentine’s Day gift containers.
10. Ombre Gradient Striped Tag Style
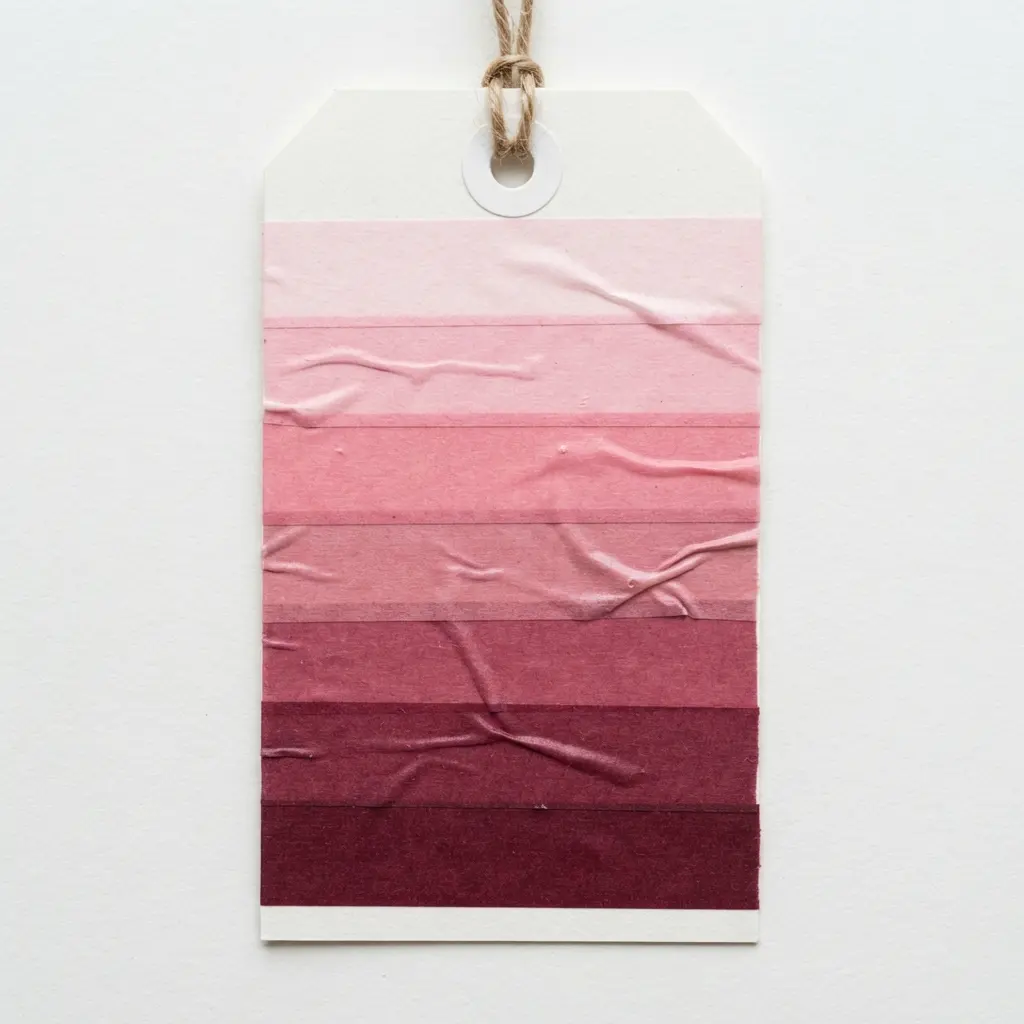
This one looks like a million bucks, but trust me, it is a total cinch with washi tape. You start by building your ombre gradient base, laying down strips from light to dark. Then, you add the stripes right on top, creating a gorgeous, rhythmic pattern.
Why does this work so well? The soft gradient gives it an artistic feel, while the crisp stripes add a modern, structured punch. It is that perfect combo of handmade charm and polished design.
My top tip is to use a ruler and pencil for perfectly straight lines. Pair your stunning tag with some easy DIY origami bows to make your gift presentation absolutely pop.
Incorporating Natural Twine And Decorative Ribbon Fasteners
A hole reinforced with a simple eyelet punch prevents delicate paper from tearing when you thread thick jute twine. This is the finishing touch that makes your tag feel substantial and ready for gifting. I love using natural materials like unbleached baker’s twine or thin leather cord because they complement the organic feel of washi tape beautifully.
For a more decorative look, layer a thin strip of velvet ribbon under a wider satin one before tying your knot. The key is to keep the fastener proportional to your tag size so it does not overwhelm your paper craft. Always tie your knot or bow after the tag is on the package, which allows you to adjust the tension and presentation perfectly.
Conclusion
The best part about making your own easy tape gift tags is how they capture a little bit of your personality on something you are giving to someone else. It is a small act of care that transforms a simple present into something more thoughtful. My advice is to keep a few blank tags and your favorite tapes in a box together, so you are always ready to make one on the spot.
That way, the next time you are wrapping a gift, you will have a set of beautiful easy tape gift tags ready in a few minutes, adding that perfect final touch.
FAQs
Q: What type of paper works best for washi tape gift tags?
A: Heavyweight cardstock or kraft paper holds up best. The sturdy surface prevents the tag from bending and gives the tape a smooth base to adhere to for a clean finish.
Q: How do I keep the edges of the washi tape from peeling up?
A: Burnish the tape firmly after applying it. Use a bone folder, your fingernail, or the back of a spoon to press it down smoothly, which activates the adhesive for a stronger bond.
Q: Can I write on top of the washi tape?
A: Yes, most pens work fine. Test your pen on a scrap first. Gel pens, fine liners, and permanent markers typically provide clear, smudge-free writing on the tape’s surface.
Q: What is the easiest way to cut washi tape cleanly?
A: Use sharp, precise craft scissors. Tearing the tape can give a ragged edge, so cutting it with scissors ensures you get the straight, clean lines needed for geometric designs.
Q: How do I store leftover washi tape tags?
A: Keep them flat in a small box or folder. Layering them between sheets of parchment or wax paper will prevent any tape from accidentally sticking to another tag’s surface.









