

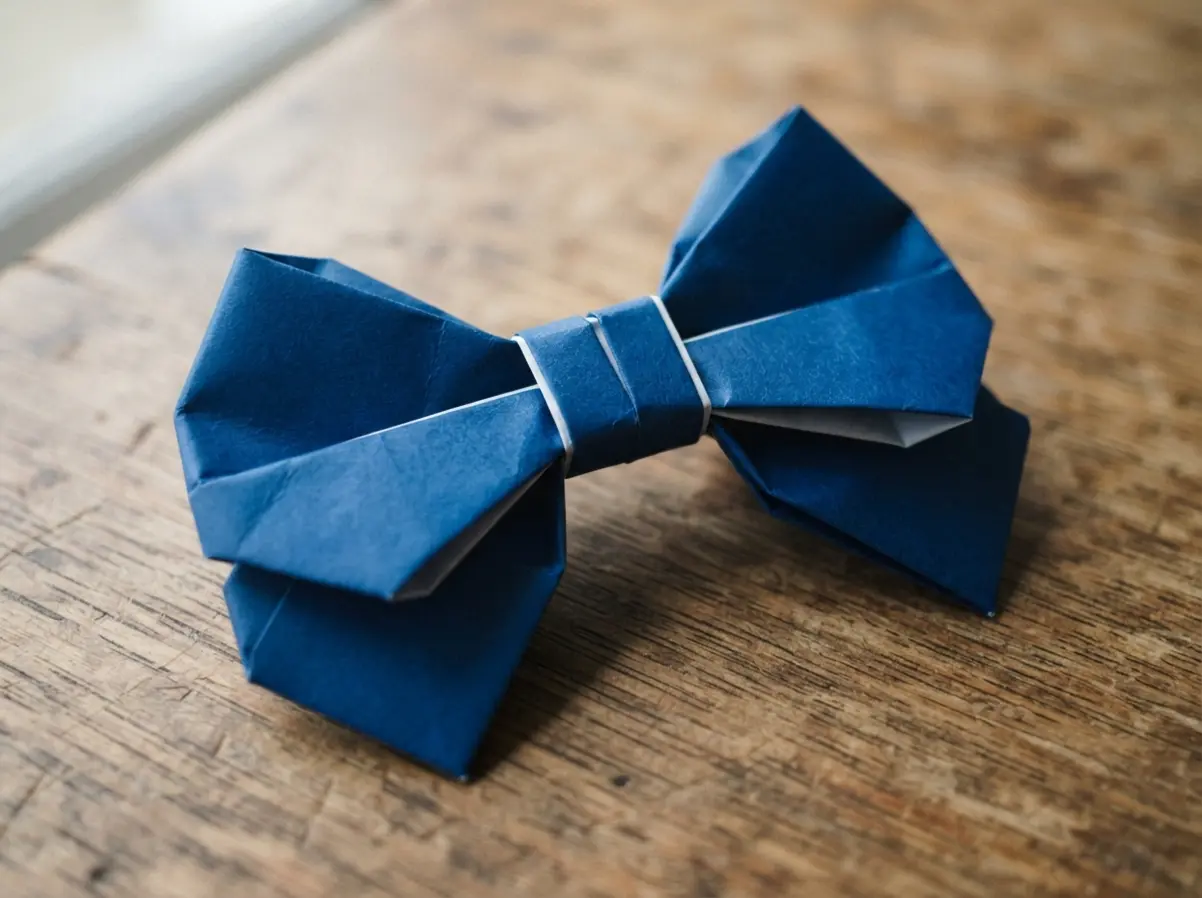
Choosing High Quality Folding Paper Varieties
The fastest way to frustrate yourself is starting with thick cardstock that cracks at the crease and refuses to hold a tight fold. You need paper that is thin and crisp, like standard origami paper, because it responds to your fingers and holds its shape perfectly. This thinness allows for the multiple overlapping layers required in a bow without becoming bulky or springing apart. Look for paper with a distinct color on each side, as this visual aid helps you track the valley and mountain folds essential for a three-dimensional appearance. Trust me, investing in a pack of 15×15 cm origami sheets sets you up for success from the very first fold when you explore easy origami bow ideas.
Achieving Sharp Creases With Bone Folders
A rounded, soft crease is the main reason a finished bow looks messy and lacks that crisp, professional definition. You want to press each fold with firm, deliberate pressure to set the paper fibers in place. We tend to skip this step, but running a bone folder along the edge of every crease makes a dramatic difference in the final structure.
If you do not have a bone folder, the flat edge of a credit card works perfectly for burnishing your folds when practicing easy origami bow ideas. This simple action ensures your geometric lines are sharp and your bow holds its shape securely without any flaps coming loose over time.
1. Minimalist Solid Color Origami Bow
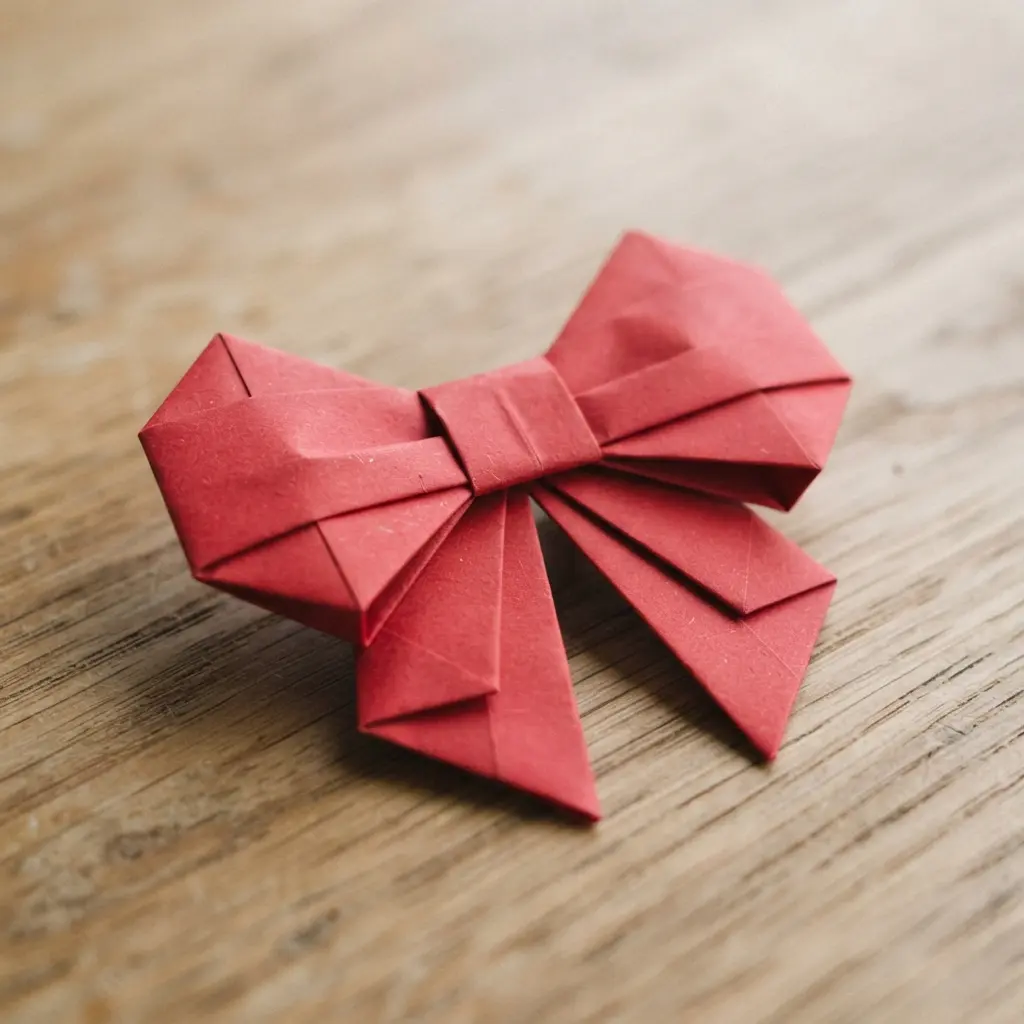
Ever feel like you need a quick, classy finishing touch for a gift? This origami bow is your answer. You start with a single square of paper and create a series of precise diagonal and cross creases to form a base that sets a clean foundation for easy origami bow ideas.
The magic happens when you collapse that base and fold the flaps inward to shape the loops and tails. The result is a clean, geometric decoration that looks far more intricate than the steps suggest. I love how this design proves elegance comes from simplicity. Using one solid color lets the paper’s texture and your crisp folds do all the talking, making it wonderfully versatile. It pairs perfectly with wrapped presents or handmade cards. For a complete handmade look, these bows look fantastic alongside some easy gift tag decorations when testing easy origami bow ideas.
My go-to tip? Make your first few with standard 6-inch origami paper. Its perfect square shape and thinness give you the sharp creases you need for that polished finish. Try it and feel that little thrill when your flat paper transforms into a 3D bow while gathering easy origami bow ideas for your collection.
2. Patterned Washi Paper Gift Bow
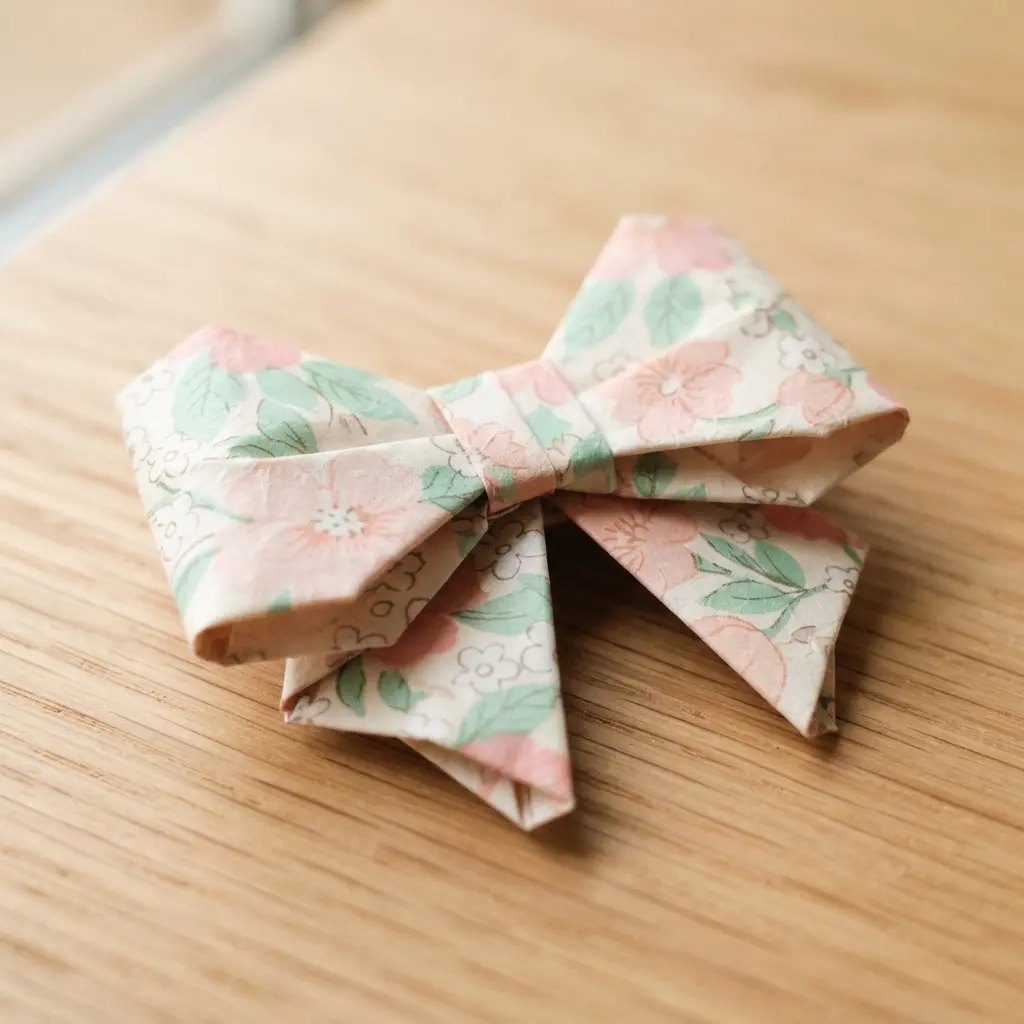
This one is a total favorite of mine. Ever wanted a bow that feels truly personal? By cutting strips of patterned washi paper and forming them into figure-eight loops, you build a beautiful, layered decoration that ranks among the most popular easy origami bow ideas. The key is using a medium-weight paper so it holds its shape without being stiff.
Stack the loops from largest to smallest and secure them at the center. Finish it by wrapping a tiny strip around the middle to hide the tape. It works so well because the paper’s unique patterns and subtle texture make each gift look handcrafted and special, a reliable approach when exploring easy origami bow ideas.
If you enjoy this, you might find our guide on paper folding flower ideas useful for your next craft project. Trust me, the result is always so satisfying.
3. Metallic Foil Decorative Bow Knot
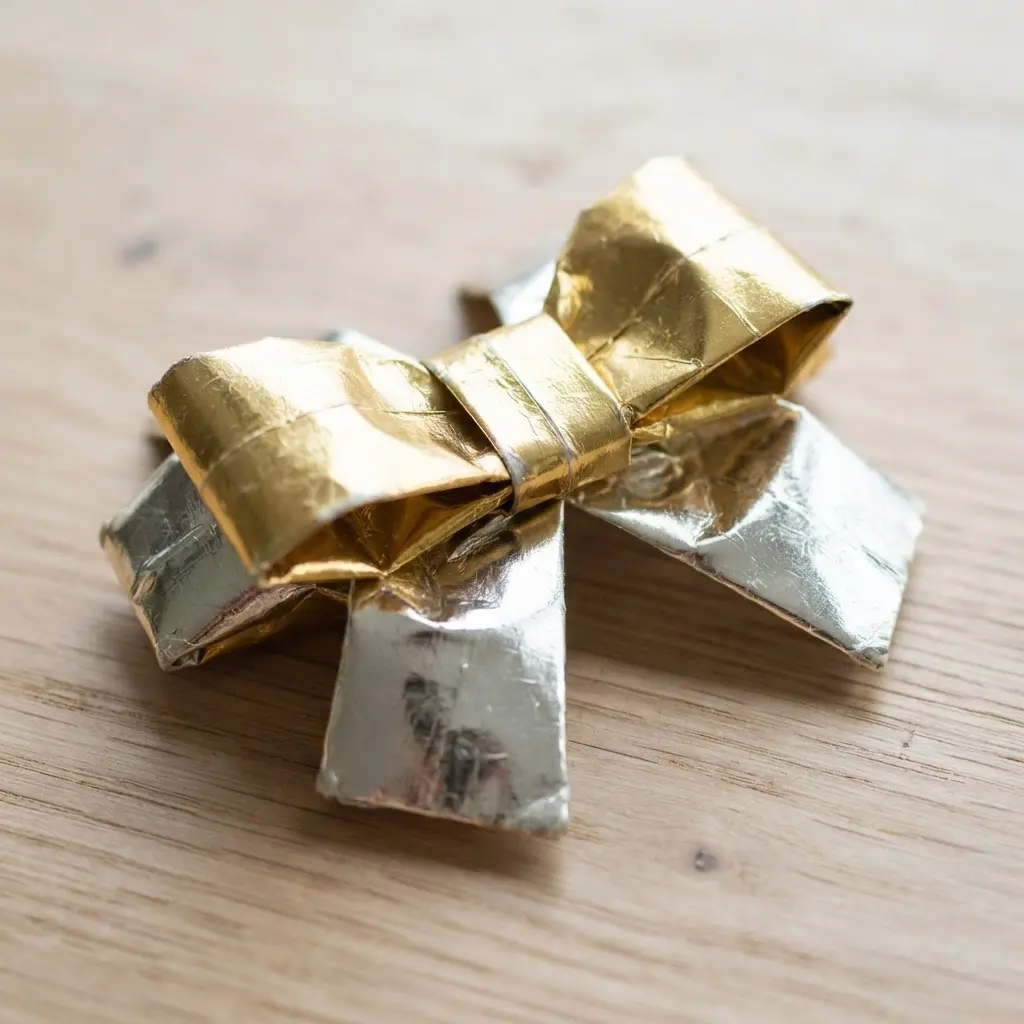
Ever wondered how to add instant glamour to a gift wrap or craft project? A metallic foil decorative bow knot is your secret weapon. You will use a shiny ribbon or pre-formed bow, often made from foil-laminated paper or plastic, to create that classic, hand-tied look featured in elegant easy origami bow ideas.
It is all about forming even loops and securing the center neatly. That reflective surface catches every bit of light, creating a dazzling, elegant effect that elevates your easy origami bow ideas instantly. Trust me, once you try it, you will be hooked on the shine.
If you are making your own from ribbon, a hot tip is to practice first on some scrap material to get your loop sizes just right. Then, when you are ready, gently fluff and shape your finished bow to see why these easy origami bow ideas stand out so much.
4. Textured Handmade Paper Flat Bow
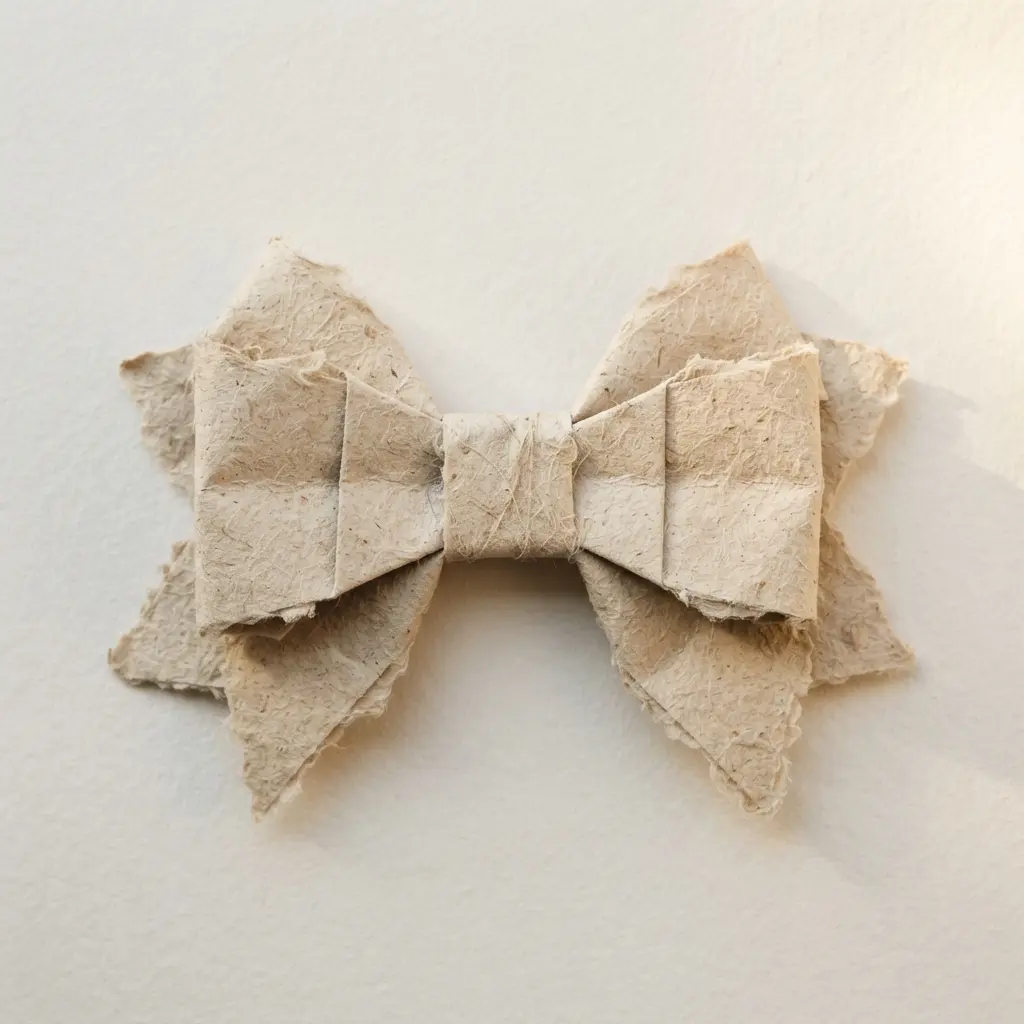
Ever wondered how to add instant elegance to a gift without the bulk? The textured handmade paper flat bow is your secret weapon. You form a simple figure-eight with strips of medium to heavy weight paper and wrap a smaller strip around the center to hide the seams. Its flat profile means it lies beautifully on a wrapped box or a scrapbook page without adding any awkward lumps, which makes it ideal for low-profile easy origami bow ideas.
I love how the texture itself becomes the star of the show, adding a rich, organic feel that smooth paper cannot match. The key to crisp folds in thicker stock is a bone folder. Use it to press every crease firmly, and you will get a bow with sharp, professional-looking lines every time. This is a fantastic way to use those beautiful handmade paper sheets you have been saving for something special. Feel that satisfying tactile difference.
Because this bow is so flat, it is perfect for projects you need to mail or frame. Before you start, gathering some cupcake liner decorative ideas can give you a great sense of how to layer and secure paper elements cleanly, which is a useful skill here.
5. Two Toned Origami Loop Bow
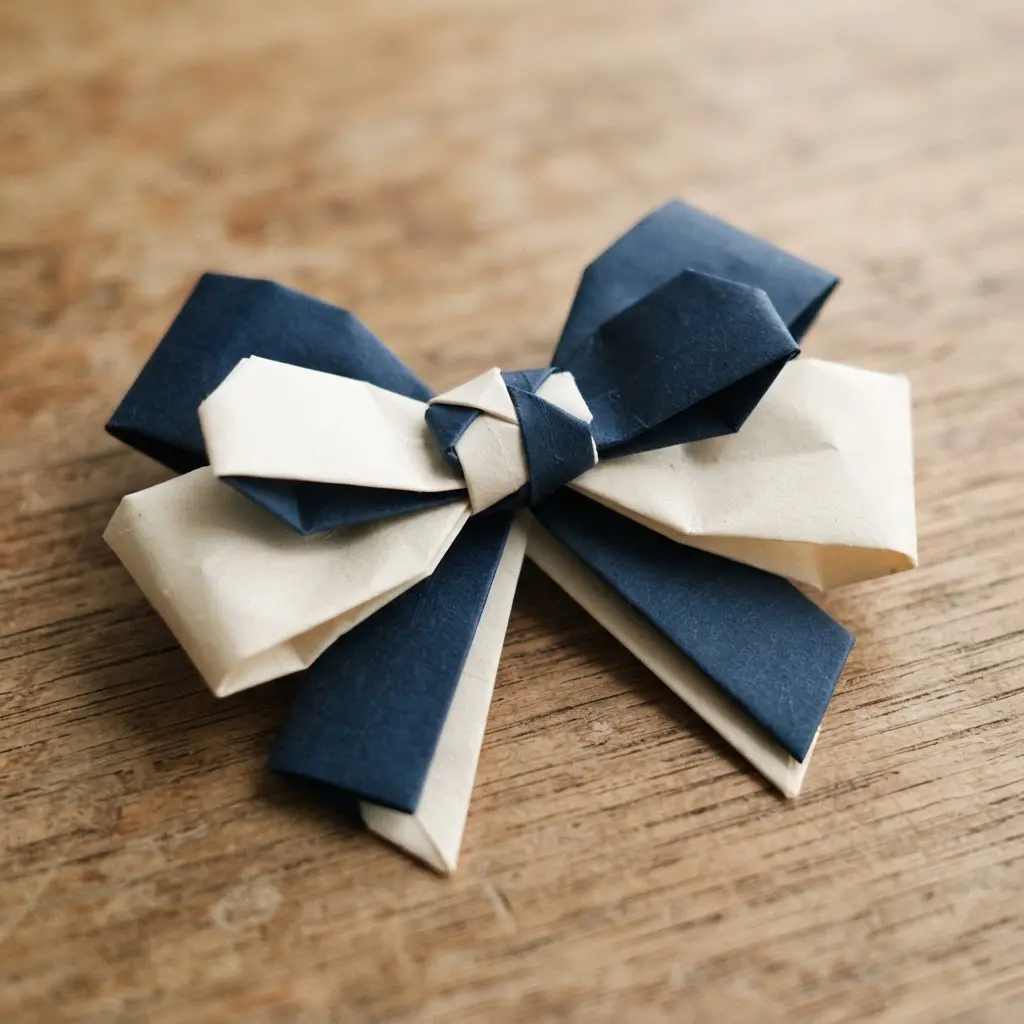
This one looks wonderfully intricate, but trust me, the process is surprisingly straightforward. You start with two square pieces of paper of the same size, each a different color or pattern. The magic happens when you fold each into a specific base and then bring them together, creating those lovely overlapping loops that define high-contrast easy origami bow ideas. I love how the contrasting colors add instant depth, making your bow pop right off the page.
Your biggest ally here is a bone folder for making those creases sharp and crisp. Without clean folds, the layers just won’t sit right. A common hiccup is using paper that’s too thick or too thin, so stick with a medium weight for the best results. Isn’t it satisfying when the final piece looks store-bought, but you made it yourself?
For an extra metallic or shiny twist on this design, you can apply some of the same folding principles to specialty papers. Mastering these foil paper craft techniques opens up a whole new world of decorative possibilities for your gifts and projects.
6. Vintage Floral Print Card Bow
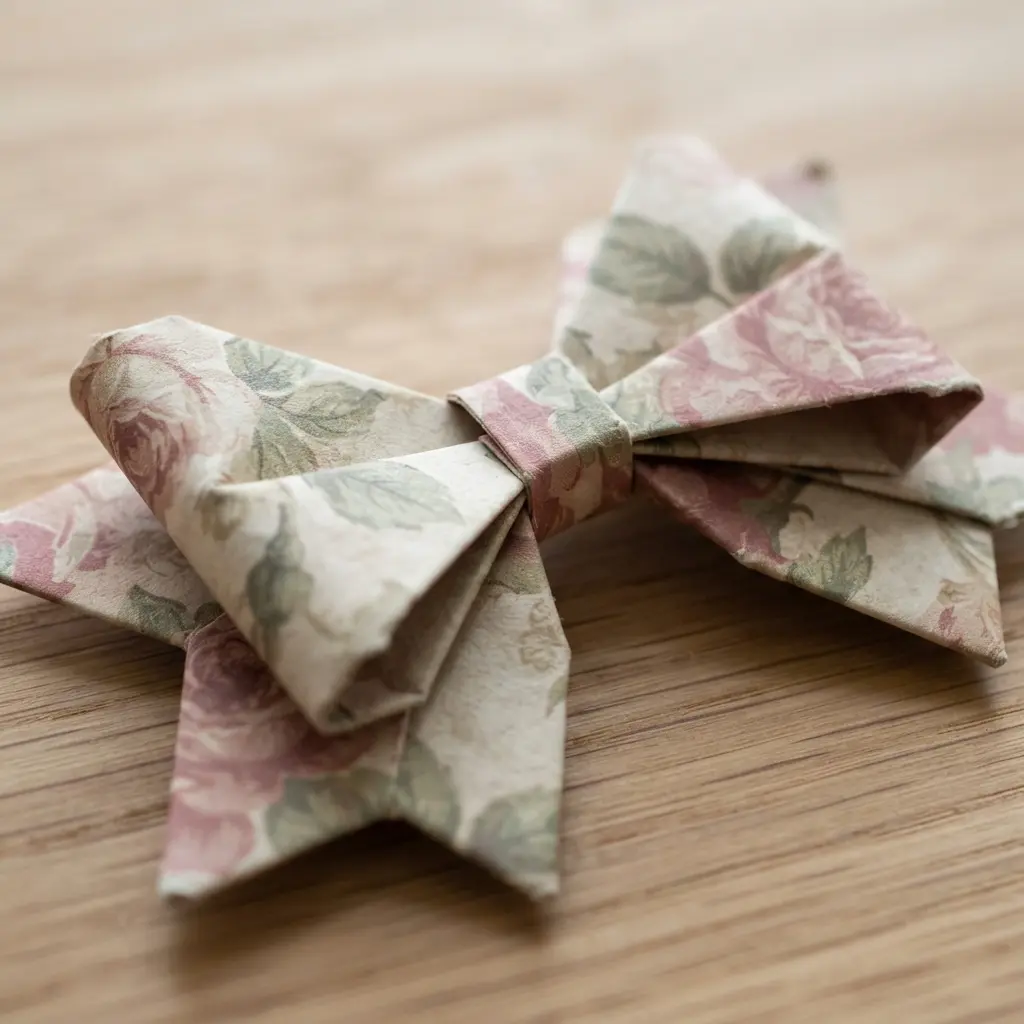
Ever wanted a bow that looks like it came from a cherished old book? This is the one. You start by cutting strips from heavy-weight cardstock printed with those lovely, faded floral patterns, bringing nostalgic charm to your easy origami bow ideas. Then you simply form the strips into loops, stacking them from largest to smallest and gluing them at the center.
It works because the sturdy paper holds a perfect shape, while the vintage pattern adds instant charm and a handcrafted feel. My favorite tip? Let the glue dry completely on each loop before you assemble the whole thing—it makes everything so much more secure and satisfying to finish.
7. Double Layered 3D Paper Bow
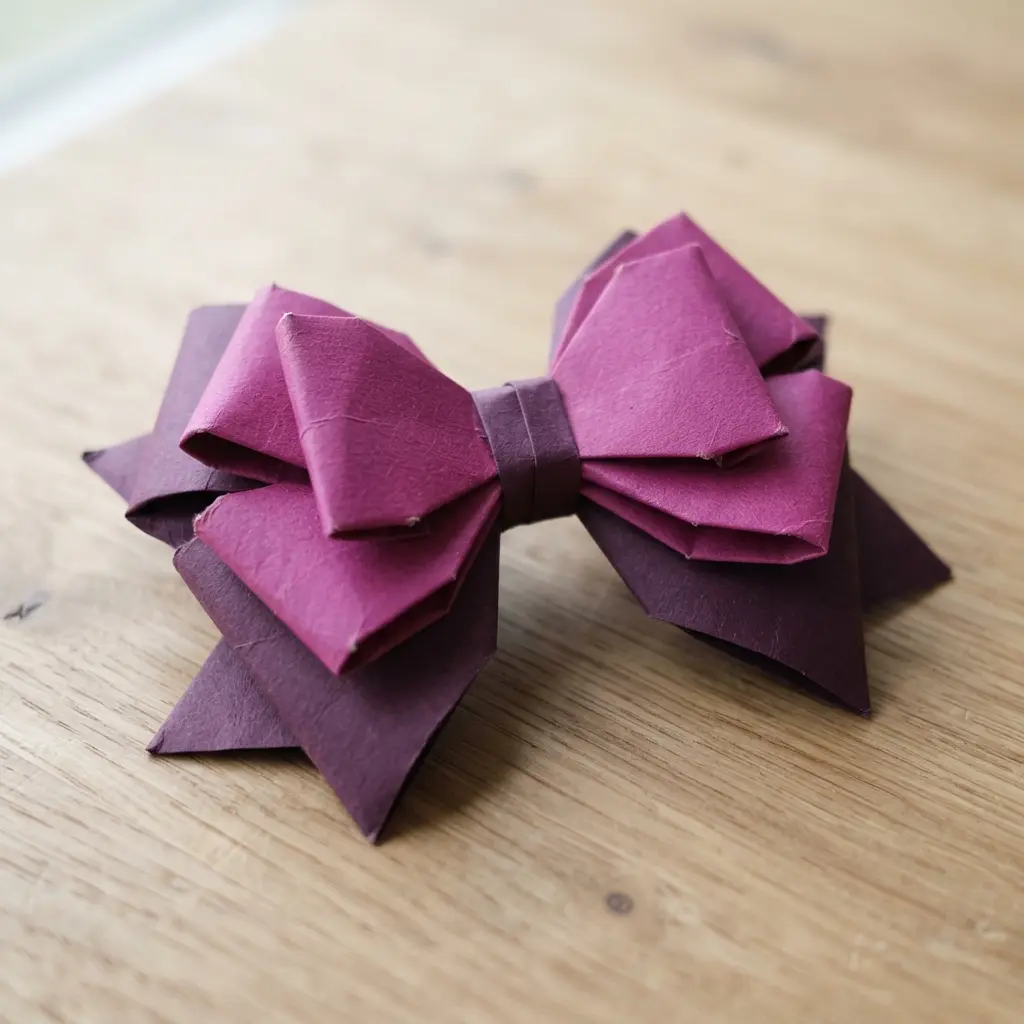
Does a single-layer bow sometimes feel a bit flat to you? This double-layered version is my secret for adding instant luxury and dimension, making it a standout among voluminous easy origami bow ideas. You will create two separate bows from coordinating papers, one slightly smaller than the other, and then stack them together.
I love using my electronic cutting machine with a precise SVG file to ensure both layers are perfectly symmetrical. You form the loops, secure the centers, and then adhere the smaller bow right on top of the larger one. The result is a full, gorgeous 3D embellishment that looks far more intricate than it actually is.
This works so well because the layering creates incredible depth and visual interest. For a truly stunning finish, try adding this bow to your next project making paper star decorations for a festive touch.
8. Polka Dot Scalloped Edge Bow
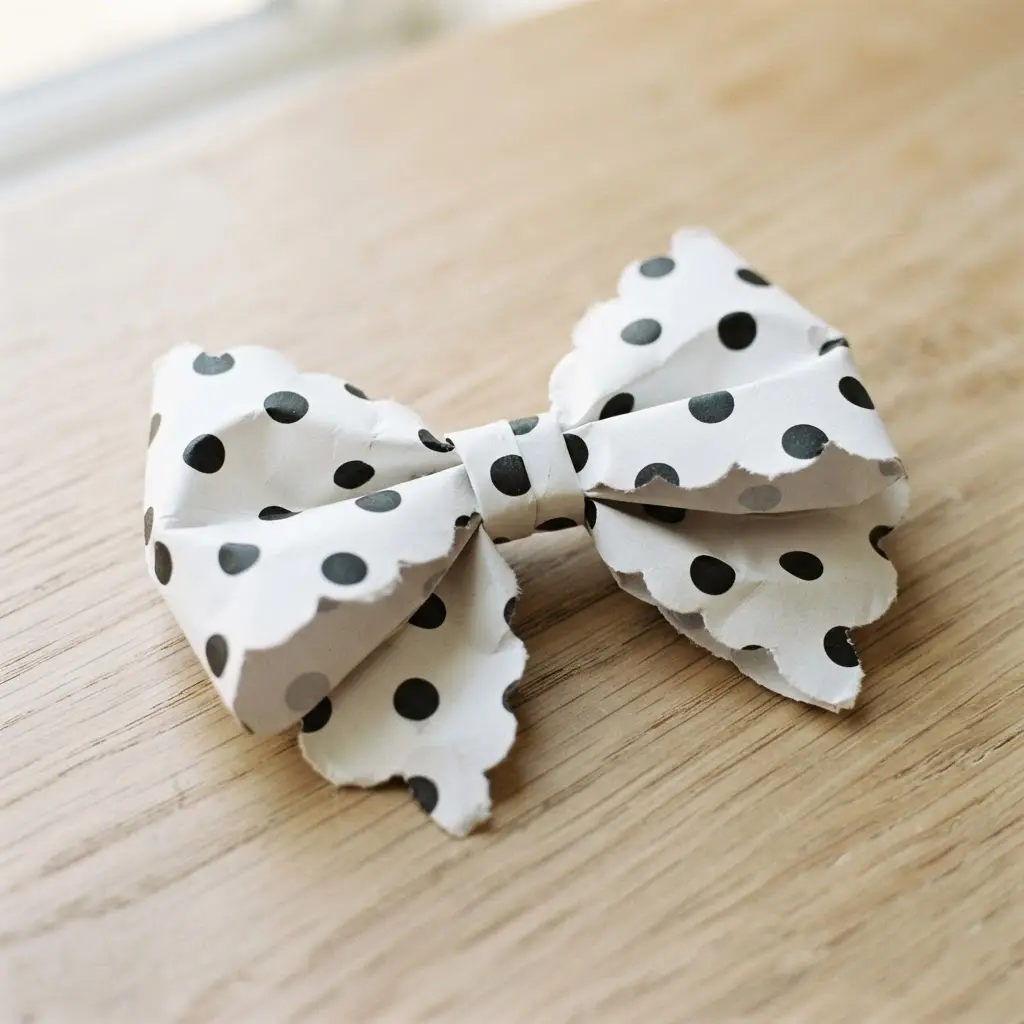
Who says a bow has to have straight edges? This cheerful design is all about soft curves and playful patterns. You start with a polka-dotted ribbon that already has a scalloped edge, or you create the edge yourself with special scissors. You form the loops and tails, making sure those pretty curves are all facing the same way before you glue or sew them together at the center.
It works so well because the dots add a fun pop while the scallops give it a delicate, almost vintage feel. I love how it looks like something from a sweet boutique. A perfect use for this bow is as a charming accent on a wrapped gift, and it makes for one of those easy handmade teacher gifts that shows you put in a little extra thought. Feel that handmade charm come together!
9. Kraft Paper Rustic Gift Bow
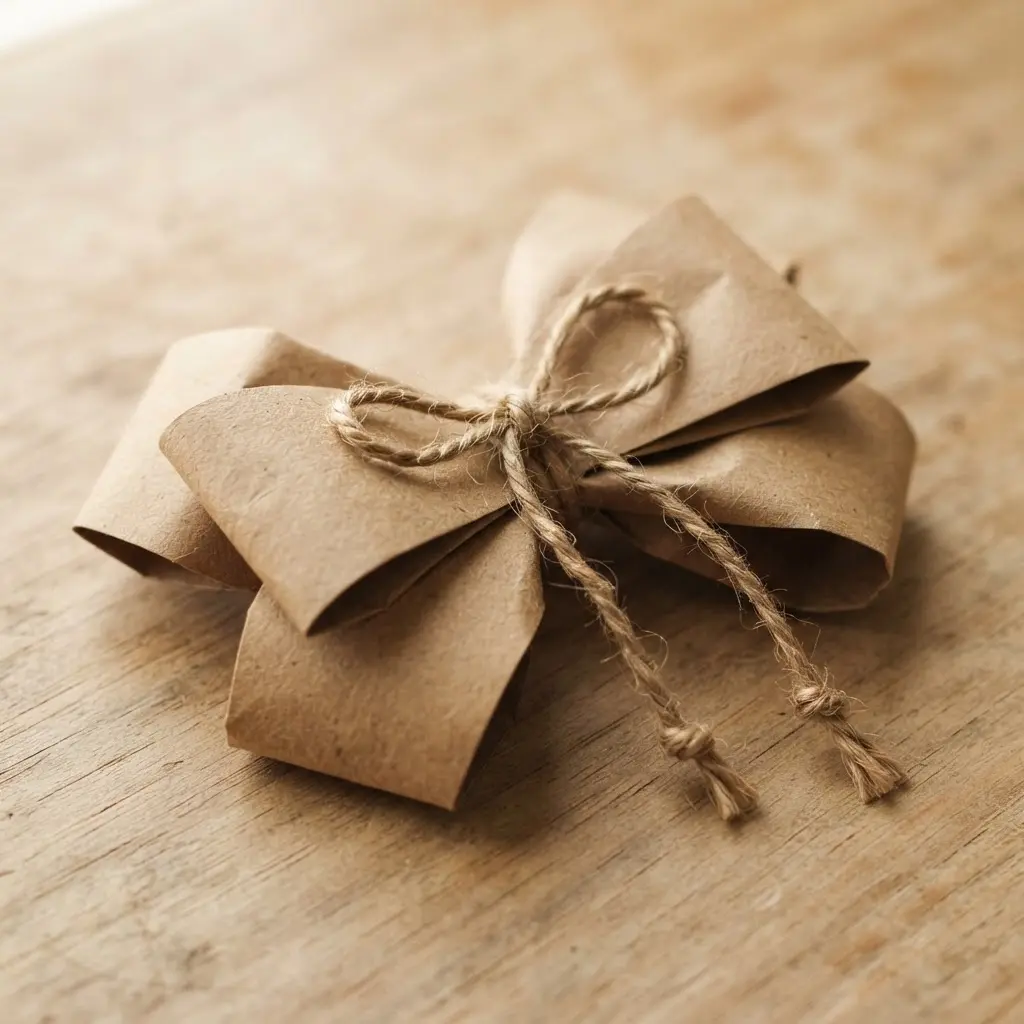
Who would have thought plain brown paper could look so elegant? This bow is a wonderful surprise for gift wrapping. You start by cutting a long strip of kraft paper, then fold it back and forth into an accordion shape. Pinch the center and secure it with a piece of twine or a thin paper strip.
Fluff out the loops to give it that full, rustic look. I love how forgiving this process is. A slightly uneven fold only adds to the handmade charm, so do not worry about perfection. Your finished bow has a natural warmth that feels personal and thoughtful.
This style works so well because it is sustainable and versatile. It pairs beautifully with simple twine and looks great on everything from birthday presents to holiday gifts. Try it and feel the satisfaction of creating something beautiful from such a humble material while exploring natural easy origami bow ideas.
10. Glossy Pastel Gift Box Bow
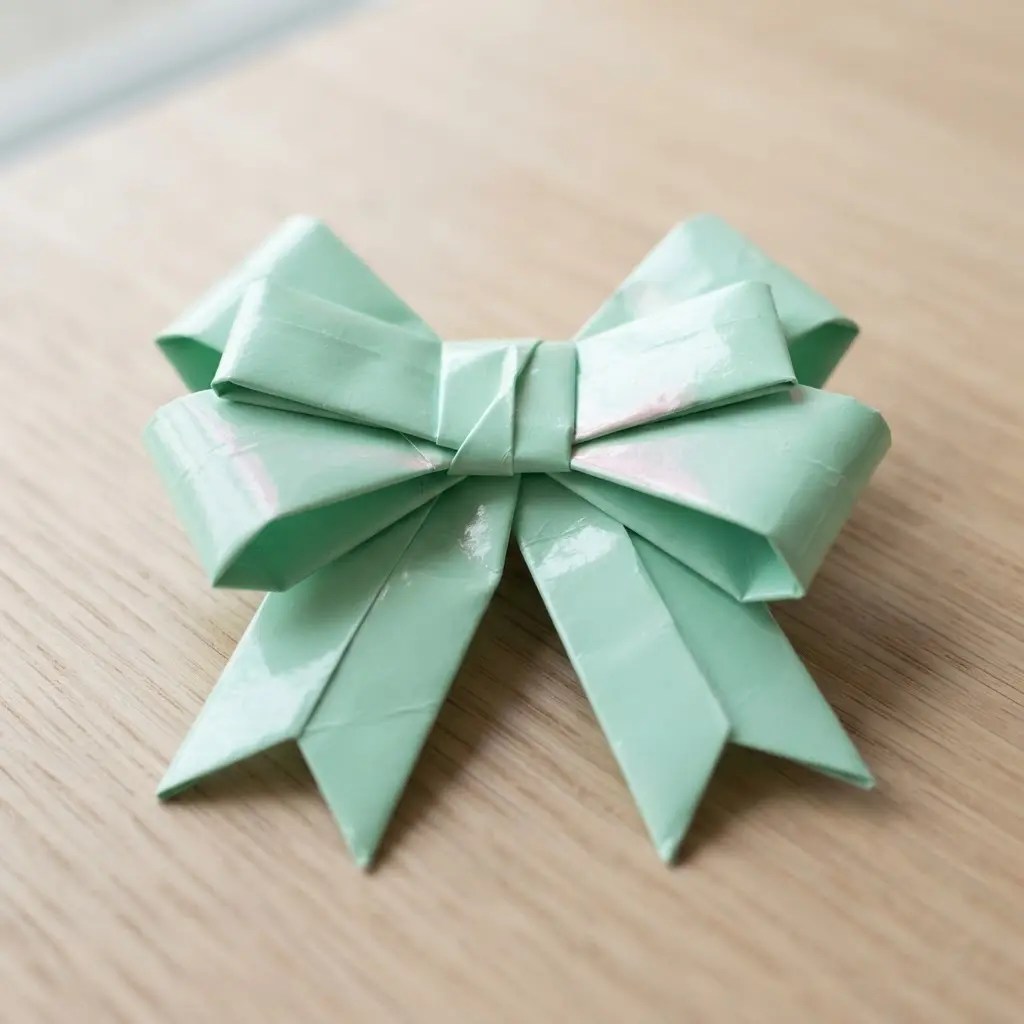
Doesn’t a glossy ribbon feel more special? This is my absolute favorite for making a gift look thoughtful and elegant without a lot of fuss. You start with a length of satin ribbon in a soft color like lavender or mint. Wrap it crosswise around your box, making sure the shiny side faces out. Tie a simple bow right on top, fluffing the loops and trimming the tails at an angle.
That glossy finish catches the light beautifully, turning a simple pastel into something truly lovely. I love how it feels both playful and polished. Before you wrap your next holiday gift, you might want to browse some creative Christmas ornament ideas for coordinating your whole festive theme.
Securing Finished Bows To Gift Surfaces
A small dot of clear-drying craft glue applied to the flat back of your bow center provides a strong, permanent hold on any wrapped gift. Avoid using sticky tape, as it often fails to adhere to the paper’s surface and can leave a visible residue. Press the bow firmly onto your gift wrap for about thirty seconds to let the adhesive bond properly. For a temporary option you can remove later, a tiny piece of reusable adhesive putty works well. This final step locks your beautiful paper folding creation in place, so your handmade decoration stays perfect until the gift is opened.
Conclusion
The real magic of these projects is how a few precise folds can turn a flat piece of paper into something with personality and dimension, ready to add your personal touch to a gift or card. As you try these easy origami bow ideas, remember that the best paper to start with is one you love—a favorite color or pattern will make the process even more enjoyable. Keep your creases sharp and your pace relaxed. The perfect bow is not the one that looks flawless under a microscope, but the one that brings a smile to your face when you place it on your project.
FAQs
Q: What is the best paper for beginner origami bows?
A: Standard origami paper is ideal to start. It is thin enough for crisp folds but strong enough to hold its shape. Avoid very thick cardstock for your first attempts, as it can be difficult to crease neatly.
Q: Do I need any special tools to make these?
A: Your hands are the main tool. A bone folder or the back of a spoon can help create sharp, professional-looking creases, but it is not required. A flat, hard surface to work on is helpful.
Q: Can I use these bows on greeting cards?
A: Absolutely. Many of these designs, especially the flatter ones, are perfect for adding a dimensional element to handmade cards. Use a strong glue dot or double-sided tape to secure them.
Q: How do I keep my bow from unfolding?
A: Take your time with each fold, pressing firmly along the entire crease. For bows that have interlocking parts, a tiny dot of glue on the final tuck can provide extra security without being visible.
Q: Where can I find patterned paper for these projects?
A: Craft stores, stationery shops, and online retailers offer a huge variety. Look for packs of origami paper or lightweight patterned scrapbook paper. Even pages from old magazines or books can create unique bows.








