

Critical Fabric Selection for Durable Table Settings
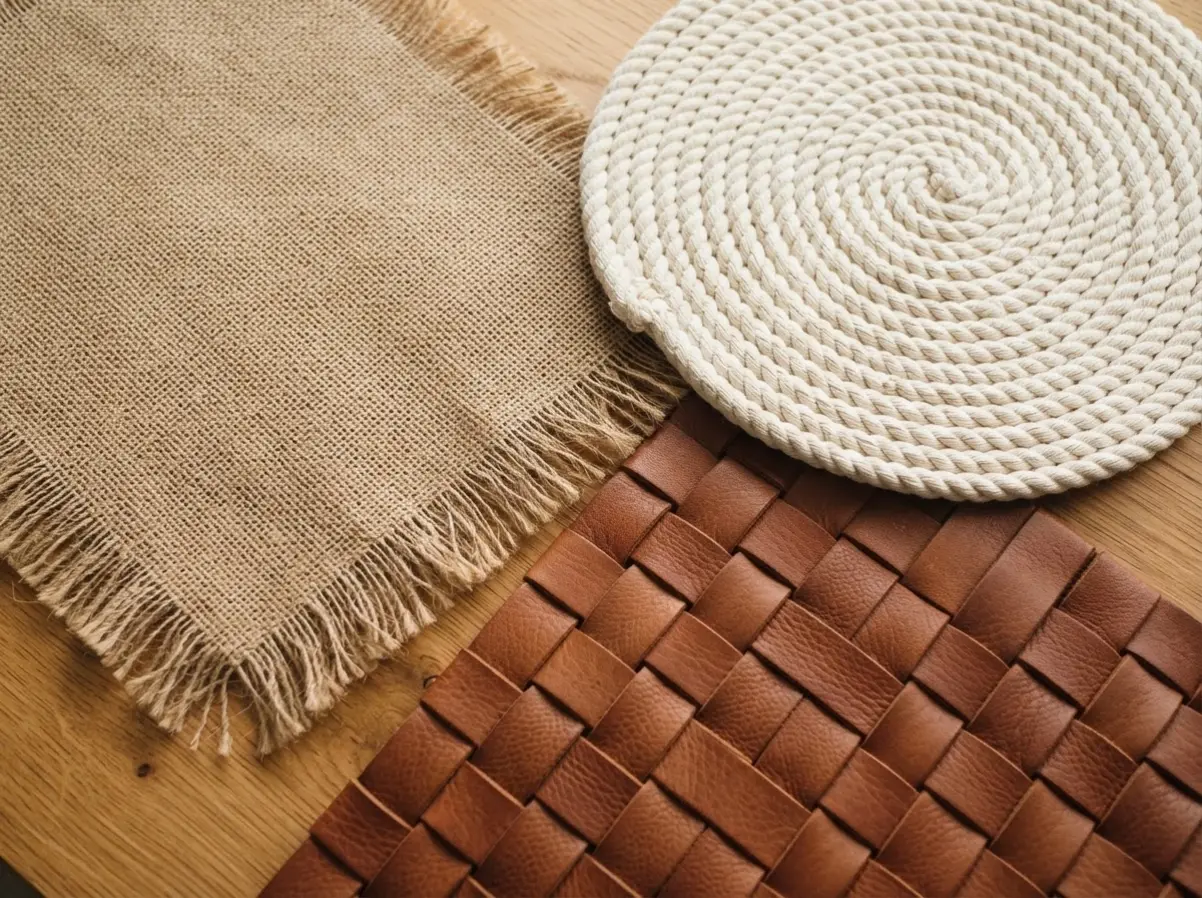
The secret to a mat that won’t fray apart after one wash is choosing the right texture from the start. Burlap has a rustic charm and its loose weave works beautifully for controlled edges, but you must seal it first. Sleek faux leather gives a modern look and its synthetic edges never unravel, making it a fantastic pick for DIY no sew placemats. For cotton prints you love, a fusible bonding web is your best friend for creating crisp hems. Trust me, taking five extra minutes to match your material saves you from a messy project later.
Essential Adhesives and Precision Cutting Tools
Your choice of adhesive determines whether your table setting feels soft and pliable or stiff. For most woven fabrics, a thin line of liquid fabric glue along the hem gives a flexible hold that survives daily use. Fusible webbing, that iron-on tape, is the standard for turning under edges for a pristine finish on DIY no sew placemats. The real trick is using a rotary cutter with a fresh blade and a quilting ruler to get perfectly straight cuts. Cutting off-grain might not seem like a big deal, but it causes shapes to warp after cleaning.
1. Rustic Burlap Fringed Edge Placemat
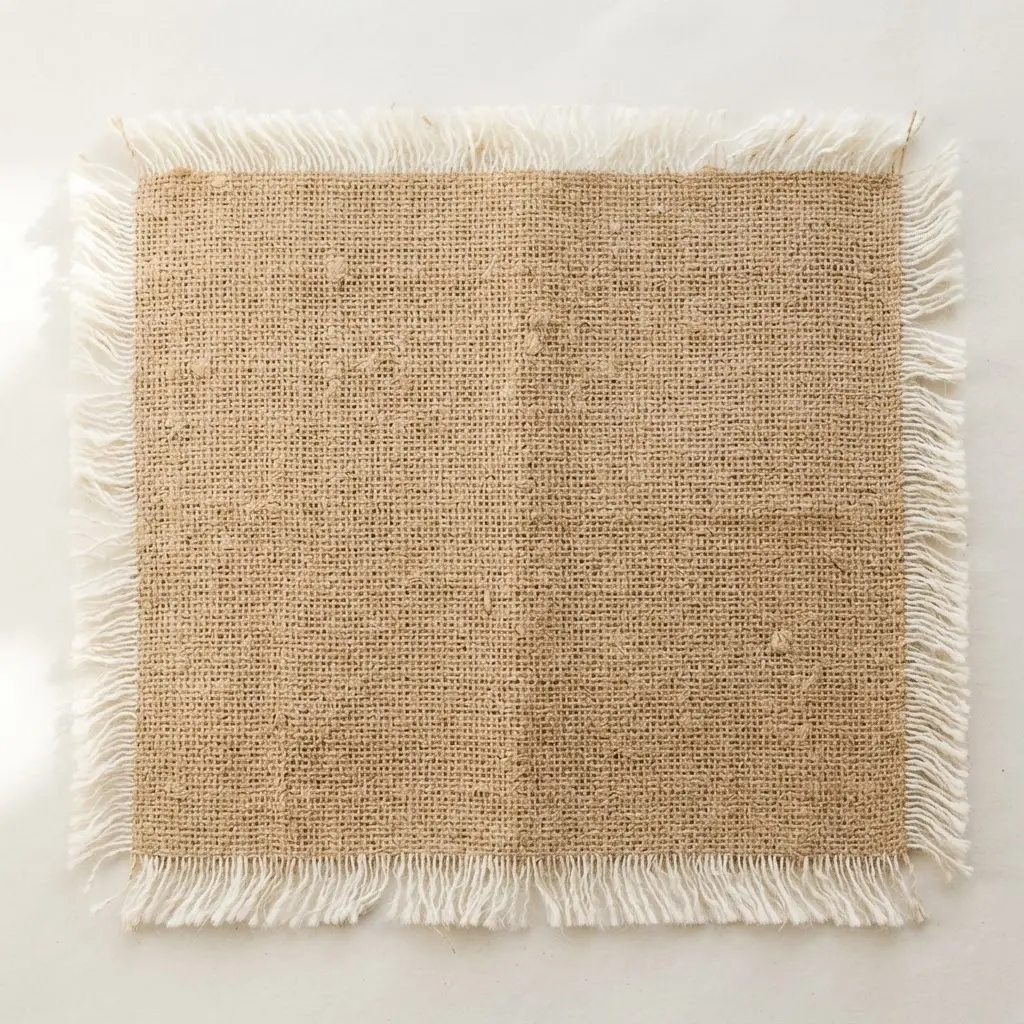
Ever wondered how to get that perfectly rustic, farmhouse look on your table without touching a needle? You start by cutting a simple rectangle of natural burlap fabric to your desired size. The magic happens when you patiently pull out horizontal threads along the edges to create that soft fringe. I love how the earthy color instantly warms up a dining space when creating DIY no sew placemats.
The key to a beautiful fringe is working slowly and pulling just a few threads at a time. This project is incredibly satisfying because you see the transformation happen right under your fingers while crafting your setup. Trust me, mastering this technique is a great first step if you are new to easy fabric ideas. Your finished mat will have a charming feel perfect for everyday meals or a cozy dinner party.
2. Geometric Patterned Canvas Adhesive Placemat
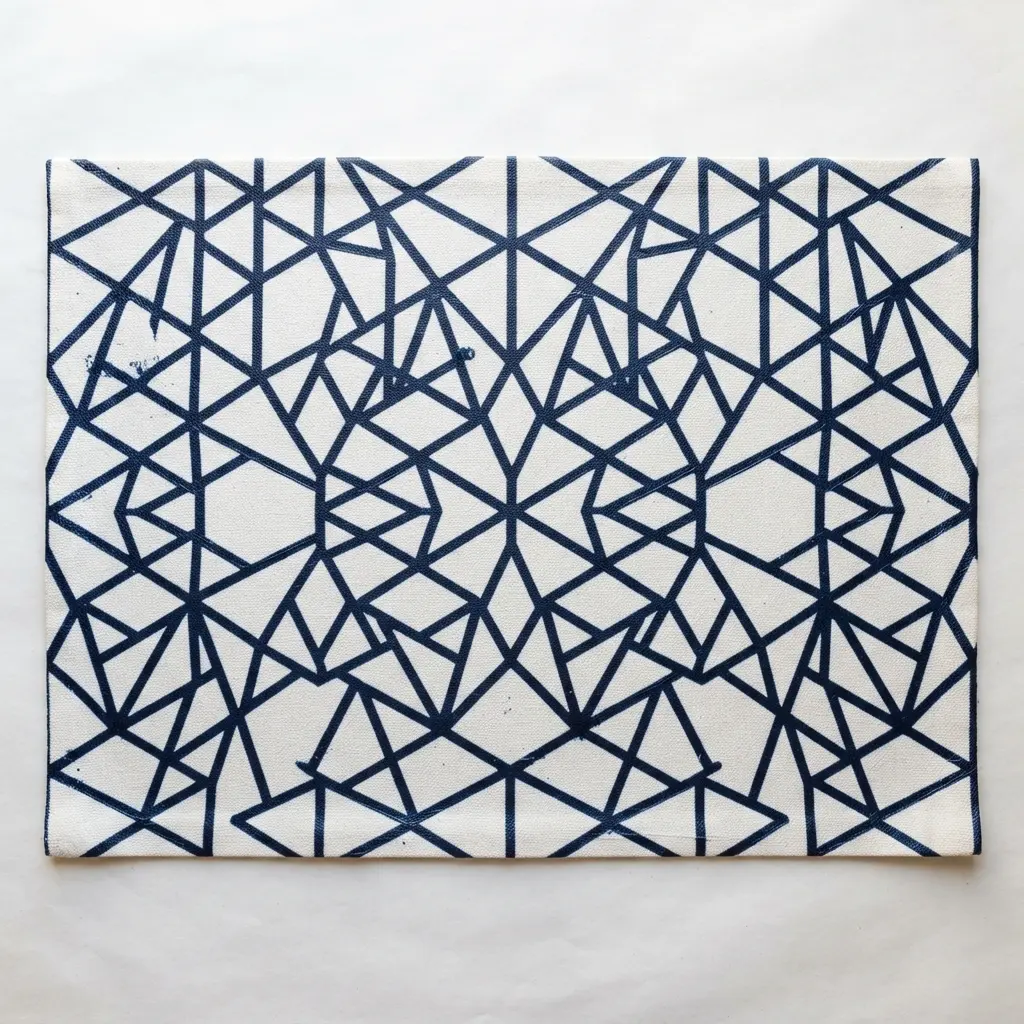
Have you ever wanted a setting that stays put without a single stitch? This is your answer. You start with a durable, textured material that wipes clean, featuring crisp geometric patterns like stripes or chevrons. The magic is in the adhesive backing for these DIY no sew placemats. You simply peel and press it onto your clean table for a perfect non-slip hold.
I love this because it solves the sliding mat problem instantly. It adds a modern, graphic touch to your table while protecting it from spills and heat. For the best results, take your time smoothing it on from one edge to the other to avoid any pesky air bubbles. If you enjoy working with textiles, you might find similar satisfaction when designing DIY no sew placemats. The process of cutting and applying materials keeps your dining surface safe and sharp.
3. Braided Cotton Rope Spiral Placemat
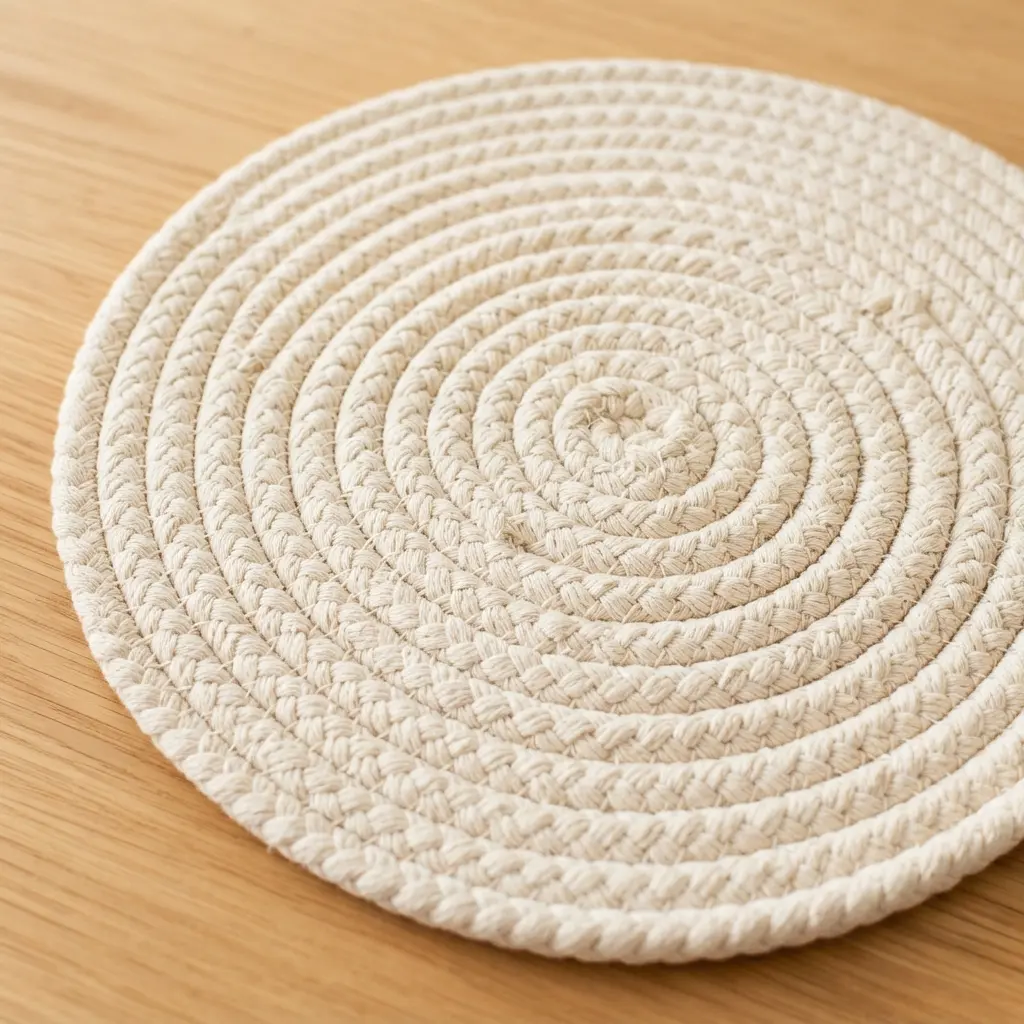
Ever wondered how to add texture and warmth in one go? You start with a long piece of braided cotton rope, coiling it tightly from the center outwards to form a flat shape. I love how the natural fiber shows through as the design builds. As you create each coil, you secure it in place with strong glue for a completely secure hold that makes this a standout among DIY no sew placemats.
It works so well because braided material is naturally durable and absorbent. The key to a neat finish is applying a consistent line of glue between each ring to ensure everything stays perfectly flat. You can even get creative with finishing touches by incorporating tape into crafts for a clean edge or a pop of color.
4. Reversible Denim Hemmed Table Mat
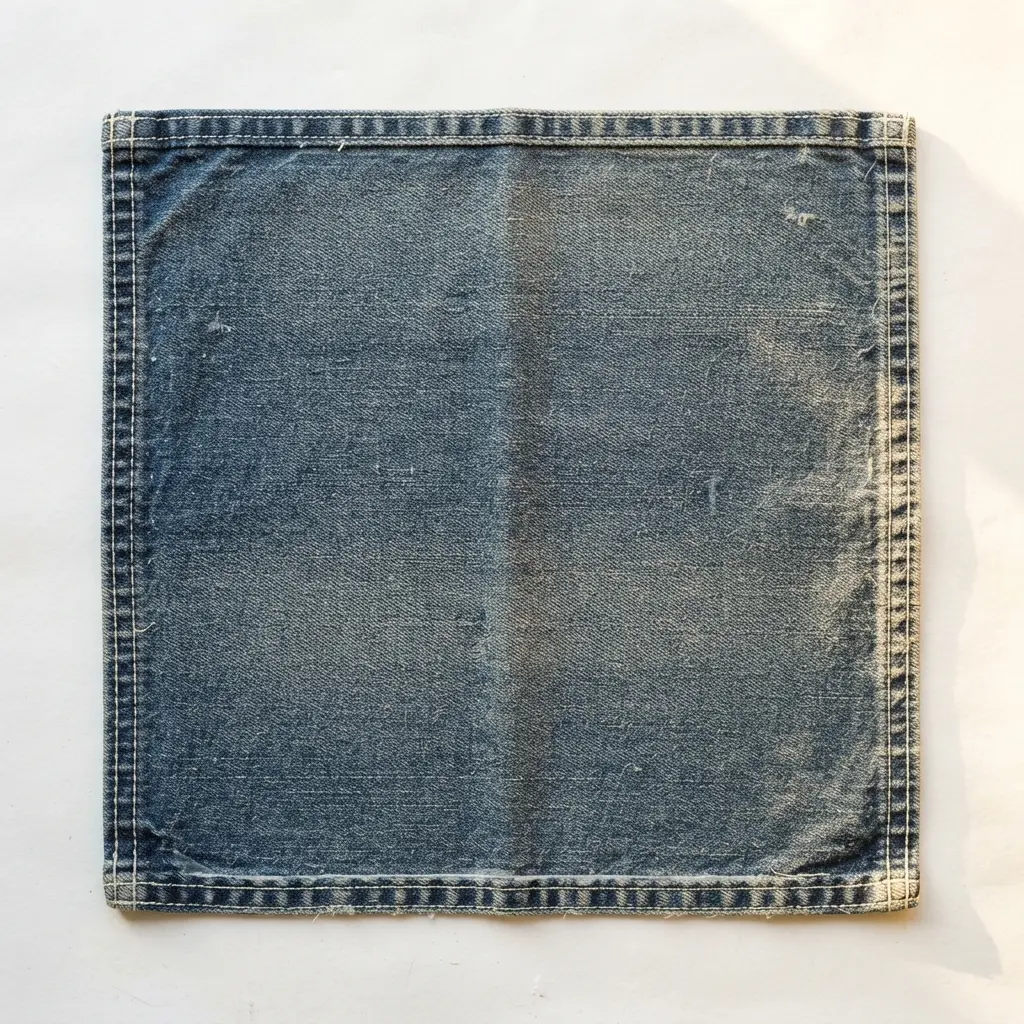
Ever feel like you want to change your table’s look without buying a whole new set? This reversible piece solves that perfectly. You get two distinct looks from one durable item, and it is surprisingly simple to put together. I love how you can pair a classic dark denim side with a bright printed cotton for a fun flip. The trick is in the clean finish, which you achieve with a double-fold hem to hide all raw edges for DIY no sew placemats.
Why does this approach succeed so well? Denim is tough enough for daily meals, but the reversible feature lets you match your mood or the occasion instantly. A crucial tip is to always pre-wash your fabric before you start cutting to prevent shrinks. Mastering this is a great step before tackling more complex ideas. Trust me, flipping it over to reveal a new pattern is fantastic. Feel that clever, customizable pride every time you set the table using sturdy DIY no sew placemats for your meals.
5. Floral Linen Felt Backed Placemat
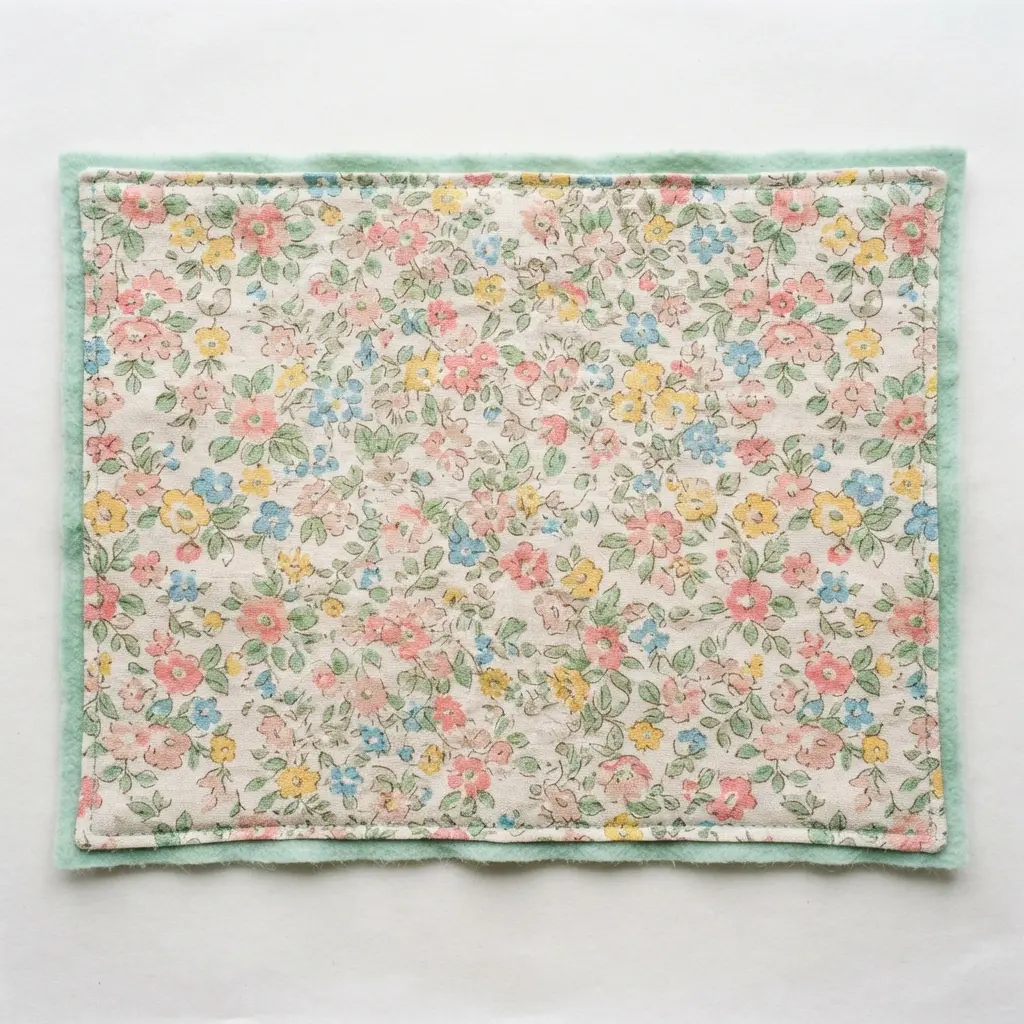
This is one of my favorite projects for instantly upgrading a table. You get the beautiful texture of linen with a soft felt backing that protects wood from scratches. The floral pattern adds such a personal touch, and honestly, it is so simple to make. Just cut your pieces to the same size, iron them flat, and apply a thin layer of fabric adhesive to one surface to assemble elegant DIY no sew placemats.
Press them together carefully, smooth out any bubbles, and let the bond cure fully. The backing gives it the perfect weight and grip, making it feel much more substantial than a single layer. If you love this project, you will find more inspiration in festive holiday craft ideas for your home. Does that not look elegant on your dining table?
6. Woven Leather Strip Modern Placemat
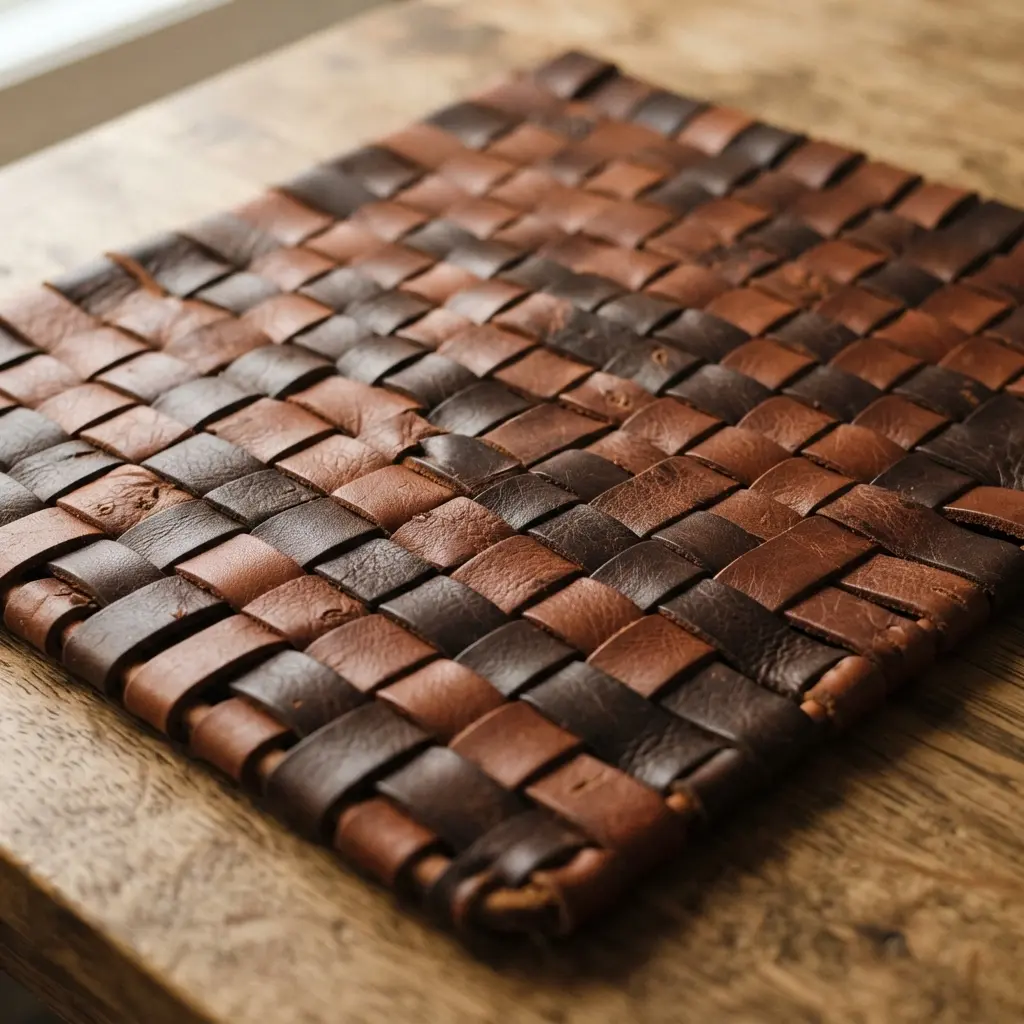
Ever wondered if you could make something that looks high-end without any stitching? You cut leather into strips and weave them together in a simple basket weave pattern. I love how the natural material gives it an instant sophisticated feel. This weaving technique produces incredibly durable DIY no sew placemats that elevate your dining area instantly.
The beauty is in the durability and ease of maintenance. You simply wipe it clean with a damp cloth, and it protects your table beautifully. Try this project and feel that satisfying, modern upgrade at your next meal. The clean lines and sturdy construction will impress anyone sitting down to eat.
7. Botanical Print Pressed Edge Placemat
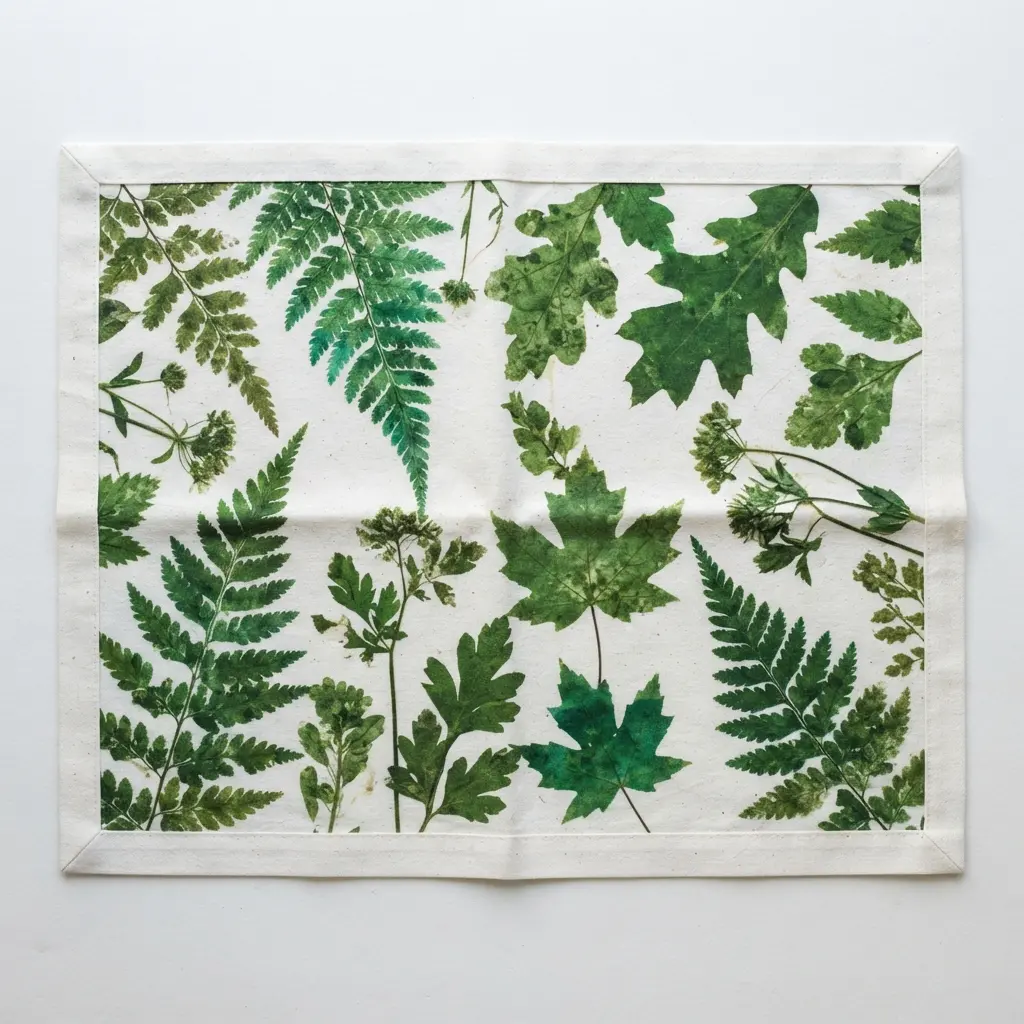
This one looks so elegant and finished, doesn’t it? The secret is in that crisp, clean border. Your pressed edge isn’t sewn at all. It is usually created with heat that seals the material, preventing any fraying and giving it a modern finish for your DIY no sew placemats.
Your botanical print does all the talking, bringing a little garden to your table. You get a gorgeous, functional piece that protects your surface and is super easy to clean. For more projects that use fabric in clever ways, you need a solid foundation in crafting with fabric and bias tape. Feel that fresh, natural vibe every time you sit down to eat.
8. Neutral Jute Twine Wrapped Placemat
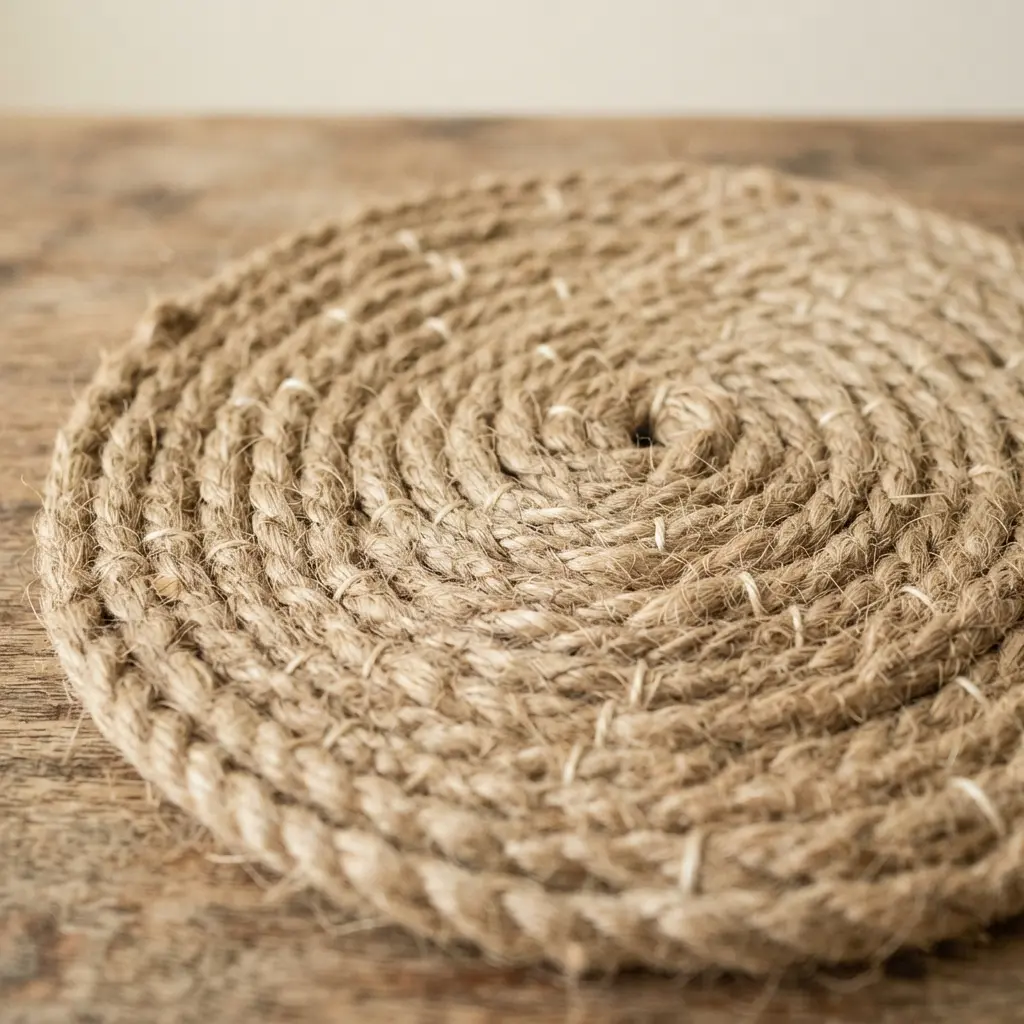
Ever thought a setting could feel so earthy and organic? This one is a textural delight that looks far more intricate than it actually is. You simply start by coiling your jute twine from the center outwards, securing each ring as you go. I love how this method naturally builds a perfect, self-finished edge while creating simple DIY no sew placemats.
It works so well because that neutral, rustic texture adds instant warmth to any table. It pairs beautifully with everything from simple white dishes to bold ceramics. For a fun twist, you could even add some decorating with no-sew fabric paint to the finished coils. Trust me, you will adore the handmade, cozy feel these bring to your dining space.
9. Velvet Trimmed Cotton Canvas Placemat
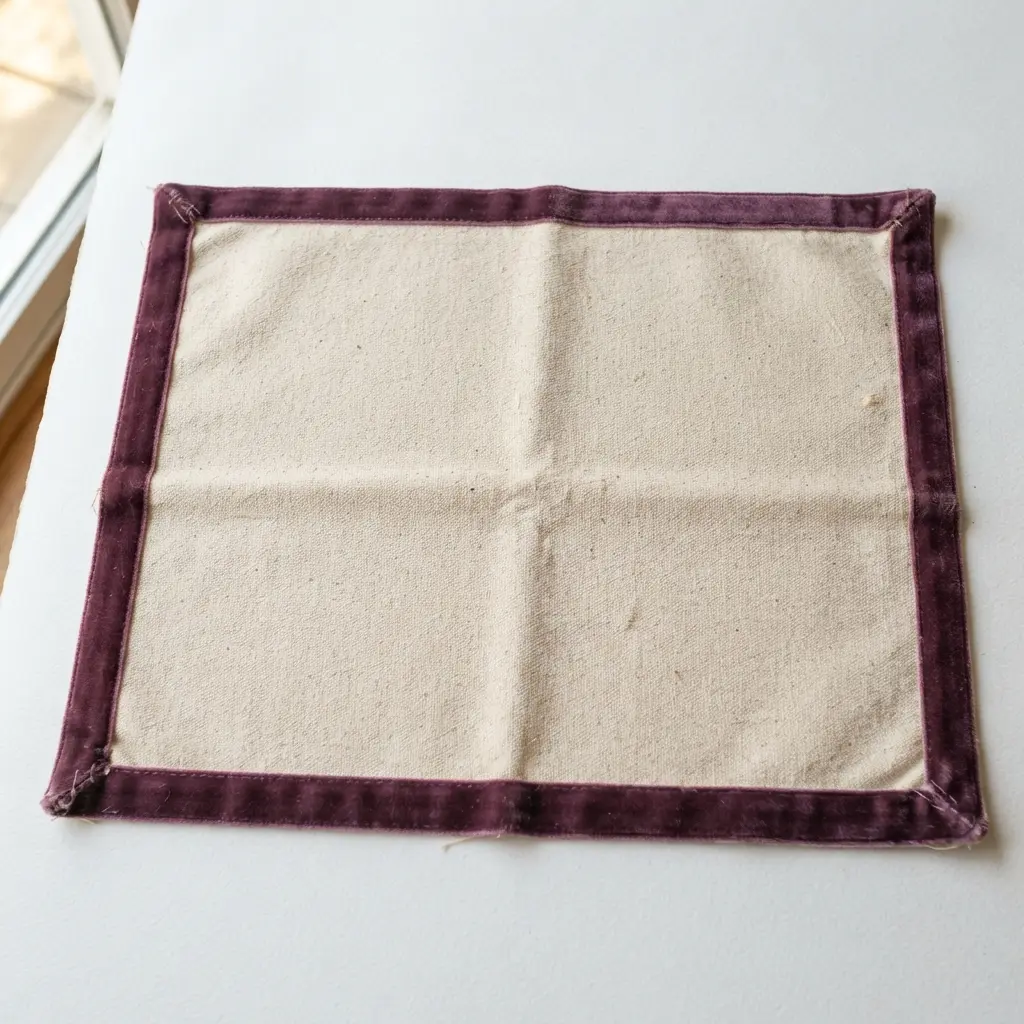
This one surprised me with how easy it is to make something look so elegant. You start with a sturdy piece of cotton canvas cut to your preferred size. Then, you carefully attach a strip of soft velvet along all the edges using a strong fabric adhesive, creating that gorgeous textured border.
I love this project because it mixes practical durability with a touch of luxury. The contrast between the matte fabric and the rich, shimmering trim instantly elevates your table setting. For a clean finish, use fabric clips to hold the trim perfectly in place before securing it. This project is perfect for those wanting to create something special without a single stitch.
10. Buffalo Check Flannel Raw Edge Mat
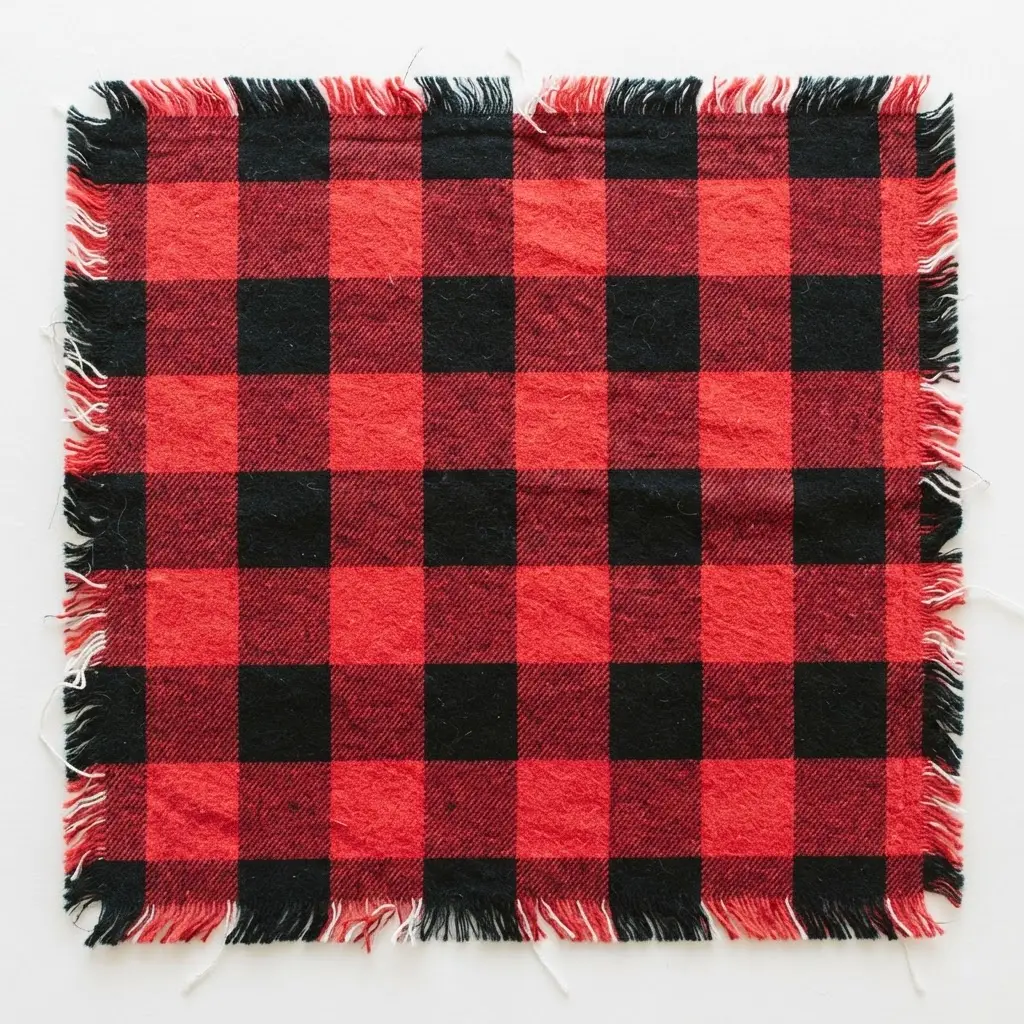
This one looks so cozy and finished, but the secret is it’s incredibly simple. You just need a piece of Buffalo check flannel fabric and a sharp pair of fabric scissors. Measure out your desired size, cut it straight, and you are basically done. The raw edges are intentional, giving it that rustic, casual charm as they soften with use.
I love how this mat works because it combines a timeless pattern with the warmth of flannel and a relaxed finish. It is perfect for adding a touch of farmhouse style to your table without any sewing. If you are working with little ones, this is a fantastic first project to try alongside some simple seasonal crafts. My top tip? Use a rotary cutter and mat for the cleanest lines, then enjoy that wonderfully soft texture.
Surface Protection and Long Term Maintenance Tips
A quick spray of fabric sealant is the only thing standing between your beautiful linen piece and a threadbare mess. This step locks in those intentionally frayed edges so they stay chic and don’t keep unraveling in the laundry. For a fully bonded piece made with webbing, a protective clear acrylic sealer adds a wipeable top layer that repels spills. Always check your adhesive label for wash instructions before tossing your creation in the machine.
Most liquid glues are spot-clean only, while some fusible products can handle a gentle cycle, so this decision impacts your long-term ease. Following these care guidelines ensures your handmade table decor stays vibrant for many gatherings. Proper maintenance extends the life of your setup and keeps daily dining routines hassle-free.
Conclusion
The best part about making your own table settings is how they reflect your personal style in a space you use every day. Each of these DIY no sew placemats projects starts with that simple goal: to make something beautiful and functional with your hands. My advice is to pick the idea that makes you smile first, gather your materials, and give yourself permission to enjoy the process. The table will look wonderful, but the real reward is in the making. I hope one of these ideas becomes your next favorite project.
FAQs
Q: What is the best fabric glue for no-sew placemats?
A: Look for a permanent, clear-drying adhesive that is washable. These hold strong through daily use and routine cleaning. Test it on a fabric scrap first to ensure it does not bleed or stain your final piece.
Q: Will no-sew placemats hold up in the wash?
A: They hold well with proper care. Use durable fabrics and high-quality bonding agents. Hand washing or a gentle machine cycle is best, and always lay them flat to dry to prevent warping.
Q: Do I need to pre-wash my fabric?
A: Yes, pre-washing is important. It prevents the material from shrinking later, which could warp your finished design. Wash and dry it as you normally would before you start your project.
Q: Can I use an iron-on adhesive with any fabric?
A: Most woven textiles work well, but check the product instructions carefully. Avoid materials that cannot handle heat, like certain plastics or delicate synthetics. A medium-weight cotton or linen is ideal.
Q: How do I stop the edges from fraying without sewing?
A: Use materials like felt or bonded leather that do not unravel naturally. For woven options, apply a thin line of clear fabric glue along the raw boundary, use pinking shears, or embrace a controlled frayed aesthetic.








