Selecting Optimal Egg Forms for Decorating
The best egg form for your family depends entirely on whether you want a delicate keepsake or a durable toy you can reuse year after year. If you have younger kids or want a sturdier result for your tissue paper easter egg crafts, plastic, foam, or paper mâché eggs are your friends. These forms hold up to enthusiastic little hands and let you build a collection you can bring out every Easter. Your choice here sets the stage for everything that follows, so pick the one that matches your crew’s energy level.
Preparing Adhesive Mixtures for Smooth Application
A simple mix of three parts white PVA glue to one part water creates the perfect decoupage medium that dries clear and holds tight. The good news is this homemade mixture works perfectly for tissue paper easter egg crafts, saving you a trip to the art store. You want a consistency that is thin enough to brush on smoothly but thick enough to grab the paper without soaking it. The trick is to mix it in a small bowl and give it a good stir right before you start working. That light, milky texture is what you are looking for. Using this ratio prevents the oversaturation that causes colors to bleed and the paper to disintegrate, which is the number one frustration we want to avoid. Keep a soft synthetic brush handy for applying it in gentle, dabbing motions.
1. Stained Glass Mosaic Decoupage Egg
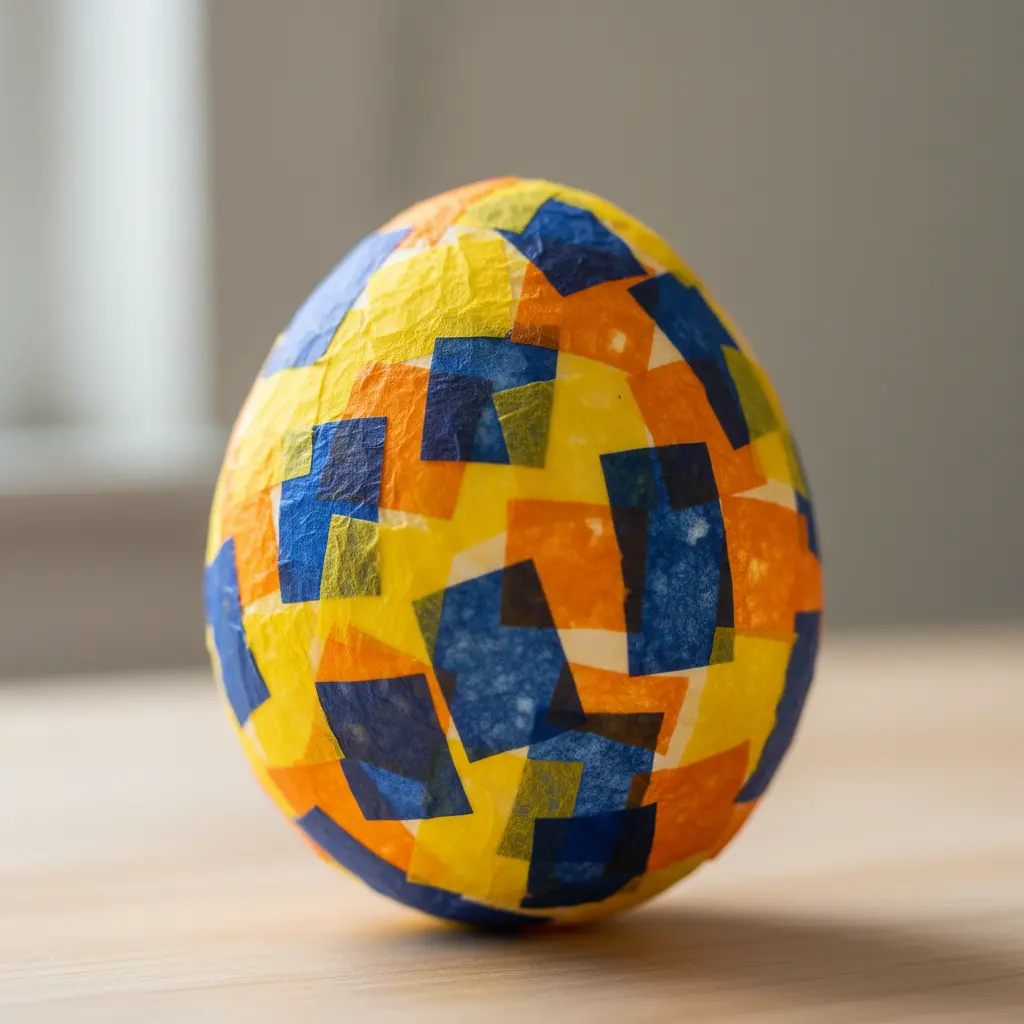
Who would have thought this medium could look so sophisticated? This project transforms those flimsy sheets into a beautiful, jewel-toned egg that catches the light. You simply cut the paper into small, irregular shapes and layer them onto your egg form using a classic tissue paper easter egg crafts approach with gloss Mod Podge. Work in small sections to avoid wrinkles, letting each area dry before you rotate it on a skewer. I love this one because the translucent paper and glossy finish truly mimic real stained glass. The final step is applying a few more coats of Mod Podge to seal everything in. Your finished piece will have a gorgeous, smooth surface that feels as elegant as it looks.
If you enjoyed decorating Easter eggs with watercolors, you will find this method offers a completely different, vibrant texture. Trust me, seeing the light shine through your finished mosaic egg is incredibly satisfying.
2. Pastel Crinkled Paper Texture Egg
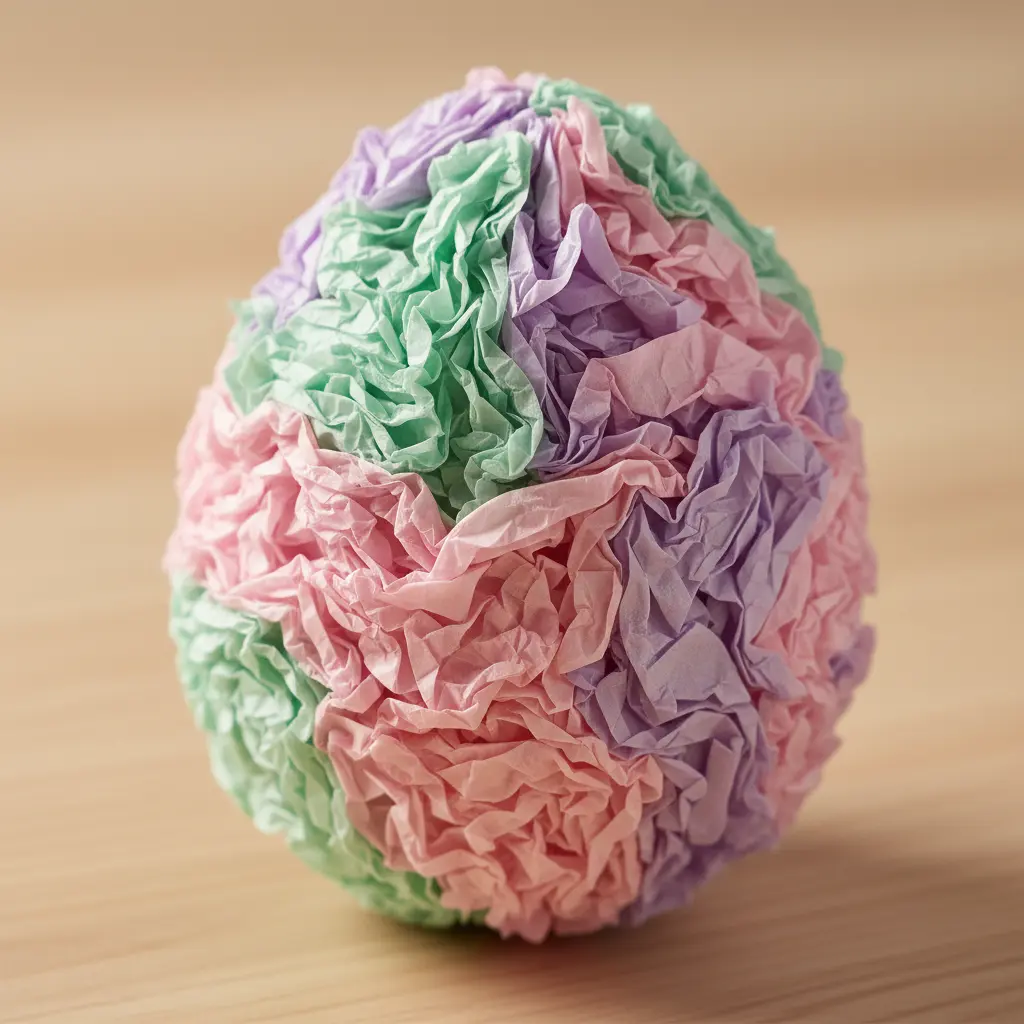
Who would have thought a simple crinkle could add so much character? This technique brings wonderful charm to tissue paper easter egg crafts, and it is my favorite method for delicate designs. You will start by tearing your pastel tissue paper into small pieces, then gently crumpling each one before smoothing it out. Working in small sections, brush a layer of adhesive onto your egg base, press a crinkled piece into place, and then brush more adhesive right over the top. The overlapping layers build a beautiful, textured surface. It works so well because the crinkles catch the light and hide any little imperfections, making the process wonderfully forgiving.
Before you begin, I always recommend reading up on unique gold dipped newspaper eggs for another great way to add vintage texture to your decor. For this project, just ensure each piece is thoroughly saturated and pressed flat to really make that crinkled paper texture pop.
3. Bleeding Tissue Watercolor Effect Egg
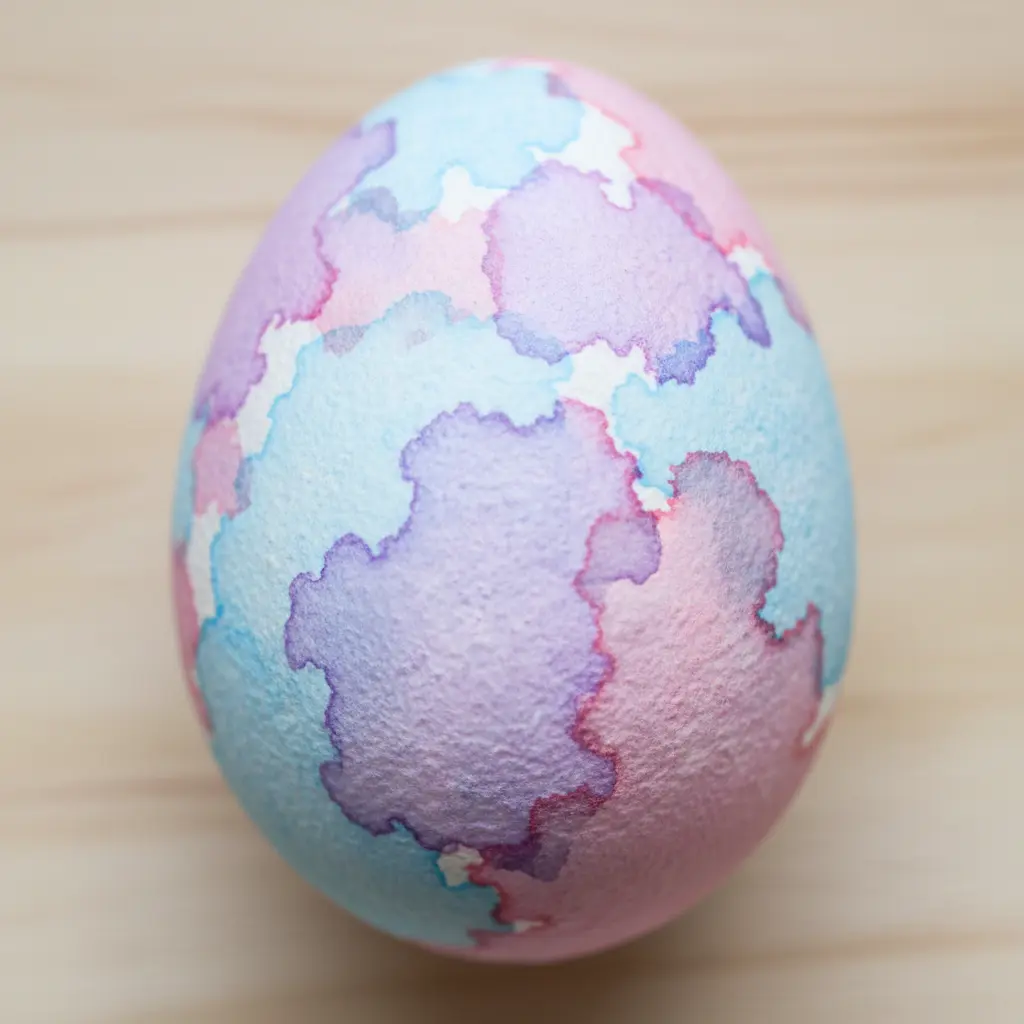
Ever wondered how to get that soft, painterly wash without any paint? This bleeding dye method makes tissue paper easter egg crafts feel completely magical. You simply wet pieces of bleeding art tissue paper and press them onto your egg. The dye seeps out, creating gorgeous blended patterns. It feels like a happy surprise every time you peel the paper away. I love this for its accessibility. It works beautifully on wooden craft eggs for permanent decorations, and the results are always unique. Feel that creative rush when your entire collection finally comes together.
For a different kind of metallic shine, you could even pair this technique with crafting beautiful golden Easter eggs later in your collection.
4. Metallic Gold Leaf Accented Egg
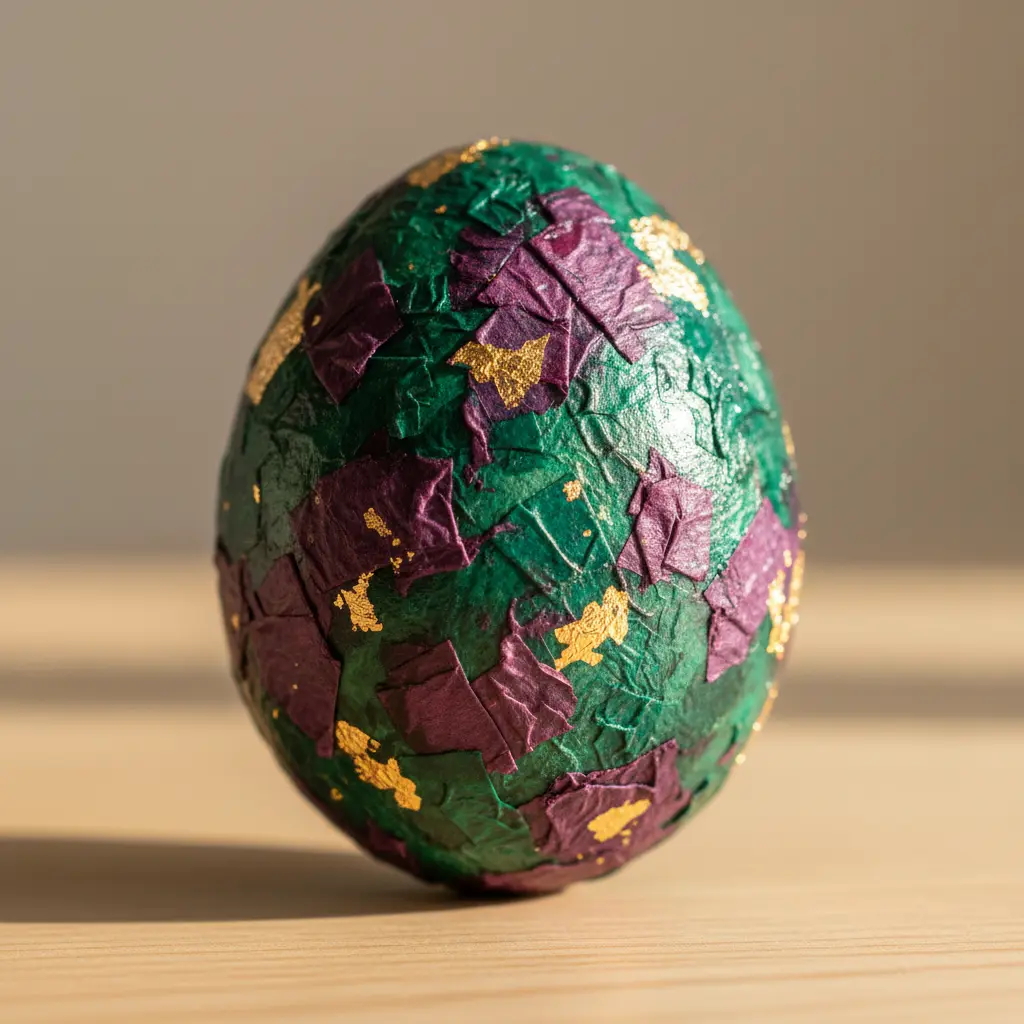
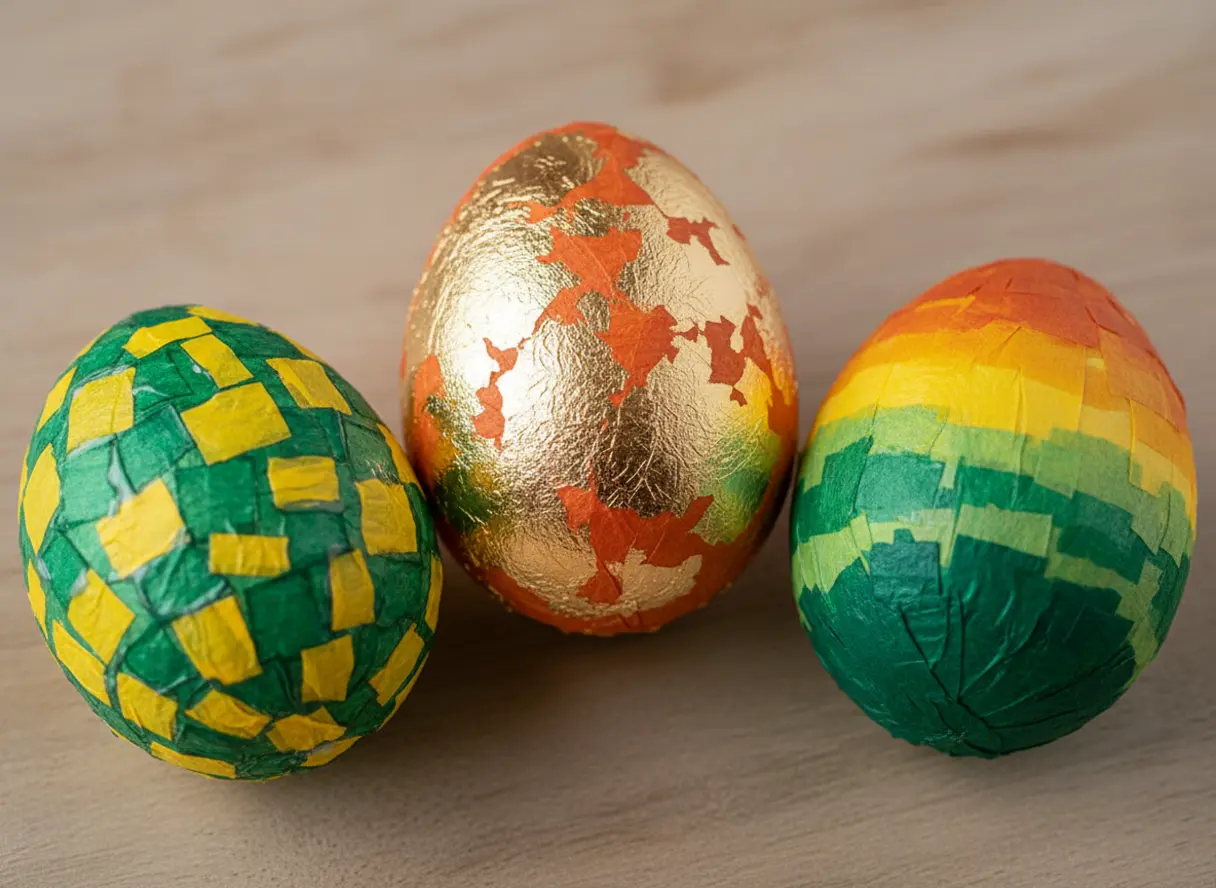
Who knew you could get such a luxe finish with a simple egg? This one looks like it belongs in a fancy shop, but the process is surprisingly approachable. You start by applying a thin layer of gilding size to your prepared egg, a core step for premium tissue paper easter egg crafts. Wait for it to get perfectly tacky, then gently lay on sheets of composition gold leaf. Use a soft, dry brush to press it down and dust away the excess flakes. The leaf lies so flat it looks like liquid metal. I love how this instantly elevates a plain egg into a centerpiece. It works because that shimmering metallic contrast is pure elegance, perfect for your holiday table.
Working with delicate materials like this means your prep work is key. A clean, stable base makes all the difference for a flawless finish. For another textural craft that uses a different wrapping technique, look at making some creative sock yarn wrapped eggs. Doesn’t that final, smooth gleam feel so satisfying?
5. Confetti Polka Dot Patterned Egg
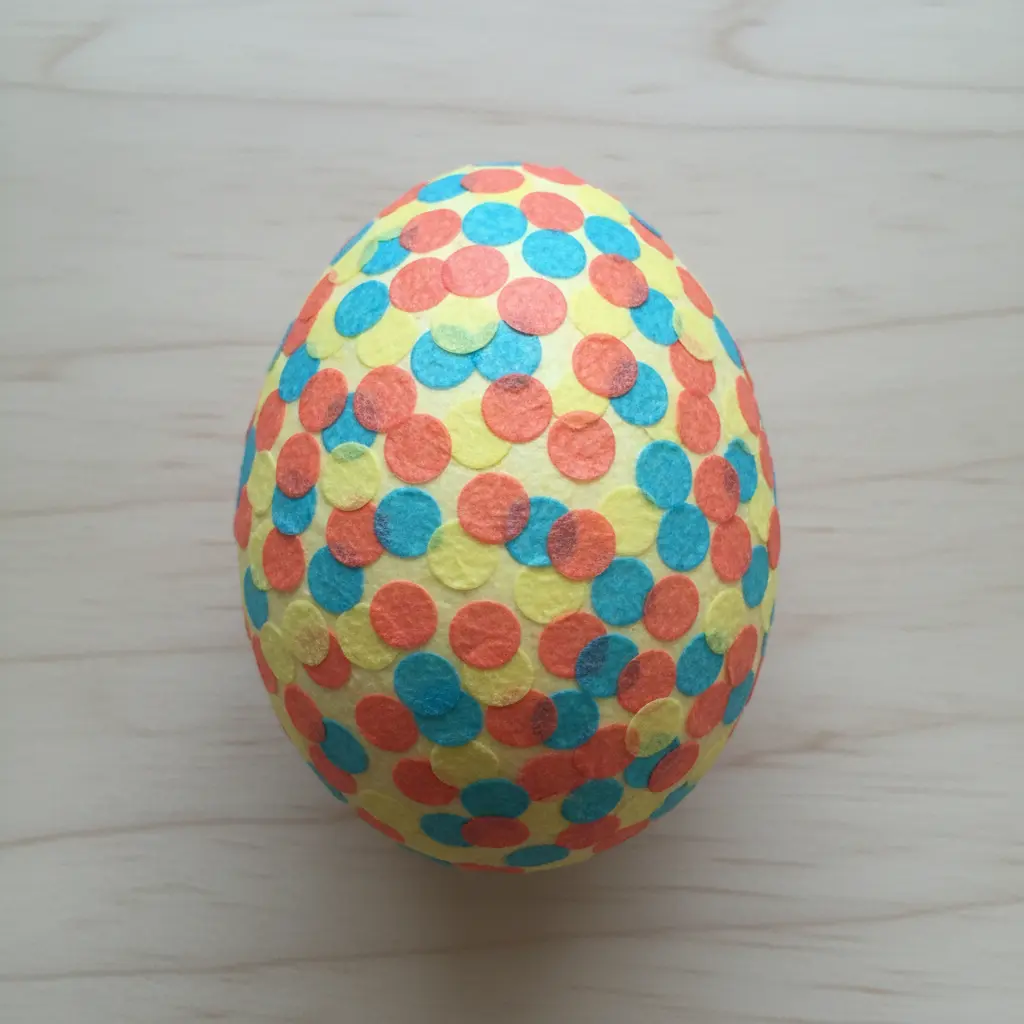
This confetti style looks so intricate, but trust me, it remains one of the most forgiving tissue paper easter egg crafts methods you will try. You simply load a small paintbrush with a bright color and tap it onto a light-colored egg to create dots. Keep adding dots in different sizes and colors, letting them overlap for that fun, festive confetti look. It works because the randomness is the whole point, so you cannot mess it up. I love using up leftover bits of acrylic paint for this project. The key is to vary your pressure for different sized dots and not worry about perfect spacing. Embrace the chaos and you will end up with a wonderfully vibrant decoration.
6. Monochromatic Layered Paper Stripe Egg
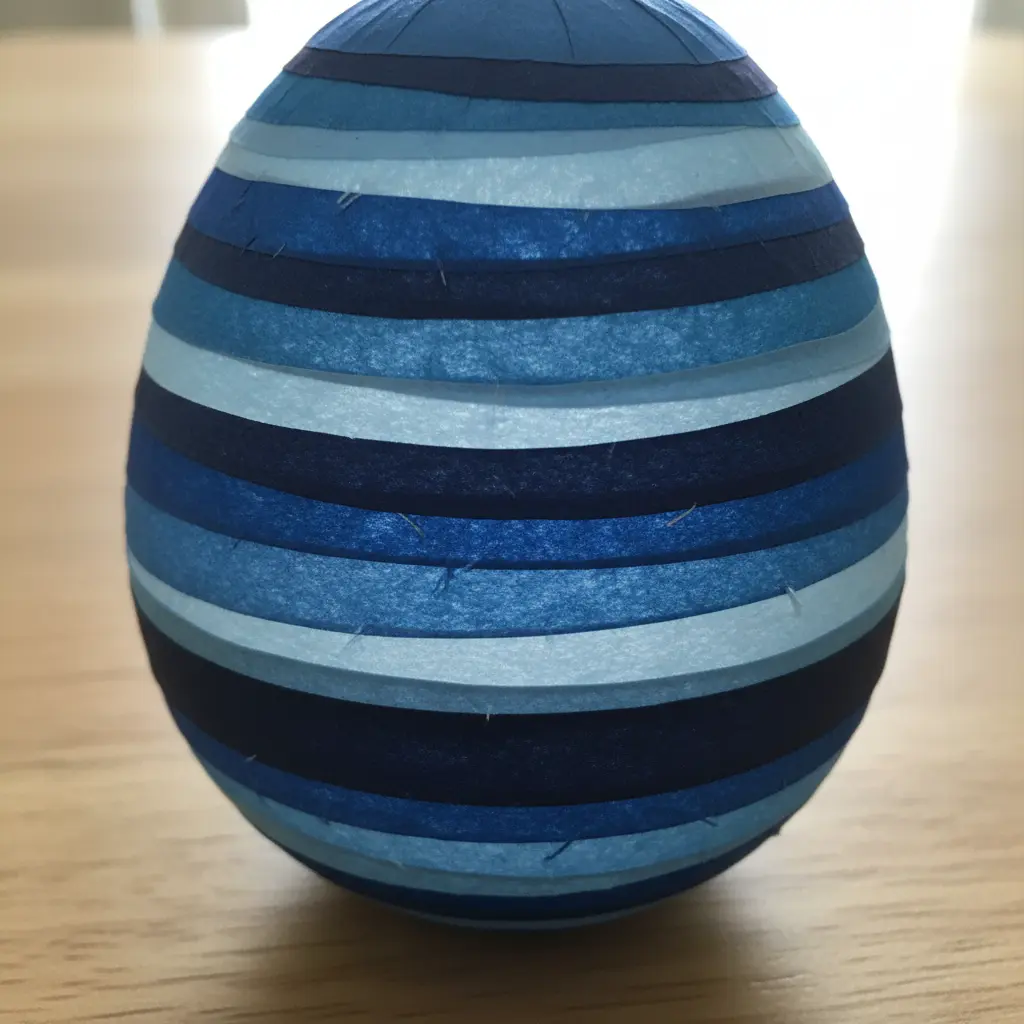
This striped approach looks incredibly detailed, but it remains one of the simpler tissue paper easter egg crafts to complete. You will layer strips of paper from a single color family, like all blues or greens, onto your egg. I love using a blown-out egg for this because it feels so solid and lasts forever. The strips build up to create a beautiful three-dimensional texture with a subtle gradient effect. Cut your paper strips with a craft knife for the cleanest, most uniform edges. Apply them with a thin layer of craft glue, working in small sections to prevent shifting. The monochromatic palette keeps the look modern and elegant, avoiding any visual clutter. Let each section dry fully before moving on.
7. Floral Petal Cutout Collage Egg
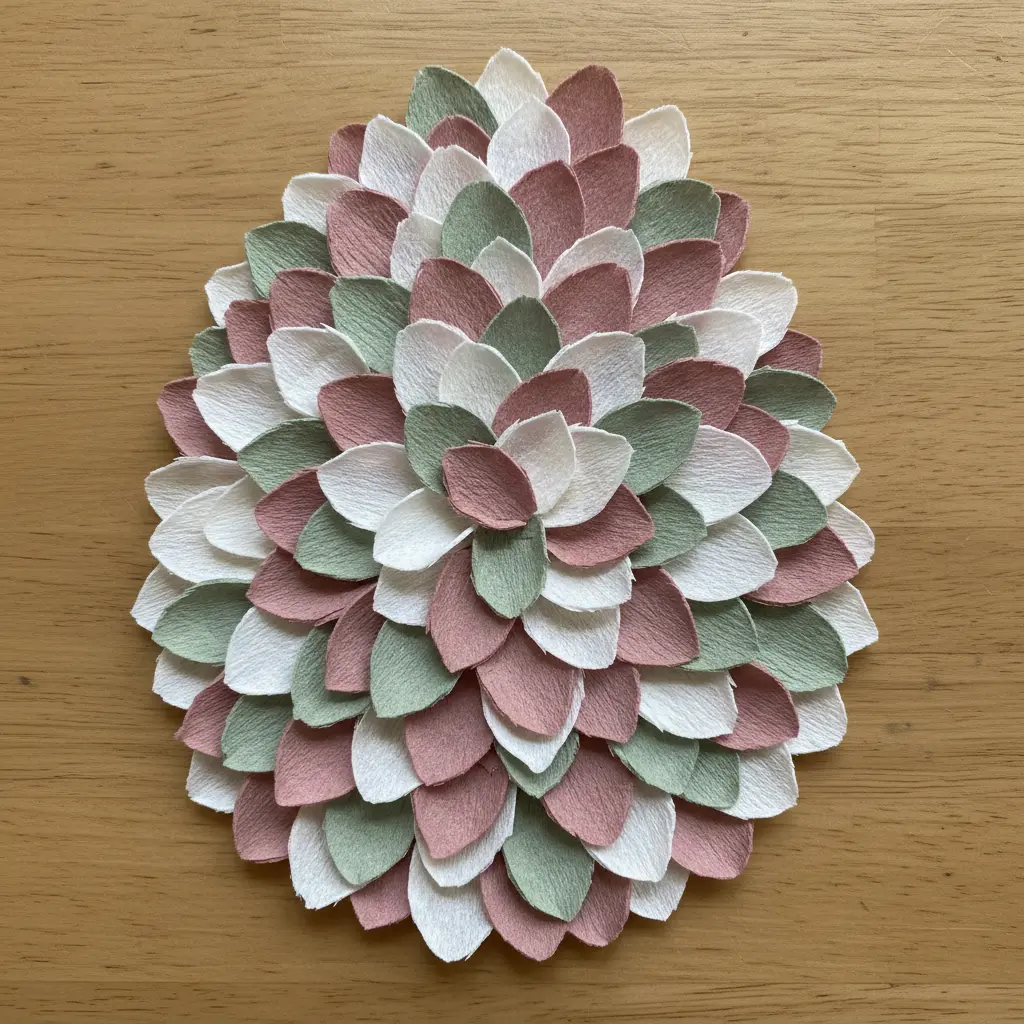
This one looks intricate, but trust me, it is wonderfully simple to pull off. You will be cutting small petal shapes from thin paper, then layering them onto your egg with Mod Podge to create a classic tissue paper easter egg crafts collage that feels like a delicate garden. Why does it work so well? The translucency of the paper creates beautiful depth as you overlap the petals. Getting the placement right is easier with a good pair of tweezers. This same careful, hands-on approach is perfect for creating charming Easter bunny art, where small details make all the difference. Feel proud when you see those floral patterns come together.
8. Ombre Gradient Tissue Layered Egg
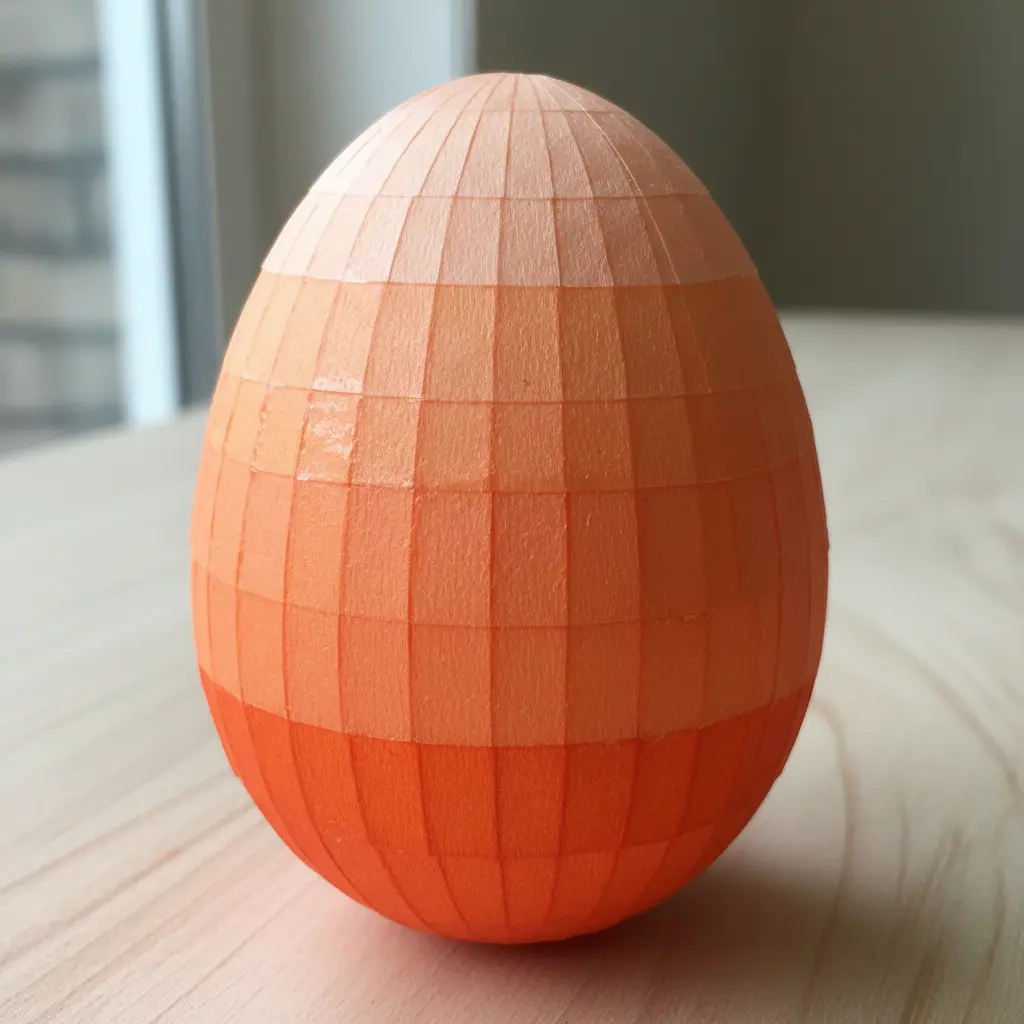
Ever wondered how to get that soft painterly blend without touching a brush? This gradient layering technique brings true depth to tissue paper easter egg crafts. You start at one end of the egg with the lightest shade and gradually work toward the darkest, overlapping the pieces as you go. The translucency of the material builds depth, making the color shift look seamless. Trust me, tearing the paper instead of cutting it gives you those beautifully soft, feathered edges that blend so naturally. It is a wonderfully tactile and forgiving process. If your kids are helping, this is a fantastic way to introduce color theory with a hands-on project, much like other easy spring crafts for kids.
9. Tropical Sunset Color Blend Egg
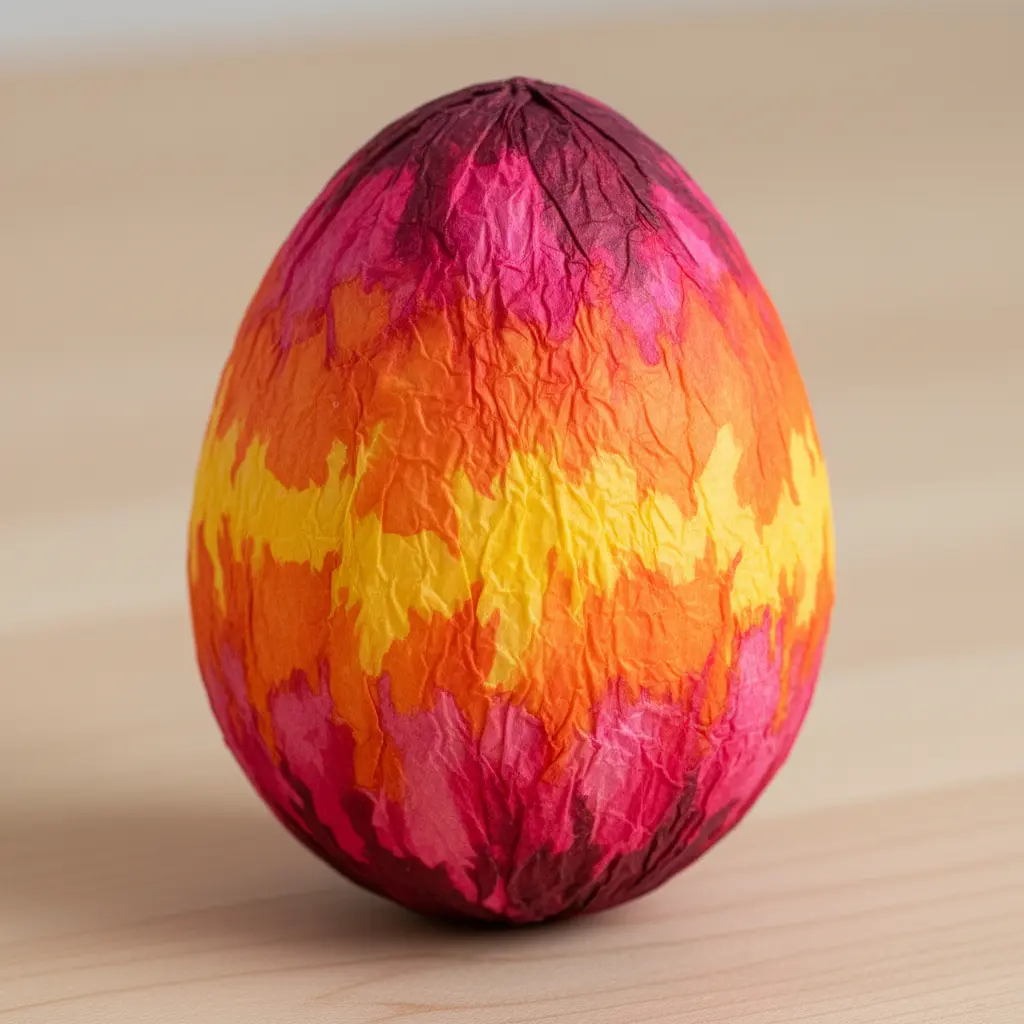
Ever wondered how to get those dreamy, seamless color gradients? This egg captures the magic of a tropical sunset, and trust me, it looks easier than it actually is. Start by applying your lightest dye first, like a bright yellow, to a section of the egg. Then, while that area is still damp, gently overlap your next color, blending the edges with a soft brush or sponge to create a smooth transition that elevates any tissue paper easter egg crafts project. Keep layering your sunset palette, moving from orange into deep pink and purple. The key is working wet-on-wet and not letting any harsh lines form. I love how this technique turns a simple egg into a tiny, vibrant piece of art. Once your gradient is dry, a glossy sealant makes the colors pop even more.
10. Black and White Graphic Print Egg
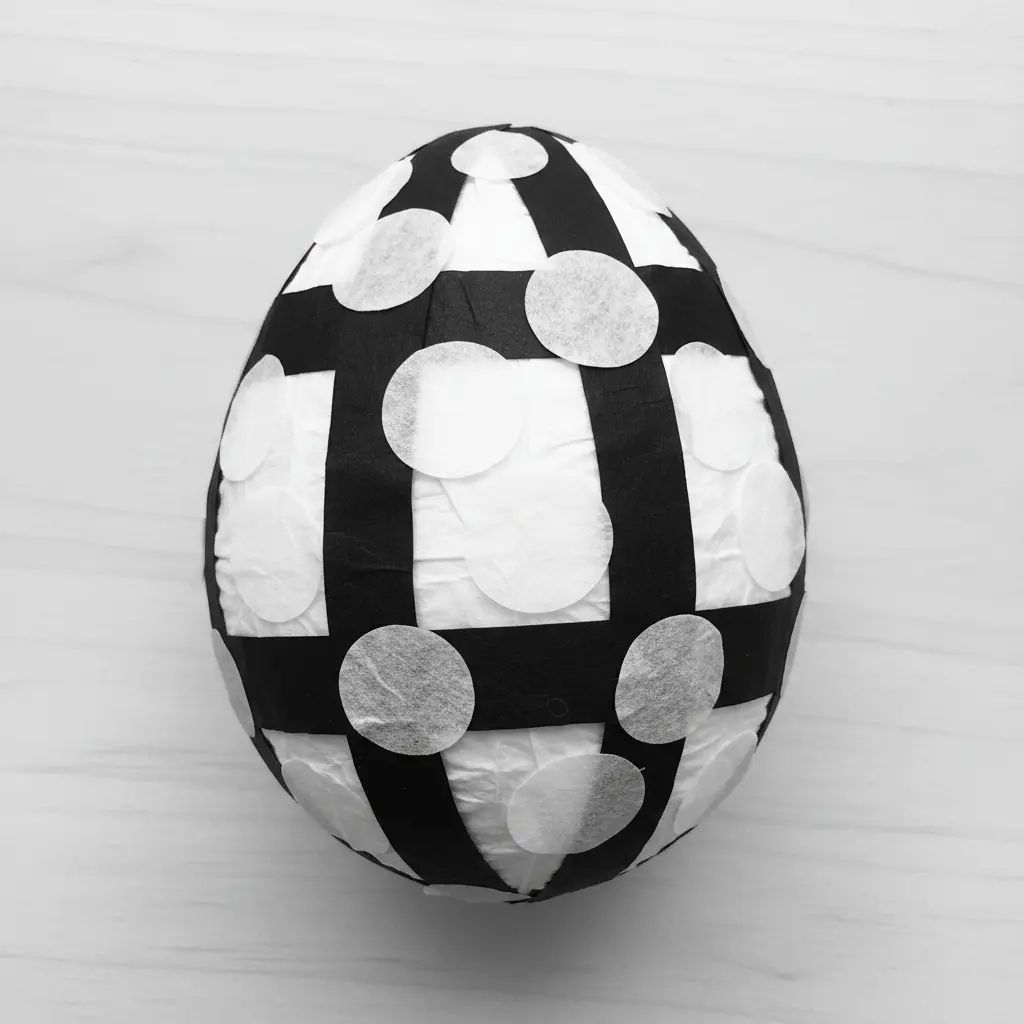
Who says Easter eggs need to be pastel? This high-contrast black and white palette proves that not every tissue paper easter egg crafts design needs to use soft spring pastels. The look is all about clean, graphic patterns like stripes, polka dots, or abstract shapes. I love using a fine-tipped permanent marker on a clean, dry egg for crisp lines, and it is surprisingly easy to control. Start with a simple geometric pattern, like alternating stripes. For a solid base, apply a coat of white acrylic paint first. The secret to this look is embracing the minimalist contrast; it feels sophisticated and works with any decor. Once you are done, a clear sealant gives it a finished, durable feel.
Applying Protective Sealants for Lasting Display
A final coat of your decoupage medium or a dedicated matte acrylic varnish locks in your hard work and protects even the most delicate tissue paper easter egg crafts from dust and handling. This final layer acts as a shield, smoothing over any tiny edges and giving your egg a uniform finish that feels professional. Apply it with the same soft brush, using light strokes to avoid disturbing the paper layers underneath. Let this sealant dry completely before you even think about handling the egg for display. That patience pays off with a piece that resists dust and minor bumps. For eggs you plan to keep out on the mantle, a second thin coat adds extra durability and ensures your vibrant color gradients stay crisp and beautiful.
Conclusion
You know that moment when you pull a project together and it looks exactly like the picture in your head? That is the payoff with tissue and glue. The nicest part about tissue paper easter egg crafts is how forgiving the process is, because crooked squares, imperfect petals, and slightly wonky stripes all still catch the light beautifully. If you try one technique from this list, start with the simple mosaic decoupage using a foam brush and small overlapping sections. Let each layer dry before adding the next and you will avoid the tearing that frustrates beginners. Save your favorites in a bowl on the table, and do not be surprised if you find yourself making a few extra for the window, too.
FAQs
Q: What is the best glue to use for tissue paper Easter eggs?
A: Matte Mod Podge or a white craft glue slightly thinned with water works best. Foam brushes help you apply a thin, even layer so the material does not become oversaturated and tear.
Q: Why does my tissue paper bleed and get messy when I apply glue?
A: Using too much adhesive is the most common reason. Apply a thin coat to the egg base, press the dry sheet onto it, then gently seal the top with another light coat of Mod Podge. Always let each section dry fully before moving on.
Q: Can I use cheap dollar store tissue paper for this?
A: Yes, budget packs work perfectly. Look for options with bright, saturated colors because paler papers look washed out once the glue dries. Bleeding varieties release dye when wet, which creates a different effect entirely.
Q: What surface is best as the egg base for these crafts?
A: Paper mache bases absorb the glue slightly, which helps thin material adhere smoothly. Styrofoam bases work but need a base coat of paint if you want to avoid white showing through. Wooden bases can be used but handle less forgiving small squares.
Q: How do I keep my finished eggs from sticking to the drying surface?
A: Place a piece of parchment paper or an old cooling rack under the eggs while they dry. Avoid paper towels, which will glue themselves to the wet Mod Podge. Turning the egg every fifteen minutes during the first drying phase also prevents flat spots.