Preparing Craft Sticks for Jewelry Durability
Before organizing your popsicle necklace crafts, grab a sheet of fine-grit sandpaper and smooth every edge and surface. This removes splinters and creates a perfect base for paint. The fastest way to ruin a finished piece is skipping the sealant, since one layer of matte varnish takes two minutes and protects weeks of work.
For the sturdiest pendants, layer two or three sticks together with wood glue, which prevents the single point of weakness that causes breakage. You will notice that standard wood works for chunky designs, but cutting them with a sharp craft knife allows for more sophisticated, geometric shapes. This step is non-negotiable if you want jewelry that lasts more than a few wears.
Essential Jewelry Findings for Wooden Pendants
Trust me on this — for durable popsicle necklace crafts, threading cord directly through a drilled hole in wood causes fraying and looks messy. The professional solution is to use small metal connectors instead. You attach these links to your pendant with a dab of strong glue before sealing, then your necklace cord or chain clips right on.
This method also lets you easily swap out different chains for the same pendant. Opt for findings made for jewelry, not generic craft rings, as they are stronger and have a cleaner finish. Your final piece will feel substantial and well-made, not like a flimsy school project.
1. Mini Stick Rainbow Arc Necklace
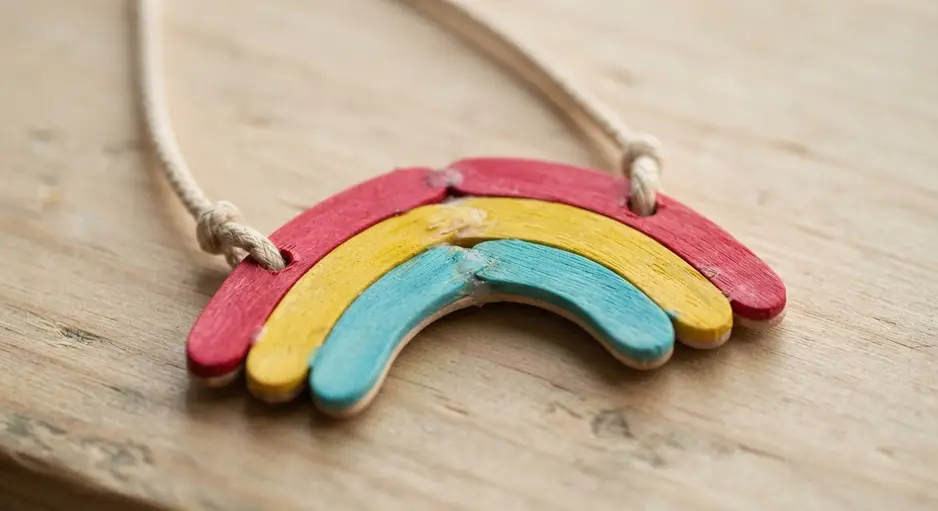
Ever wondered how to make a rainbow you can wear? This design is a favorite among makers of popsicle necklace crafts because it looks so modern but is incredibly simple to put together. You arrange tiny, colorful sticks in the classic order along a gentle curve, then secure them with a strong jewelry adhesive.
The result is a delicate, vibrant arc that hangs from a delicate chain. I love how the clean lines and bright colors create such a cheerful statement. The key to a neat finish is to let the glue dry completely without touching it.
Trust me, that undisturbed drying time makes all the difference for a durable piece. It is a fantastic project to try with kids, especially if you use larger components and non-toxic glue. A great way to organize all your colorful bits is with some DIY popsicle holders for summer fun.
2. Geometric Triangle Patterned Wood Pendant
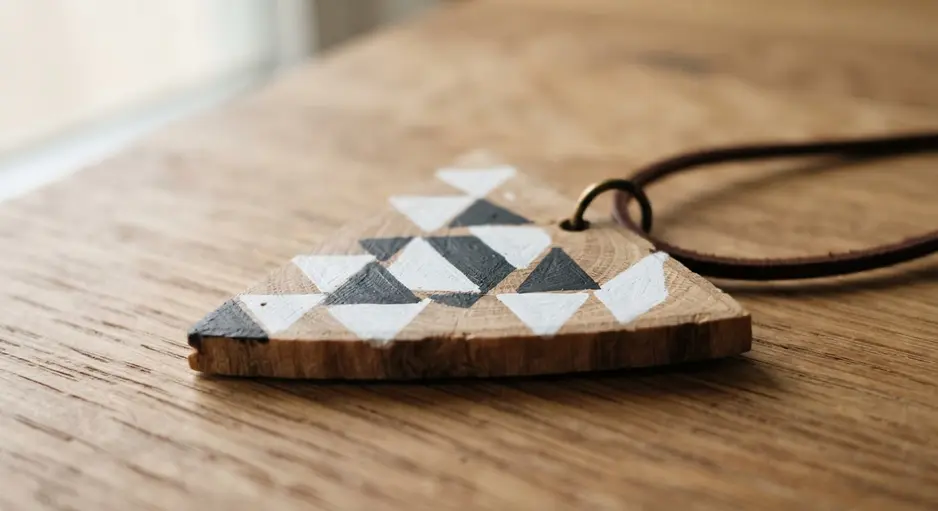
This one looks so modern and sharp, doesn’t it? You start with a slice of natural wood and cut it into your overall pendant shape. Then, you carefully draw and carve a repeating pattern of triangles right onto the surface.
I love how you can use different stains or wood types to make each triangle pop. It works because it mixes warm materials with a crisp, graphic design. The result feels both earthy and contemporary, which gives it a really versatile look for your collection of popsicle necklace crafts.
Trust me, you will feel proud when you wear this unique piece you made yourself.
3. Glitter Infused Star Shaped Medallion
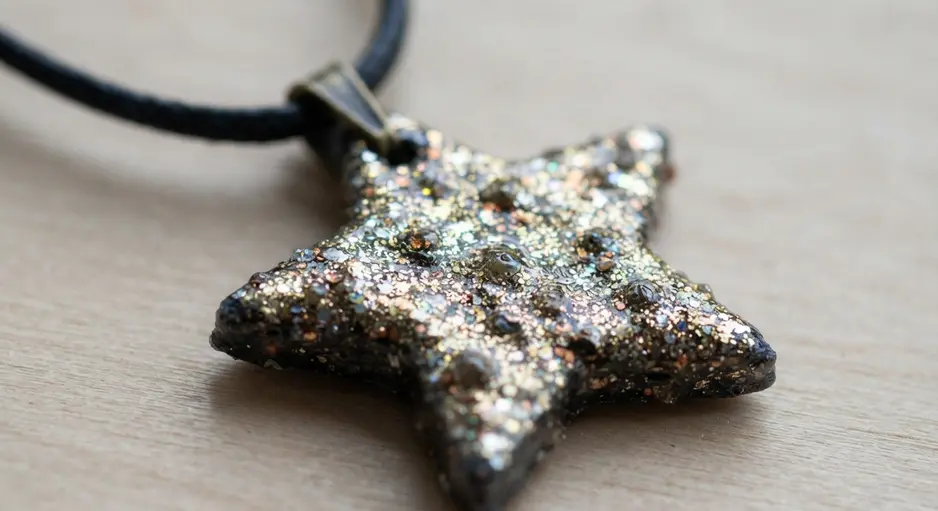
Ever wondered how to capture a little bit of starry night magic to wear? This glitter infused medallion does exactly that. You start with a clean metal star frame and mix your favorite sparkles into some clear resin.
Pouring that shimmering mixture into the frame is the best part, watching the glitter swirl and settle. I love how it works because the star shape is already a symbol of hope, and the trapped glitter makes it feel alive and celestial. Your finished piece will have a personalized, handmade charm that is perfect for elevating custom popsicle necklace crafts.
Trust me, seeing it catch the light feels absolutely magical.
4. Miniature Painted Flower Meadow Necklace
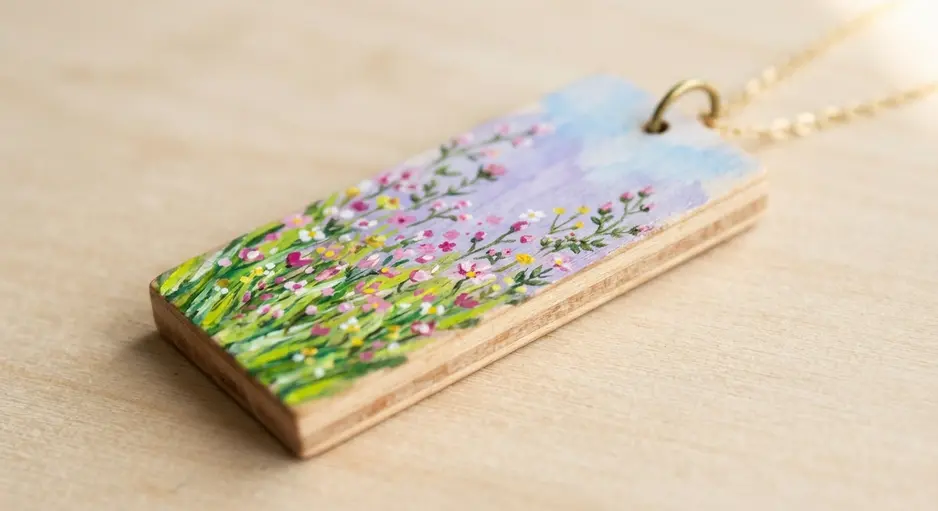
Have you ever wanted to wear a tiny piece of summer? This necklace captures that feeling perfectly. You paint a whole field of wildflowers, like poppies and daisies, on a surface smaller than a coin.
Then you seal your little masterpiece under a layer of clear epoxy resin or inside a glass dome. The resin gives it a glossy, durable finish and can even magnify the details. It looks intricate, but the process is quite meditative.
I love this one because it feels like creating a personal, wearable treasure. The key is working in a clean, dust-free area and mixing your resin slowly to avoid bubbles. Try adding this floral technique to your list of favorite popsicle necklace crafts and feel the magic of carrying a tiny meadow with you.
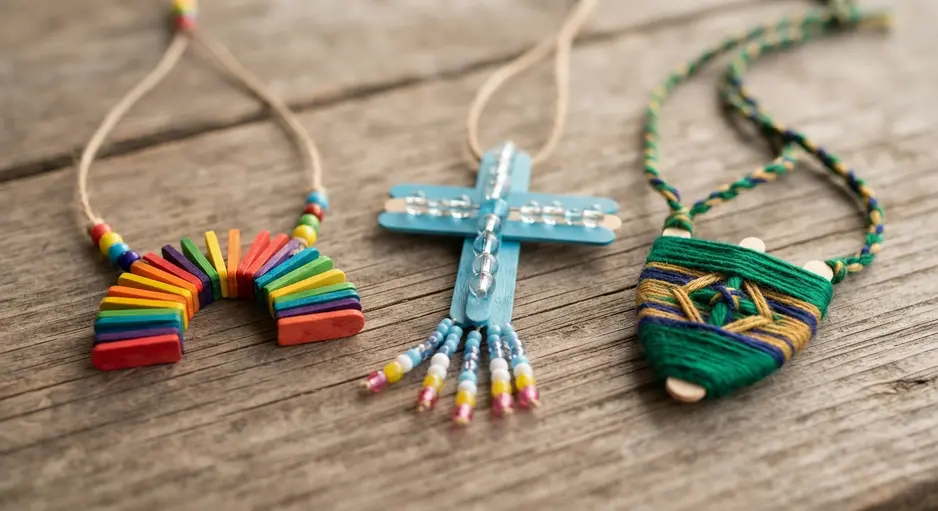
5. Beaded Fringe Popsicle Stick Cross
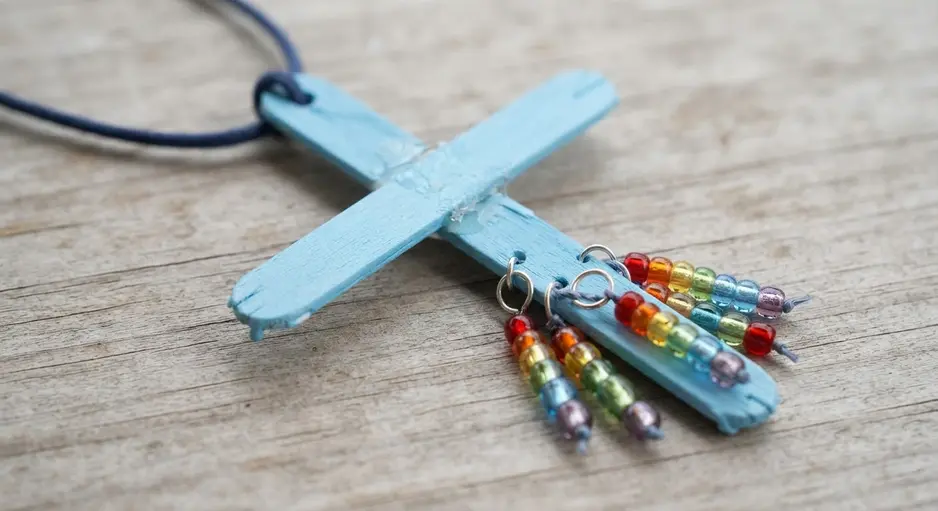
This one surprised me. It looks like a detailed, delicate piece, but you can make it with a few simple supplies. You start by gluing two sticks into a cross shape.
Then, the fun part is creating the fringe. You cut lengths of embroidery floss or thin wire and thread on your favorite beads in any pattern you like. I love how you can glue those strands to the back of each arm for a balanced, dangling effect.
It works so well because the beaded fringe adds a playful, tactile element that catches the light. Trust me, try using a mix of bead sizes and colors for a result that feels both personal and polished among your handmade popsicle necklace crafts.
6. Stacked Square Layered Totem Pendant
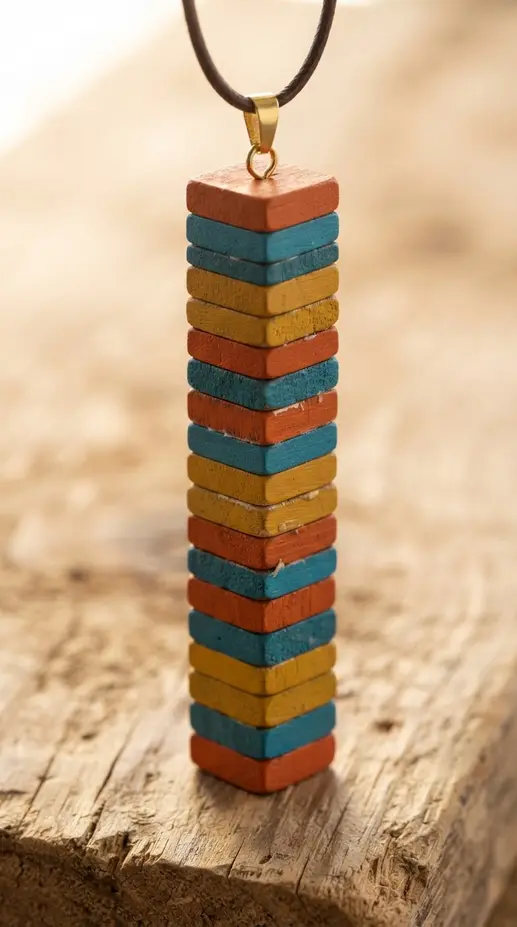
Who would have thought stacking simple squares could look so elegant? This design looks complex, but it is really about careful layering. You pick a few squares of different sizes, maybe in wood or colorful resin, and stack them with a strong jewelry adhesive.
I love offsetting each layer slightly to create a modern totem pole effect. That three-dimensional look is what makes it special. It gives your pendant real depth and a sense of history, as if each layer tells a little story.
Isn’t that satisfying? The key is letting the glue dry completely before you handle it. Trust me, that patience pays off with a piece that feels solid and looks stunning on a simple chain when you plan ambitious popsicle necklace crafts.
7. Watercolor Speckled Mini Stick Anchor
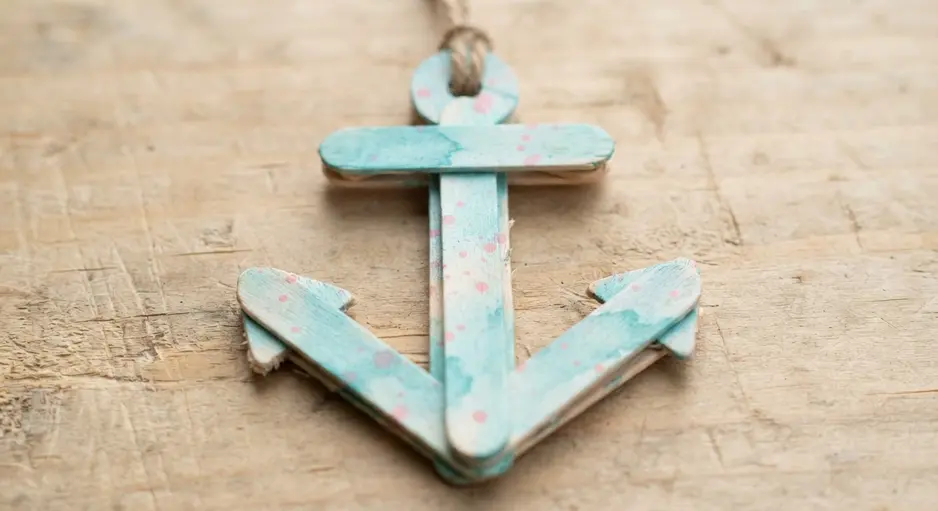
Ever wanted to add instant organic texture to your designs? This little stick of paint is your secret weapon. You simply rub a wet brush directly on the solid pigment stick to pick up color, then brush it onto your paper.
As the water dries, you will see a beautiful, sandy speckle appear all on its own. I love how this granulating effect creates depth without any extra effort from you. It is perfect for adding a natural, textured look to elements like stones or bark in your sketches.
The key is using the right heavyweight watercolor paper to let those pigments settle properly. Try it and feel that happy surprise when the speckles bloom on your latest batch of popsicle necklace crafts.
8. Sequined Heart Shape Wooden Necklace
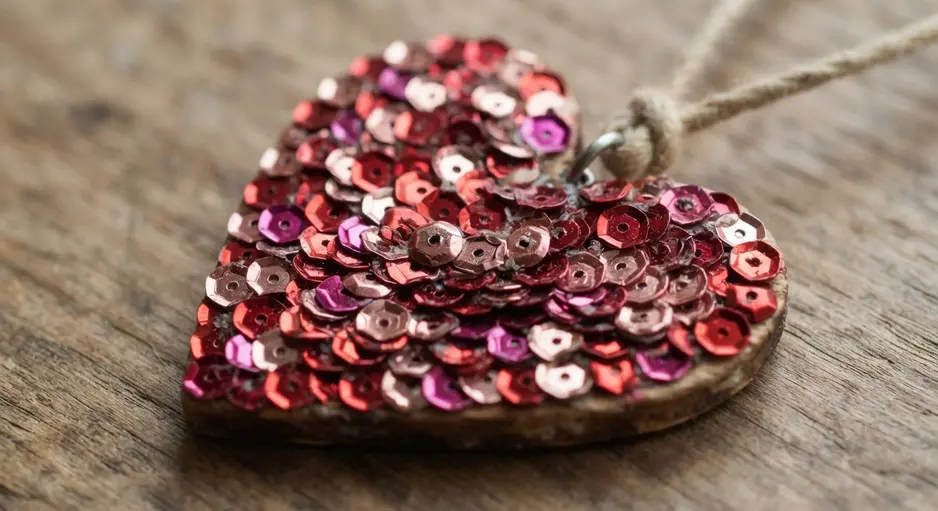
This one looks so fancy, but trust me, the process is wonderfully simple. You start with a pre-cut wooden heart and apply small dots of clear-drying glue to a section at a time. Then, you press the sequins into place.
I love how you can go for full sparkle coverage or just a shimmering outline. The key is letting each section dry fully before you move on. It is so satisfying to see that natural wood texture meet all that playful shine.
You end up with a personal, handmade gift that feels truly special. This sparkle technique easily elevates traditional popsicle necklace crafts into something that rivals boutique accessories.
9. Yarn Wrapped Popsicle Stick Shield
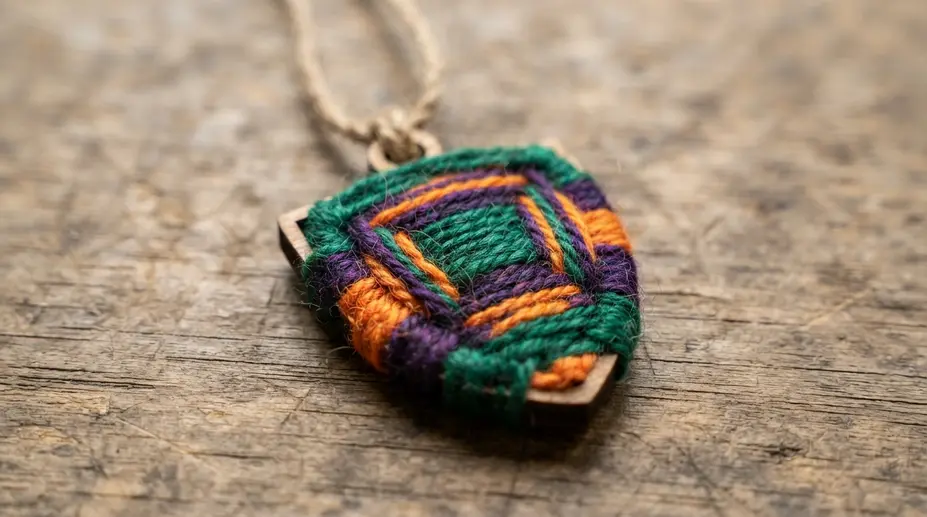
This one looks like a toy from a fantasy movie, but you build it from scratch. Start by arranging your popsicle sticks side-by-side to form the base shape, gluing them tightly together. Then, add a couple of sticks across the back as cross braces for strength, letting the glue dry completely.
Next comes the fun part. Wrap colorful yarn around each stick or in sections, creating vibrant stripes and patterns. I love how the different yarn textures add a playful, tactile feel.
Isn’t that a satisfying way to transform simple supplies? It works so well because the finished shield is sturdy enough for pretend play. Feel proud when your little knight picks it up, proving that textile wraps make incredibly sturdy popsicle necklace crafts.
10. Polka Dot Mini Stick Butterfly
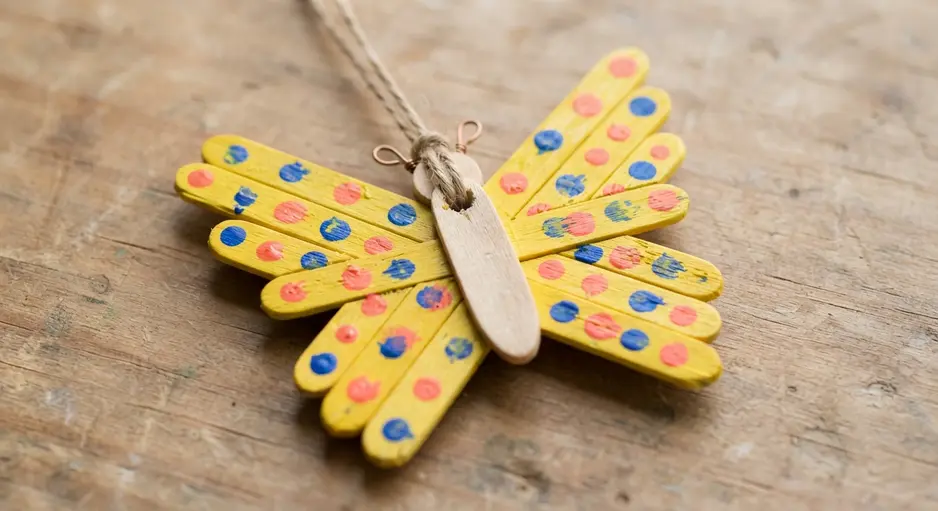
Ever wondered how to get those perfect, consistent dots? This little butterfly is a total delight and looks far more intricate than it is. You start by painting your mini craft sticks with a solid base color and letting them dry completely.
Then, use the eraser end of a pencil or a cotton swab to stamp on your polka dots with a contrasting paint color. I love this part because it is so simple and satisfying. Once everything is dry, you glue the sticks together to form the body and wings.
This project works so well because it is incredibly accessible and the result is purely whimsical. Try it and feel the joy of creating something so charming from such humble materials. Dot patterns instantly brighten any lineup of playful popsicle necklace crafts.
11. Washi Tape Chevron Design Pendant
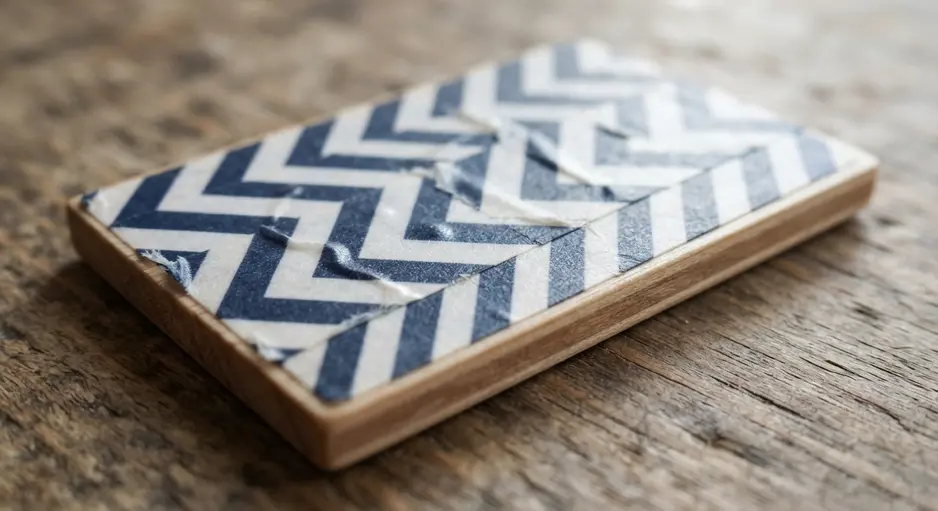
This one is a total win for speed and style. Who would have thought you could make such a sharp, modern pendant with a few strips of tape? You start with a clean pendant blank and layer on two colors of washi tape in a crisp zigzag pattern.
I love how forgiving this is. You press each strip down firmly, trim the edges with a craft knife, and seal it with a clear coat for durability. The result is a lightweight, graphic accessory that feels totally custom.
Trust me, the satisfaction of peeling off that final piece of backing paper is real. Adhesive methods provide a mess-free alternative that still yields professional results for quick popsicle necklace crafts.
12. Tropical Leaf Shape Painted Necklace
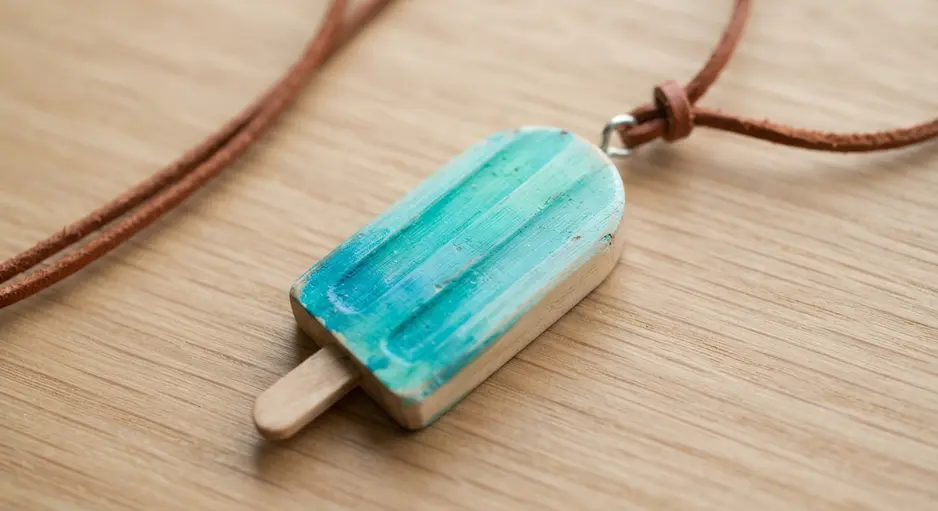
Who would have thought a simple leaf shape could feel so fresh and summery? This necklace is all about picking a bold, tropical silhouette and making it pop with color. I love using a laser-cut birch plywood base because it is so smooth and light.
You paint on your vibrant greens and pinks, add those little vein details, and then seal everything with a clear varnish. It works because the natural shape feels organic, but your paint job makes it completely personal. Trust me on this one, always use multiple thin coats of paint and let each one dry completely.
Your finished piece will look stunning hanging on a simple chain. Nature themes consistently rank among the most requested designs for modern popsicle necklace crafts.
13. Gold Leaf Accent Moon Pendant
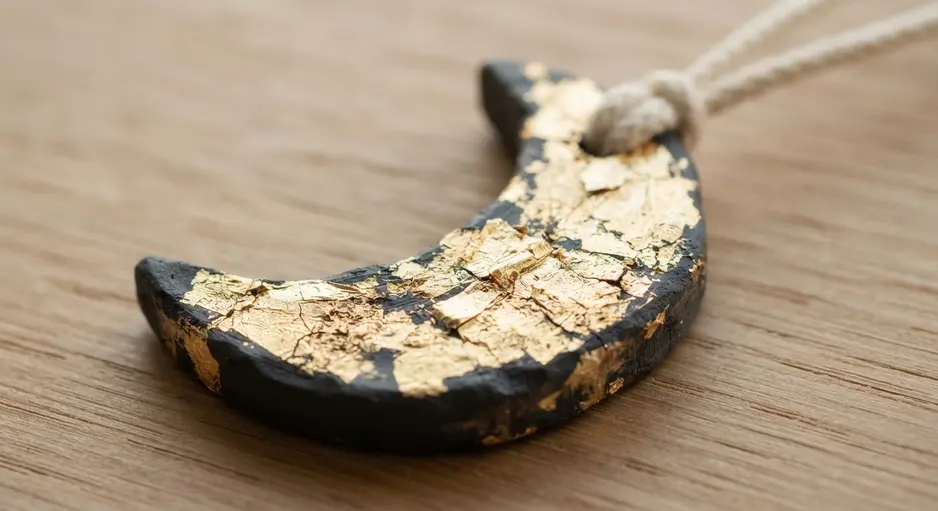
Ever wondered how makers get that soft, antique gold glow? This pendant looks luxe but the technique is surprisingly approachable. You start with your chosen moon base, like a smooth stone or resin.
Then, you apply a thin layer of special sizing glue and wait for it to get perfectly tacky. That is the key moment. You gently lay a sheet of gold leaf onto the sticky areas and press it down.
I love how brushing away the excess reveals a beautifully imperfect, textured accent. The magic happens when you seal it all with a skin-safe topcoat, locking in that celestial shimmer. Metallic finishes immediately upgrade any batch of whimsical popsicle necklace crafts.
14. Button Embellished Rectangle Name Tag
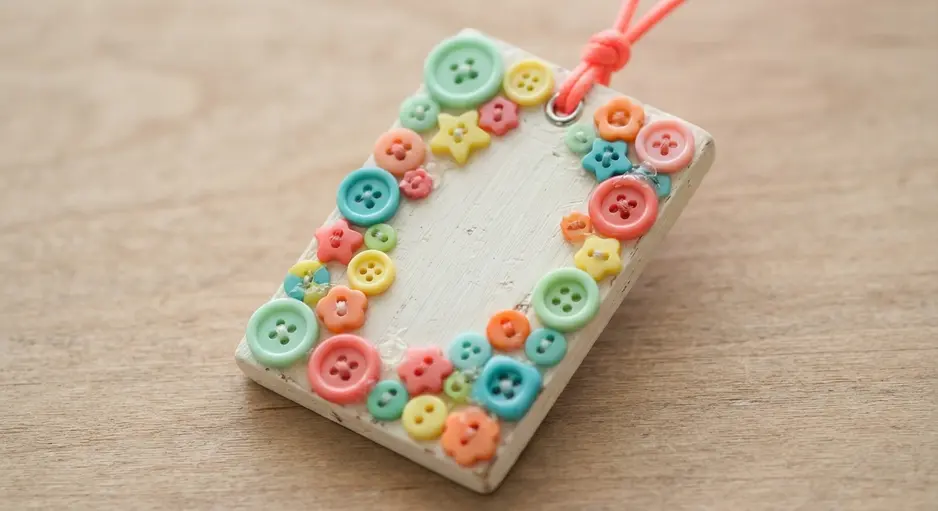
This one looks so intricate, but trust me, it is incredibly forgiving to make. You start by cutting your chosen name tag base to a simple rectangle. Then you add the name itself with a permanent marker or paint pen, which is the perfect personal touch.
Now for the fun part. Grab your collection of buttons and play with the layout before you glue anything down. I love mixing different sizes and colors for a playful, textured look.
Arranging them first lets you see the final design, so you can swap pieces until it feels just right. When you are happy, use a strong craft adhesive to attach each button securely. Let it dry completely before adding the pin back to the rear. Embellishment layouts give a vintage charm to customized popsicle necklace crafts.
15. Pastel Painted Sunrise Arch Pendant
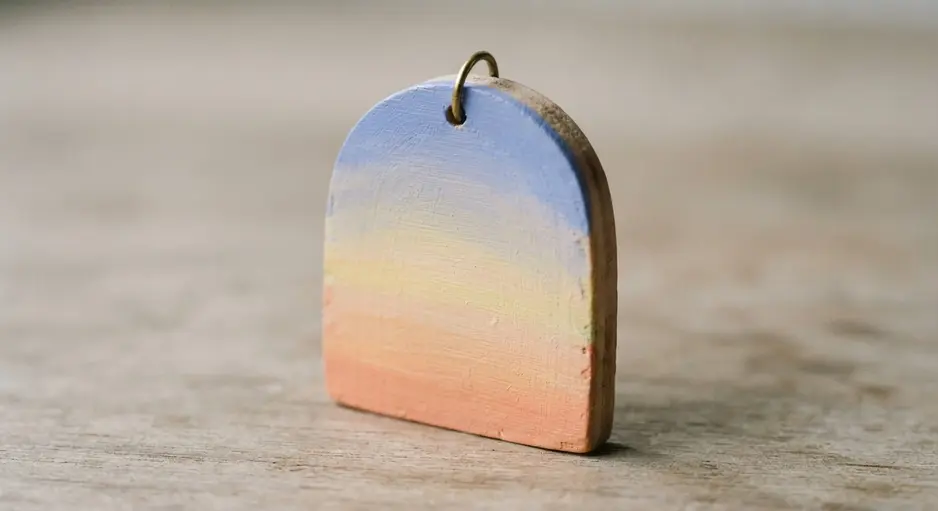
This one looks like a delicate art piece, but trust me, you can absolutely make it yourself. You start with a simple wooden arch blank and paint it with soft pastel colors, blending from light to dark to create that gentle sunrise glow. I love using a small, flat brush to layer the colors while the paint is still wet for a smooth gradient.
Why does it work so well? The soft colors and simple shape make it a sweet, wearable piece of art that feels uplifting. Let each layer dry completely before adding the next, and finish with a clear sealant coat to protect your painting.
Slip it onto a chain and feel that cheerful, handmade pride. Gradient techniques remain a favorite for creators planning bright, airy popsicle necklace crafts.
Sealant Application Processes for Long Term Wear
Unsealed wood absorbs skin oils and moisture, which leads to warping and paint peeling off in weeks. After your paint and glue are completely dry, apply a thin, even coat of matte Mod Podge with a soft brush. Let this dry fully, then gently sand any raised grain with that fine paper before adding a second coat.
This process locks in your design and provides a durable, touchable finish that does not obscure the natural wood grain. For pieces that will get a lot of wear, consider a thin layer of resin for maximum protection. Your finished necklace will withstand daily use and keep its handmade charm for years.
Conclusion
So, did you find a few designs that sparked your imagination? Look at the colorful possibilities you now have at your fingertips. My best piece of advice is to let the colors lead you; pick a palette that makes you smile and see where it takes your design. The most successful projects often start with that simple, happy feeling. I hope this list helps you create something uniquely yours, a little piece of cheerful art to wear and share. Remember to seal each piece properly and enjoy the process of building beautiful popsicle necklace crafts.
FAQs
Q: What kind of paint is best for popsicle stick necklaces?
A: Non-toxic acrylic paint works perfectly. It dries quickly, adheres well to wood, and comes in many bright colors. Make sure to use a sealant like Mod Podge over the dry paint to protect your design from chipping.
Q: How do you make a hole in a popsicle stick for stringing?
A: Use a small drill bit or a sharp awl to make a pilot hole before the stick is painted. Place the hole near the top center of your design. Doing this first prevents the wood from splitting and keeps your paint job intact.
Q: What cord or string should I use for these necklaces?
A: Soft cording, leather cord, or sturdy embroidery floss are all great choices. For kids, a stretchy elastic cord can be easier to put on and take off. Choose a color that complements your pendant’s design.
Q: How can I stop the glue from looking messy on my project?
A: Apply glue sparingly with a toothpick or a small brush. For attaching beads or sequins, use a tiny dot of strong craft glue. Let each glued section dry completely before moving the piece to avoid smudges.
Q: Can I make these necklaces with very young children?
A: Absolutely. Focus on simpler designs like basic painting or wrapping with yarn. Prepare the sticks in advance by making holes and doing any cutting. Supervise glue and paint use, and celebrate the unique result.