

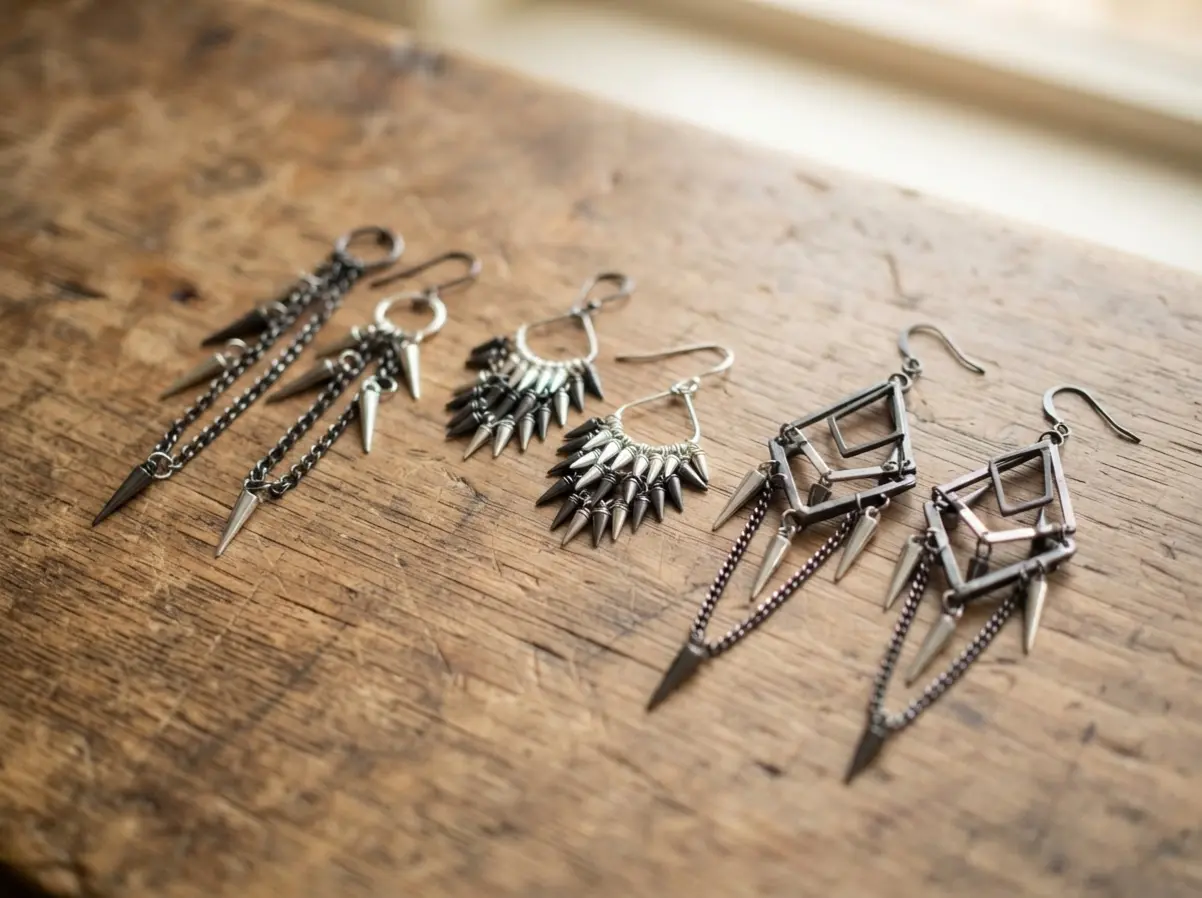
I love how these projects take a classic punk aesthetic and make it accessible, letting you play with scale, texture, and materials. This list brings together ten visually striking designs, from subtle studs to dramatic drops, all focused on using the right hardware for longevity and wearability. So, grab your pliers and let us get started.
Selecting Durable Findings for Heavy Spike Designs
Your earring post needs a clutch backing rated for at least twice the weight of your spike to prevent sagging. Standard butterfly backs slip right off with these aggressive designs, so look for lever-back earring findings or screw-on posts with a locking mechanism when assembling diy spike earrings. This is the difference between a piece you wear once and one that lasts for years.
You want to avoid mismatched hardware colors, as a silver post with a gunmetal spike looks unfinished. Nickel-free alloys are essential for comfort, especially with the extra pressure a heavy component places on your earlobe. Check the gauge of any jump rings, too, as thin ones will bend and open under the load.
Matching Metal Finishes for Polished Punk Style
Gunmetal components create a cohesive look for diy spike earrings only when paired with matching ear wires and jump rings. This seems obvious, but we tend to grab whatever silver finding is in our kit, which creates a messy, accidental look. The good news is that most suppliers stock entire lines of components in matching high-contrast metallic finishes like chrome and matte black.
Your finished piece gains a polished, industrial aesthetic when every metal surface shares the same tone and sheen. For neon acrylic spikes, opt for a neutral metallic like a bright silver or a matte grey to let the vibrant color stand out without visual competition. This attention to detail separates a professional-looking project from a beginner’s first attempt.
1. Minimalist Single Silver Spike Studs
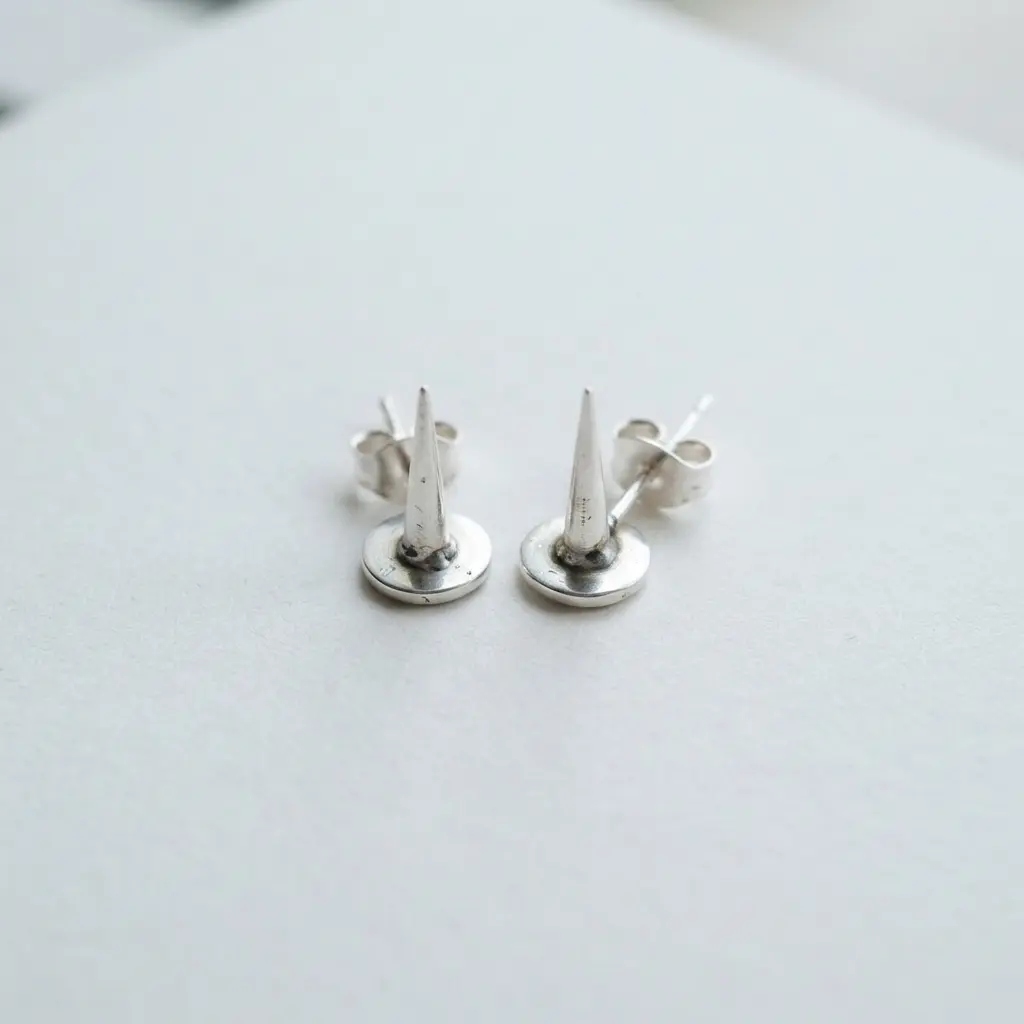
Ever wanted a piece of jewelry that feels quietly rebellious? These diy spike earrings deliver exactly that quiet rebellion. It is a simple geometric shape that sits flush against your earlobe, offering a cool metallic glint without any flash. I love how versatile this design is.
For the most comfortable fit, especially in cartilage piercings, a flat back labret is your best bet. It prevents snagging and feels great for sleeping. If you are enjoying this edgy aesthetic, you might want to explore some DIY spike necklace designs to build a matching set. Trust me, the satisfaction of wearing a cohesive, handmade look is unbeatable.
2. Asymmetric Industrial Chain Spike Drops
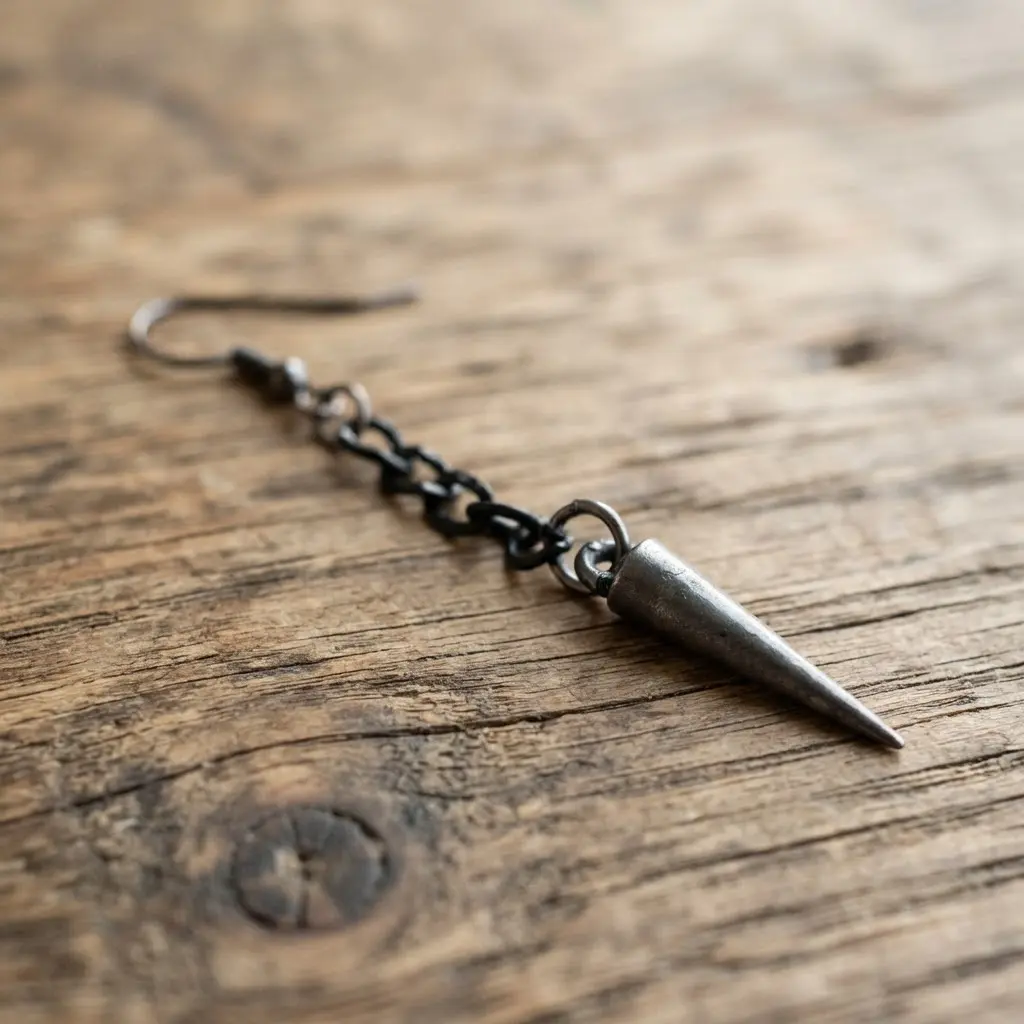
Ever wondered how to get an effortlessly cool, punk-inspired look? As asymmetric chain drops, these diy spike earrings thrive on deliberate mismatch. You might make one earring a simple stud while the other is a shoulder-grazing cable chain with dangling spikes. I love how it lets you play with different weights and textures on each side.
The process is straightforward. Cut your chosen industrial chains to your desired lengths and attach them to earring hooks or studs with sturdy jump rings. Then, incorporate your spikes by threading them onto headpins or linking them directly to the chains. Trust me, using secure jump rings is non-negotiable here to prevent any pieces from falling off.
This style works because it screams individuality. It feels bold and modern, instantly upgrading a simple outfit. Try it and feel that powerful, confident edge.
3. Matte Black Cone Spike Hoops
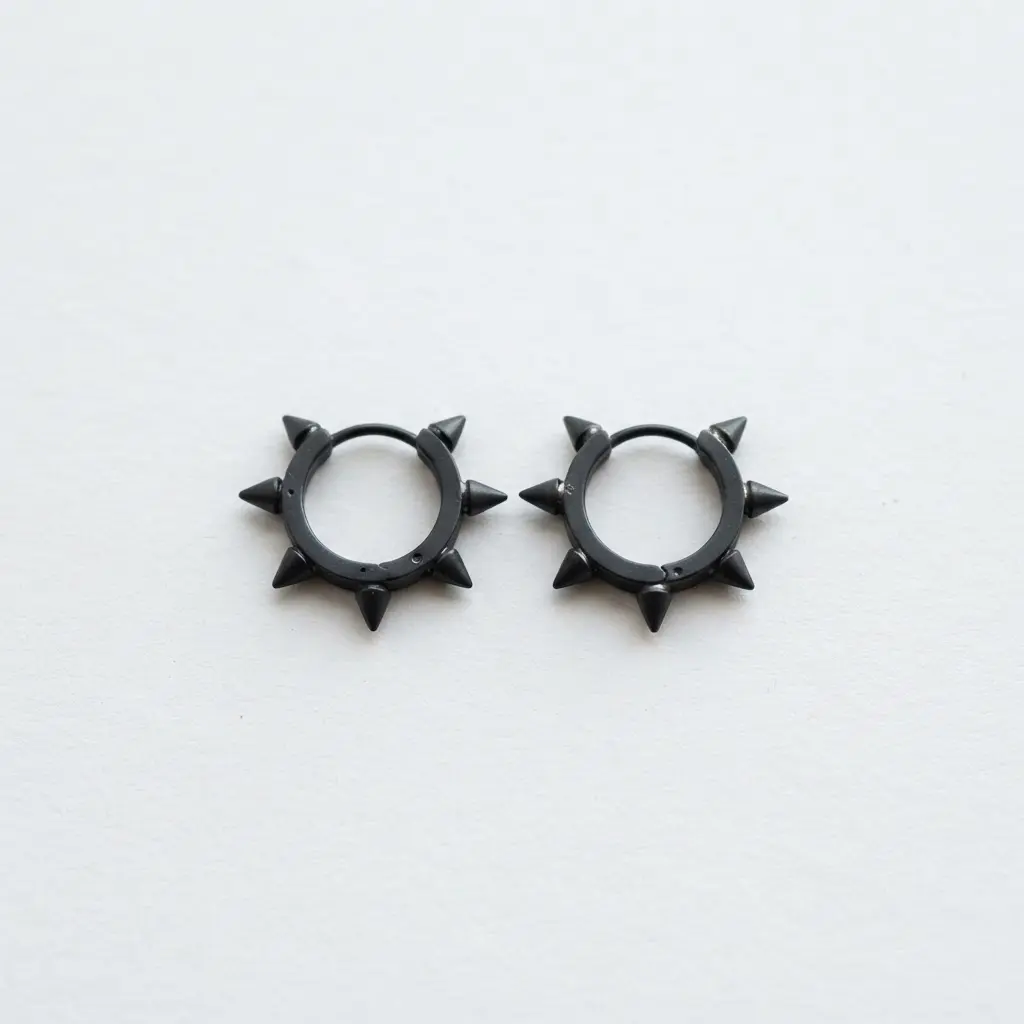
Ever notice how some pieces nail that cool, unbothered vibe? These diy spike earrings nail that exact feeling every time. They combine the classic hoop shape with tiny cone-shaped spikes for a look that is both edgy and totally wearable. I love that they are often made from surgical stainless steel, so they are great for sensitive ears while still looking tough.
Getting the right fit is key for comfort, especially if you choose a larger size. You need to account for the extra weight from all those spikes. Before committing to a big statement pair, it is smart to read up on a statement necklace making project to understand how to balance heavier jewelry in your overall look.
Trust me, your ears will thank you later. The matte black finish sets the mood perfectly. It gives off a modern, rebellious feel without being too flashy. Try them on and feel an instant boost of confidence.
4. Gunmetal Safety Pin Spike Dangles
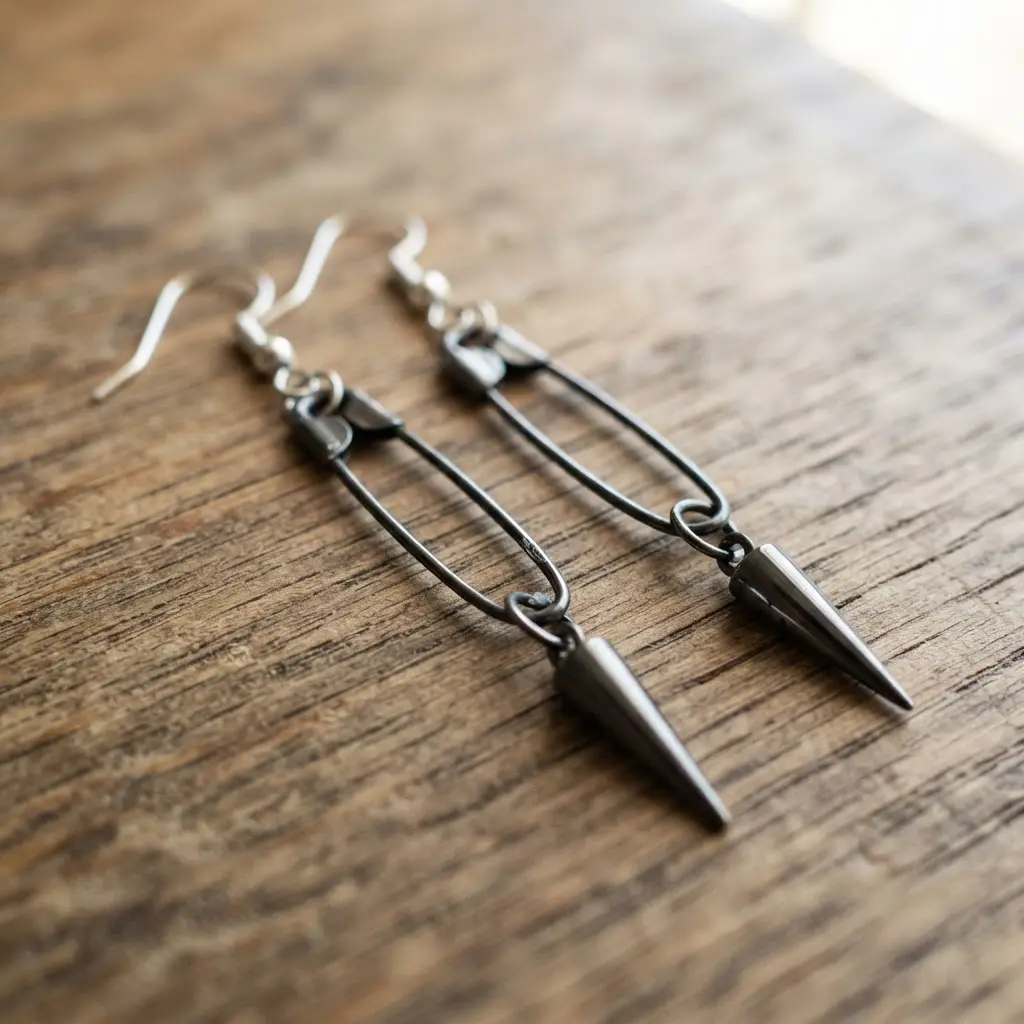
Who would have thought a simple safety pin could look so tough? Designing gunmetal safety pin diy spike earrings is a personal favorite for its instant punk rock attitude. You start with a gunmetal-finished safety pin and attach one or two dangling spikes to it. I love how the matte, industrial finish contrasts with the sharp, moving spikes.
The process is wonderfully straightforward. Choose your spike style, like a cone or pyramid, and use a small jump ring to link it to the pin. Then, attach a sturdy fish hook earring finding to the top. It works because it combines a familiar, utilitarian object with an edgy, rebellious silhouette.
You get a fantastic, statement-making accessory in minutes. Pro tip: always double-check that your jump rings are completely closed. This prevents you from losing a spike halfway through your day. Trust me, that is a heartbreak you can avoid.
5. Layered Multi Spike Fan Earrings
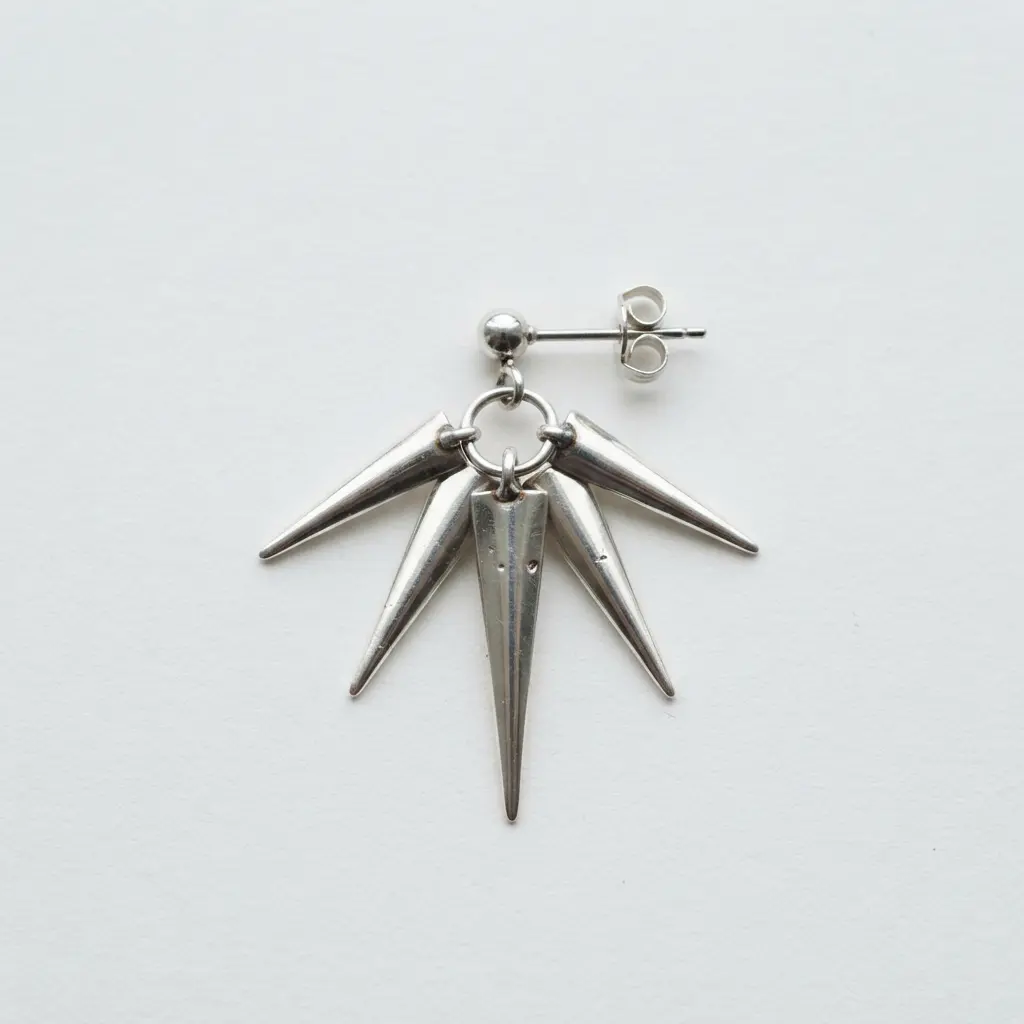
Ever wondered how dramatic, radiating earrings get built by hand? When making layered diy spike earrings, the process is surprisingly straightforward once you break it down. You start by picking your spike shapes and materials, like lightweight acrylic or classic metal cones, and planning how they will overlap to create that gorgeous sunburst effect.
Then, you secure them to a base, often a hoop or stud post, building the fan outward tier by tier. This design works because it combines edgy attitude with elegant structure, giving you a bold piece that still feels balanced. My go-to tip is to always do a quick weight check in your hand before final assembly to keep them comfortable for all-day wear.
And since a project with this many components can get a bit chaotic on your workbench, having some creative jewelry organization solutions ready makes the whole process smoother and way more fun.
6. Leather Wrapped Spike Pendant Earrings
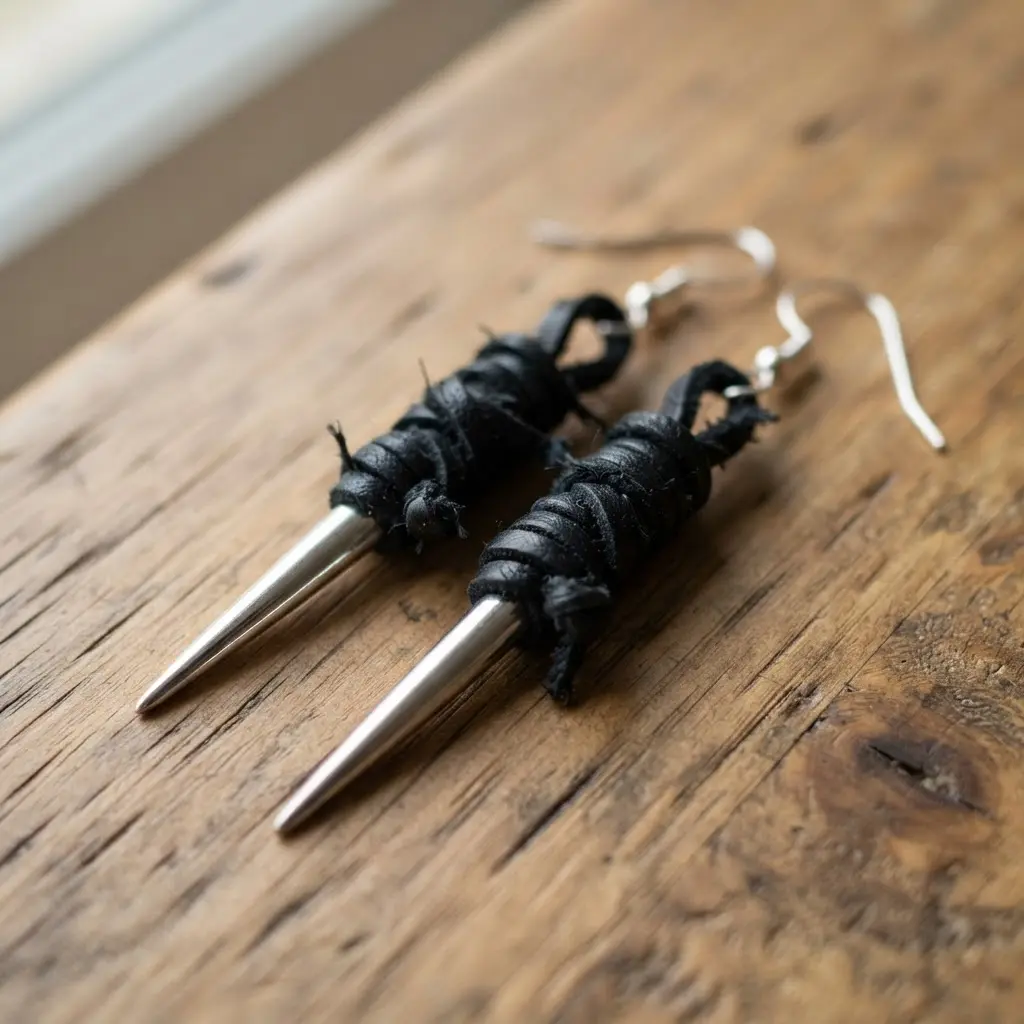
Ever wanted a tough punk look with a softer, more natural feel? Creating leather wrapped diy spike earrings delivers exactly that blend of textures. You start by choosing your metal spike and a strip of leather that suits your style. The process is simple: wrap the leather snugly around the spike, secure it with a strong adhesive, and then attach the whole piece to an earring hook.
I love how the contrast between the hard metal and the supple leather creates such a unique texture. Your finished pair will have a perfect balance of edge and earthiness. The key to a clean look is making sure your leather wrap is even and tight. Practice the wrapping motion on a spare spike or a pencil first to get the hang of it.
Trust me, a little prep work makes the final result look professional. Use a jewelry-specific adhesive that bonds well to both materials for a hold that lasts. Does that not sound satisfying?
7. Crystal Encrusted Punk Spike Studs
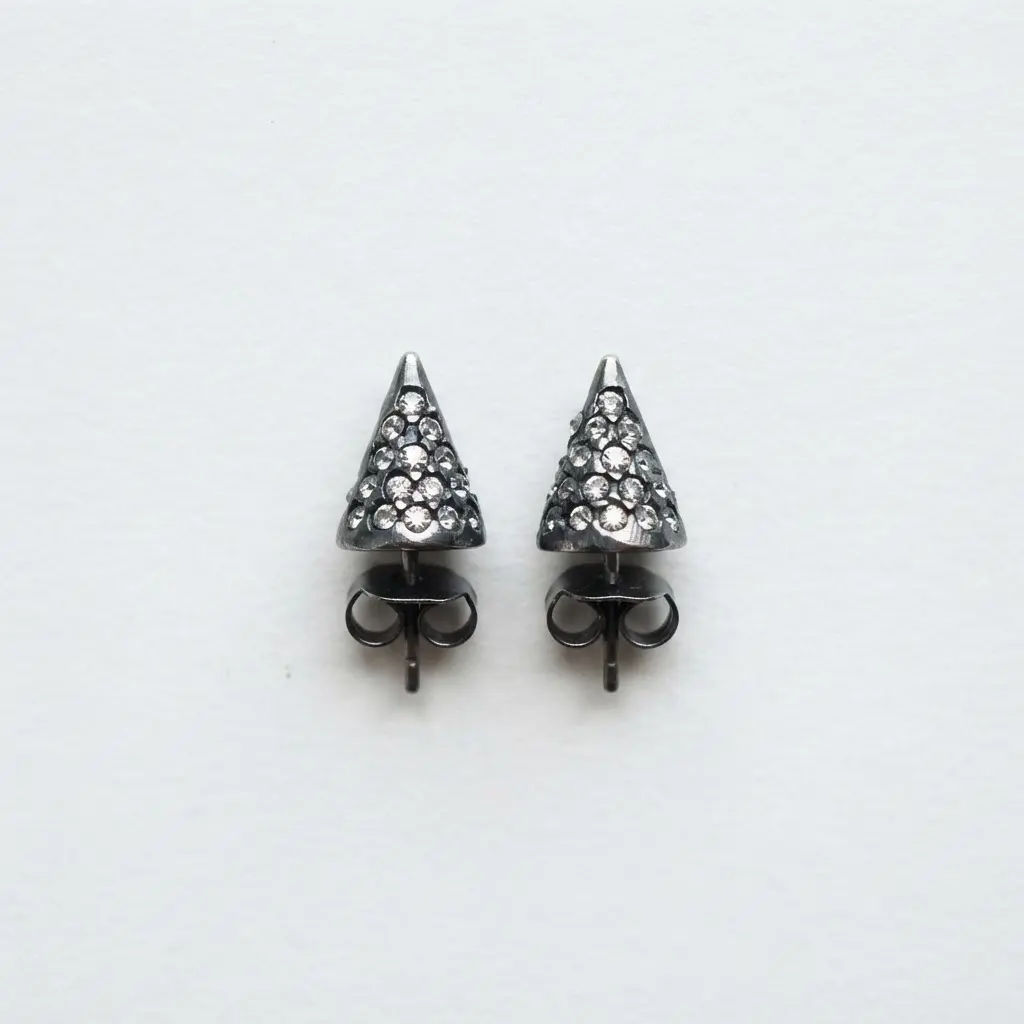
Building crystal encrusted diy spike earrings turns a simple stud into a real statement piece. You start with a plain metal spike and a pile of tiny crystals. Using a crystal pick-up tool and a dot of strong adhesive, you carefully place each sparkly facet onto the spike surface.
The trick is to work in tiny sections so the glue does not dry before you get the stone in place. It feels like you are armoring a tiny, glamorous warrior. That combination of hard and soft, edgy and glam, makes this design deeply satisfying. You get the rebellious punch of the punk aesthetic with a luxurious, light-catching finish.
For a cohesive look that carries this glam-punk vibe into your home decor, a studded punk-inspired decor idea uses a similar mix of textures. Trust me, you will love how these catch the light every time you turn your head.
8. Oversized Geometric Spike Chandelier Earrings
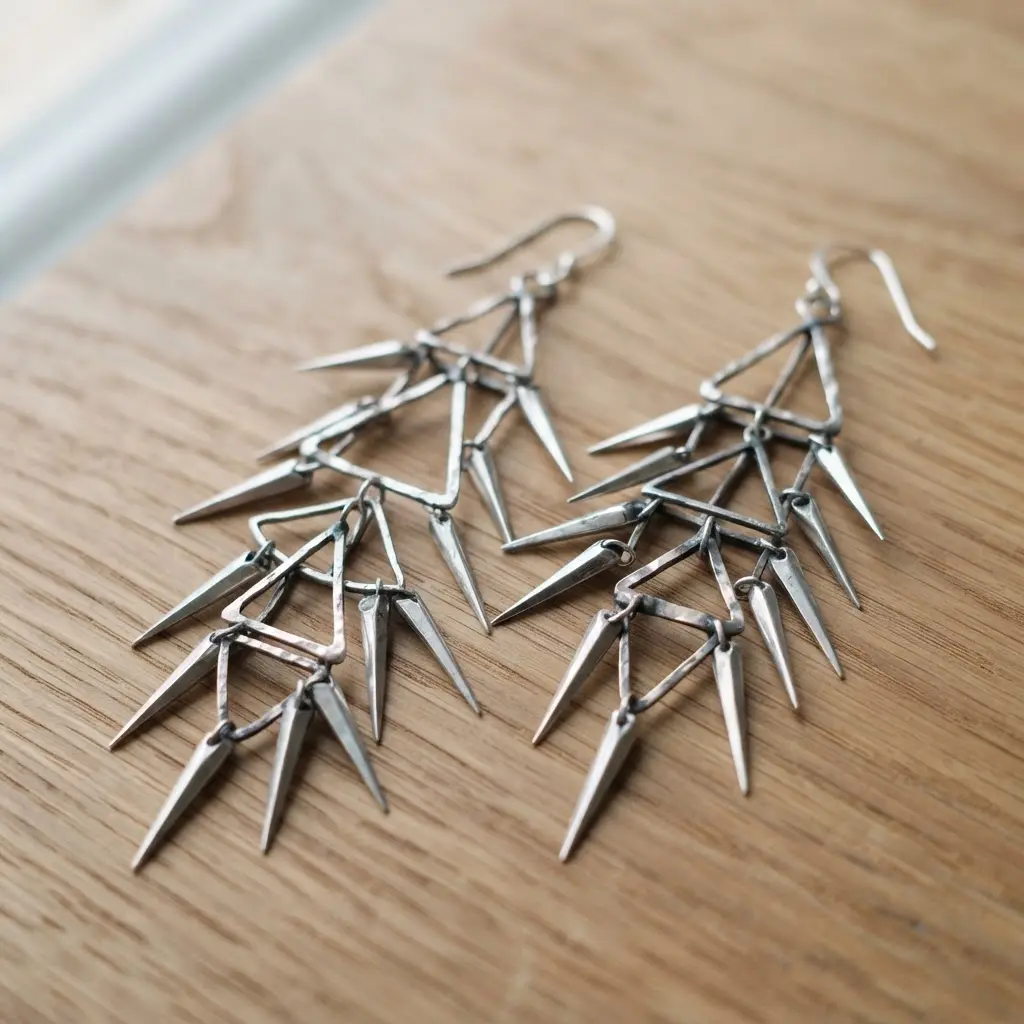
Ever felt like your earrings should make a statement as bold as you are? Constructing oversized geometric diy spike earrings means starting with dramatic, jawline-grazing shapes and a touch of punk attitude. You will begin by selecting your main geometric wire forms and then securely attaching your chosen spikes.
I love using screw-back spikes for metal pieces because they feel incredibly solid. Then, you will build the chandelier structure by linking these spiked shapes together with jump rings, working from the bottom tier up to the top. It works because the clean lines of the geometry balance the edgy spikes, creating a look that is both modern and rebellious.
Trust me on this one, laying everything out first ensures a balanced, wearable final piece that feels fantastic.
9. Mixed Metal Spiked Hoop Clusters
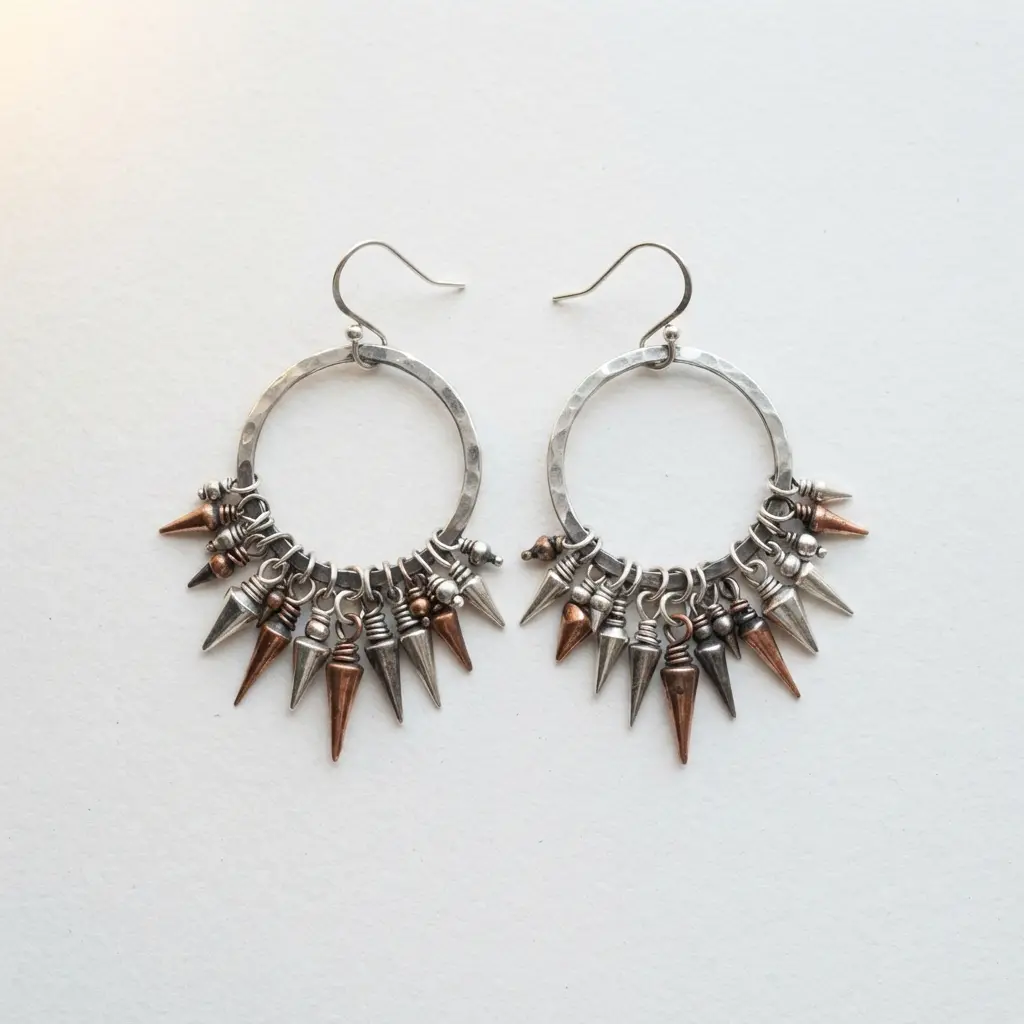
Ever wondered how to make a bold earring that feels custom and modern? Clustering mixed metal diy spike earrings gives you a fresh look that breaks old rules. You start with a few simple sterling silver hoops and add some gold-plated spikes, connecting them all with small jump rings. I love how the smooth circles play against those sharp points, and using two metal tones gives you much more styling freedom.
Your biggest helper here will be a good pair of chain-nose pliers for closing all those jump rings securely. The most common mistake is not closing them tight enough, which can lead to a spike falling off later. Trust me on this one, taking that extra moment to squeeze each ring shut makes all the difference for a piece that lasts.
That satisfying click when a component locks into place marks a job well done. If you enjoy this kind of hands-on assembly, you will find the same rewarding process in DIY fabric bracelet projects. Both let you play with color, texture, and components to build something uniquely yours. Feel proud when you put these on, knowing you created a statement piece no one else has.
10. Neon Color Painted Spike Dangles
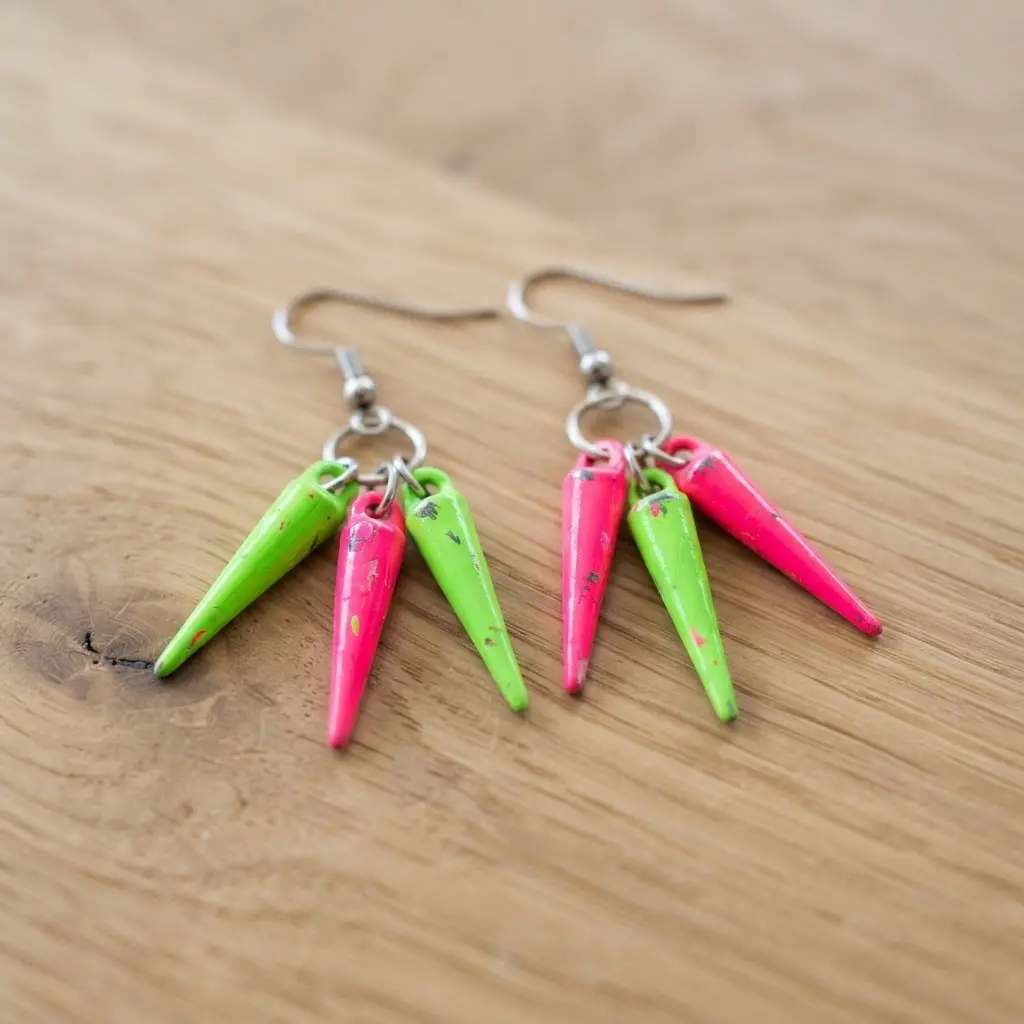
Who would have thought such an edgy look could be so joyful to make? Transforming plain metal findings into neon painted diy spike earrings brings so much joy to the process. You start with plain metal spikes and cover them in bright neon acrylic paint. I love this part. Apply a couple of thin coats for a super vibrant, even finish that won’t chip easily.
After the paint dries, a clear topcoat is your best friend for durability. Then, it is just a matter of attaching them to some secure ear hooks or posts with jump rings. You will get these amazing, lightweight dangles that move and catch the light with every turn of your head.
This style works because it is a pure burst of personality. It takes that classic punk silhouette and makes it playful and modern. Trust me, putting these on instantly makes any outfit feel more fun and fearless.
Ensuring Secure Adhesion for Finished Spike Pieces
A two-part epoxy adhesive cures with a permanent bond for diy spike earrings that outlasts any standard craft glue. The trick is to follow the full curing time on the package, even if the piece feels dry to the touch after an hour. Rushing this step is the main reason spikes detach after a few wears. Apply a tiny, precise dot to the flat back of your spike, press it firmly onto your finding, and hold it for the recommended set time.
Trust me on this, wiping away any excess glue immediately with a cotton swab dipped in acetone prevents visible residue. This final industrial adhesive step ensures your bold silhouette stays intact through daily movement and becomes a reliable part of your wardrobe.
Conclusion
So, which of these diy spike earrings sparked your creativity? Look at the range of styles you can make, from that sleek single stud to the bold neon dangle. Each project proves you can build jewelry with serious attitude without needing a professional workshop, just a focus on good materials and clean construction. The real skill is in choosing findings that feel comfortable and last, so your handmade pieces become staples in your collection. Pick the design that matches your mood, gather your supplies, and enjoy the process of making something that is unmistakably you.
FAQs
Q: What type of metal is best for sensitive ears when making spike earrings?
A: Use surgical steel, titanium, or nickel-free sterling silver for earring posts and hooks. These materials are hypoallergenic and reduce the chance of irritation.
Q: How do I keep dangle spike earrings from becoming too heavy?
A: Select smaller or hollow spikes for the pendant element. Using lightweight chains and ensuring the ear wire is a secure, comfortable lever-back style also helps with balance.
Q: Can I use regular craft wire to attach spikes?
A: For durability, use sturdy jump rings meant for jewelry. Standard craft wire can bend and break easily, which might cause you to lose a spike.
Q: What tools do I absolutely need to start?
A: You will need two pairs of chain-nose or round-nose pliers for opening and closing jump rings, and wire cutters. A file for smoothing any sharp metal edges is also useful.
Q: How do I prevent the finish on painted spikes from chipping?
A: Lightly sand the metal spike first for better paint adhesion. Apply a clear sealant or varnish designed for metal after the paint dries completely.








