

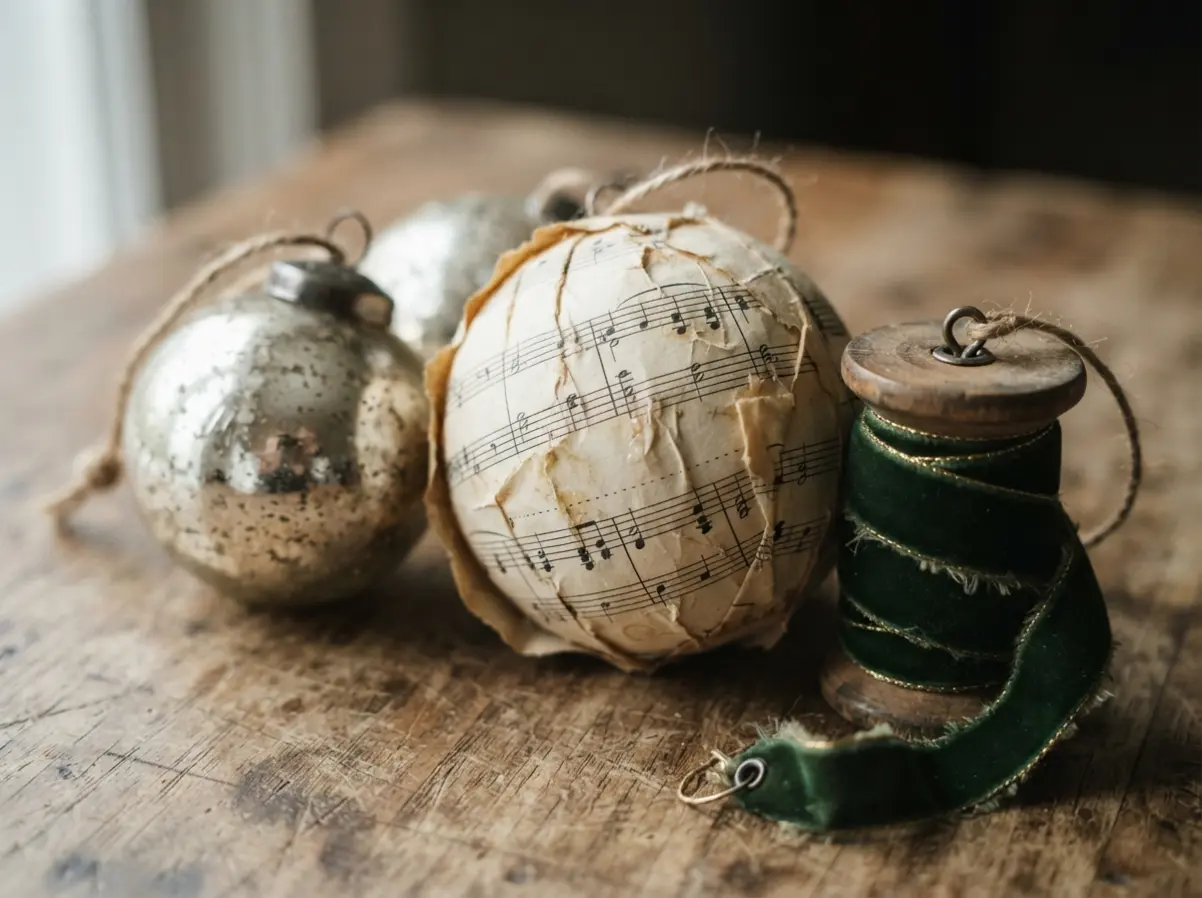
Let’s look at some beautiful possibilities for your tree.
Achieving Authentic Patina and Surface Texture
Starting your DIY vintage looking ornaments requires a matte acrylic sealer applied over metallic wax or paint to add decades of character. You might skip this step, but trust me on this, a modern glossy finish will shout brand new instead of heirloom. You want to focus on surfaces that naturally age, like the soft crackle you get from layering a decoupage medium over dried paint.
Oxblood red and forest green paints look more authentic when you rub them back with fine sandpaper to reveal the base layer underneath. Mimicking tarnished metal works best by applying a dark brown base coat before your gold or silver. This layering technique creates depth and shadows, just like real oxidation over time.
Sourcing Reproduction Victorian and Edwardian Materials
Your finished collection of DIY vintage looking ornaments feels truly antique when you start with Dresden paper cutouts instead of modern printed scrapbook stickers. These delicate, foiled embellishments were a hallmark of the era and they add an instant touch of history you cannot replicate. You will notice a huge difference using fine mica flakes or sugar glitter rather than today’s chunky plastic sparkles.
Look for aged sheet music or ledger paper with those lovely tea-stained edges to decoupage onto your baubles. The muted color palette is everything, so hunt for paints and papers in ivory, gold, and deep oxblood. This specific approach to sourcing ensures your work carries the formal elegance of a bygone holiday.
1. Distressed Decoupage Sheet Music Ball
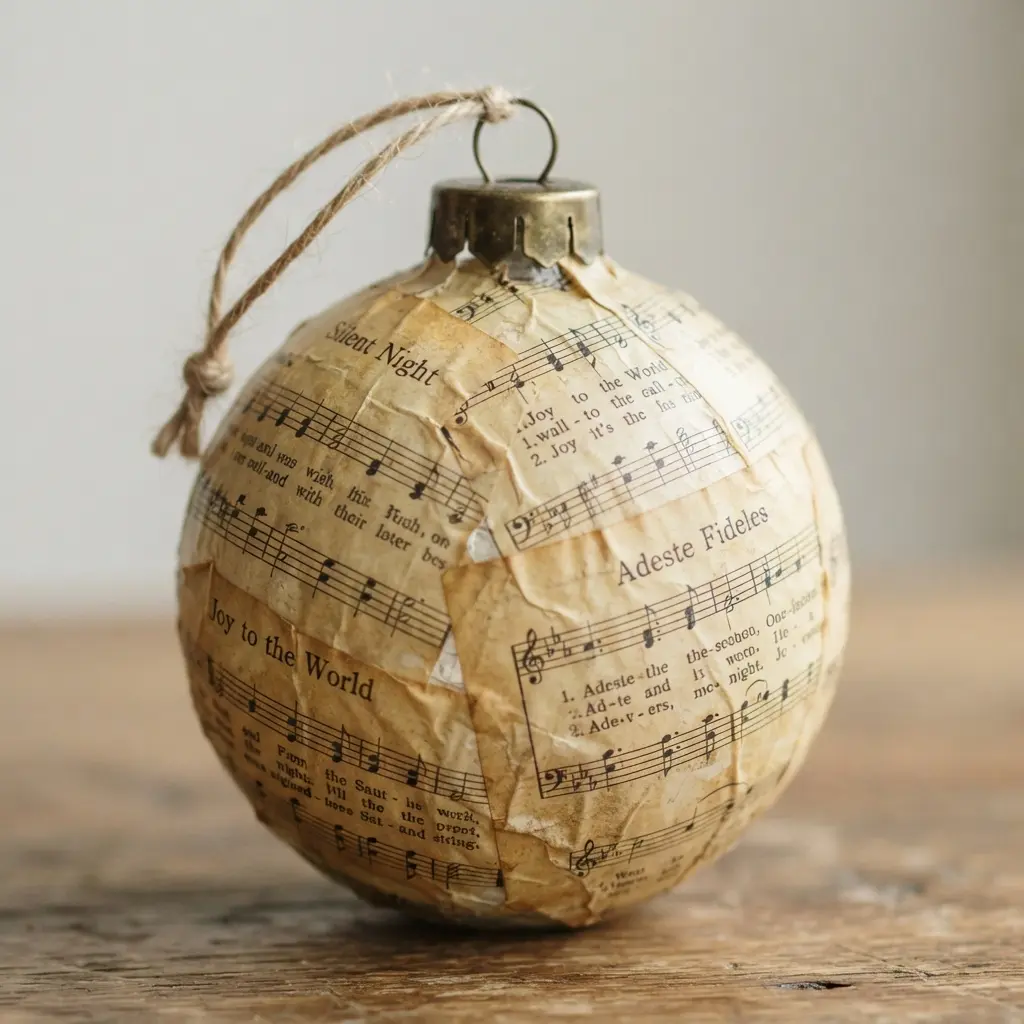
Ever wondered how to get that perfect antique look? This one surprised me. You cover a simple Styrofoam ball with torn pieces of old sheet music, sealing each layer with decoupage medium.
The real magic happens when you gently sand the edges. Build your DIY vintage looking ornaments carefully and apply a little brown distress ink to mimic age. It works well because the process naturally creates unique, worn character you cannot buy.
Trust me, tearing the paper by hand makes all the difference for that soft, vintage feel. Let your ball dry completely before you start the aging step.
This prevents the ink from smudging and gives you a clean surface to work on. A quick tip is to use a sponge dauber for applying the ink, as it gives you more control over the subtle shading.
The finished piece has a wonderful shabby chic aesthetic that feels nostalgic and handmade. You will love how it turns out.
This remains a fantastic project if you are also interested in other handmade decorations. For a completely different but equally beautiful crystal effect, the process for making DIY borax crystal ornaments is a great skill to have in your toolkit. Both add a special, personal touch to your holiday decor. Does that not sound satisfying?
2. Mercury Glass Texture Painted Bauble
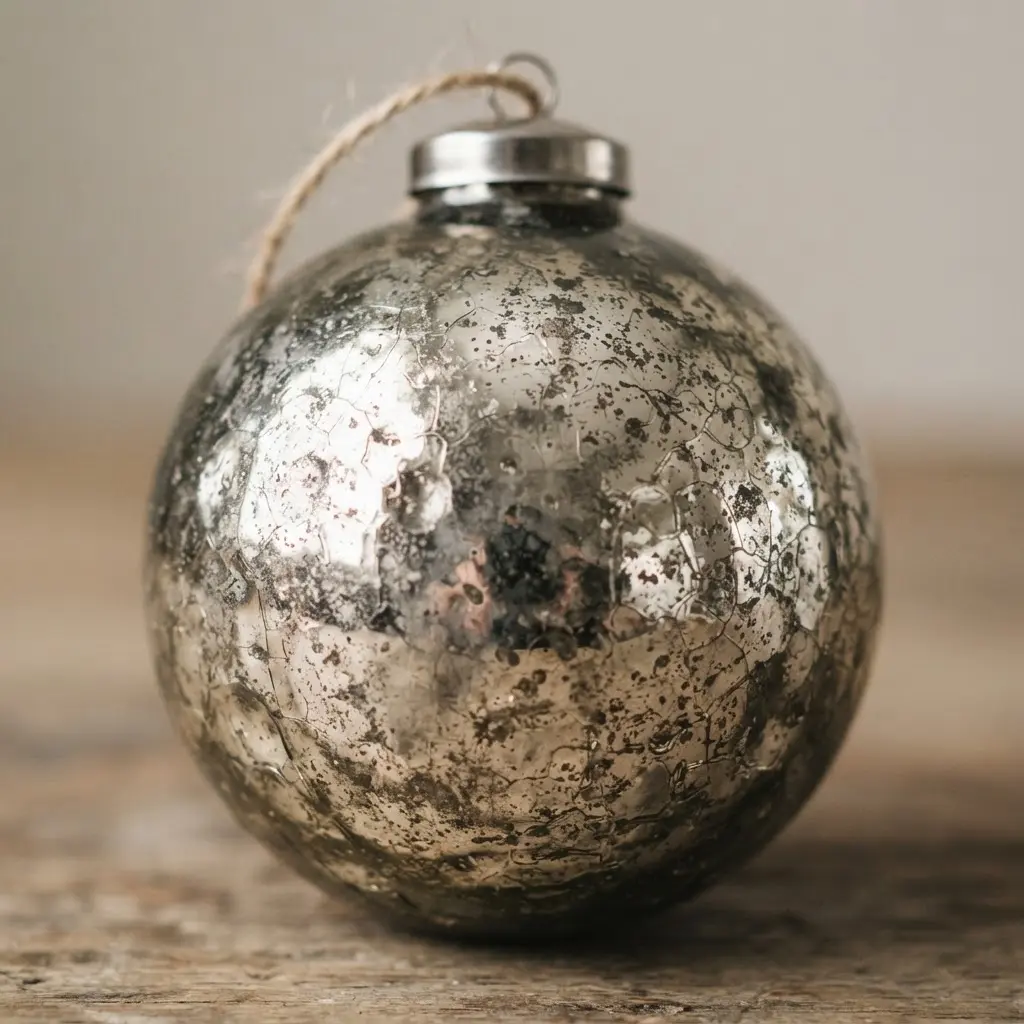
This one surprised me. It looks like you found an antique, but you make it yourself in about twenty minutes. When designing DIY vintage looking ornaments, the trick is painting the inside of a clear glass bauble with a thin coat of metallic silver spray paint.
While that layer is still tacky, you spritz a little water or rubbing alcohol inside to create the classic speckled, distressed texture. Let it dry, then add a light backing coat of dark paint to make it pop. That layered approach explains why it works so well.
It creates an illusion of depth and a soft, reflective glow that feels truly vintage. I love this look for a classic tree, and it pairs wonderfully with other handmade pieces like fabric pinecone Christmas ornaments. Feel that elegant, old-world charm when you hang it up.
3. Aged Brass Filigree Wire Ornament
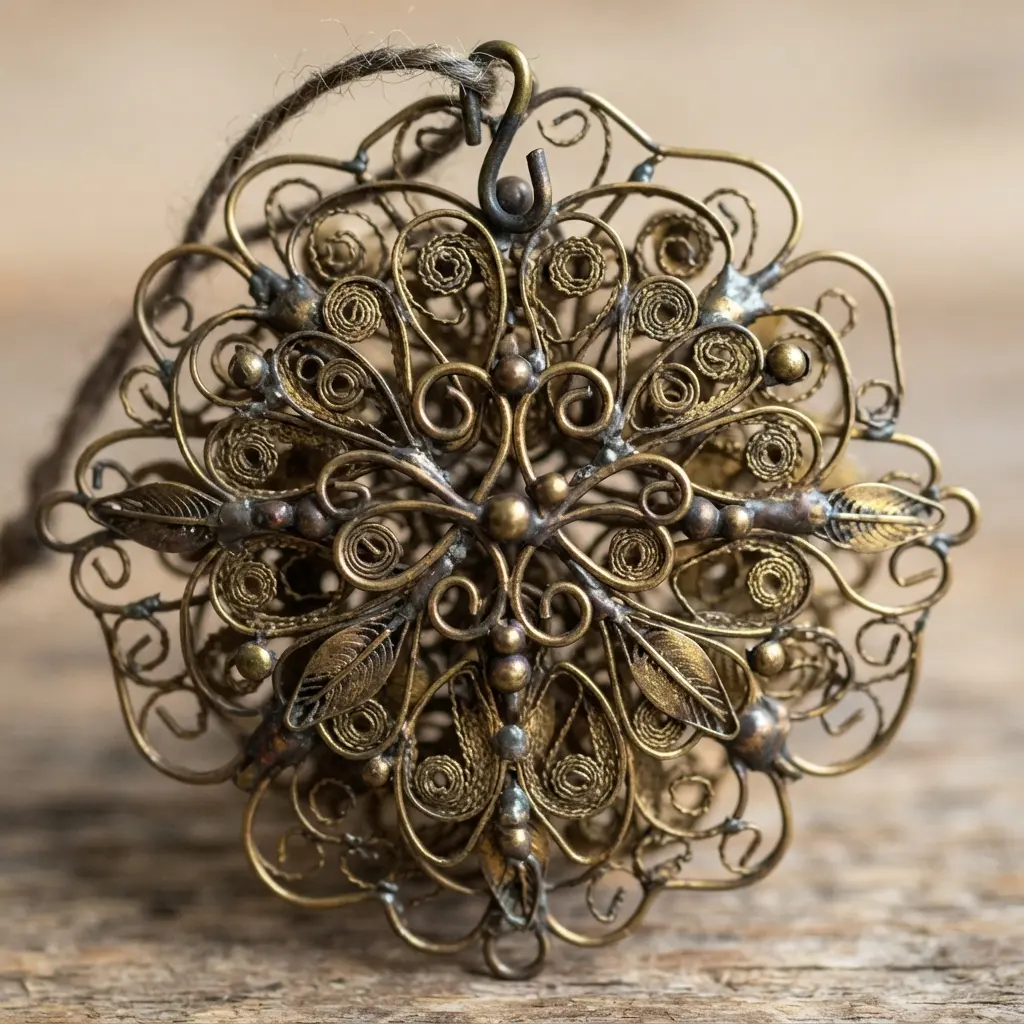
Ever wondered how those intricate, antique-looking pieces are made? This one surprised me. Aspiring makers of DIY vintage looking ornaments will find the core technique is all about shaping fine brass wire into delicate, openwork patterns.
Solder the joins carefully to secure the design. You’ll then use a chemical solution to create that beautiful, rich patina on the metal, giving it instant vintage charm. What makes this so satisfying is the contrast.
The airy, light filigree structure gets this warm, deep color that feels full of history. It stands out beautifully against shiny, modern decorations. Trust me on this one: practice your soldering technique on scrap wire first to get clean, tiny joins.
That patience pays off when you see the final, heirloom-quality piece. For another quick project with a completely different texture, these creative washi tape crafts are a fun, colorful alternative.
Your tip is to work in smaller sections. Build and solder parts of the design separately before joining them into the full ornament. This makes managing all those tiny wires much easier. Feel the pride when you hang your handmade creation on the tree.
4. Victorian Botanical Pressed Leaf Ornament
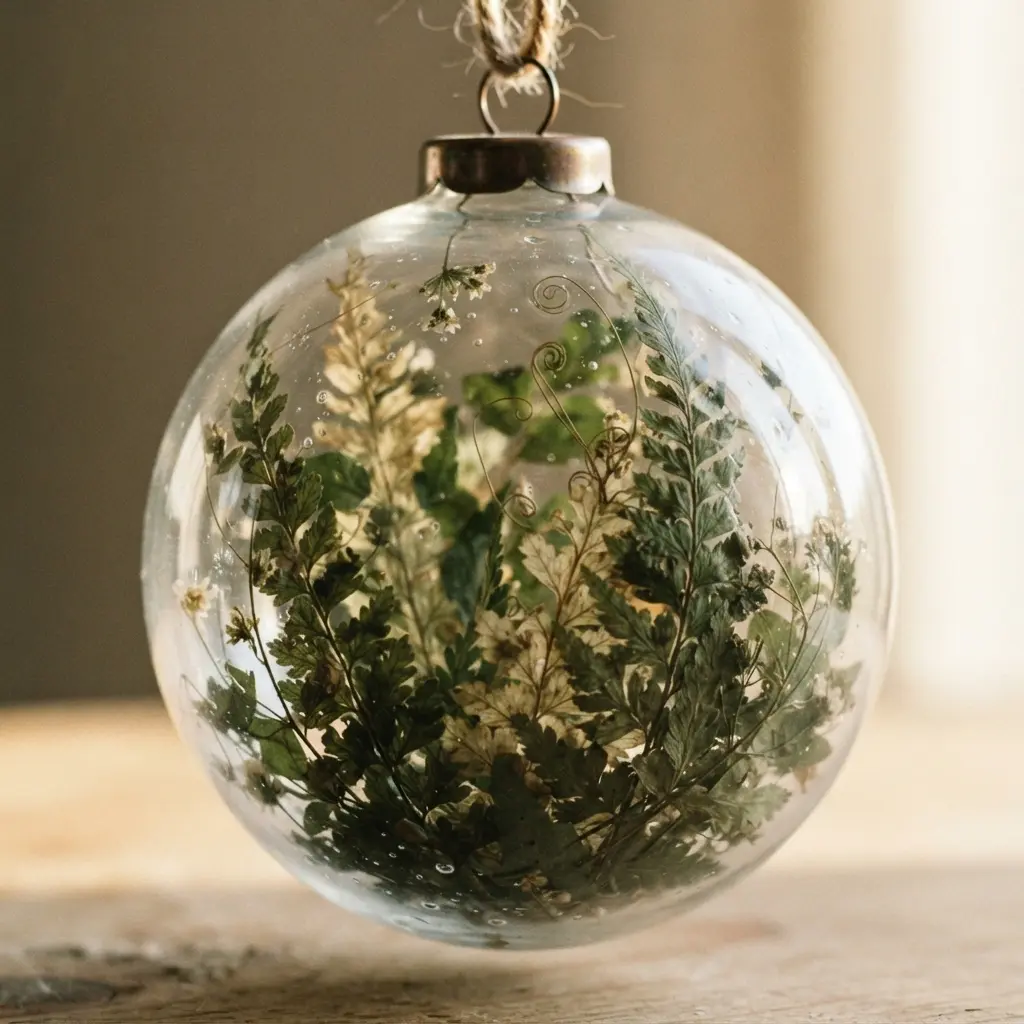
Ever notice how a single, perfect leaf can feel like a little piece of art? This project transforms that feeling into a tangible keepsake. Preparing foliage for your DIY vintage looking ornaments means carefully selecting a beautiful, unblemished leaf and pressing it flat in a heavy book for a few weeks.
Once it’s perfectly dry, arrange it on a piece of cream, acid-free paper and secure it with just a tiny dab of light glue. The whole thing then gets tucked into a small, dark wood frame with a glass front.
I love this process because it slows you down and connects you to nature in a quiet, elegant way. The payoff is a truly timeless decoration that feels personal and refined.
For a completely different but equally satisfying craft texture, you might enjoy exploring some creative puffy paint craft ideas for your other holiday projects. The key to success here is patience during the pressing stage. Rushing it means your leaf might curl or lose its lovely color, so let those books do their work.
You will adore the delicate, vintage charm this brings to your tree.
5. Velvet Ribbon Wrapped Vintage Spool
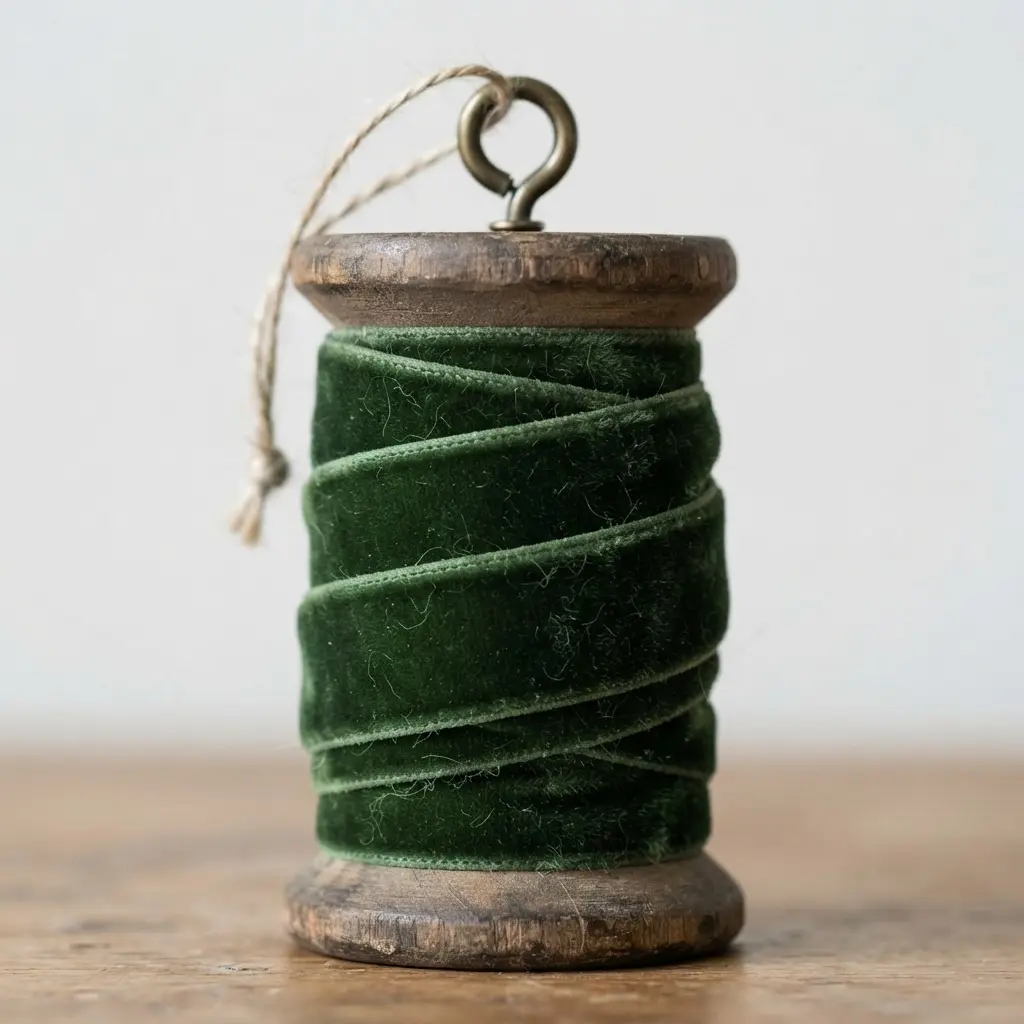
This project looks elegant, but it remains incredibly straightforward. You start with a clean, vintage wooden spool and wrap it tightly with a velvet ribbon. When assembling DIY vintage looking ornaments like this spool, keep steady tension so the ribbon lays smooth without gaps.
I love how the soft texture of the velvet plays against the rustic wood grain that might peek through. That mix of rough and plush feels instantly nostalgic and warm.
This remains a fantastic project to do while watching a movie, and it makes a lovely, simple gift. If you’re making decorations with younger helpers, practicing with some easy winter craft projects first builds their confidence for handling ribbon and glue.
6. Ephemera Collage Victorian Scrap Ornament
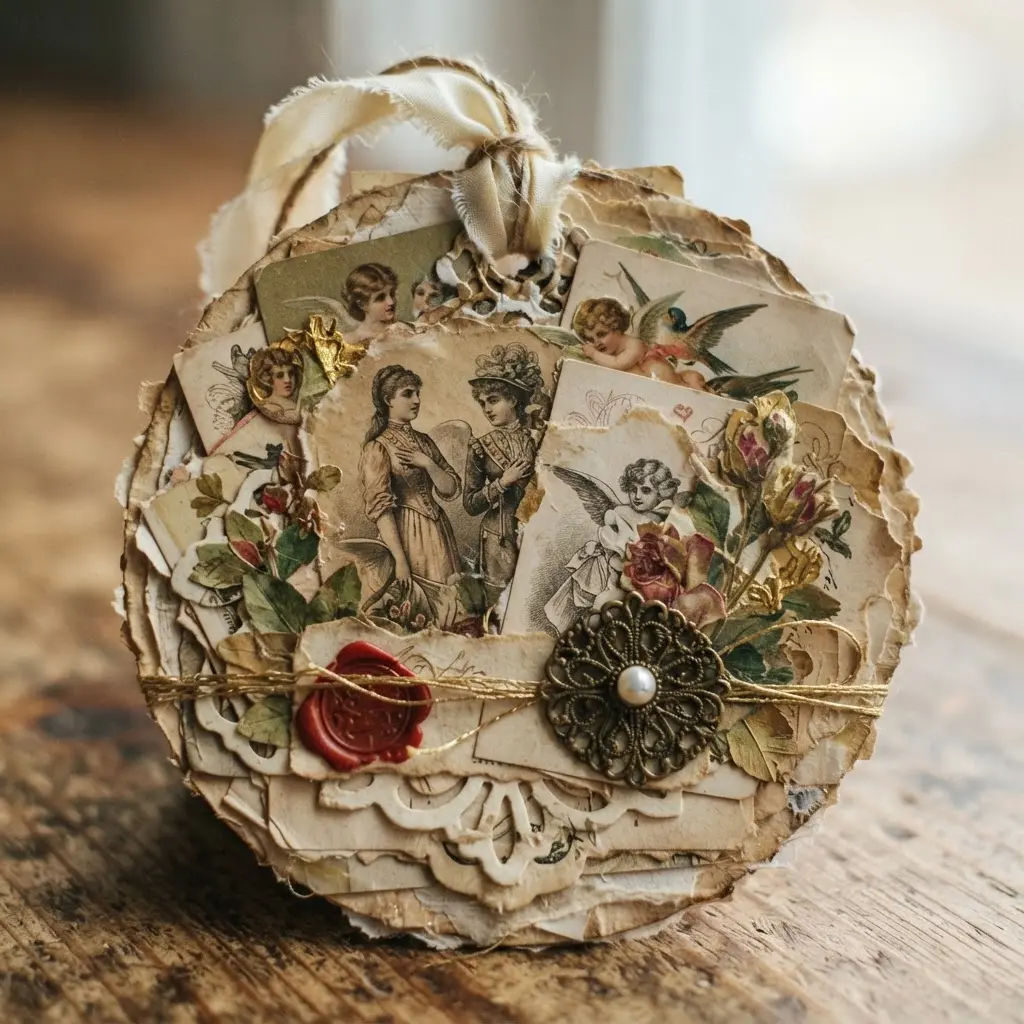
This design looks like you spent hours in an antique shop, but it remains surprisingly simple to layer together. Collectors of DIY vintage looking ornaments enjoy covering a base, like a Styrofoam ball, with cut-out Victorian images and delicate papers.
Use decoupage glue, then add tiny lace or button accents for extra dimension. It works because each piece of ephemera tells a little story. The overlapping layers create a wonderfully rich texture that feels authentically old.
I love that no two ornaments ever look the same. My go-to tip is to use tweezers for placing the smallest paper scraps.
It gives you perfect control and keeps your fingers clean. Feel the magic when your collage comes together.
7. Antique Lace Covered Glass Sphere
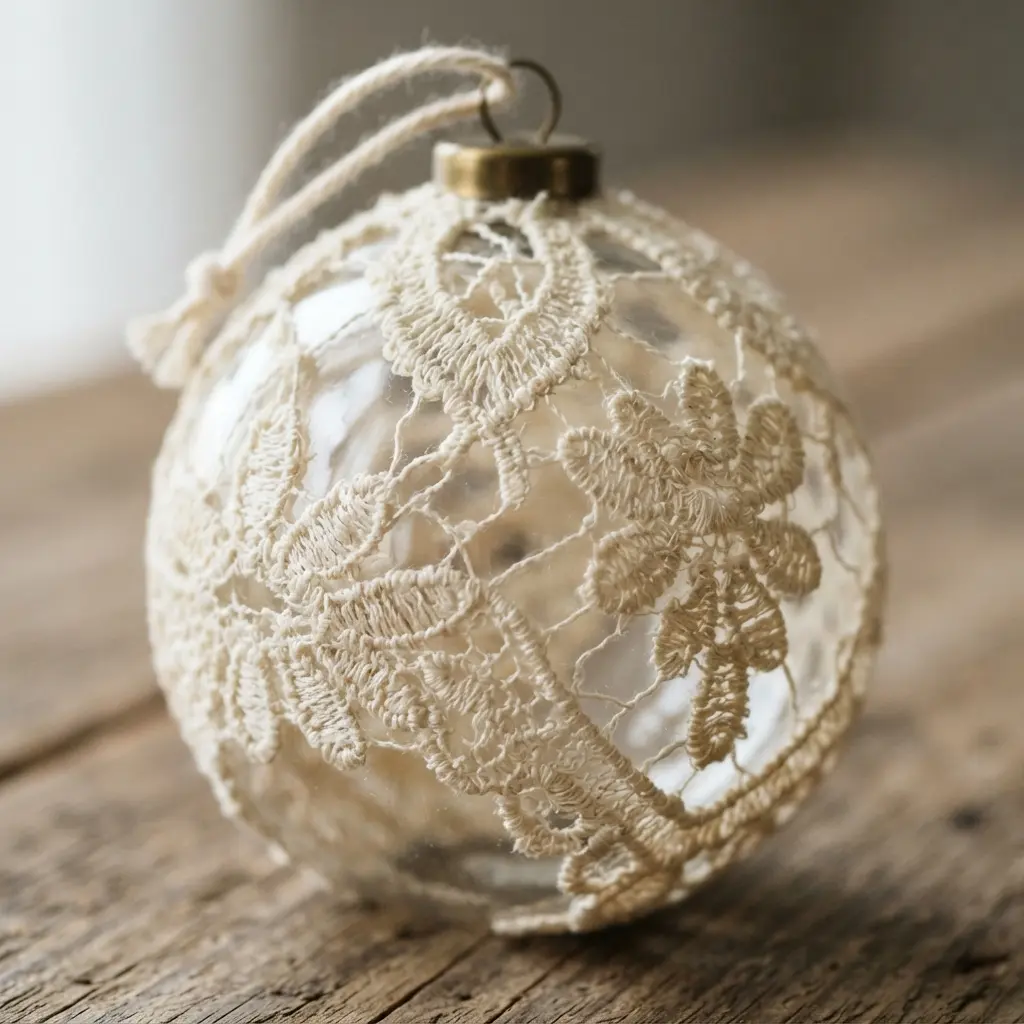
This piece looks incredibly delicate, but I love how forgiving it is to handle. You start by cleaning your glass sphere and selecting pieces of antique lace that speak to you. Designing your own DIY vintage looking ornaments this way means draping the lace carefully and securing it with a tiny amount of clear fabric glue.
The combination of fragile lace and smooth glass creates a soft, romantic glow. That touch of old-world elegance is pure holiday magic.
Trust me on this one, a dry run with the lace before gluing makes the final placement perfect. If your design feels a bit flat, adding some paper collage techniques for kids can inspire you to layer textures. Does that not look stunning when the light hits it?
8. Salt Dough Cookie Silhouette Star
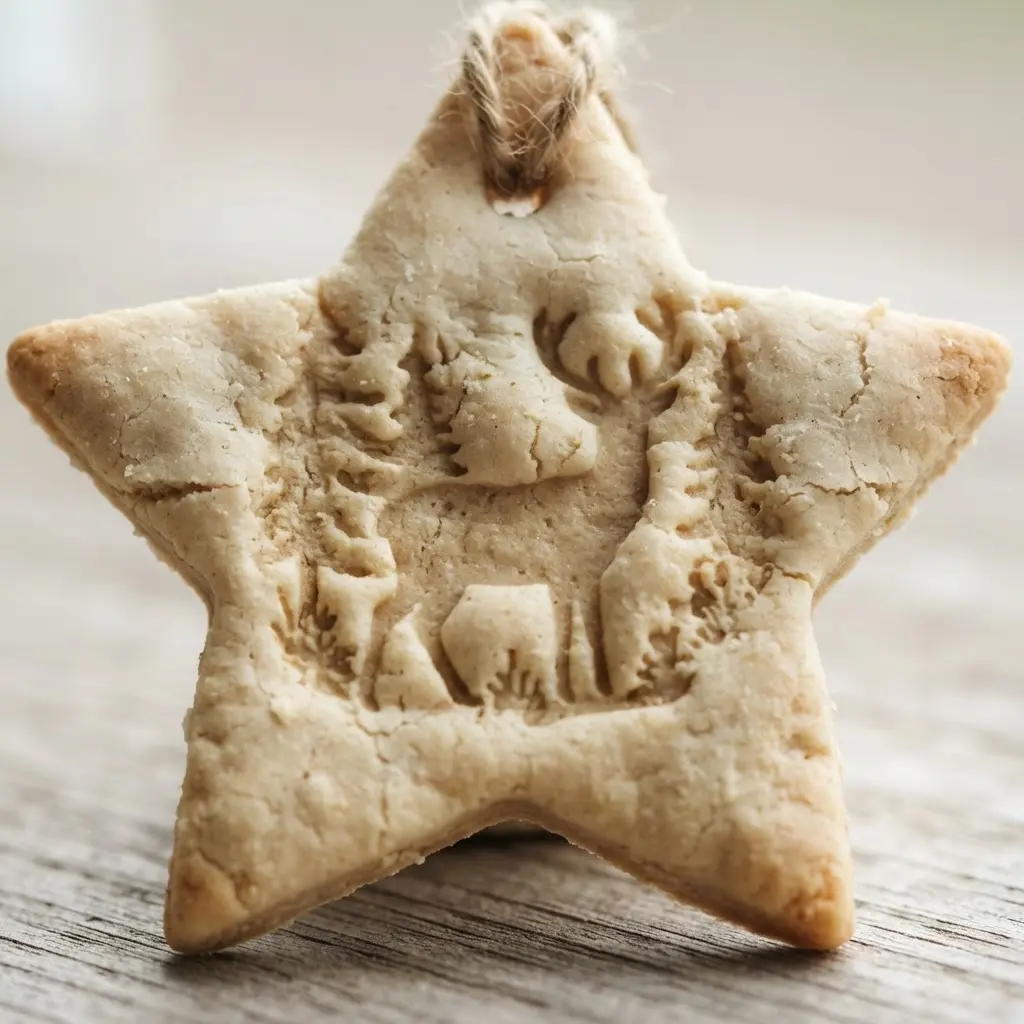
Ever wondered how to get perfect rustic charm without breaking the bank? Creating DIY vintage looking ornaments from scratch here means rolling out your salt dough and cutting it with a large star cutter.
Use a smaller cutter to punch out a silhouette in the center. I love how that cut-out detail adds elegance. It remains surprisingly simple and feels wonderfully homemade.
The real secret to success lies in the baking. Dry these pieces at a low temperature for several hours until they become completely hard. Trust me on this one, rushing the step leads to cracks or mold.
That patient, slow bake gives them the durable, vintage look you want. You will feel proud hanging these handmade stars on your tree.
These make a fantastic group activity, and you can branch out into other seasonal shapes. For another classic fall-to-winter idea that uses natural materials, look into making DIY fall acorn decor. The satisfaction of creating your own decorations remains special.
9. Felted Wool Mushroom Ornament Pair
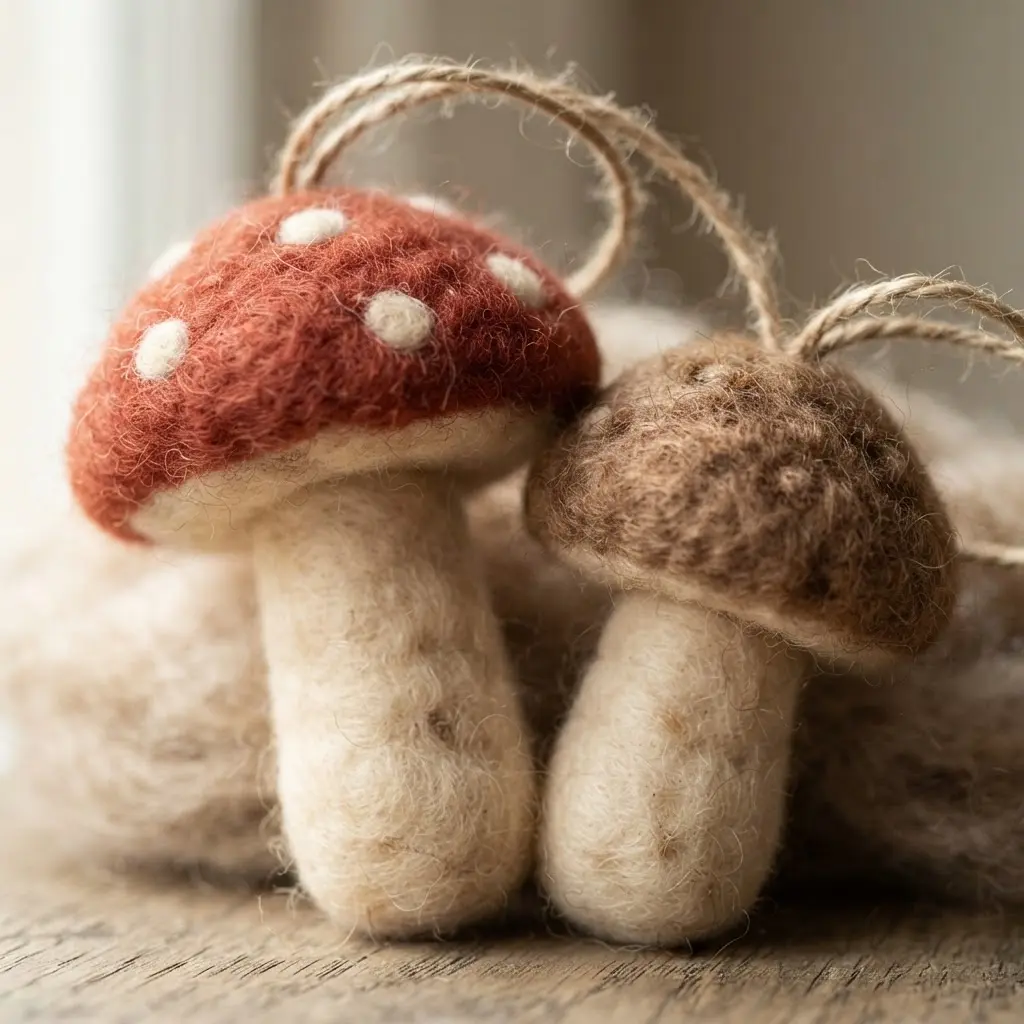
These felted mushrooms look like they belong in a fairy tale, don’t they? The process for making DIY vintage looking ornaments starts with shaping a dense core from wool roving using a barbed felting needle.
Wrap colored fibers around that core to create the cap and stem. Felt them together until they feel completely solid. I love how the soft texture gives them warm, rustic charm that feels so personal on the tree.
Try it and feel the magic when your whimsical woodland pair is complete. If you want to add tiny details like spots to the caps, a great way to get crisp lines is by decorating with Sharpie markers.
Wait until the wool feels fully dry before adding ink.
10. Gilded Dried Orange Slice Pendant
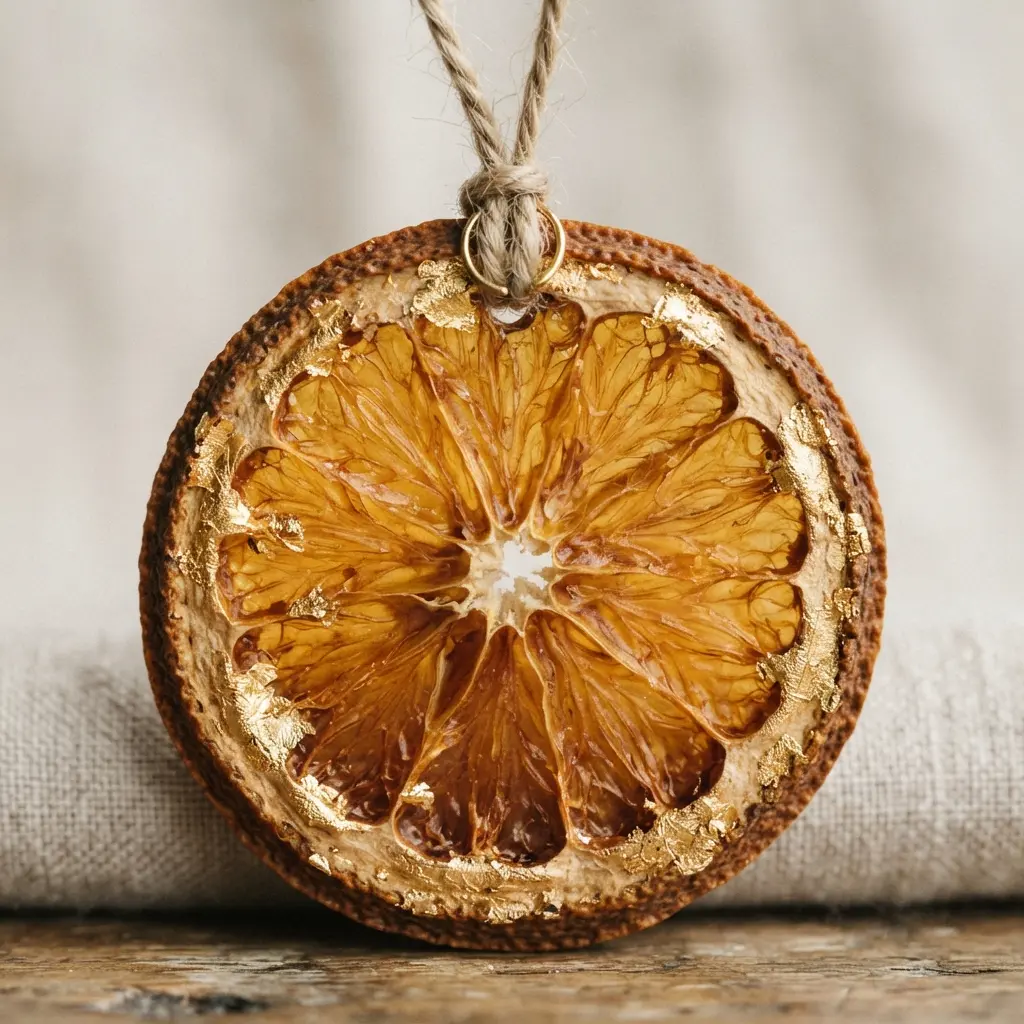
Who says decorations have to stay on the tree? This remains my favorite way to wear charm. Thinly slice and bake an orange until it becomes completely dry and translucent.
The magic happens when you brush on a thin layer of gilding adhesive. Crafting these DIY vintage looking ornaments requires pressing those delicate metallic flakes onto the tacky surface. Brush away the excess to reveal a beautiful, antique shimmer against the natural citrus pattern.
I love how the flakes catch the light and add such elegant sophistication. The technique proves surprisingly simple with a stunning payoff. Make sure your orange slices are bone-dry and firm before gilding.
A common pitfall is applying too much adhesive, which makes the finish clumpy instead of delicate. Once your pendant looks perfect, protect it with a clear sealant and drill a small hole for a jump ring.
If you enjoy working with metallic finishes, mastering basic foil craft techniques will open possibilities for your other holiday projects. Does that not look stunning?
Preservation and Storage for Antique Style Crafts
Protect your delicate decorations year-round by wrapping each one in acid-free tissue paper before boxing them away. You will ruin a perfect patina if you let pieces rub against each other in a bin. Store them in a sturdy container with a tight lid, because dust settling on a matte finish proves incredibly difficult to clean off without damage.
Keep the box in a cool, dry place, as humidity causes paper elements to warp or adhesives to fail. Properly storing your DIY vintage looking ornaments guarantees these handmade treasures look just as beautifully aged next season, ready to tell their story on your tree again.
Conclusion
The best part of making your own vintage decorations is that each one carries a bit of your story into the holiday season. They become instant heirlooms, full of the character and care only handmade things possess. My best advice is to start with one project that speaks to you, and don’t be afraid to layer textures and finishes a little more than you think you should.
That careful layering is often where the real vintage magic happens. I hope this gallery of DIY vintage looking ornaments gives you a spark of inspiration for a tree that feels wonderfully personal and full of history.
FAQs
Q: What is the most important thing for making ornaments look vintage?
A: Focus on your materials and finishes. Choose substrates like aged paper, tarnished metals, or natural fibers, and use techniques like distressing, crackling, or applying sepia-toned inks to mimic wear and patina.
Q: Can I make vintage ornaments if I am a beginner?
A: Absolutely. Start with simple projects like wrapping a spool in velvet ribbon or decoupaging sheet music onto a plain ball. The key is in the finishing—a light sanding or a wash of brown ink can add instant age.
Q: What colors should I avoid for an antique look?
A: Avoid bright, neon, or pure white colors. These look too modern. Instead, work with muted, earthy tones like cream, sepia, olive green, muted red, and antique gold to create a softer, historical feel.
Q: How do I distress paper for decoupage ornaments?
A: Crumple your paper tightly, then smooth it out. You can also run the edges along a damp tea bag or sponge on diluted brown acrylic paint to stain it. Let it dry completely before gluing it to your ornament.
Q: Where can I find supplies for these projects?
A: Check thrift stores for old lace, ribbon, and ephemera. Craft stores carry glass ornaments, metallic paints, and crackle mediums. Foraging for natural elements like dried citrus or leaves adds authentic character.








