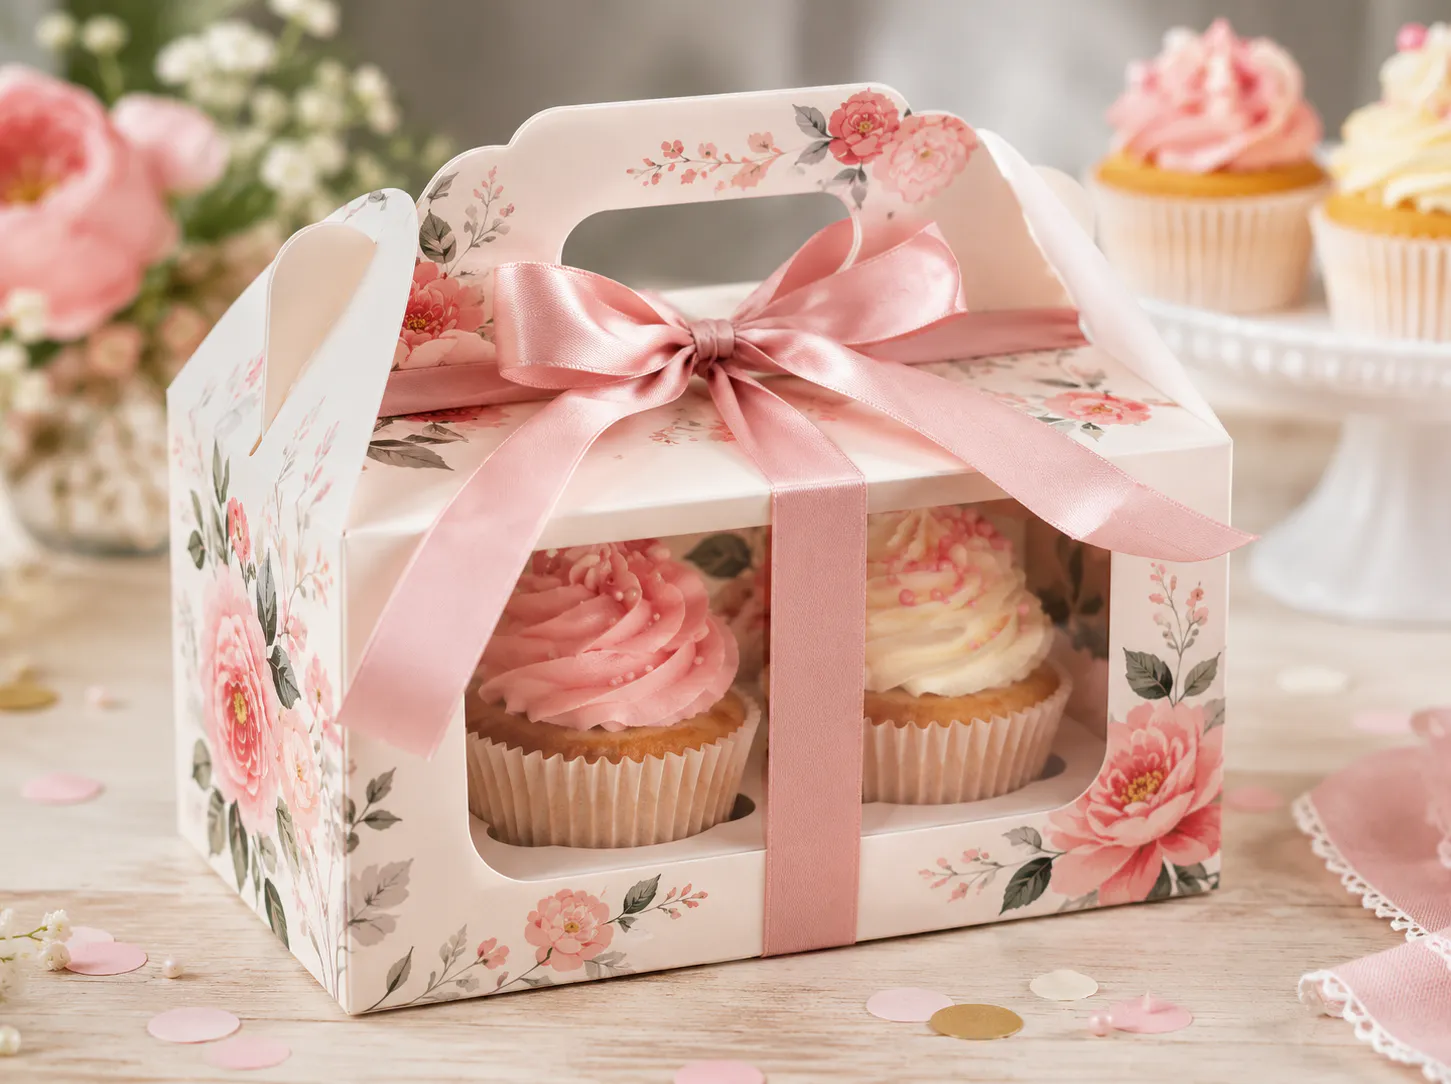
Structural Integrity Requirements For Cupcake Transport
The fastest way to ruin a finished project is using a material that buckles under the weight of buttercream. Your main job is preventing frosting smearing when building diy cupcake containers, and that starts with choosing something rigid enough.
Corrugated board, the kind from shipping boxes, is your best friend here because its fluted interior provides serious strength with minimal bulk. We tend to skip this step, but trust me, a single layer of thick cardstock simply will not cut it. The good news is that reclaimed materials work perfectly, so you likely have the perfect corrugated board in your recycling bin right now.
Just avoid anything flimsy like standard printer paper, as it lacks the essential structural stability for safe travel.
Precision Measurement Techniques For Custom Inserts
A snug, measurement-based fit is the only thing that prevents sliding during a car ride when you design diy cupcake containers. You want to avoid guessing here, because even a quarter-inch gap lets those precious cakes tilt and smash their icing. The trick is to first measure the exact diameter of your cupcake bases, then add a tiny, firm one-eighth inch to that number.
This precision creates a gentle friction hold that keeps each dessert upright. Use a metal ruler and a sharp utility knife for these clean apertures, as ragged scissors cuts weaken the entire grid system. Getting this right means your decorative piping and fancy toppers arrive completely intact, which is the whole point of your homemade carrier.
1. Recycled Cardboard Windowed Single Carrier — A Clear View
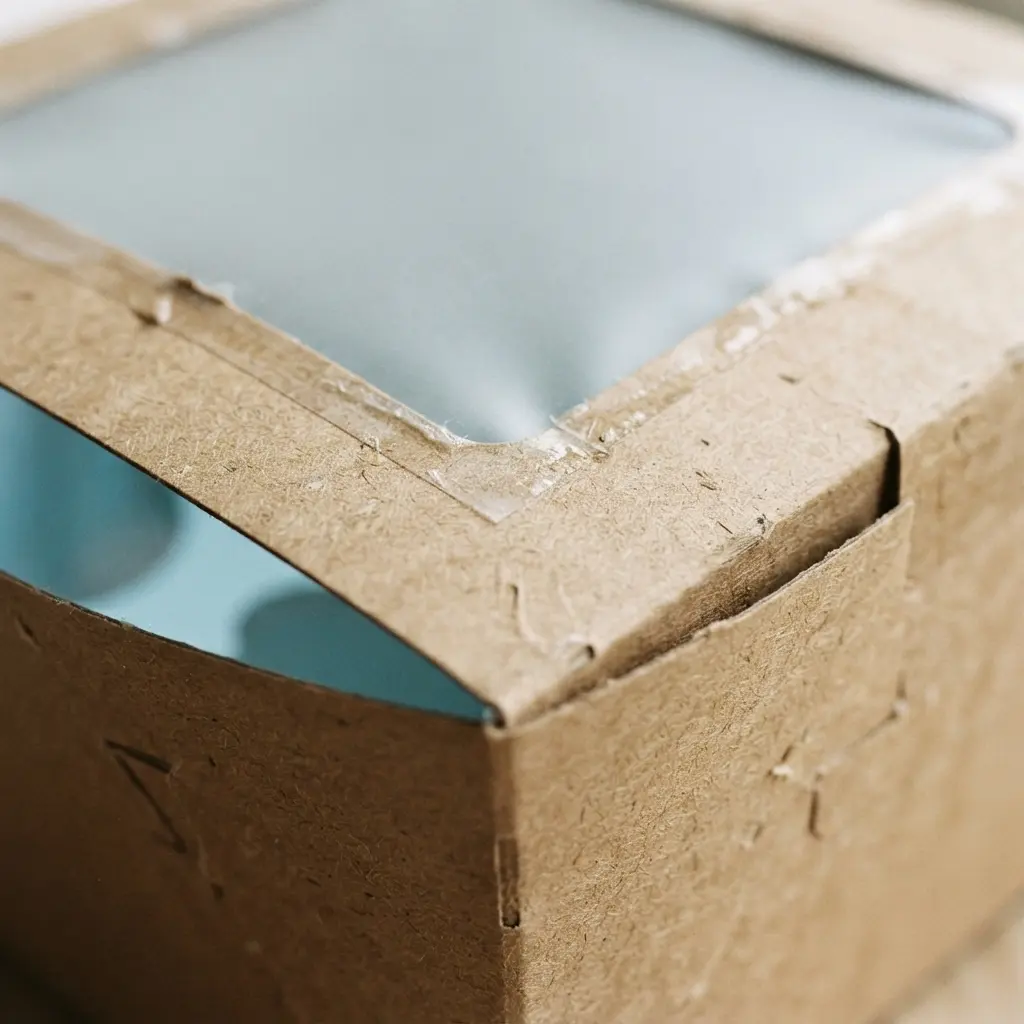
Ever wondered how those fancy bakeries make one cupcake look so special? This simple idea for diy cupcake containers is all about giving a single treat the spotlight it deserves. You take sturdy recycled cardboard and cut a neat window in the front, then seal it with a clear film.
The result is a little box that protects your cupcake while showing off every sprinkle. It works because that peekaboo view builds excitement and trust, letting the treat sell itself. I love how this turns a basic carrier into a tiny display case.
Your main job is picking a window film that stays crystal clear and does not fog up. For a truly personal touch, you can decorate the outside to match your event, just like you would with other creative homemade gift containers. Feel proud handing over a little masterpiece.
2. Decorative Washi Tape Shoebox Insert: Customizable Compartments
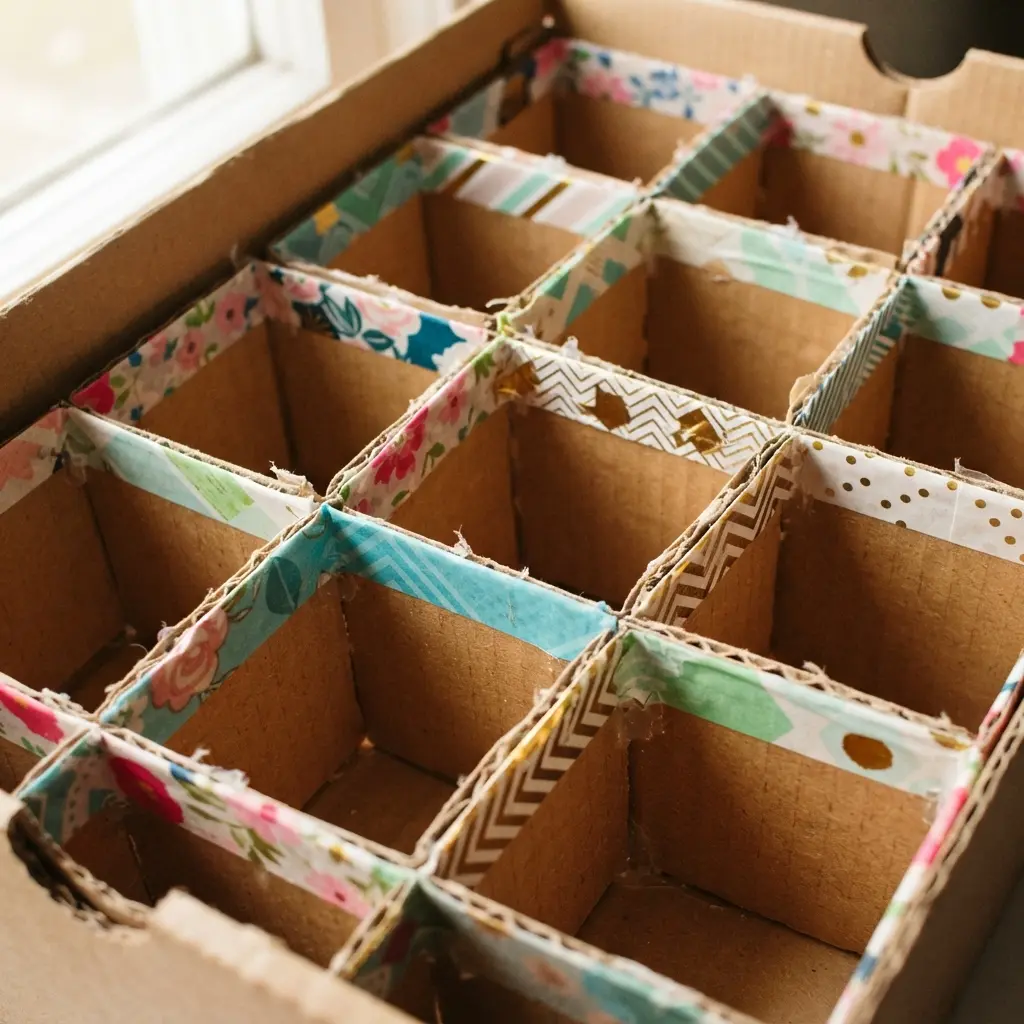
This one is a personal favorite because it looks so clever yet is incredibly simple. You just slot custom sizing for diy cupcake containers into a base to create the exact size compartments your treats need. I love using a sturdy shoebox and lining it with pretty patterned cardstock first for a polished look.
The best part is how it lets your collection grow, since you can rearrange the compartments anytime. Ever feel like your items are a jumbled mess? This system stops them from rolling around and shifting. Try it and feel the satisfaction of a perfectly organized collection.
3. Clear Plastic Ornament Sphere Individual Pod
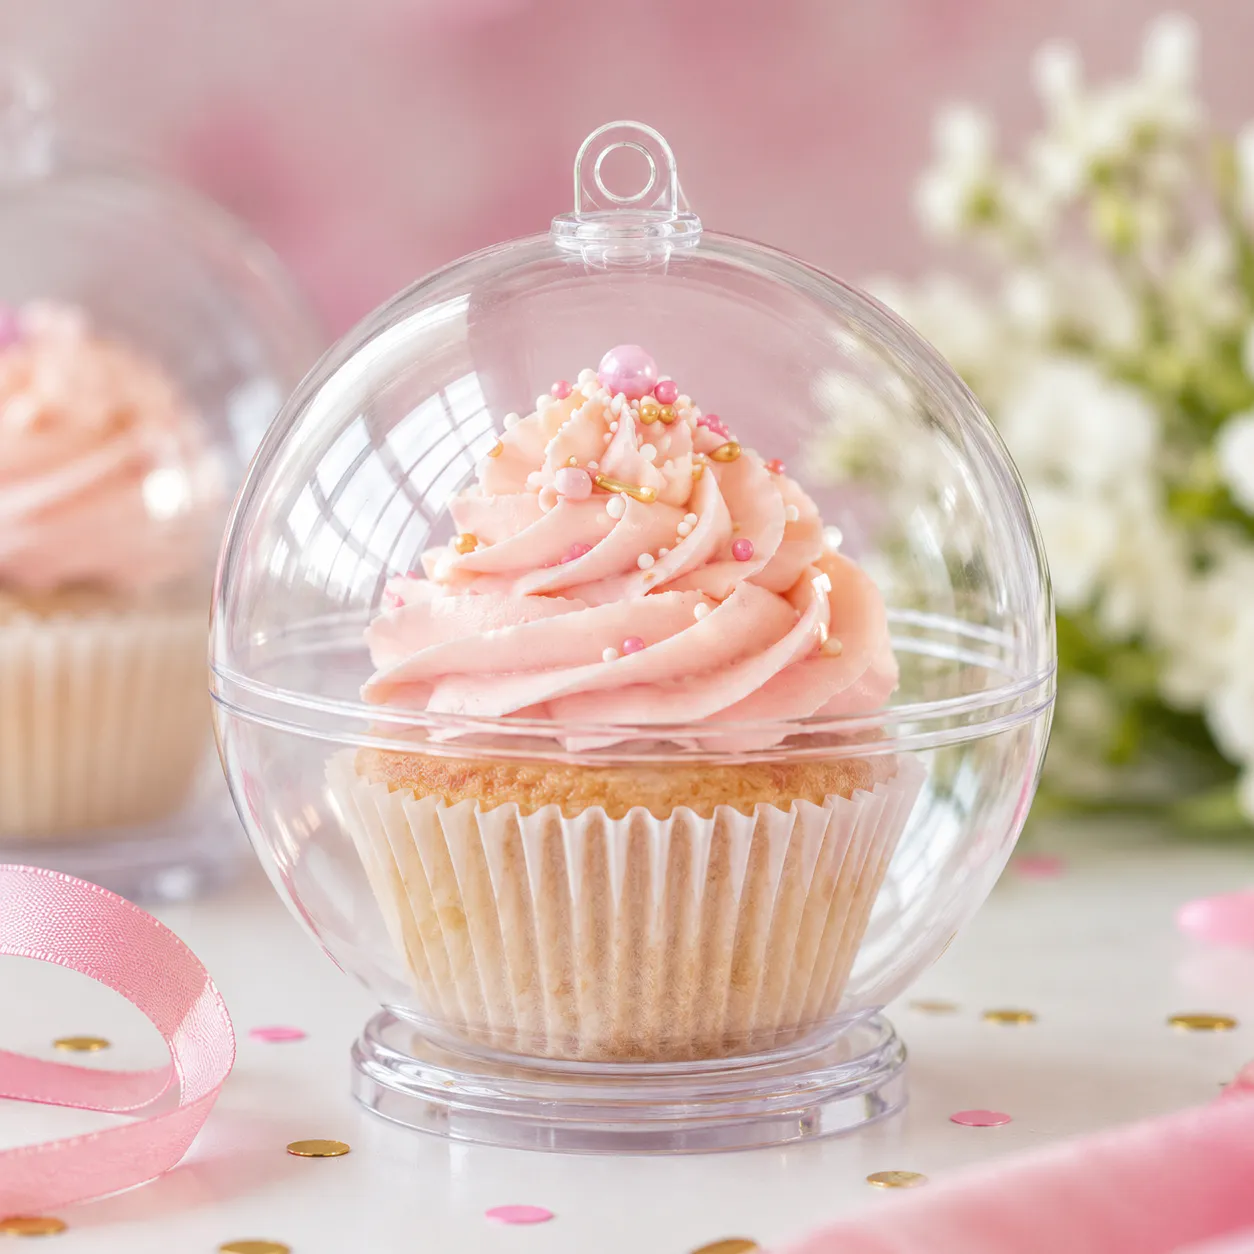
Ever wondered how to keep tiny cupcake toppers perfectly separated inside your diy cupcake containers? This clever design solves that problem with its built-in compartments. You simply open the two halves and fill each little pod with your chosen items. The clear plastic sphere lets all the colors and textures shine through while keeping everything neatly organized inside.
I love this method because it prevents your decorative bits from getting jumbled together. It is like having a tiny, portable display case for each element. For a super secure and stylish presentation, you can add a few crafty photo holders to your dessert table setup.
The final look is so satisfying and professional. It works beautifully for any small treat you want to keep pristine.
4. Rustic Burlap Wrapped Cardboard Gift Box — Simple Elegance
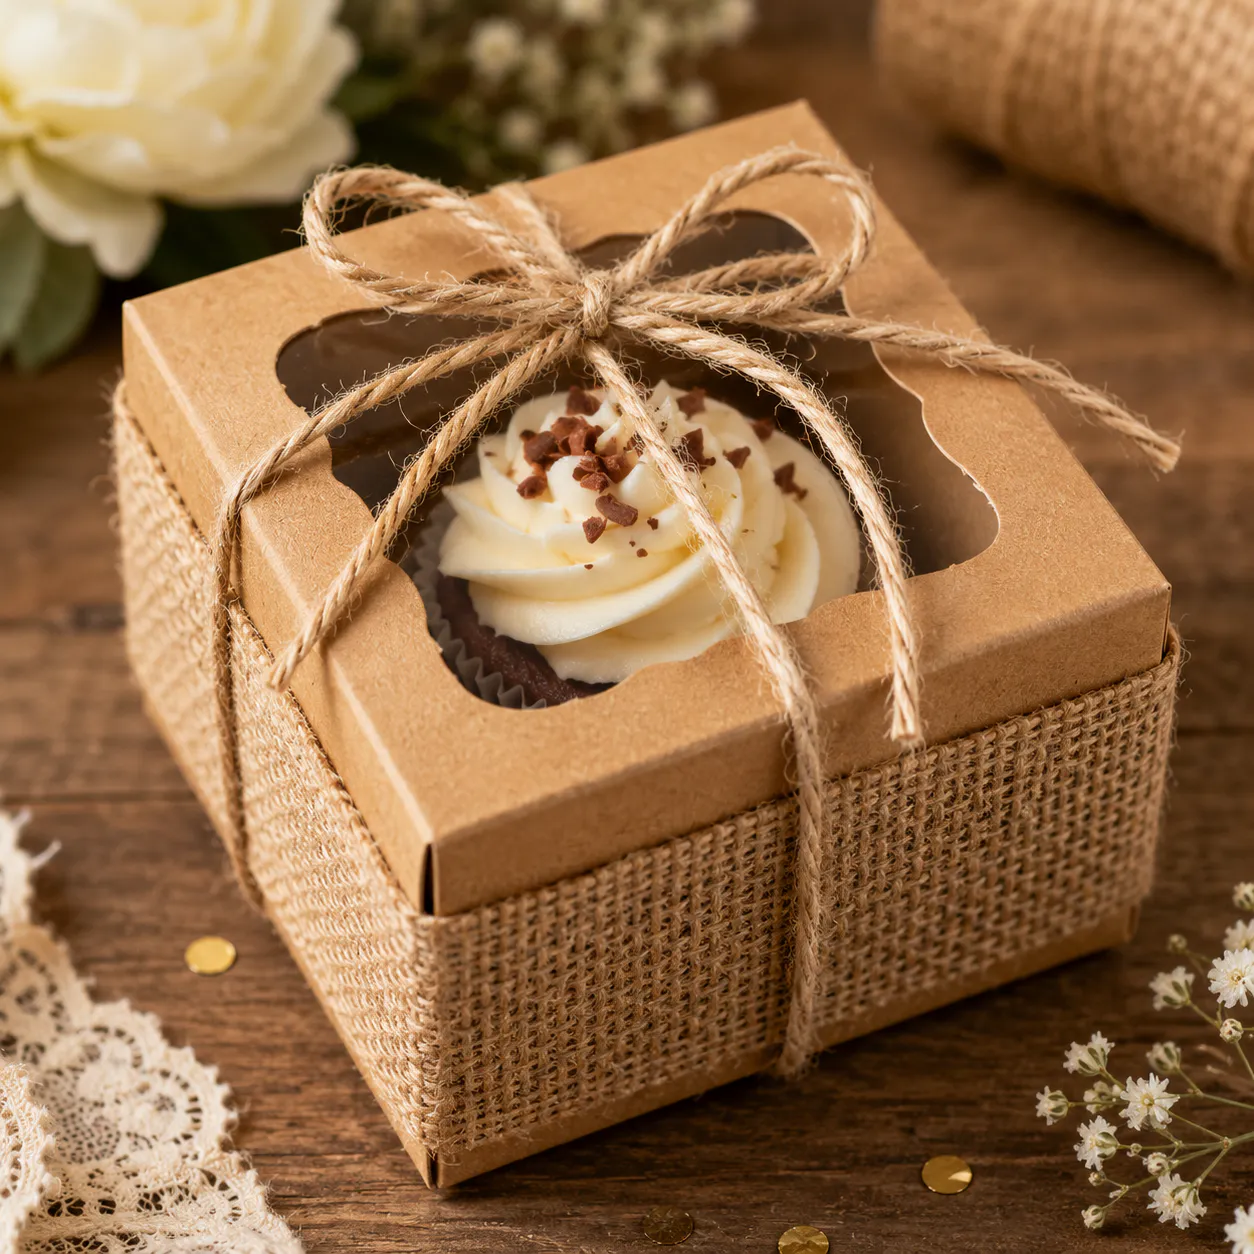
Ever wondered how to make a plain box feel like a cherished heirloom? You will start with a simple cardboard box, then wrap it with pieces of burlap fabric, securing each side with a strong adhesive. The trick is to cut your burlap slightly larger than each face so you can fold the excess over the edges for a neat finish.
I love the natural texture it adds, making your diy cupcake containers feel special and handmade before they are even opened. It works so well because that rustic, earthy look brings a sense of simple elegance to any occasion. Trust me on this one, taking your time to smooth out the fabric as you glue it down makes all the difference for a flawless result.
5. Pastel Cardstock Geometric Pyramid Favor Box
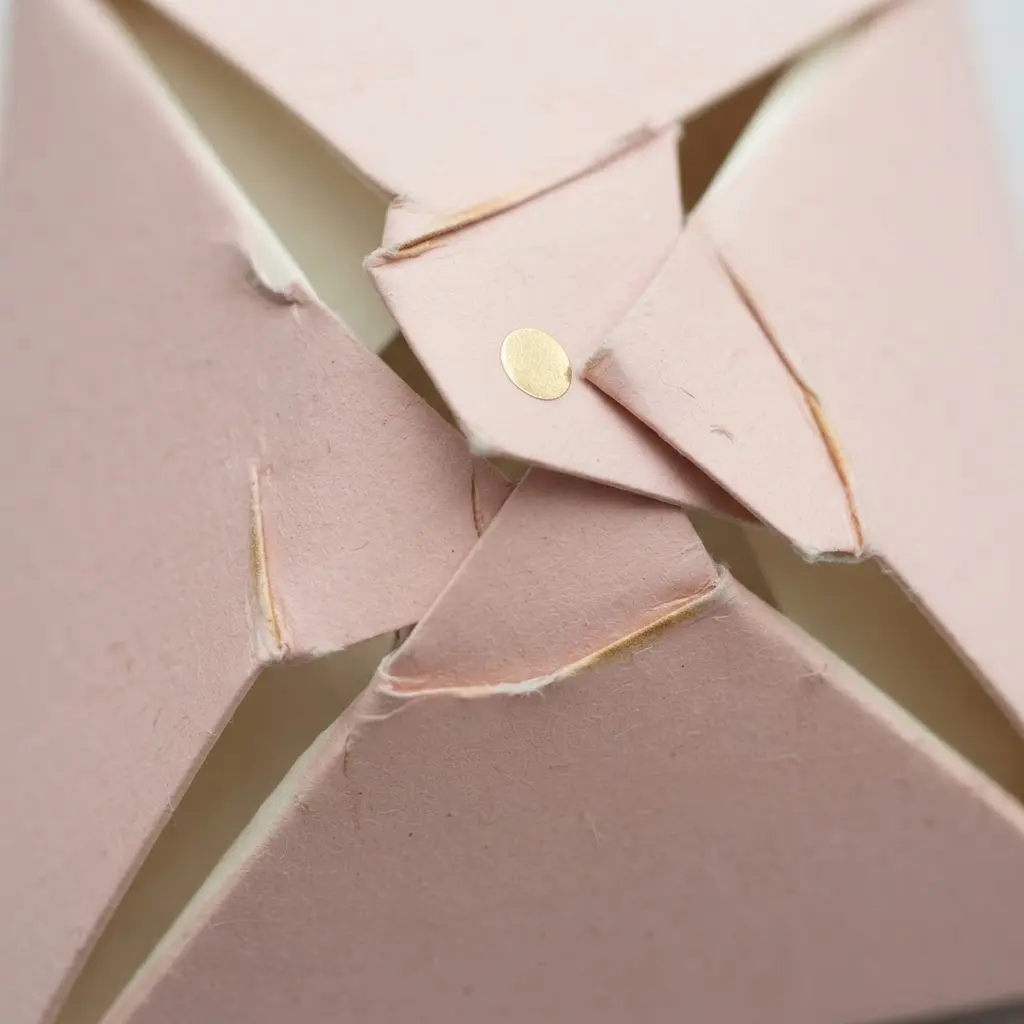
This one looks so modern and elegant you might think it is tricky to put together. Trust me, it is not. You are working with pre-cut and pre-scored sturdy cardstock in the softest pastel shades. All you do is fold along those lines, bring the sides together, and lock the tabs. It forms a perfect little pyramid in minutes.
I love how this shape makes even a single tier of diy cupcake containers feel like a special gift. The clean lines and soft colors create a serene, joyful look that fits so many themes. For a final polish, add a bit of ribbon through the hole some designs have. It is the kind of detail that makes guests feel truly considered.
Getting those crisp edges is key for a professional finish. Use a bone folder to firmly crease each fold before you start assembling. This ensures your pyramid has sharp, defined sides and does not look crumpled. These boxes are fantastic for party favors, but their clean design works for other small gifts too. They share that handmade, thoughtful quality with charming doily craft bowls, another project that turns simple materials into something guests will adore.
6. Kraft Paper Mason Jar Cupcake Stand
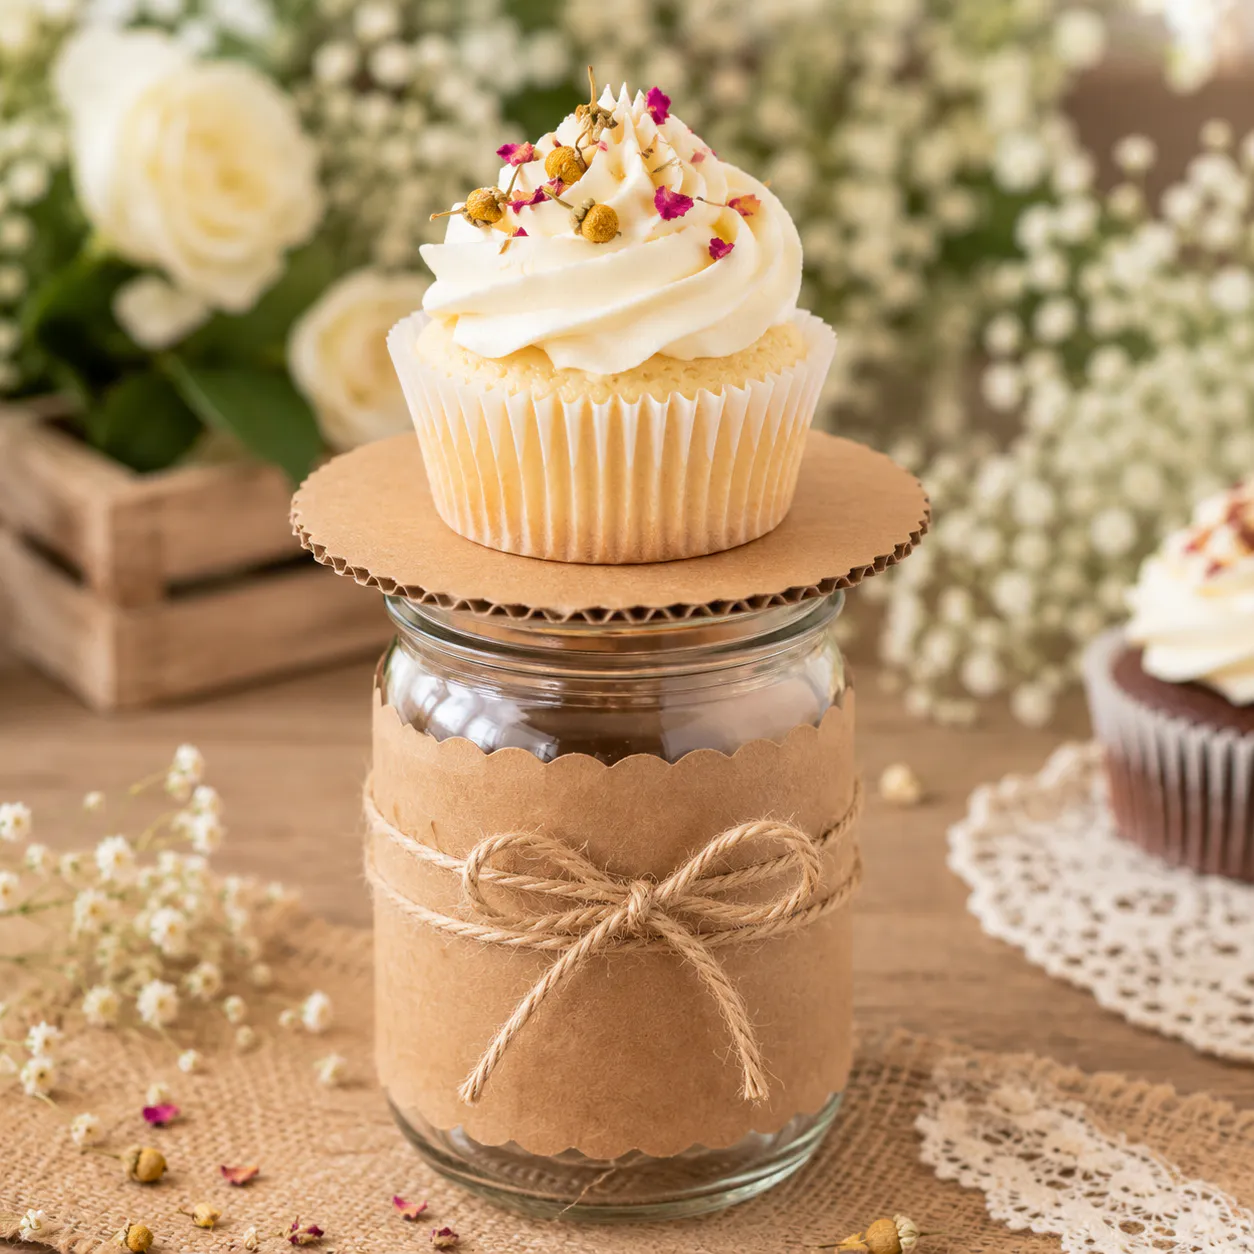
Ever wondered how to get that rustic farmhouse look without spending a fortune? You start by cutting sturdy circles from thick cardboard when constructing diy cupcake containers, and wrapping them smoothly in kraft paper. The real magic happens when you stack them with mason jars in between, using a hot glue gun for a rock-solid hold.
It works so well because the natural paper and glass create a warm, charming centerpiece that feels handmade. Trust me on this one, the key is using jars of different sizes for a dynamic, tiered effect. You will love the cozy, personalized vibe it brings to your table.
7. Accordion Folded Decorative Paper Cupcake Sleeve
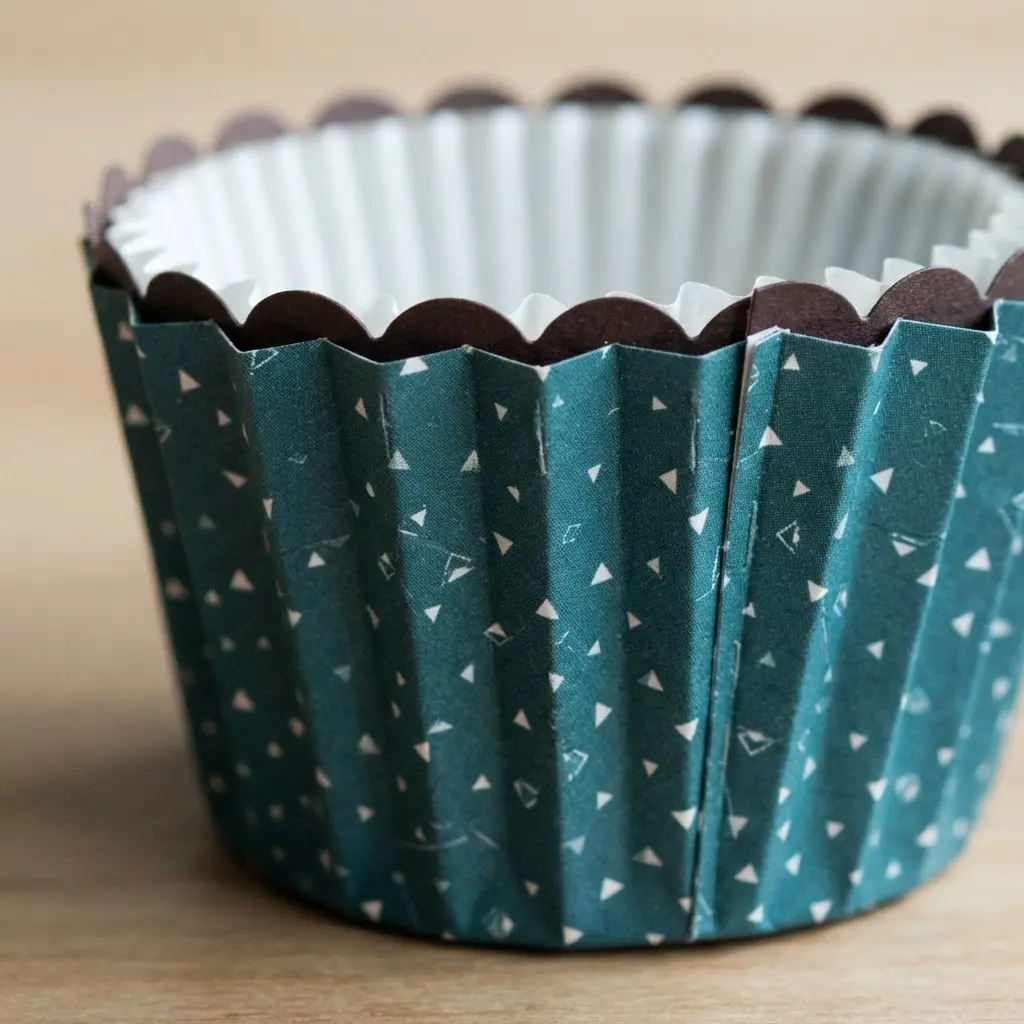
This one looks fancy, but it is honestly one of the most satisfying folds to master. You start with a strip of decorative paper, score it at regular intervals, and then fold it back and forth to create that beautiful, textured bellows effect. It works beautifully for protecting delicate treats.
I love how it instantly adds a sophisticated, three-dimensional look to simple diy cupcake containers. The key is using a scoring tool with a ruler for those crisp, consistent lines before you fold. This textural element makes your party desserts feel extra special.
It is a great project to practice before tackling a more complex diy pencil holder project that uses similar folding techniques.
8. Vintage Lace Embellished Rigid Box Carrier
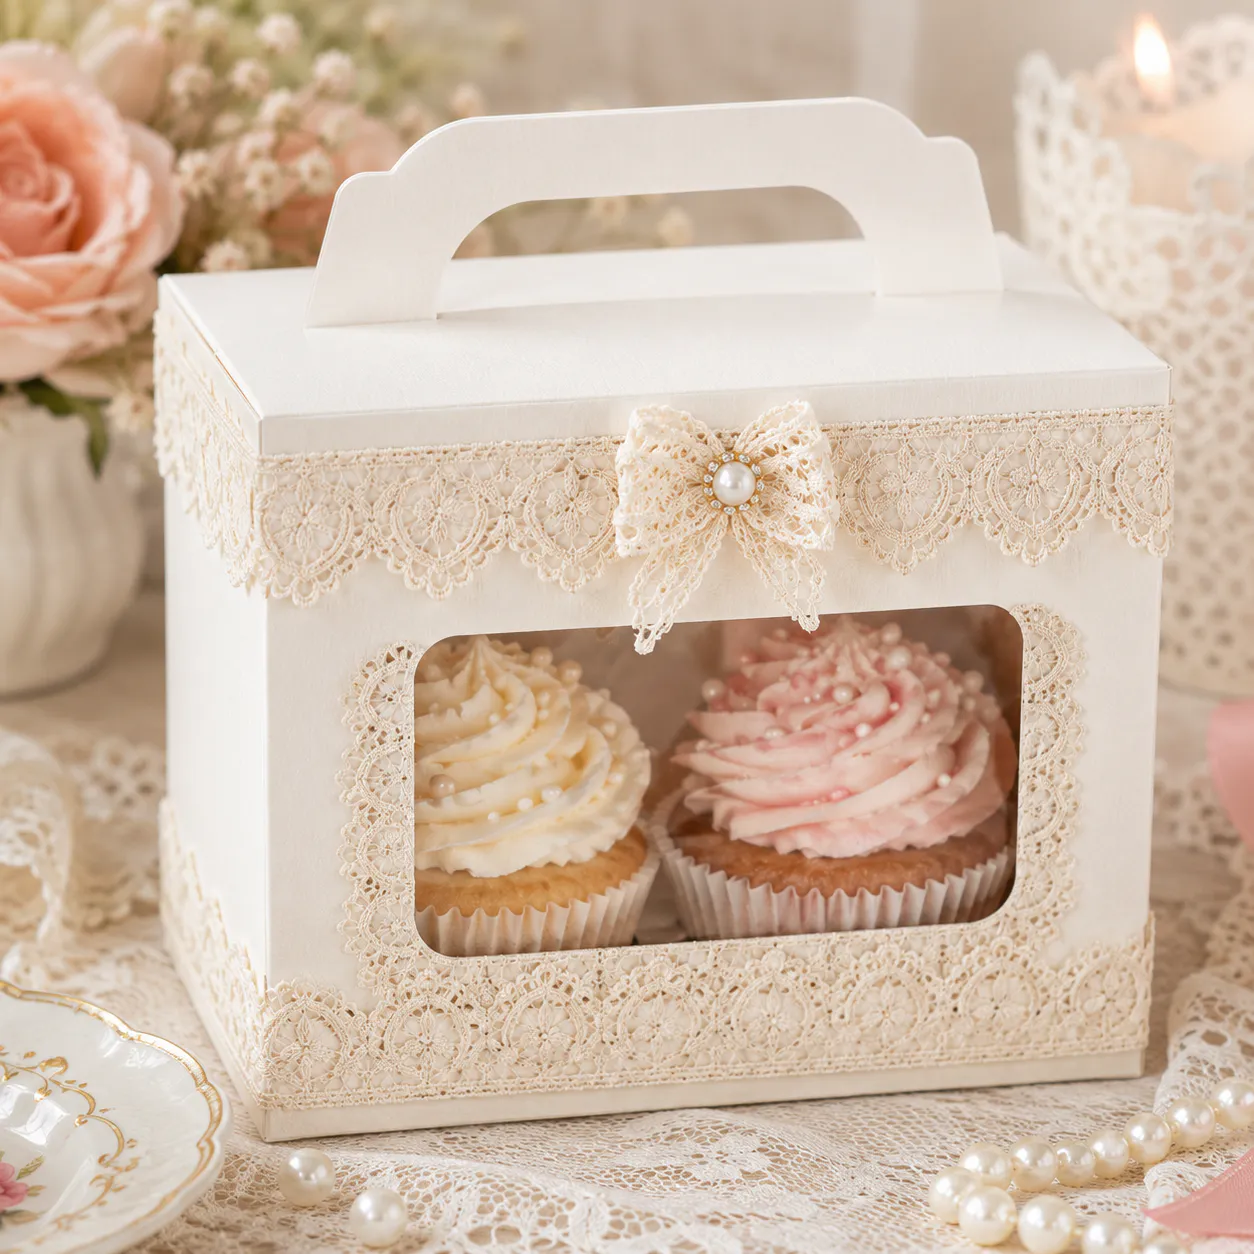
Ever feel like a simple box carrier is too plain for your beautiful cupcakes? You start with a pre-made rigid box to keep things simple, then add delicate lace and vintage embellishments like pearls or ribbons. It looks intricate, but the process is straightforward. Cut your lace to size and arrange it on the box panels before you glue anything down.
I love using a fabric glue with a small brush to avoid any messy seeping through the delicate patterns. Once the lace is set, you can layer on other pretty details. This transformation elevates ordinary diy cupcake containers into stunning presentation pieces. It works so well because it gives your treats both protection and a gorgeous, personal presentation. Try it and feel the delight of handing someone a gift that looks truly special.
9. Polka Dot Patterned Corrugated Shipping Box
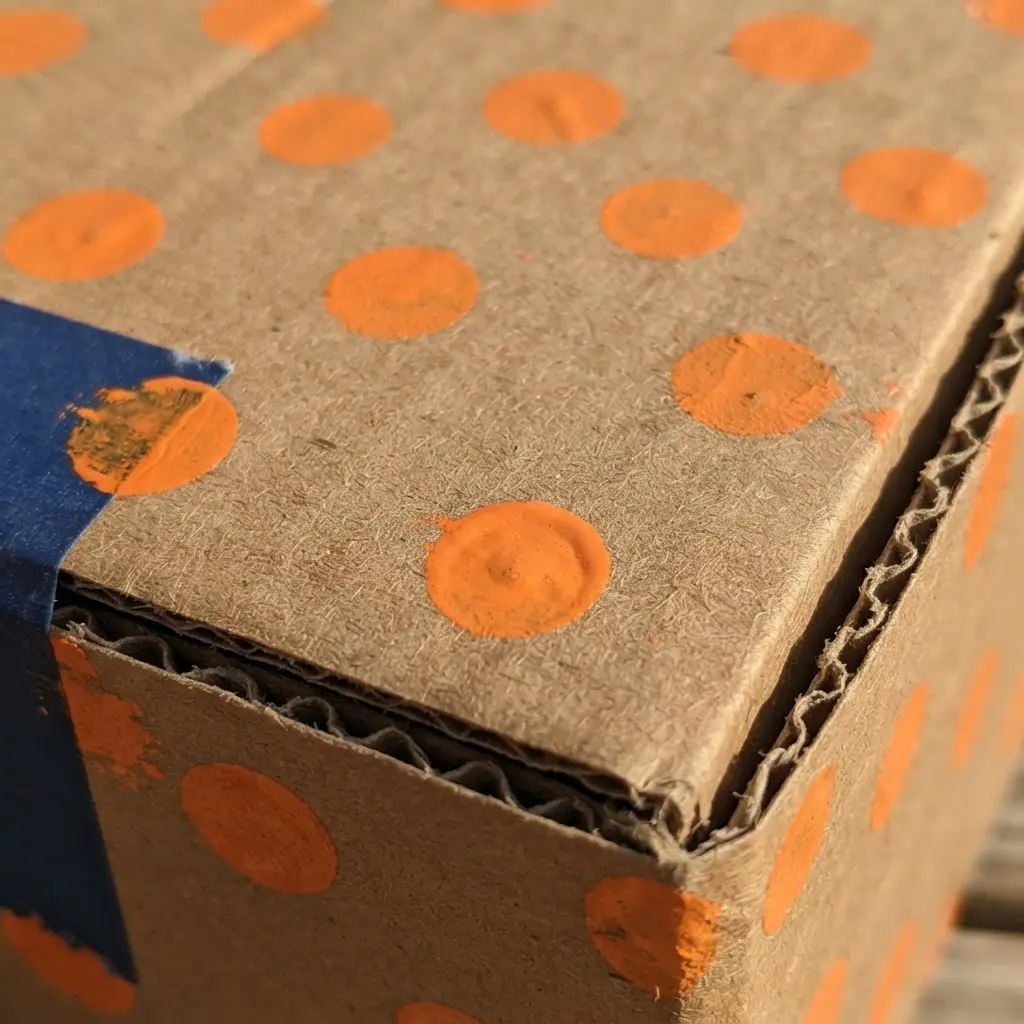
This one surprised me—it looks like a custom design job, but you can order these printed boxes directly. The core idea is using flexographic printing or a similar method to apply a playful dot pattern onto a standard corrugated shipping container. You get the durability of a heavy box with a burst of personality. It works because polka dots are a timeless pattern that instantly makes your diy cupcake containers look special and branded. I love how this transforms a plain brown box into something your guests will remember. If you are looking for more creative storage solutions for your party supplies, these boxes can do double duty after the event. Your treats will look like they are arriving in a custom gift package, not just a container. Feel proud of that extra touch.
10. Translucent Acetate Cylinder Tall Display Container
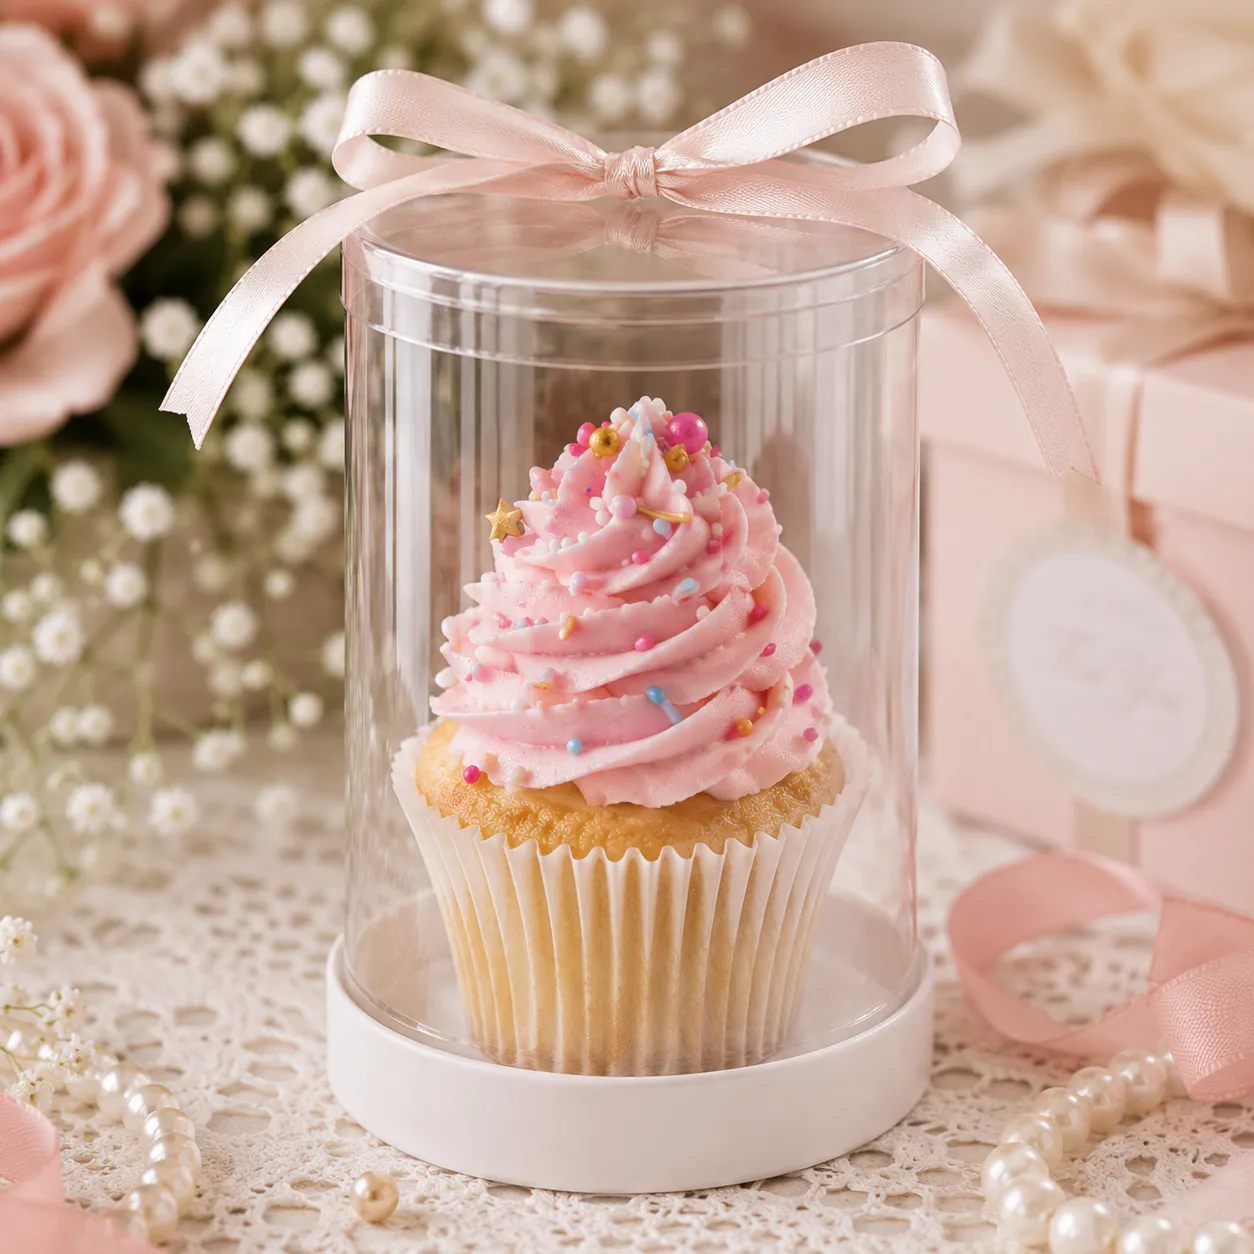
Ever wondered how bakeries give their treats that soft, elegant glow? This design uses cellulose acetate to create beautiful diy cupcake containers, letting light pass through gently. That tall, sleek cylinder shape makes your desserts look elevated and special, not just stored. I love how the translucence adds a touch of mystery, hinting at the colors and shapes inside without a full reveal.
It works so well because it feels premium and modern. The key is arranging your items attractively, as their general form will be visible. Pro tip: add some crinkle paper filler inside to cushion your bakes and boost the presentation. Your display will look absolutely stunning.
Decorative Finishing Touches For Gift Presentation
A simple wrap of wide satin ribbon around the outside box hides all your structural seams and makes the package look like a purchased gift. Here is the thing: you have already done the hard work with the precise grid, so this final step should feel fun and easy. A bold stripe of patterned washi tape along the top edge adds a pop of color without any drying time. For a more polished look, consider covering the entire exterior with a sheet of crisp kraft paper before you assemble the box. This layer also adds a subtle extra rigidity. The final, pro-level touch is a satin ribbon tied neatly around your diy cupcake containers, because it transforms your practical project into a beautiful presentation that feels special to receive.
Conclusion
Your homemade treats deserve a presentation that matches the care you put into baking them. Each of these diy cupcake containers starts with that simple belief, turning a functional need into a creative project. The best part is knowing your gift will arrive intact, with the frosting perfectly preserved. For your next batch, pick the material you already have at home and focus first on creating a firm, fitted base inside your chosen box. That single step makes all the difference between a wobbly treat and a professional-looking gift. We hope one of these ideas becomes your new favorite way to share the sweetness.
FAQs
Q: What is the most important part of a DIY cupcake container?
A: The internal support base is critical. A snug, die-cut cardboard insert keeps the cupcake from tipping. This ensures the frosting stays perfect during transport.
Q: Can I use regular paper for these containers?
A: Thin paper lacks the necessary rigidity. Opt for sturdy cardboard, corrugated sheets, or chipboard. These materials provide structure and protect against moisture from the cupcake base.
Q: How do I make a window in a cardboard box?
A: Measure and cut a clean square from the box lid using a craft knife and metal ruler. Secure a piece of clear acetate sheet behind the opening with strong tape. This creates a durable viewing panel.
Q: What is the best way to decorate these containers?
A: Washi tape, decorative paper, and fabric are excellent choices. They add personality without compromising the box’s strength. Always apply decorations to the exterior to maintain the internal structure.
Q: How many cupcakes can one homemade container hold?
A: It depends on your design. A standard shoebox with dividers can hold a dozen. Single carriers are perfect for individual gifts. Always include internal dividers for multi-cupcake boxes to prevent contact.