Achieving Strong Scent Throw with Vanilla Fragrance
When crafting DIY vanilla candle hearts, the biggest mistake you make is using pure vanilla essential oil for scent, as it lacks the thermal stability and potency needed for a lasting throw. Trust me on this, you need a concentrated, candle-grade fragrance oil designed specifically for wax. Add this oil to your melted wax at the exact temperature the manufacturer recommends, usually between 185 and 195 degrees Fahrenheit, to lock in that rich, warm aroma. This precise temperature ensures the fragrance molecules bind properly with the wax, preventing them from burning off when you light your candle. A proper bind gives you a consistent scent that fills your room from the first light to the last.
Selecting Correct Wax Blends for Intricate Molds
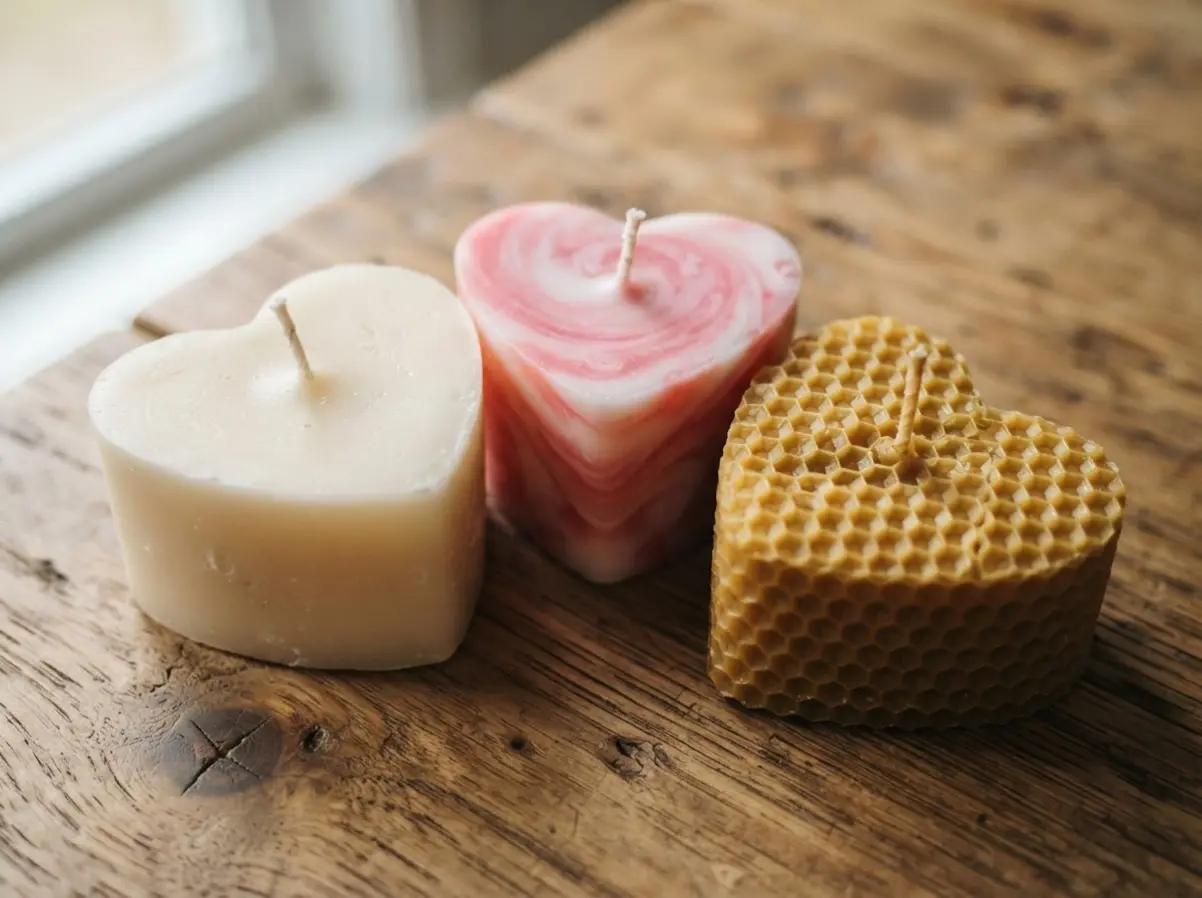
When pouring DIY vanilla candle hearts, a standard container wax will slump and lose its shape in a detailed heart mold, ruining those crisp edges you worked for. You need a wax with a higher melting point and more rigidity, like a pillar-grade wax blend or a soy wax specifically stabilized with stearin. This type of wax blend is formulated to hold its form as it cools and contracts, which is critical for pulling a clean, detailed candle from a silicone mold. The good news is these blends are widely available and often come pre-blended for your convenience. They give your heart candle the structural integrity to stand proudly on its own without collapsing.
1. Creamy White Soy Heart Pillar
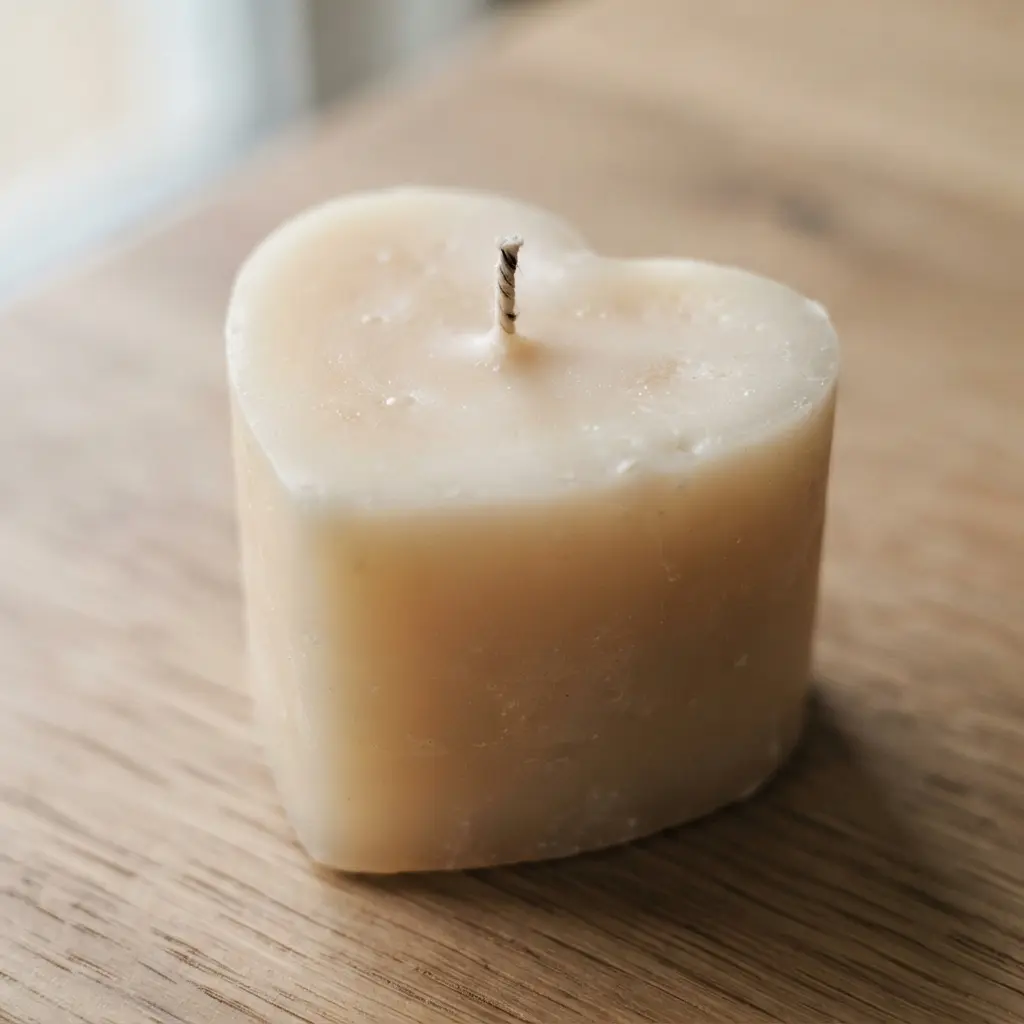
Ever wondered how those elegant, gift-ready pillar candles get their flawless creamy finish? You start with a heart-shaped pillar mold and a soy wax specifically blended for pillars. Melt the wax carefully, pour it slowly into your prepared mold, and let it cool completely.
I love how the simple, un-dyed soy wax gives you that soft, natural white color perfect for any decor. This works so well for DIY vanilla candle hearts because soy wax burns clean and holds intricate shapes beautifully. Your finished piece will have a wonderfully smooth surface and a great scent throw if you add fragrance.
Trust me, getting your wax pouring temperature right is the key to avoiding frosty spots or sinkholes. Feeling inspired to make more heartfelt gifts? You can find tons of other romantic DIY projects, like DIY watercolor heart painting ideas, that pair perfectly with your new candle-making skills.
2. Pink Swirl Tapered Heart Votive
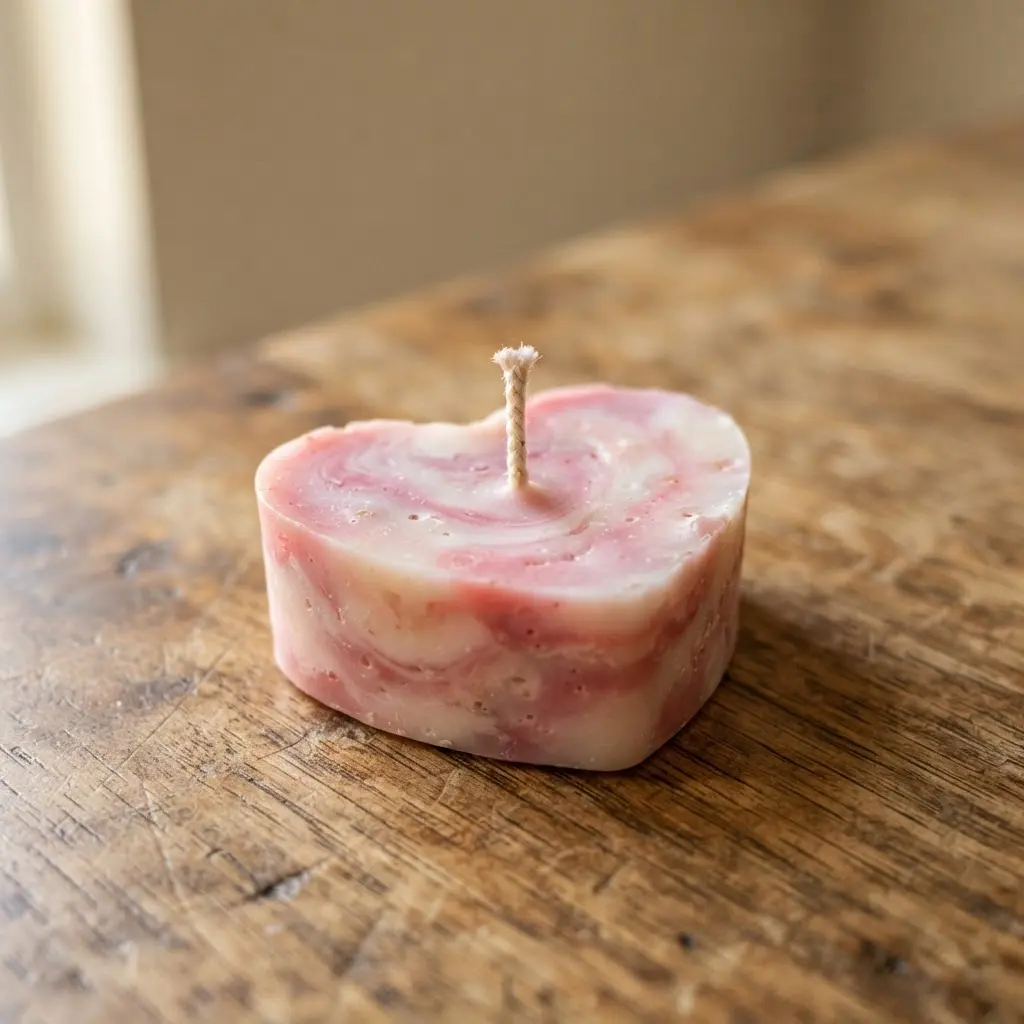
Ever wondered how to get that soft, romantic glow without a huge project? This votive is your answer. It is a small holder, often made of pink swirled glass, shaped like a tapered heart.
You simply pop a tea light inside, and it casts a beautiful rosy light. The magic happens when your DIY vanilla candle hearts catch the flame. It casts a beautiful light through the colored glass and those lovely swirls.
Always choose a standard votive or tea light that fits snugly inside the holder. This keeps the melted wax contained and makes the whole thing much safer to use. Place it on a stable, heat-resistant surface, light it, and just enjoy the lovely glow.
3. Beeswax Heart with Dried Lavender Embeds
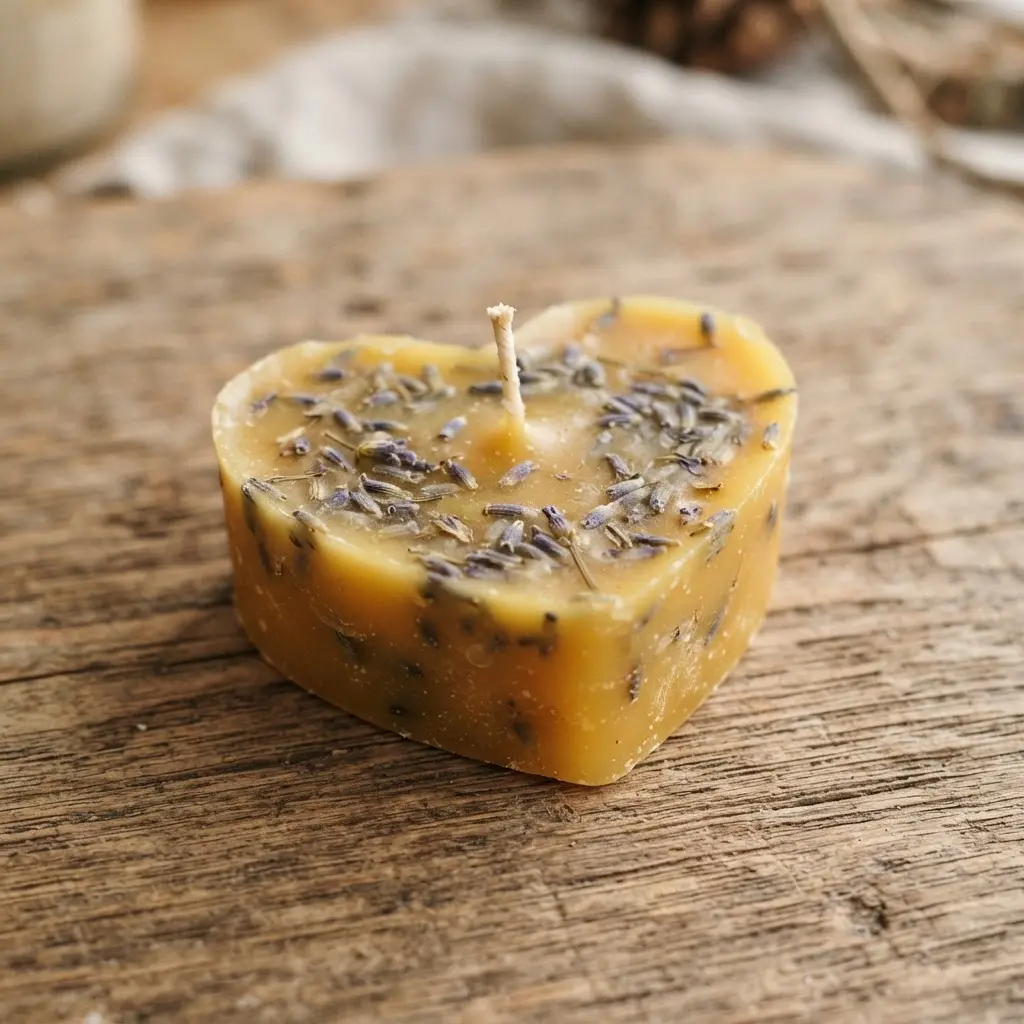
This project looks so rustic and elegant, but the process is wonderfully simple. You will gently melt beeswax pastilles in a double boiler, then pour the warm wax into a heart-shaped mold. Immediately sprinkle dried lavender buds into the liquid wax to create those beautiful, visible embeds.
Patience is the real secret when making DIY vanilla candle hearts. Let the wax cool completely before you try to remove it from the mold. I love how the natural lavender scent fills the room without any added fragrance oils.
4. Layered Ombre Vanilla Bean Heart
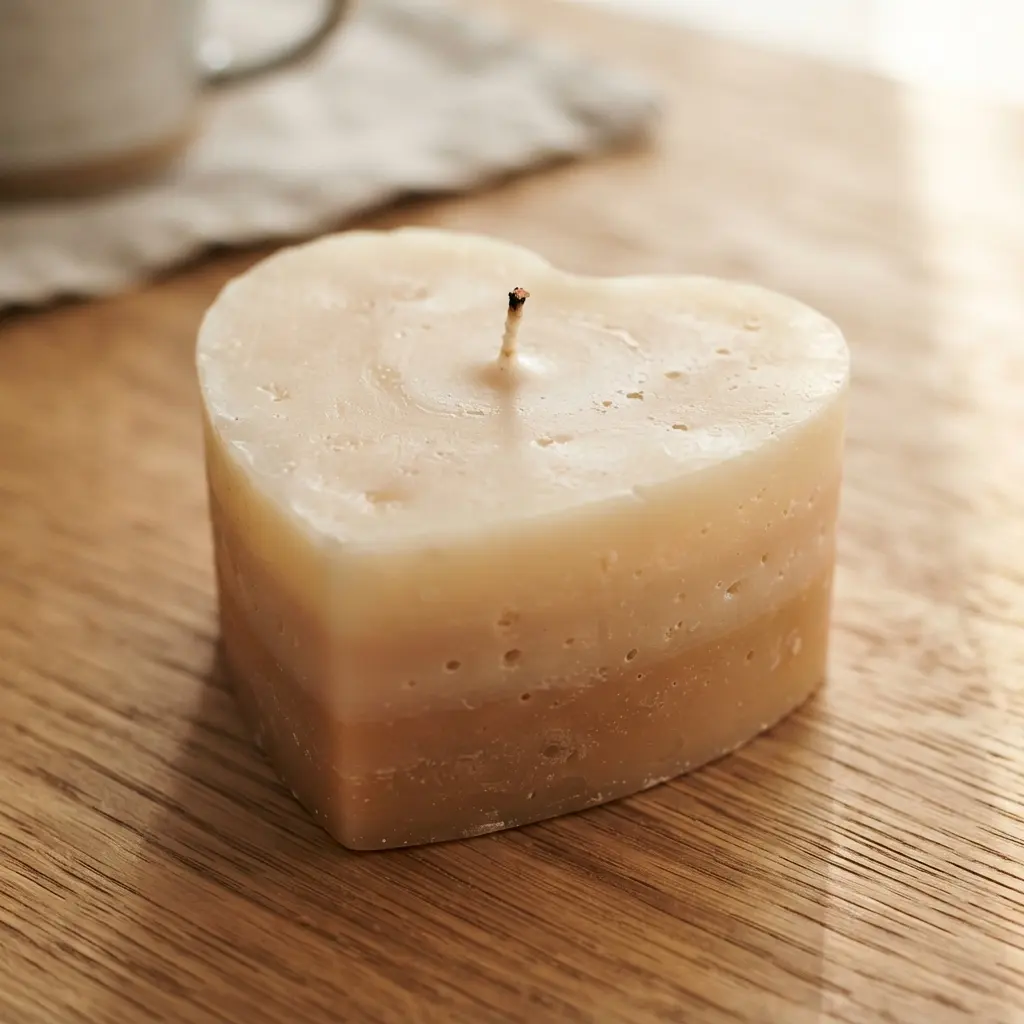
This layered approach is my favorite for DIY vanilla candle hearts because it looks so much more complex than it is. You simply pour separate layers of tinted wax into your heart-shaped mold, letting each one set just enough before adding the next. This creates that beautiful, smooth gradient from light to dark.
I love how the vanilla bean scent adds a warm, comforting layer to the visual treat. Getting those clean, distinct lines is all about temperature control. Pour each layer when the wax is at the same, slightly cooled temperature, and let the previous layer form a firm skin.
Getting those clean lines requires careful temperature control for your DIY vanilla candle hearts. This prevents them from blending together and keeps your ombre crisp. Isn’t it satisfying when you unmold a perfect, multi-colored heart?
5. Vanilla Scented Heart Tealights Set
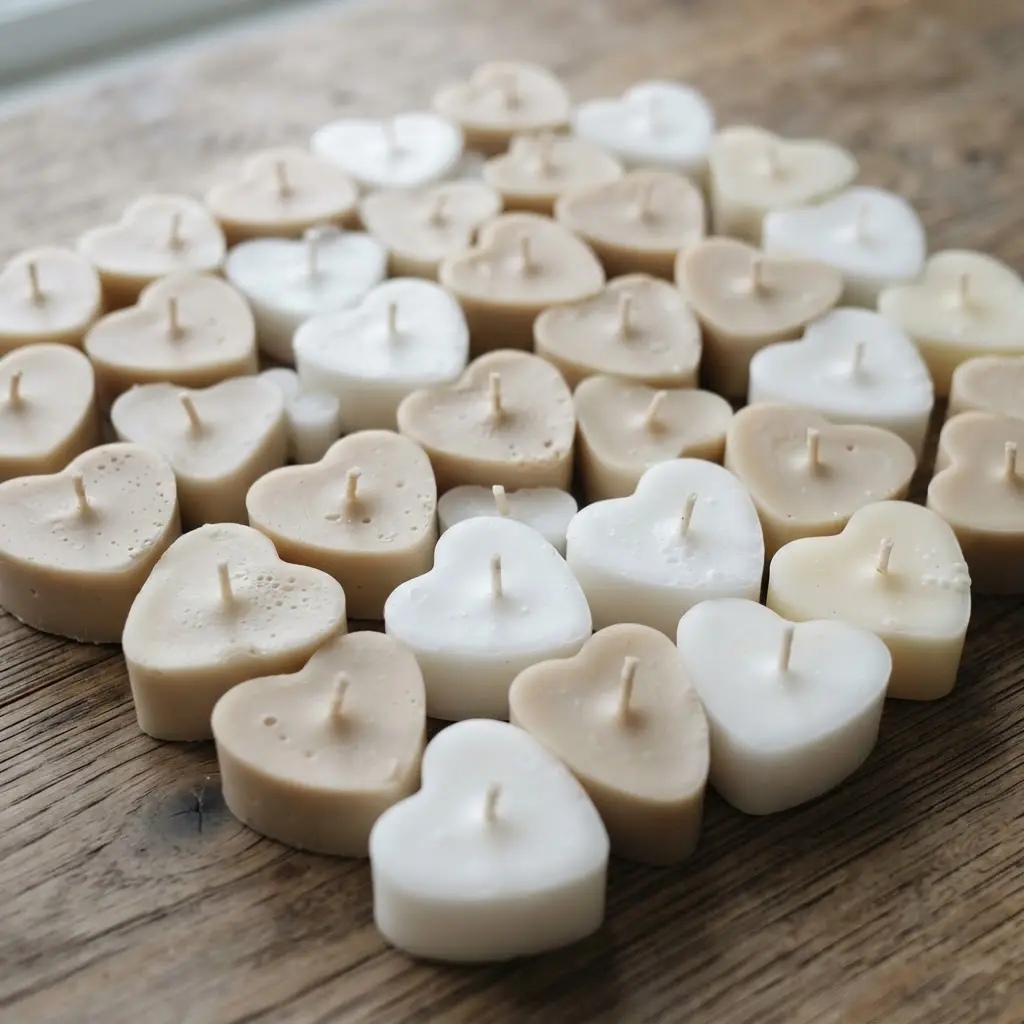
Is there anything more charming than a set of tiny, heart-shaped candles? This project is a favorite of mine because it looks so delicate, but the process is wonderfully simple. You will melt your chosen wax, like a soy or beeswax blend, and then add that sweet vanilla fragrance oil.
The combination of the universally loved vanilla scent and the romantic heart shape creates an instant feeling of warmth and comfort. My best tip is to watch your wax temperature carefully when pouring DIY vanilla candle hearts. Pour it in once the wax has cooled to the oil’s recommended temperature, usually around 180 degrees, and stir it well.
This ensures your little hearts will fill the room with their beautiful aroma when you light them. You are going to love how these turn out.
6. Golden Honeycomb Textured Heart Candle
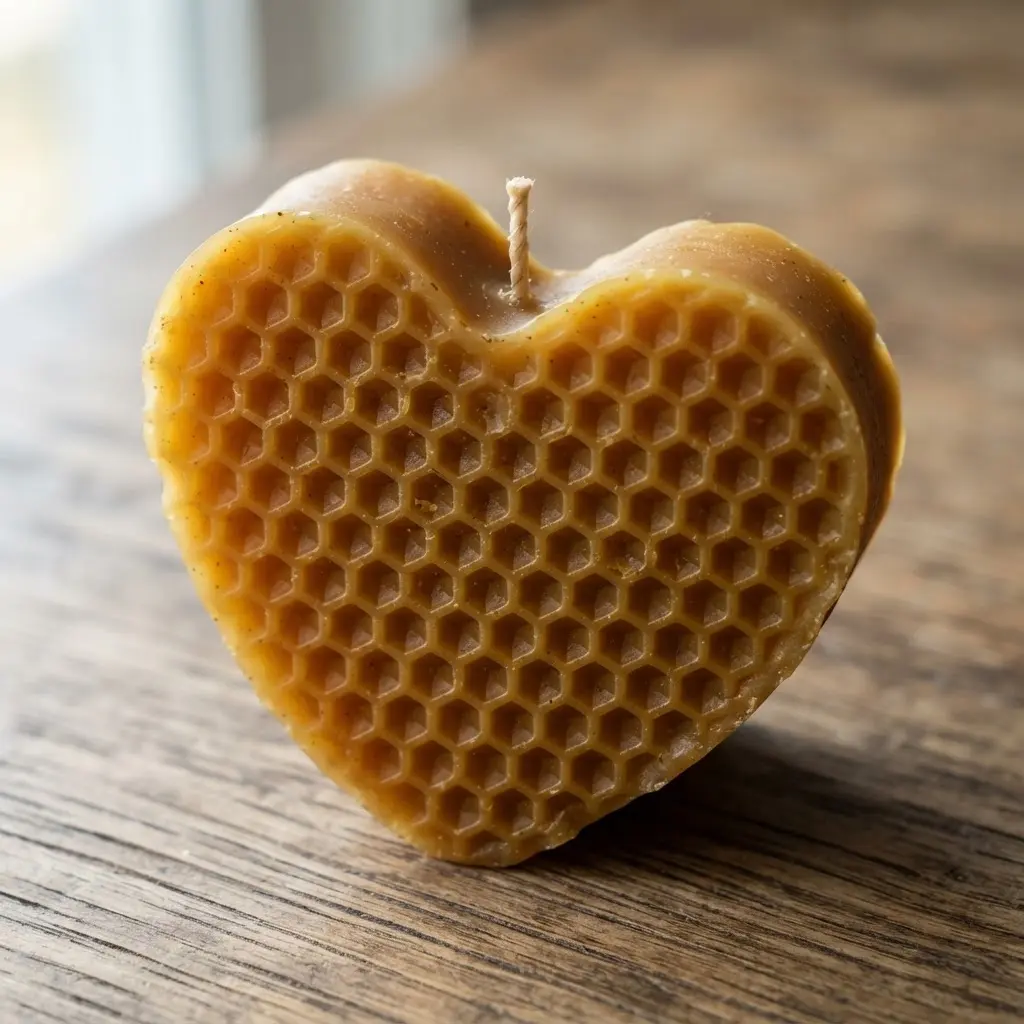
This candle looks so intricate and fancy, doesn’t it? The secret is using a detailed silicone mold with the honeycomb pattern already carved in. You melt your wax, stir in a rich golden dye, and pour it right into that textured heart.
I love how this design works because the honeycomb texture catches the light so beautifully, creating lovely little shadows that make the golden color glow. As it cools, those perfect hexagonal cells form all on their own.
The key tip here is to get your pouring temperature just right for your DIY vanilla candle hearts. Pour too hot and you risk bubbles that blur the detail. Let it cure fully in the mold, then gently pop it out to reveal that stunning, crisp pattern. Trust me, the result is pure magic.
7. Marbled Neutral Tone Heart Block
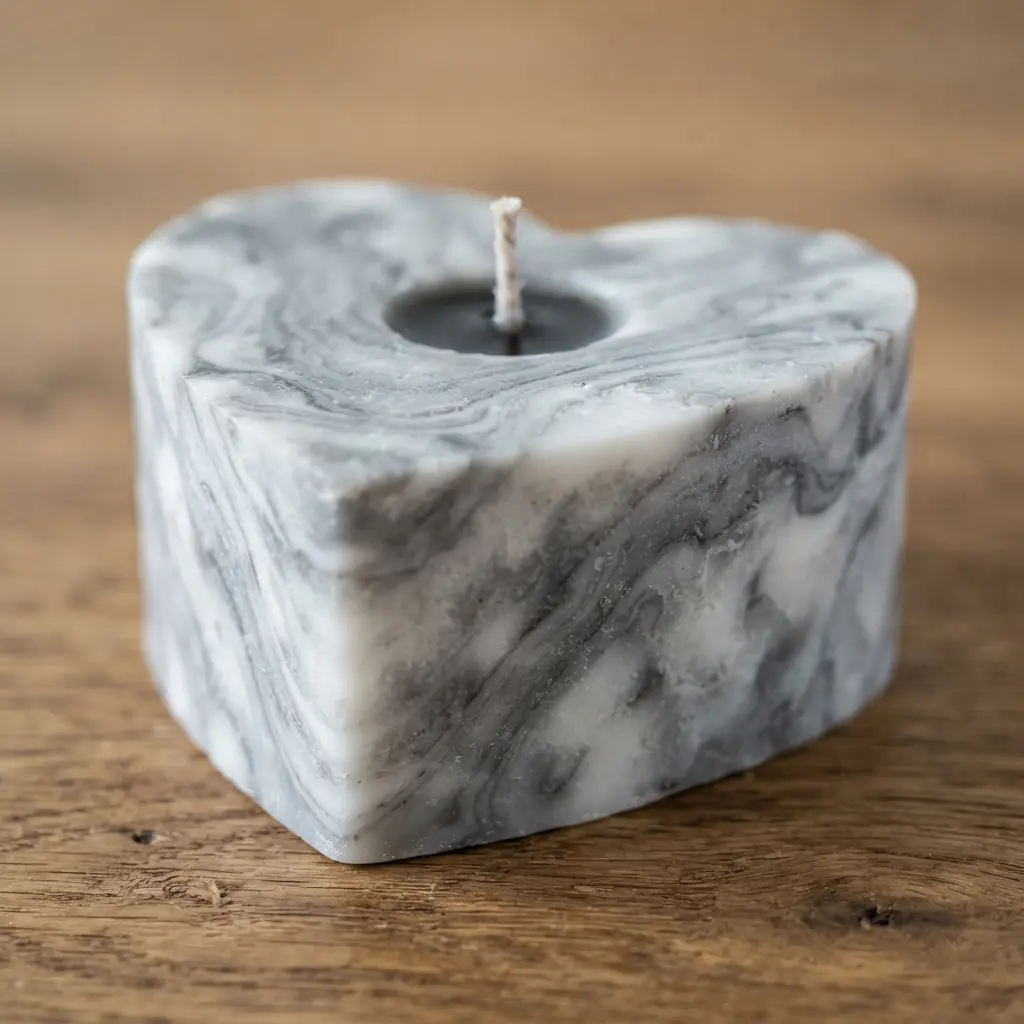
This one looks so elegant and complex, but trust me, the technique is wonderfully simple. You will melt your base wax and color separate portions with a few neutral wax dyes. The key is to pour those colors into your heart mold in layers, then use a skewer for a single, gentle swirl.
I love how the soft grays and creams create such a sophisticated look for DIY vanilla candle hearts. It feels like you are making a little piece of modern art. Your finished heart block will have a unique, organic pattern every single time.
Isn’t that satisfying? Overworking it will blend the tones into a muddy mess instead of that beautiful veining.
8. Floating Heart Shaped Bath Candle
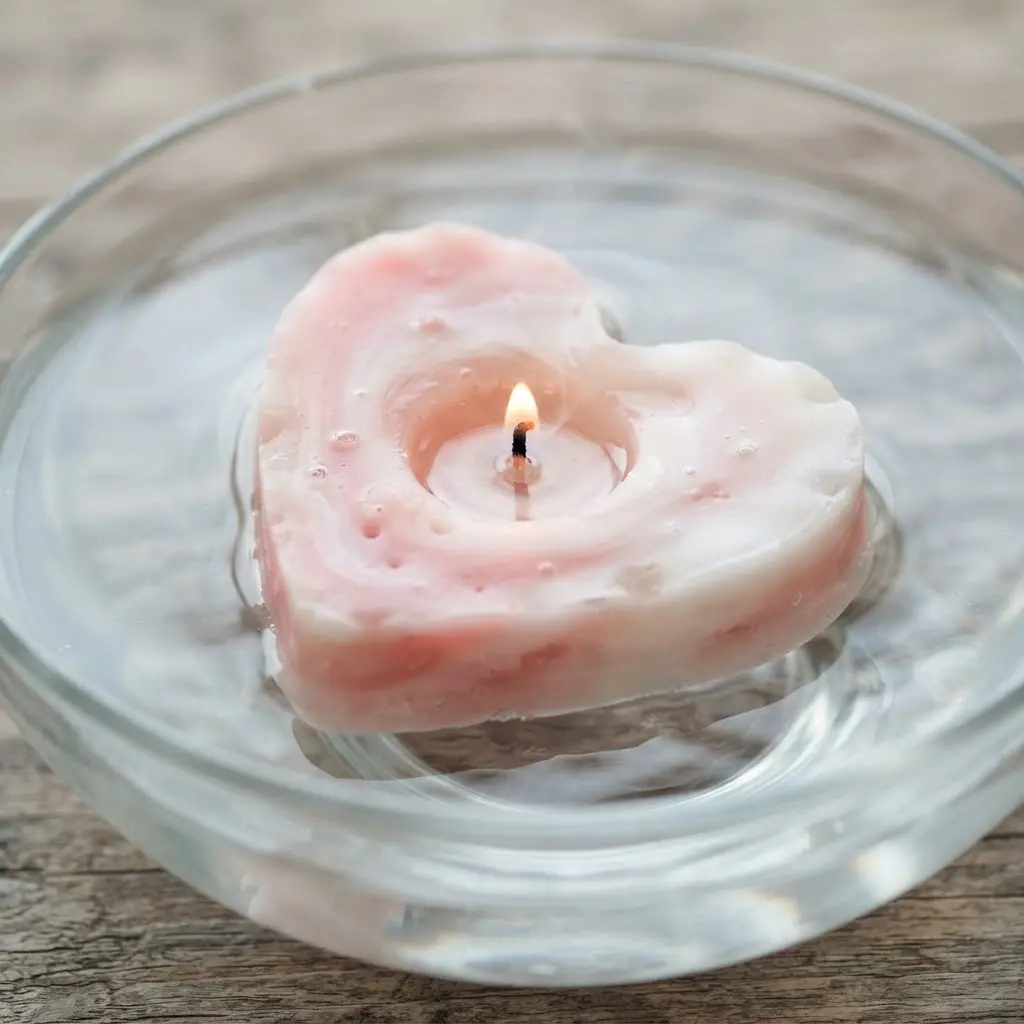
Ever wondered how those romantic bath scenes in movies get their glow? This is the secret. A floating heart shaped bath candle is designed to be buoyant and stable on water, creating the exact same cozy atmosphere as tabletop DIY vanilla candle hearts.
I love how the flickering light dances on the water, and if you use a scented wax, it fills the air with relaxation. You will want to use a non‑flammable container filled with enough water for safety. Trust me, never leave it unattended.
The payoff is instant atmosphere, perfect for a self‑care evening or a special date night. Does that not sound wonderfully simple?
9. Glitter Infused Transparent Gel Heart
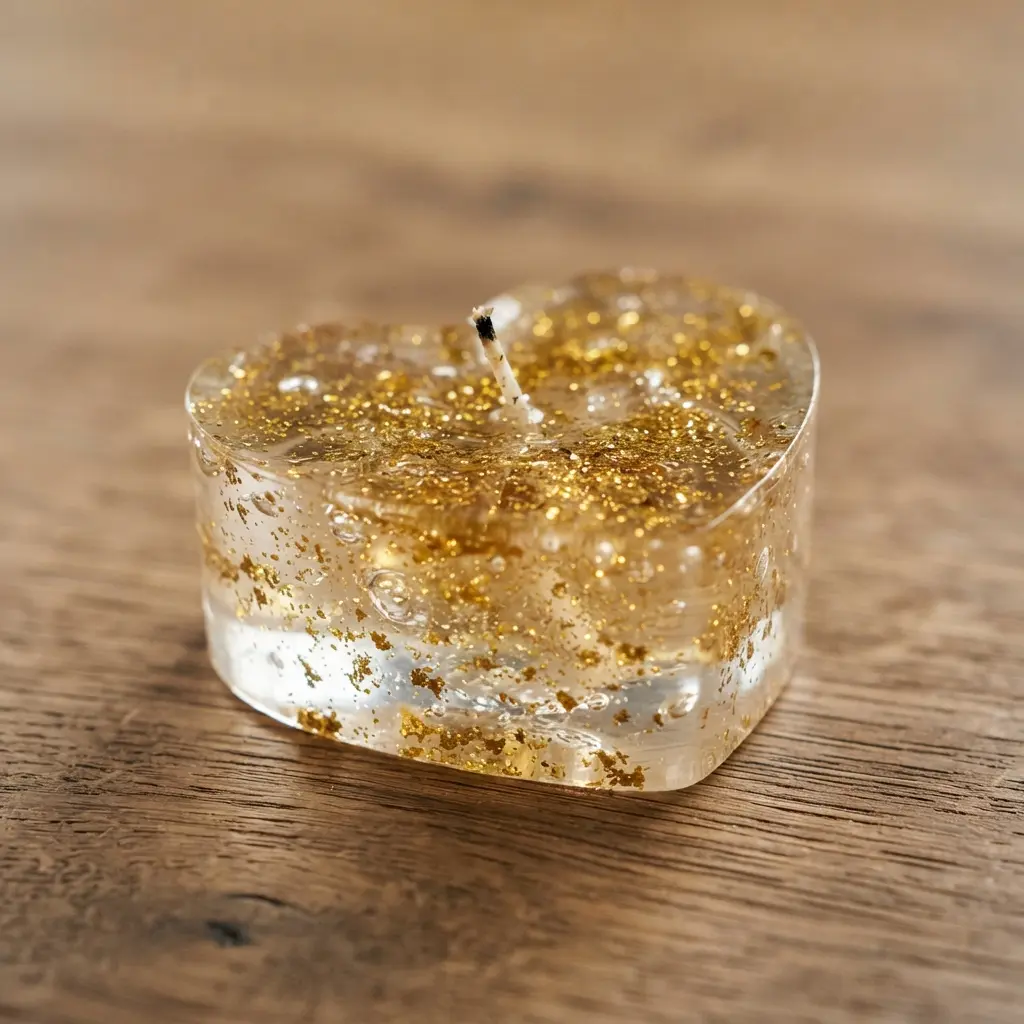
Ever wondered how to make a decoration that seems to hold light inside? This one is pure magic. You will mix your clear epoxy resin and pour a little into a heart-shaped silicone mold. Then, you get to sprinkle your favorite glitter right in.
For the best effect when making DIY vanilla candle hearts, let that first layer get a little tacky before adding more. This keeps the glitter from all sinking to the bottom. The result is a crystal-clear heart where the glitter looks like it is floating in mid-air.
Just remember to work in a well-ventilated space and follow the resin instructions to the letter. Your finished heart will be a stunning, light-catching treasure you made yourself.
10. Matte Pastel Heart Keepsake Candle
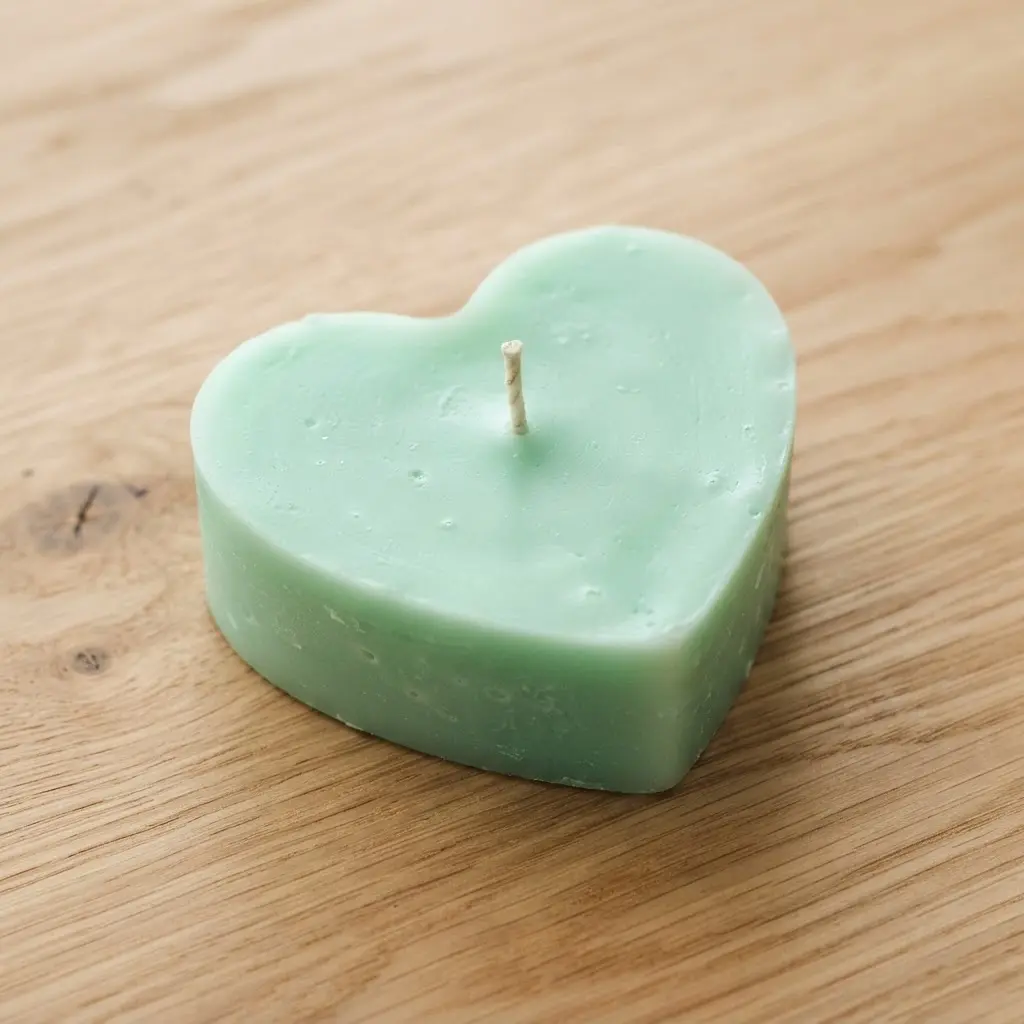
Does a candle that looks like a sweet, soft piece of decor and burns beautifully sound too good to be true? It is not. This pastel beauty starts with a gentle melt of soy or coconut wax for a clean burn.
I love that the matte finish makes the color feel elegant, not sugary, especially for these DIY vanilla candle hearts. You will mix in a tiny drop of candle dye for that perfect, dusty pastel color, then stir in a cozy vanilla fragrance. Pour it all into a heart mold with a centered wick and let it cure.
The secret to a great scent is giving it a full 24 to 48 hour cure time before you light it. That patience pays off with a lovely, even fragrance throw that fills your space. You end up with a charming keepsake that feels as warm and personal as it looks.
Safe Curing Periods Before Initial Candle Lighting
Lighting your DIY vanilla candle hearts too soon traps fragrance oil in unmelted wax around the edges, causing that frustrating tunneling effect. You must wait a full two-week curing period before you ever light the wick. This waiting time allows the fragrance oil to fully integrate and crystallize within the cooled wax structure, which maximizes the scent throw for every single burn.
Patience here makes all the difference between a candle that burns evenly to the edges and one that leaves wasted wax. Your finished piece will reward you with a stronger, cleaner burn and a much longer overall life.
Conclusion
So, how did your creative session go? I hope looking through these ideas sparked that wonderful feeling of possibility—the one that makes you want to clear off the kitchen table and start melting wax right away. Look at what you have to choose from; that’s real inspiration right there.
The best part about making your own DIY vanilla candle hearts is that each one becomes a little piece of your own cozy atmosphere. My one piece of advice? Don’t rush the cooling process. Letting your candles set slowly is the secret to those smooth, professional-looking surfaces we all love.
Pick your favorite design from the list, and get started on filling your space with that warm, handmade glow.
FAQs
Q: What is the best wax for beginner-friendly heart candles?
A: Soy wax is a great choice for beginners. It melts at a lower temperature, is easy to clean up, and typically produces smooth candles with excellent scent throw when you follow temperature guidelines.
Q: How much vanilla fragrance oil should I use per pound of wax?
A: A good starting point is about one ounce of fragrance oil per pound of wax. Always check your specific wax and fragrance oil recommendations, as using too much can cause issues with burning.
Q: Why did my heart candle develop a hole or tunnel down the middle?
A: Tunneling often happens if the first burn wasn’t long enough. Let your candle burn until the melted wax pool reaches the edges of the container or mold on its initial use to set a good memory for future burns.
Q: Can I use essential oils instead of fragrance oils for scent?
A: You can, but note that many essential oils have a lower flash point and a lighter scent throw in wax. For a strong vanilla scent, a fragrance oil designed for candle making is usually more reliable and effective.
Q: What is the trick to getting heart candles out of silicone molds cleanly?
A: Ensure your candle is completely cooled and solidified, which may take several hours. Gently flex the silicone mold from all sides to release air pockets, then slowly peel the mold away from the candle, starting at the top.