

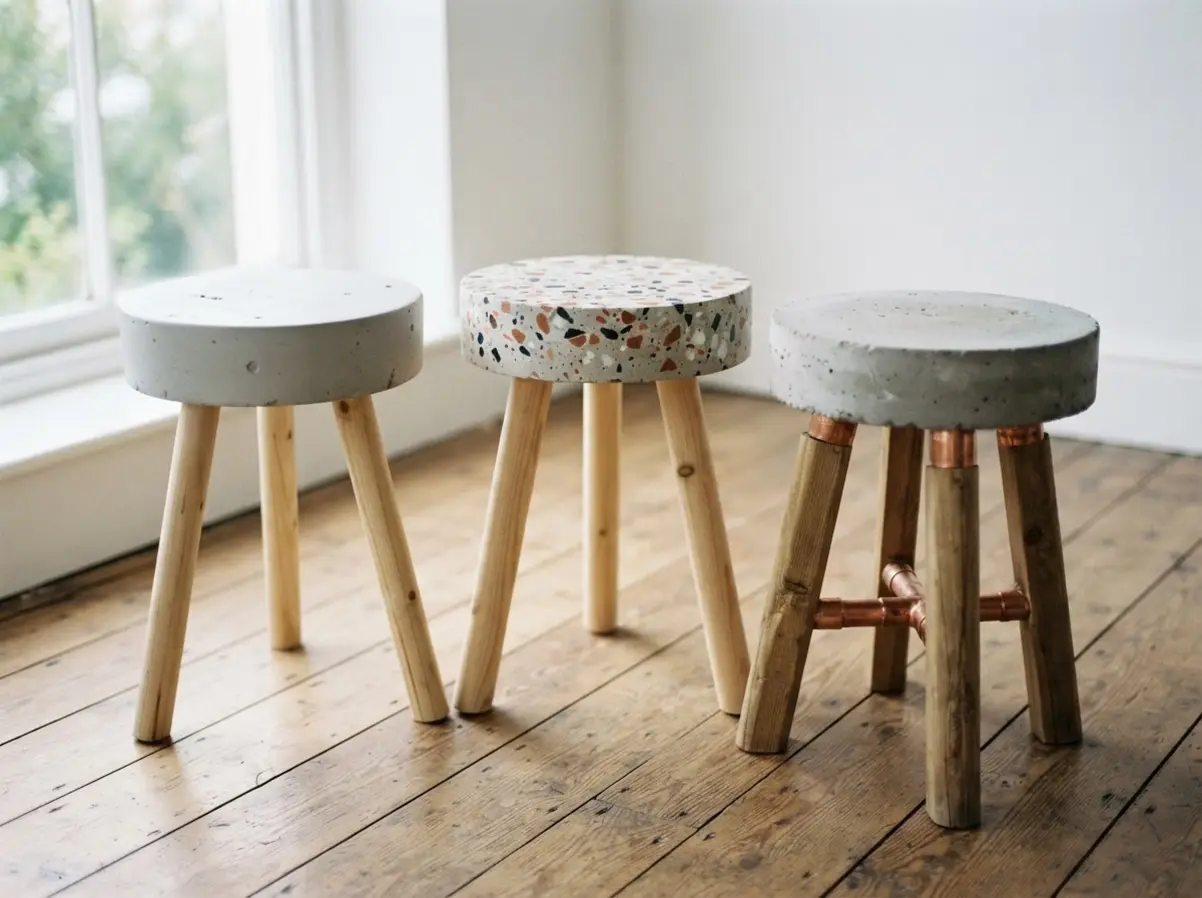
It is a project that balances raw material with clever design, giving you a piece of furniture that is as sturdy as it is personal. This collection is here to spark your creativity, showing you how concrete transforms when paired with different legs, textures, and finishes. Let us explore ten distinct styles that prove this material is anything but cold or boring.
Critical Aggregate Selection For Structural Seating
Using a countertop mix designed for high-strength surfaces is your best defense against cracking under weight. These specialized blends give your diy concrete bucket stool the perfect ratio of cement to fine aggregate for a dense finish. We tend to grab the first bag of general purpose concrete, but that mix is too coarse and weak for a piece of furniture you will actually sit on.
Your finished piece needs that internal integrity to support a person, and a good countertop formula gives you that reliable base without extra guesswork. The smoother texture also makes it easier to achieve that refined, minimalist look that contrasts well with raw wood or metal legs.
Formwork Preparation And Mold Release Techniques
A heavy coat of paste wax applied in two thin layers guarantees your diy concrete bucket stool gets a flawless, bubble-free release. You want to avoid the frustration of a stubborn mold that damages your surface during demolding. First, clean your bucket mold thoroughly with soap and water to remove any manufacturing oils.
Buff on that first layer until the surface shines, let it haze over, and apply a second coat. This double barrier ensures the material slides out cleanly, preserving all the subtle textures from your pour. Trust me, taking these extra ten minutes saves you hours of sanding later.
1. Minimalist Smooth Grey Bucket Stool
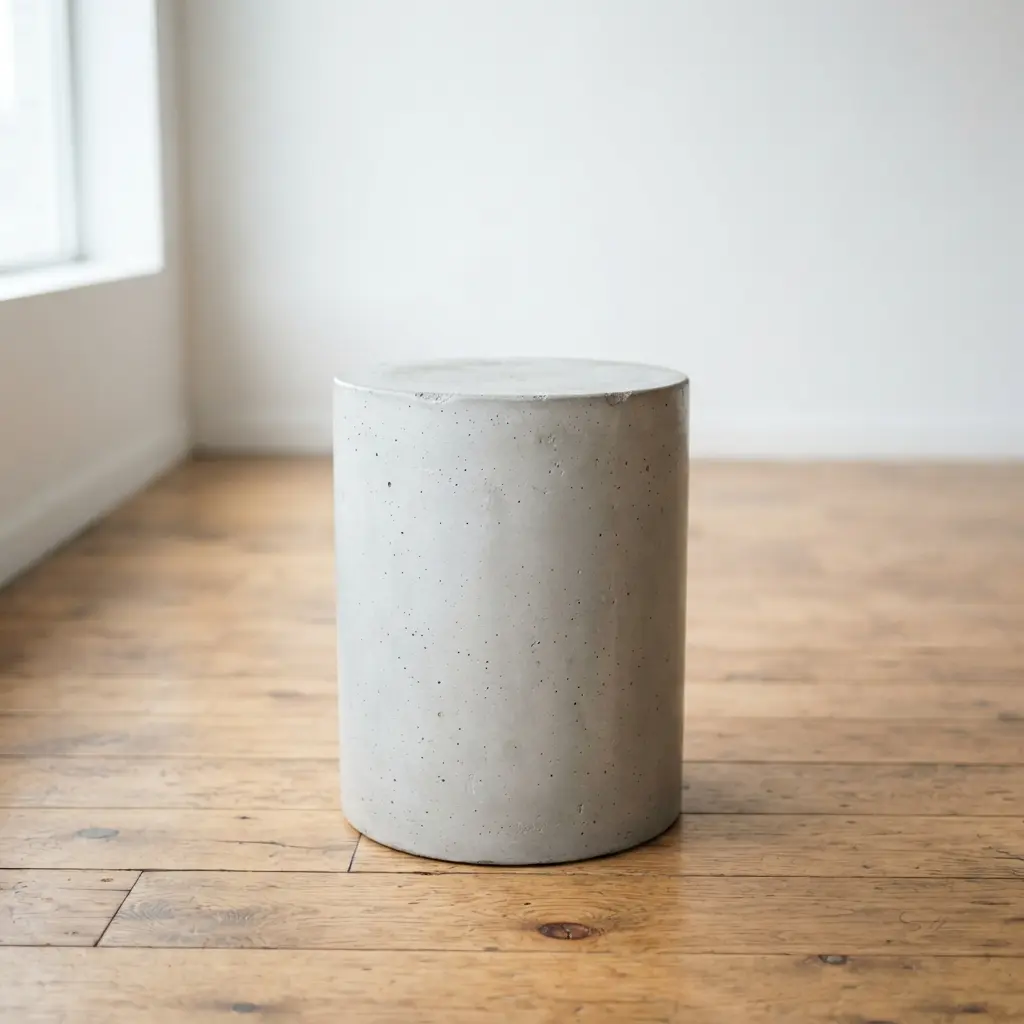
Ever feel like a room needs a simple, sculptural piece that just works? This diy concrete bucket stool achieves exactly that balance. You will focus on a perfectly smooth finish and a consistent, solid grey color.
The bucket form gives it a stable, contained look that feels both modern and timeless. I love how this single color and texture can anchor a space without demanding attention. Choosing the right material is key to getting that sleek appearance.
For a lightweight option, molded plastic is your best bet, while poured concrete gives you that cool industrial weight. The beauty is in its versatility. It can serve as extra seating, a side table, or a plant stand all with the same clean aesthetic.
2. Rustic Distressed Concrete Bucket Stool
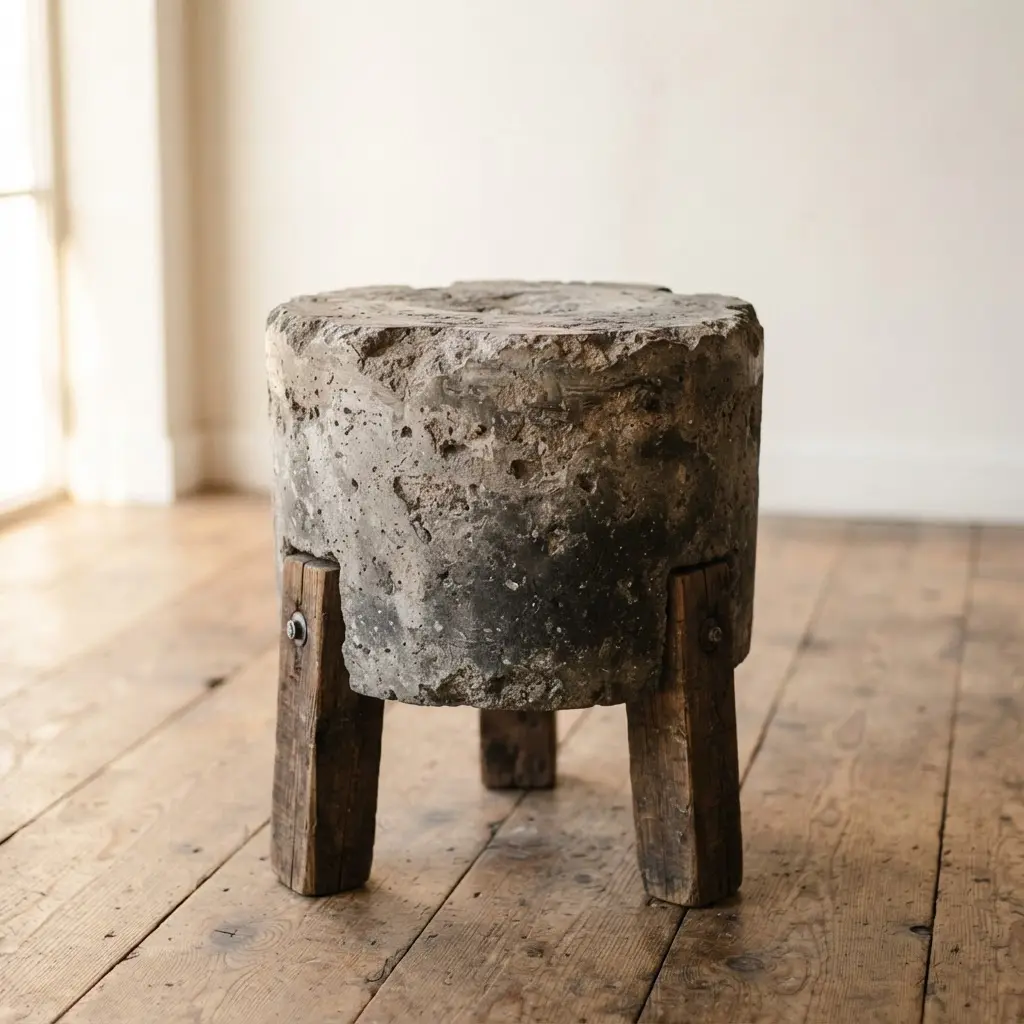
Ever wondered how to get that perfectly worn, farmhouse look without waiting decades? This project is your shortcut. The magic happens when you cast a diy concrete bucket stool into a cylindrical formwork and deliberately distress the cured surface. You will chip the edges with a chisel and sand the body to create a unique, timeworn texture.
I love how this piece blends rugged durability with cozy character. Its heavy weight makes it incredibly stable, and that intentionally imperfect finish means no two pieces are ever the same. Trust me, the concrete sealer is the final step to lock in your hard work. Doesn’t that solid, handmade feel make you want to get started?
3. Industrial Hairpin Leg Concrete Stool
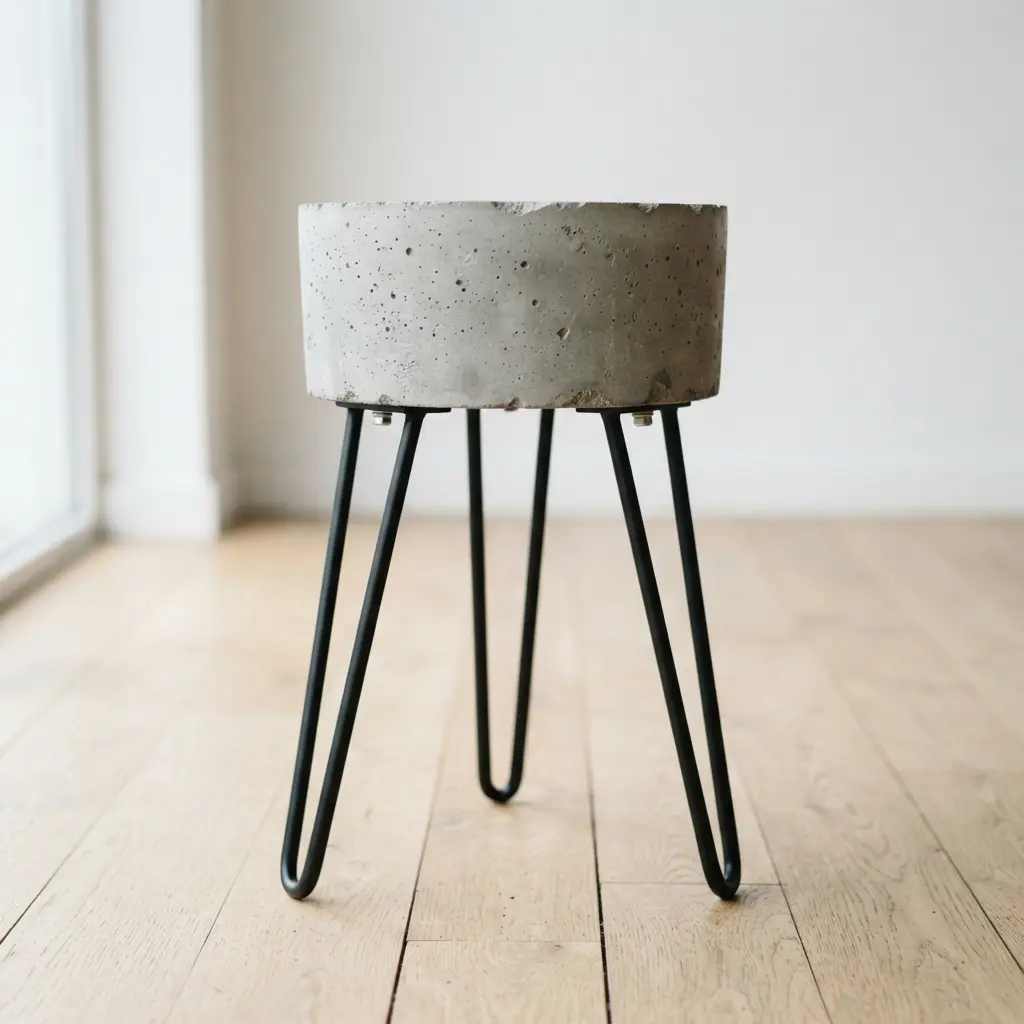
Ever wondered how to make a seat that feels both heavy-duty and elegantly light? This design nails it perfectly. You start by casting the top using a fiber-reinforced concrete mix so your diy concrete bucket stool supports daily use without issue. I love embedding threaded inserts before the cure because it makes attaching the legs so much easier later.
After curing, sand rough edges and apply a protective coat. Bolting on your chosen hairpin supports transforms the heavy block into refined furniture instantly. It works because the raw texture provides incredible durability, while those airy legs keep it from looking bulky. Trust me, sealing the surface properly is the key to a finish that wipes clean.
4. Tapered Modern Wooden Leg Stool
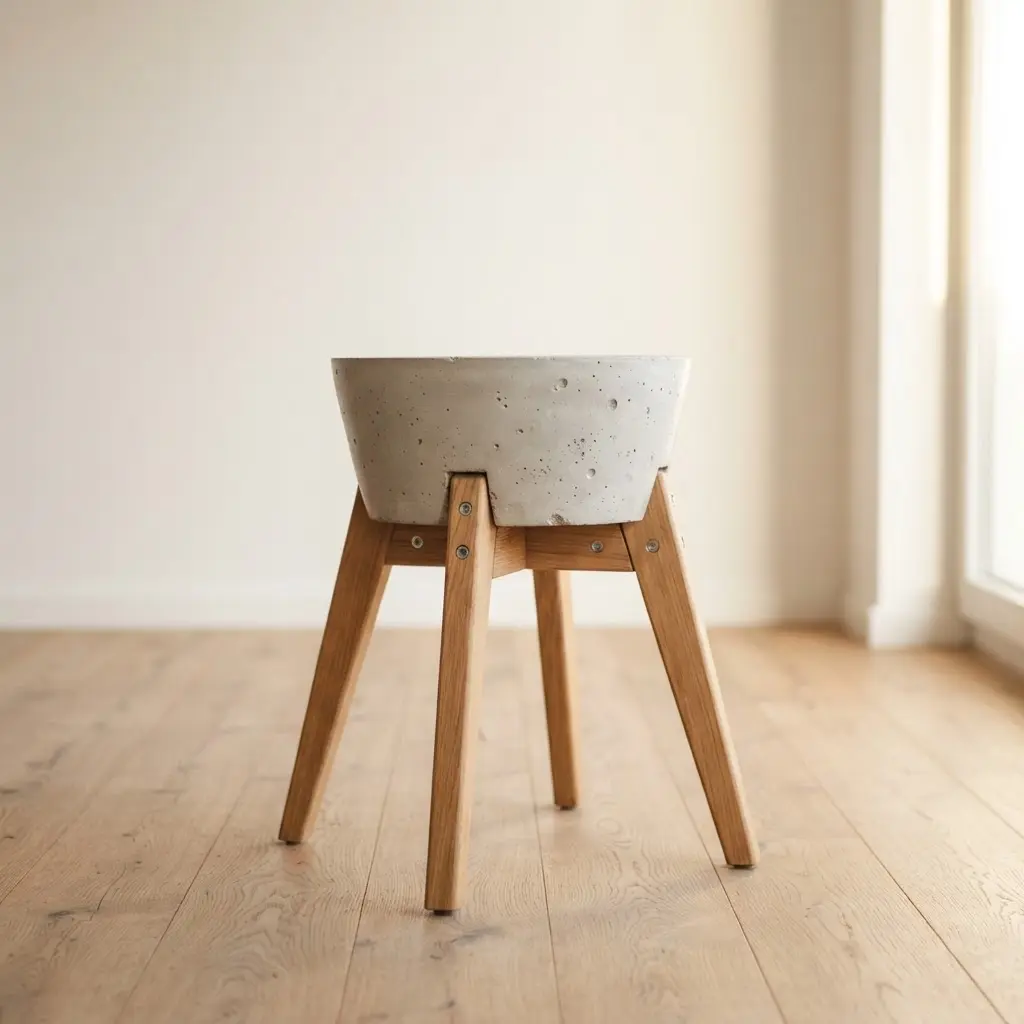
Ever feel like a sitting piece looks a little too heavy or blocky? This design solves that problem completely. The tapered leg is the star here, where each support starts wide at the seat and gently narrows down to the floor. That simple shape change creates a sleek look that feels light and elegant.
You will shape the supports from solid oak or walnut, using a saw or hand plane to create that smooth taper. Keeping everything symmetrical ensures your diy concrete bucket stool stands perfectly level on the floor. You then join them to the seat with a sturdy method hidden underneath.
Once assembled, choose a finish that matches your decor. A natural oil really lets the wood grain shine, while a coat of paint offers a bold, modern pop. For a similar project that adds comfort, you might decide to create your own upholstered bench to pair with it.
5. Exposed Aggregate Textured Concrete Stool
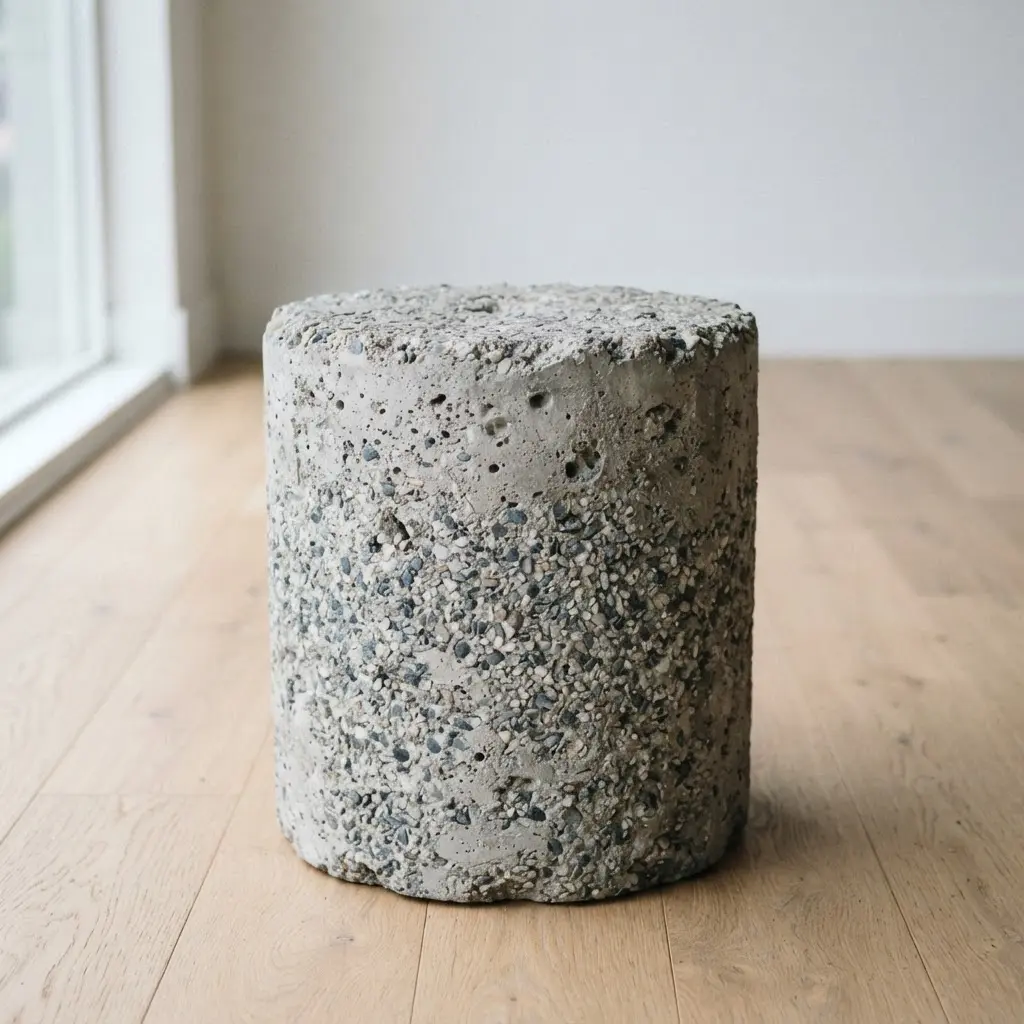
Who would have thought a bucket shape could look so earthy and natural? This style reveals the beautiful stones hiding inside your mix. The magic happens after the pour. Once stiffened, you gently brush the surface layer away to expose your decorative aggregates.
I love how this process turns a simple diy concrete bucket stool into a rugged statement piece. It works because the raw, natural beauty of the materials sits front and center. Your finished piece will feel incredibly solid. Pro tip: do not skip the clear concrete sealer.
It protects your work and makes those gorgeous stones really pop. Feel that satisfying, tactile surface under your hand.
6. Matte Black Painted Concrete Stool
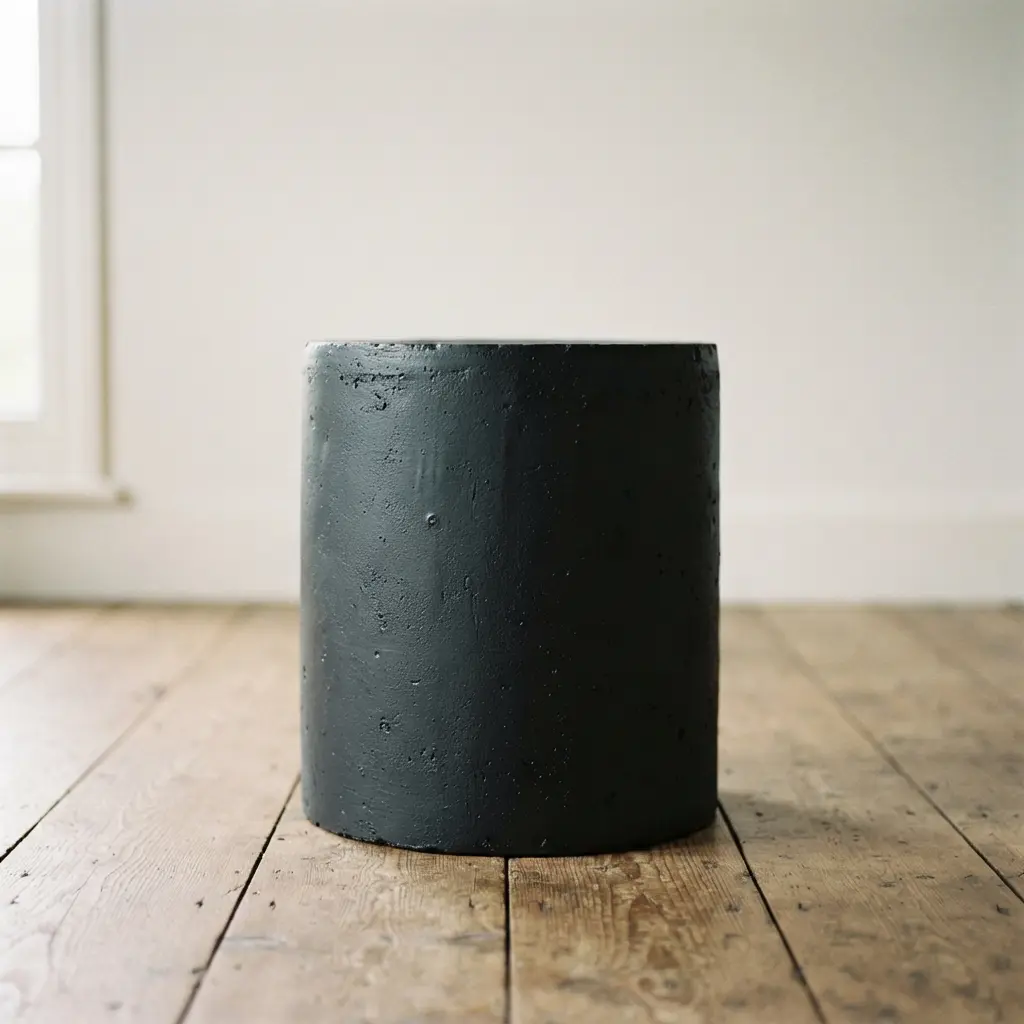
Ever wondered how to get that perfect, non-reflective finish on a cast piece? It all comes down to your final layer. You cast your seat, let it cure, and then apply a dedicated matte black concrete paint. I love this step because it transforms the raw look into something sleek and modern.
The flat finish absorbs light, hiding minor flaws and giving it a soft presence. It is a surprisingly forgiving process if you prep right. Trust me, letting the mixture cure fully is the secret to paint that will not chip on any diy concrete bucket stool. For a different outdoor project, you could always build an A-frame tent.
7. Terrazzo Confetti Pattern Concrete Stool
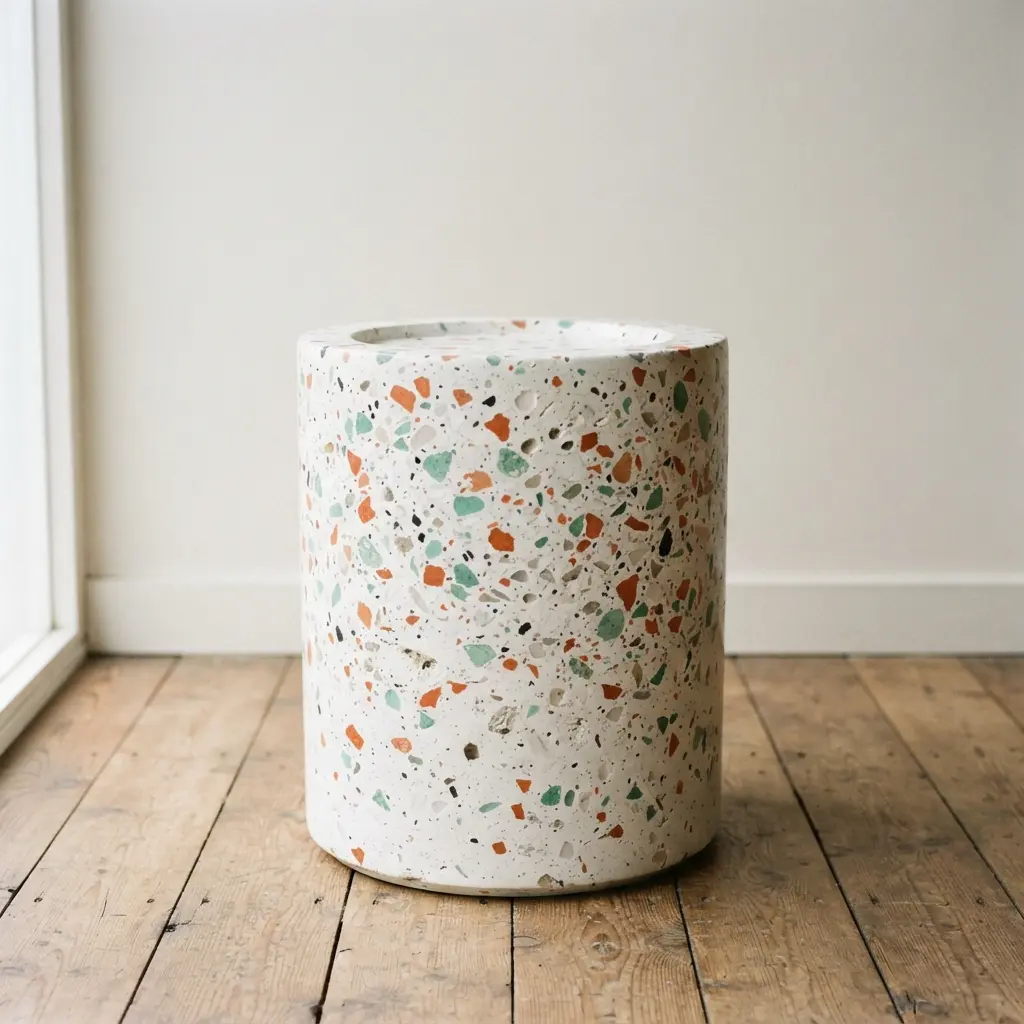
Ever wondered how to make a seating piece look like a joyful celebration? The secret is in the blend. You cast the shape as usual, but first you stir in a generous handful of colorful terrazzo aggregates. Think of it like adding sprinkles to batter with marble, glass, or porcelain chips.
After curing, grind and polish the surface to reveal those embedded bits. Creating a one-of-a-kind confetti pattern on a diy concrete bucket stool brings so much playful energy to the design. No two pieces ever look the same. Your key to success is using a vibrating table during casting.
8. Copper Pipe Accent Concrete Stool
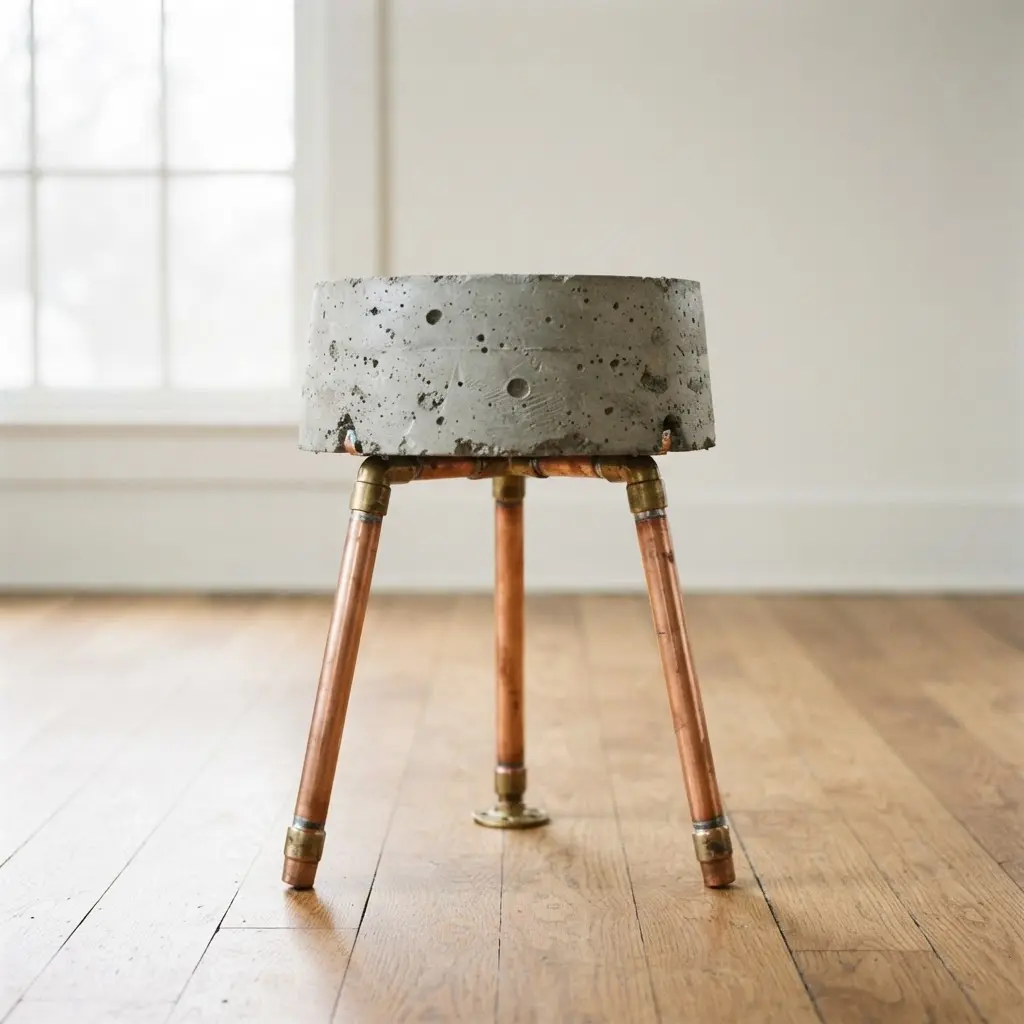
This combination looks so industrial and sleek, doesn’t it? The core involves casting a seat and integrating polished pipes as the legs. I love how you can embed them directly for a seamless look or attach a separate frame later. The key is using a high-strength concrete mix to prevent any cracking in your diy concrete bucket stool.
That raw, cool material paired with the warm shine of copper creates a stunning contrast. The pipes will naturally patina over time, giving your piece its own unique character. Trust me, vibrating your mold properly removes air bubbles for a flawless finish. Feel that satisfying blend of modern and rustic when you are done.
9. Whitewash Dip Effect Concrete Stool
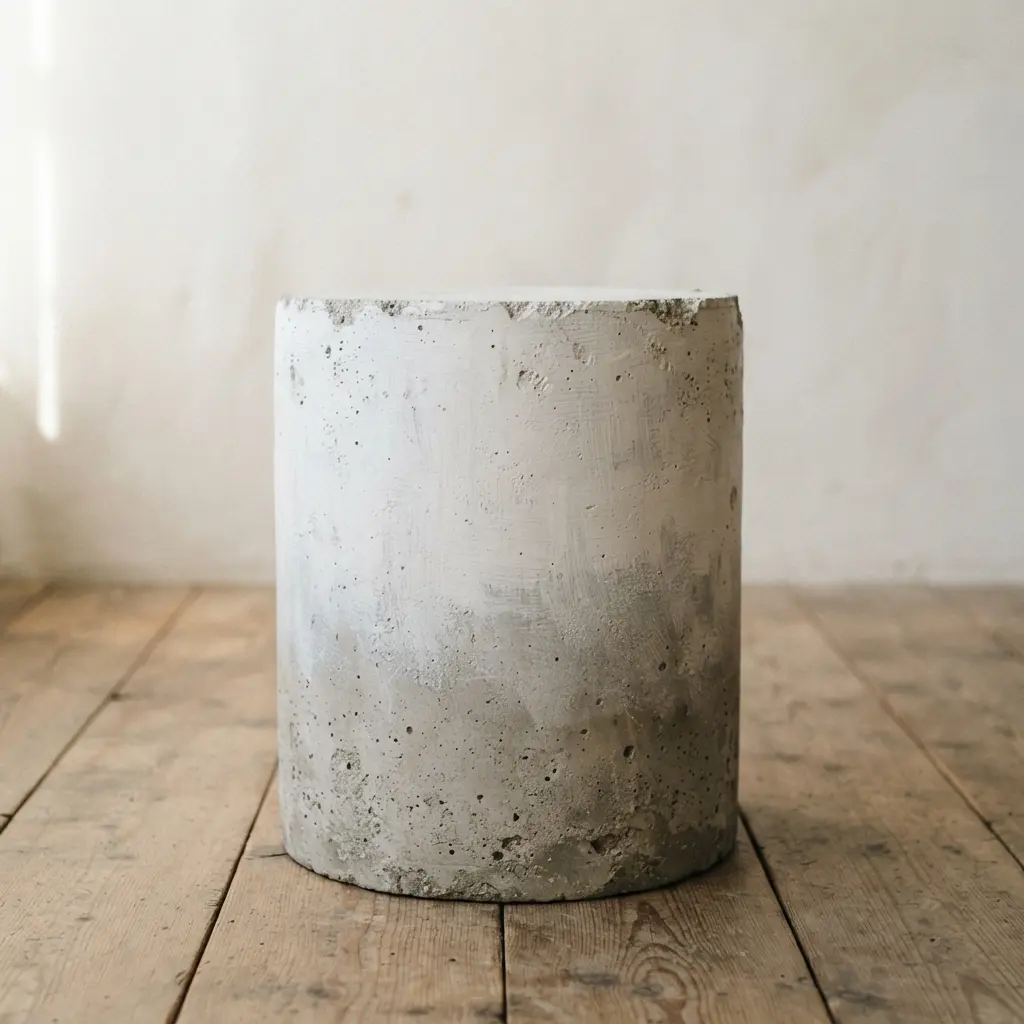
Ever wondered how to soften an industrial look without losing its charm? This technique gives you the best of both worlds. You will cast the shape normally, but the real magic appears after curing. Apply a thin coat of diluted white paint to just the bottom portion.
Letting the raw texture peek through creates a beautiful visual break that feels both modern and handmade. It works because it adds lightness to a heavy material. Trust me, getting that perfect translucent layer on your diy concrete bucket stool is incredibly satisfying. A key tip is to practice your technique on a scrap piece first.
10. Polished Marble Finish Concrete Stool
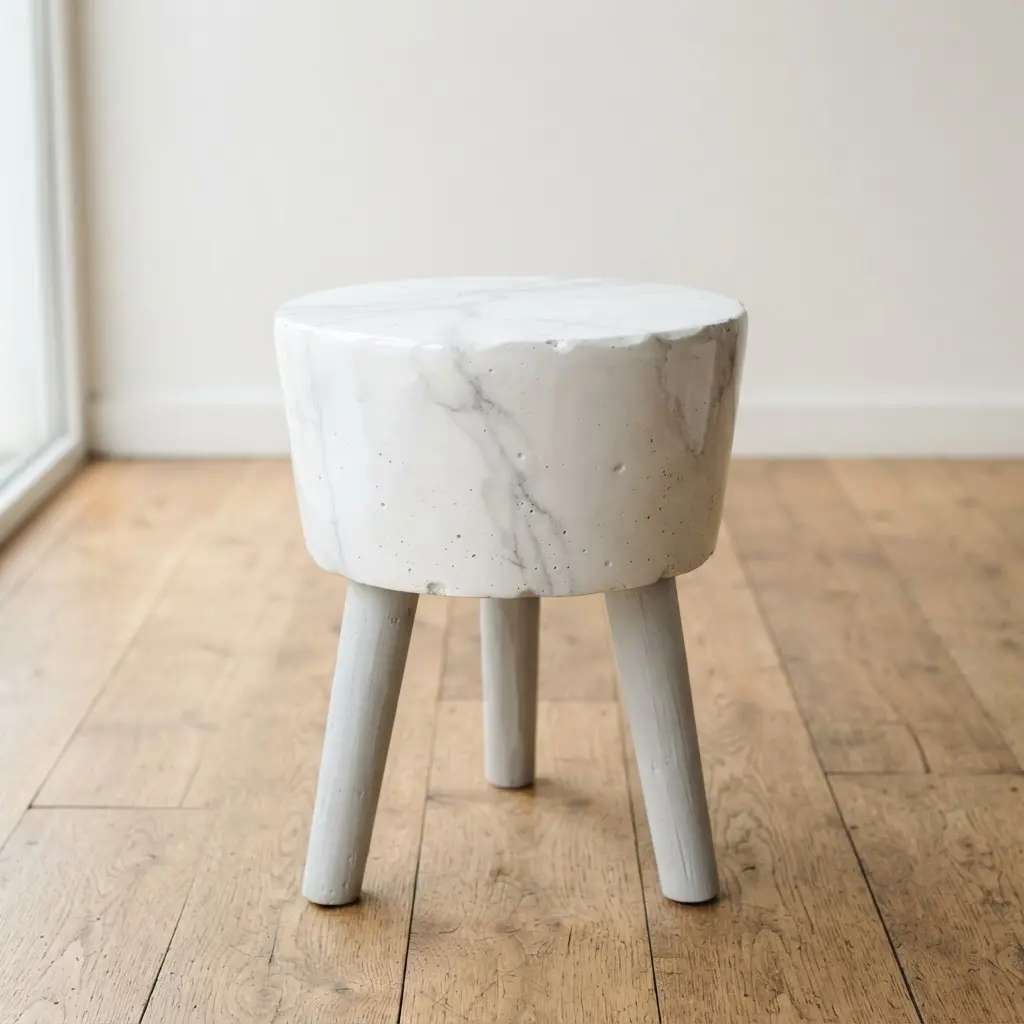
You would never guess this luxurious seating is made from concrete, would you? To get that natural marble look, you carefully swirl iron oxide pigments into a white base before pouring. I love how this technique lets you create unique veins every single time.
Using a vibrating table removes air bubbles for a perfectly dense surface. This gives your diy concrete bucket stool a finish that is both durable and surprisingly elegant. Feel the satisfaction of creating a high-end look with simple materials.
Curing Durability And Protective Surface Sealing
Mist your freshly poured diy concrete bucket stool lightly with water and wrap it in plastic for seven days. This slow process prevents weak, dusty results. You still need to protect it from daily spills after that week passes.
A penetrating concrete sealer locks in the raw grey finish while letting the natural texture breathe. Apply it with a foam brush in a ventilated area. Always do a test patch on the bottom to check the final sheen. This final step transforms your project into lasting home decor.
Conclusion
Choosing to build a diy concrete bucket stool is about more than just adding a seat to your room. It creates an anchor point with weight and character that reflects your taste for honest materials. The best part is seeing how one simple form reinvents itself across styles.
My advice is to pick the design that speaks to you, gather your supplies, and embrace the process. Working with this medium is wonderfully tactile. You will end up with something unique that you proudly say you made yourself. Your space deserves that personal touch.
FAQs
Q: How heavy will a finished concrete bucket stool be?
A finished piece is quite substantial, typically weighing between 15 to 25 pounds depending on size and blend. This mass contributes to a stable, grounded feel in your living area.
Q: What is the best way to attach legs to a concrete stool?
Embedding threaded inserts into the wet mixture provides the most secure anchor. Once cured, you simply screw mounting plates or bolts directly into those points for a clean connection.
Q: Can I make a concrete stool without buying a special mold?
A standard five-gallon plastic bucket serves as a perfect and readily available container. Just apply a release agent like light cooking spray to guarantee easy removal later.
Q: How do I avoid air bubbles and get a smooth finish?
Tapping the sides firmly with a rubber mallet forces trapped air upward. You can also gently vibrate the container to settle the mixture. This simple habit yields a professional-looking surface every time.
Q: Do I need to seal my concrete stool?
Sealing is essential for long-term durability and resistance to everyday spills. Wait for full curing, then apply a penetrating formula to maintain a natural matte appearance or choose a glossy topcoat for extra shine.









